 Most bandsaws, including my second homemade bandsaw
use trunnions to tilt the table.
Most bandsaws, including my second homemade bandsaw
use trunnions to tilt the table.
 The reason trunnions are normally used is that they allow the table or the blade to tilt
about an axis that is level with the top of the table. That way, a narrow slot in the
insert of the table will still line up with the blade when the table is tilted.
The reason trunnions are normally used is that they allow the table or the blade to tilt
about an axis that is level with the top of the table. That way, a narrow slot in the
insert of the table will still line up with the blade when the table is tilted.
 But for this bandsaw, I decided to use hinges for tilting the table.
I figured trunnions might be a bit intimidating for people to make,
I went with hinges to simplify the design.
The whole table mount on this saw is actually somewhat unconventional, and hinges
worked out quite well.
But for this bandsaw, I decided to use hinges for tilting the table.
I figured trunnions might be a bit intimidating for people to make,
I went with hinges to simplify the design.
The whole table mount on this saw is actually somewhat unconventional, and hinges
worked out quite well.
The main disadvantage of hinges is that the top of the table surface will move side to side with respect to the blade as it's tilted.
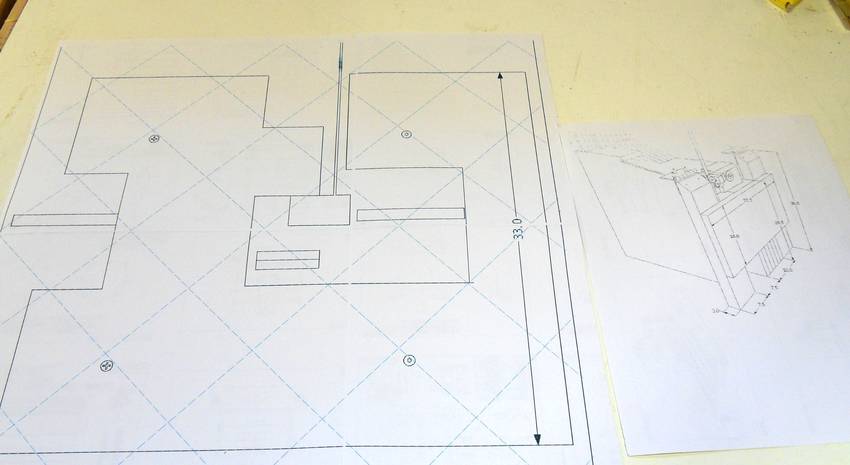 As I often do, I used my BigPrint
program to print out a large 1:1 layout of the bottom of the table.
The table consists of two layers of 3/4" (19 mm) Baltic birch plywood. The bottom layer has
much of it cut away to make room for the hinges, blade guides, and lower wheel.
The table is mounted as low as absolutely possible in order to maximize possible cutting
depth while still using a standard length 93.5" (2375 mm) blade.
As I often do, I used my BigPrint
program to print out a large 1:1 layout of the bottom of the table.
The table consists of two layers of 3/4" (19 mm) Baltic birch plywood. The bottom layer has
much of it cut away to make room for the hinges, blade guides, and lower wheel.
The table is mounted as low as absolutely possible in order to maximize possible cutting
depth while still using a standard length 93.5" (2375 mm) blade.
![]() I'm using a small chisel to punch through the template at the corners to
transfer the marks through to the plywood.
I'm using a small chisel to punch through the template at the corners to
transfer the marks through to the plywood.
![]() After that, I joined the 'dots' with pencil lines. I haven't destroyed the template so
I can reuse it for the main table later.
After that, I joined the 'dots' with pencil lines. I haven't destroyed the template so
I can reuse it for the main table later.
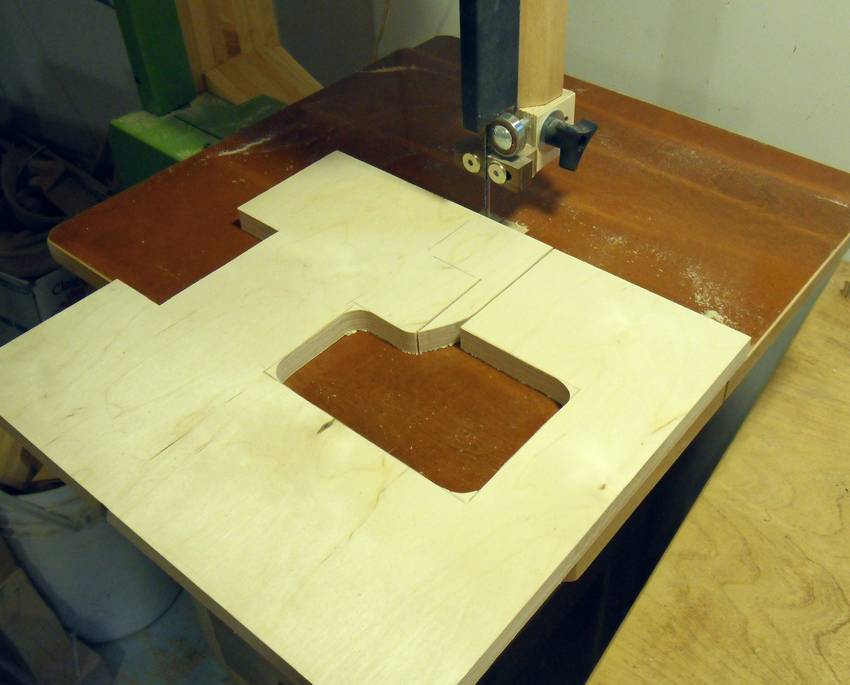 Cutting out the sub-table shape on the bandsaw
If you don't already have another bandsaw, it would make sense to make the main layer of the table first, and then use that as a table to cut the lower layer. The lower layer is strictly for stiffening the table, so the saw could be assembled and used without it.
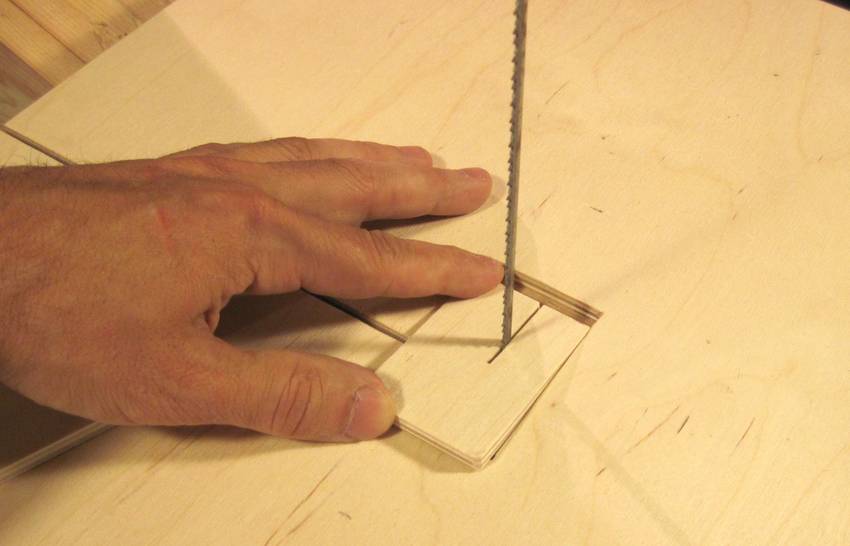
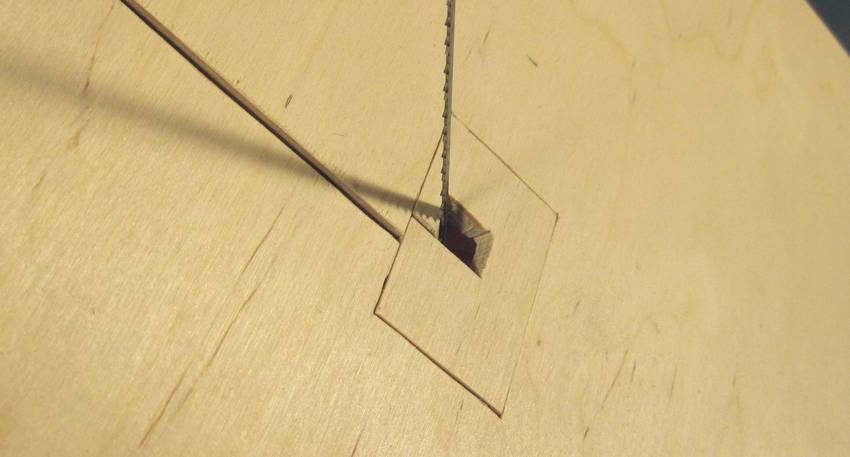
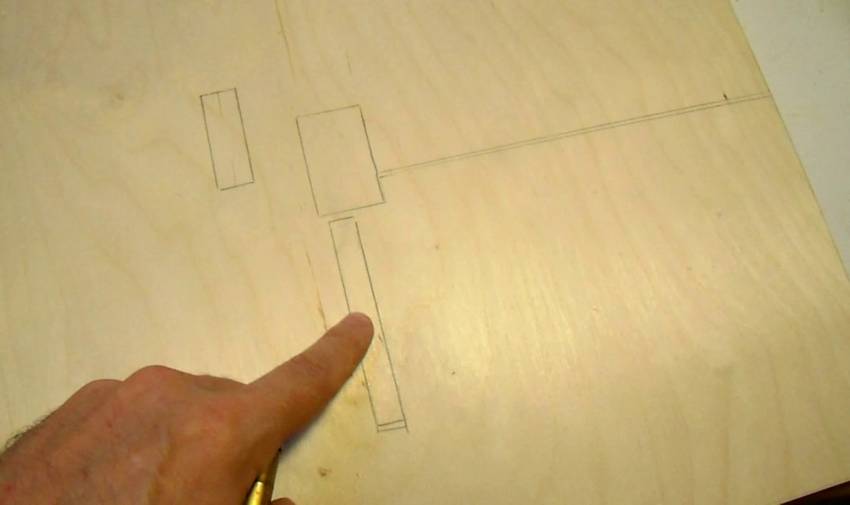 Next I tackled the main table layer. This layer also has some cutouts in it.
I transferred the layout from the 1:1 template the same way.
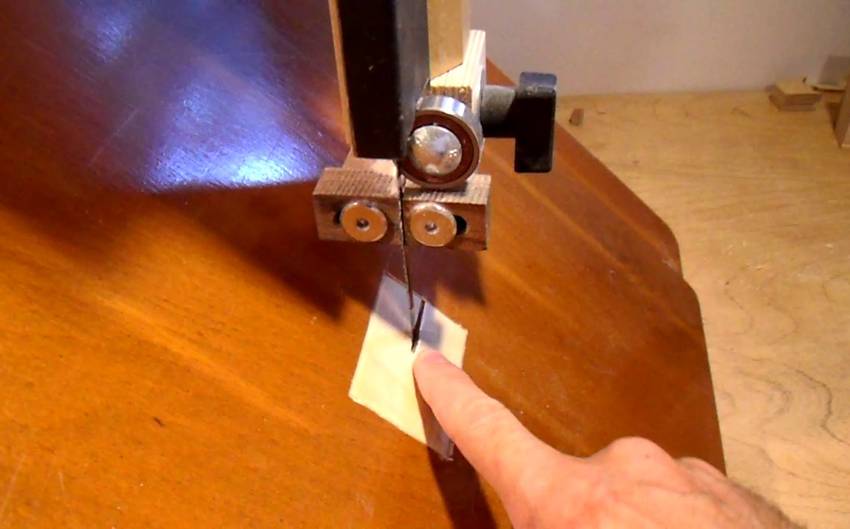
The rectangle under my index finger needs to be cut to a depth of about 5 mm to
make room for the hinge pin. The line going off to the right
is for the slot for inserting the blade. I ended up cutting that slot with the
table saw to make it straight and wide enough to accommodate any bandsaw blade.
Next I tackled the main table layer. This layer also has some cutouts in it.
I transferred the layout from the 1:1 template the same way.
The rectangle under my index finger needs to be cut to a depth of about 5 mm to
make room for the hinge pin. The line going off to the right
is for the slot for inserting the blade. I ended up cutting that slot with the
table saw to make it straight and wide enough to accommodate any bandsaw blade.
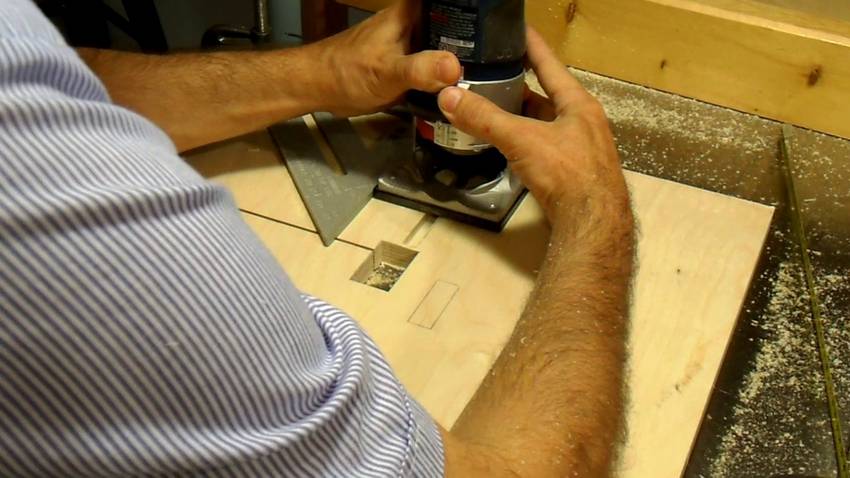 Cutting out the hinge slot with a router. I'm using a square clamped to the
table to guide the router.
Cutting out the hinge slot with a router. I'm using a square clamped to the
table to guide the router.
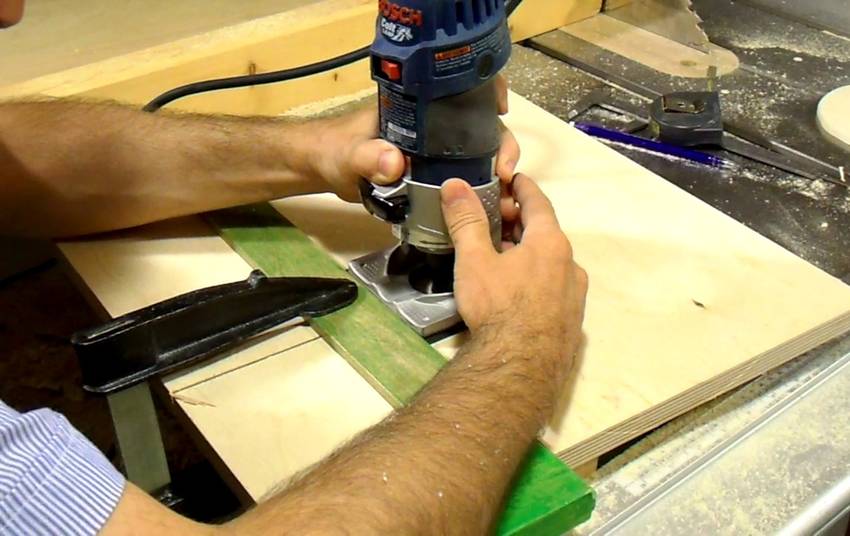 Here's cutting the ledge for the table insert with a router. The green square
clamped to the table helps to guide the router for a straight edge along one
side. I repeated this for each side of the table cut out...
Here's cutting the ledge for the table insert with a router. The green square
clamped to the table helps to guide the router for a straight edge along one
side. I repeated this for each side of the table cut out...
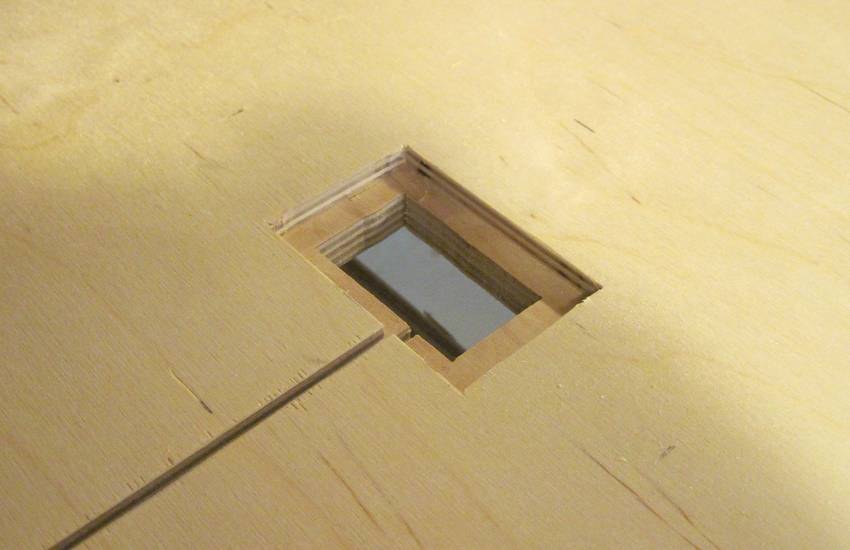 ... and then chiselled the corners square to finish it up.
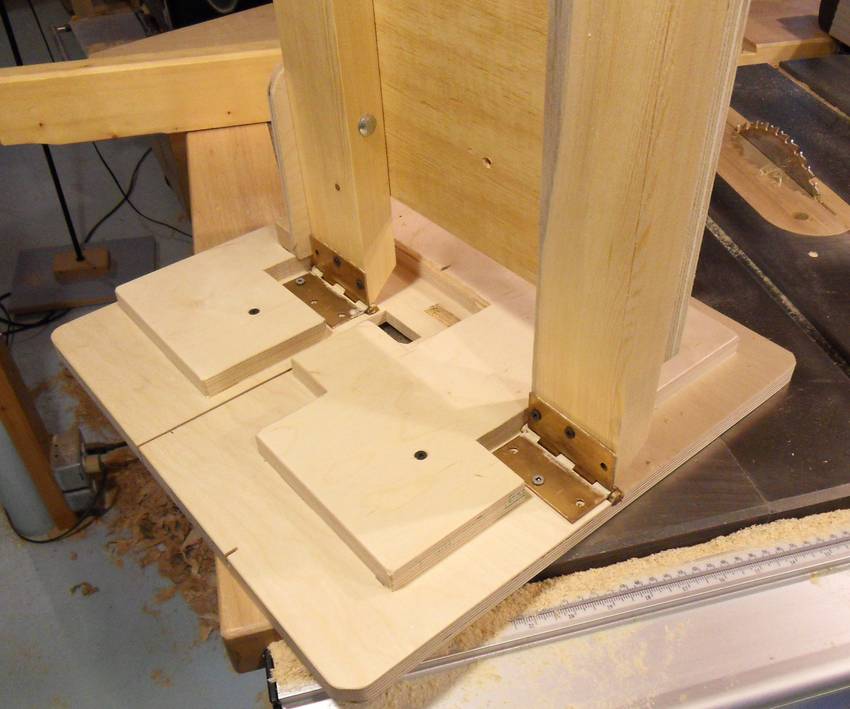 Here's the table support attached to the bottom of the table.
The table support for this saw is unconventional, in that it comes around the right instead of around the left.
On most saws, the front trunnion support reaches through the space bounded by the lower wheel on the bottom, the blade on the right, and the table on the top. But the lower blade guide also need to fit into that space.
With this bandsaw being a relatively small 14" bandsaw, and wanting to mount the table as low as possible, there simply wasn't enough room for everything. So I decided to move the table mount to the right. This in turn means that it's impossible to remove the blade on the right side, so I moved the slot for the blade to the left side.
 My first idea for locking the table tilt position was to make a link as shown.
This link would pivot on the bottom of the table, and get locked in place with a
screw and washer against the frame. I got as far as this photo when I decided that a
piece of wood with an arc-shaped slot would be a simpler and better solution.
My first idea for locking the table tilt position was to make a link as shown.
This link would pivot on the bottom of the table, and get locked in place with a
screw and washer against the frame. I got as far as this photo when I decided that a
piece of wood with an arc-shaped slot would be a simpler and better solution.
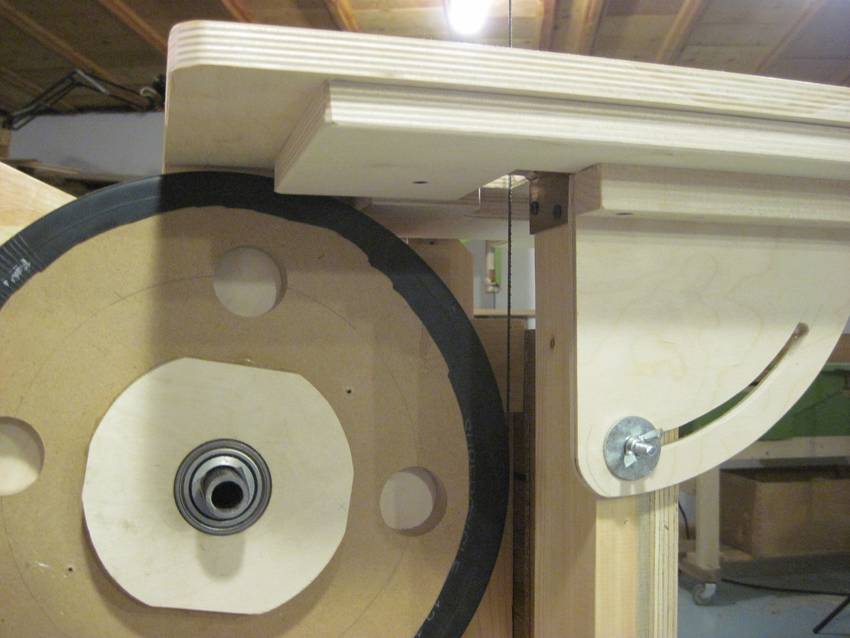
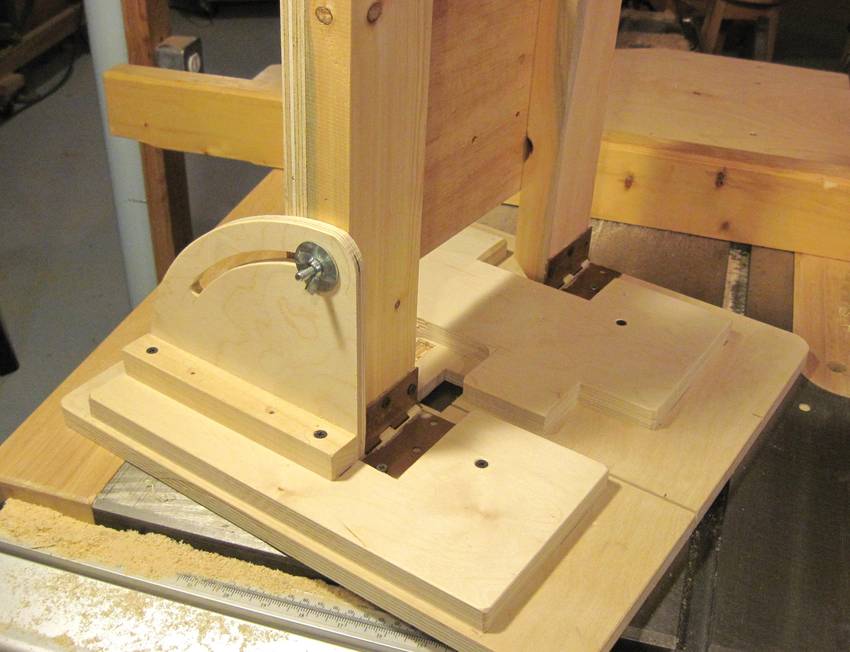 So this is what I made instead. It does require cutting a curved slot, but other than that,
this is a simpler design. I cut the slot on my scrollsaw, although it could be cut with
a router as well.
So this is what I made instead. It does require cutting a curved slot, but other than that,
this is a simpler design. I cut the slot on my scrollsaw, although it could be cut with
a router as well.
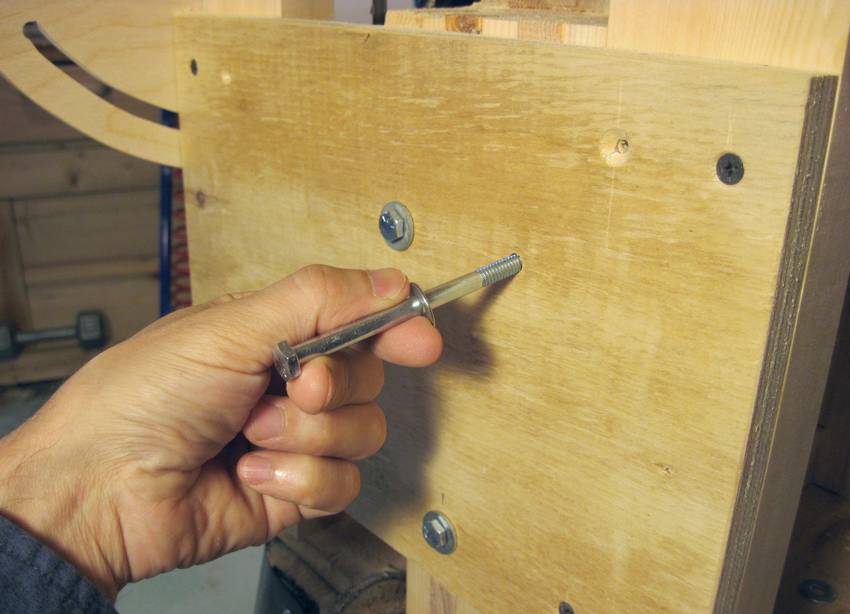 The table support bolts to the frame using three bolts through the frame.
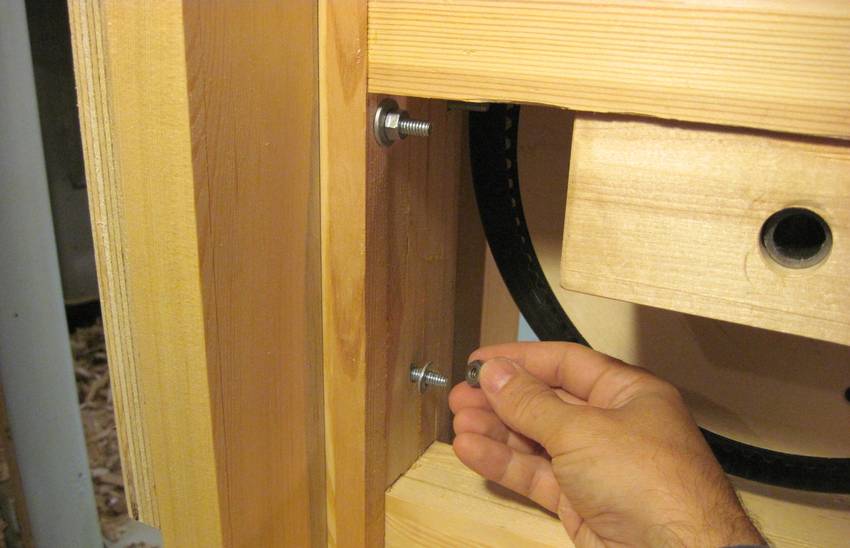 Wood screws would work just as well, if not better, to screw the table support onto the frame.
But for reasons I'll get into in a future article, I want this table to be easily removable
without wearing out the screw holes in the wood.
Wood screws would work just as well, if not better, to screw the table support onto the frame.
But for reasons I'll get into in a future article, I want this table to be easily removable
without wearing out the screw holes in the wood.
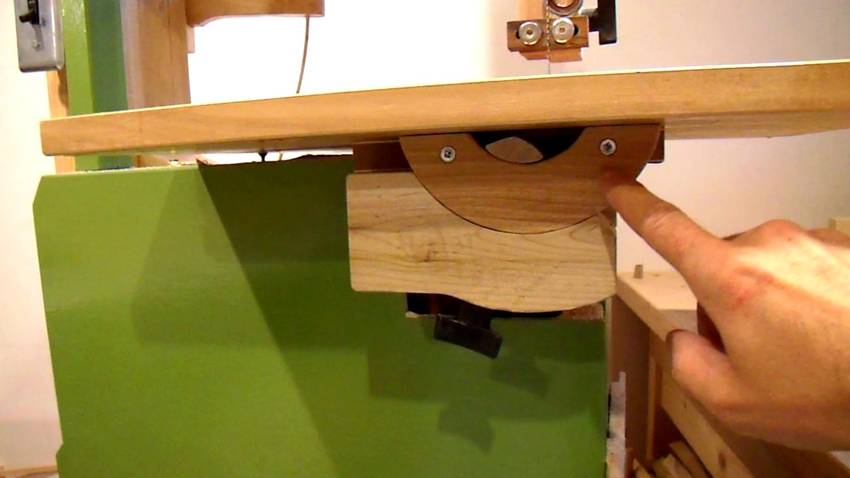
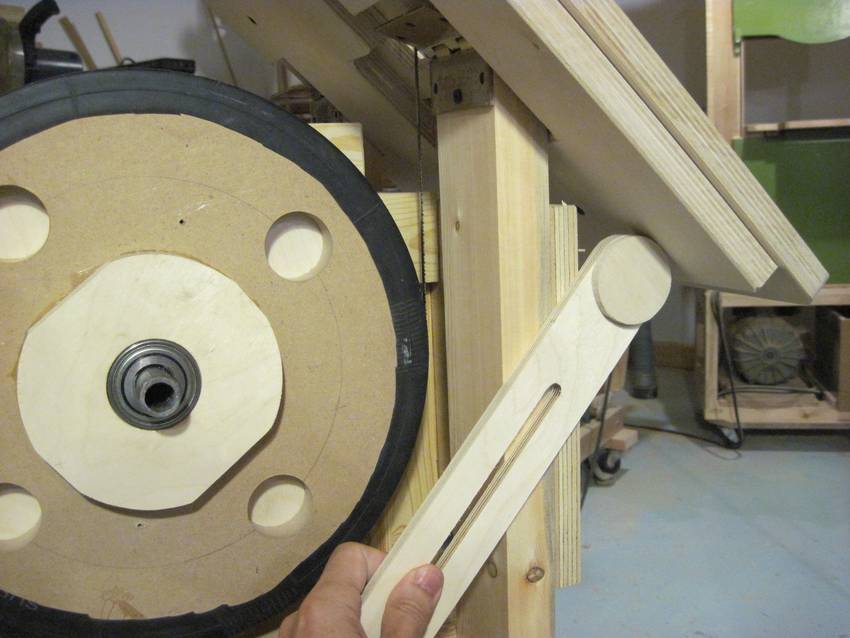
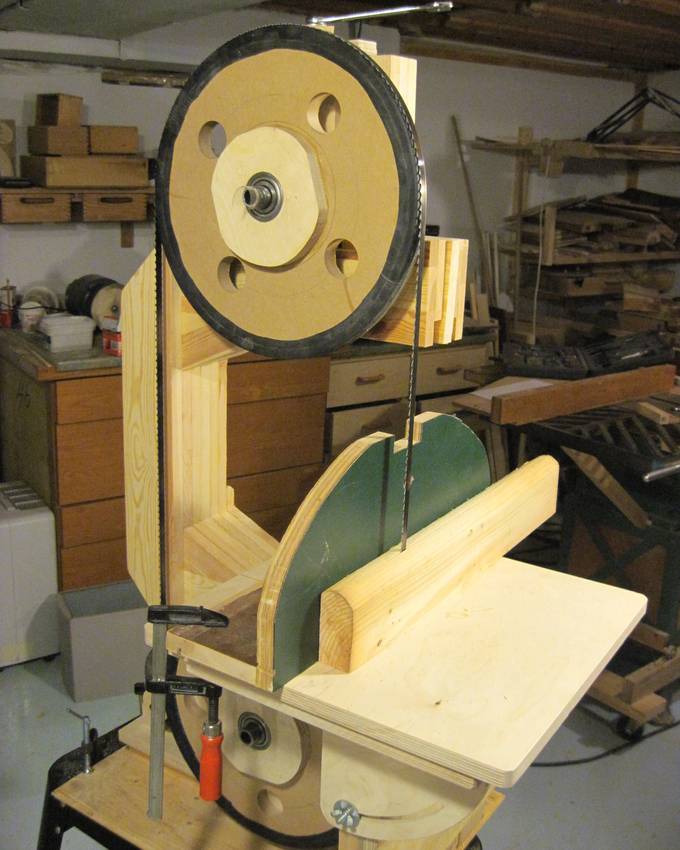
 Here you can see how low the table is mounted. There's only a few millimeters
of space between the top of the wheel and the bottom side of the table. With
the table support reaching around the right, there's still enough room
for the blade guide below the table.
Here you can see how low the table is mounted. There's only a few millimeters
of space between the top of the wheel and the bottom side of the table. With
the table support reaching around the right, there's still enough room
for the blade guide below the table.
 Making a table insert is as simple as sliding a piece of plywood into the insert
space while the blade is
running.
Making a table insert is as simple as sliding a piece of plywood into the insert
space while the blade is
running.
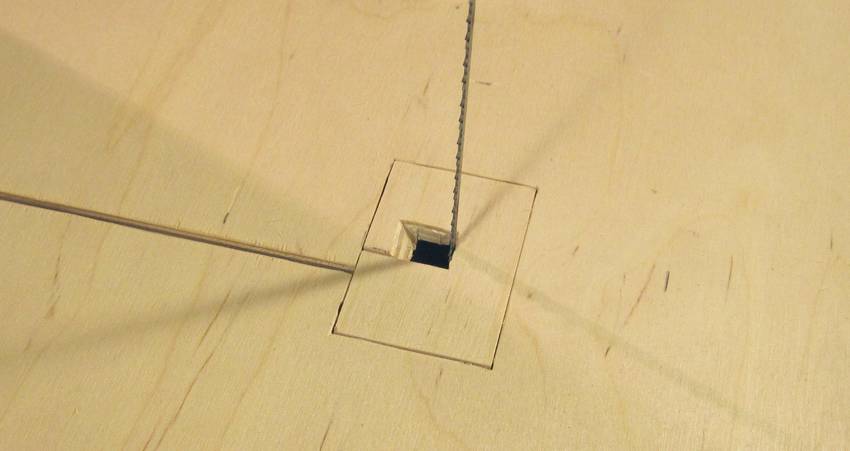 I also made an insert for beveled cuts.
 The hole is wide enough to accommodate the blade up to a 45-degree tilt.
This is the main disadvantage to using hinges. By using trunions to tilt the table, one can have the axis of tilt level with the top of the table, which eliminates the need for a whider hole.
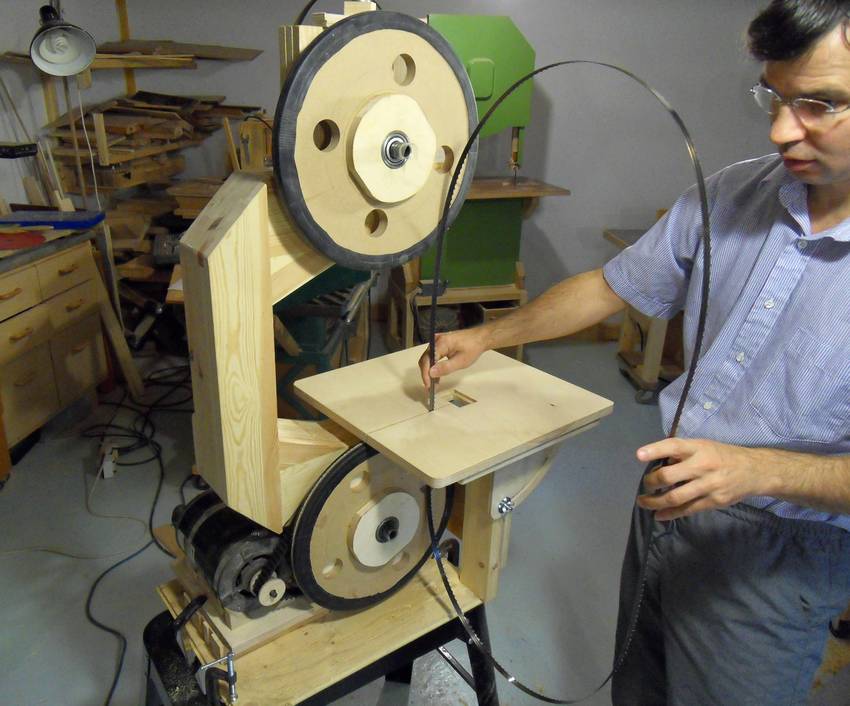 Inserting the blade is done from the left, not the right. Once the blade is slid all
the way to the insert hole, it's rotated to the left to bring it to the wheels.
Inserting the blade is done from the left, not the right. Once the blade is slid all
the way to the insert hole, it's rotated to the left to bring it to the wheels.
This is not that different from inserting the blade on a regular bandsaw, except that the initial sliding in is from the left.
 And here's testing the bandsaw, resawing a piece of lumber.
I figured the tracking should be good enough to allow the bandsaw to be used even without guides, and this confirmed it.
Next: Blade guides