 So far I had cut up the main trunk
of the ash tree that I cut down, but beyond that there were still
big enough pieces to yield usable lumber.
So far I had cut up the main trunk
of the ash tree that I cut down, but beyond that there were still
big enough pieces to yield usable lumber.
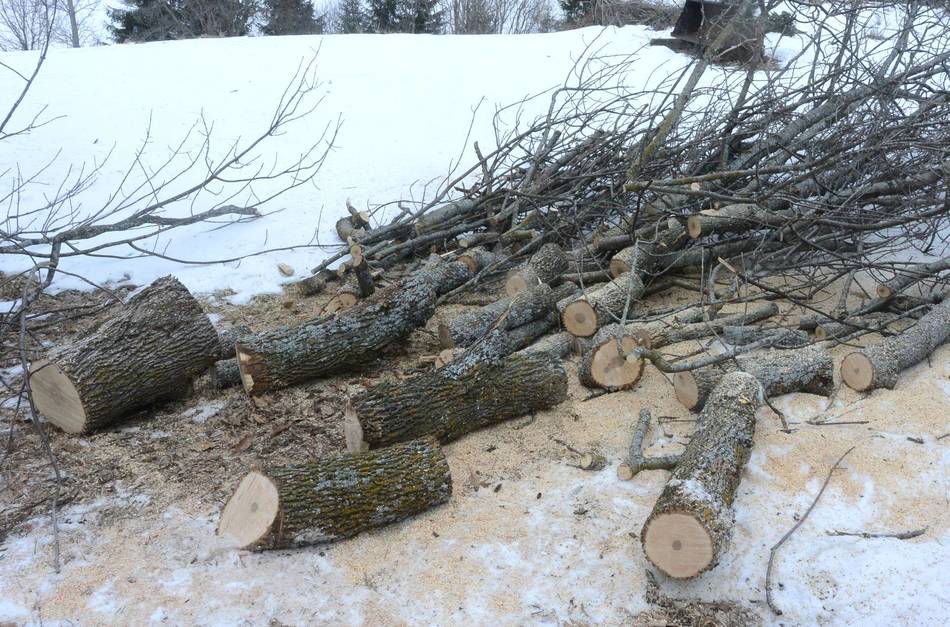
So far I had cut up the main trunk
of the ash tree that I cut down, but beyond that there were still
big enough pieces to yield usable lumber.
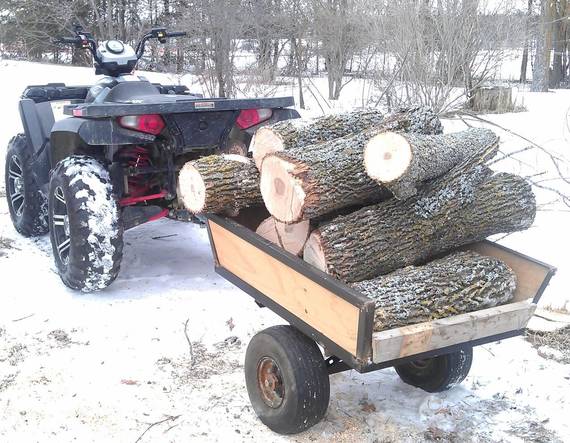
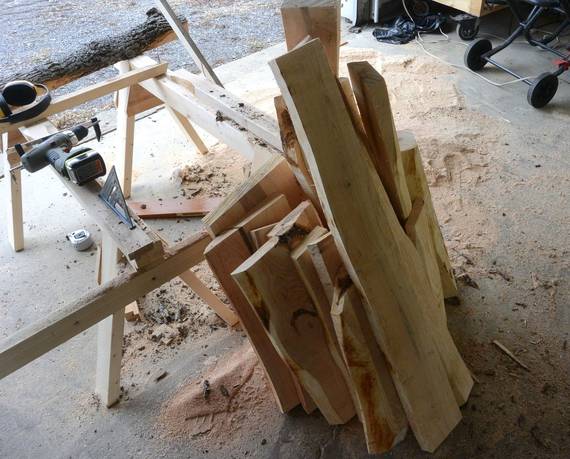
None of these were as big as the main trunk, so I loaded these up on my small trailer to get them to the shop.
 My sawmilling sawhorses, with the leg assemblies just sliding into slots,
had a little bit of play to them, so I glued some strips of wood to the two
leg brackets nearest the log and screwed them to the cross-beams.
That stiffened them up.
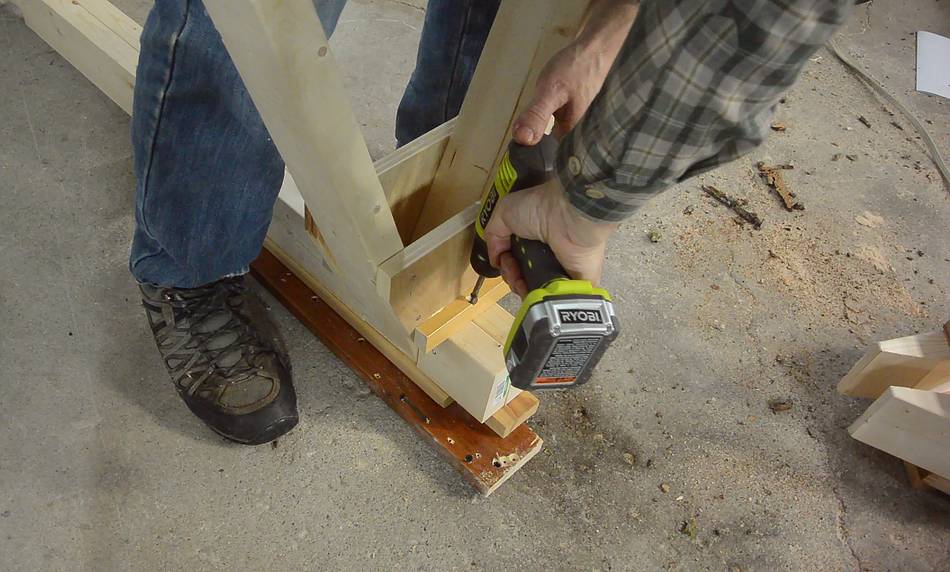
My sawmilling sawhorses, with the leg assemblies just sliding into slots,
had a little bit of play to them, so I glued some strips of wood to the two
leg brackets nearest the log and screwed them to the cross-beams.
That stiffened them up.
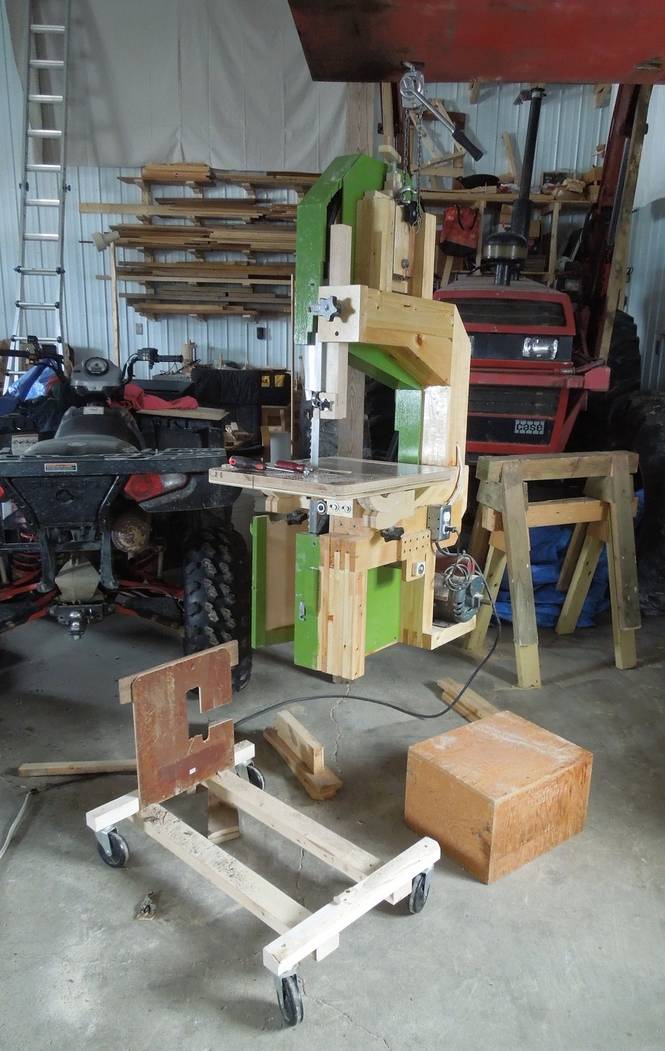
 The dolly I was using was a bit "wobbly", and the relatively small wheels made
it difficult to roll the bandsaw consistently and slowly.
The dolly I was using was a bit "wobbly", and the relatively small wheels made
it difficult to roll the bandsaw consistently and slowly.
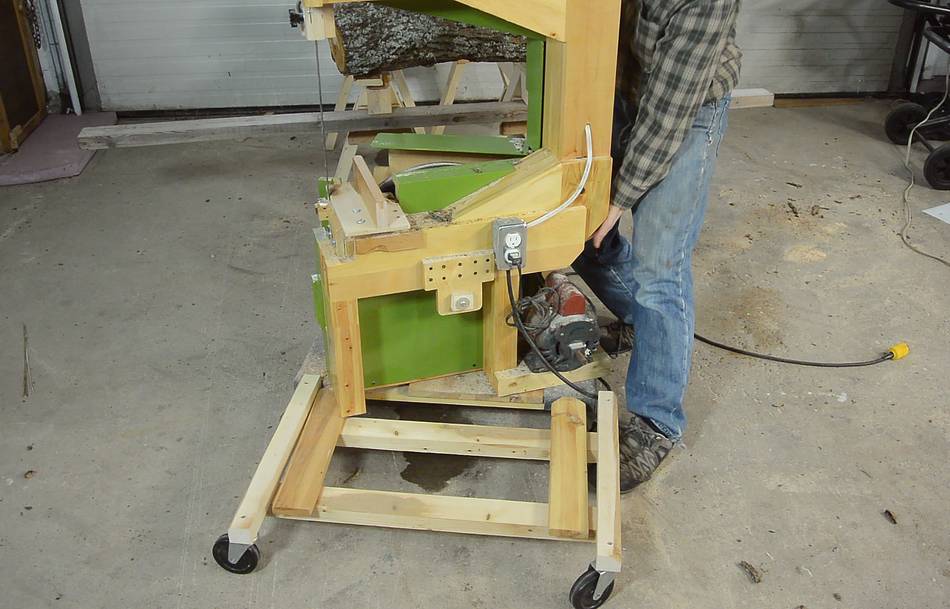
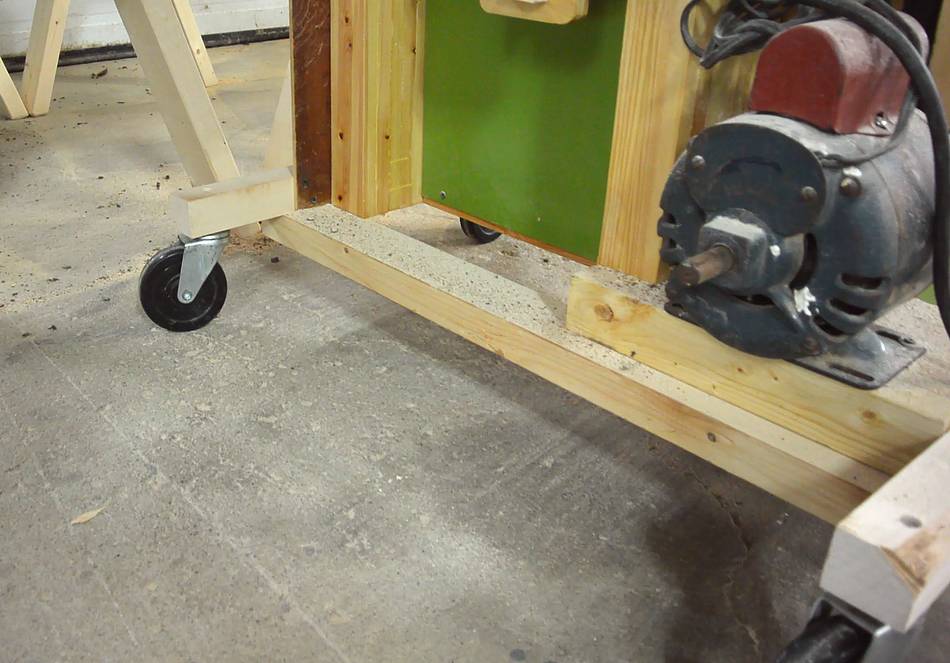
I made a new dolly specifically for this bandsaw, using bigger wheels. The dolly's cross members are screwed to the bottom of the pieces with the wheels on them, so even with larger wheels, the bandsaw ends up at the same height.
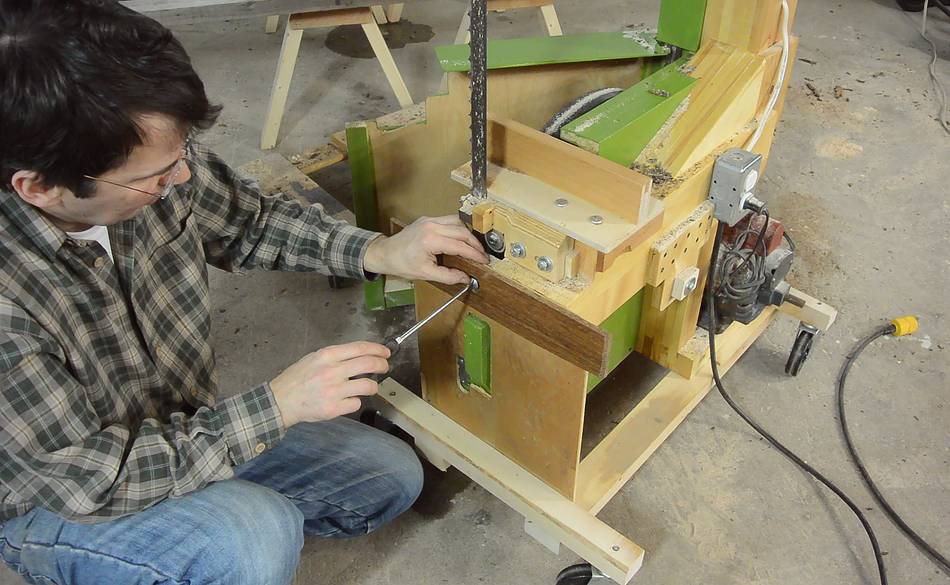
 A piece of plywood attaches to the side of the dolly. This piece has a longer
(dark brown) piece of wood for the saw to slide along the guide for a straight
cut. A screw attaches it where the blade guide cover goes in bandsaw mode.
A piece of plywood attaches to the side of the dolly. This piece has a longer
(dark brown) piece of wood for the saw to slide along the guide for a straight
cut. A screw attaches it where the blade guide cover goes in bandsaw mode.
This higher attachment point keeps the saw more stiffly vertical as it's pushed along the log.
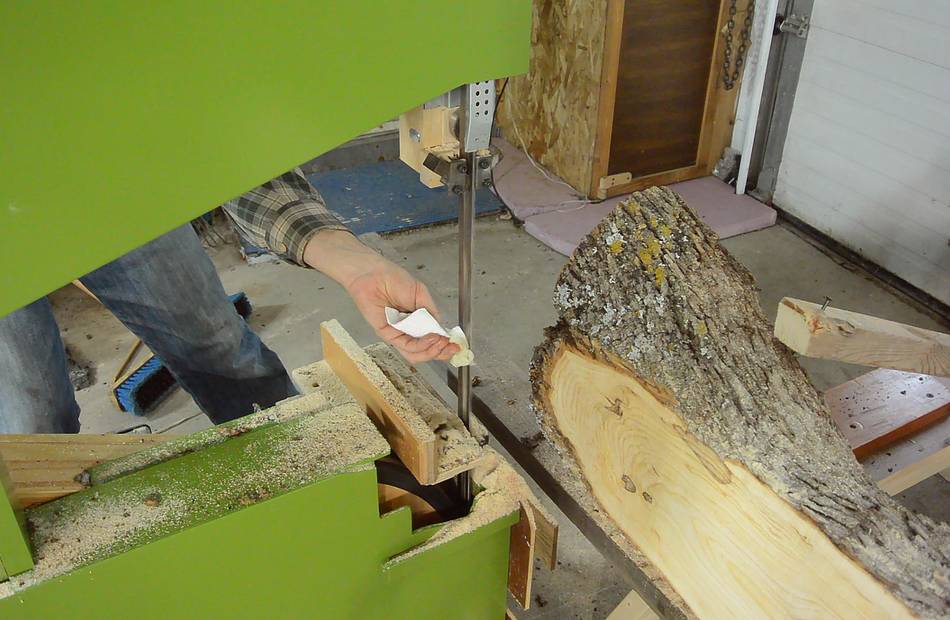
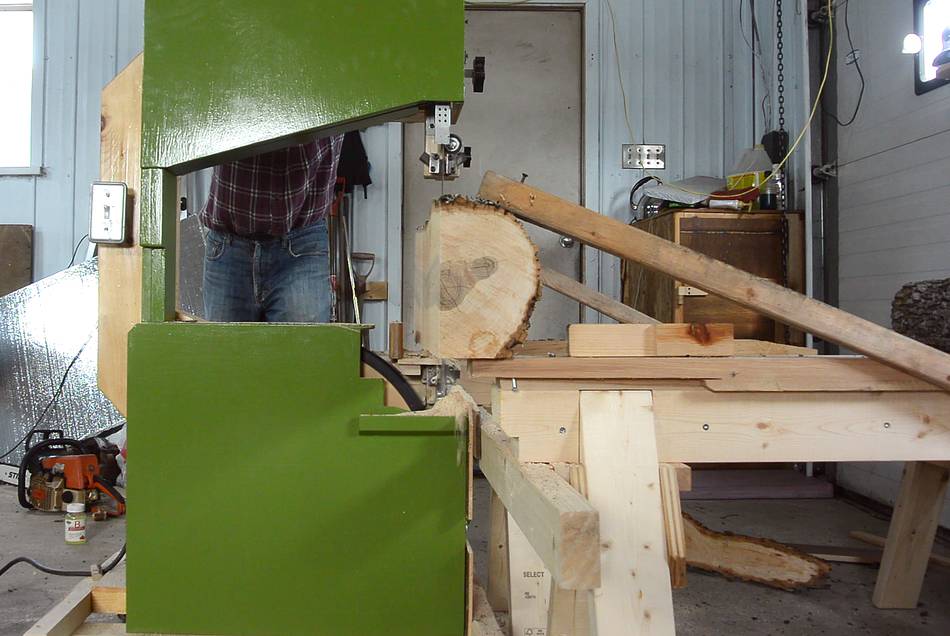
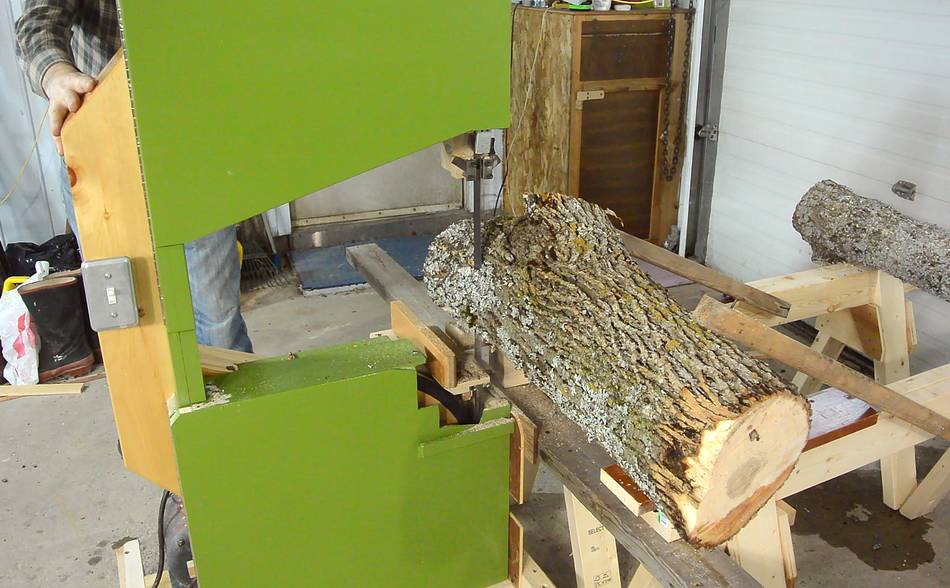 Milling the first small log after the changes. It was much easier to push
the saw along smoothly.
Milling the first small log after the changes. It was much easier to push
the saw along smoothly.
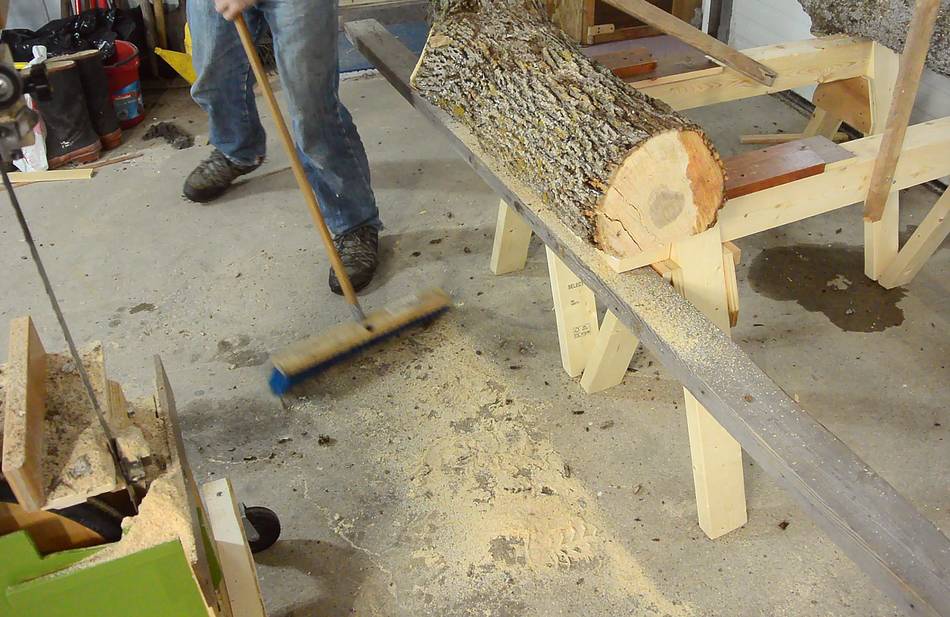
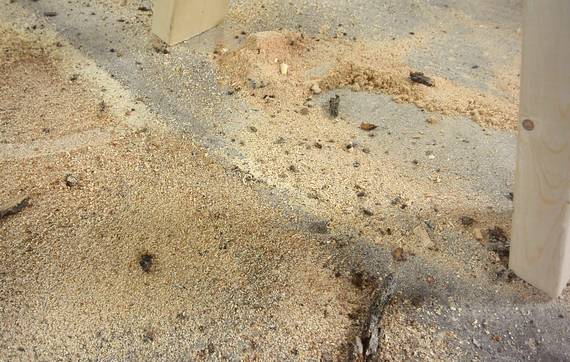 This time, I was more disciplined about sweeping up after every cut.
This helped make for a smoother ride, but occasionally pieces of bark coming
off the log as I cut would still fall in front of the wheels.
This time, I was more disciplined about sweeping up after every cut.
This helped make for a smoother ride, but occasionally pieces of bark coming
off the log as I cut would still fall in front of the wheels.
A track system would solve some of these issues, and that has been suggested hundreds of times on YouTube. But I wanted to keep this set-up as simple as possible.
 With the ability to control motion more smoothly, the 3/4 hp motor on the
saw now seemed less inadequate. So I haven't been as motivated to swap it for
a bigger one.
With the ability to control motion more smoothly, the 3/4 hp motor on the
saw now seemed less inadequate. So I haven't been as motivated to swap it for
a bigger one.
 I was running into gunk build-up on the blade. The gunk on the blade becomes hard,
and rubs against the hardwood guide blocks, making for very noisy operation.
Putting some soap on the blade from time to time helps control the build-up.
Also, to clean the build-up, it helped to apply the soap, wait a few minutes,
then scrape it off with a screwdriver as the blade was running.
I was running into gunk build-up on the blade. The gunk on the blade becomes hard,
and rubs against the hardwood guide blocks, making for very noisy operation.
Putting some soap on the blade from time to time helps control the build-up.
Also, to clean the build-up, it helped to apply the soap, wait a few minutes,
then scrape it off with a screwdriver as the blade was running.
I think a horizontal bandsaw would have an advantage here because gravity would pull the sawdust away from the drive wheel, whereas on this one it doesn't.
 I was running into more vibration problems with this set-up than I was before.
Part of the problem is that I was cutting smaller, lighter pieces of log...
 ... and part of it was that my log mounts were not stiff enough. With the
new bandsaw mount, I had to extend the log mounts by another 2 cm past
the sawhorses, and that made them too springy.
... and part of it was that my log mounts were not stiff enough. With the
new bandsaw mount, I had to extend the log mounts by another 2 cm past
the sawhorses, and that made them too springy.
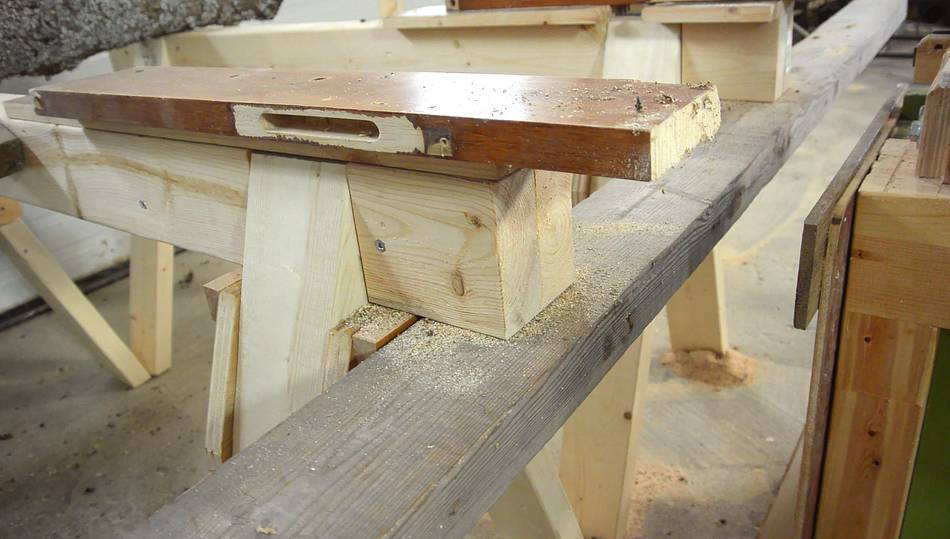
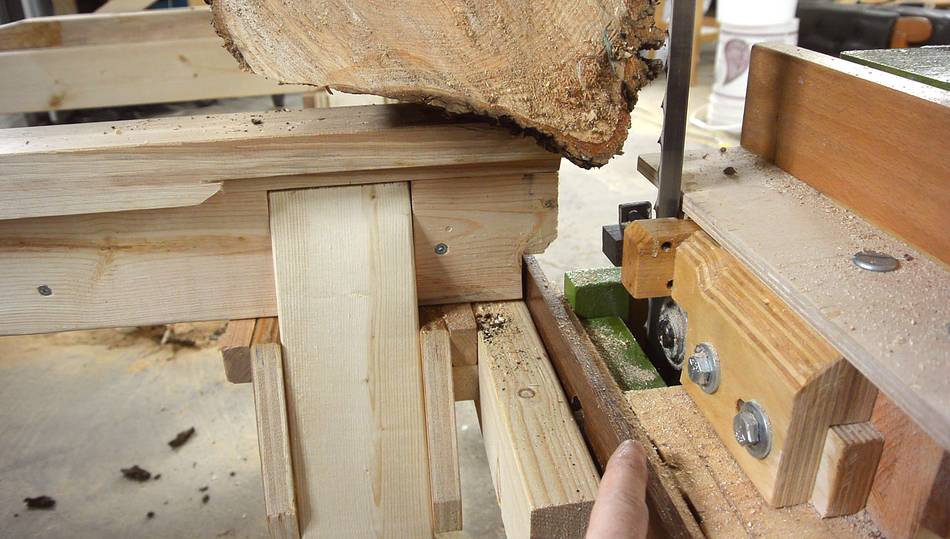 So I made some stiffer log mounts, out of a solid piece of oak, about 3.5 cm thick,
instead of a 1.8 cm thick piece on a spacer like before.
So I made some stiffer log mounts, out of a solid piece of oak, about 3.5 cm thick,
instead of a 1.8 cm thick piece on a spacer like before.
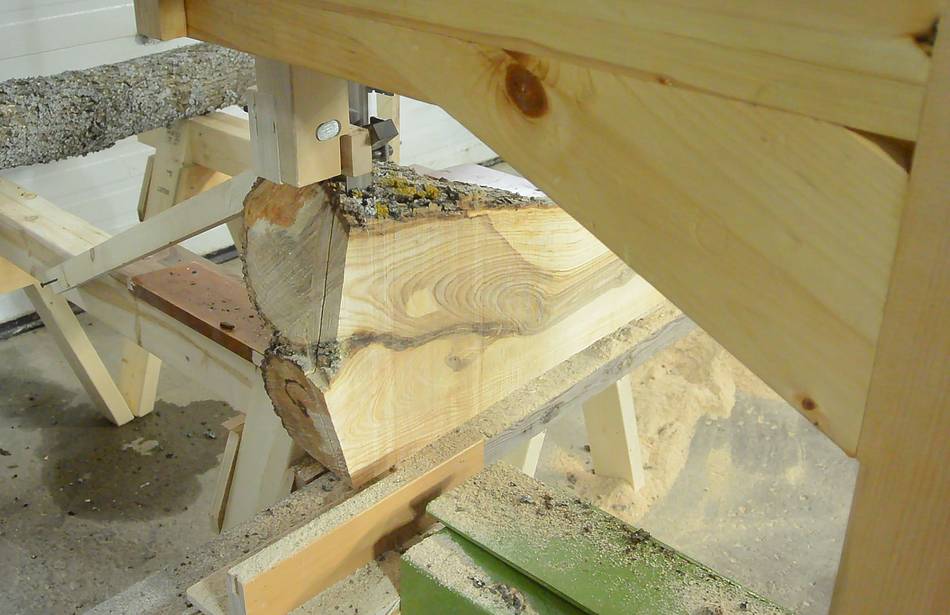
I also changed the guide to a 2x4 placed upright. This brought the saw much closer to the sawhorses. In fact, I had to cut a bit off the end of the sawhorses and cut a notch out to make room for the saw. The closer the saw is to the legs of the sawhorses, the stiffer the mount should be.
 Positioning and securing the log is very time consuming. For the first few boards,
I have enough log on the sawhorses that I don't need to secure it, but as
it gets thinner, I have to brace it against the sawhorses.
Positioning and securing the log is very time consuming. For the first few boards,
I have enough log on the sawhorses that I don't need to secure it, but as
it gets thinner, I have to brace it against the sawhorses.
 The log mounting system could use improvements. Currently, I need to
flatten one side first to mount the log (which wastes some wood), and every time
I re-position the log, I have to make sure it's vertical and brace it. Some sort
of log holding system that will hold a round log, and can simply be slid forward
without un-mounting the log would be a big improvement. Repositioning and securing
the log takes up more time than the cutting itself.
The log mounting system could use improvements. Currently, I need to
flatten one side first to mount the log (which wastes some wood), and every time
I re-position the log, I have to make sure it's vertical and brace it. Some sort
of log holding system that will hold a round log, and can simply be slid forward
without un-mounting the log would be a big improvement. Repositioning and securing
the log takes up more time than the cutting itself.
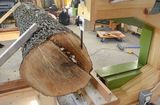
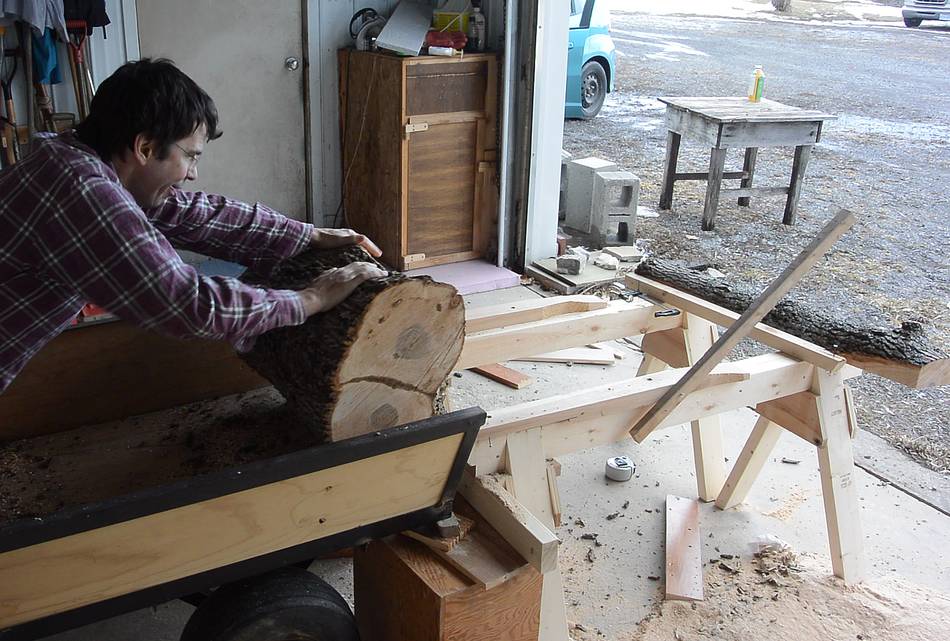 Rolling the crotch piece from the trailer onto the sawhorses.
I initially had second thoughts about making the sawhorses as low as I did. Maybe I should have made them high enough that the bandsaw could be used on its regular wheeled base in sawmill mode. That would make switching to and from sawmill mode much easier. But having the logs closer to the ground makes them easier and safer to handle.
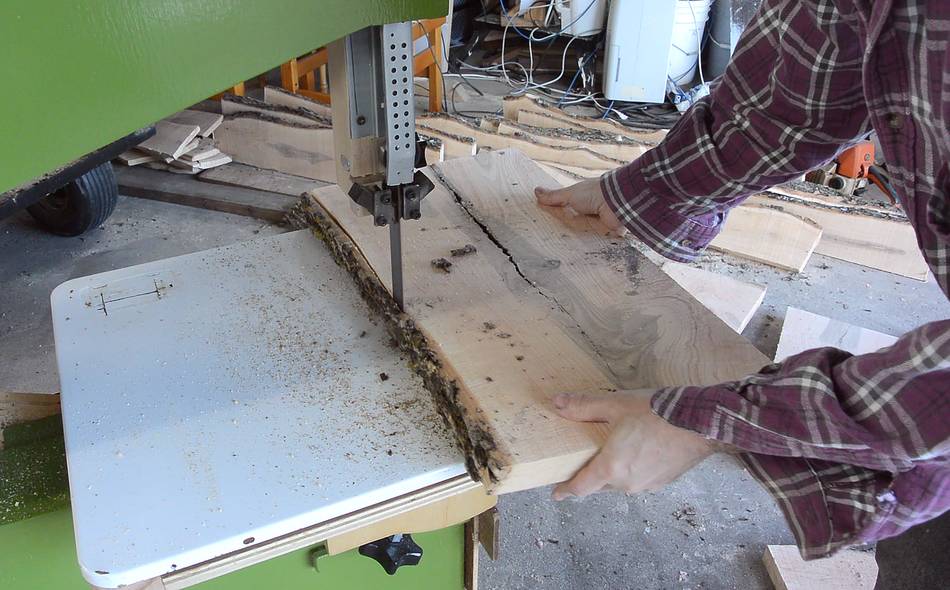
 After milling up all the log pieces, I cut all the bark off. I'm not into
keeping the bark or "live edge".
After milling up all the log pieces, I cut all the bark off. I'm not into
keeping the bark or "live edge".

 I just installed the bandsaw table for that operation. But I had to remember to sweep the
sawdust out from under the saw from time to time. With the saw close to the ground
and stationary, the sawdust pile under it built up quickly.
I just installed the bandsaw table for that operation. But I had to remember to sweep the
sawdust out from under the saw from time to time. With the saw close to the ground
and stationary, the sawdust pile under it built up quickly.
All in all, a nice pile of hardwood, suitable for smaller projects. I will have to let it dry for two years before using it though.
 This sawmill still could use further refinements. But I'm pleased with how little
there is to it. Basically, a custom dolly for the saw (which I could reuse for other
things), two short sawhorses, which can be disassembled or stacked, with two pieces
of hardwood screwed onto them for mounting the logs.
This sawmill still could use further refinements. But I'm pleased with how little
there is to it. Basically, a custom dolly for the saw (which I could reuse for other
things), two short sawhorses, which can be disassembled or stacked, with two pieces
of hardwood screwed onto them for mounting the logs.
But further improvements to this set-up will have to wait until I come across more logs to mill.
The bandsaw is too large for one person to lift it back onto its regular base. I used a lightweight chain hoist, hooked onto the front end loader of my tractor (just as an anchor point) to lift the saw off its dolly and up far enough that I could wheel the regular stand under it again and attach it to that.
Safety finger waggers be advised that I had the front end loader propped up in three places.
 20" bandsaw sawmilling experiment
 20" bandsaw build
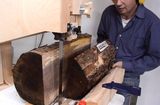 Cutting up a log on the bandsaw
 Asam brothers steam powered sawmill
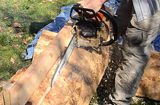 Chainsaw milling experiment