Improvements to table saw cove cutting
 I was recently cutting some coves for a
picture frame molding, when
I thought of some improvements to the conventional table saw cove cutting
technique.
I was recently cutting some coves for a
picture frame molding, when
I thought of some improvements to the conventional table saw cove cutting
technique.
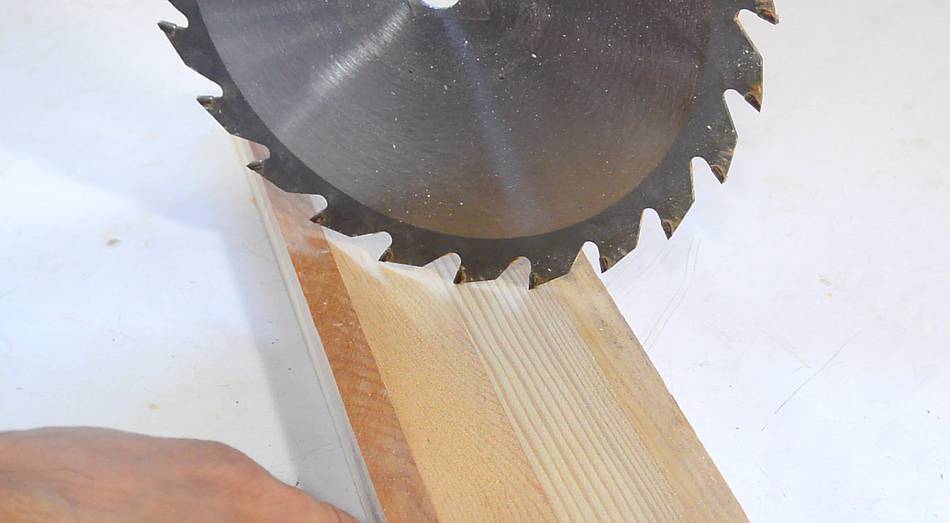
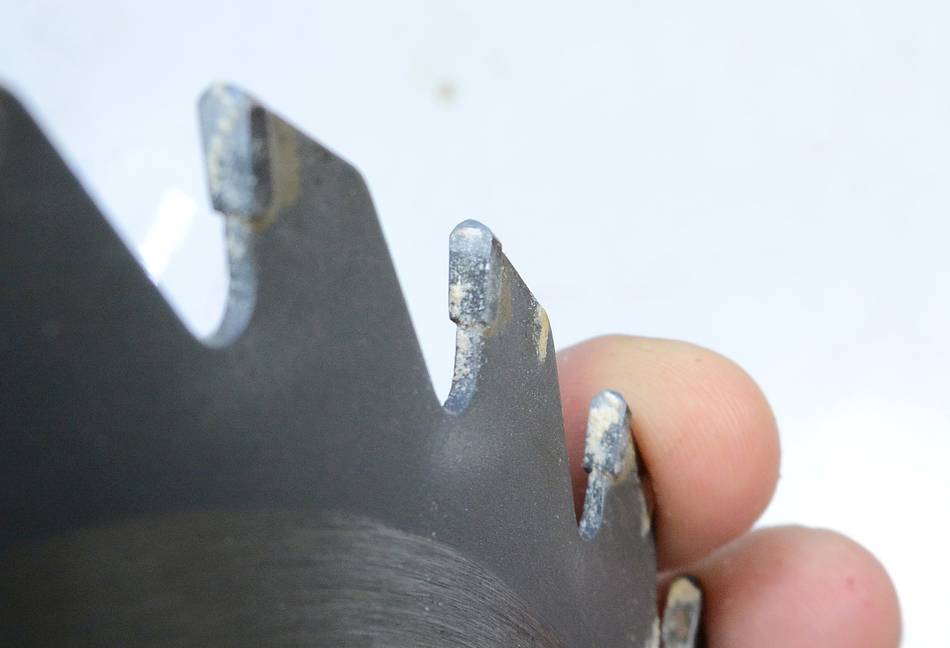
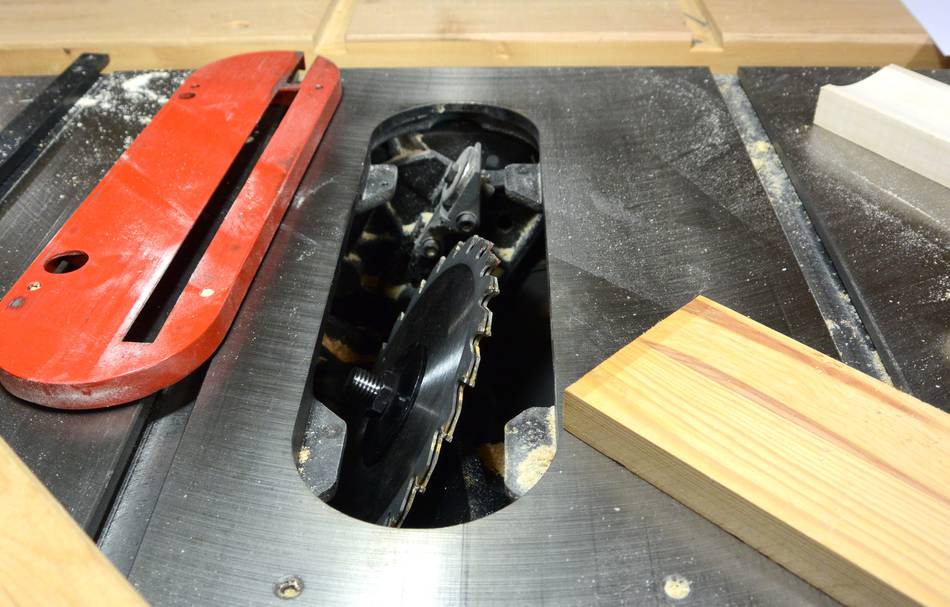
When cutting coves on the table saw, one is always passing the wood over the blade at some angle so that the teeth of the blade sweep out a wide channel.
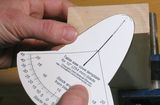
Reshaping the teeth
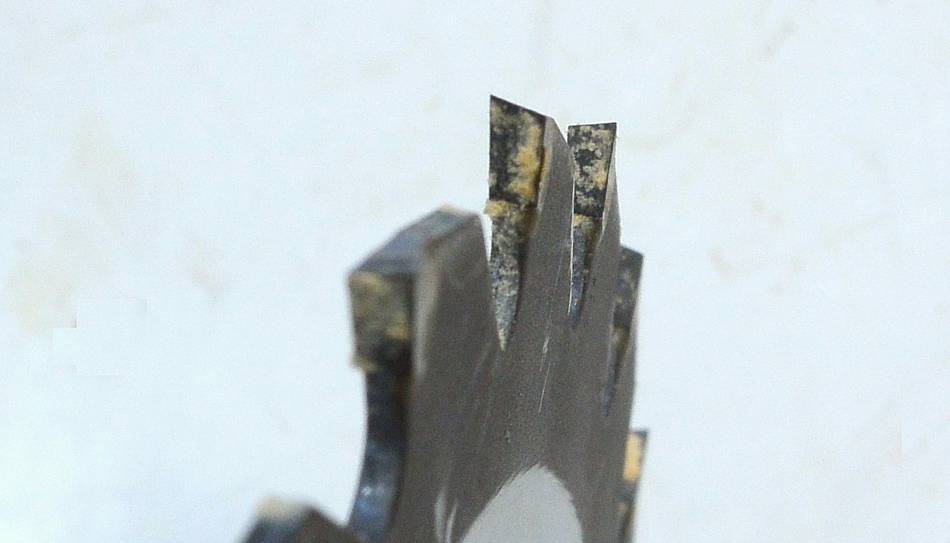
But the blade is only designed to make straight clean cuts. When passing the wood at an angle, the most protruding part of the teeth are the corners, and these end up cutting the finished surface. These pointy corners don't leave a smooth surface.
 The alternating set of the teeth of the blade cuts a channel that is
deeper on both ends and shallower in the middle. Having recently
built a table saw
sharpening jig, I had the idea of grinding off the outside points
to just get a central peak, for cleaner cove cuts.
The alternating set of the teeth of the blade cuts a channel that is
deeper on both ends and shallower in the middle. Having recently
built a table saw
sharpening jig, I had the idea of grinding off the outside points
to just get a central peak, for cleaner cove cuts.
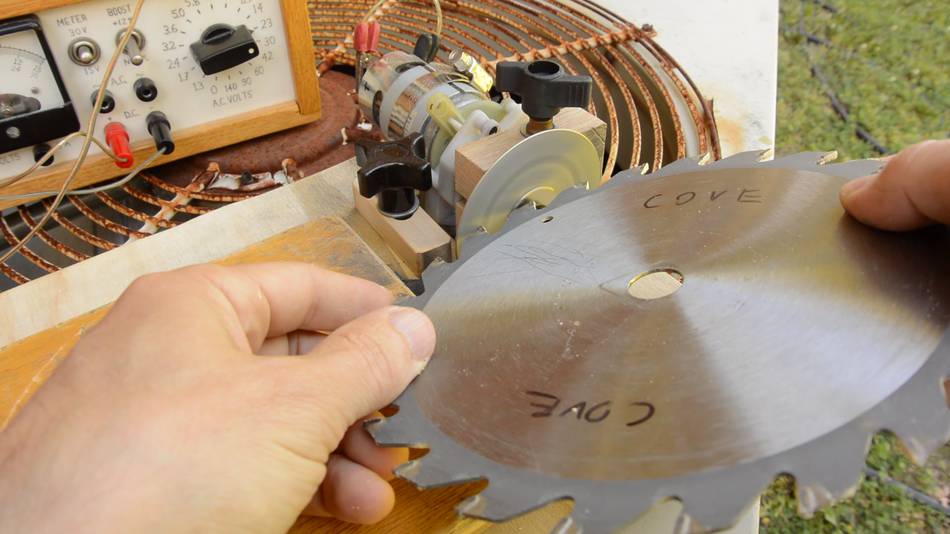 I used a relatively wide 7 1/4" (185 mm) banged-up blade with a
missing tooth for my experiment.
I just held it to the diamond wheel of my
sharpening jig freehand
I used a relatively wide 7 1/4" (185 mm) banged-up blade with a
missing tooth for my experiment.
I just held it to the diamond wheel of my
sharpening jig freehand
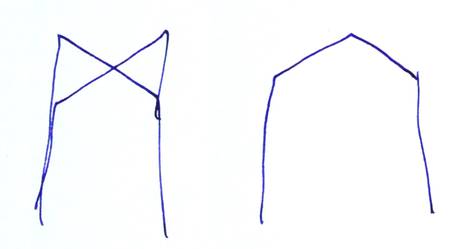
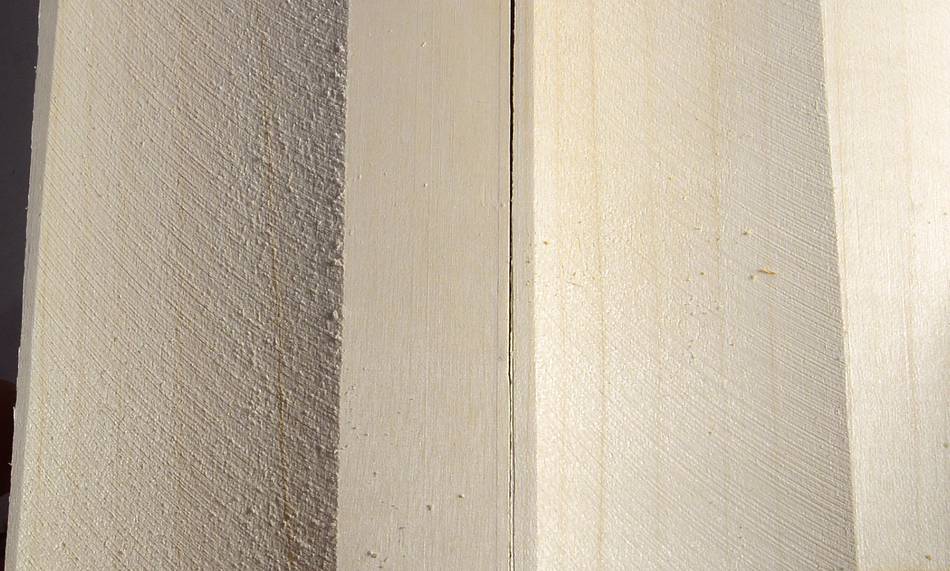
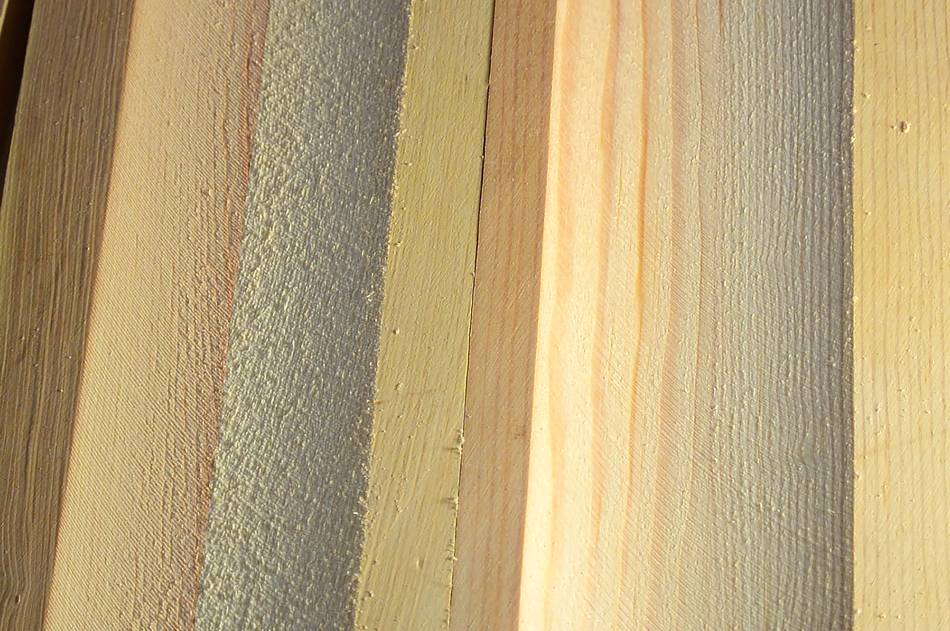 Cutting some coves with the modified blade, I got a much cleaner cut.
In the picture at left, the left cove is cut with a regular blade
and the right cove with a modified blade. The light is at a
low angle to highlight the texture (click image to enlarge)
Cutting some coves with the modified blade, I got a much cleaner cut.
In the picture at left, the left cove is cut with a regular blade
and the right cove with a modified blade. The light is at a
low angle to highlight the texture (click image to enlarge)
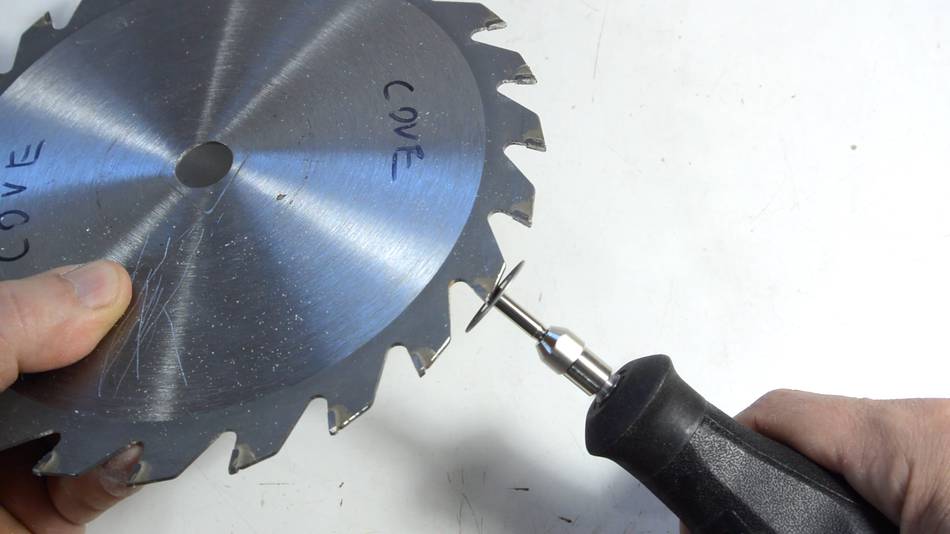
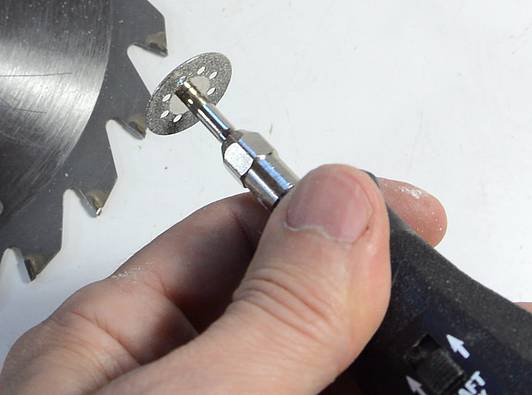 But if you don't have some fancy diamond wheel sharpening jig, you can
use a diamond disk on a Dremel tool to modify the blade. These
work surprisingly well.
But if you don't have some fancy diamond wheel sharpening jig, you can
use a diamond disk on a Dremel tool to modify the blade. These
work surprisingly well.
I'd recommend doing the grinding outside. I have been told dust from grinding carbide is not so good for health.
 I then went one step further and ground the tops of the teeth to an actual
round. But the improvement to cut quality from this extra step
was minimal. It could be that, because I
worked freehand, I added more inconsistencies to the teeth as I ground
them from two bevels to a round. Or, possibly, the bevel I had was at
just the right angle for the coves I had been cutting.
I then went one step further and ground the tops of the teeth to an actual
round. But the improvement to cut quality from this extra step
was minimal. It could be that, because I
worked freehand, I added more inconsistencies to the teeth as I ground
them from two bevels to a round. Or, possibly, the bevel I had was at
just the right angle for the coves I had been cutting.
 It's also possible that the pine I had been cutting just doesn't
leave that clean a surface when the cutter moves across the grain
instead of along it. I repeated the experiment with some maple,
which doesn't chip as easily.
It's also possible that the pine I had been cutting just doesn't
leave that clean a surface when the cutter moves across the grain
instead of along it. I repeated the experiment with some maple,
which doesn't chip as easily.
Cutting coves faster
The other trick I came up with was to tilt the blade so that as the stock is fed across it, the tops of the teeth do more of the cutting. Tilting the blade introduces some asymmetries to the cove, but for shallow decorative coves, the effect isn't noticeable.
And for extra speed, once you have the blade tilted, you can stack two blades for a wider kerf.
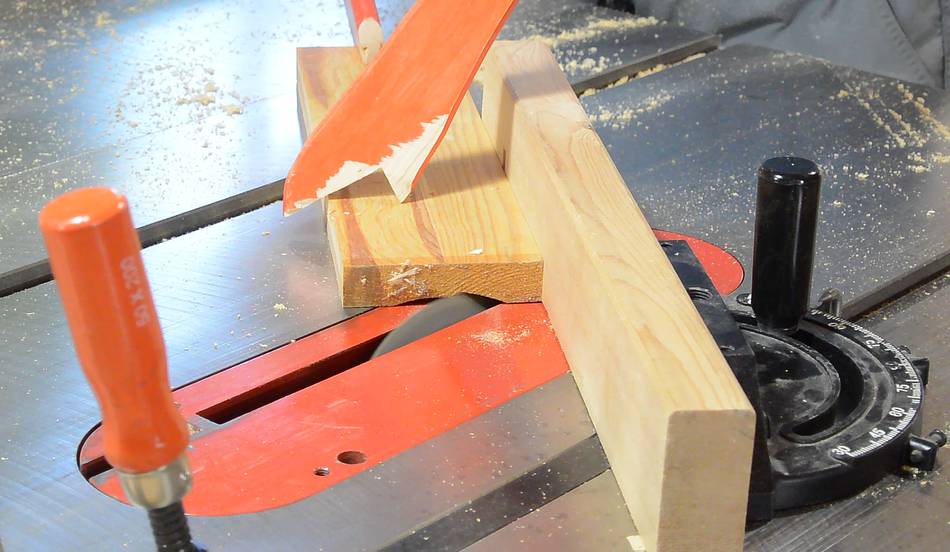 Using two blades, and tilted, it's possible to take off over 3 mm
in a single pass!
Using two blades, and tilted, it's possible to take off over 3 mm
in a single pass!
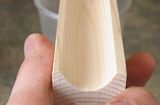
It's tempting to experiment further, for example taking two blades and grinding a half round onto each one so that the two together form one larger round. But I already finished the picture frame and don't have any need for more coves at the moment. So I'll leave that for another day or for somebody else to explore. I should also set up a jig to grind the blades that way to ensure all the teeth are ground consistently. That should also make for a cleaner cut.
See also:
 Cove cutting on the
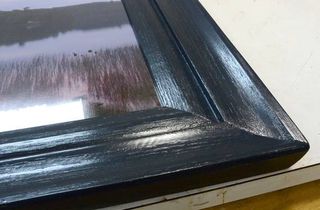 Making a picture frame
on the table saw
 Making a pirate sword
out of wood
 Asymmetric cove cutting
 Molding tricks with a
 Cove cutting table
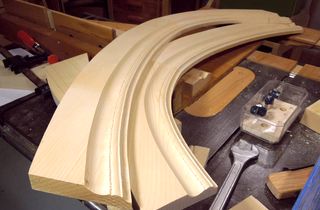 Curved molding with
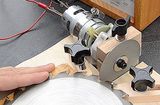 Saw blade sharpening jig
To my Woodworking website