When making hand-cut dovetail joints, it's important to use a joint geometry that
cannot be cut with a router bit. Specifically, to make the space for the "pins"
narrower than what is possible to cut with a dovetail router bit.
Otherwise, how can you be sure these were made by hand?
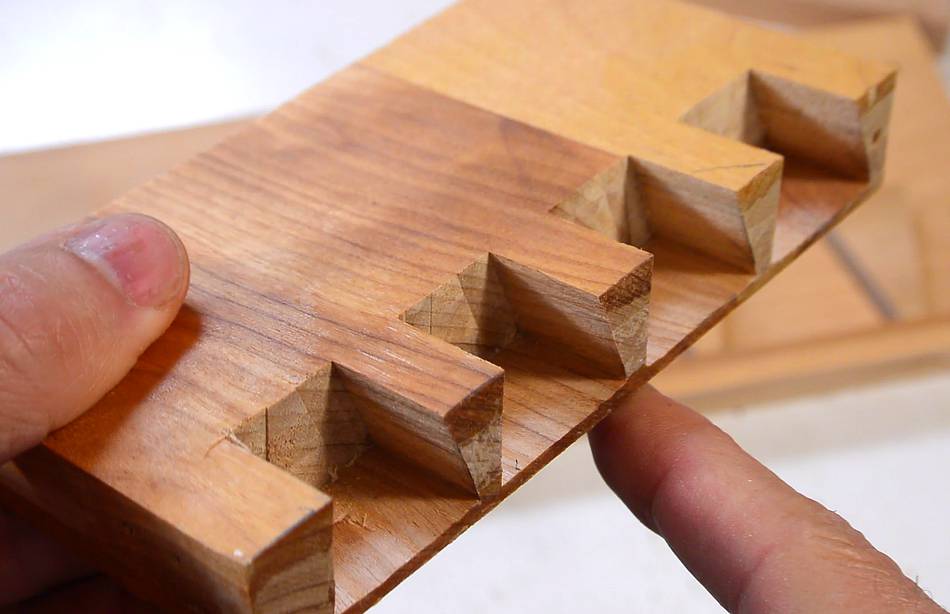
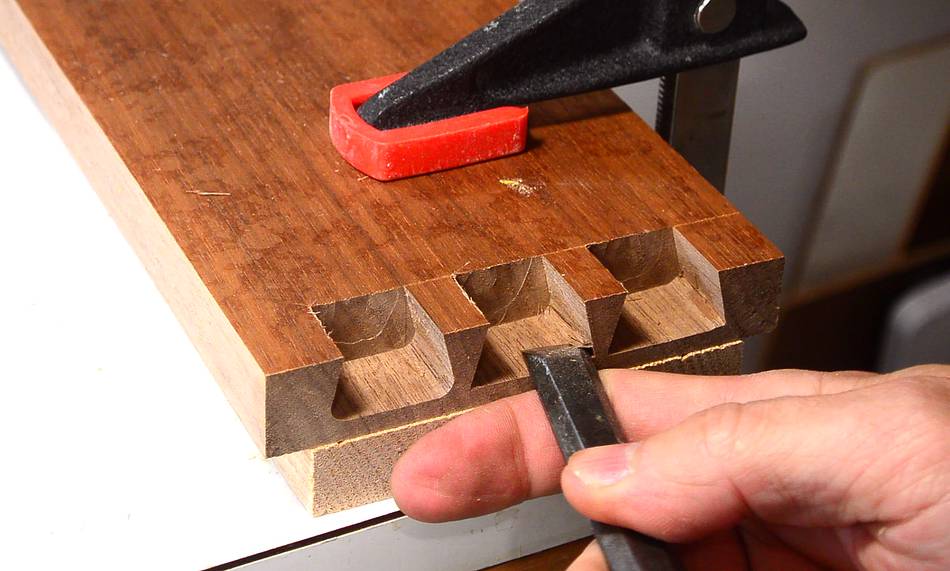
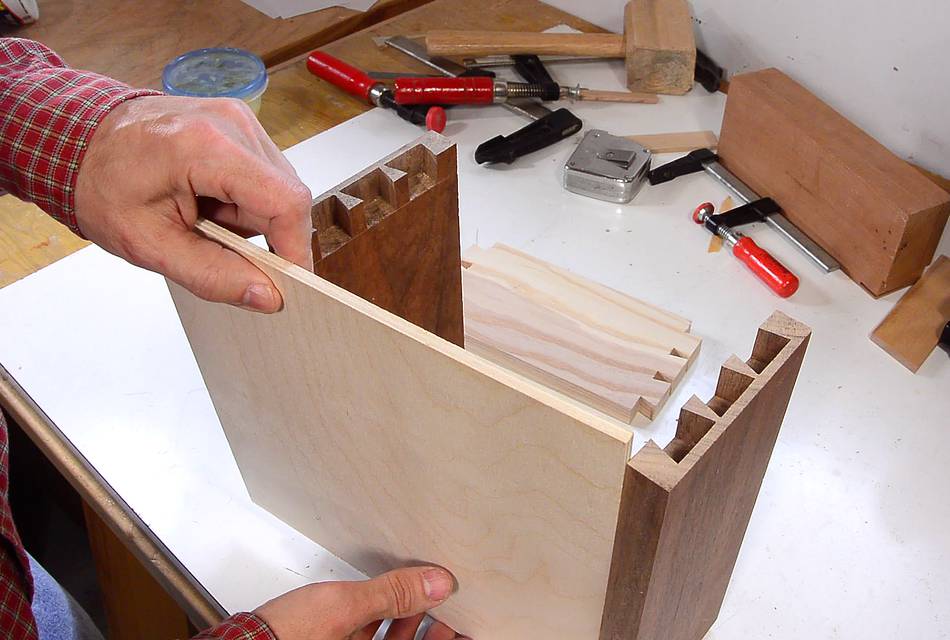
This is the "pins" part of my test joint for half blind dovetails. The piece that
fits into it is called the "tails" part, because the ends of it have the shape
of a dove's tail.
It's a lot of work to cut these with a saw and chisels, but I cut these
mostly with a router.
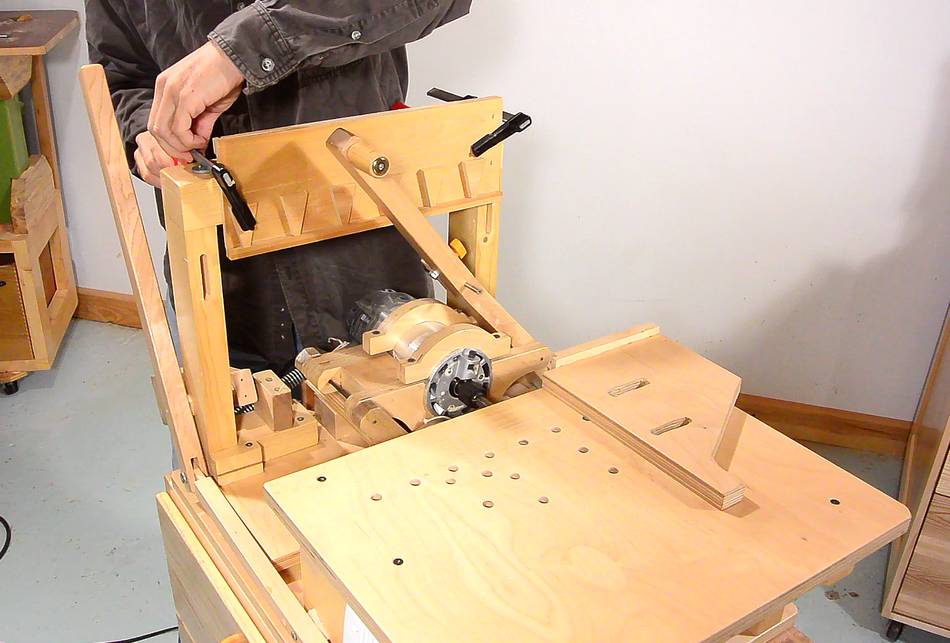
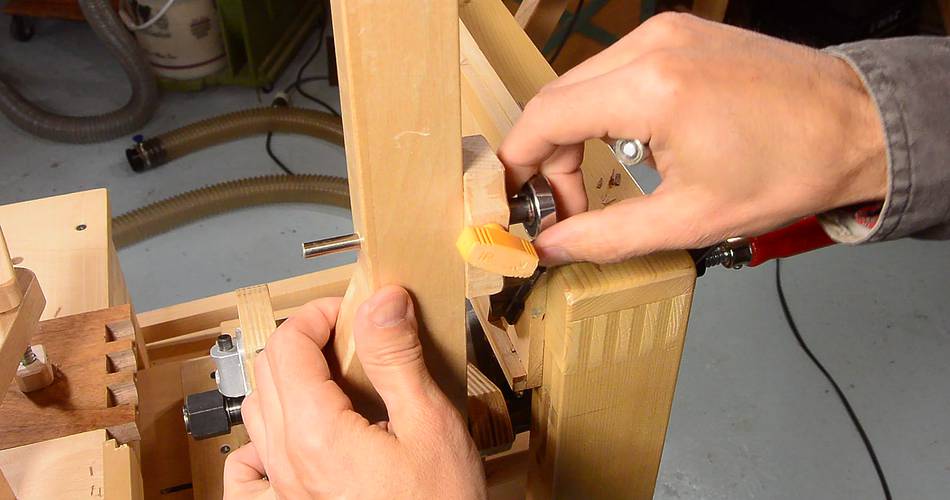
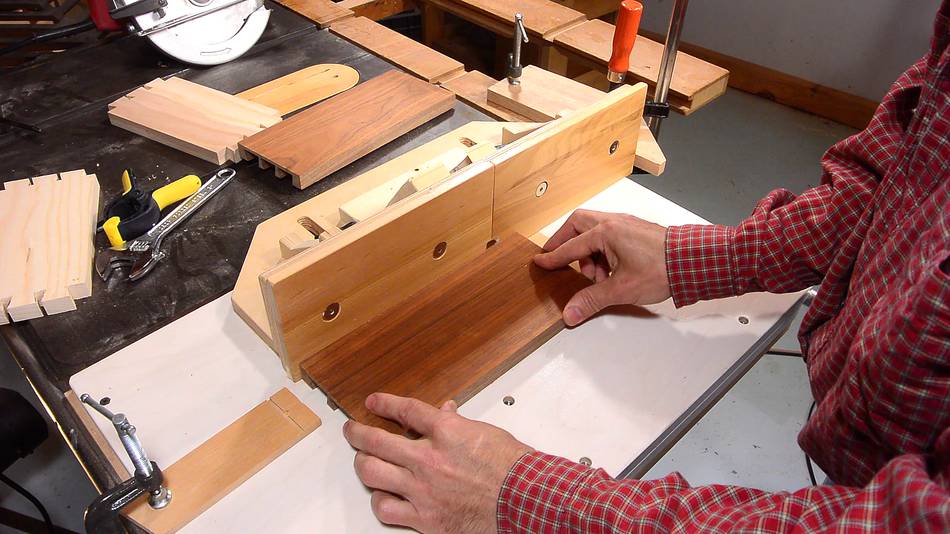
I made this dovetail template for the pantorouter. The template is just a board with
a strip of wood glued to one edge, and a series of wedges glued against it. I made
a spacer to space these consistently, though less consistent spacing would have made
my "hand cut dovetails" more genuine.
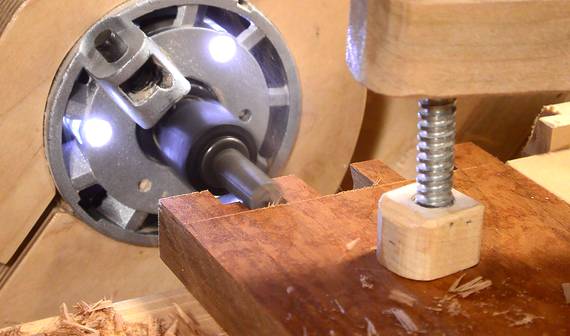
I'm using my wooden homemade pantorouter (which is in fact, the very first
pantorouter ever built).
But one thing I like about Kuldeep's
metal pantorouter
is that the template holder can be slid up and down without causing it to tilt.
I made two opposing wedges and glued a strip of wood to the top of the template to give me
a small amount of vertical adjustability with this template while keeping it horizontal.
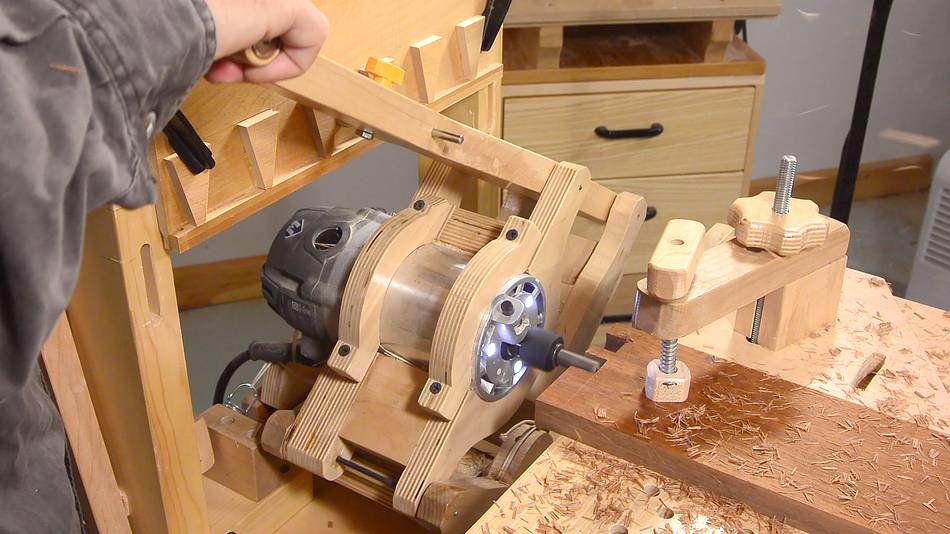
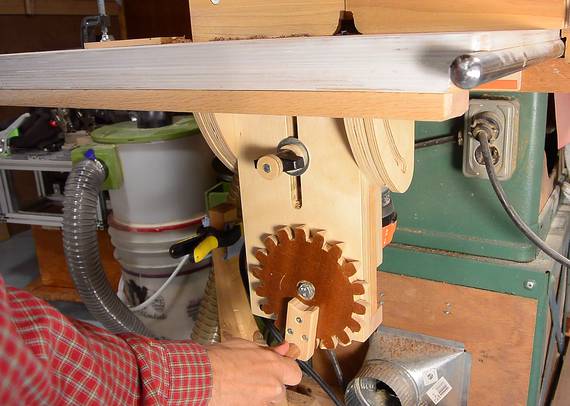
I hogged out most of the material using a 1/2" (12.7 mm) router bit. The larger router bit
cuts faster.
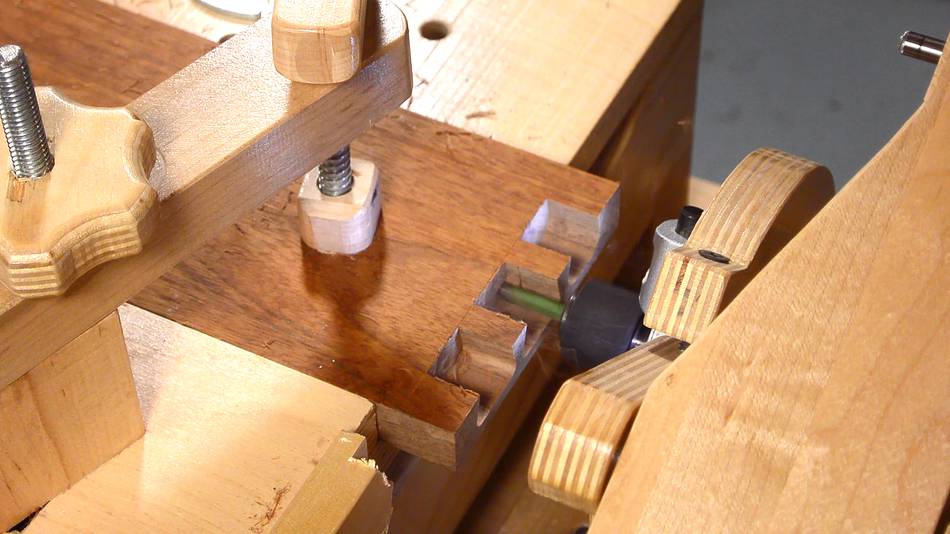
I then switched to a 1/4" (6.3 mm) bit, and also switched the follower to a smaller one.
Actually, I used a 26 mm follower for the 1/2" bit, and a 12 mm for the 1/4" bit. That way,
the 1/4" bit cut a slightly larger cavity than the 1/2" bit, so all the final surfaces were
cut with the 1/4" router bit.
The 1/4" bit can't get all the way into the corners, so I had a bit of
hand chisel work to do. I guess that makes these cheated hand cut dovetails
only 99% cheated.
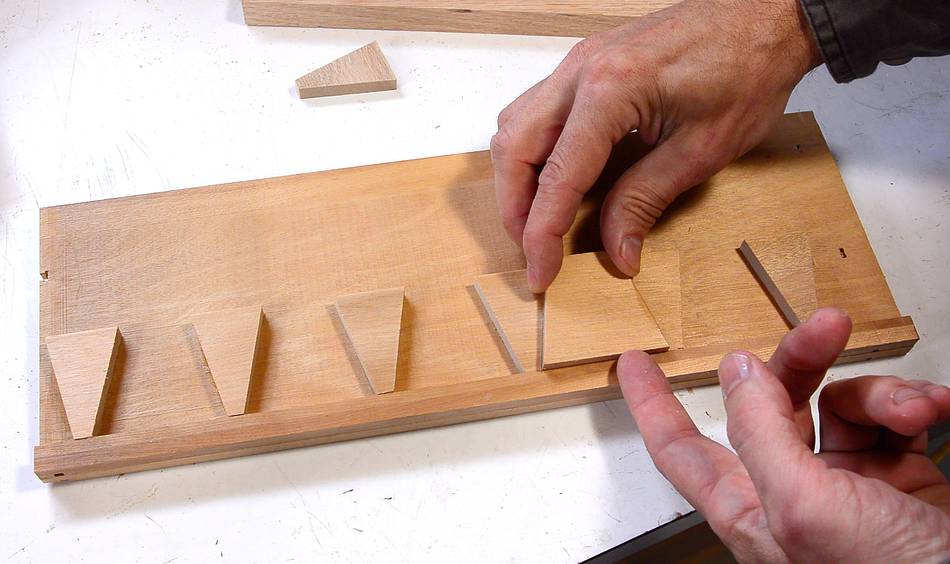
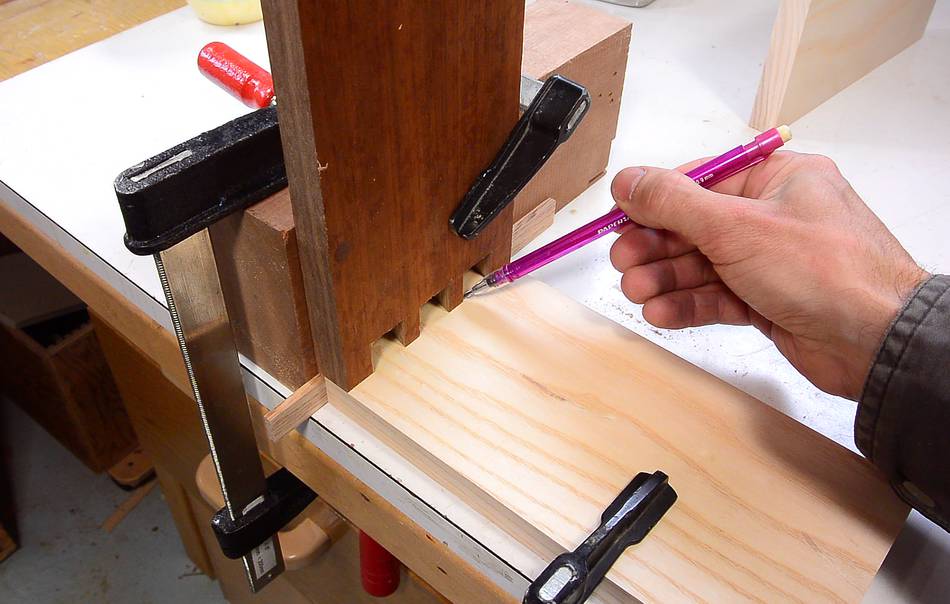
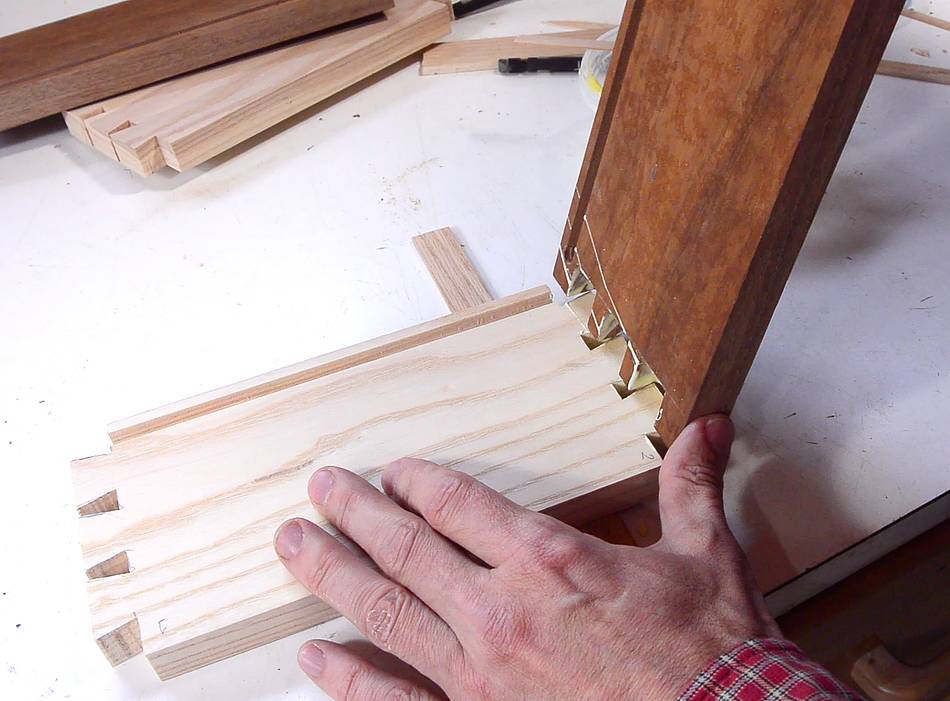
Then transferring the pins dimensions onto the tails board.
The "proper" tool for transferring the dimensions is a marking knife.
I tried that, but the scratches can be hard to see, and I'm not patient
enough, so I made mistakes when cutting. Using a pencil,
I have to make sure the point is sharp and then make sure I cut to the line,
but don't cut away the line.
I ended up slipping with the workpiece the first time I transferred the dimensions,
so I jigged up the pieces with clamps.
The tails board needs to go as far as the ends of the cuts on
the pin board are deep. I made a spacer to help position these (you can see the
end of this spacer sticking out to the left)
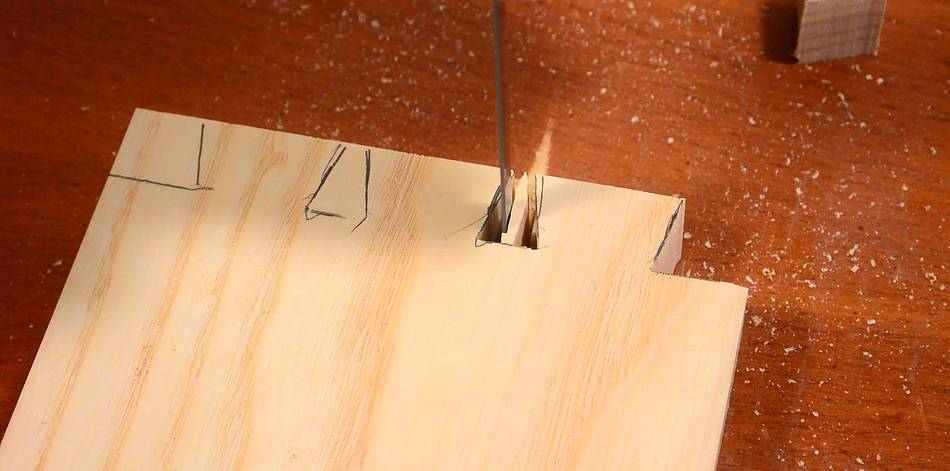
Then cutting the tails on the bandsaw. I'm using a 1/4" blade. Perhaps
ideal would be a slightly narrower blade with relatively narrow set to
it (to get cleaner cuts), though the wider kerf of the blade makes it
easier to hog out the material at the bottom of the cut.
Some people cut dovetails very meticulously, but the bandsaw is better suited
to working fast. On the plus side though, I don't have to worry
about keeping a hand saw at a right angle to the wood.
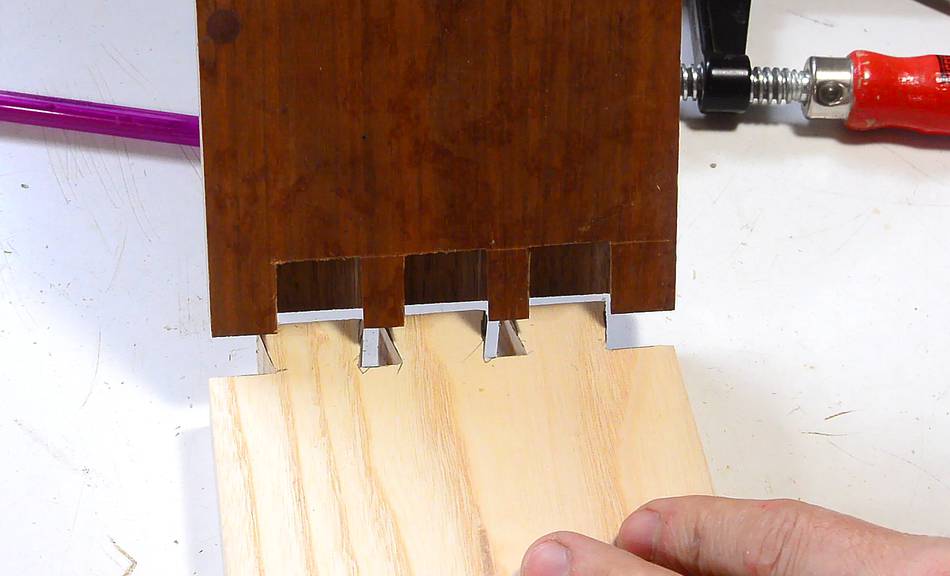
Test fitting it. Some minor gaps, but ok.
Having cut all the joints, I realized I made a bit of a mistake.
I ended my pin boards with a relatively wide half-pin. I like how this
looks, but I want to cut a dado into all the pieces to mount the bottom,
and if I cut that dado near the bottom, all the way to the end of the wood,
the end of the groove will show from the outside of the box.
I could move the bottom up so it's in the "tails" part and gets
hidden by the tails, butt it would be silly to put the bottom that far up.
So I should have ended my joints with a half-tail, or a very narrow tail
on the bottom (like these drawers)
But I'm not a hand tool enthusiast, so I don't have to cut the groove
with a plow plane. I don't even have a plow plane.
Instead, I'm cutting stopped grooves
(that don't go all the way to the end) with my router and
router lift.
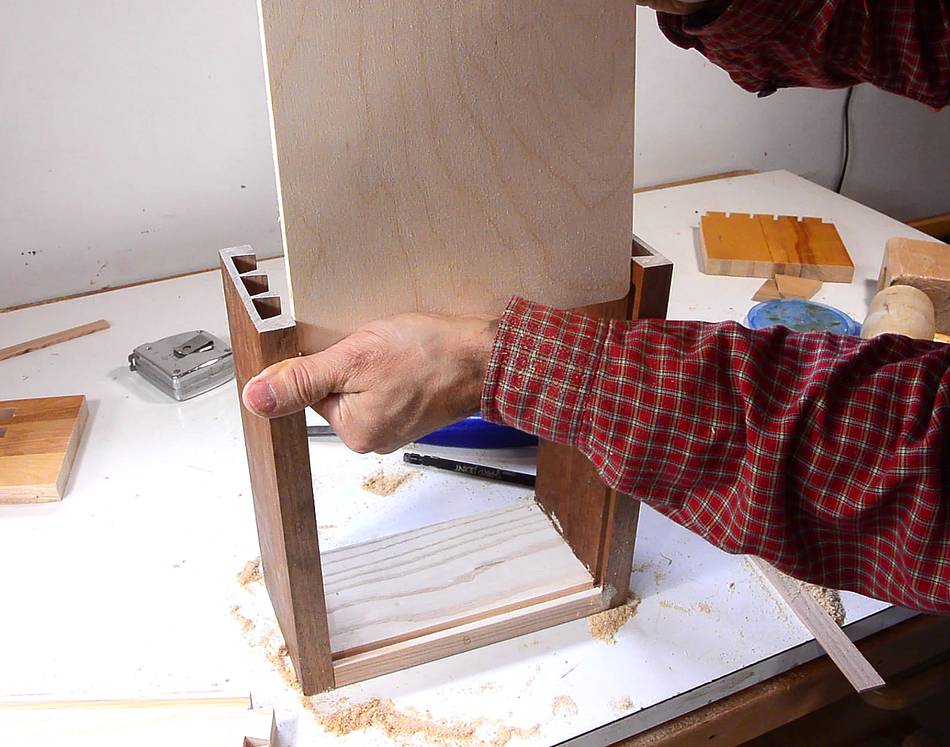
Assembling the box. I'm using lots of glue, because the joints are not
as precise as when I'm making
box joined boxes.
Having cut the bottom, I ran into another problem. The stopped grooves meant
that I could not slide the bottom into the partly assembled box. Fortunately,
the glue wasn't fully dry, and I could pry the pieces apart enough to slide
it in. With stopped grooves, the bottom should have gone in at the same
time as the third piece.
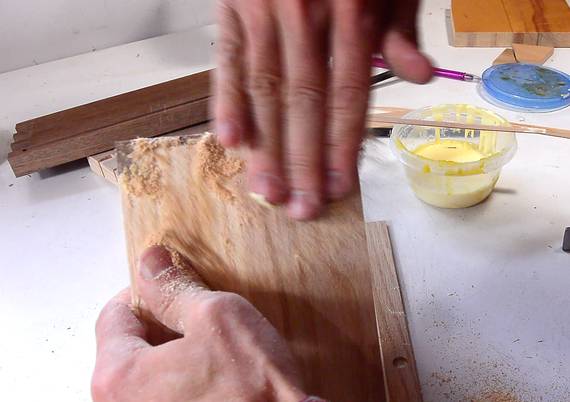
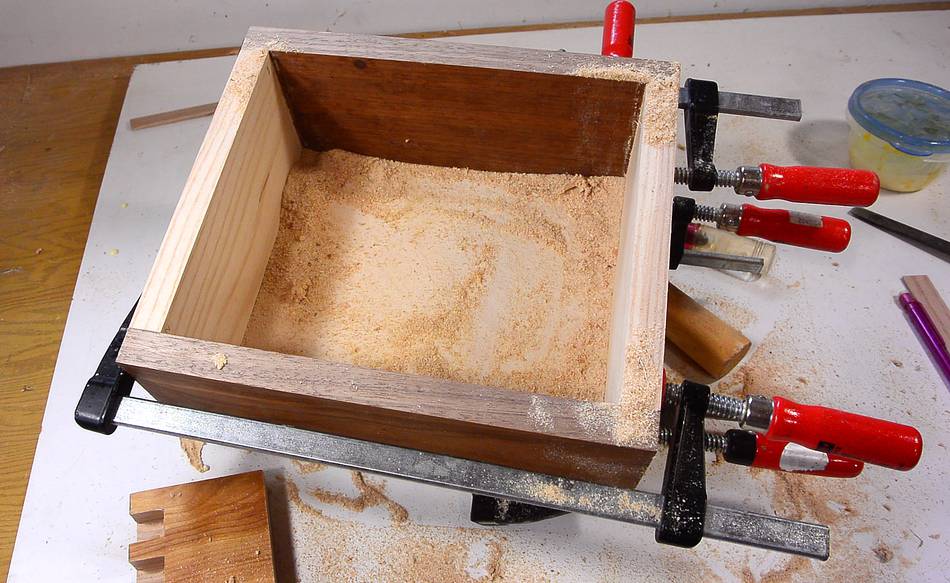
I clamped the box together to make sure all the joints were fully pushed
together, then cleaned up glue squeezeout with sawdust.
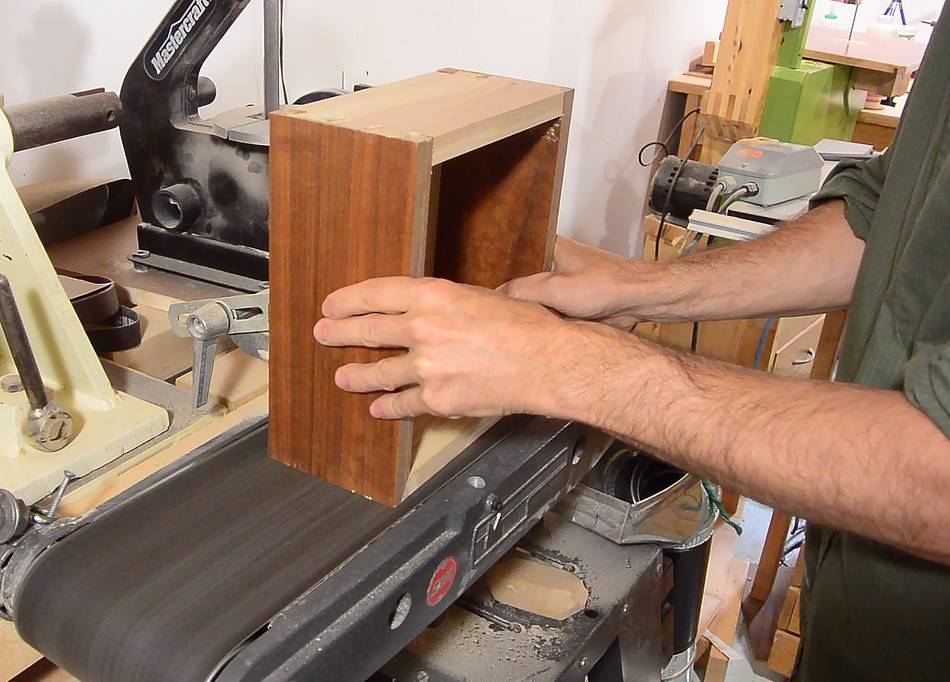
Sanding the dovetail joints flush on the belt sander.
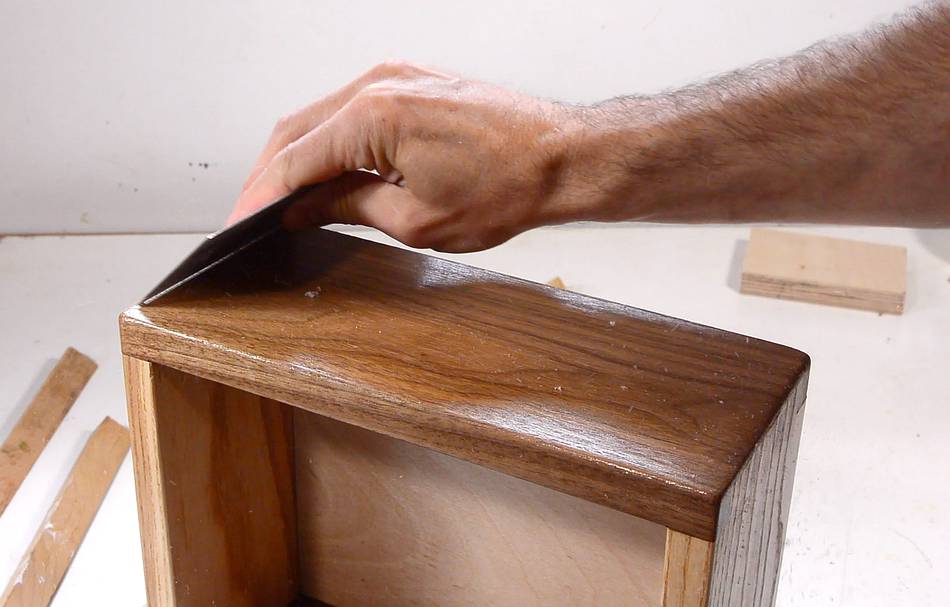
Then three coats of varnish, sanding in between. But I like to go over
the flat surfaces with a cabinet scraper
instead. The scraper also smooths what is there, but also cuts off any
drip marks or other bumps in the varnish.
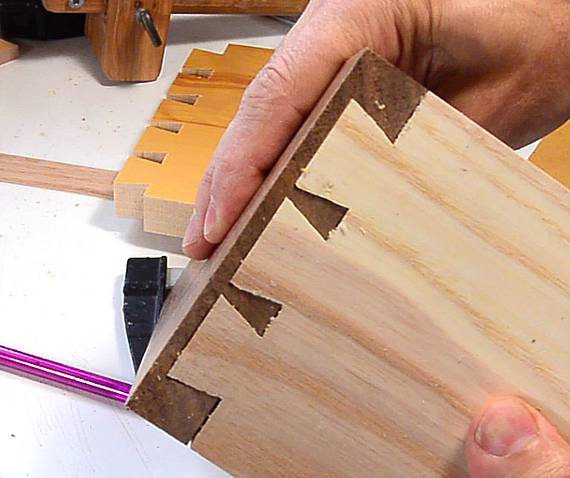
Finished box. I deliberately used a dark wood (walnut) and a light
wood (ash) to get contrast for the dovetail joints.
Even though I cheated, these joints were still a lot more work than box joints.
With a box jointed box, I would have put about 10 fingers in the space
where I have three tails, so I'd have a lot more glue surface.
That in turn makes a box joint relatively stronger, so I could have used
thinner material and still have the box hold together against abuse.
Personally, I think hand cut dovetails are not the strongest joints.
The narrow pins people like to use (to show off the hand-cut-ness of the
joint) makes for a weaker spot. And, because hand cut dovetails are so
much work to cut, typically, people use relatively few pins in the joint,
which also makes for a weaker joint. Maybe I should suggest using
pocket holes instead of hand cut dovetails.
Now there's fighting words! :)
 When making hand-cut dovetail joints, it's important to use a joint geometry that
cannot be cut with a router bit. Specifically, to make the space for the "pins"
narrower than what is possible to cut with a dovetail router bit.
Otherwise, how can you be sure these were made by hand?
When making hand-cut dovetail joints, it's important to use a joint geometry that
cannot be cut with a router bit. Specifically, to make the space for the "pins"
narrower than what is possible to cut with a dovetail router bit.
Otherwise, how can you be sure these were made by hand?


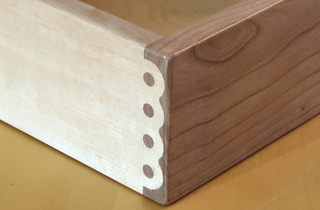 Knapp jointed box
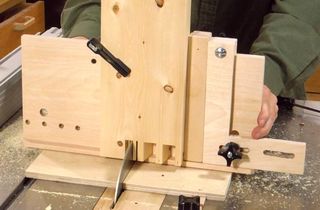 Table saw dovetail jig
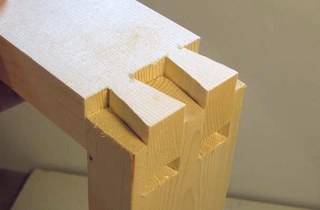 Dovetail joints on the bandsaw
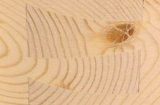 Impossible looking
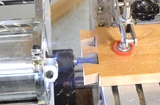 Pantorouter dovetails
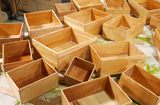 Small box joined boxes