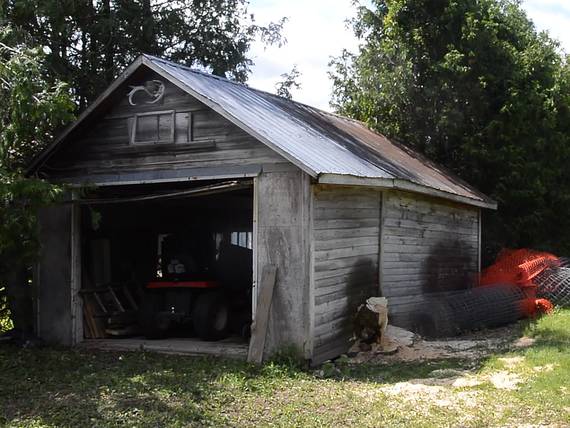
 This project started with cutting down a tree that grew out from under the side
of an old garage near the house. The tree was lifting the garage and also causing it to rot.
The building is not in great shape, but I'm still using it.
This project started with cutting down a tree that grew out from under the side
of an old garage near the house. The tree was lifting the garage and also causing it to rot.
The building is not in great shape, but I'm still using it.
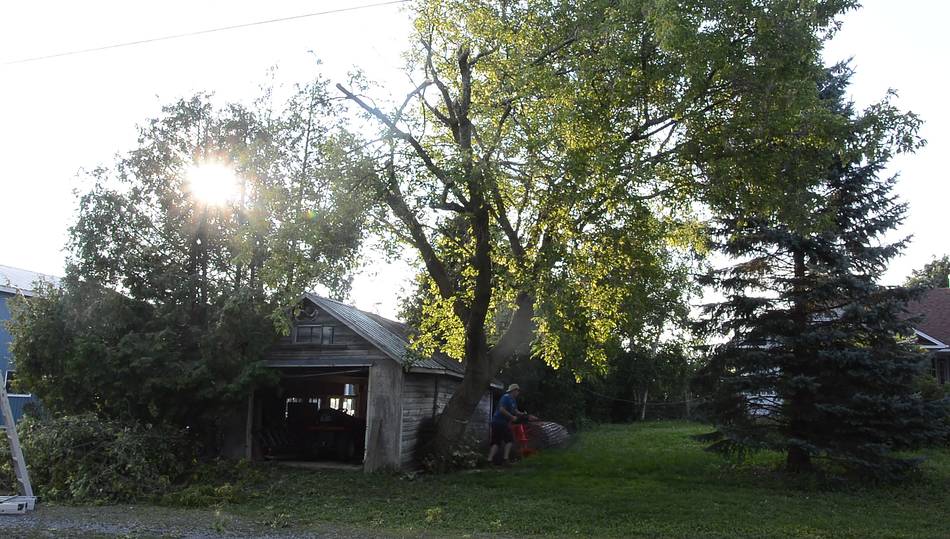
This project started with cutting down a tree that grew out from under the side
of an old garage near the house. The tree was lifting the garage and also causing it to rot.
The building is not in great shape, but I'm still using it.
 A couple of friends came over to help down the tree. Here you can see Steve walking away
from the tree as it's about to start tipping.
A couple of friends came over to help down the tree. Here you can see Steve walking away
from the tree as it's about to start tipping.
Prior to this, I climbed up in the tree and cut some of the branches off the side overhanging the garage and towards the hydro lines to make sure it would go down in the right direction and not hit the hydro lines on the way down.
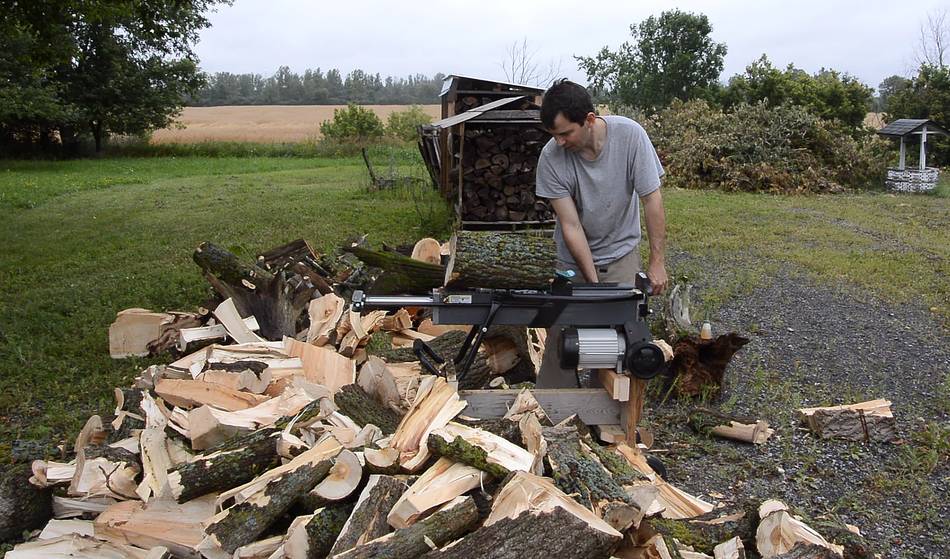 I split the wood using my electric log splitter, on a
wooden log splitter stand.
But this tree (a box elder) is terrible wood for splitting. It also isn't
great wood for heating (very light once dry, so little burn value), I wanted
to be rid of the wood, and making firewood out of it helped with that.
I split the wood using my electric log splitter, on a
wooden log splitter stand.
But this tree (a box elder) is terrible wood for splitting. It also isn't
great wood for heating (very light once dry, so little burn value), I wanted
to be rid of the wood, and making firewood out of it helped with that.

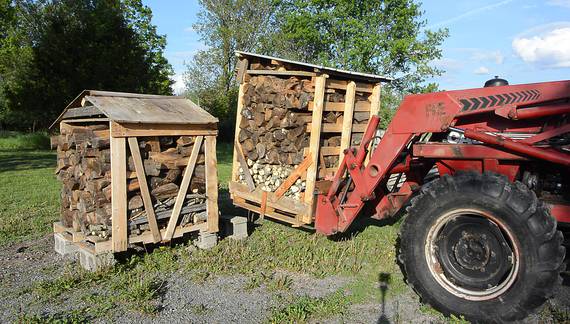 I previously built these two movable firewood sheds out of old shipping palletes.
The idea is that once we are ready to use the firewood, I can pick up one of
these sheds with my tractor and put it in the garage without having to restack
all the wood.
I previously built these two movable firewood sheds out of old shipping palletes.
The idea is that once we are ready to use the firewood, I can pick up one of
these sheds with my tractor and put it in the garage without having to restack
all the wood.
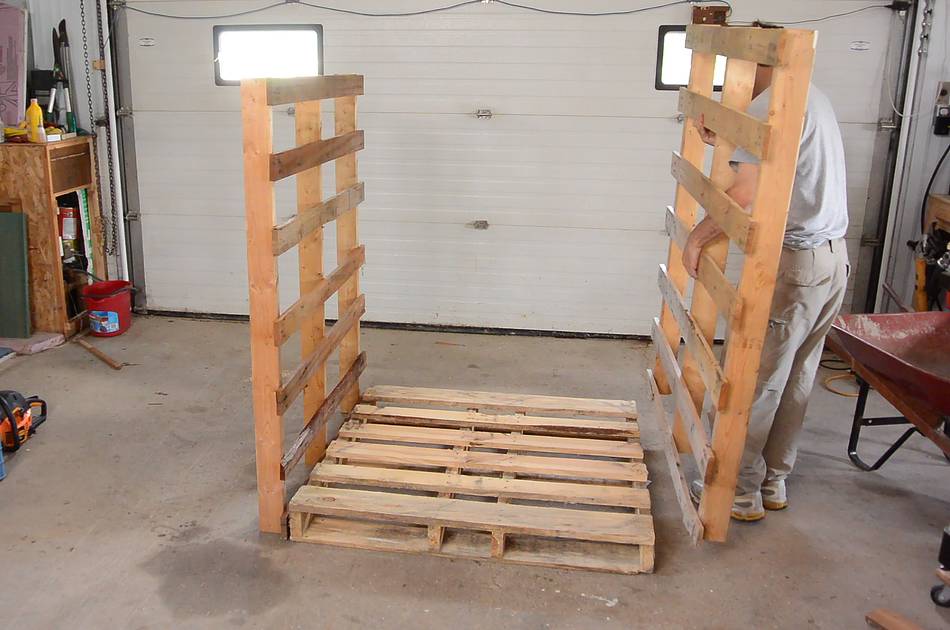 This shed is made out of three shipping pallets, two non-standard ones for the sides.
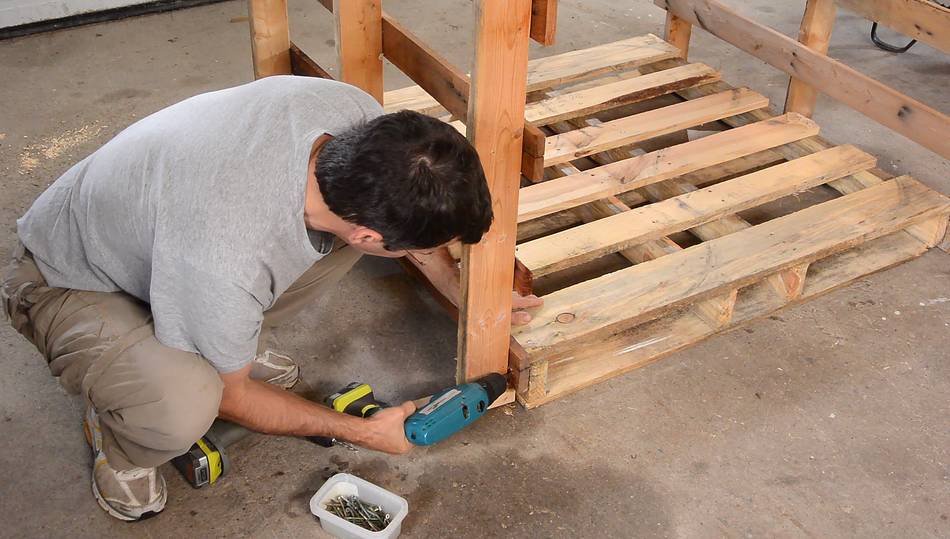 Screwing the palletes together. Since the project is made out of discarded junk,
I figured I might as well also use used screws, and my
"Ryokita" junk drill to screw it together.
Screwing the palletes together. Since the project is made out of discarded junk,
I figured I might as well also use used screws, and my
"Ryokita" junk drill to screw it together.
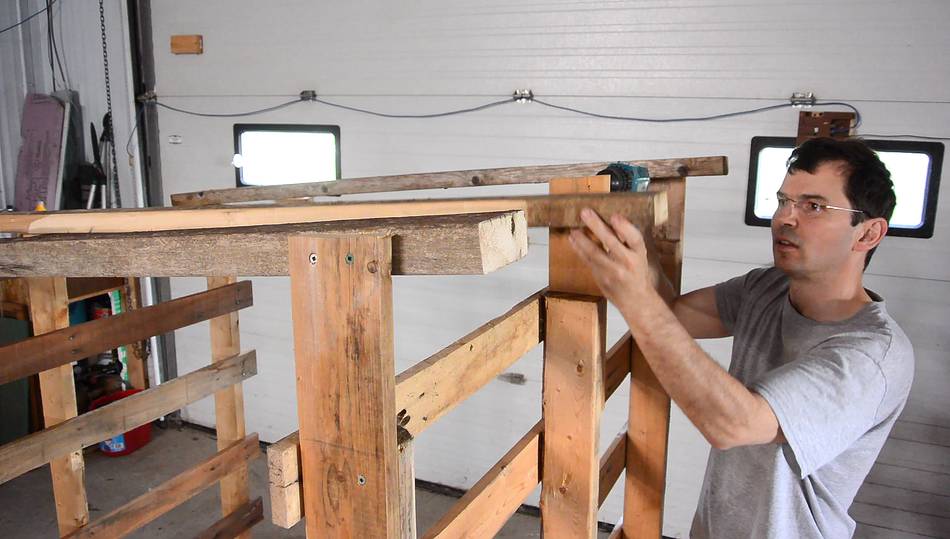 I extended the pallet on one side up a little to make a slanted roof.
 Then adding lots of diagonal bracing. Picking up the shed with the tractor makes for
rough handling, so it needs to be sturdy.
Then adding lots of diagonal bracing. Picking up the shed with the tractor makes for
rough handling, so it needs to be sturdy.
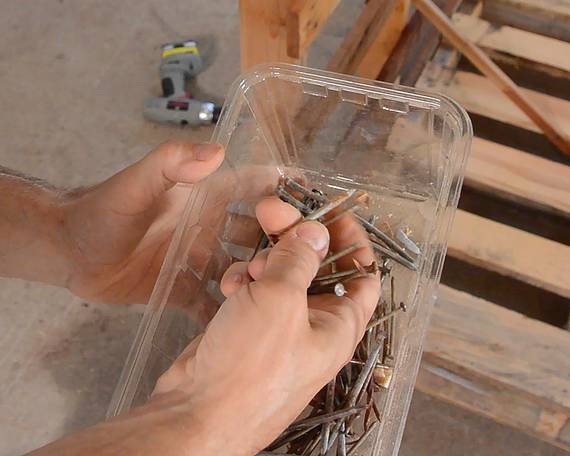
At this point, I switched from used screws to rusty old nails I pulled out of old palletes and other stuff. Might as well make this project all junk.
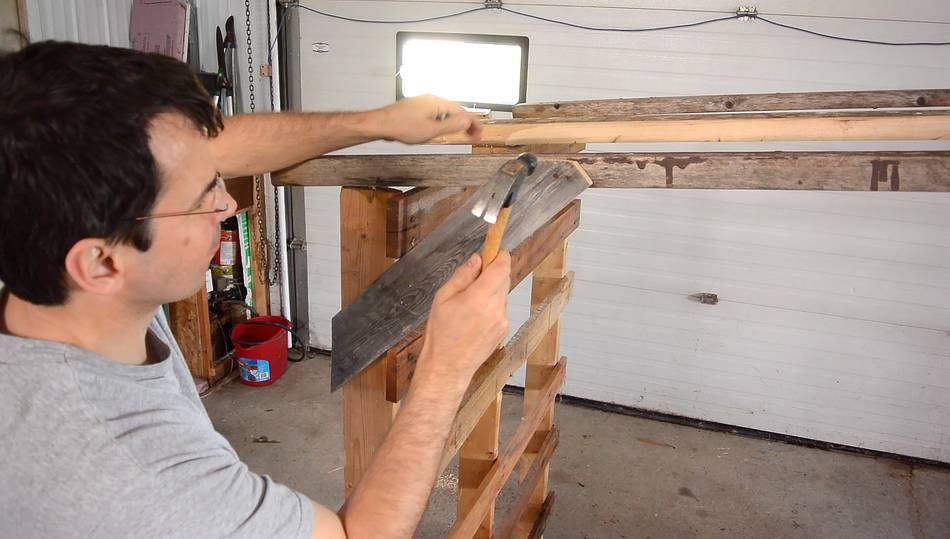
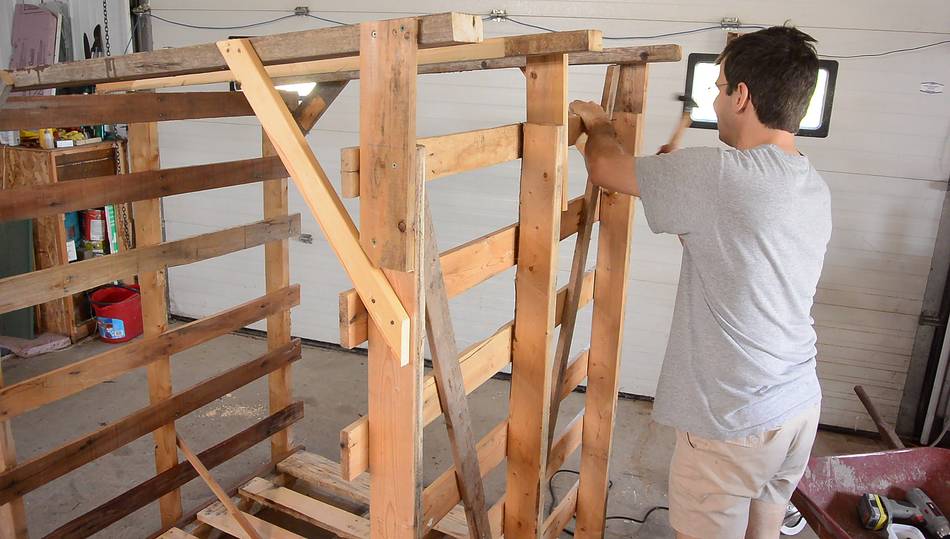 Adding long diagonal braces to the side. These help to prevent it from sagging
in the middle when it's only supported by the corners.
They also keep firewood from falling out the sides between
the boards.
Adding long diagonal braces to the side. These help to prevent it from sagging
in the middle when it's only supported by the corners.
They also keep firewood from falling out the sides between
the boards.
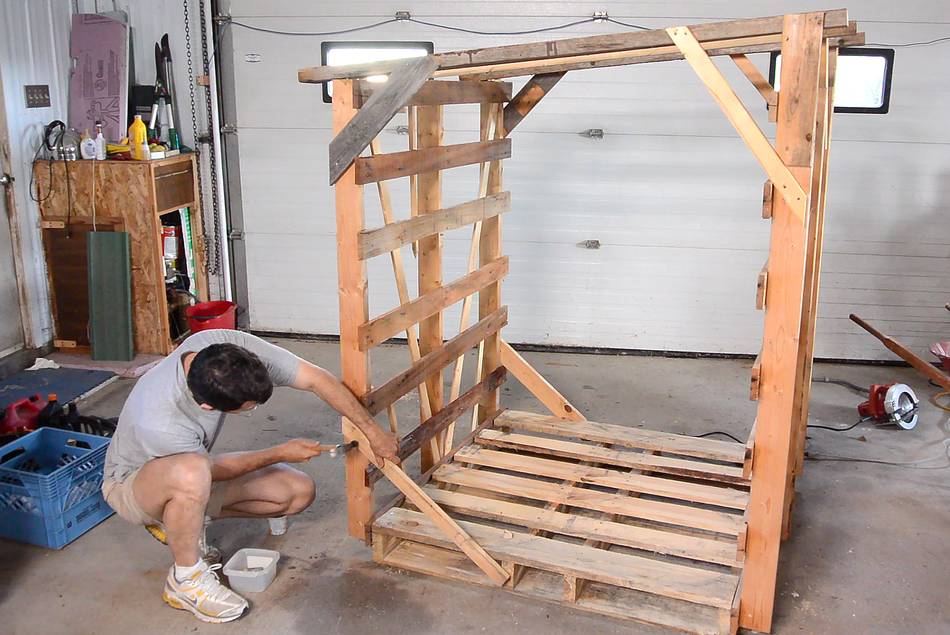 And yet more corner braces.
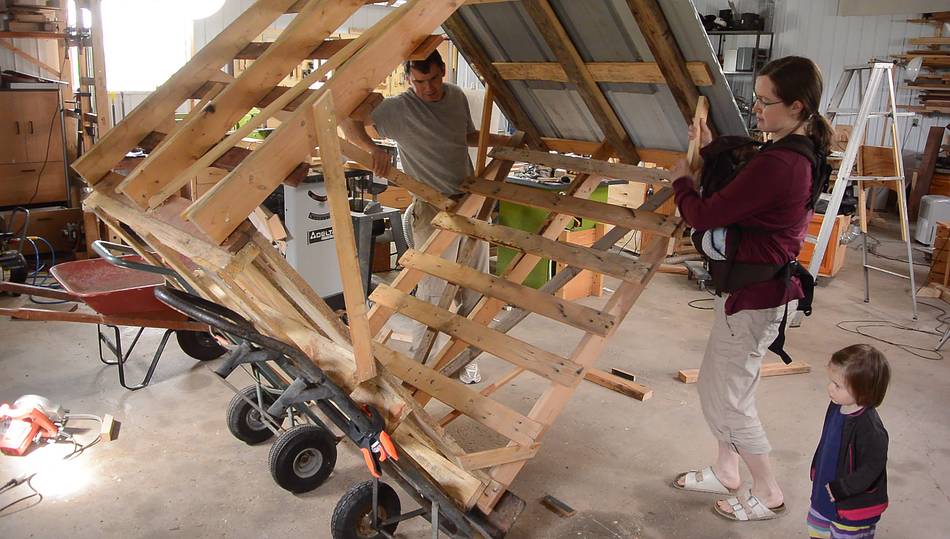
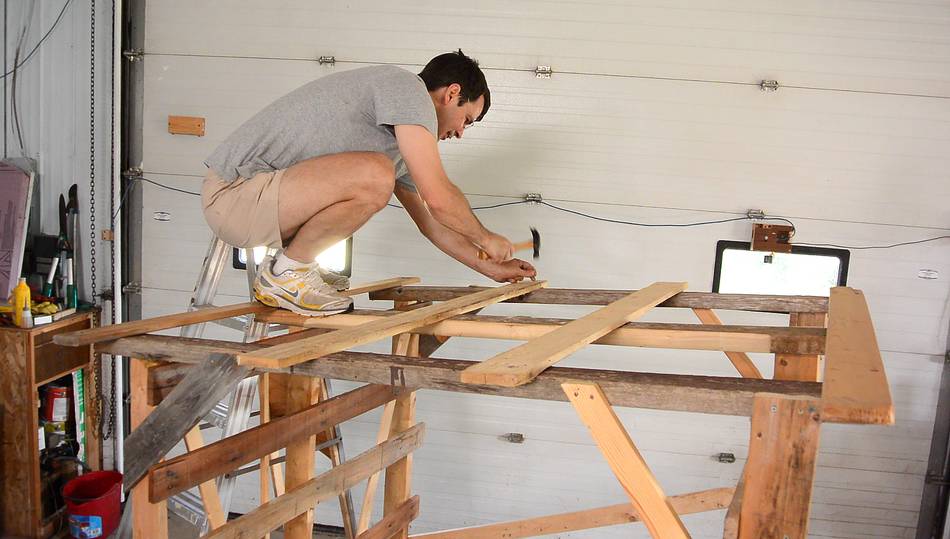 By this point, the whole thing was quite stiff, so I climbed up it to add some
strapping for the roofing sheet metal.
By this point, the whole thing was quite stiff, so I climbed up it to add some
strapping for the roofing sheet metal.
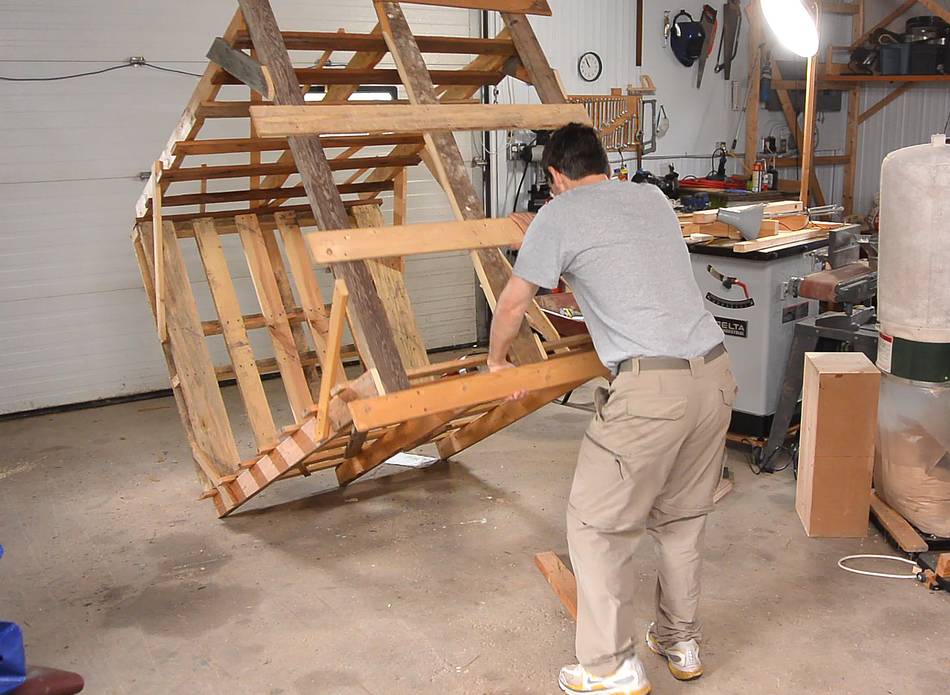 I then tipped the whole shed on its side to make it easier to put the roofing on.

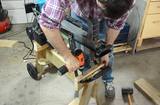
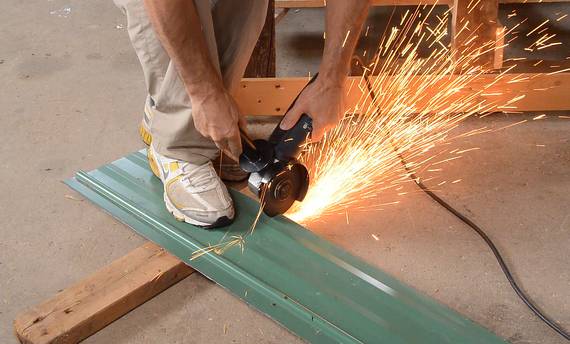 Here working out which pieces of scrap roofing sheet metal I'm going to use.
I had to cut a few pieces to length with an angle grinder. Always satisfying to
see the sparks fly!
Here working out which pieces of scrap roofing sheet metal I'm going to use.
I had to cut a few pieces to length with an angle grinder. Always satisfying to
see the sparks fly!
 The roofing scraps didn't have ridges near the edges, but to keep water from flowing
under the metal, you really need some sort of ridge at the joints.
The roofing scraps didn't have ridges near the edges, but to keep water from flowing
under the metal, you really need some sort of ridge at the joints.
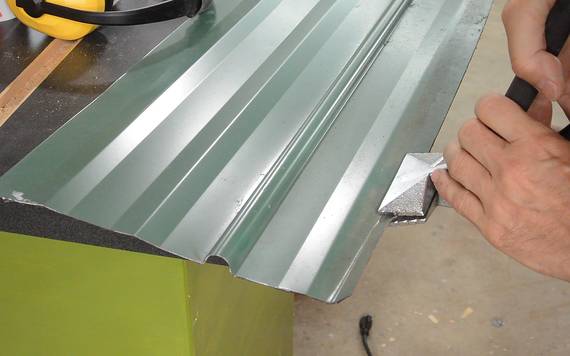
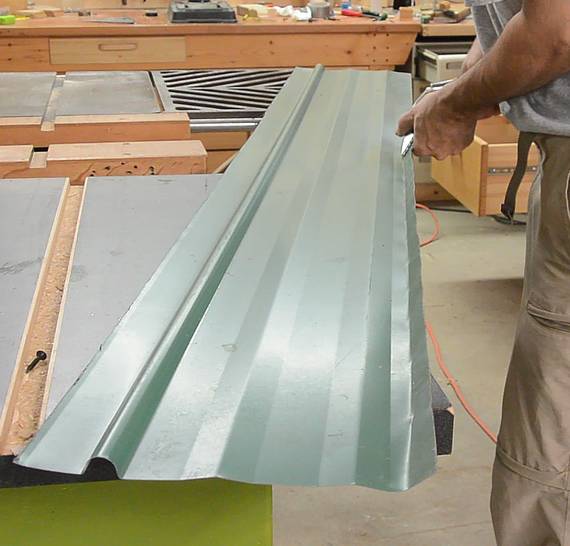
I added a sort of half-ridge by bending it up along the sides. This will make the water flow down the roof instead of off the side of the sheet.
This is, of course, not at all "proper", and I wouldn't recommend this for a house, but as long as most of the water runs down the roof, it's good enough for this.

 Working out the overlap on the other side. Two sheets, with a ridge not at the edge.
I bent the edge of the roof down to make a drip edge, and another edge up to go under
the ridge of the blue sheets.
Working out the overlap on the other side. Two sheets, with a ridge not at the edge.
I bent the edge of the roof down to make a drip edge, and another edge up to go under
the ridge of the blue sheets.
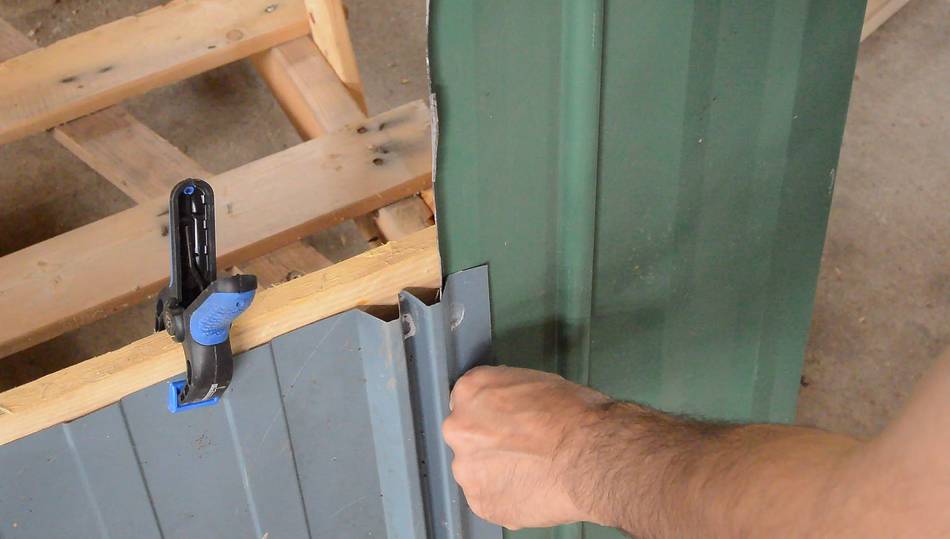
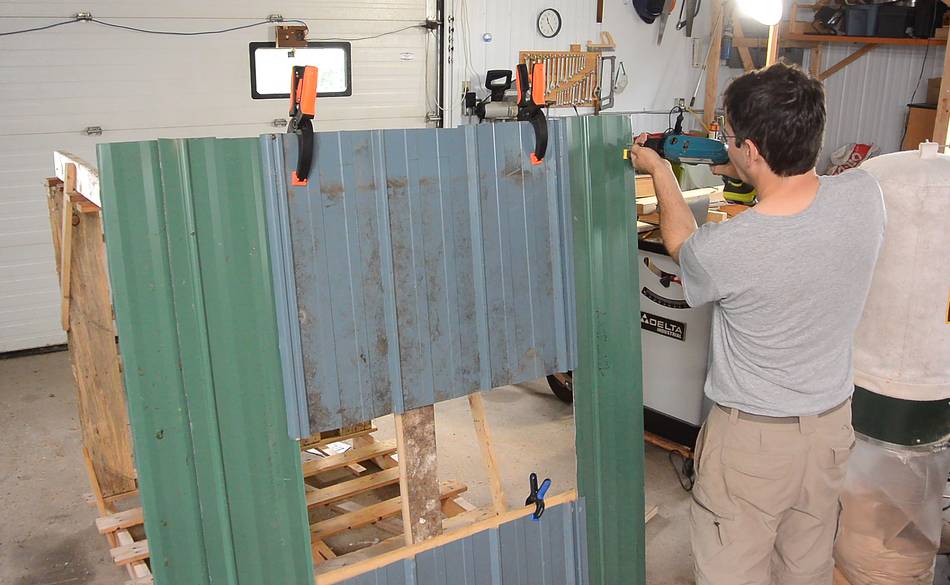 Then starting to screw things on. The middle part is three short sheets, and I need to
add these from the bottom of the roof to the top, but at this angle, the "bottom" of the
roof is actually the top. I used two clamps to hold the sheet in place while I
screwed it on.
Then starting to screw things on. The middle part is three short sheets, and I need to
add these from the bottom of the roof to the top, but at this angle, the "bottom" of the
roof is actually the top. I used two clamps to hold the sheet in place while I
screwed it on.
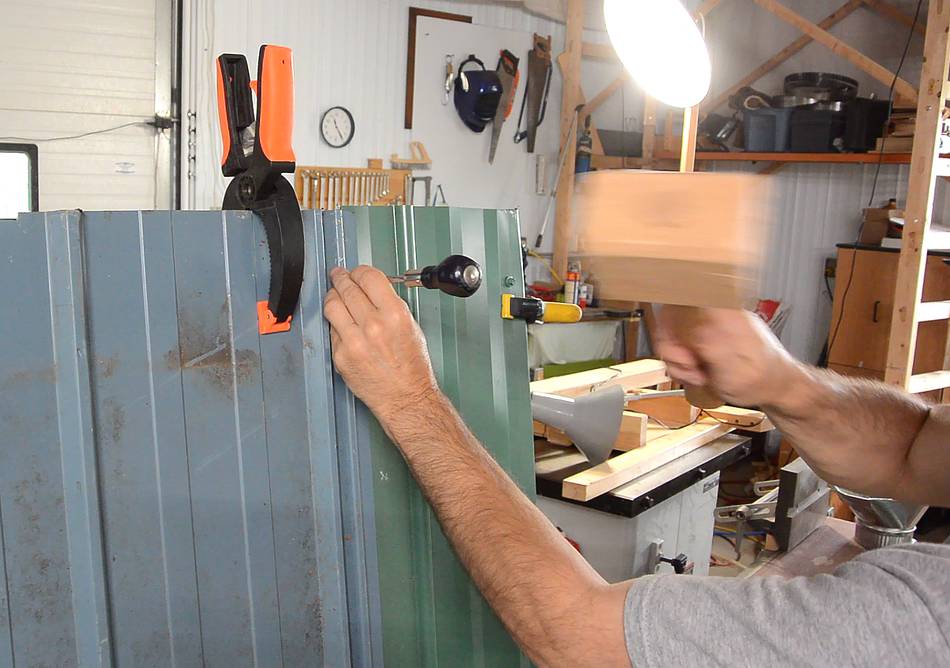 The sheet metal roofing screws I'm using (the only new part of this shed)
are self drilling, but that feature doesn't work all that well. I find it's much
easier to just pre-punch a hole with an awl before starting the screw.
The sheet metal roofing screws I'm using (the only new part of this shed)
are self drilling, but that feature doesn't work all that well. I find it's much
easier to just pre-punch a hole with an awl before starting the screw.
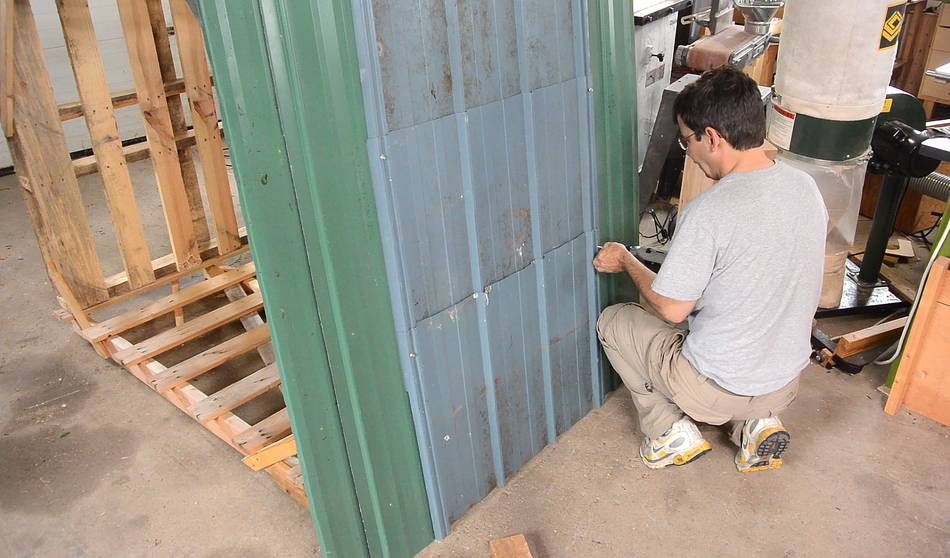 Final sheet going on.
 The shed was now a bit heavier and, with the roofing metal on, no longer
good to hold by the edge of the roof.
Rachel came by the shop with the kids, so I got her to help me tip it
back up. I clamped two hand trucks to the bottom so we tipped it up onto those.
Though that was a bit wobbly. After we tipped it up, I tied the hand trucks to
the palette with bungee cords. I should have tied them on before we tipped it up.
The shed was now a bit heavier and, with the roofing metal on, no longer
good to hold by the edge of the roof.
Rachel came by the shop with the kids, so I got her to help me tip it
back up. I clamped two hand trucks to the bottom so we tipped it up onto those.
Though that was a bit wobbly. After we tipped it up, I tied the hand trucks to
the palette with bungee cords. I should have tied them on before we tipped it up.
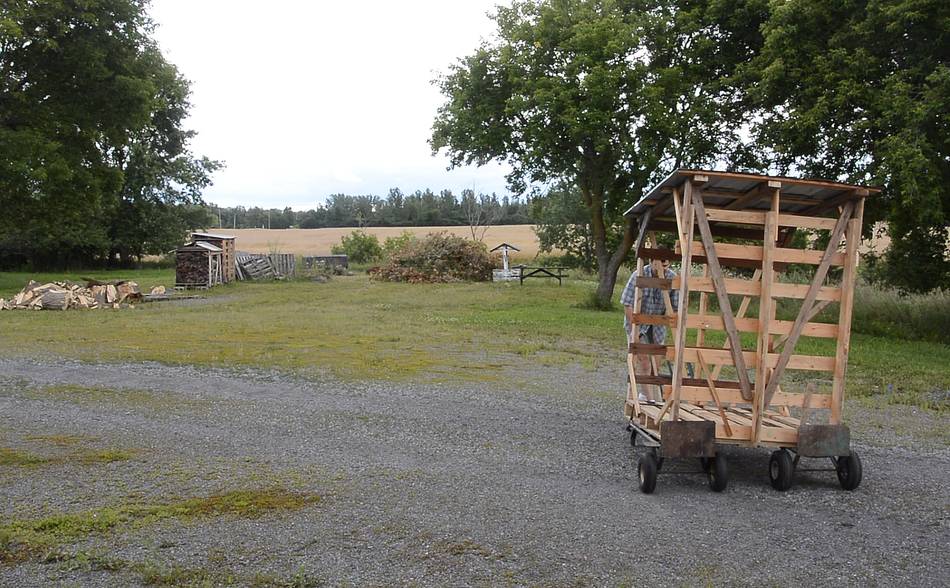 I used a third hand truck to lift the other side and pull it to where I wanted it.
I could have moved it with the tractor, of course, but I'm a bit clumsy with the front end loader, so while it's empty, it's more convenient to move it by hand.
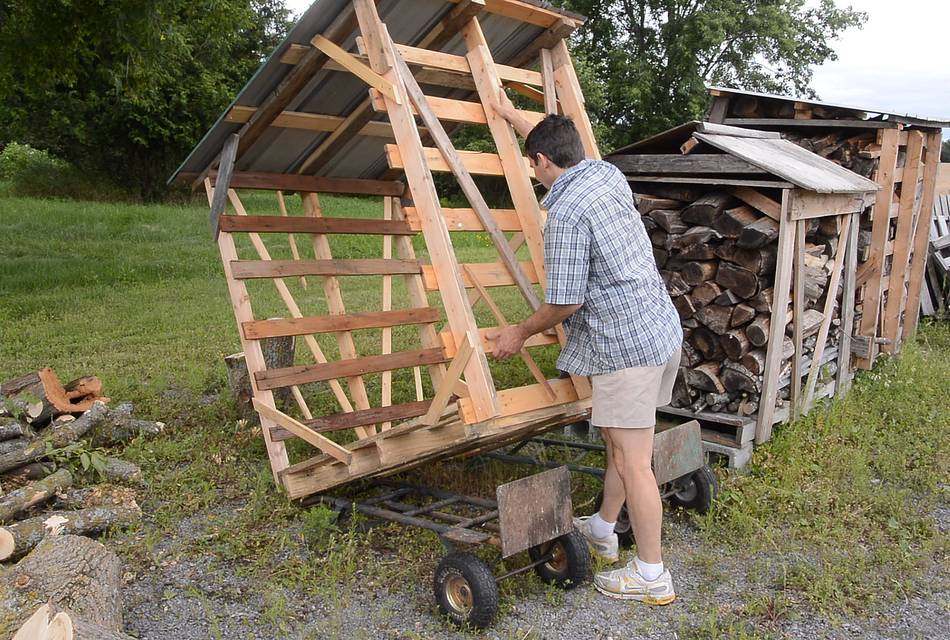 I then tipped it back, pulled out the hand trucks and put some concrete blocks under
it to keep the whole thing off the ground. I figure that should keep the bottom of the
shed from rotting. It also makes it easier to pick up with the tractor.
I then tipped it back, pulled out the hand trucks and put some concrete blocks under
it to keep the whole thing off the ground. I figure that should keep the bottom of the
shed from rotting. It also makes it easier to pick up with the tractor.
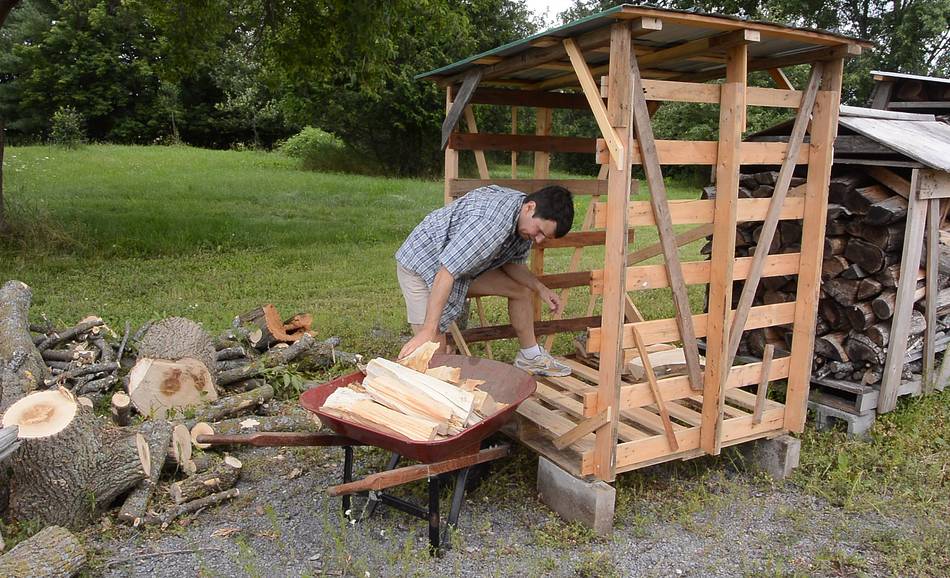 And loading it up with firewood.
I figure I should built at least one more of these sheds to store enough wood for the winter.
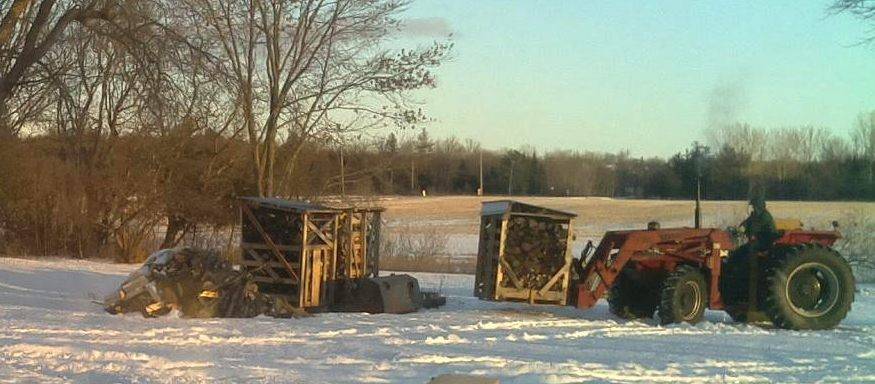 Later, in the winter, picking up one of the sheds with
the tractor to move it into the garage.
Later, in the winter, picking up one of the sheds with
the tractor to move it into the garage.
 Electric log splitter stand
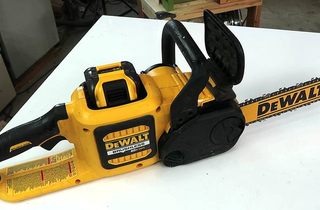 DeWalt 60v chainsaw review
 My "Ryokita" cordless franken-drill
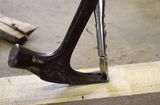 Pulling nails without heads
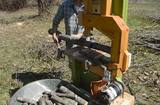 Making firewood with a bandsaw
 Splitting logs for woodworking lumber
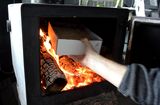 Burning sawdust in a
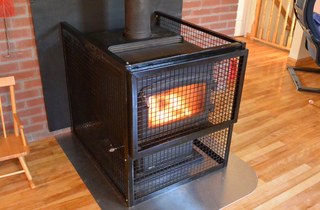 Wood stove baby fence
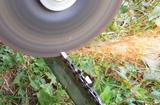 Chainsaw sharpening with an angle grinder
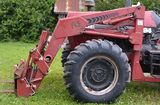 Tractor front end loader tilt angle indicator
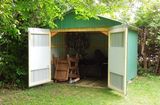 Backyard shed build
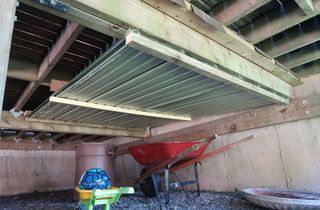 Adding a roof under a deck for storage