 I previously covered making a large picture frame
in 2008,
but didn't make a video. I needed a picture frame for this print, so
I thought I'd cover making a picture frame again, this time with video.
I previously covered making a large picture frame
in 2008,
but didn't make a video. I needed a picture frame for this print, so
I thought I'd cover making a picture frame again, this time with video.
I previously covered making a large picture frame
in 2008,
but didn't make a video. I needed a picture frame for this print, so
I thought I'd cover making a picture frame again, this time with video.
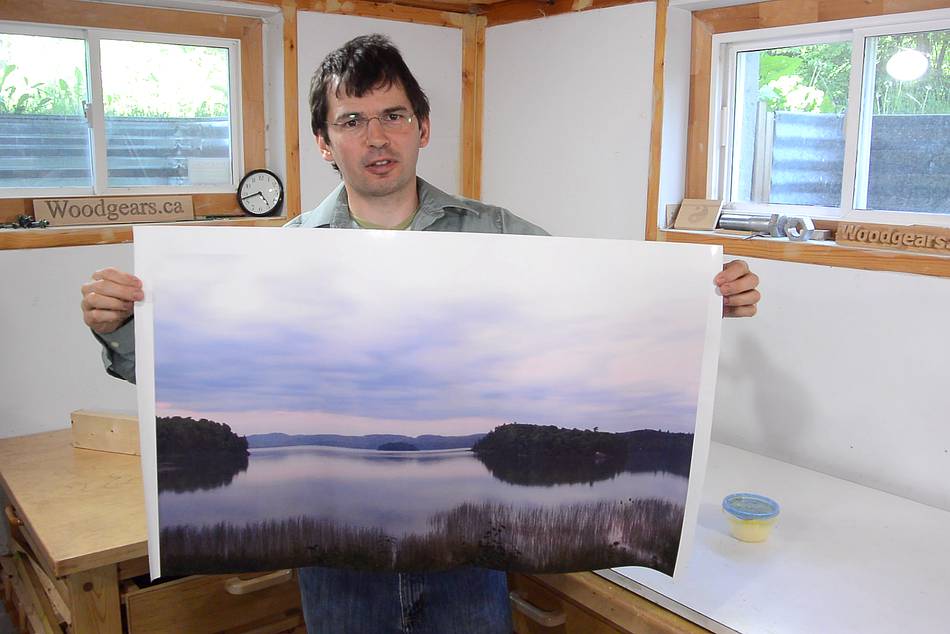
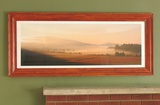
 The picture I wanted to frame is this large printout of a view of the lake,
at Amogla camp
The picture I wanted to frame is this large printout of a view of the lake,
at Amogla camp
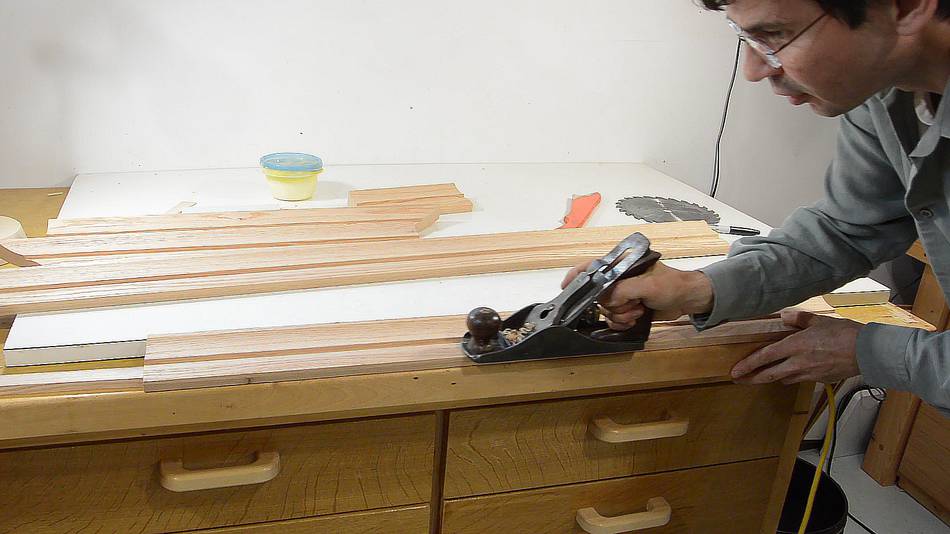
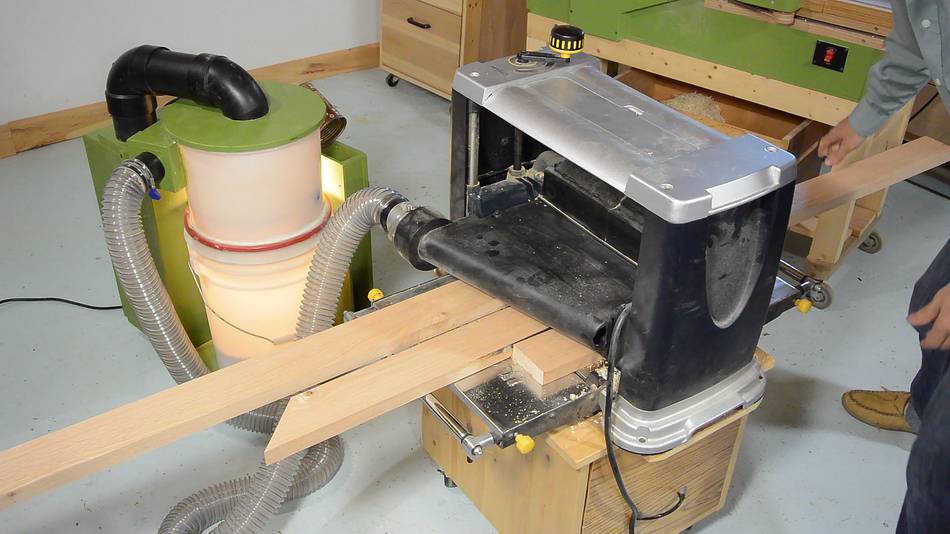 Planing the boards down to a consistent thickness, using my new
dust collector to catch
the shavings. Fun to see how it
just picks up all the shavings, even from running multiple boards at once.
That said, oak shavings are less prone to clogging than soft wood shavings.
Planing the boards down to a consistent thickness, using my new
dust collector to catch
the shavings. Fun to see how it
just picks up all the shavings, even from running multiple boards at once.
That said, oak shavings are less prone to clogging than soft wood shavings.
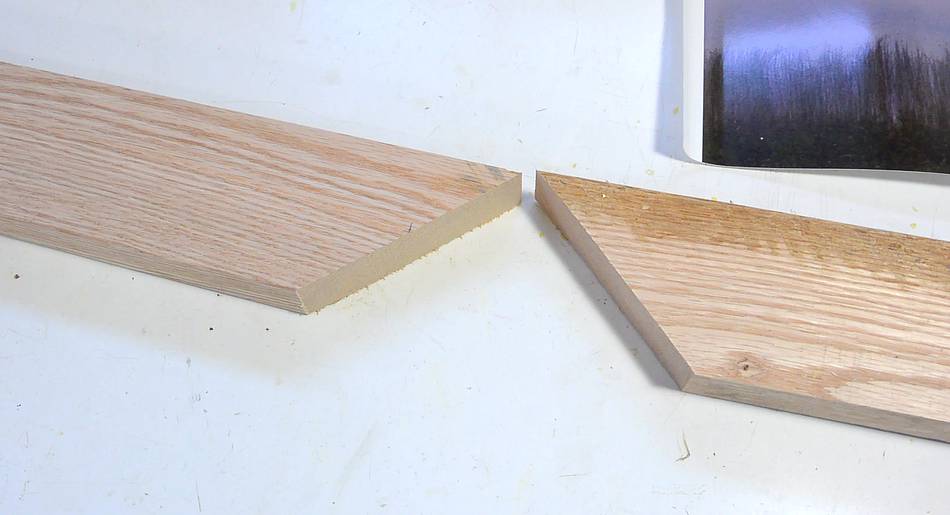
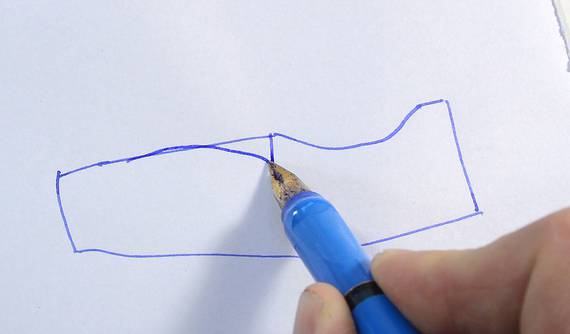
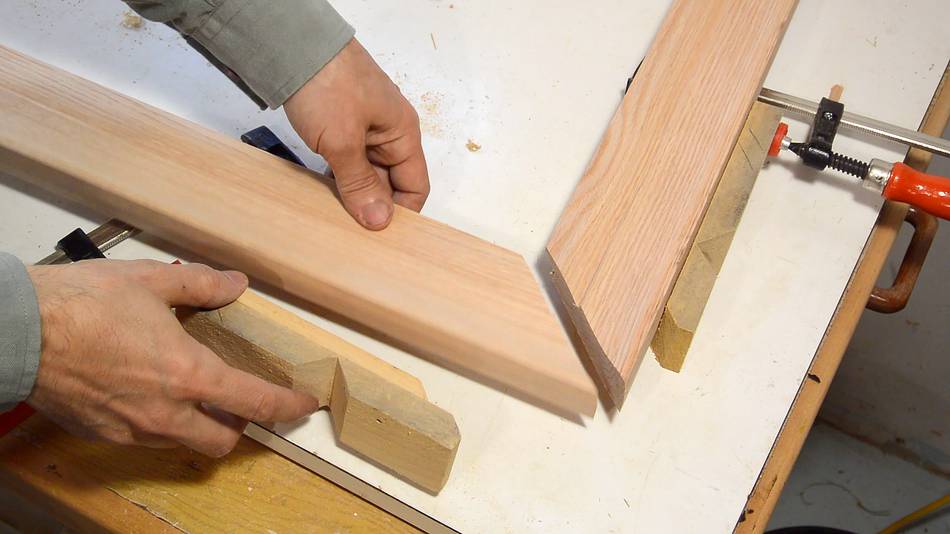
 The pieces I had were barely long enough for one piece to form the left and
right sides, but only if I made optimal use of the wood. I pre-cut a
45-degree angle before cutting the molding profile. Otherwise, I'd have to cut
the miters oriented as shown at left, which wastes some material.
The pieces I had were barely long enough for one piece to form the left and
right sides, but only if I made optimal use of the wood. I pre-cut a
45-degree angle before cutting the molding profile. Otherwise, I'd have to cut
the miters oriented as shown at left, which wastes some material.
 I cut a bevel on what will be the back of the frame using the table saw.
In the frame, the boards will be at an angle so the bevel will be flat
against the wall. That way, I can make better use of the thickness of wood I
have.
I cut a bevel on what will be the back of the frame using the table saw.
In the frame, the boards will be at an angle so the bevel will be flat
against the wall. That way, I can make better use of the thickness of wood I
have.
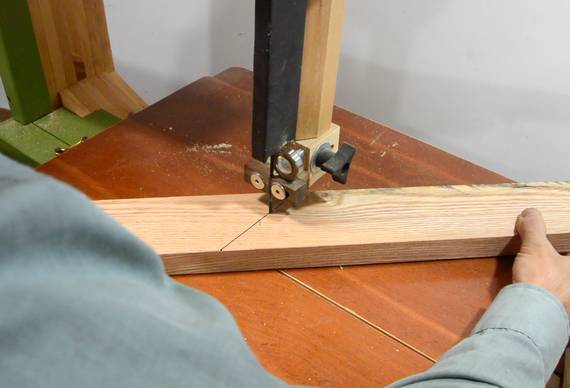
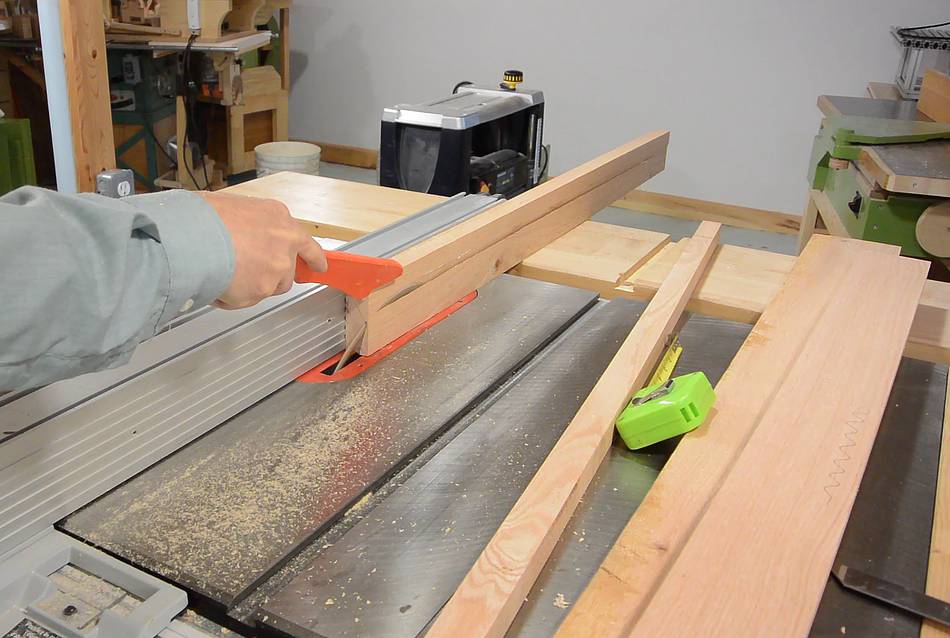
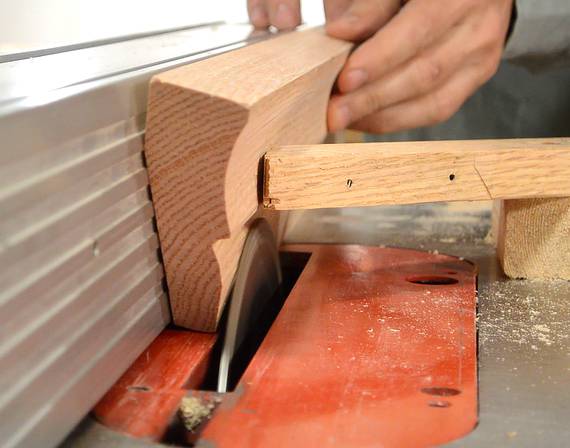
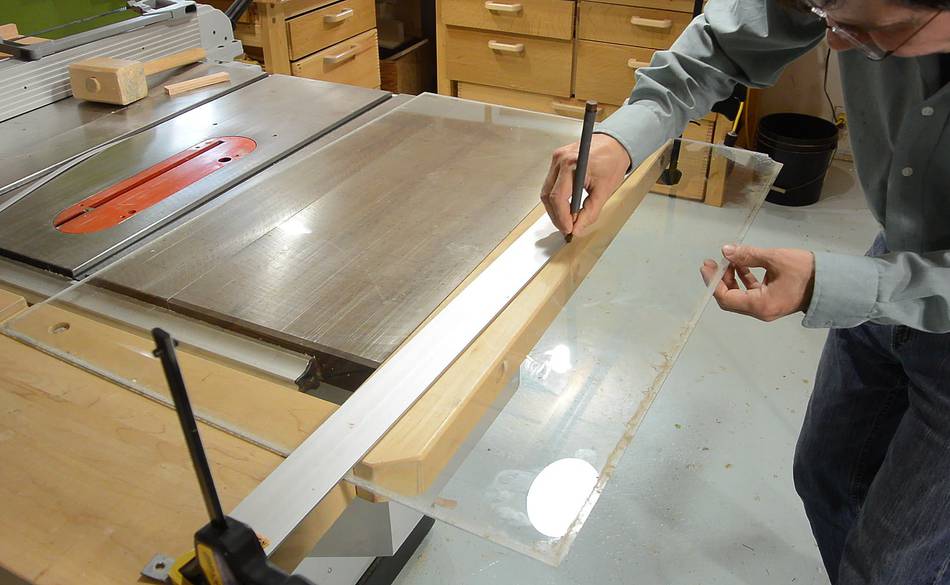
 I'm cutting a cove in the front, to be near the outside edge
of the frame. I'm using the table saw, passing the wood
over the blade at an angle and making successively deeper
cuts. For more details, I have a separate article about
cutting coves this way.
I'm cutting a cove in the front, to be near the outside edge
of the frame. I'm using the table saw, passing the wood
over the blade at an angle and making successively deeper
cuts. For more details, I have a separate article about
cutting coves this way.
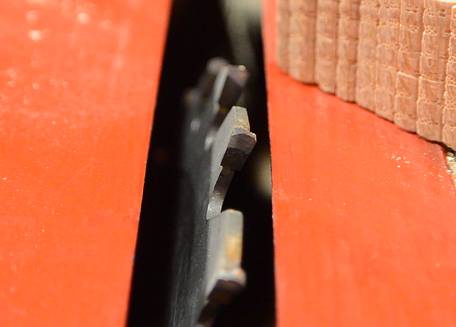 The coves came out relatively smooth from the table saw. What really
helped is that I sort of "rounded" the tops of the teeth of the blade.
I used a junky 7 1/4" blade with a missing tooth.
Normally, when cove cutting, the sharp corners of the blade end up doing
the final cut, but with rounded teeth on this blade, it works much
better. I used my table saw
blade sharpening jig to shape the teeth, though I did the actual
grinding freehand.
The coves came out relatively smooth from the table saw. What really
helped is that I sort of "rounded" the tops of the teeth of the blade.
I used a junky 7 1/4" blade with a missing tooth.
Normally, when cove cutting, the sharp corners of the blade end up doing
the final cut, but with rounded teeth on this blade, it works much
better. I used my table saw
blade sharpening jig to shape the teeth, though I did the actual
grinding freehand.
 I wanted some visible edges along the frame for appearance, so I decided
to make the other part of the molding profile into a convex curve,
with a step in between.
I wanted some visible edges along the frame for appearance, so I decided
to make the other part of the molding profile into a convex curve,
with a step in between.
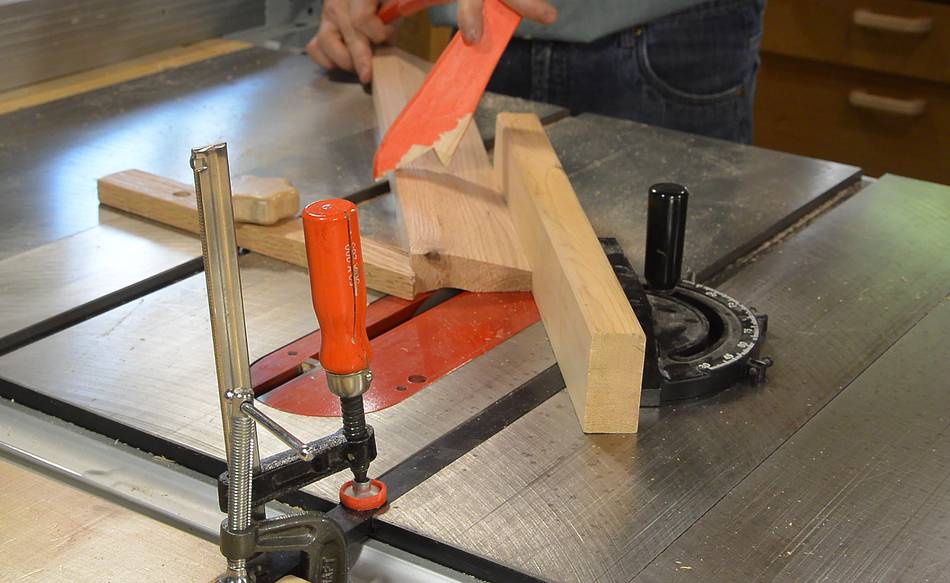
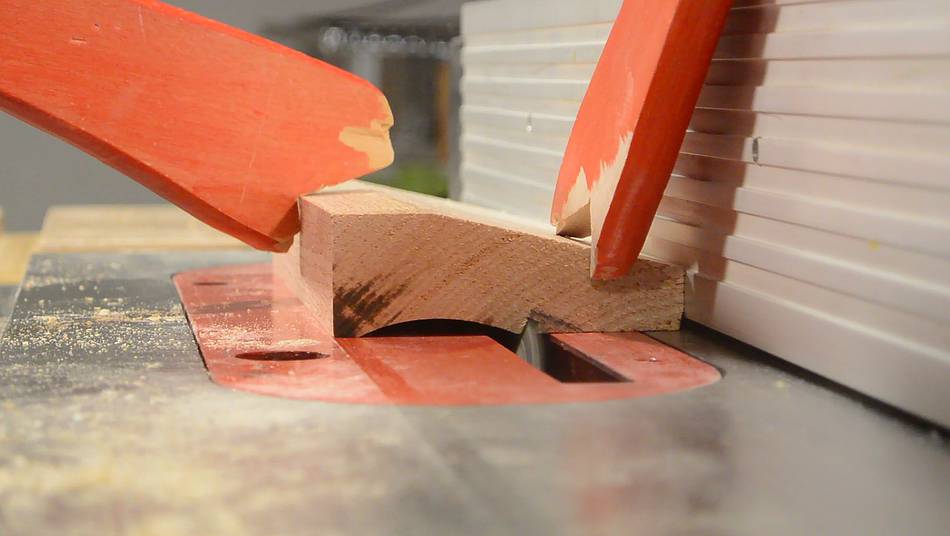
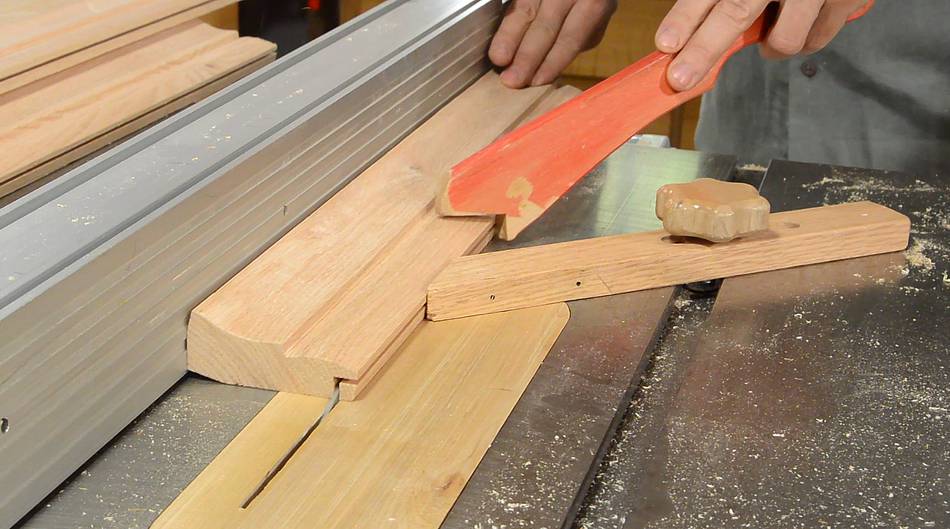
I cut that out in two parts, though I could have cut it in one go if I bothered with a dado blade.
 Here's making a second cut to remove the triangular section, then
making a third cut, at a slightly different blade angle to
approximate a convex shape.
Here's making a second cut to remove the triangular section, then
making a third cut, at a slightly different blade angle to
approximate a convex shape.
A featherboard is really important for this type of cut, especially because the blade is tilted towards the fence, so the blade has a tendency to pull the wood away from the fence. I raised my featherboard on a block of wood to allow it to push just above where the blade is cutting.
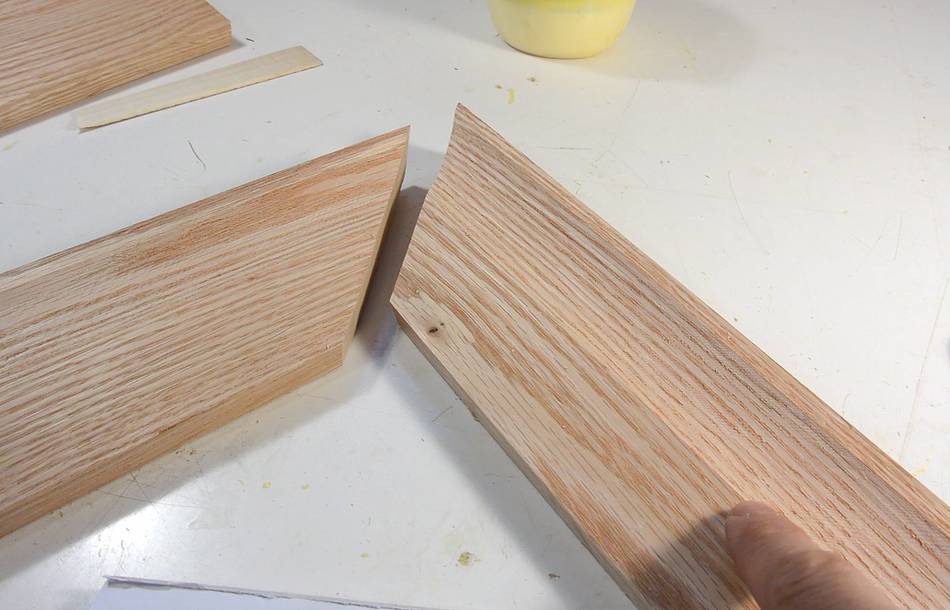
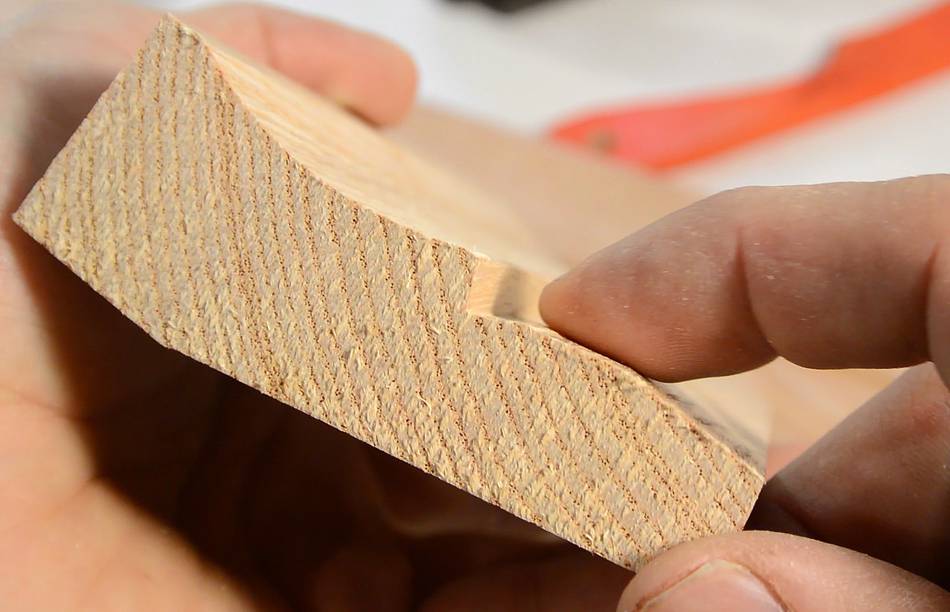 Straight from the saw, it already looks convex, though with slight corners.
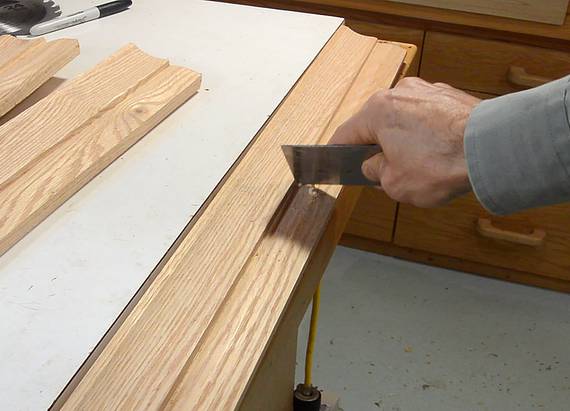 I used a hand plane to flatten one corner, but had to use a cabinet
scraper to do the corner nearest to the step. A rabbeting plane would
have worked for this, but I don't have one.
I used a hand plane to flatten one corner, but had to use a cabinet
scraper to do the corner nearest to the step. A rabbeting plane would
have worked for this, but I don't have one.
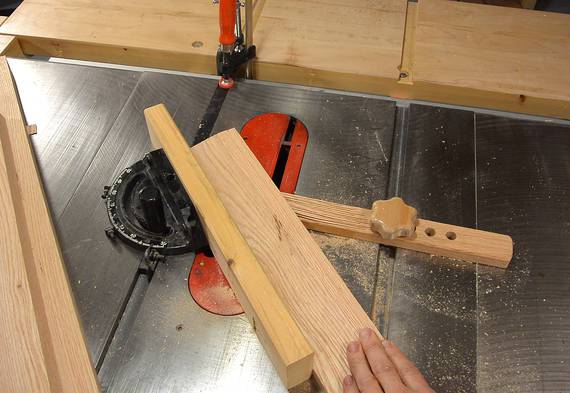
 Next, cutting out a step to put the glass and the picture behind.
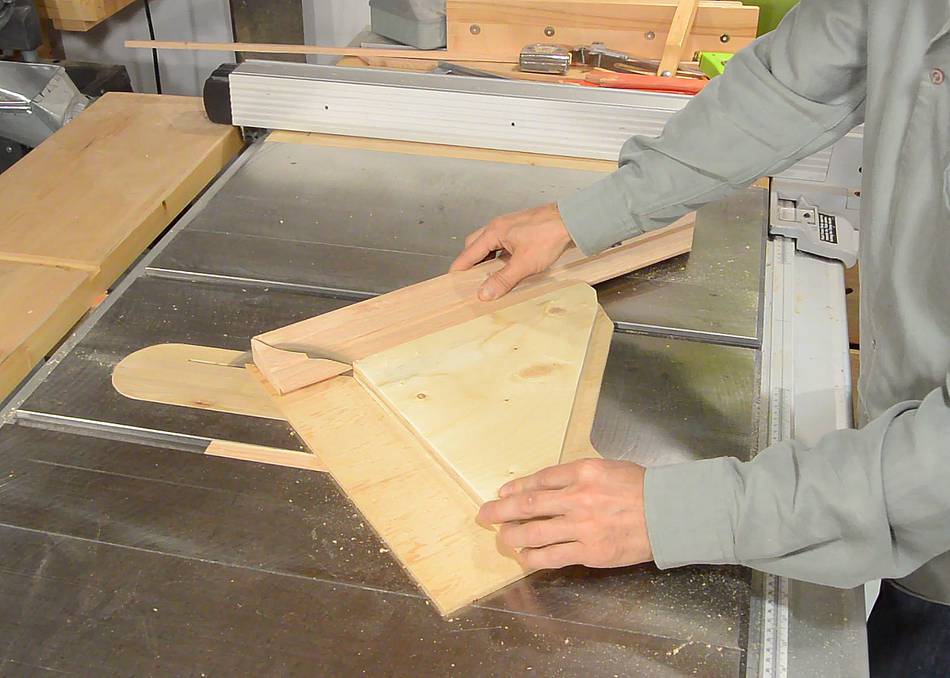
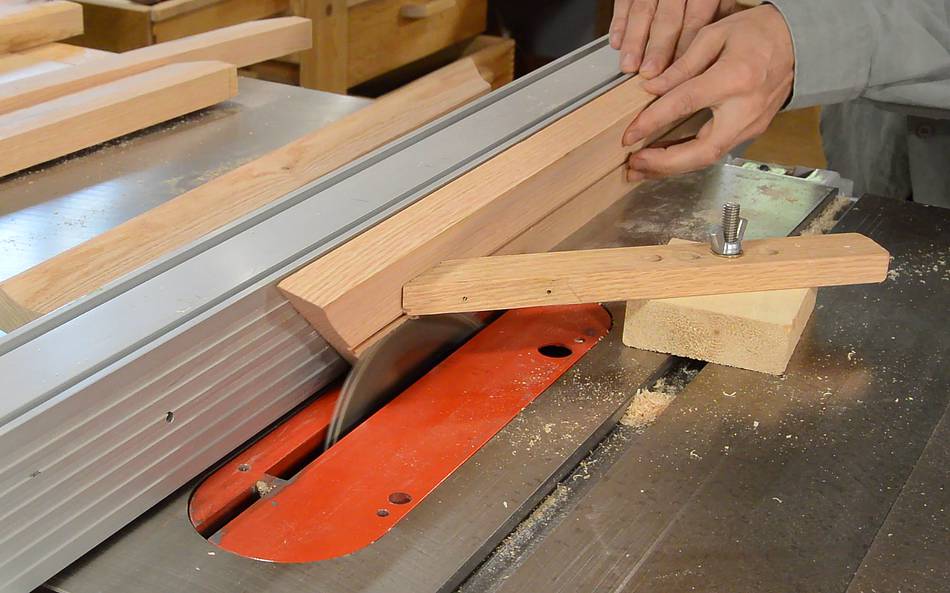
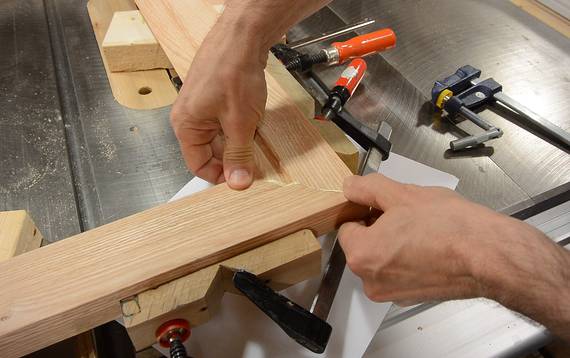
 To make sure I'd cut the miters for this frame just right,
I made a 45° miter sled on my table saw.
I can put a piece of wood on either side, and the two will always come
together at 90°, because the part of the fence that the rails rest
against is also exactly at 90°. The "fence" is just a piece of 3/4"
thick plywood. That way, the whole sled is not very tall and won't tie
up too much space when I'm not using it.
To make sure I'd cut the miters for this frame just right,
I made a 45° miter sled on my table saw.
I can put a piece of wood on either side, and the two will always come
together at 90°, because the part of the fence that the rails rest
against is also exactly at 90°. The "fence" is just a piece of 3/4"
thick plywood. That way, the whole sled is not very tall and won't tie
up too much space when I'm not using it.
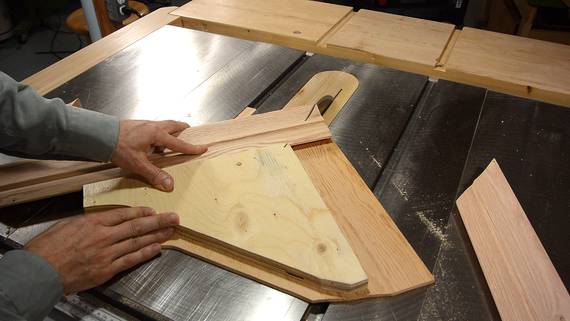
 A quick check with the frame pieces on the print. So far so good.
 I made these picture frame clamping cauls
many years ago (1999). They provide a place to hook a bar clamp to for applying
clamping pressure exactly perpendicular to the joint surface. That way,
I can clamp one joint at a time and make sure the alignment is good.
Much better than trying to do all the joints at once using a band clamp
or some other picture frame clamping system.
I made these picture frame clamping cauls
many years ago (1999). They provide a place to hook a bar clamp to for applying
clamping pressure exactly perpendicular to the joint surface. That way,
I can clamp one joint at a time and make sure the alignment is good.
Much better than trying to do all the joints at once using a band clamp
or some other picture frame clamping system.
 After gluing two L-shaped pieces together and letting the glue dry, I
had to glue the remaining joints at the same time. Fortunately, everything
lined up.
After gluing two L-shaped pieces together and letting the glue dry, I
had to glue the remaining joints at the same time. Fortunately, everything
lined up.
I did this on the table saw so I could walk around and do the other joint more conveniently. I also put the whole frame on scraps of 2x4 to get everything at the same height, even with the bar clamps stuck to the bottom of the frame.
 The glass came from an old storm window that I trash picked.
Using a glass cutter is very satisfying (when it works right), though
for one of the cuts, the break didn't follow my score line, and I had
to use my belt sander to grind away a remaining corner.
The glass came from an old storm window that I trash picked.
Using a glass cutter is very satisfying (when it works right), though
for one of the cuts, the break didn't follow my score line, and I had
to use my belt sander to grind away a remaining corner.
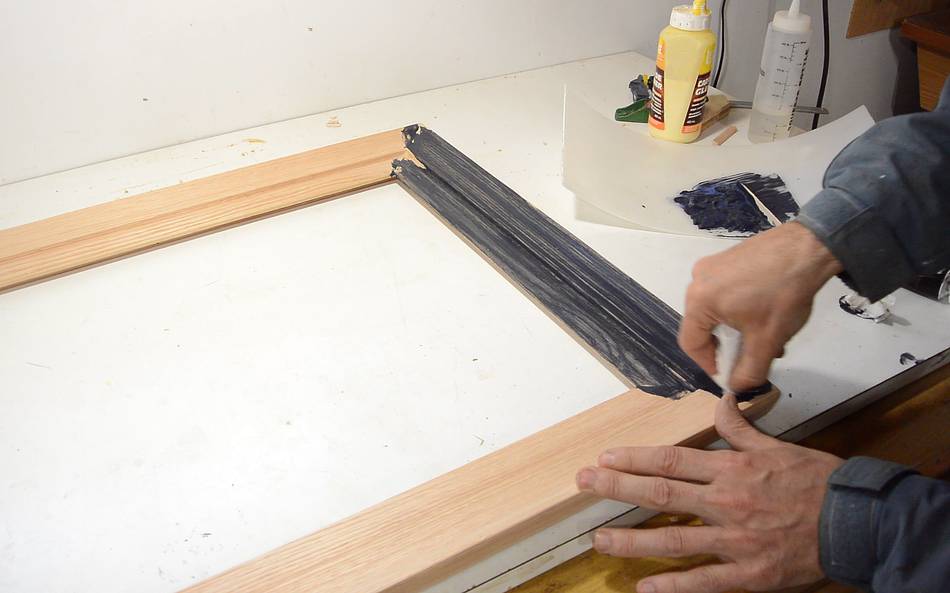
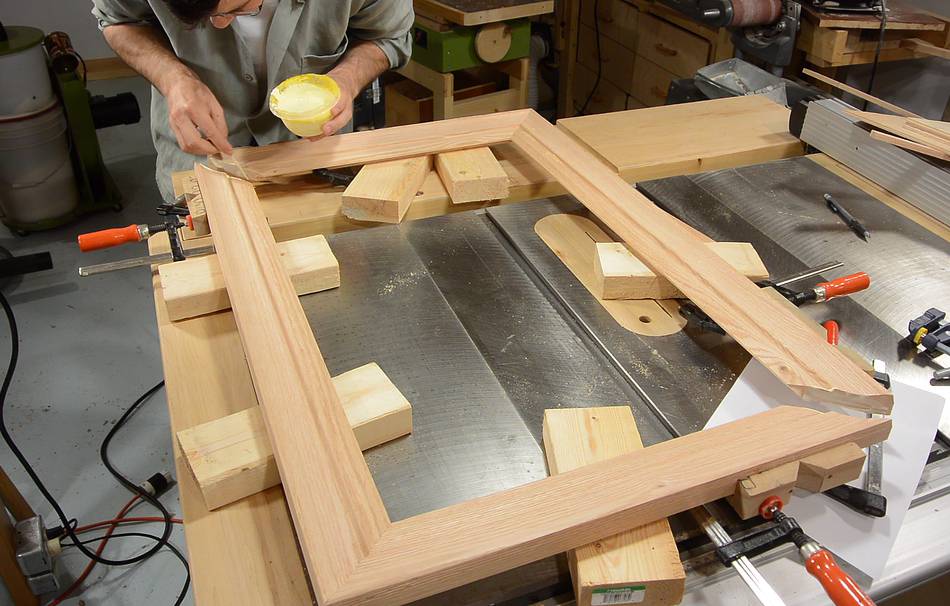
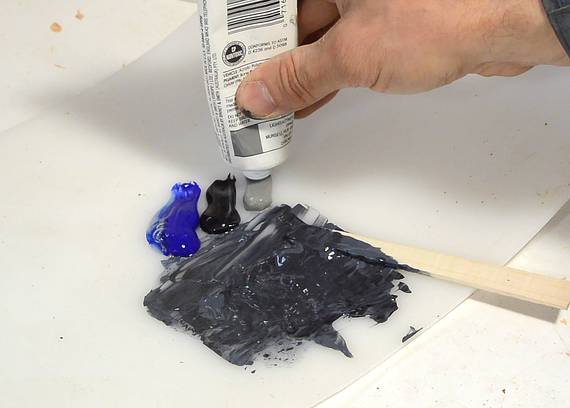 I figured a dark, slightly blue-ish colour would go well with that print,
so I mixed some black, blue and gray from my artist paints
and then rubbed that onto the frame...
I figured a dark, slightly blue-ish colour would go well with that print,
so I mixed some black, blue and gray from my artist paints
and then rubbed that onto the frame...
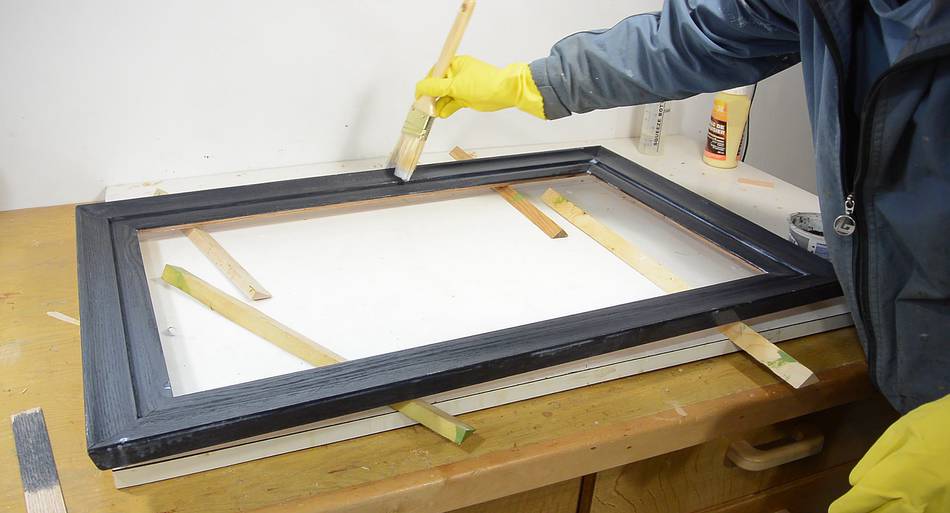 ... then added three coats of clear water borne Varathane to protect the
paint and give it a glossy finish.
... then added three coats of clear water borne Varathane to protect the
paint and give it a glossy finish.
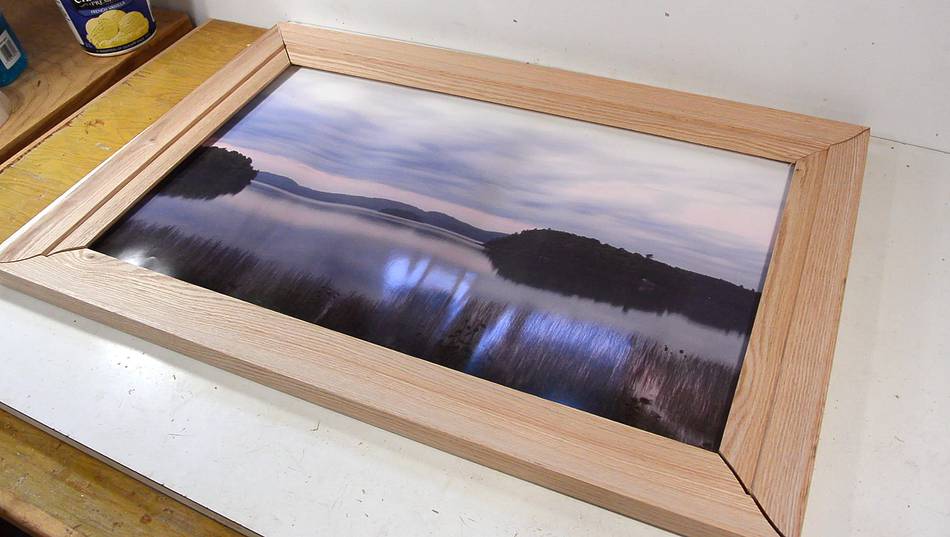
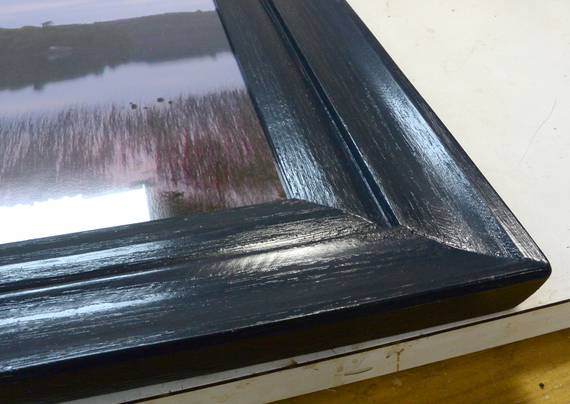 I'm quite happy with how the molding on this frame came out,
and it was made almost entirely on the table saw.
I'm quite happy with how the molding on this frame came out,
and it was made almost entirely on the table saw.
 I used some finishing nails to hold the picture in place. These fit
snug in pre-drilled holes, so I could push them in with my hands.
I had a hard time making sure there was no dust on the glass, and must
have taken the picture and glass out about five times until I was
happy with it.
I used some finishing nails to hold the picture in place. These fit
snug in pre-drilled holes, so I could push them in with my hands.
I had a hard time making sure there was no dust on the glass, and must
have taken the picture and glass out about five times until I was
happy with it.
 And here the picture is hung on the wall. I ended up putting
two screws directly in the studs to hang it. I drilled two extra holes
to hook it on at the back to then place it at the exact side-to-side
position that I wanted it in.
And here the picture is hung on the wall. I ended up putting
two screws directly in the studs to hang it. I drilled two extra holes
to hook it on at the back to then place it at the exact side-to-side
position that I wanted it in.
You can see the reflection of my other large picture frame. Also, right below it the light switch that I installed a few years back (in this article).
 Another large picture frame (2008)
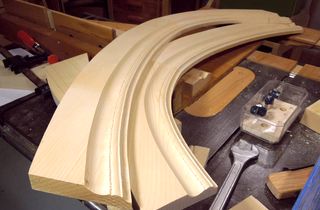 Making curved molding with a tilting router lift (2012)
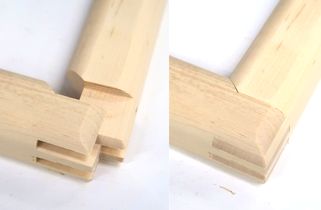 Half box joint, half miter joint
 A clever jig for drilling miter dowel holes accurately
 Molding tricks with a tilting router lift
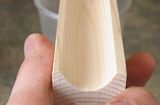 Cove cutting
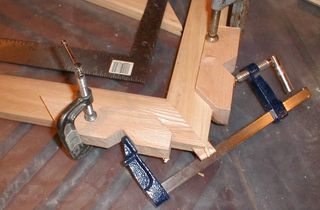 Half decent way of doing miter joints
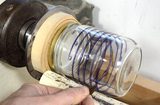 Helical glass cut experiment
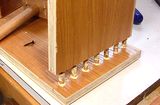 A bookcase joined with dowels
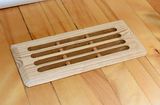 Furnace vent grill
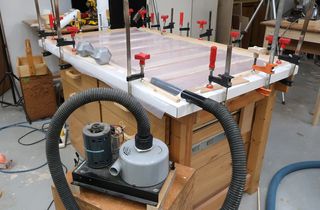 Making a cork board, using vacuum clamping