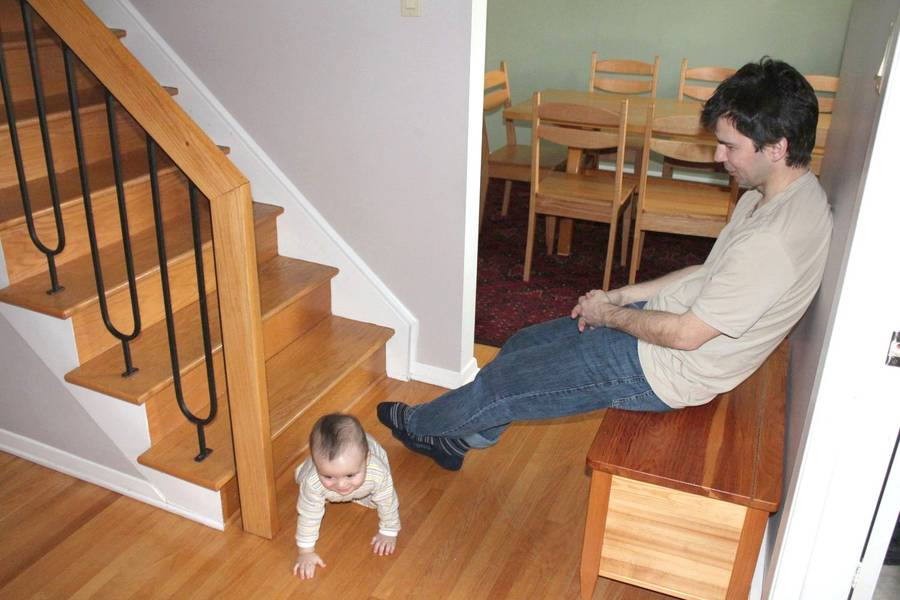
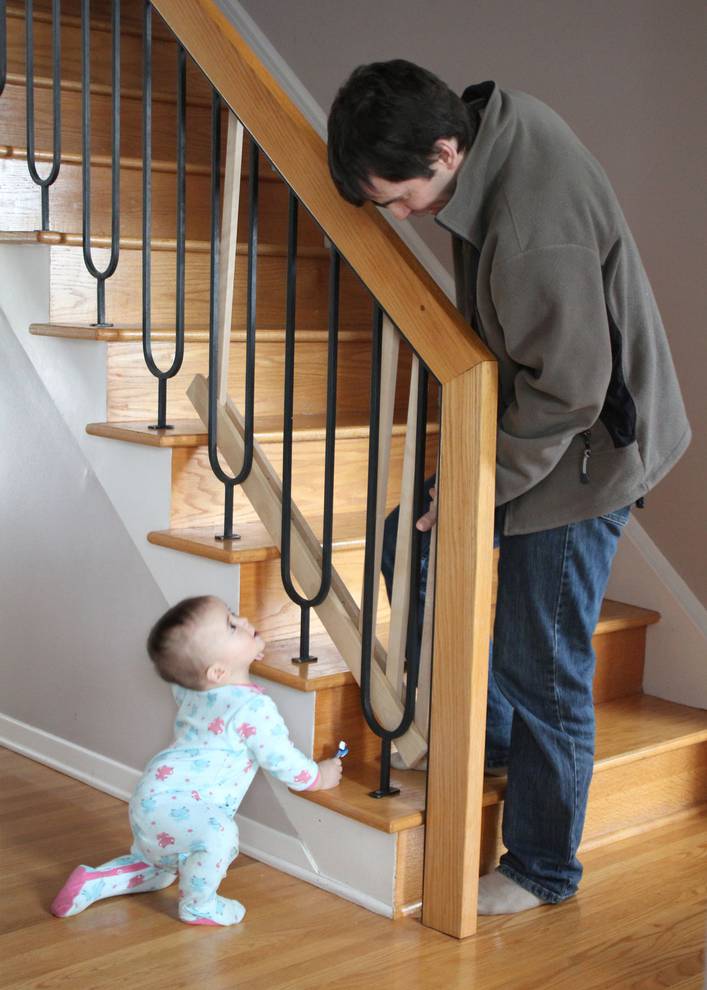
 My nephew, baby Max, is starting to become more mobile,
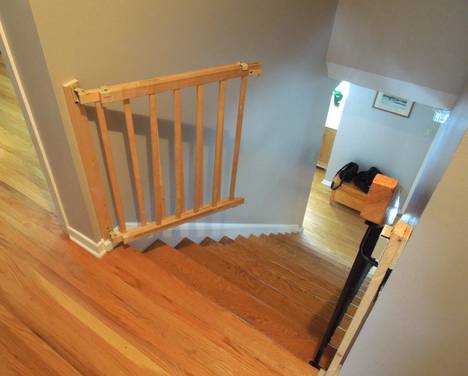
so baby gates for the stairs are in order. My brother installed one
at the top of the stairs, but the bottom of the stairs were more tricky.
There was no wall for the gate to swing against, and you can't just swing
the gate up the stairs... or could you?
My nephew, baby Max, is starting to become more mobile,
so baby gates for the stairs are in order. My brother installed one
at the top of the stairs, but the bottom of the stairs were more tricky.
There was no wall for the gate to swing against, and you can't just swing
the gate up the stairs... or could you?
I had an idea for a baby gate that really would swing up the stairs, and I wanted to try that out.
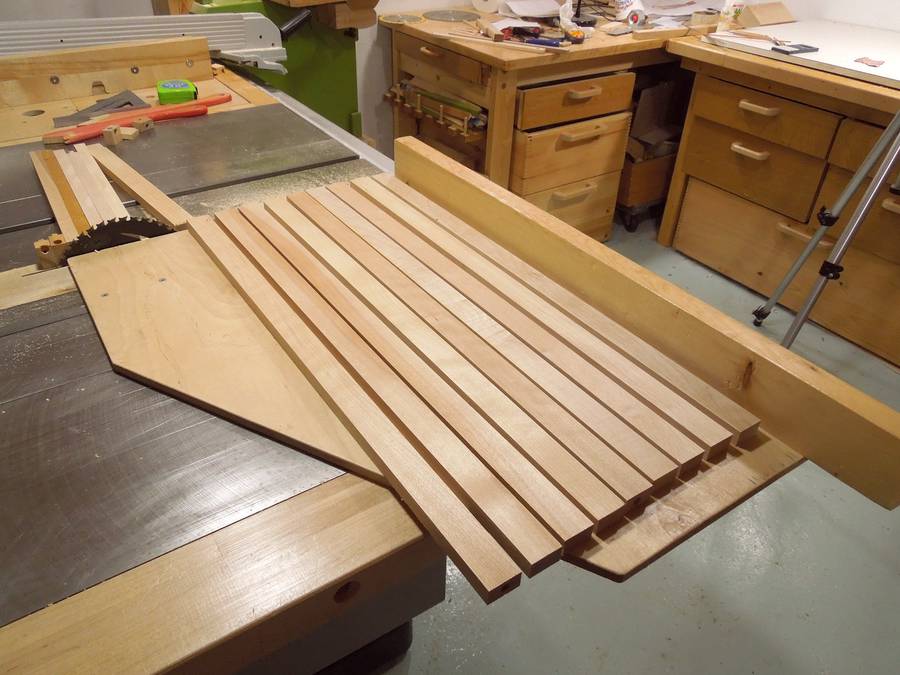
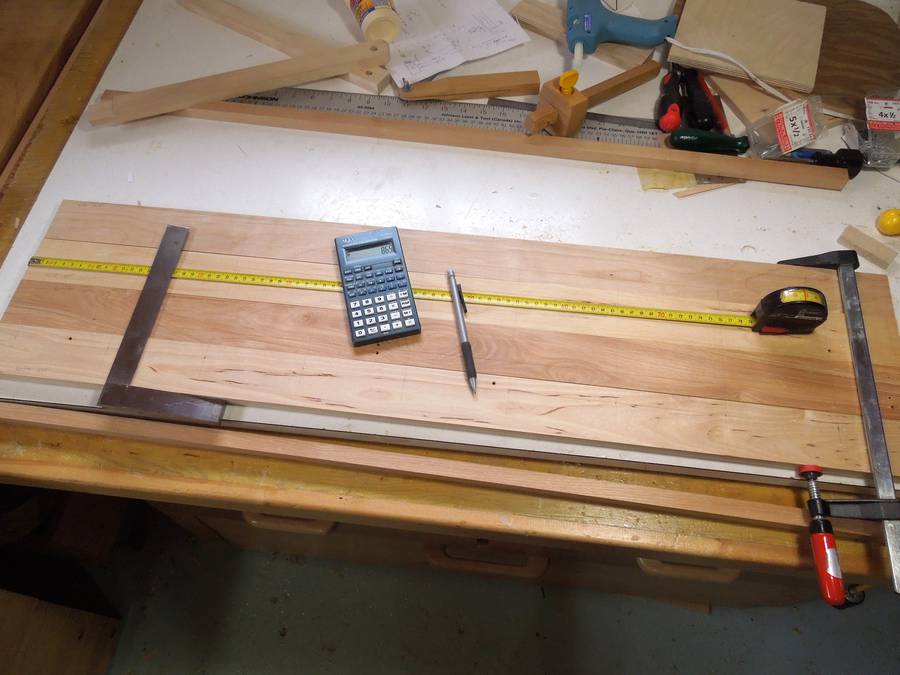
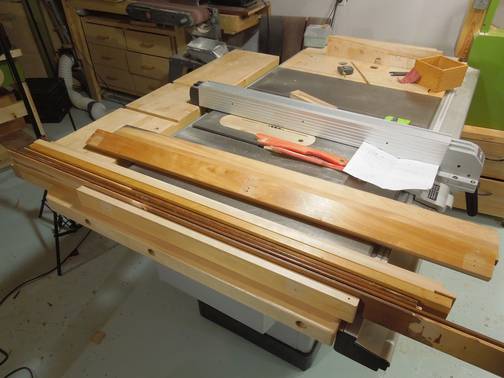 I started with various strips of hardwood I saved from discarded furniture.
This stuff had been on my lumber rack forever, so it was a good way to finally use it.
Here I have all the vertical pieces cut out.
I started with various strips of hardwood I saved from discarded furniture.
This stuff had been on my lumber rack forever, so it was a good way to finally use it.
Here I have all the vertical pieces cut out.
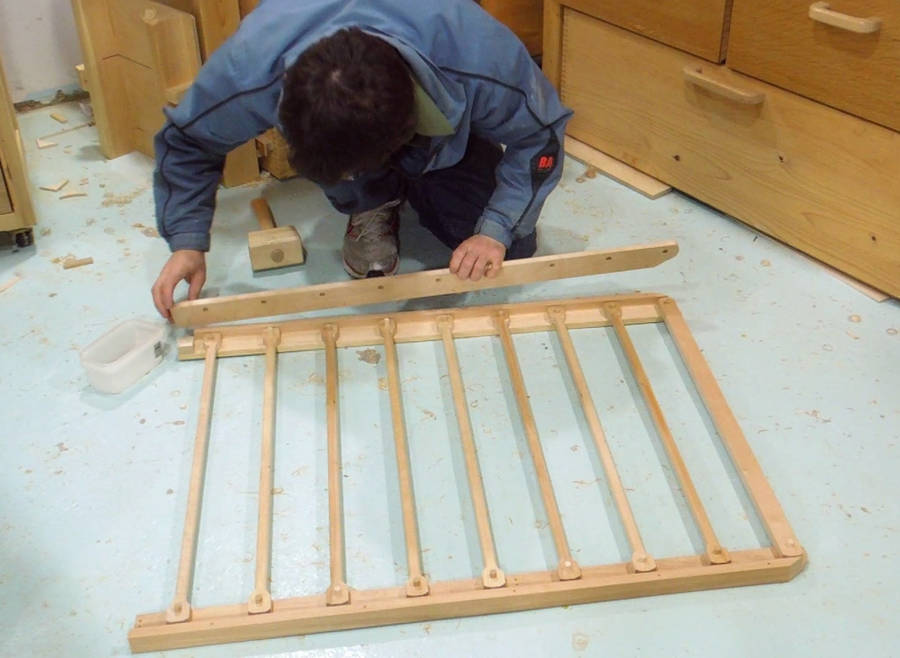
 Here I'm marking the horizontal rails for where the vertical spindles will attach
to them. I spaced the spindles 10.5cm center to center. Narrow enough for a baby's
head not to fit between them.
Here I'm marking the horizontal rails for where the vertical spindles will attach
to them. I spaced the spindles 10.5cm center to center. Narrow enough for a baby's
head not to fit between them.
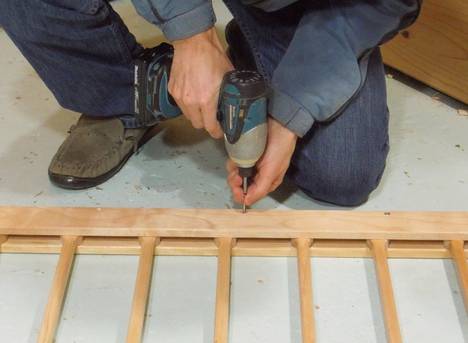
 Drilling all the holes in the rails.
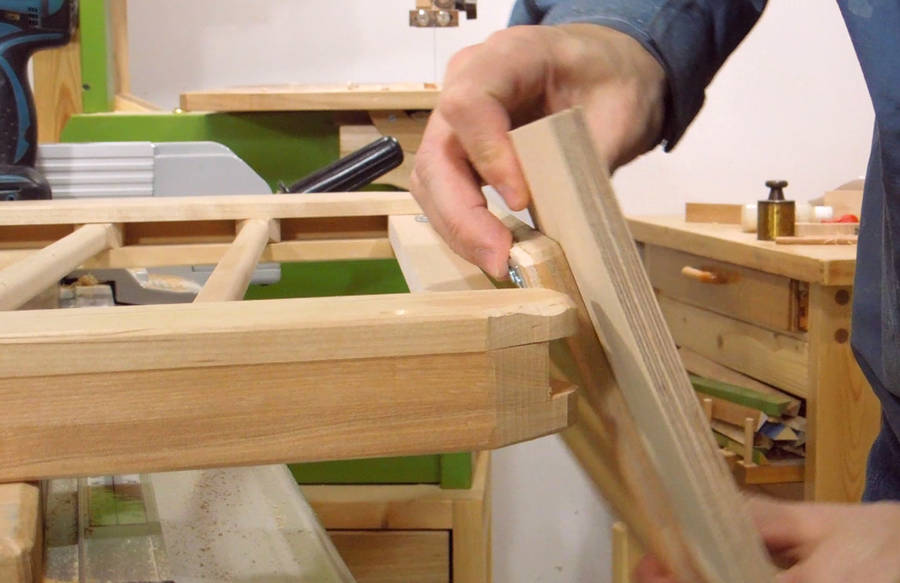
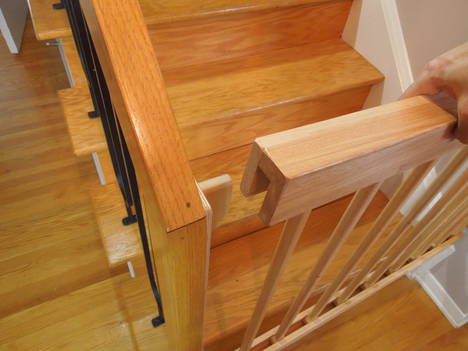
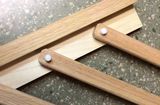
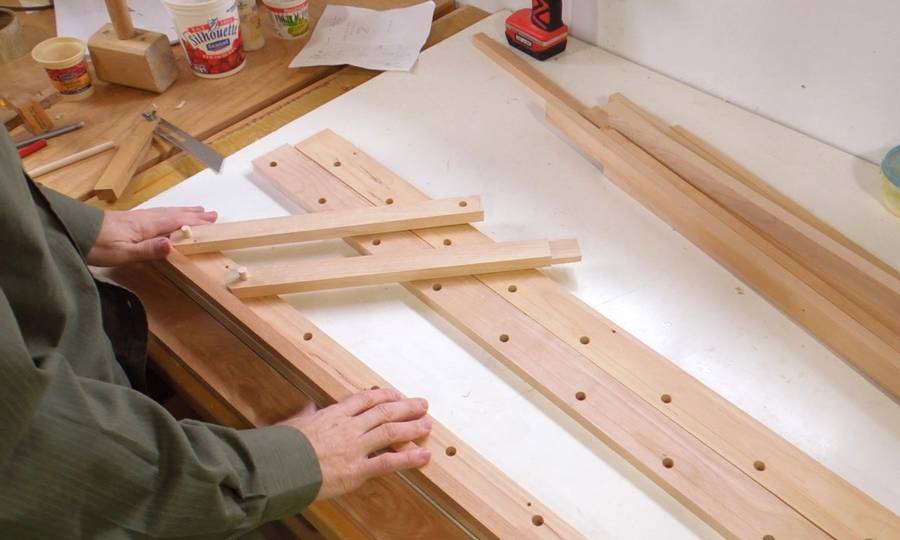 And here you can see how it will work. The "spindles" in this gate will
pivot on dowels, so the whole gate can pivot up as a parallelogram.
And here you can see how it will work. The "spindles" in this gate will
pivot on dowels, so the whole gate can pivot up as a parallelogram.
The spindles themselves will be much longer than the pieces I'm checking it with.
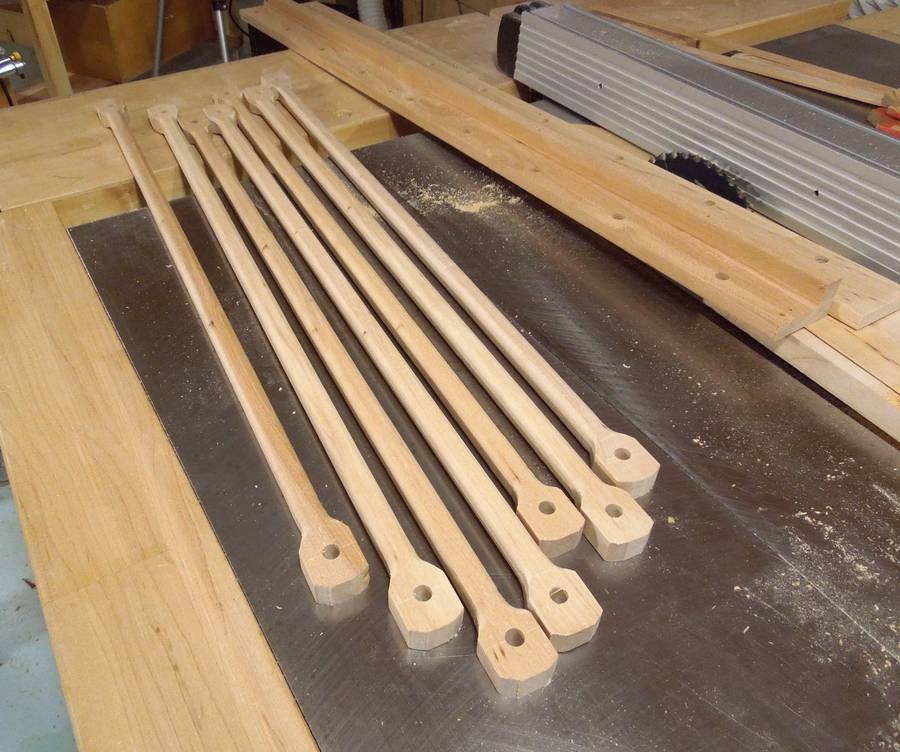
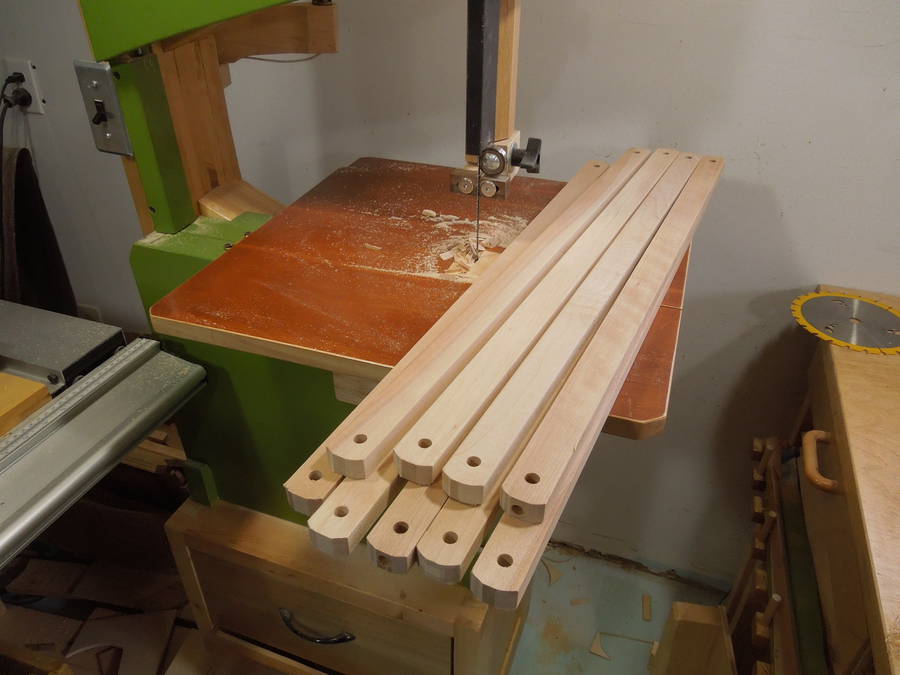 My spindles all drilled and cut.
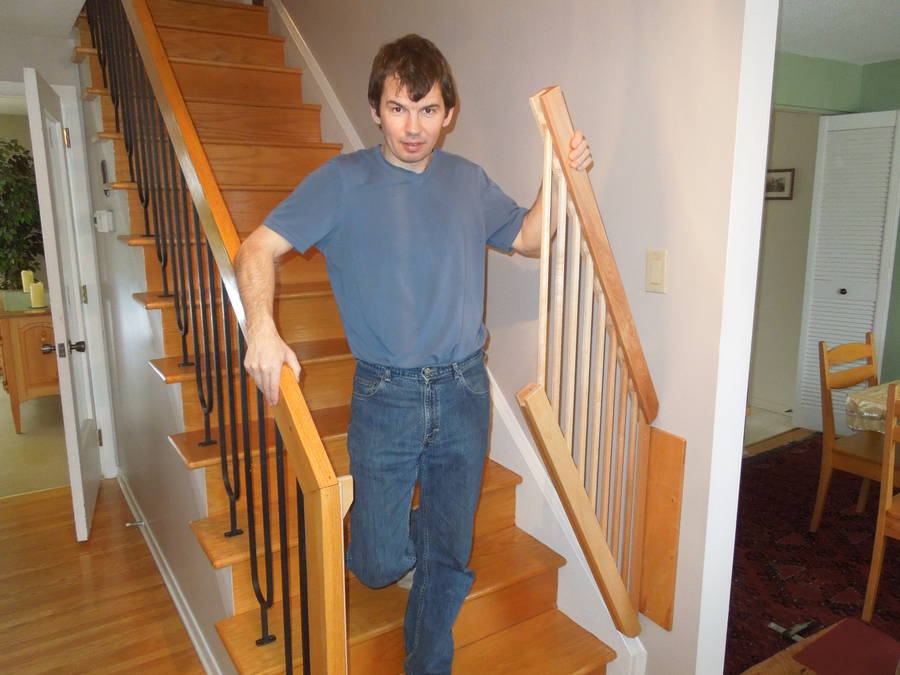
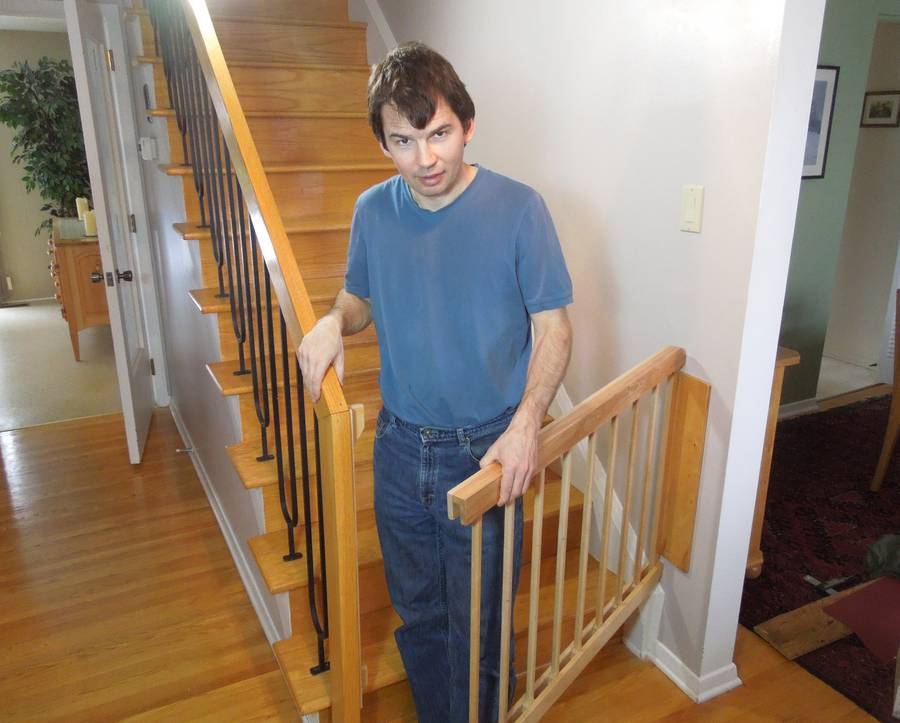
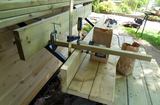
 Taking what I have so far over to my brother's for a fit check.
Markus pointed out that this gate might be a bit on the heavy side, especially compared to the rather light (and flimsy) one at the top of the stairs.
I was more concerned that the gate would withstand getting climbed over by a toddler than about being too heavy.
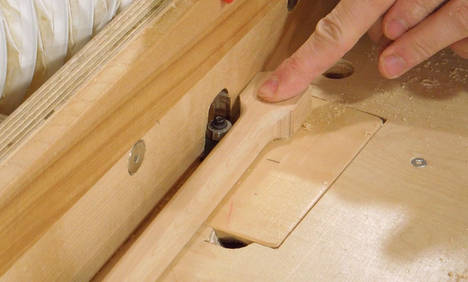
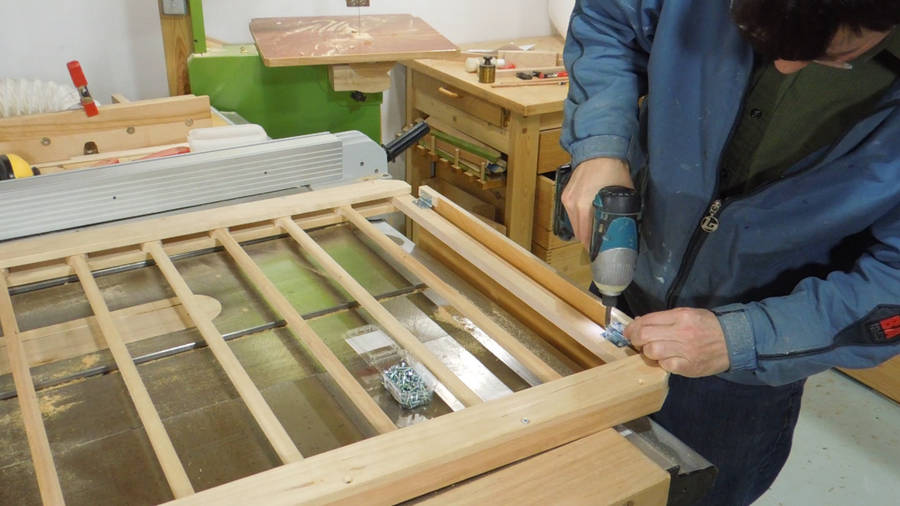
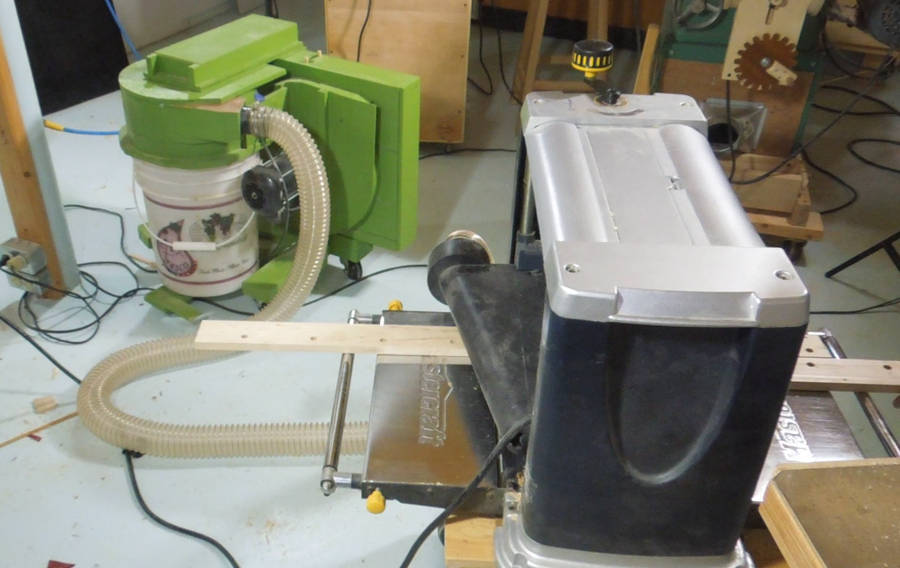 To reduce weight, I planed down the flat part of the horizontal rails. The other half of the horizontal
rails was already glued into an L-shape, so I cut that thinner by cutting off the inside
with the table saw. If I cut thickness off on the outside, the holes for the dowel pins
would have become exposed.
To reduce weight, I planed down the flat part of the horizontal rails. The other half of the horizontal
rails was already glued into an L-shape, so I cut that thinner by cutting off the inside
with the table saw. If I cut thickness off on the outside, the holes for the dowel pins
would have become exposed.
 But the bulk of the weight savings were to be had from making the spindles thinner.
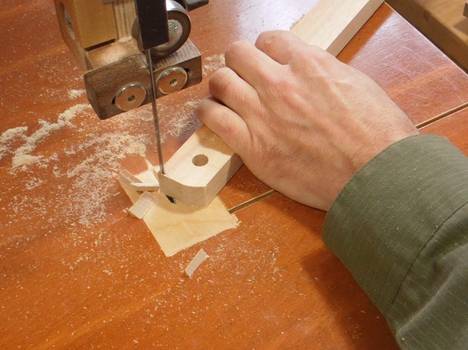
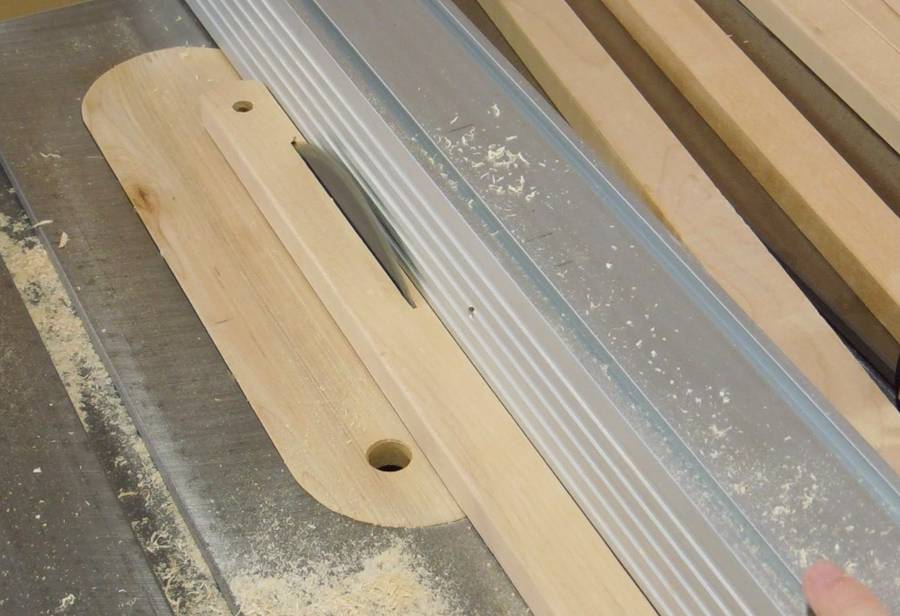
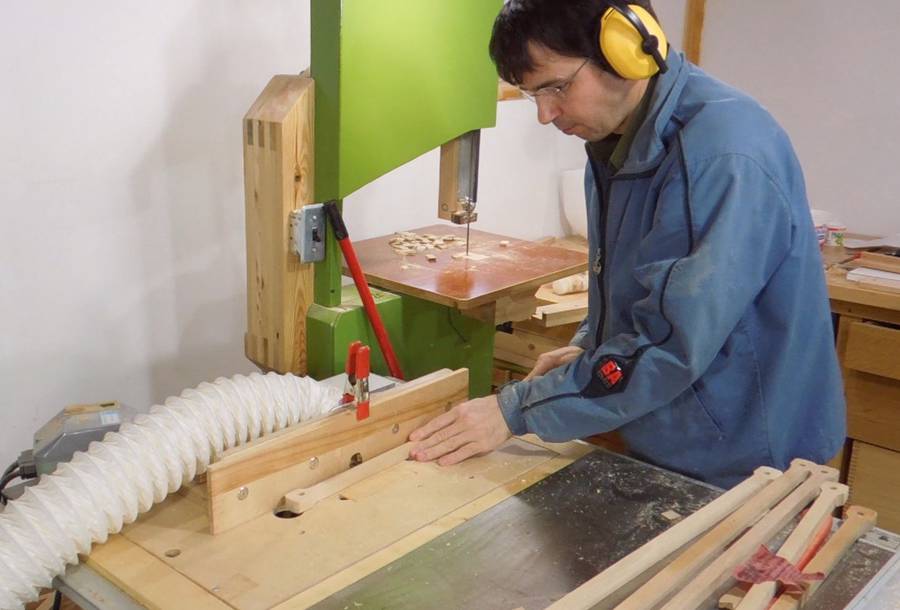
 Here I'm cutting a strip off the side of each spindle. I wanted to leave
the knuckles on the ends full width, so I had to start these with a plunge cut on the
table saw. I used the table saw for the straight cut because it makes a cleaner cut.
Here I'm cutting a strip off the side of each spindle. I wanted to leave
the knuckles on the ends full width, so I had to start these with a plunge cut on the
table saw. I used the table saw for the straight cut because it makes a cleaner cut.
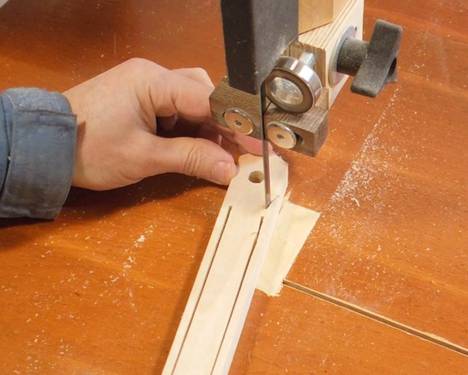
I then finished the cut on either end on the bandsaw.
 Next I rounded the spindles with a 1/4" (6 mm) radius round over bit.
With the spindles about 16 mm thick, this made them look nearly round.
Next I rounded the spindles with a 1/4" (6 mm) radius round over bit.
With the spindles about 16 mm thick, this made them look nearly round.
I'm not a big fan of using hearing protection, but the router is very loud, and for longer operations, I guess it's worth it. I'd bought those earmuffs specifically to use in my video of testing the air raid siren. Not that they were necessary, the siren wasn't loud enough to cause hearing damage over a few seconds. It was more for the effect of putting on the earmuffs in the video!
 I like how the spindles now look like they belong in some sort of machine!
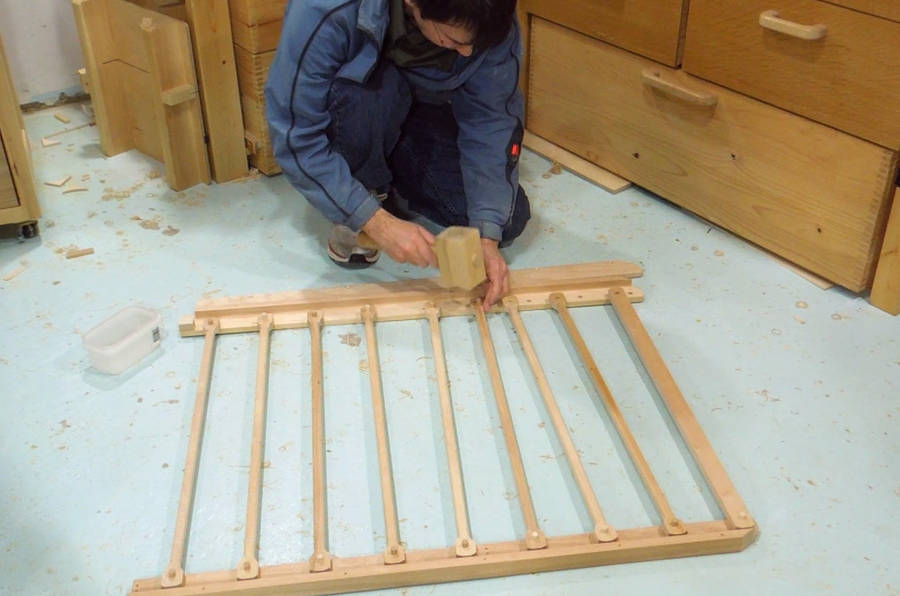 First assembly of the spindles and gate. I inserted a short piece of 3/8" dowel in each
spindle to act as a pivot. The dowels fit quite tightly in the holes in the spindles,
but the holes in the rails are 10/32", or about 0.8 mm larger, so the dowels
can turn easily.
First assembly of the spindles and gate. I inserted a short piece of 3/8" dowel in each
spindle to act as a pivot. The dowels fit quite tightly in the holes in the spindles,
but the holes in the rails are 10/32", or about 0.8 mm larger, so the dowels
can turn easily.
 A second rail over the first one holds the spindles and dowels in place.
 Checking the parallelogram action.
 I left the first spindle with a full rectangular profile.
This spindle gets the hinges attached to it.
I left the first spindle with a full rectangular profile.
This spindle gets the hinges attached to it.
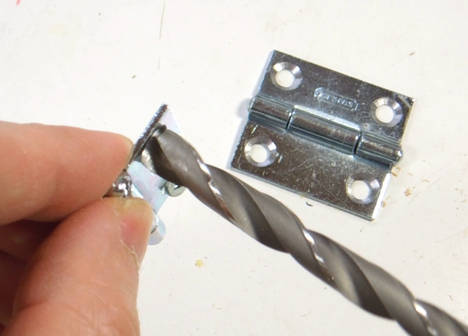 I used some larger #6 screws instead of the smaller screws that came with the hinges.
But with the larger screw heads, the hinge could no longer fully fold shut. So I had to slightly
expand the holes in the hinges with a 3/8" drill bit.
I used some larger #6 screws instead of the smaller screws that came with the hinges.
But with the larger screw heads, the hinge could no longer fully fold shut. So I had to slightly
expand the holes in the hinges with a 3/8" drill bit.
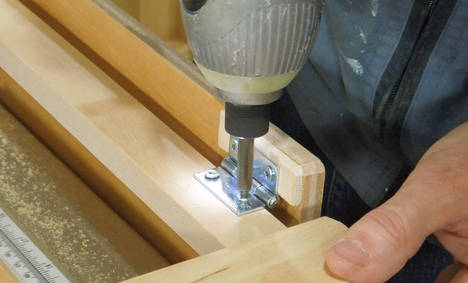
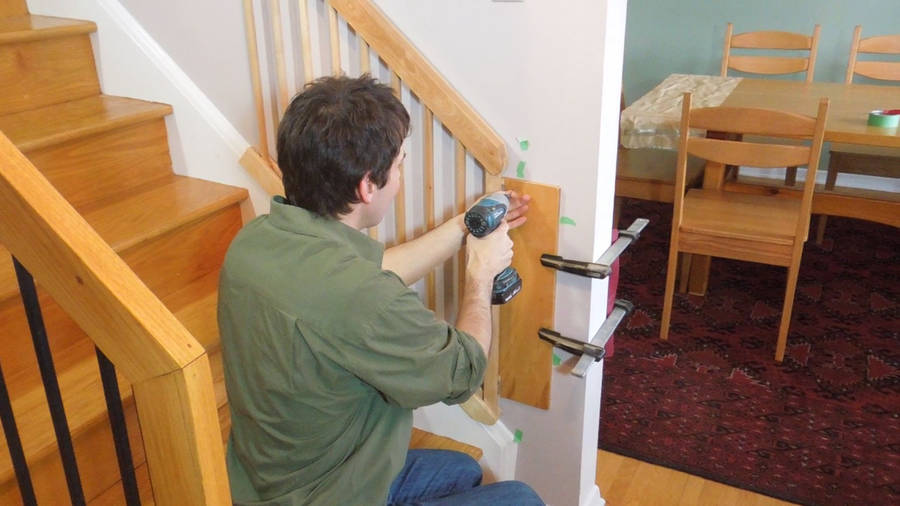 We first attached the mounting plate with some clamps to check the fit. We also marked the location of the
stud with some green tape. Here, I'm drilling a pilot hole through the mounting plate and the drywall.
Drywall (or plaster) suffers less damage if you drill pilot holes for screws and nails.
We first attached the mounting plate with some clamps to check the fit. We also marked the location of the
stud with some green tape. Here, I'm drilling a pilot hole through the mounting plate and the drywall.
Drywall (or plaster) suffers less damage if you drill pilot holes for screws and nails.
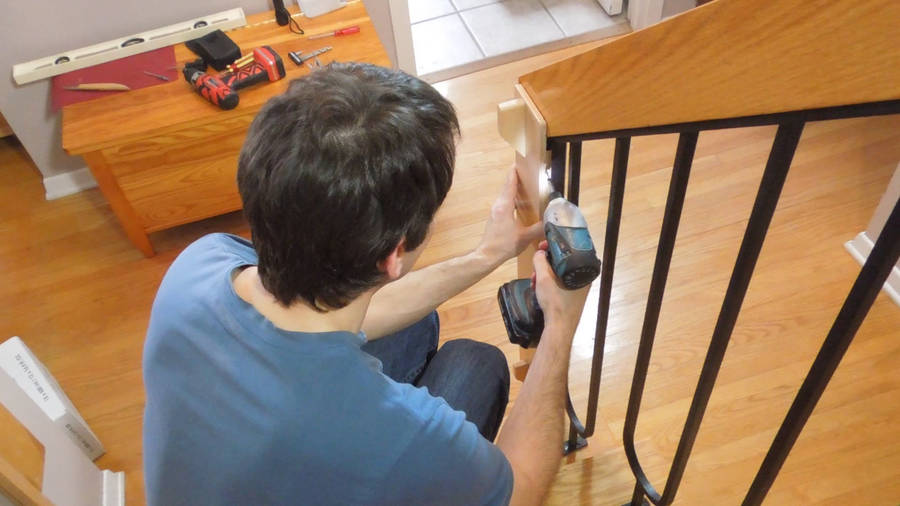
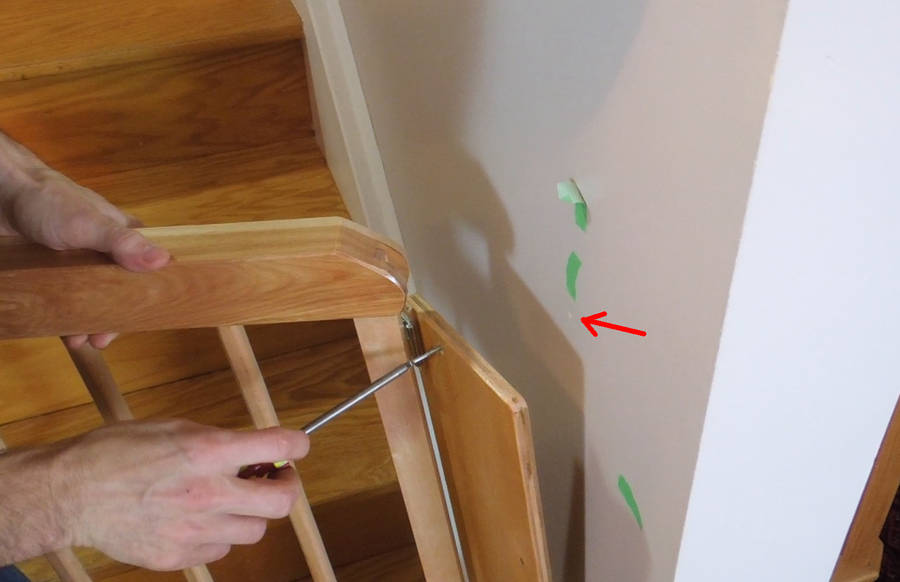 Now I'm using a #8 wood screw to screw the plate straight into the stud.
Because I'm screwing into the stud, the screw will have plenty of hold, no need for a drywall anchor. This means the hole only needs to be as large as the screw. This will make it easier to patch the wall when the gate is no longer needed.
 I also needed to add some tabs for the gate to hook into on the banister side.
I wanted to screw these straight into the banister, but Markus was very concerned about the ugly holes that would leave once the baby gate is removed.
So I mounted the blocks onto a piece of plywood. I glued a rail to the edge of the plywood, and screwed that to the back of the banister. This still leaves two small screw holes, but not where you would normally look.
Except, I actually drilled four holes because I mounted the plywood too low initially. Oops!
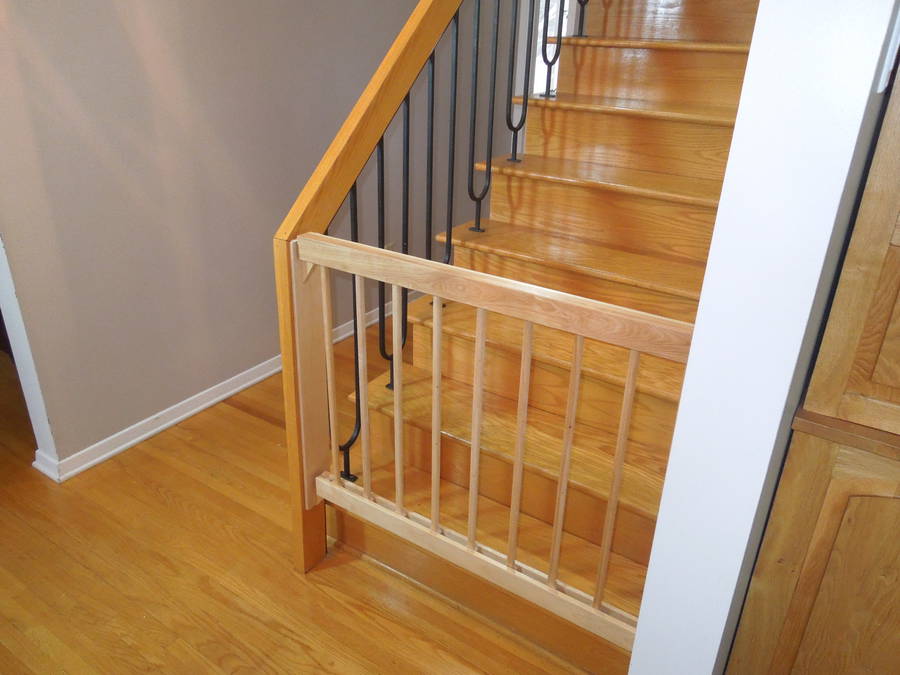
 Gate installed. It's hard to get a good photo showing how the gate works. Here, I lifted it straight
up, but without depth cues, the eye just assumes that the parallelogram effect must be due
to perspective, so it looks all wrong.
Gate installed. It's hard to get a good photo showing how the gate works. Here, I lifted it straight
up, but without depth cues, the eye just assumes that the parallelogram effect must be due
to perspective, so it looks all wrong.
 After installing the gate, we realized the most natural way to temporarily open it
when passing through is to open it outwards. Swinging it up the stairs is too
far a swing, and swinging it upwards is counterintuitive.
Swinging it out by just 30 degrees makes plenty of room to pass.
After installing the gate, we realized the most natural way to temporarily open it
when passing through is to open it outwards. Swinging it up the stairs is too
far a swing, and swinging it upwards is counterintuitive.
Swinging it out by just 30 degrees makes plenty of room to pass.
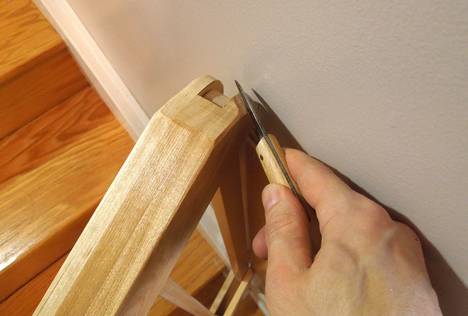
I really hadn't planned for the gate to swing outwards at all, but the way I mounted the hinges allowed the gate to swing out by about 45 degrees, but not without the ends of the horizontal rails gouging into the walls. So I carved those back with a carving knife (Always bring a carving knife when doing installations!). Had I anticipated this, I would have spaced the hinges about 1 cm further from the walls. That would have allowed the gate to swing a full 180 degrees.
 Gate closed.
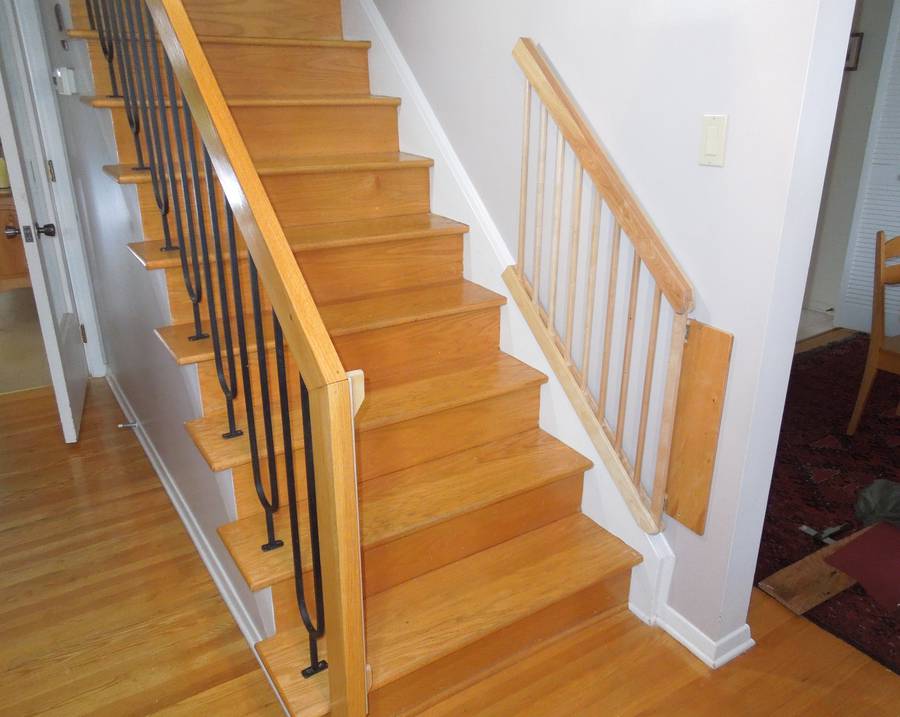 Gate opened and parked on top of the stair stringer.
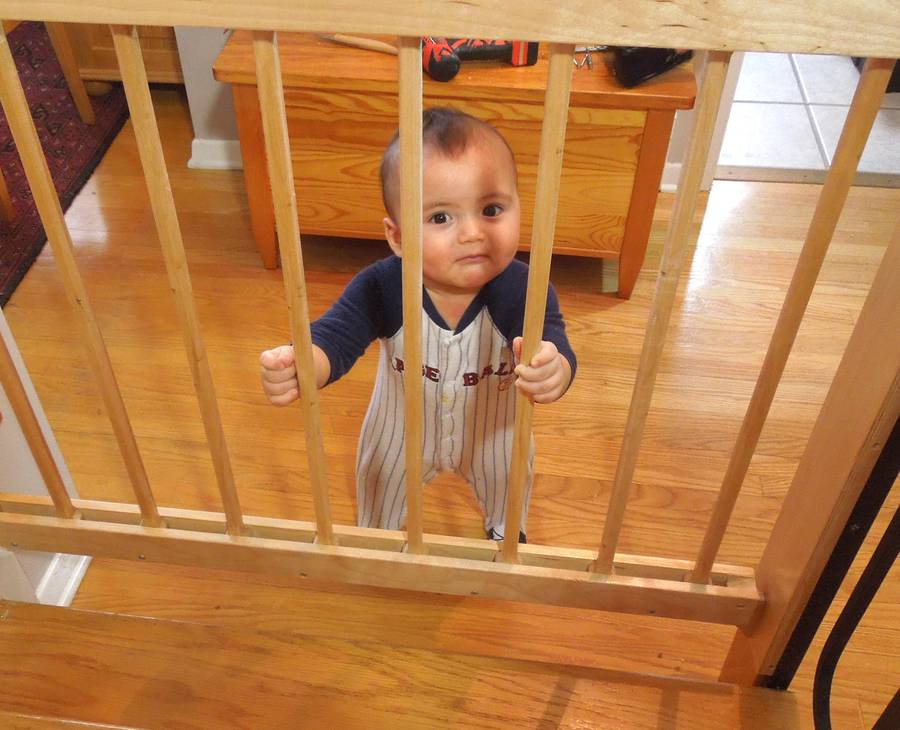
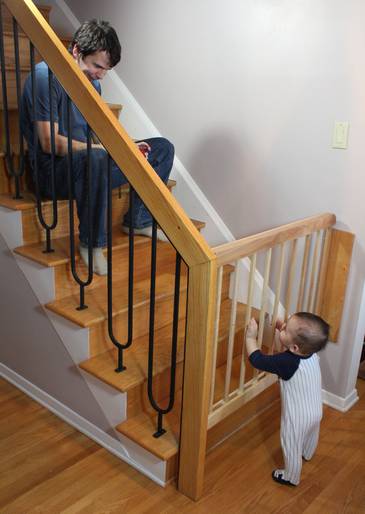 Access denied! Muahahahah!
Funny facial expression here on Max, but he really didn't mind the gate at all. In fact, Markus had to put him there to get that shot, and I just snapped a whole bunch of pictures, and in one of them he had this expression on his face. I suspect Max was more worried about sitting down without falling than about the gate (his standing is still a little wobbly). That, or maybe he really did understand my taunting him! :)
Update 2015:
I first published this in 2013. The article and video have not been my most popular
ones in terms of views, but the concept has been copied a number of times, including
George's baby gate, this
and several on Youtube:
Here,
Here,
Here and
Here. I guess
the design fills a need, even if it's not the most entertaining topic.
See also:
 George's paralleogram
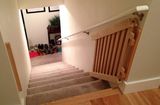 Kyle's paralleogram
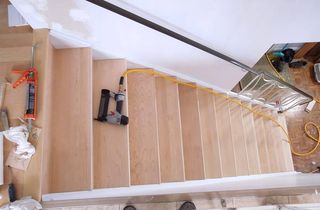 New treads for old stairs
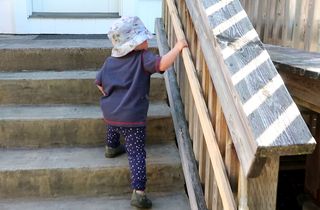 Toddler stair handrail
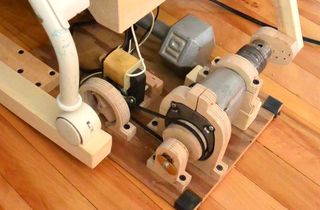 Baby rocking machine
 Baby proofing
  Wood stove baby fence (hearth gate)
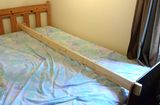 Bed baby fence
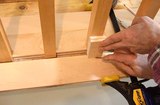 Hardwood flooring around stair spindles
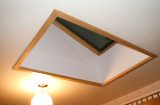 Skylight installation
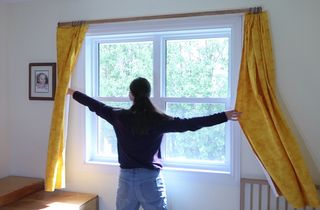 Making curtain rods
 Porch stairs
 Building a bed loft
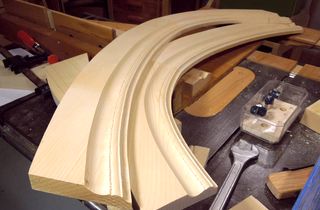 Making curved molding
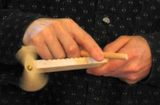 Wooden toys