We are getting some hardwood flooring installed in parts of the
house we are moving to.
A flooring company quoted an extra $700 to have the stair railing removed
and re-installed after the flooring installation was complete, and
over a hundred dollars for bull-nose trim material.
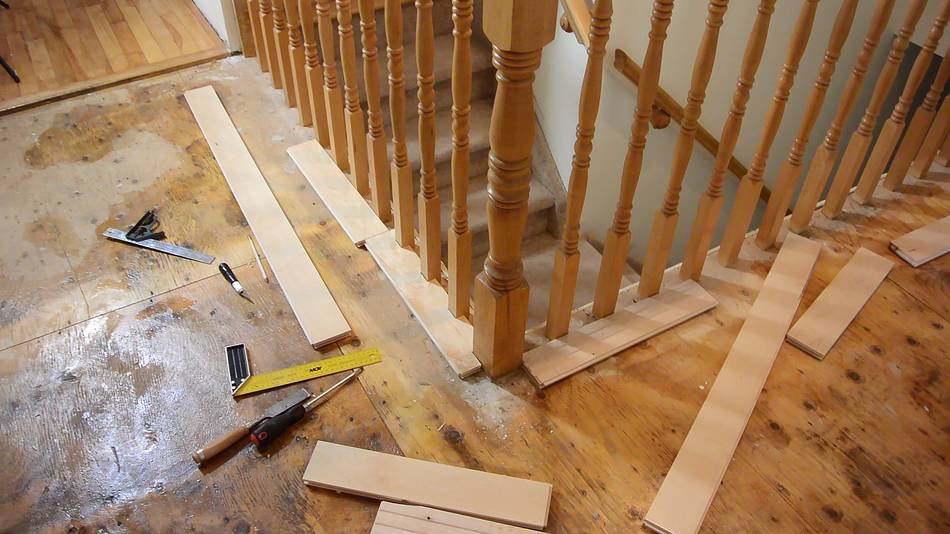
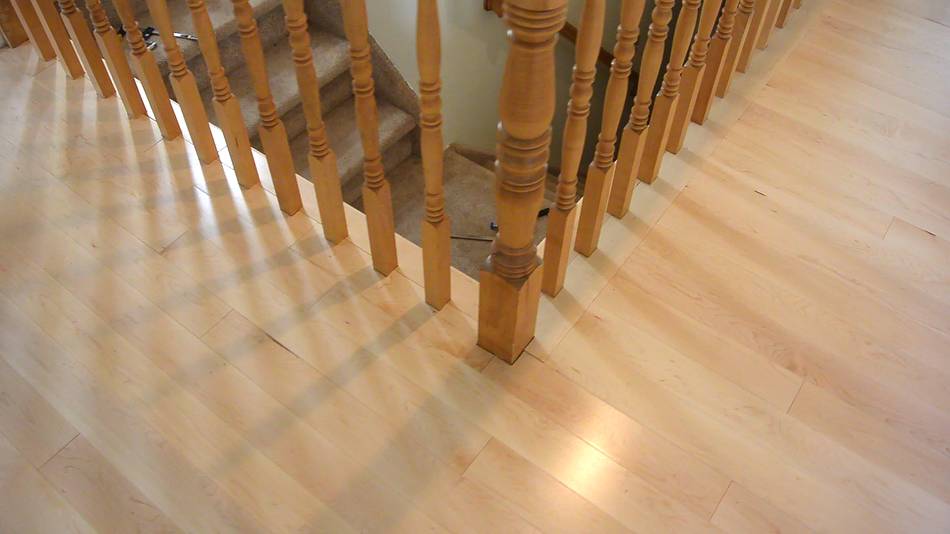
That seemed a bit much, and I didn't like the idea of having the railing
torn apart and put back together, so I decided to experiment with
fitting the flooring around the stairs instead.
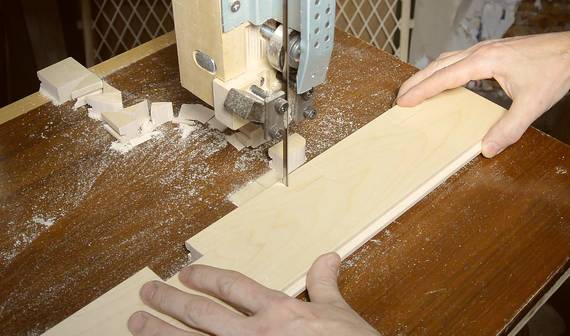
I figured the easiest way was to mark where the spindles go on the flooring
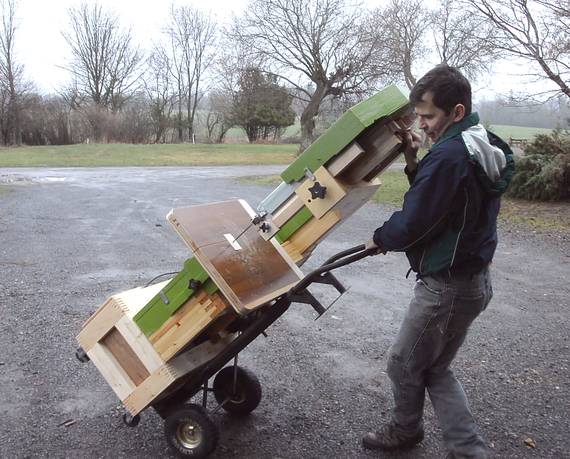
and then cut that out on the bandsaw. Fortunately, my
workshop is close by, so I could
just wheel my bandsaw
into the house's garage to have it nearby.
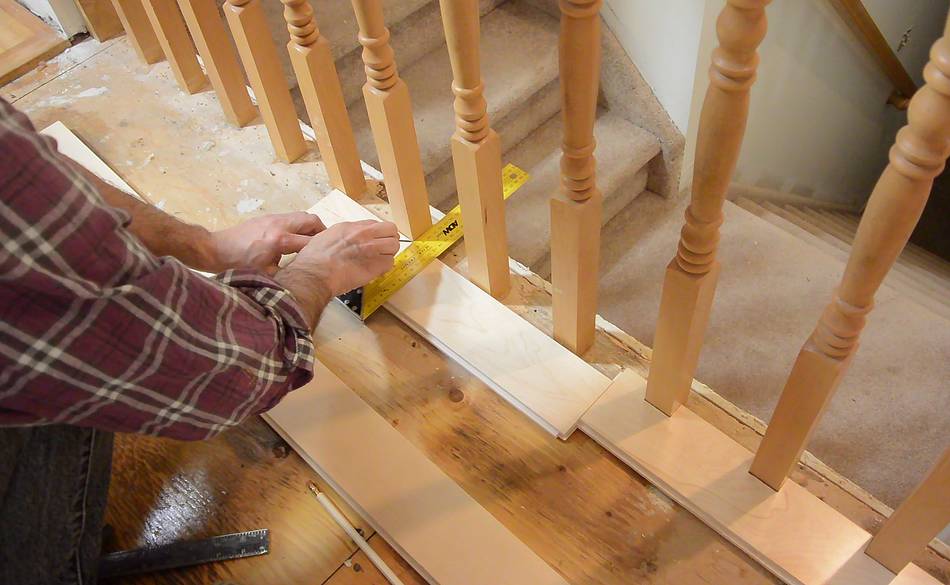
I used a square to transfer the lateral position of the spindles to the floor
boards, then cut that out on the bandsaw. I didn't leave much slack
so it usually took a few checks and more trimming to get the pieces
to fit.
I cut all the notches to the same depth, but then realized the spindles were not
in a perfect straight line. I tried knocking one of the spindles to get
it more in line, but it wouldn't budge.
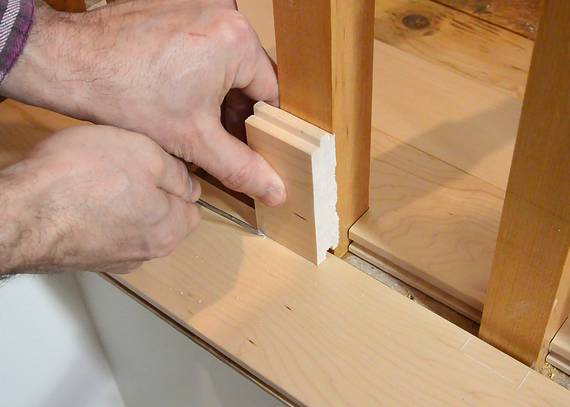
So then I pressed a round pencil against the spindle, using the thickness of
the pencil to mark an offset in each notch, then cut to the pencil line with
the bandsaw.
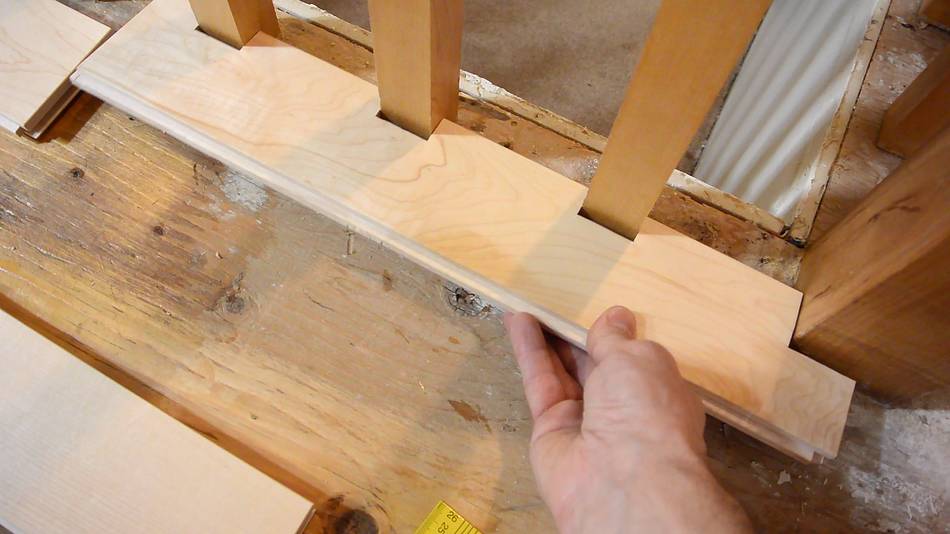
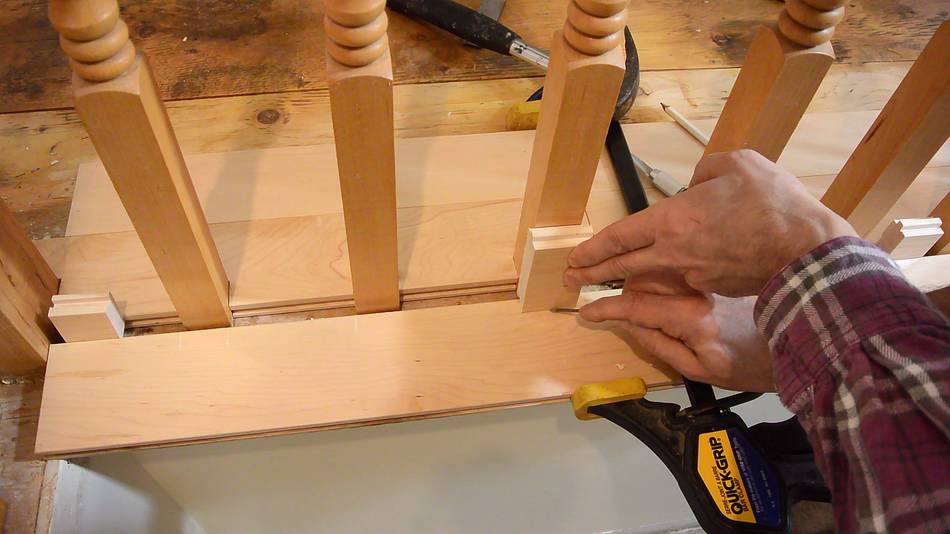
For the board that goes on the other side, I used a few pieces of flooring as a
spacer, then used another piece of flooring the same thickness to mark how deep
the notches need to go. That way I had the depth of the notches marked
to fit the spindles to begin with.
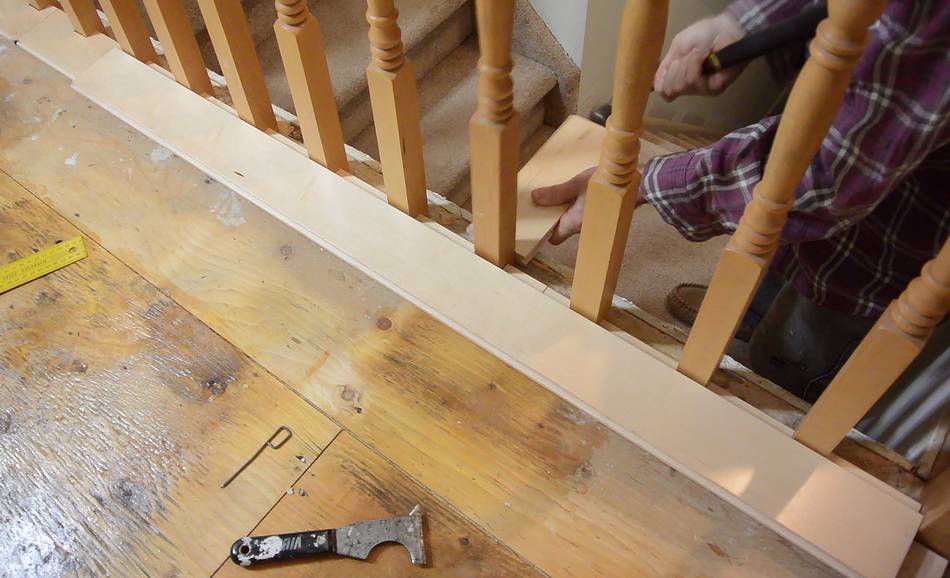
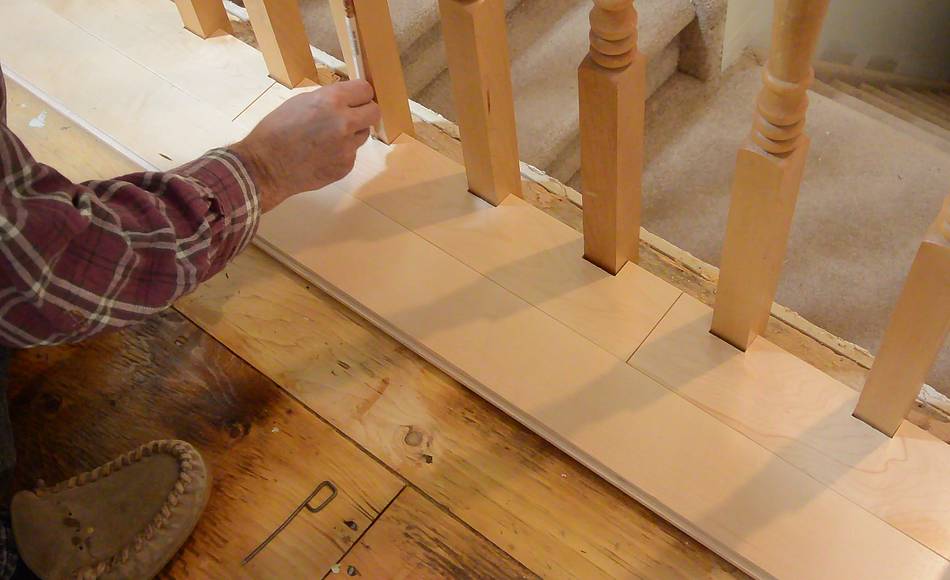
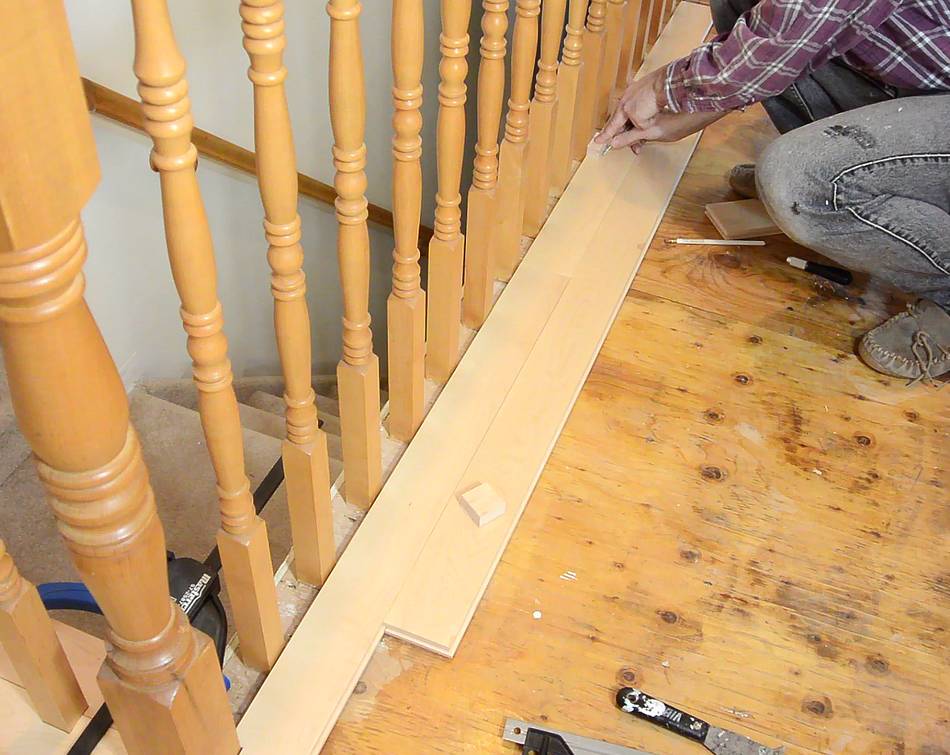
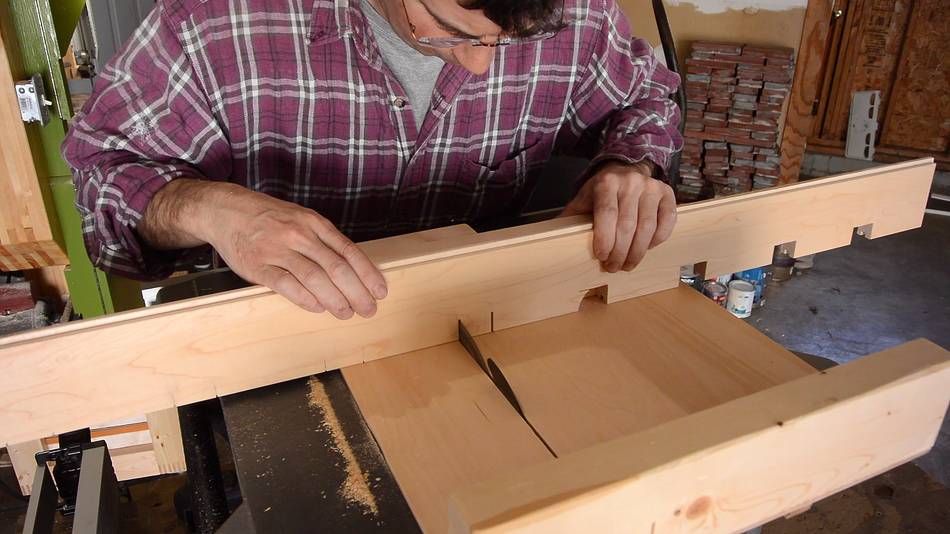
For the long row of spindles I used two boards, with another board pressed
against them to make sure it was in a straight line. Here marking the first
board to go on. I used a piece of flooring to mark an offset
from each spindle for the notches.
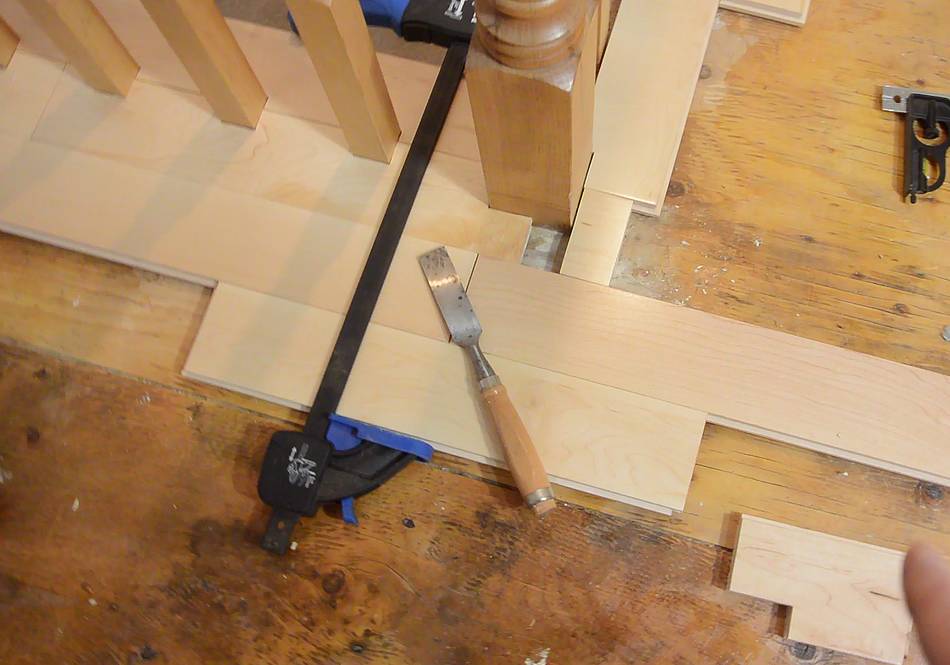
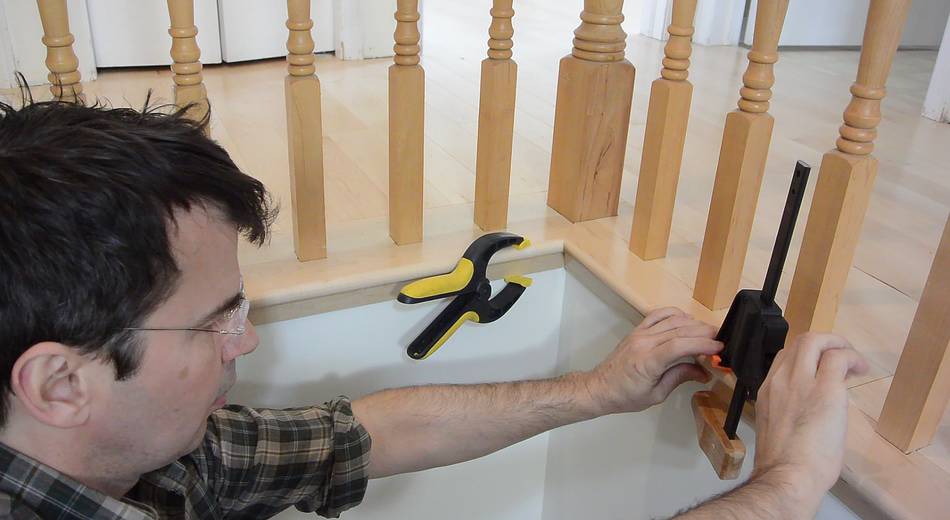
I had to make sure the end of the board would line up with
how the flooring would run, so I temporarily placed a few floor boards,
held together with a clamp, to determine where the board should end.
In retrospect, I should have made both boards longer and meet in a 45°
miter, but I thought of that too late.
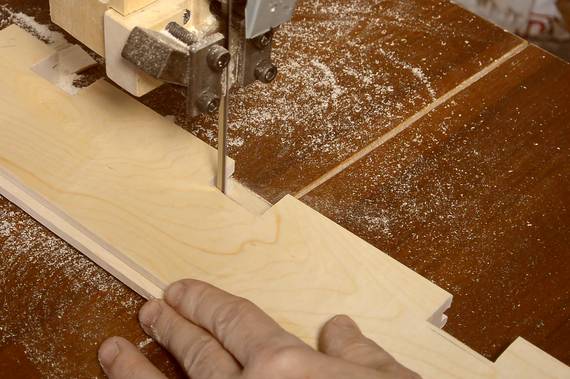
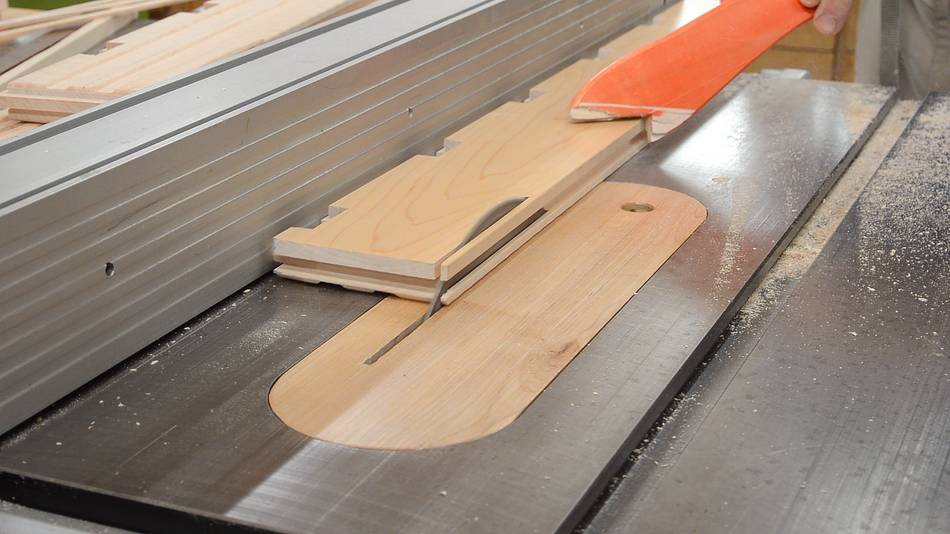
For the longer boards, I couldn't make a right angle cut with the
bandsaw, so I used a portable table saw
to cut the sides, then cut the bottom of the notches with a bandsaw.
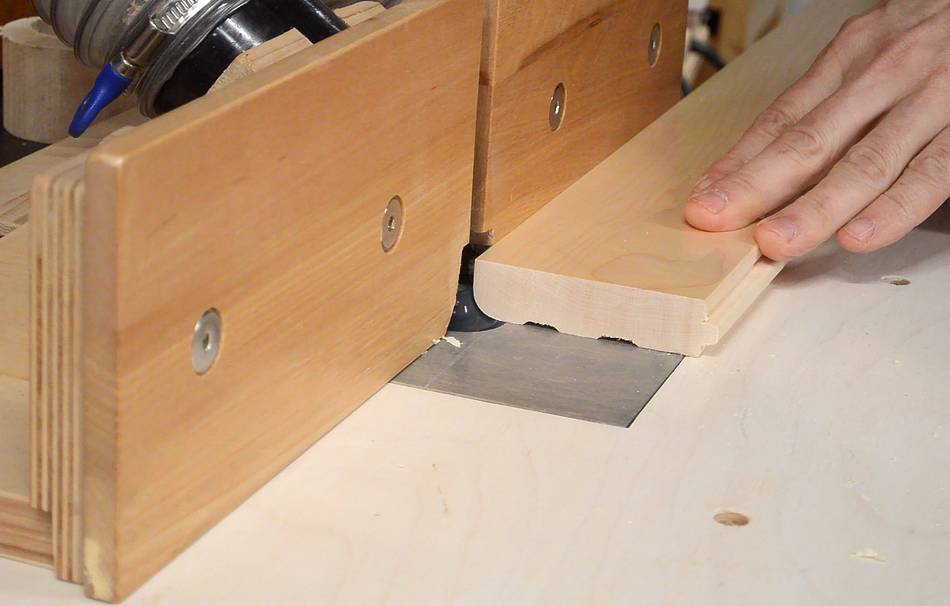
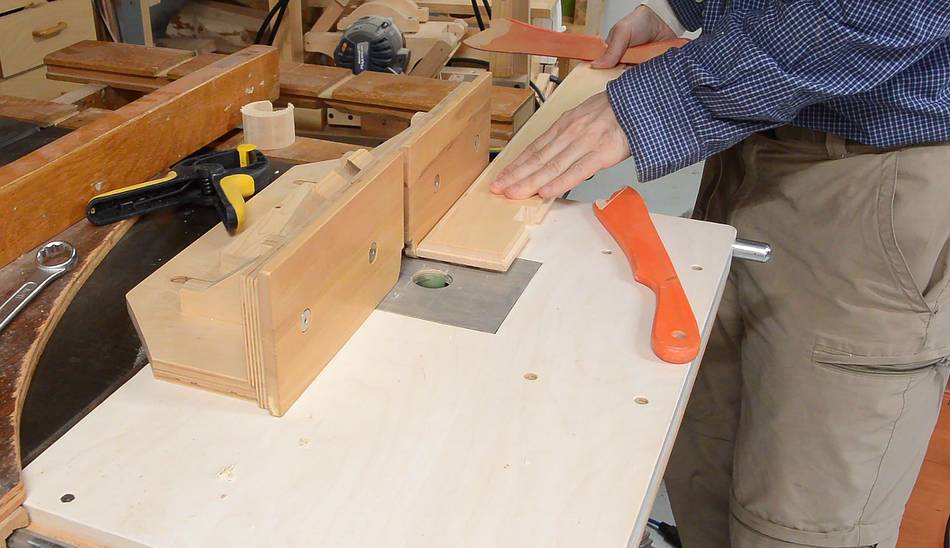
I needed a bull-nose profile for the part of the flooring that overhangs
the edge. I started by cutting the edges of the boards square
in my workshop at the old house.
I then used a 3/8" round-over bit from both sides to make a bull-nose
profile on the edge.
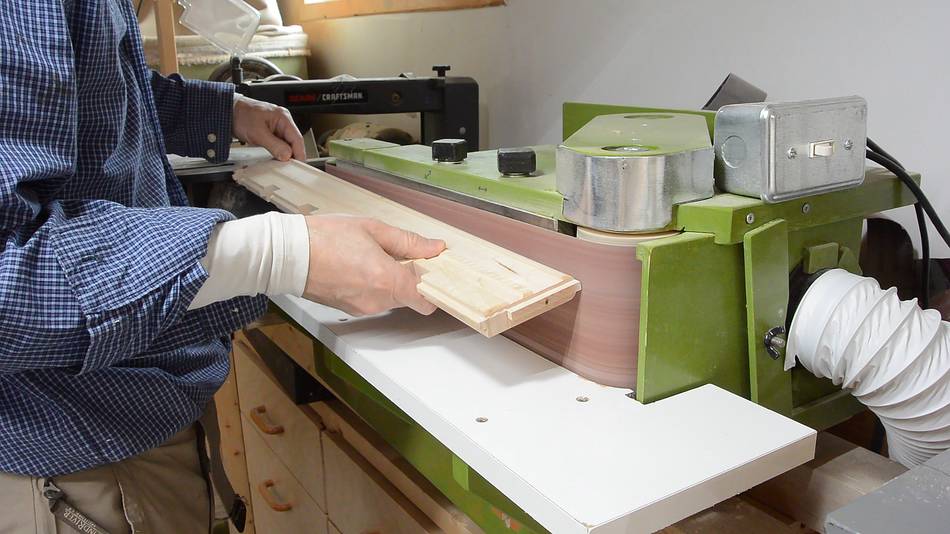
I sanded the transition between the two round-overs to make it smooth.
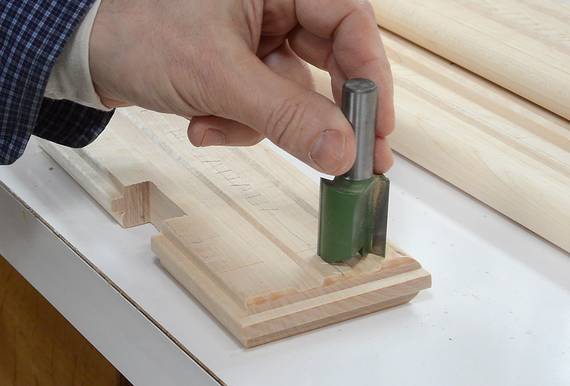
The bottom of the boards has grooves in it, but I needed a flat surface
to glue another piece of trim to the bottom. So I used a 1" diameter
router bit to cut a flat groove near the edge.
The 3/4" wide board in the 1" wide groove leaves a bit of slack for
adjusting where another piece of trim to go below will sit.
I opened up a number of bundles of the flooring before the flooring contractor
arrived. The flooring pieces come in random lengths, and it occurred to me
that with enough optimization, much of the floor could be laid without
making any cuts. I sorted a lot of the shorter flooring pieces by length
and started to lay some of it out.
Of course, the flooring guys didn't have time for that sort of optimization.
When they get to a wall, they cut whatever length they need, then use the
rest of the board to start the next row.
Overall, they did an excellent job.
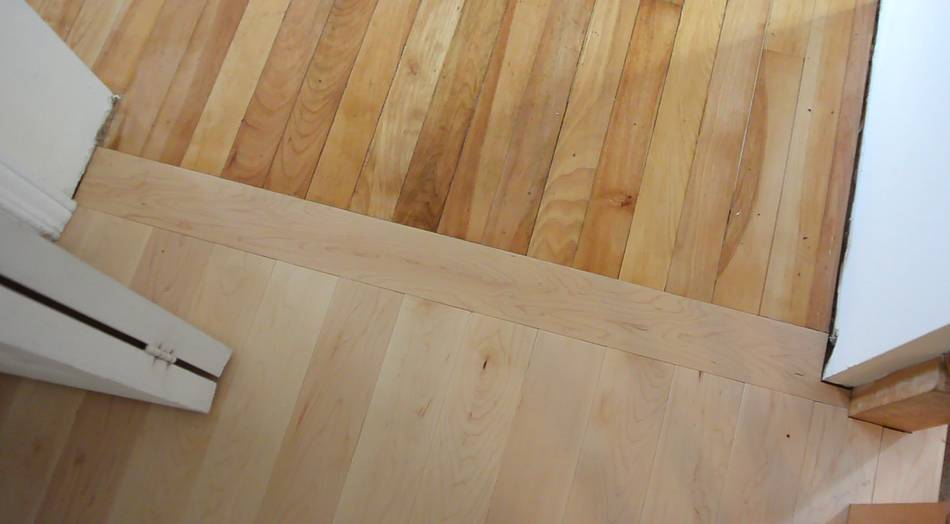
They would have charged extra for any transitions where the new flooring
meets existing or other types of flooring. So I made these pieces
while they laid the rest of the flooring.
Normally, hardwood flooring is always nailed diagonally through the
"tongue" of the boards. But this only works if boards are added
to the tongue side.
But not all floors can be done working in only one direction. Sometimes
it's necessary to work in the opposite direction, especially if the floor
spans multiple rooms and closets.
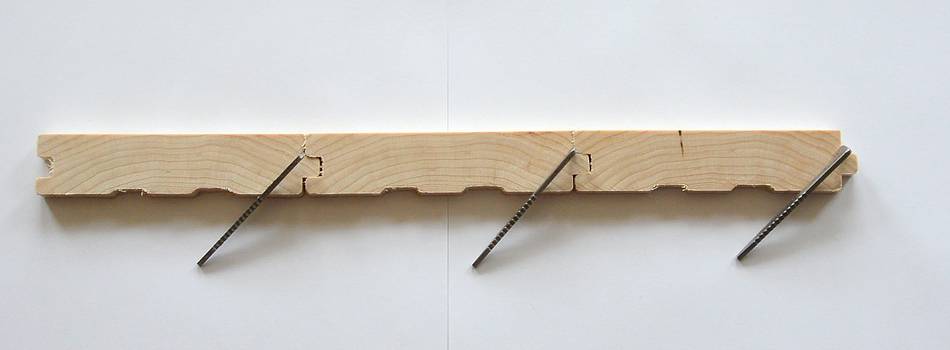
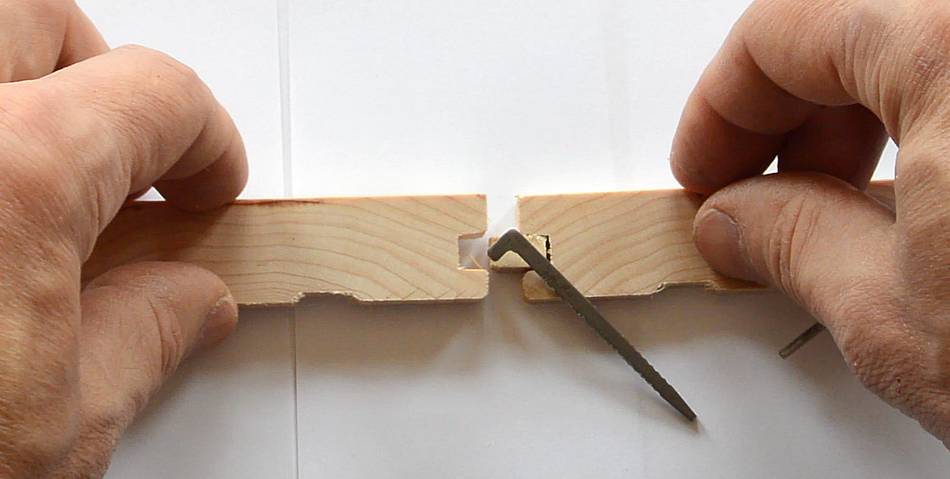
When reversing direction, they reverse the orientation of the boards by
inserting an extra strip of wood to effectively make the board have two
tongues on it. The strip is glued in, then nailed through.
You may wonder how one would handle having two tongues facing each other,
but that never happens because boards are always added on the
tongue side, so when you have to reverse direction its always
with the groove facing the groove.
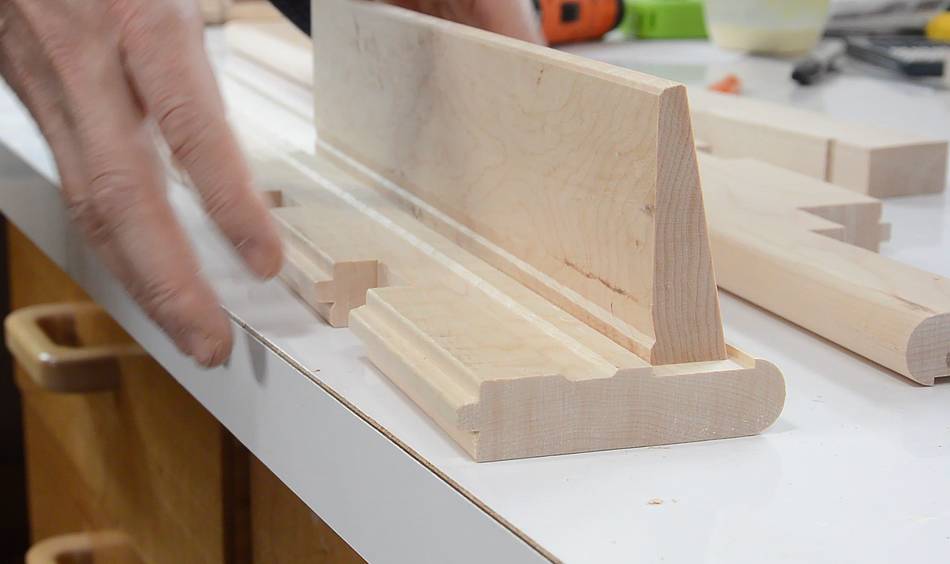
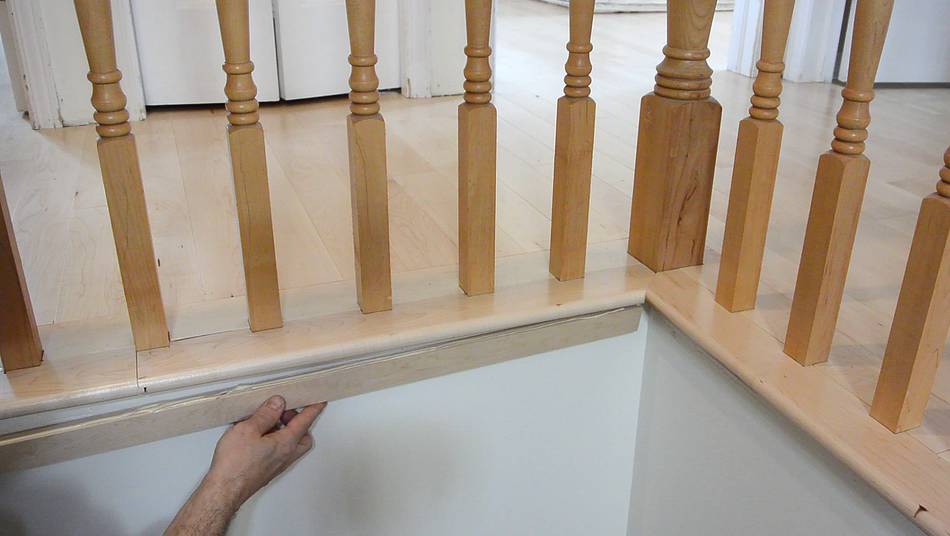
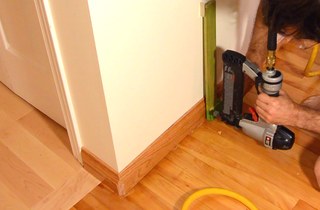
With the rest of the flooring done, I could glue the extra trim
pieces on the bottom. I just glued these on with carpenter's
glue. I was initially going to brad nail these on, but clamping them
on while the glue dried made that unnecessary.
These pieces give the edge a more satisfying look and also
cover the top edge of the drywall which was previously hidden by
the carpeting.
 We are getting some hardwood flooring installed in parts of the
house we are moving to.
A flooring company quoted an extra $700 to have the stair railing removed
and re-installed after the flooring installation was complete, and
over a hundred dollars for bull-nose trim material.
We are getting some hardwood flooring installed in parts of the
house we are moving to.
A flooring company quoted an extra $700 to have the stair railing removed
and re-installed after the flooring installation was complete, and
over a hundred dollars for bull-nose trim material.


 Installing baseboards
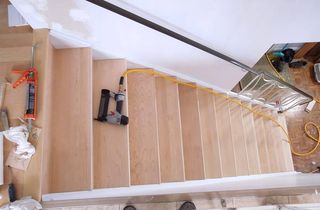 New treads for old stairs
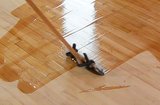 Hardwood floor refinishing experiments
 How long for floor boards to acclimatize -- experiments
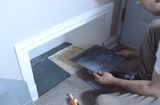 Installing a boot nook
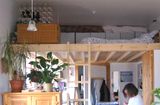 Building a bed loft
 Parallelogram baby gate
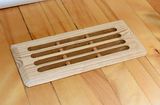 Furnace vent grill