I have seen a number of "homemade table saw" projects on YouTube, which mostly consist of
bolting a handheld circular saw to the bottom of a piece of plywood. That works well enough,
but making depth adjustments is difficult, and tilting the saw usually impossible.
I have seen a number of "homemade table saw" projects on YouTube, which mostly consist of
bolting a handheld circular saw to the bottom of a piece of plywood. That works well enough,
but making depth adjustments is difficult, and tilting the saw usually impossible.
So I set out to see how good a "table saw" I could built from a circular saw.
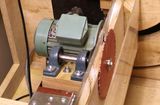
I started by removing the shoe, adjustment mechanisms, and blade guard from a Makita circular saw. The Makita is a nice saw to use for this because it's fairly good quality and is less loud than other saws.
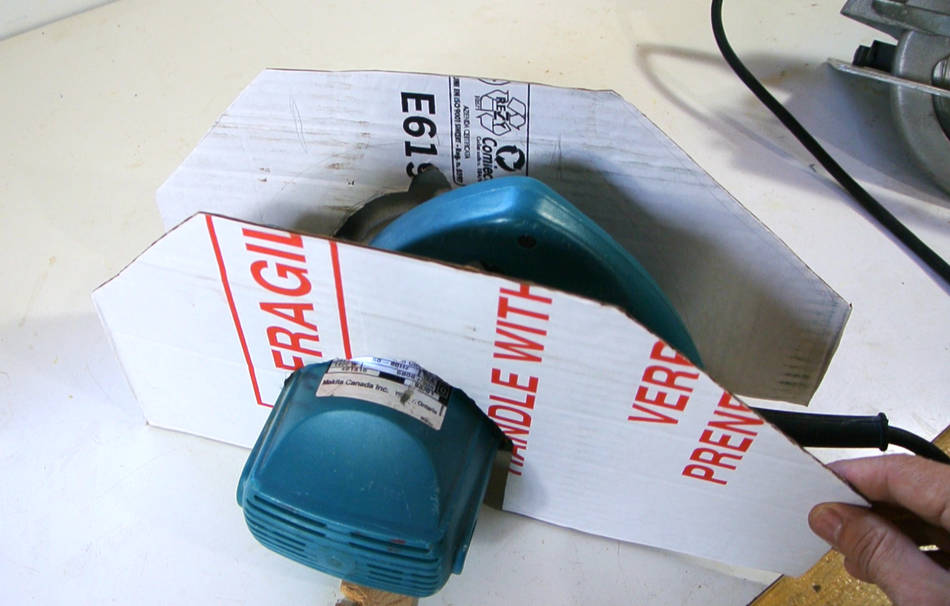
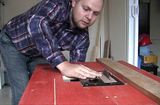
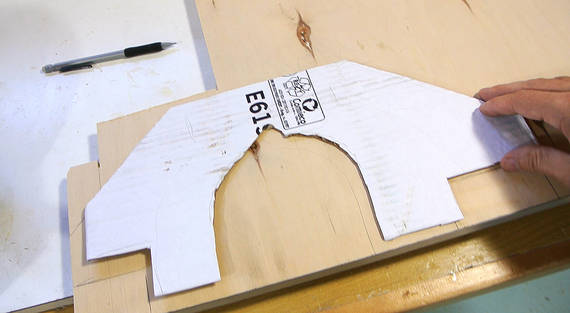 This was the sort of project that's mostly experiment. So I started by making some cardboard
cutouts to go around the saw, just to visualize what shape of plywood I needed. I then
drew the shape of these pieces on plywood...
This was the sort of project that's mostly experiment. So I started by making some cardboard
cutouts to go around the saw, just to visualize what shape of plywood I needed. I then
drew the shape of these pieces on plywood...
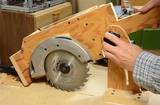
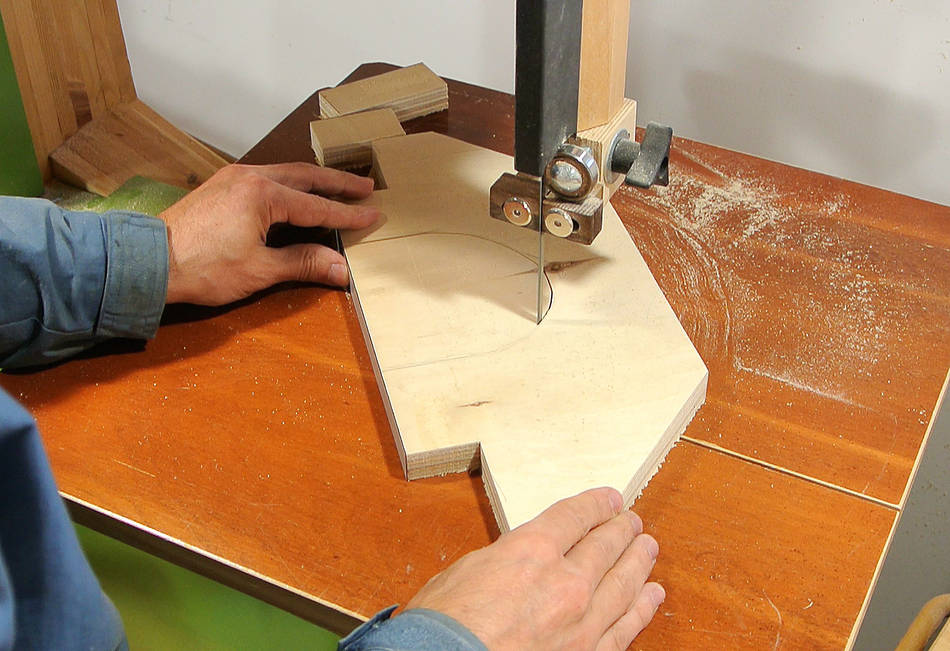 ...and cut that out on the bandsaw.
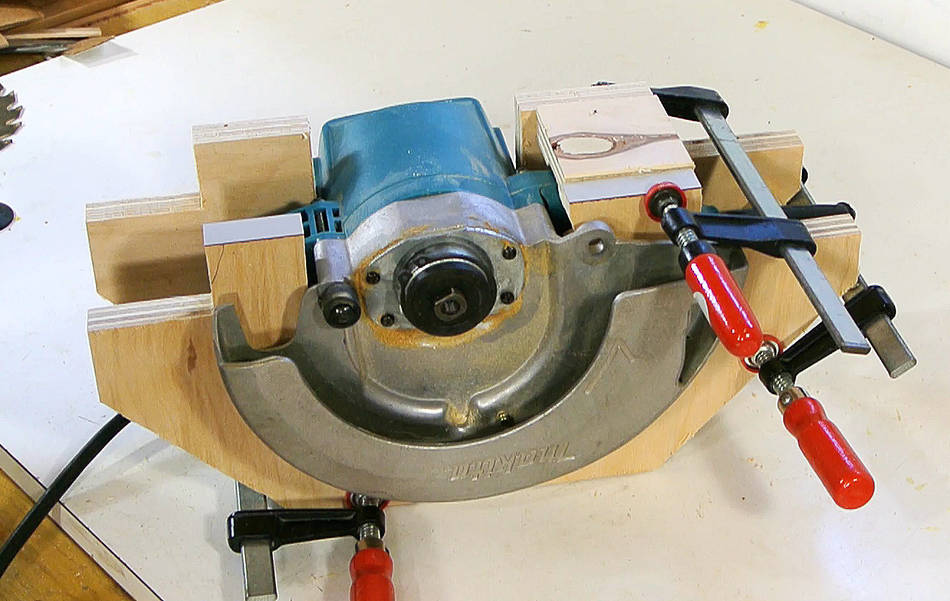
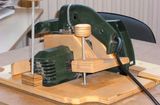
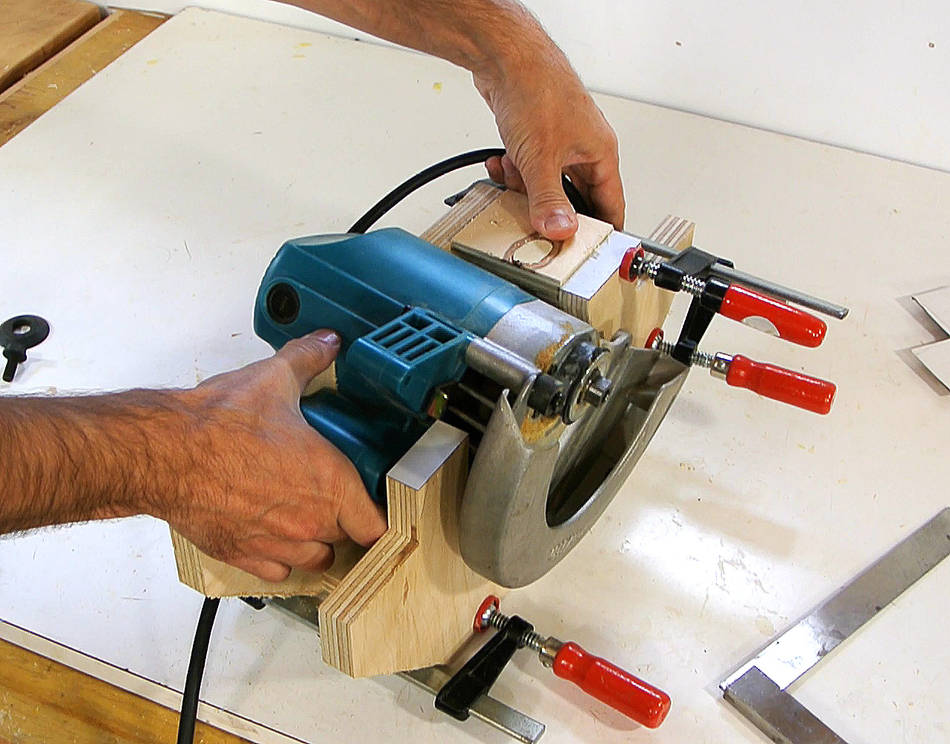
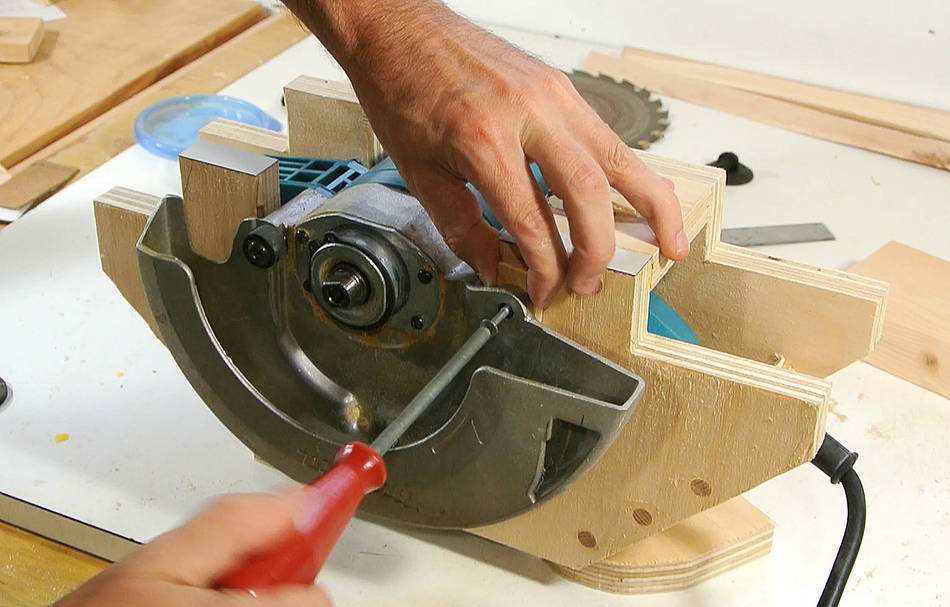
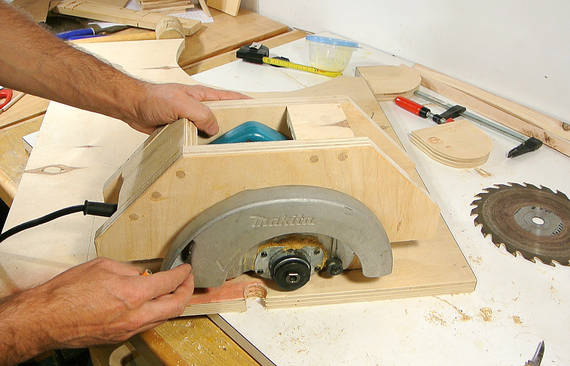
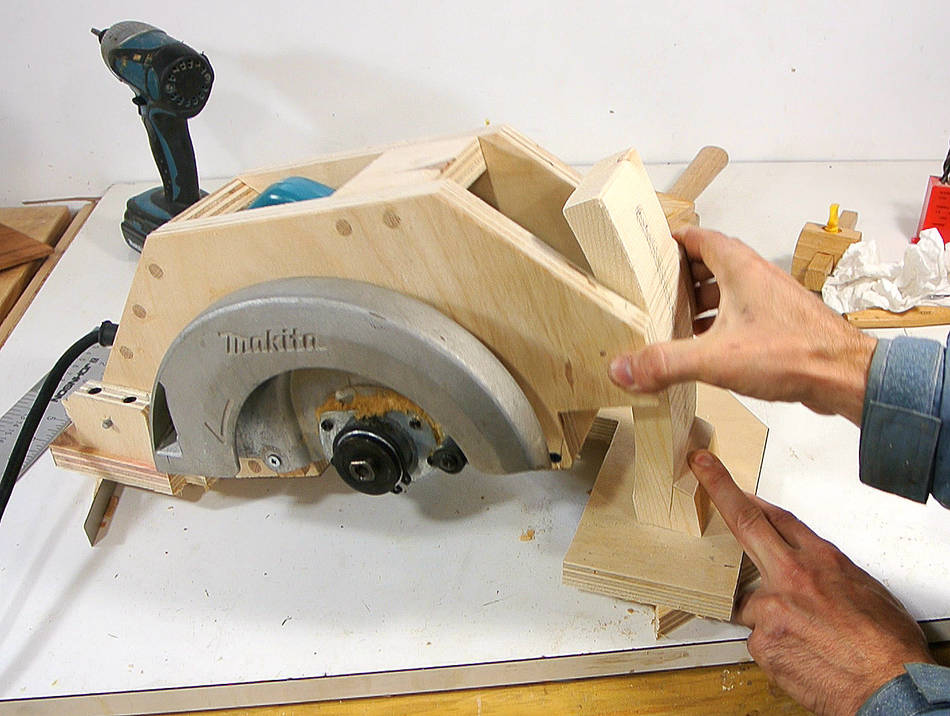
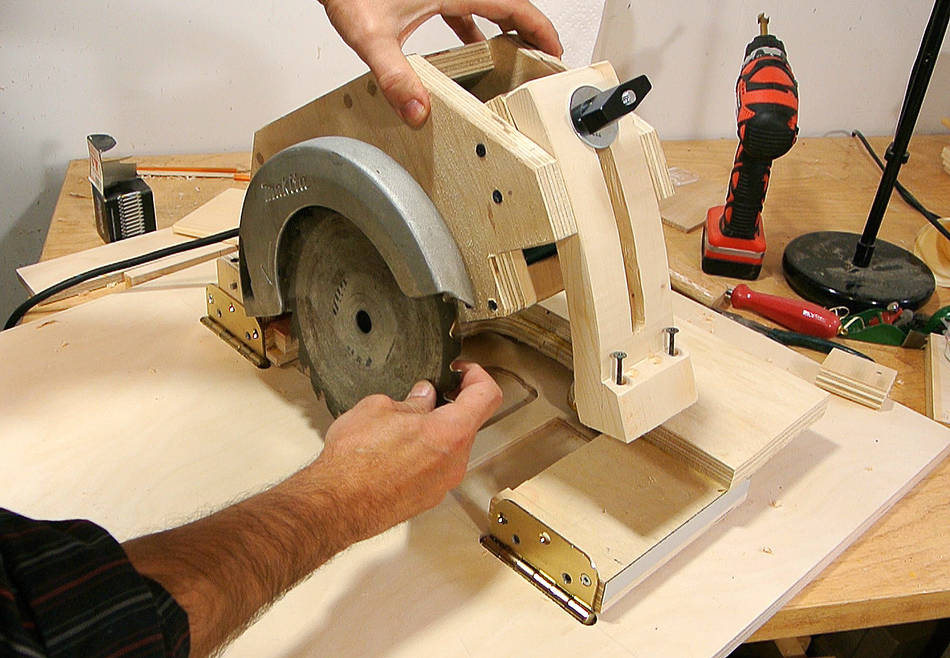
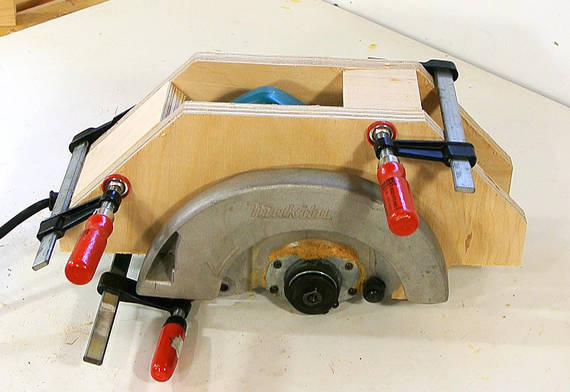 Checking how the pieces fit around the saw, just held together by clamps.
 Checking that the alignment is good, with the saw blade parallel to the plywood.
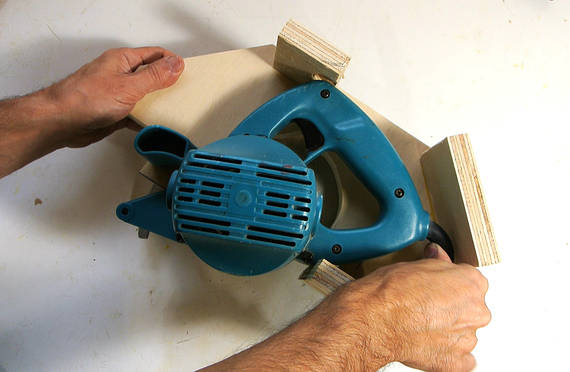 I also had to make sure I could still get the saw out without disassembling the bracket.
Otherwise, I wouldn't be able to get it back in once it's glued together.
I also had to make sure I could still get the saw out without disassembling the bracket.
Otherwise, I wouldn't be able to get it back in once it's glued together.
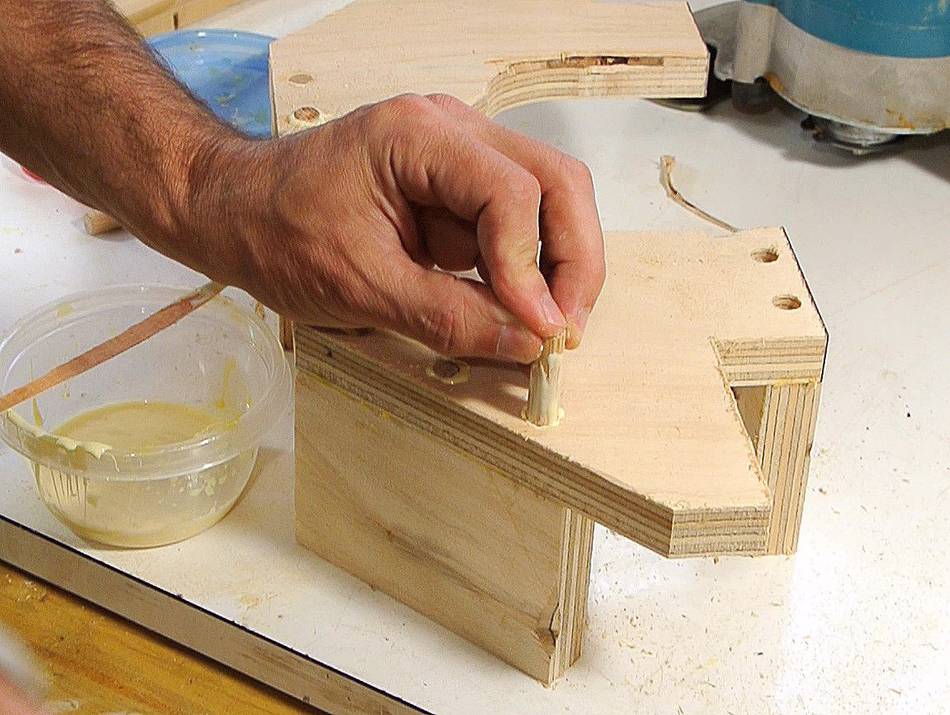
 I glued and doweled the bracket on one side, but only used screws on the other
side for the time being, in case I need to change anything.
I glued and doweled the bracket on one side, but only used screws on the other
side for the time being, in case I need to change anything.
 The only existing mounting hole on the saw that I could use was the one for the depth
adjustment.
The only existing mounting hole on the saw that I could use was the one for the depth
adjustment.
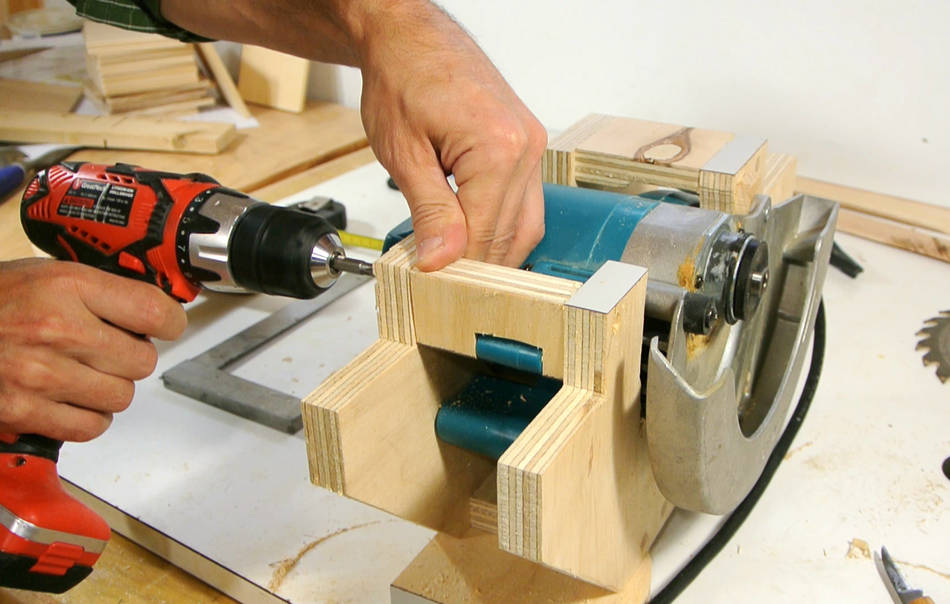
 The mount on the other side of the saw is kind of small. I cut a piece of wood
to fit around it, and screwed it in. This part has to be screwed in only, because
it needs to come out again to get the saw out.
The mount on the other side of the saw is kind of small. I cut a piece of wood
to fit around it, and screwed it in. This part has to be screwed in only, because
it needs to come out again to get the saw out.
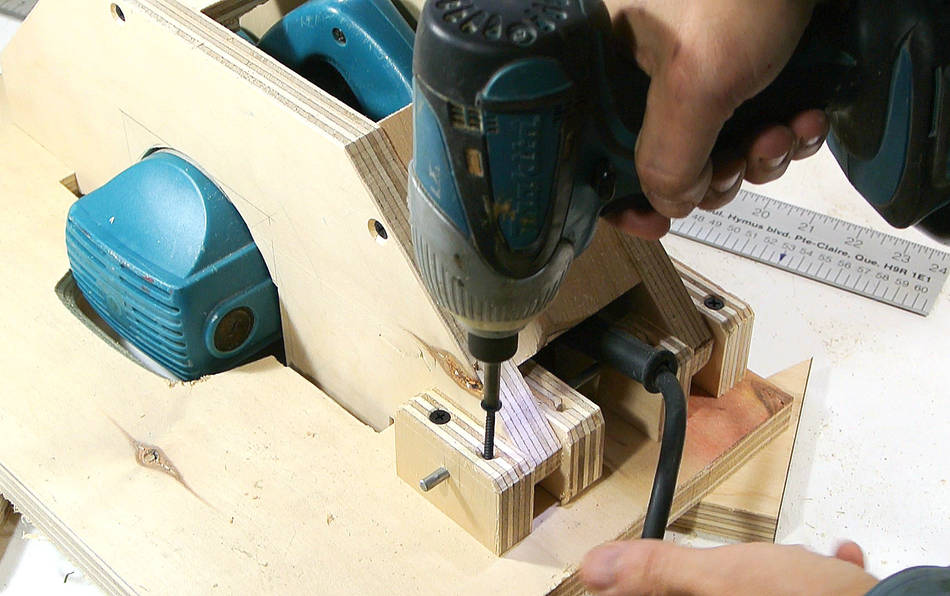
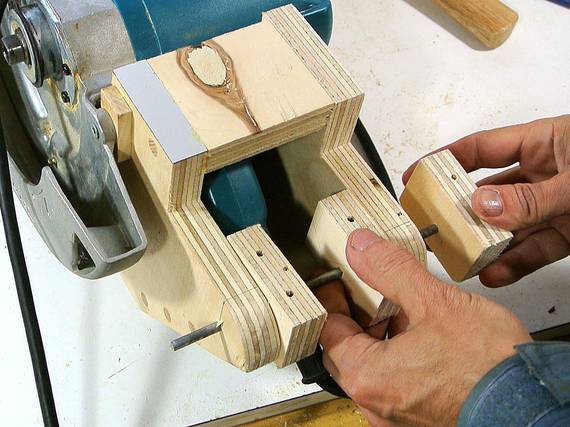 I put a pin through the mounts to act as a pivot for depth adjustment.
Some wooden blocks serve as the other part of this depth adjustment.
I put a pin through the mounts to act as a pivot for depth adjustment.
Some wooden blocks serve as the other part of this depth adjustment.
 Next challenge: A mechanism to lock the saw at a particular depth.
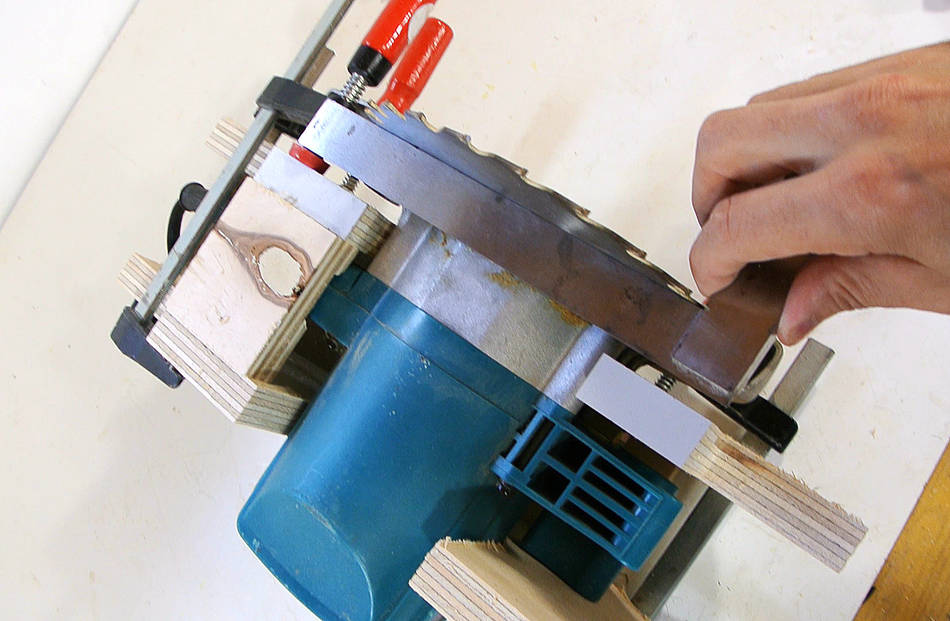
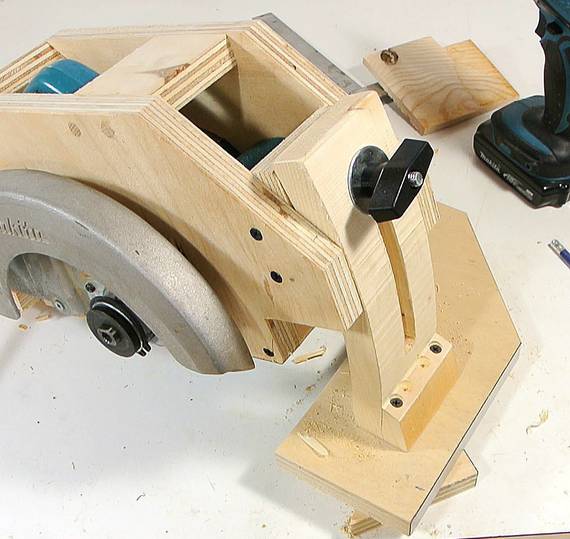
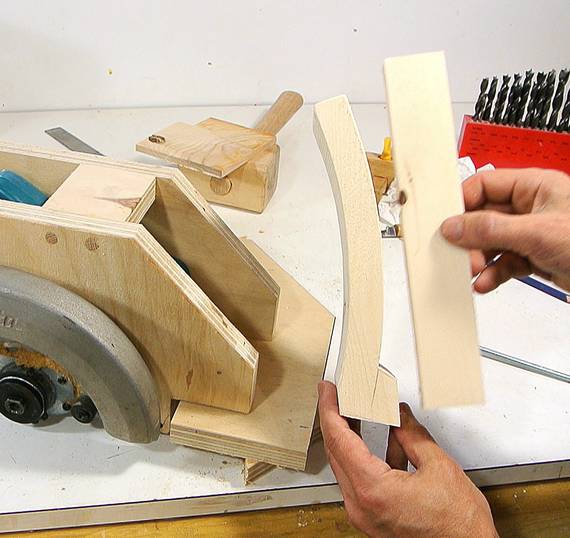 I spent some time thinking about how best to do this. In the end, I made a curved
piece of wood that would clamp to the mount with a knob.
I spent some time thinking about how best to do this. In the end, I made a curved
piece of wood that would clamp to the mount with a knob.
I was able to cut this piece out of a piece of 2x4 on the bandsaw.
 I cut the slot out of it with a jigsaw.
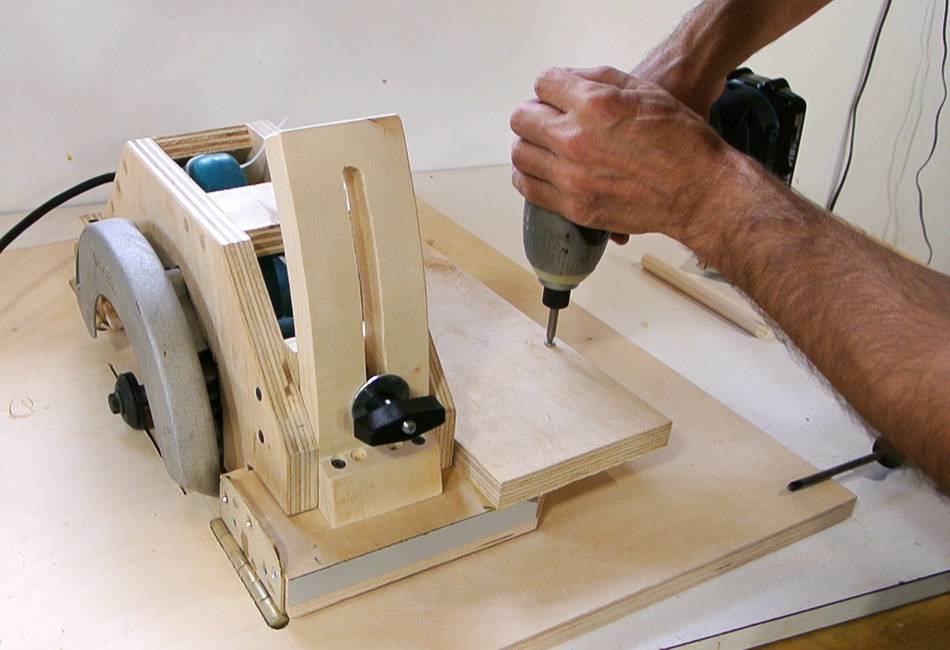
 then fitting it in place, with a knob and a piece of plywood behind it already in place...
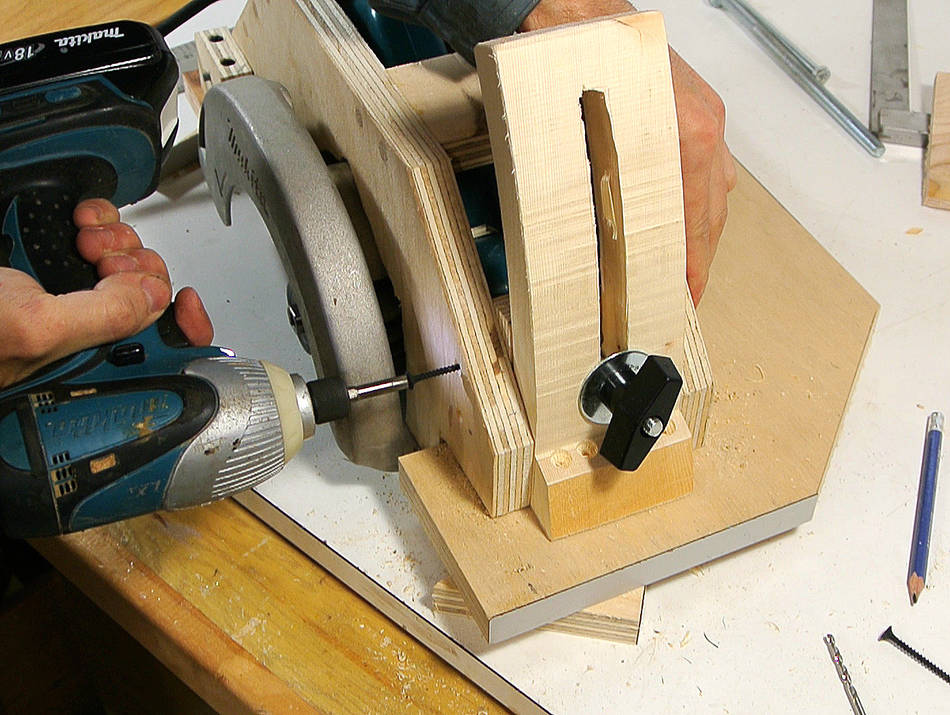
 Then screwing the piece of plywood in place.
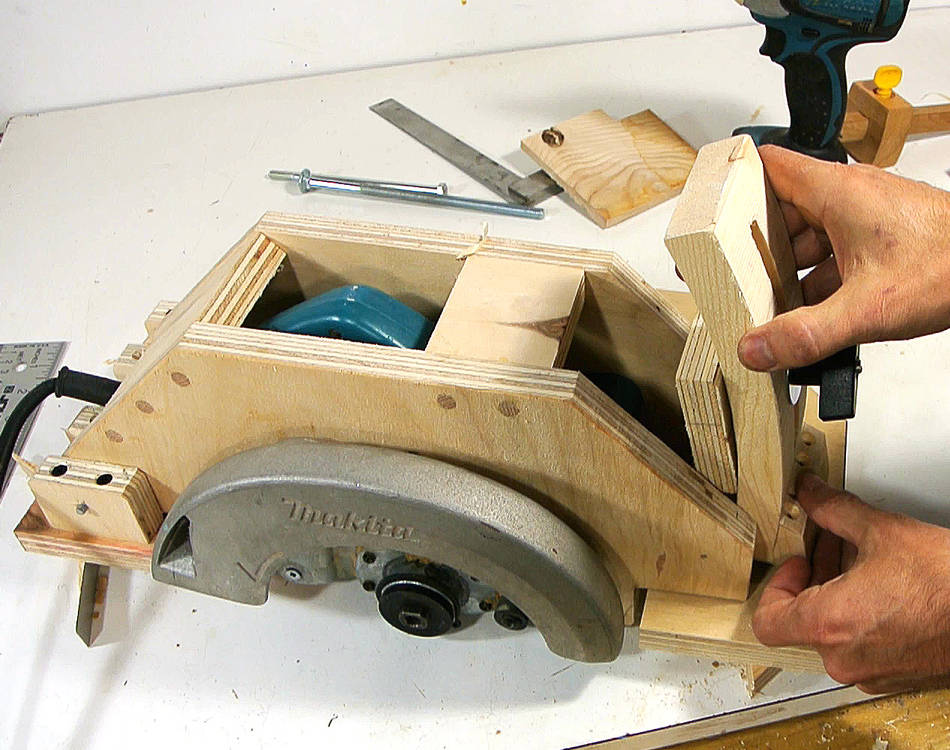
 Next, how to mount the hinges for the tilt mechanism?
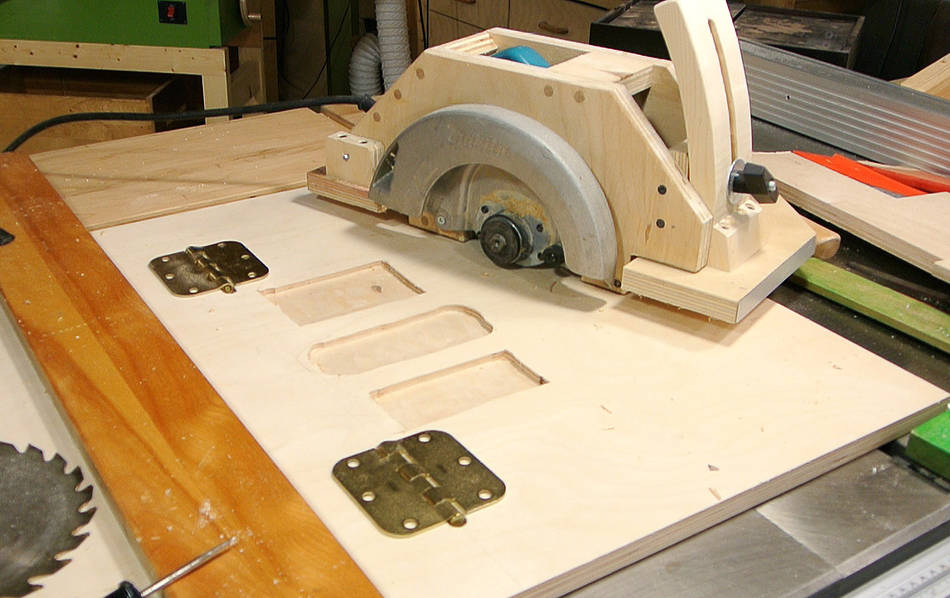
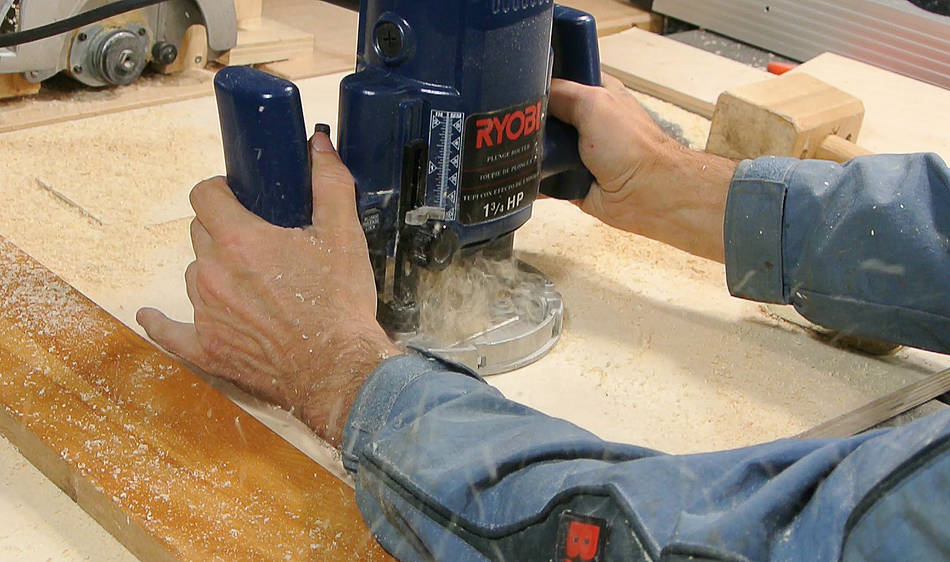 I routed some grooves for the pin of the hinges to fit into, and cavities for part of the saw mechanism
to fit into to get a bit more depth of cut out of this saw.
I routed some grooves for the pin of the hinges to fit into, and cavities for part of the saw mechanism
to fit into to get a bit more depth of cut out of this saw.
I really don't like working with a router. Dust flying everywhere. My fixed base routers, like this one are quite good at dust collection with the fixed base, but all my fixed routers are already mounted in jigs.
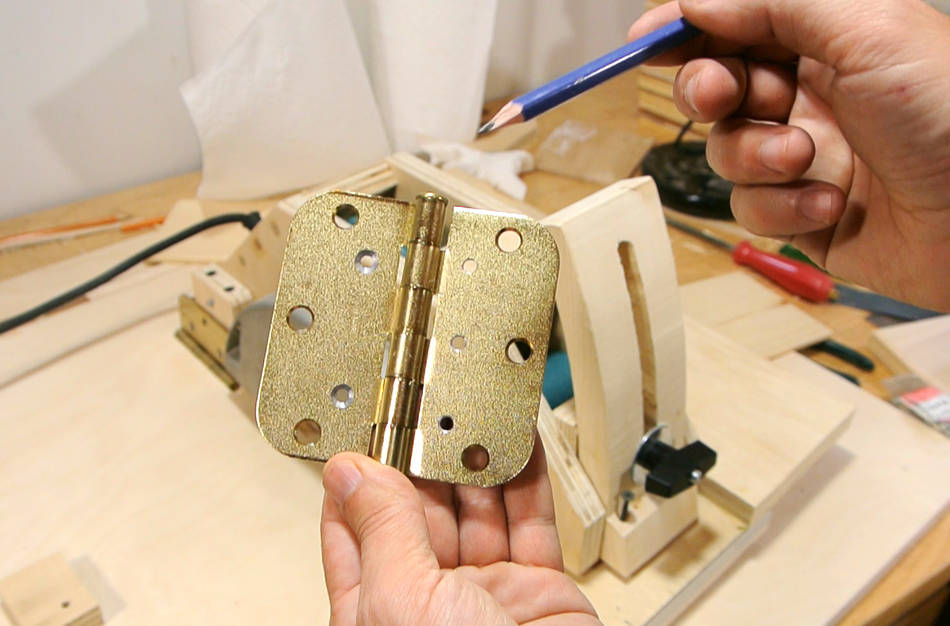
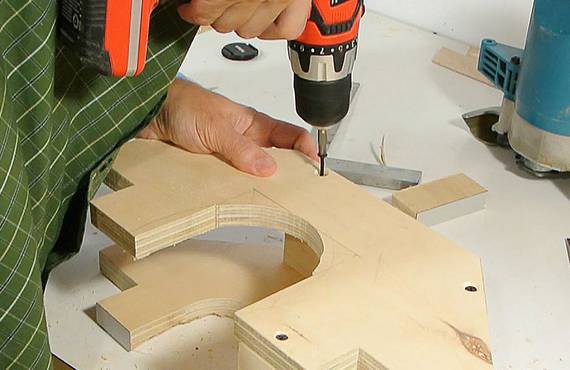
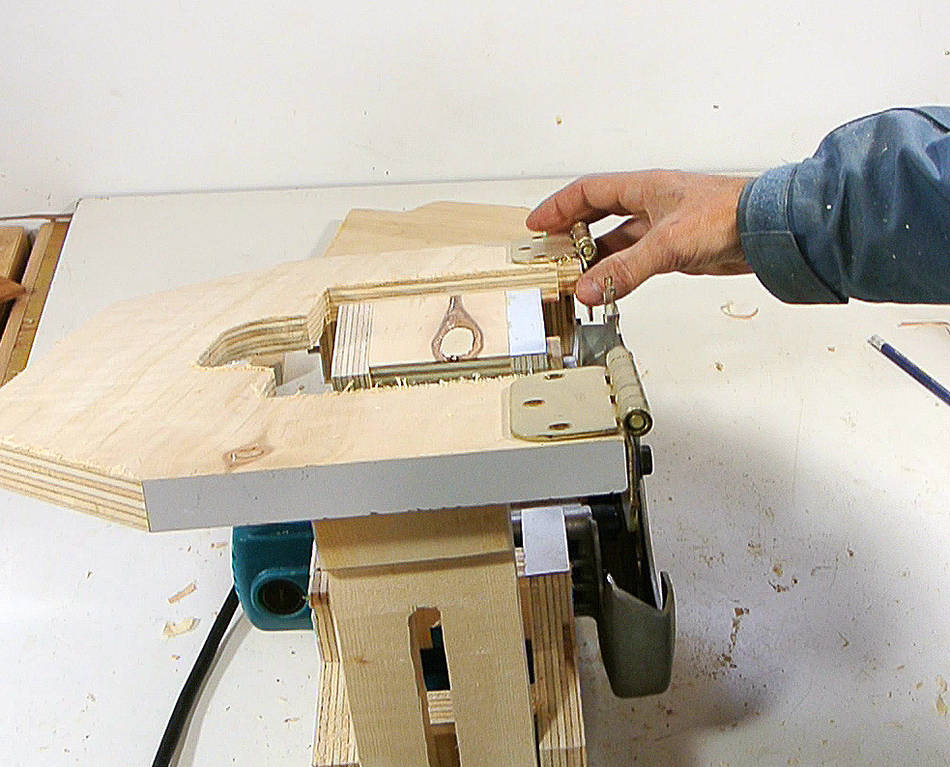
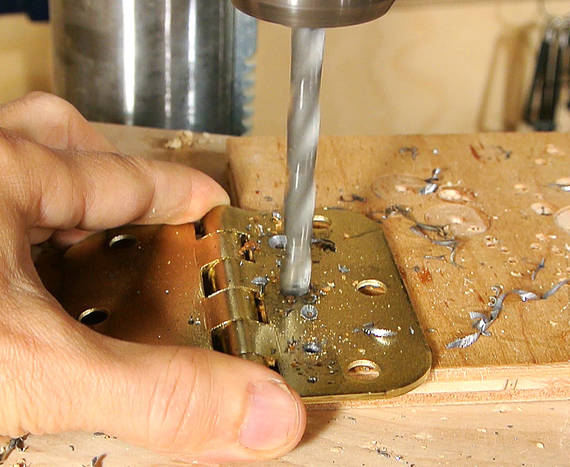 I used some door hinges, but drilled a few extra holes in them.
The standard hole positions for door hinges are too far from the hinge pin.
I added a countersink to the holes using the tip of a larger drill bit.
I used some door hinges, but drilled a few extra holes in them.
The standard hole positions for door hinges are too far from the hinge pin.
I added a countersink to the holes using the tip of a larger drill bit.
I used the same approach when I built my tilting router lift.
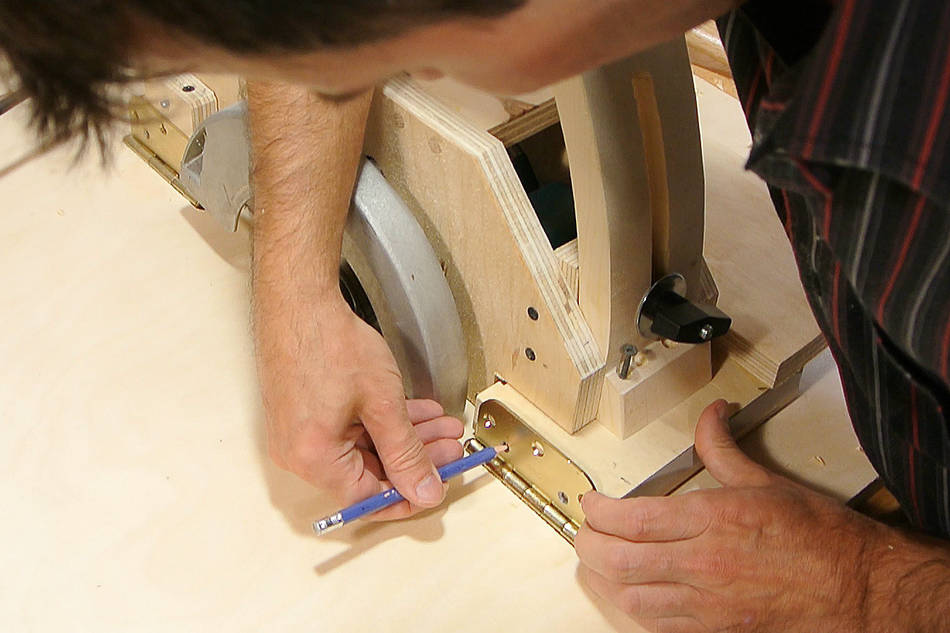
 With the hinges screwed down, marking where they line up with the tilting sub-frame,
then pre-drilling and screwing it in place.
With the hinges screwed down, marking where they line up with the tilting sub-frame,
then pre-drilling and screwing it in place.
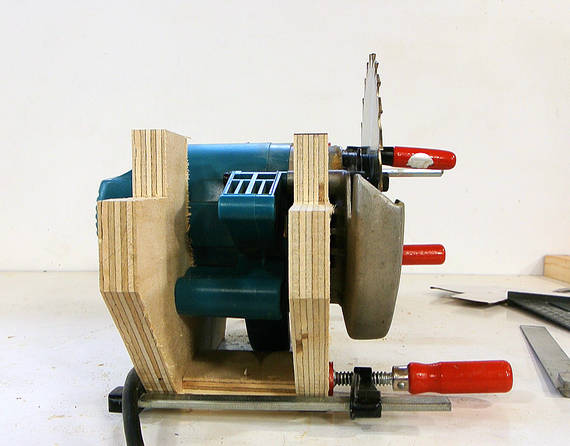
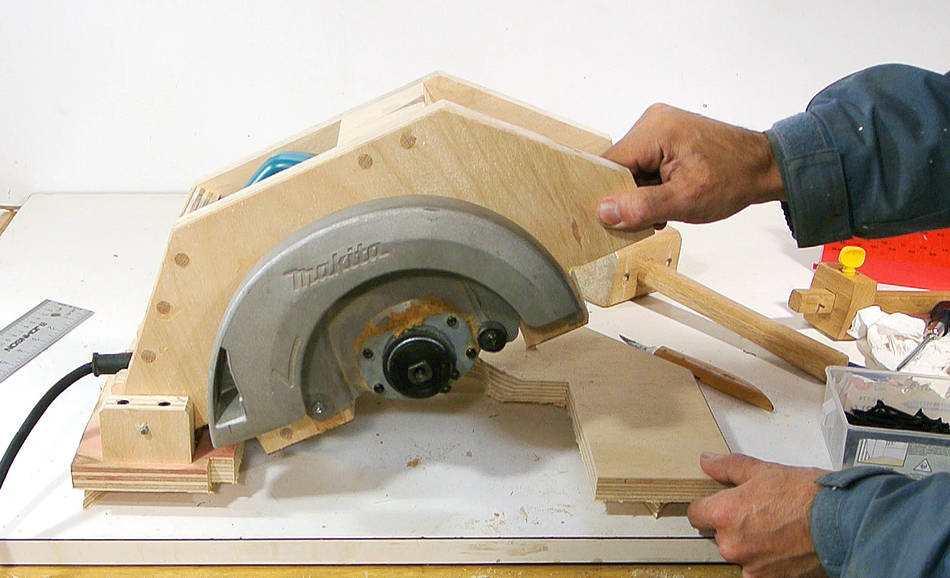
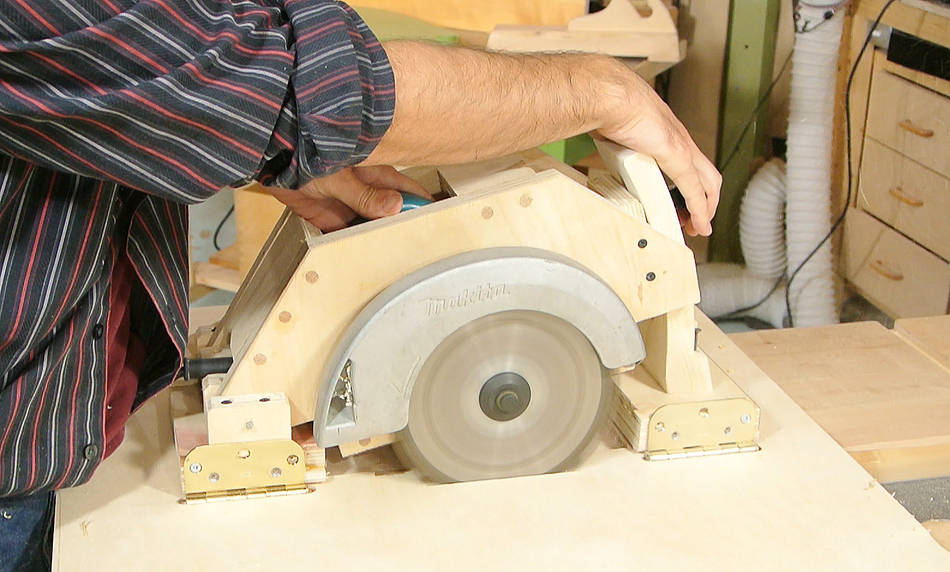
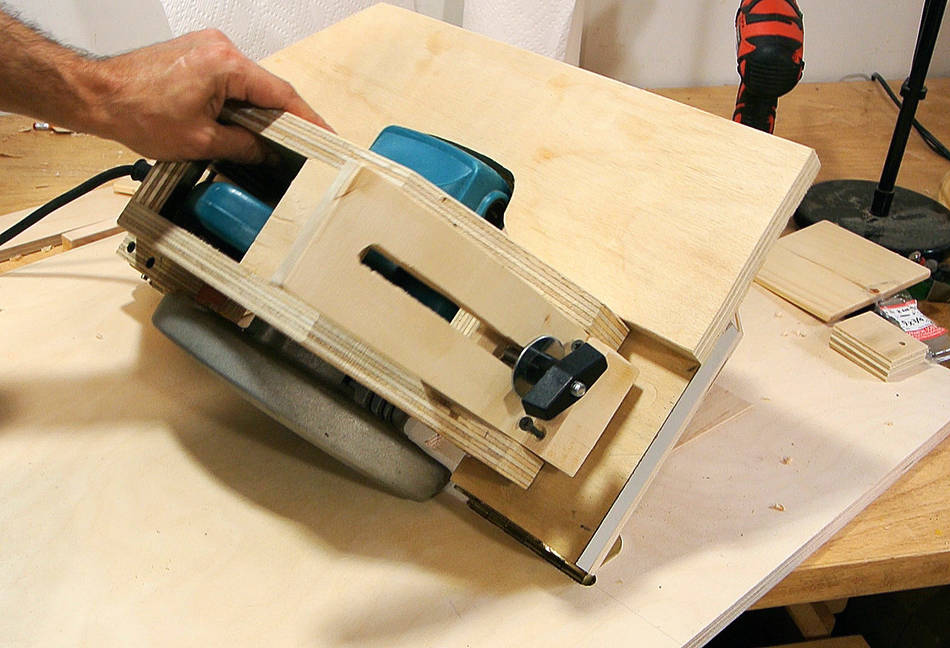 Checking the tilt function.
 Still far from finished, but time to start trying things out. I had to loosen the depth adjustment
bracket a bit to get the blade into the saw.
Still far from finished, but time to start trying things out. I had to loosen the depth adjustment
bracket a bit to get the blade into the saw.
 First plunge cut through the table.
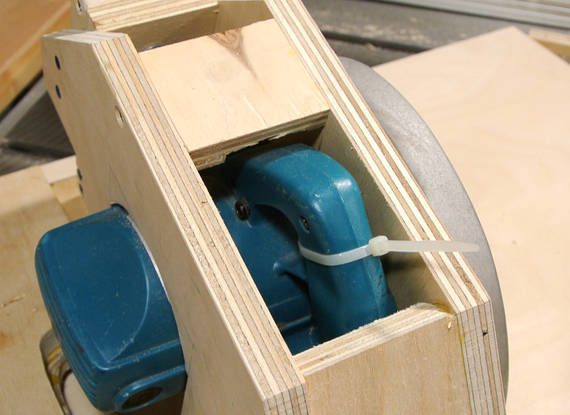
After that, I put a zip tie around the trigger switch to keep the switch permanently on.
 I don't have anything to lock the angle in place yet, so I temporarily locked
the angle by screwing the tilt mechanism to the table.
I don't have anything to lock the angle in place yet, so I temporarily locked
the angle by screwing the tilt mechanism to the table.
 Now, with the plywood flipped over, attaching a piece of wood to act as a temporary fence,
using one of my long reach clamps
Now, with the plywood flipped over, attaching a piece of wood to act as a temporary fence,
using one of my long reach clamps
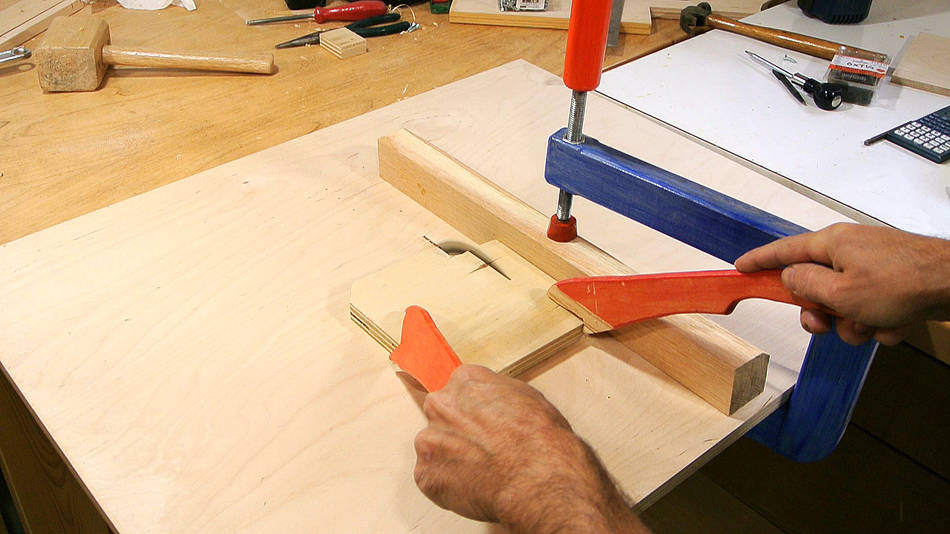 First rip cut. It works!
There's lots left to do on this saw build, and I'll cover that in my next article.
Next: Tilt lock mechanism and table saw inserts
 Version 2 table saw
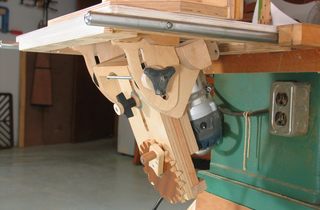 Tilting router lift
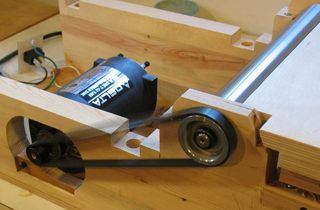 Homemade jointer build
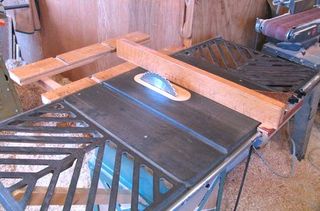 My old table saw