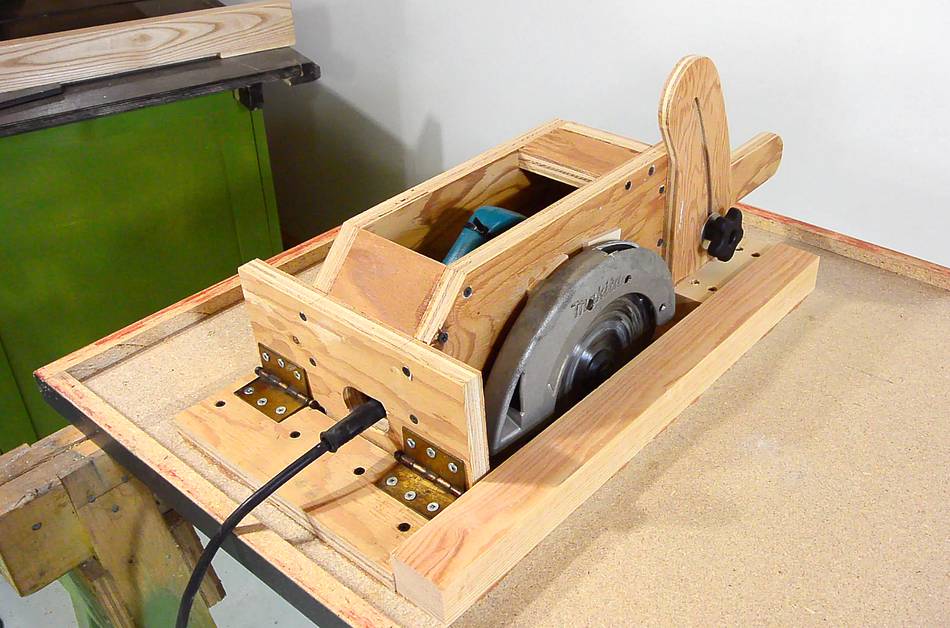
 So far the depth adjustment mechanism is built. I have been using the saw with
a very simple T-square used for both rip cuts and cross cuts. Time to
make a proper rip fence.
So far the depth adjustment mechanism is built. I have been using the saw with
a very simple T-square used for both rip cuts and cross cuts. Time to
make a proper rip fence.
So far the depth adjustment mechanism is built. I have been using the saw with
a very simple T-square used for both rip cuts and cross cuts. Time to
make a proper rip fence.
 The fence design for my previous table saw
worked well, but with two annoyances.
The fence design for my previous table saw
worked well, but with two annoyances.
When I tighten the bar-knob to lock it, sometimes it protrudes above the table, requiring me to slightly tighten or loosen it to get it horizontal and out of the way. The other annoyance is that when sliding the fence side-to-side, the fence often binds a bit instead of sliding smoothly.
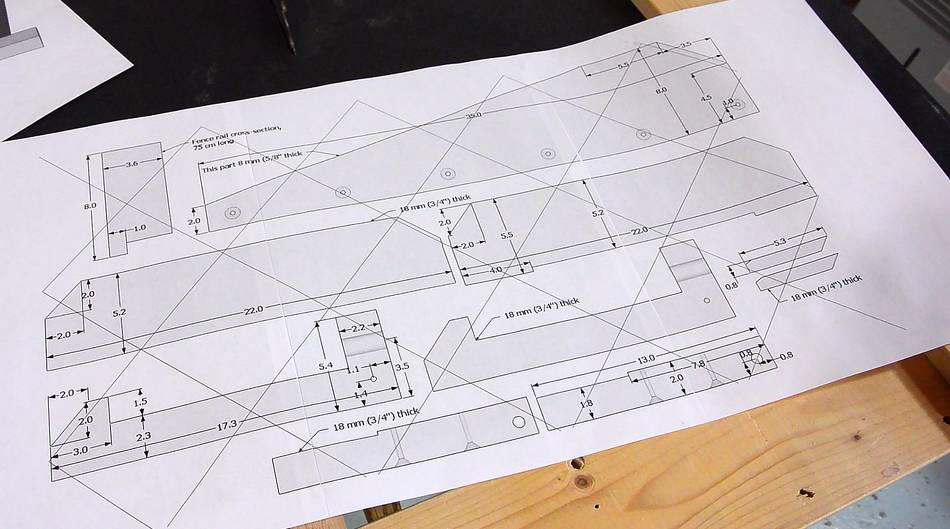 I altered the design to put the knob a bit further down, and I'm hoping that
having better constraint for the clamp will cut down on it binding.
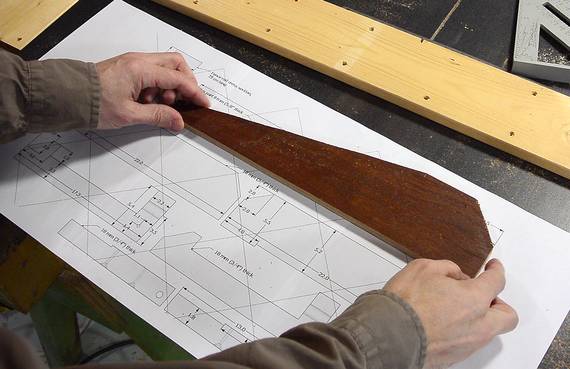
I printed out some 1:1 plans for the new design.
I altered the design to put the knob a bit further down, and I'm hoping that
having better constraint for the clamp will cut down on it binding.
I printed out some 1:1 plans for the new design.
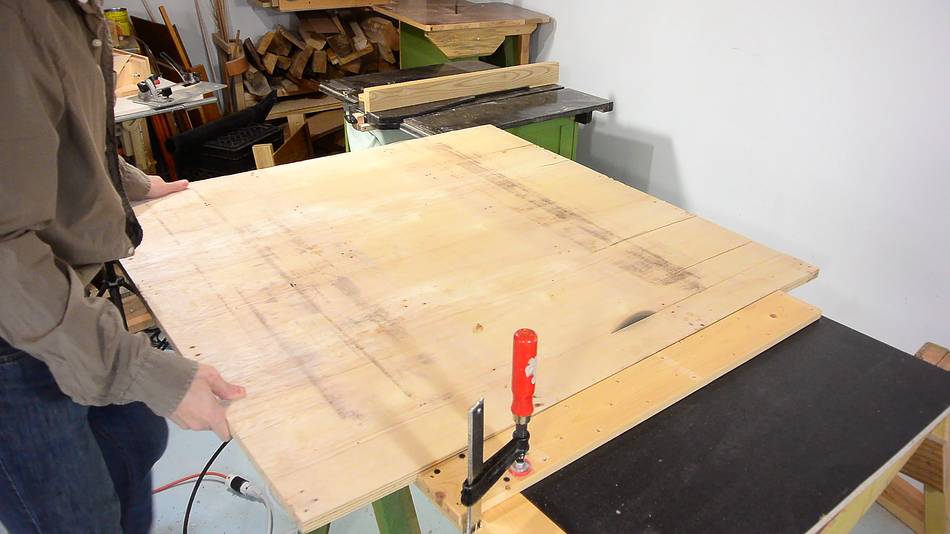 I'm using some plywood that came from a shipping palette. Ideally, the fence
components would be made from very good quality plywood, but I want to test
how cheaply this saw can be built.
I'm using some plywood that came from a shipping palette. Ideally, the fence
components would be made from very good quality plywood, but I want to test
how cheaply this saw can be built.
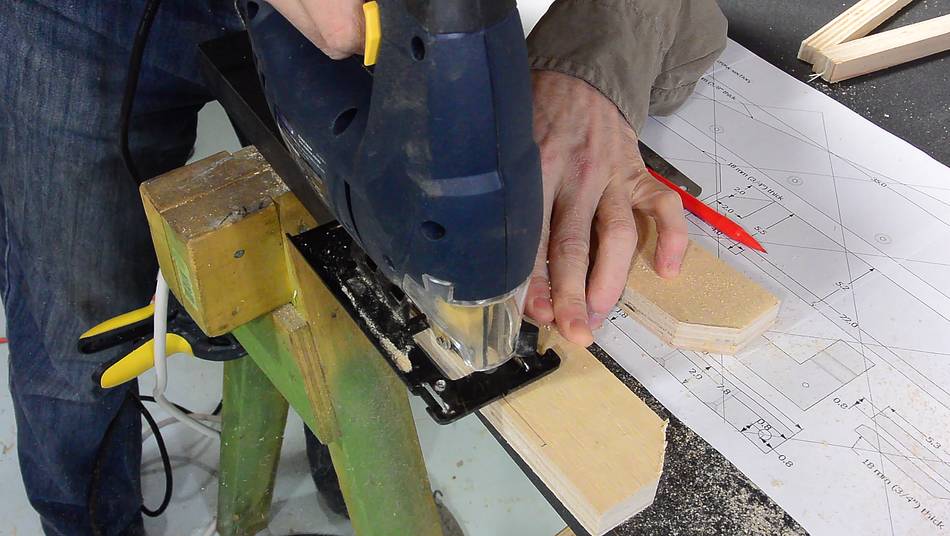 Cutting out the parts that will push against the rail on the front of the saw.
I'm cutting it out with a jigsaw to test that this saw can be built
with very basic tools.
Cutting out the parts that will push against the rail on the front of the saw.
I'm cutting it out with a jigsaw to test that this saw can be built
with very basic tools.
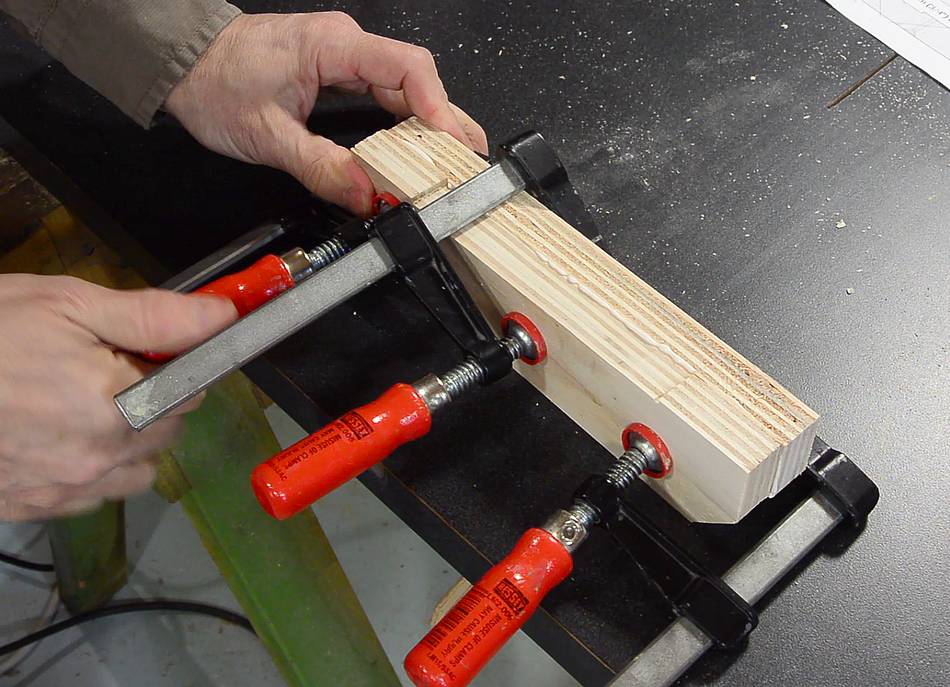 Gluing two layers together. One layer has two protrusions towards the
fence rail (towards the top in the photo), barely visible.
Gluing two layers together. One layer has two protrusions towards the
fence rail (towards the top in the photo), barely visible.
 Making the triangular section that ties the bracket
I just made to the fence itself. Again, using material from the
garbage. This part should be 8 to 12 mm thick.
Making the triangular section that ties the bracket
I just made to the fence itself. Again, using material from the
garbage. This part should be 8 to 12 mm thick.
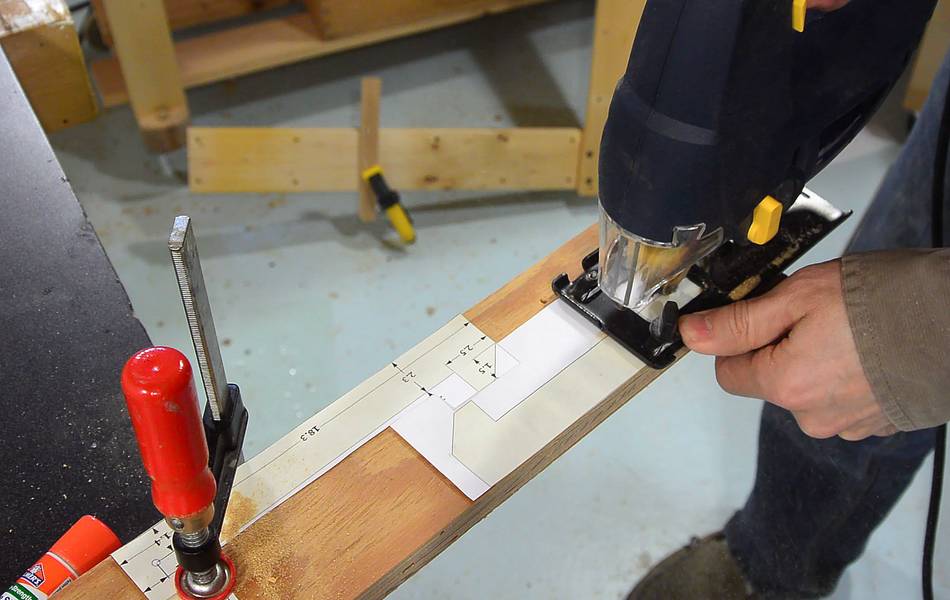
I cut it out with the jigsaw, then checked it against the templates.
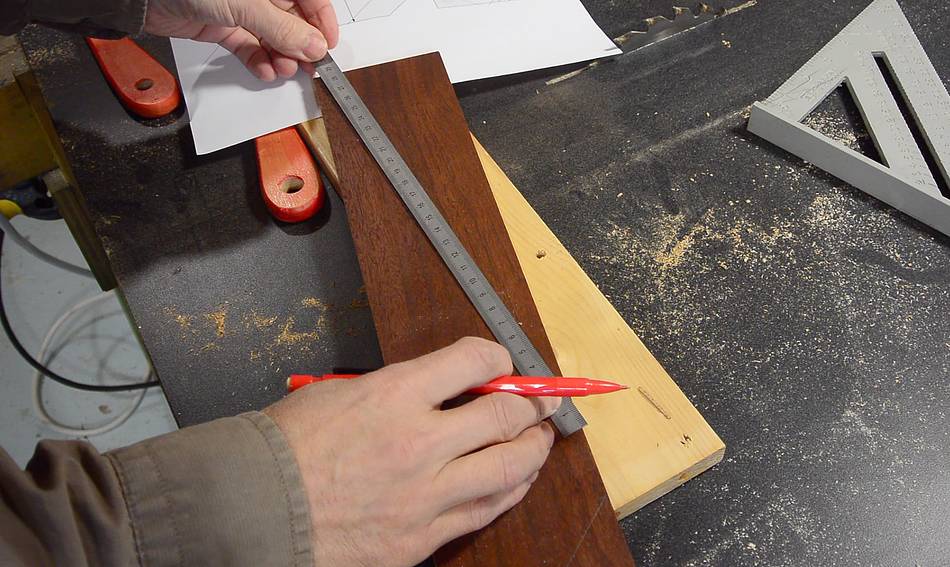
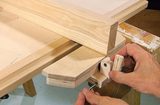
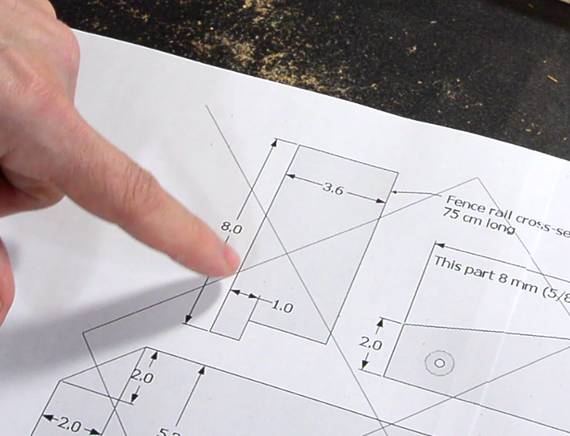 The fence itself is next. At right, the end profile in the plans.
I'm cutting it out of some construction lumber. Make sure the piece of
wood you are using is straight and square!
A rabbet needs to be cut out of the bottom of this rail. I cut
this as two cuts on my homemade table saw.
The fence itself is next. At right, the end profile in the plans.
I'm cutting it out of some construction lumber. Make sure the piece of
wood you are using is straight and square!
A rabbet needs to be cut out of the bottom of this rail. I cut
this as two cuts on my homemade table saw.
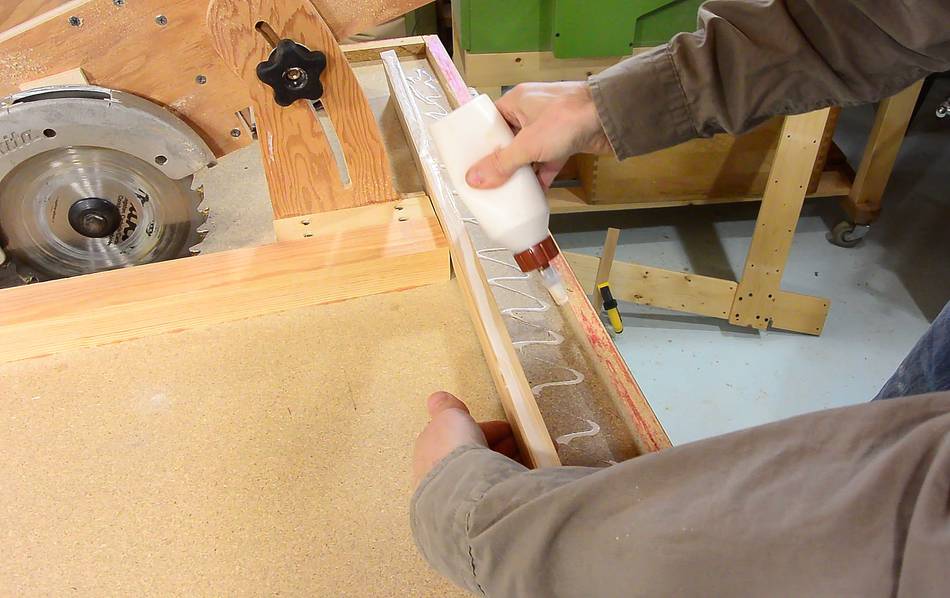
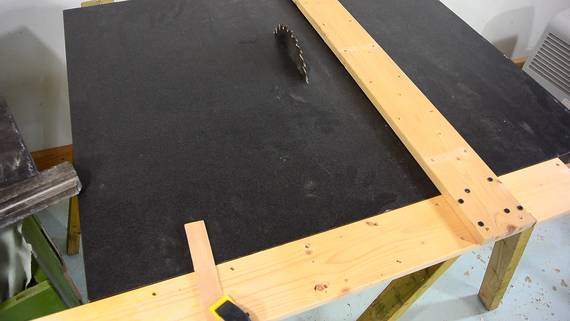
 The particle board I'm using for the table top has a wide edge on the front,
but this wide edge would not be strong enough to clamp a fence to. So I'm gluing
a strip of hardwood right behind it. The hardwood is from a drawer front from
the garbage.
The particle board I'm using for the table top has a wide edge on the front,
but this wide edge would not be strong enough to clamp a fence to. So I'm gluing
a strip of hardwood right behind it. The hardwood is from a drawer front from
the garbage.
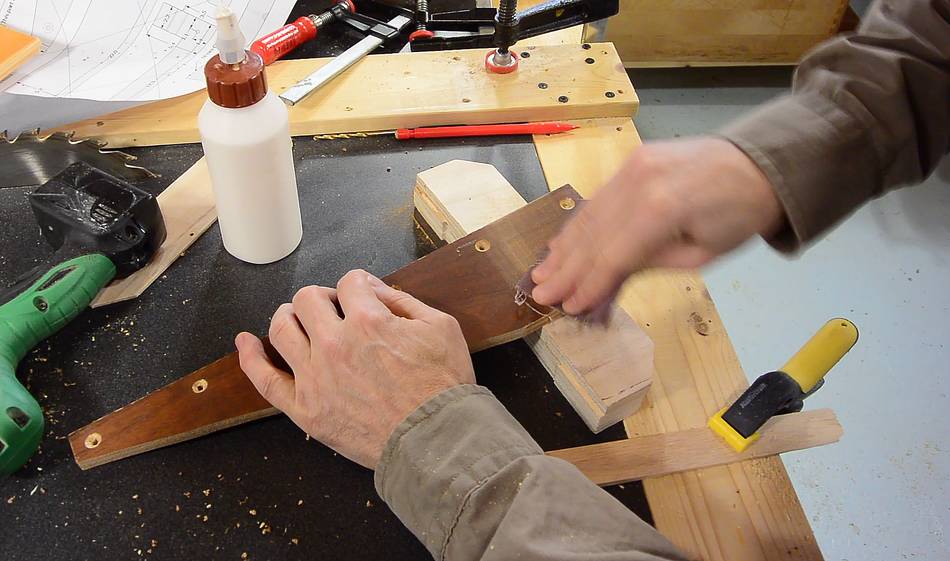
 Gluing the triangular fence brace to the front bracket. Because I'm using
wood that was varnished, I need to sand it where I'm gluing. However,
any wood that's been lying around for a long time should get a light sanding
before gluing to ensure good glue adhesion.
Gluing the triangular fence brace to the front bracket. Because I'm using
wood that was varnished, I need to sand it where I'm gluing. However,
any wood that's been lying around for a long time should get a light sanding
before gluing to ensure good glue adhesion.
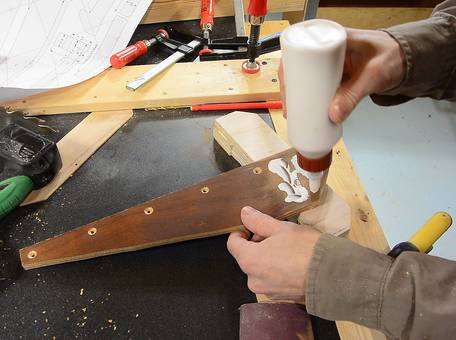
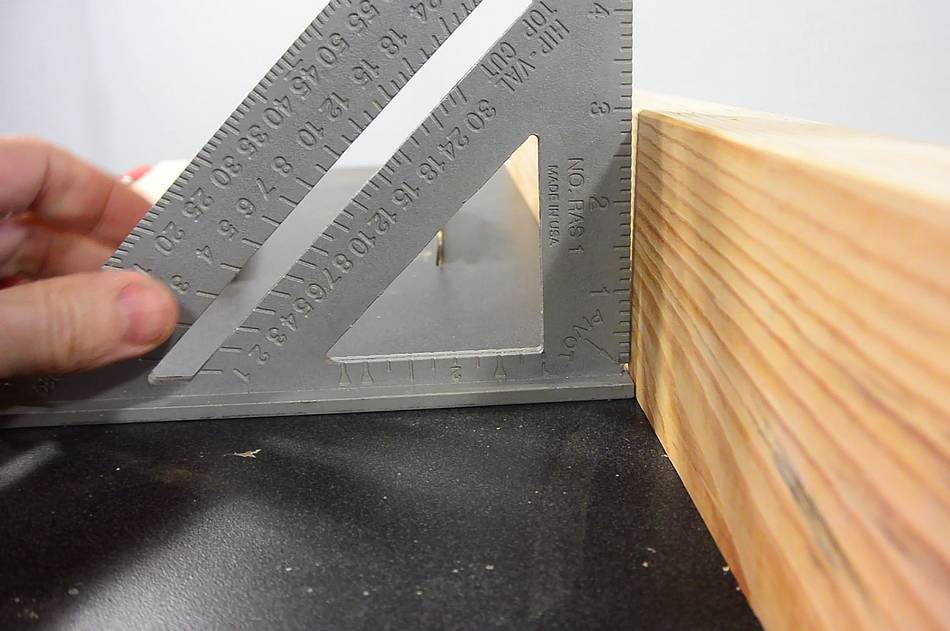
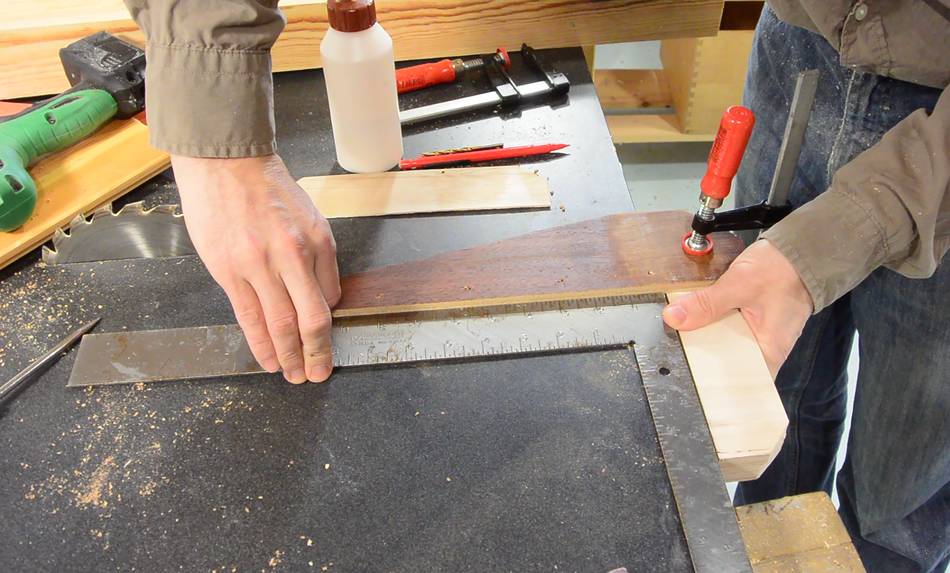 It's important that this is glued together square. With the
glue still wet, I hold it against the edge of the table and check it with a
square.
It's important that this is glued together square. With the
glue still wet, I hold it against the edge of the table and check it with a
square.
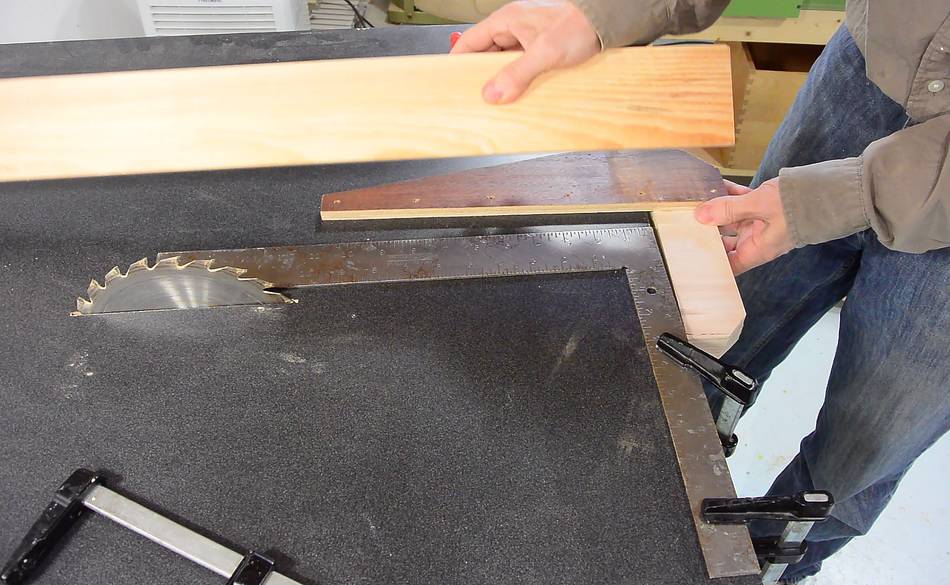
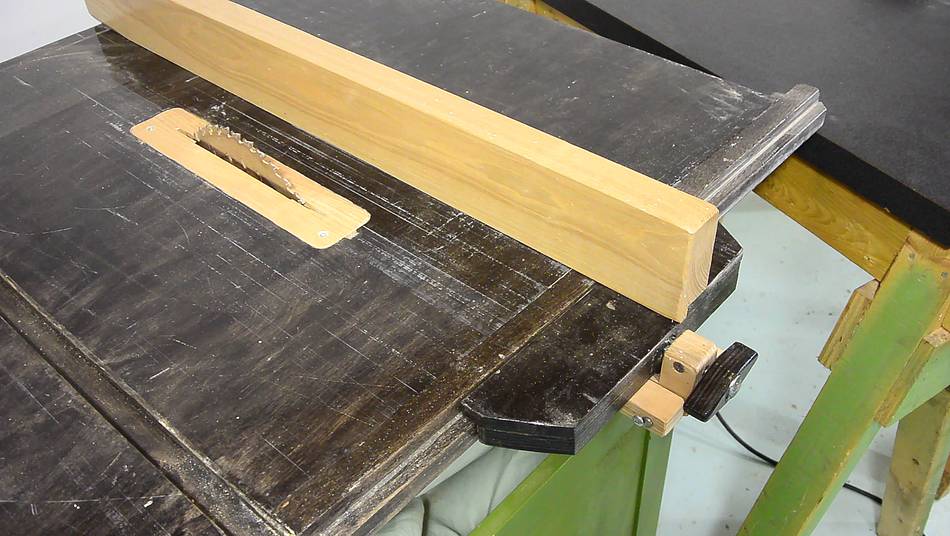
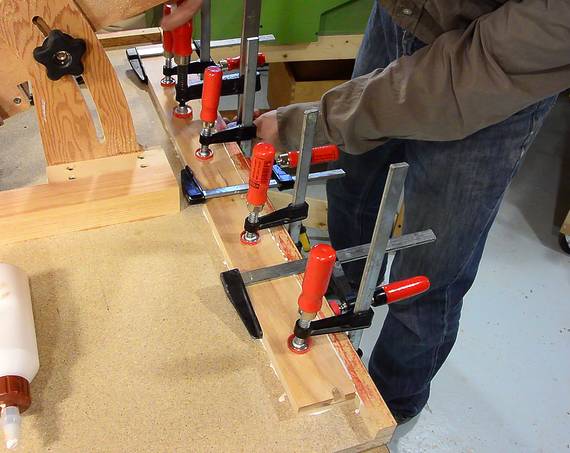
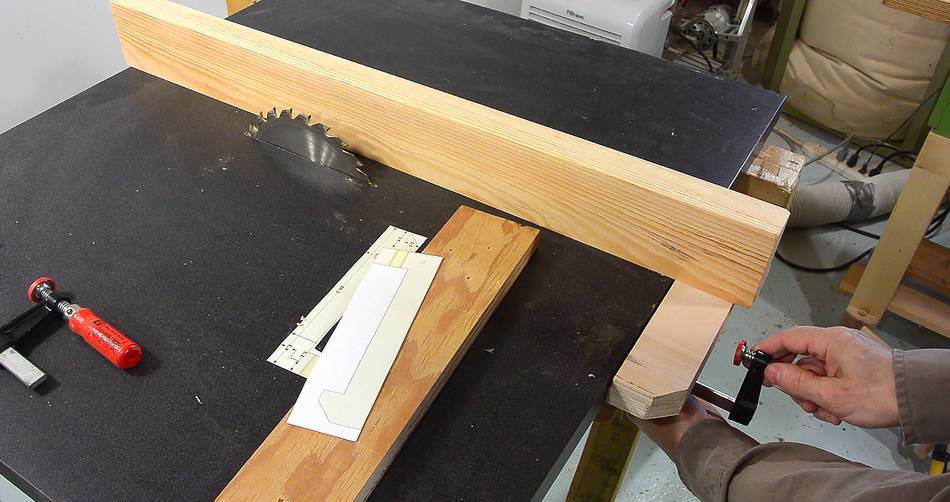
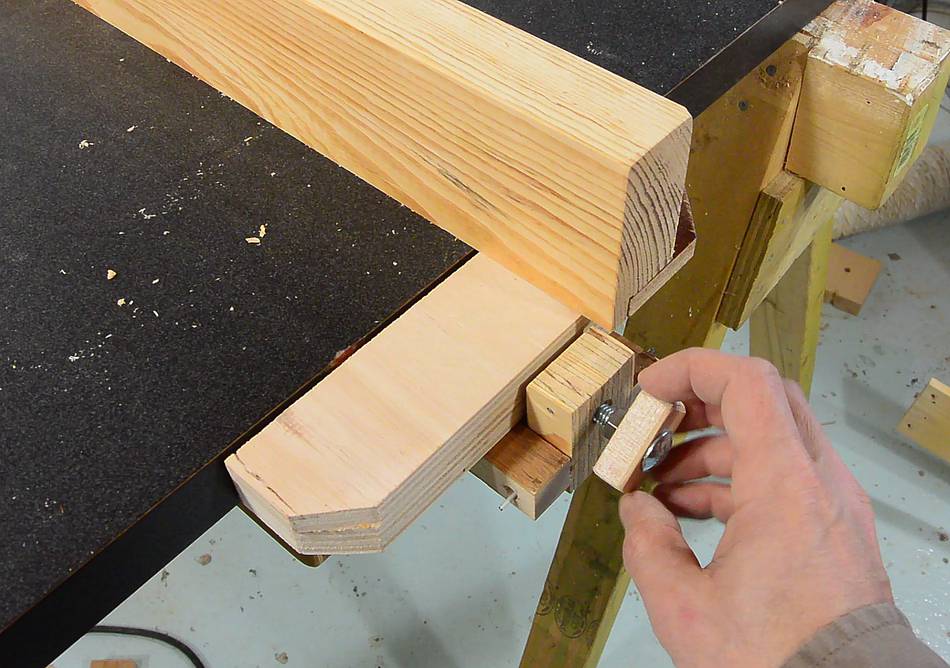
 To get the final assembly square, I clamp a square to the edge of the table,
then align the long fence rail to that, and push the fence bracket
against the edge of the table. I then tightly clamp the fence
bracket to the fence.
To get the final assembly square, I clamp a square to the edge of the table,
then align the long fence rail to that, and push the fence bracket
against the edge of the table. I then tightly clamp the fence
bracket to the fence.
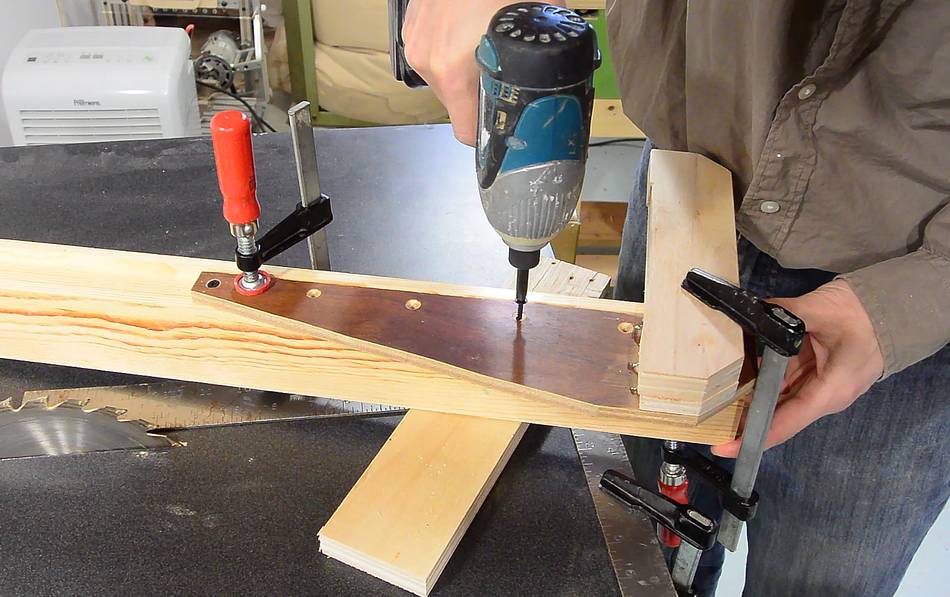 I then carefully remove the fence assembly and clamp the other end of it,
then screw the triangular fence brace to the bottom of the fence rail.
I then carefully remove the fence assembly and clamp the other end of it,
then screw the triangular fence brace to the bottom of the fence rail.
This way, even if the triangle isn't glued dead square on the bracket, I can still make sure the fence is square with the front edge of the table.
This joint is only screwed, in case I need to make changes later.
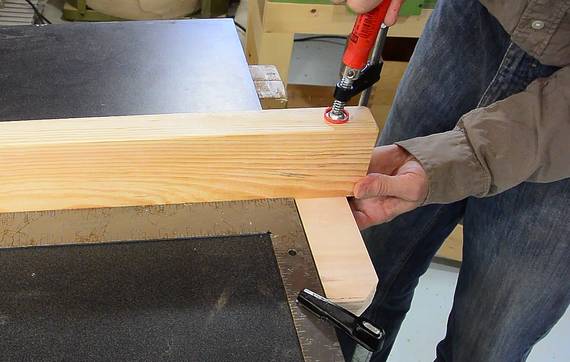
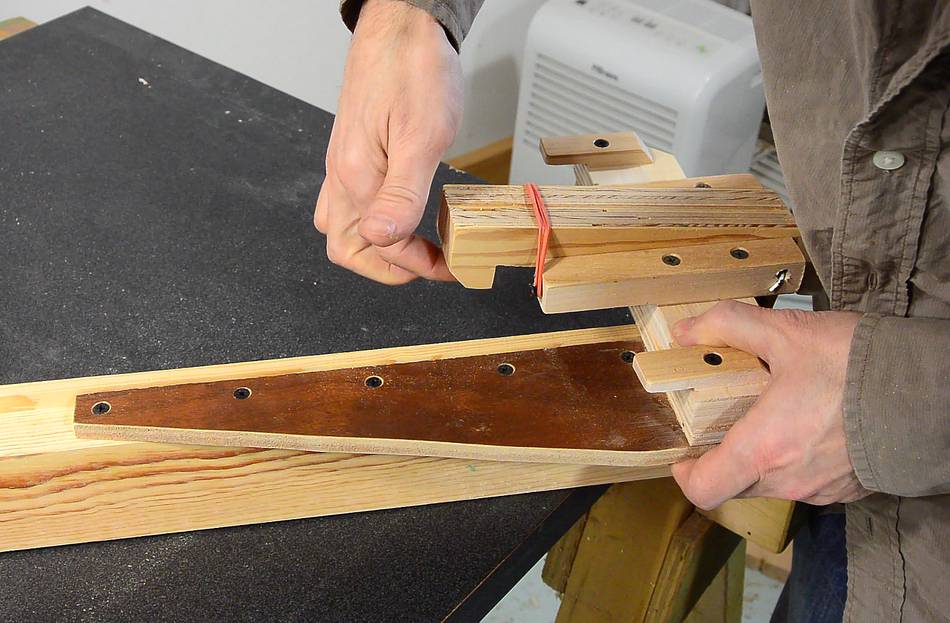
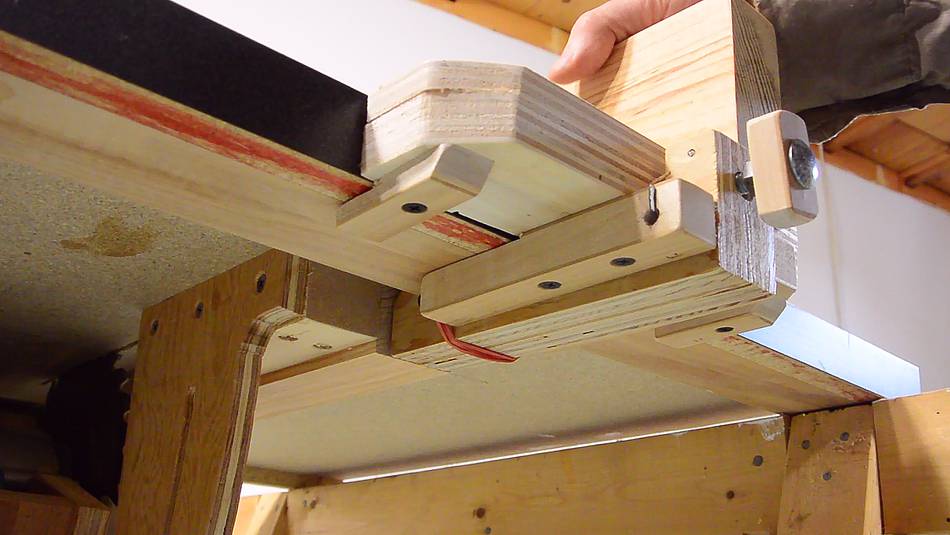
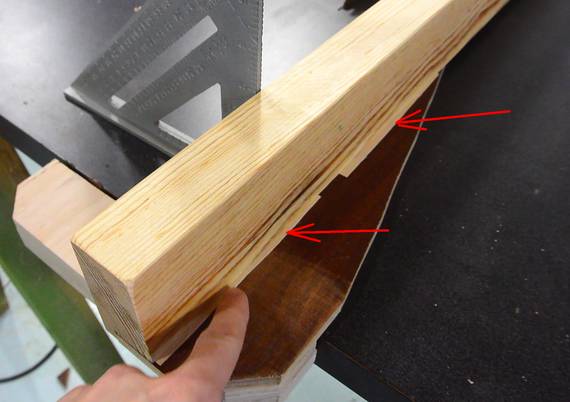 My fence turned out to be not quite vertical.
I fixed this by adding shims under the right side of the fence rail
(see red arrows at right)
My fence turned out to be not quite vertical.
I fixed this by adding shims under the right side of the fence rail
(see red arrows at right)
 I can already use the new fence by using a bar clamp to clamp it to the
front edge of the saw. But it's best for the fence to have it's own
dedicated clamp.
I can already use the new fence by using a bar clamp to clamp it to the
front edge of the saw. But it's best for the fence to have it's own
dedicated clamp.
 Cutting out two layers for the fence clamp. The jigsaw is not an ideal
tool, but again, I want to establish that this can be built with minimal
tools.
Cutting out two layers for the fence clamp. The jigsaw is not an ideal
tool, but again, I want to establish that this can be built with minimal
tools.
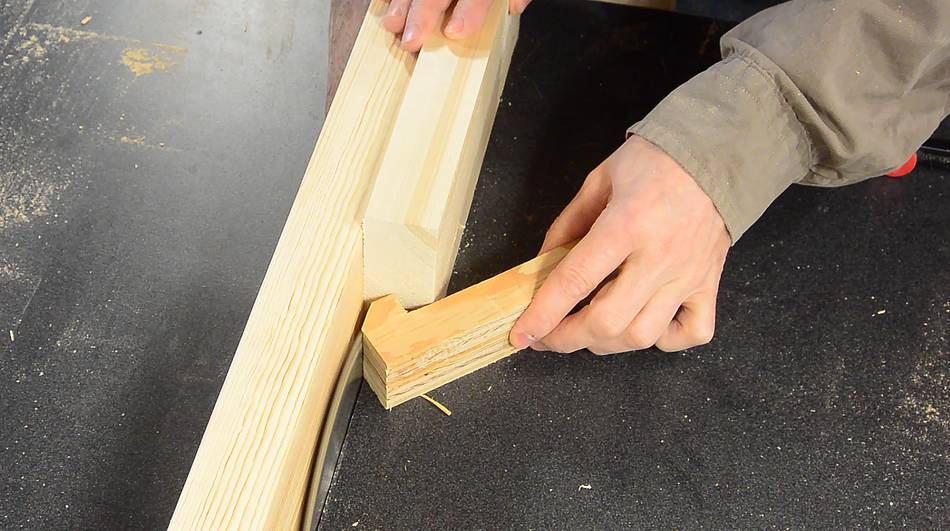
 The layers didn't come out very nice, but I cut them slightly
oversized for trimming later.
The layers didn't come out very nice, but I cut them slightly
oversized for trimming later.
 I trimmed the ends, using my improvised fence for cross cutting.
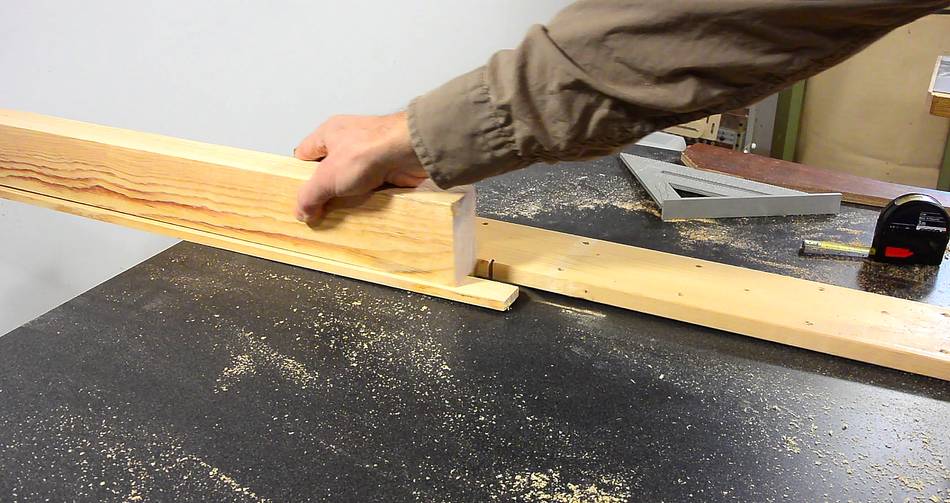
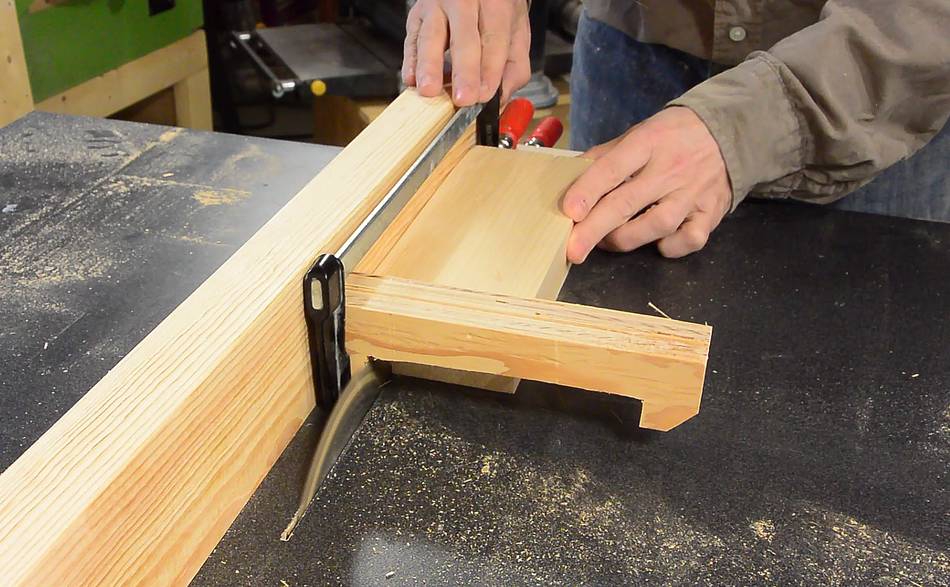 The insides were trickier to trim. A table saw sled would be best,
but I haven't built one for this saw yet, nor does the saw
have miter slots. Clamping the workpiece to a larger block
of wood did the trick. Make sure your clamp never touches the saw
blade if it were ever to come loose spontaneously.
The insides were trickier to trim. A table saw sled would be best,
but I haven't built one for this saw yet, nor does the saw
have miter slots. Clamping the workpiece to a larger block
of wood did the trick. Make sure your clamp never touches the saw
blade if it were ever to come loose spontaneously.
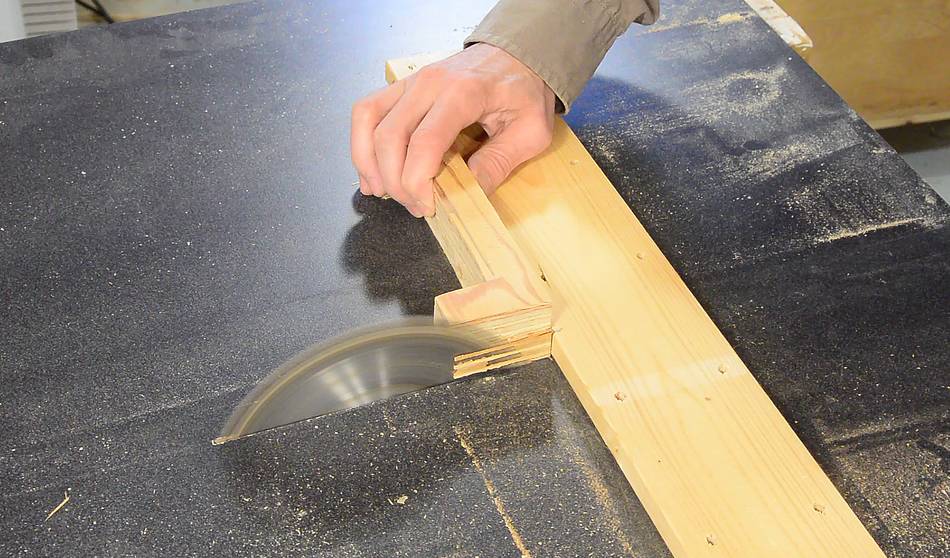
 Finally, trimming the angled part near the tip, using a larger block of wood
to support the workpiece. Without the larger piece of wood behind it,
a cut like that would be likely to cause kickback.
Finally, trimming the angled part near the tip, using a larger block of wood
to support the workpiece. Without the larger piece of wood behind it,
a cut like that would be likely to cause kickback.
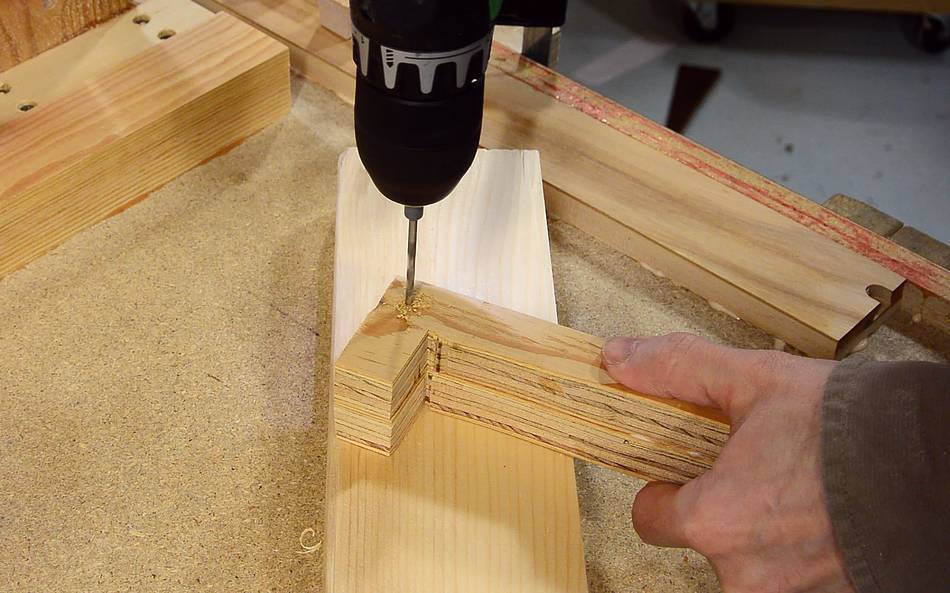 A hole goes through the operator side of this block. I marked and drilled
part-way from both sides to make sure my hole ended up being square.
Drilling it with a drill press would be much better, but I won't assume
that you already have one.
A hole goes through the operator side of this block. I marked and drilled
part-way from both sides to make sure my hole ended up being square.
Drilling it with a drill press would be much better, but I won't assume
that you already have one.
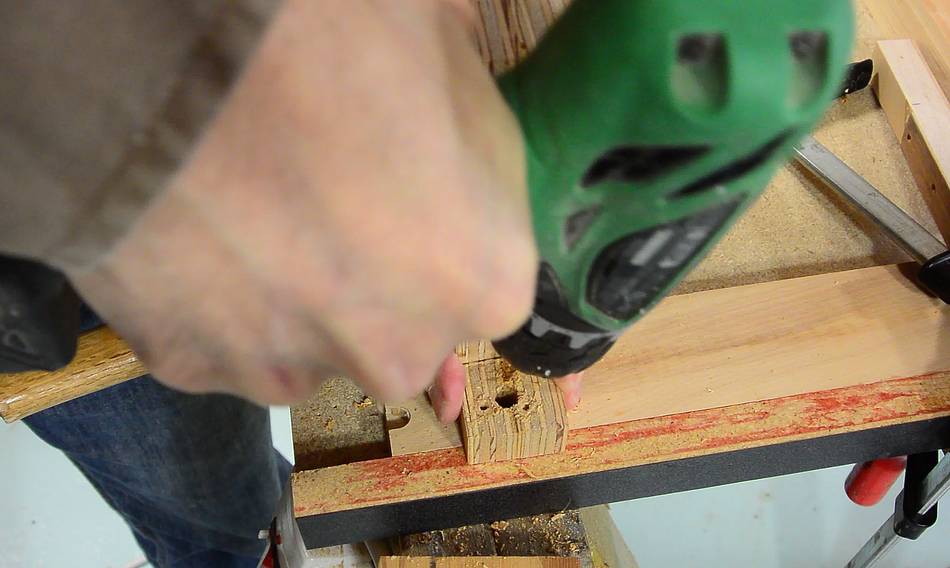
 A larger hole, big enough for a 3/8" (8 mm) T-nut is drilled in the
square end of the fence clamp. I clamped the clamp to one of my
sawhorses to help with this.
A larger hole, big enough for a 3/8" (8 mm) T-nut is drilled in the
square end of the fence clamp. I clamped the clamp to one of my
sawhorses to help with this.
 A T-nut needs to be driven in on the inside. But the prongs of the
T-nut would split the bracket. So I lightly tapped the T-nut to mark
where the prongs go, then drilled some holes there.
A T-nut needs to be driven in on the inside. But the prongs of the
T-nut would split the bracket. So I lightly tapped the T-nut to mark
where the prongs go, then drilled some holes there.
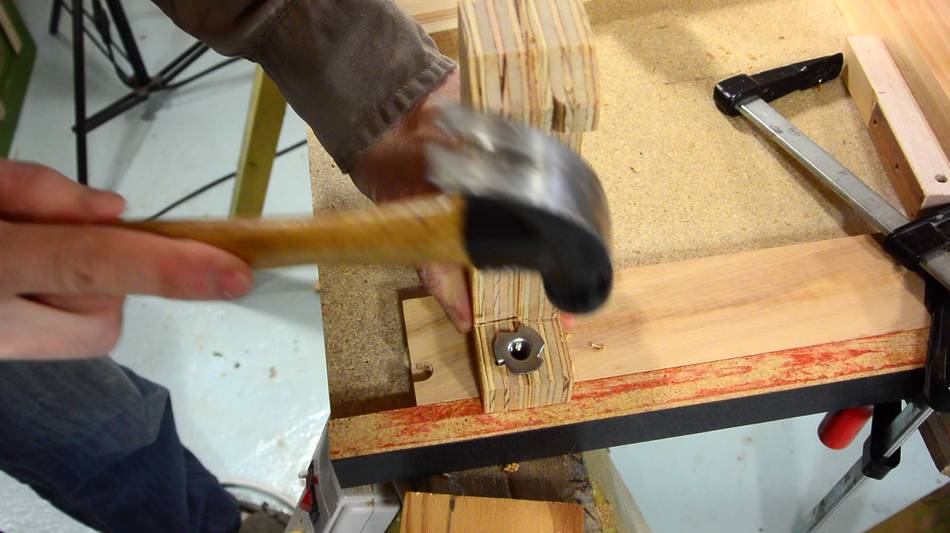 Driving the T-nut in. It turns out, I still cracked the bracket, so I put
a screw across the end of the bracket to hold it together (not shown).
Driving the T-nut in. It turns out, I still cracked the bracket, so I put
a screw across the end of the bracket to hold it together (not shown).
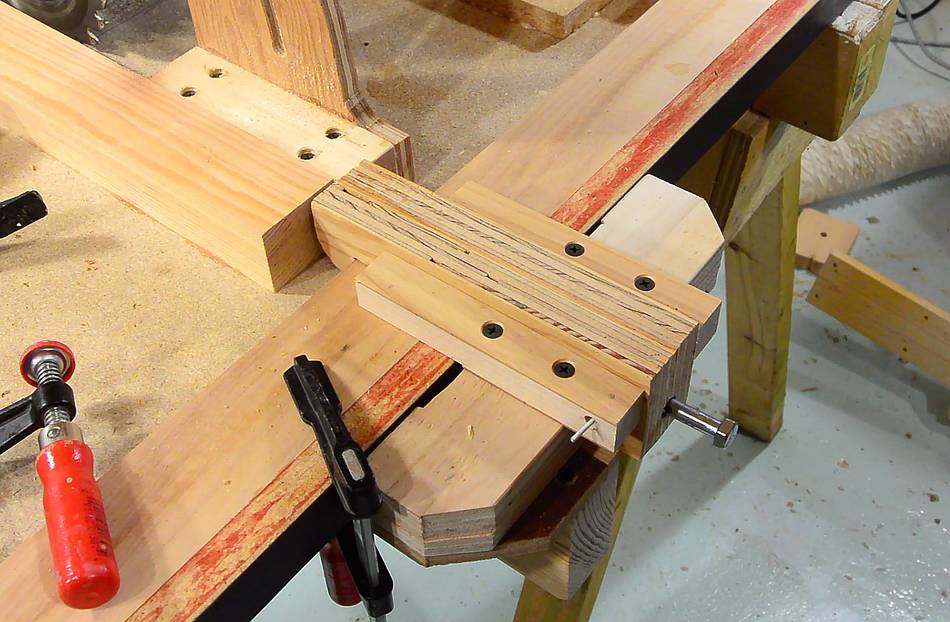
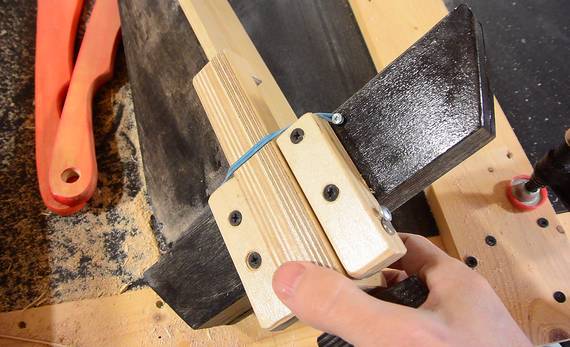
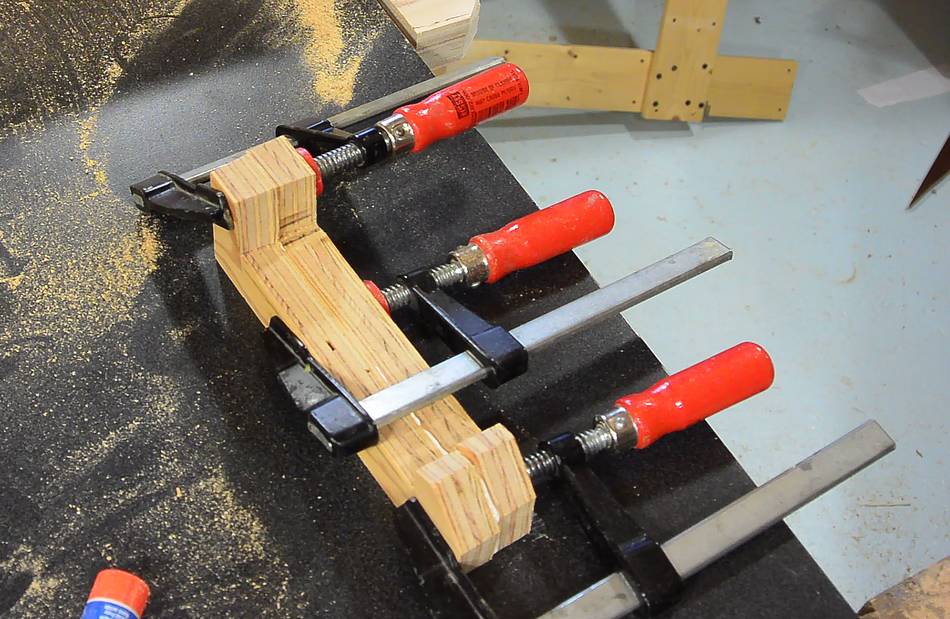
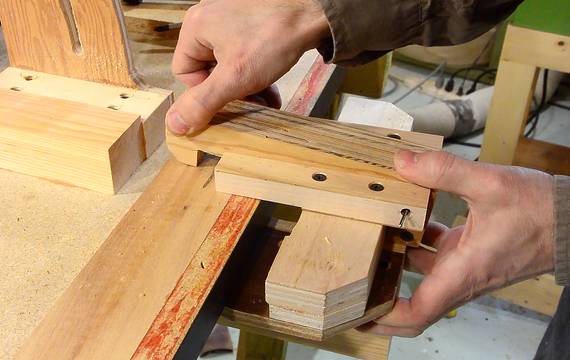 Clamp in place. The clamp fits between blocks of wood
on either side, which constrain the clamp from moving sideways.
A piece of coat hanger wire through the clamp, and through oversized
holes in the two blocks holds it in place when it isn't clamped.
Clamp in place. The clamp fits between blocks of wood
on either side, which constrain the clamp from moving sideways.
A piece of coat hanger wire through the clamp, and through oversized
holes in the two blocks holds it in place when it isn't clamped.
To place the two blocks correctly, place a bolt in the clamp and clamp it to the edge (I used an extra bar clamp to hold the fence against the table while it was upside-down). Then put a piece of coat hanger wire through the hole in the fence and place the block on either side of the fence clamp so that the wire is centered in the holes, then screw the blocks in place in this position.
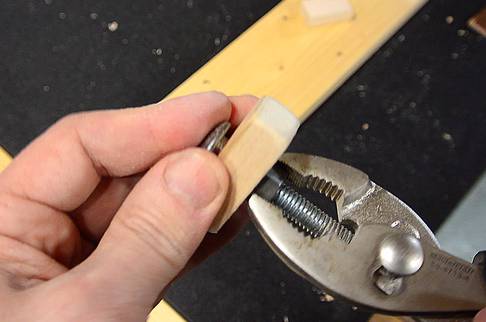 To make a knob for the fence clamp, I started with a 2" carriage bolt,
drilled a hole in a strip of hardwood just smaller than the square part
of the carriage bolt, then cut it to 44 mm length, put the bolt in
and used a nut to pull the bolt into the hole and lock it in place.
To make a knob for the fence clamp, I started with a 2" carriage bolt,
drilled a hole in a strip of hardwood just smaller than the square part
of the carriage bolt, then cut it to 44 mm length, put the bolt in
and used a nut to pull the bolt into the hole and lock it in place.
The knob is short enough that it doesn't stick up above the table.
 I also added a rubber band to pull the hook of the clamp towards the table.
The rubber band is hooked around two screws in the ends of the blocks on either
side of the hook.
I also added a rubber band to pull the hook of the clamp towards the table.
The rubber band is hooked around two screws in the ends of the blocks on either
side of the hook.
That way, I can be sure the hook always fully engages the ledge on the bottom of the table.
 I also added two "tabs" to the bottom of the fence to make sure it always
goes on the table level.
I also added two "tabs" to the bottom of the fence to make sure it always
goes on the table level.
Next: Table saw miter slots
 First homemade table
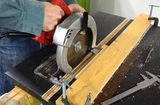 Table saw miter slots
 Fence micro adjusting
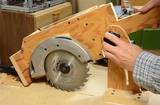 Depth adjust mechanism
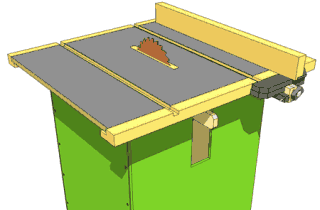 Buy plans for