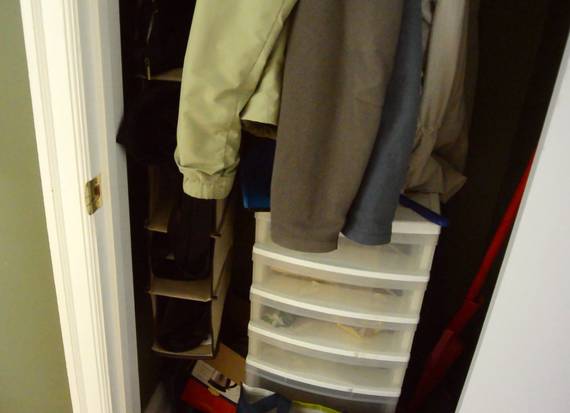
With not enough cabinet space in our kitchen, Rachel started to use the
broom closet to store food stuff. She used a
plastic drawer unit, but to be able to open the drawers, it couldn't be
placed against the closet wall, so it was not an ideal use of space.
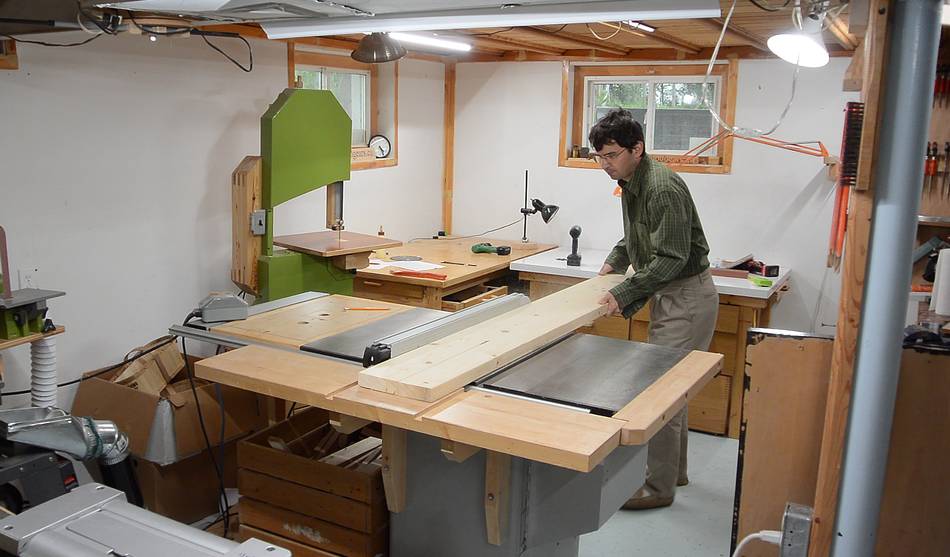
I set out to build a shelf to go on the left side of the closet for
holding food stuff. For the uprights, I used part of a 2x10, which
seemed surprisingly light (more on that later). The shelves themselves
are from some wood that came from the garbage.
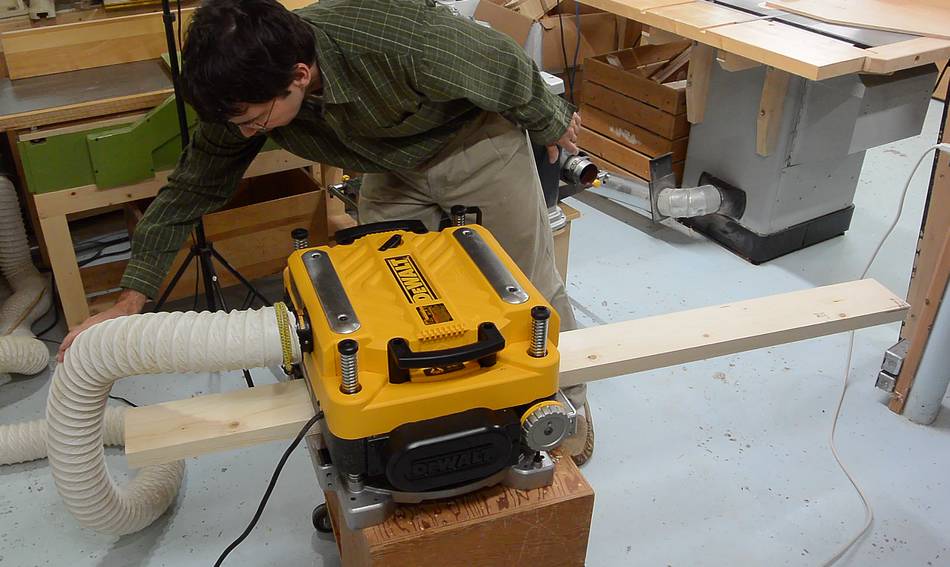
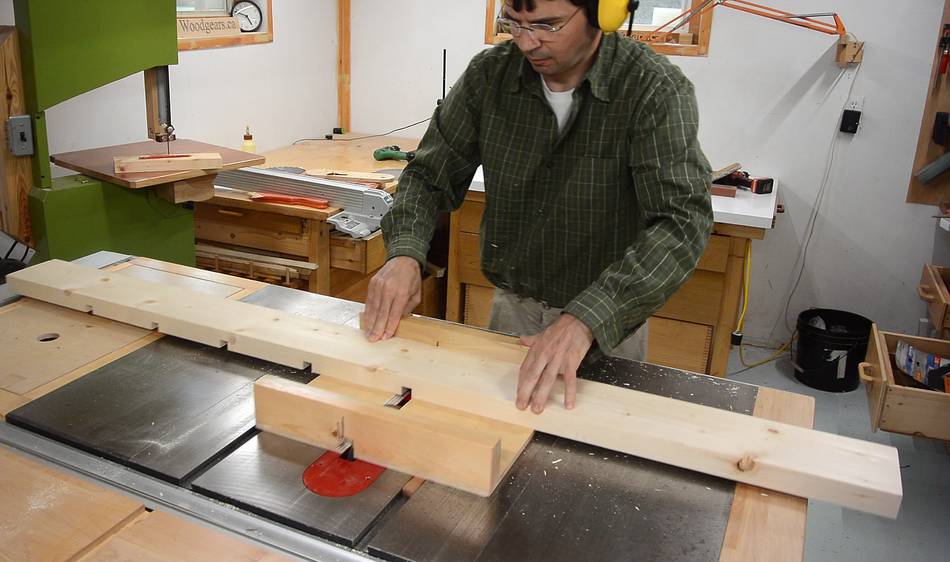
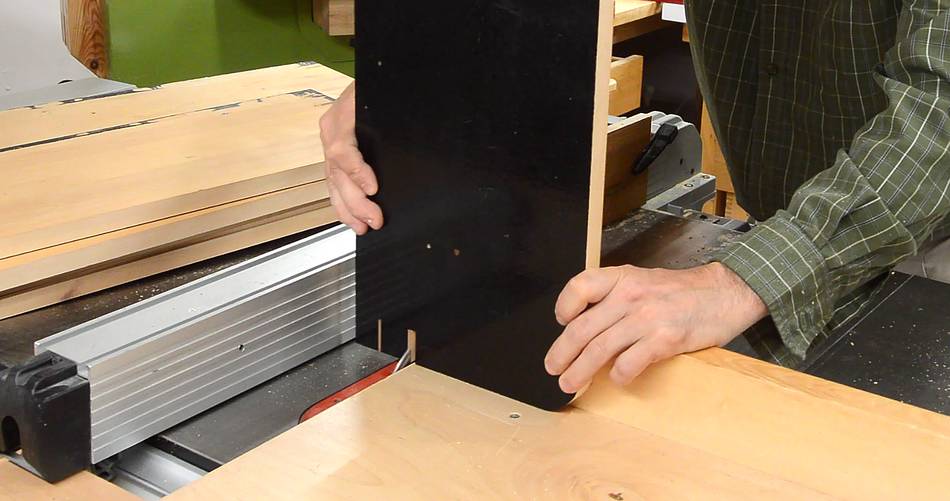
I ran the construction lumber through my new
thickness planer to get a smoother surface.
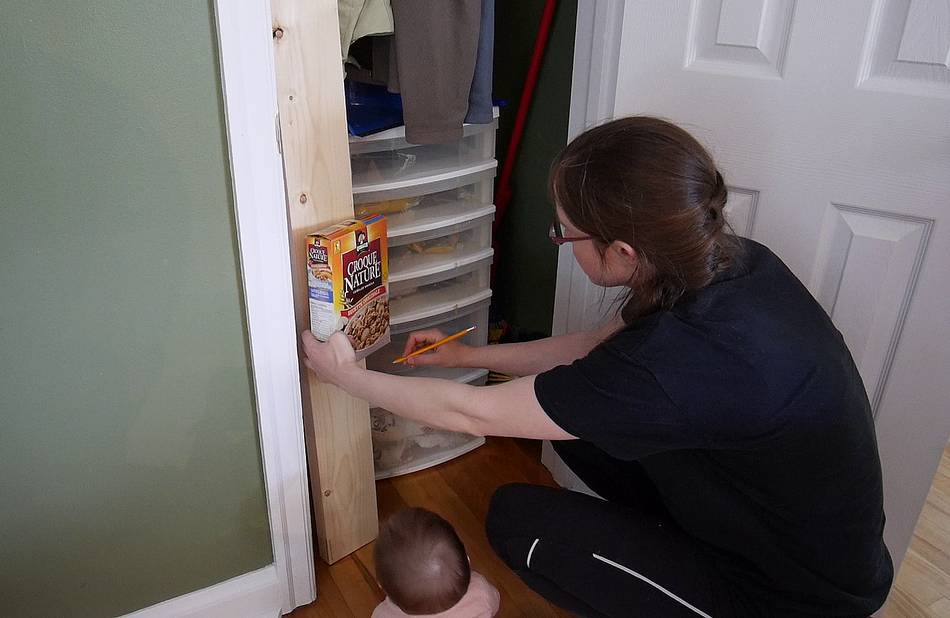
Then I got Rachel to mark where she wanted the shelves. She's using
a cereal box as a reference to get the spacing about right.
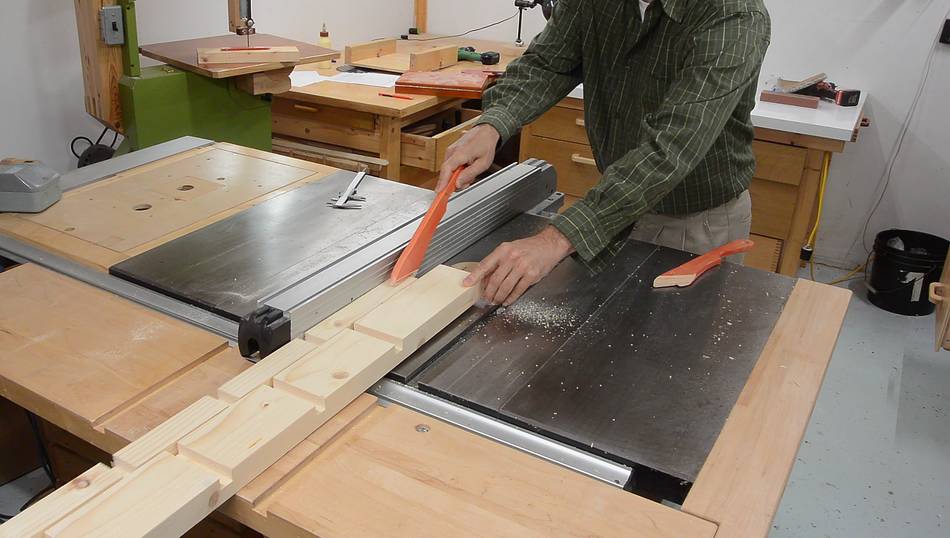
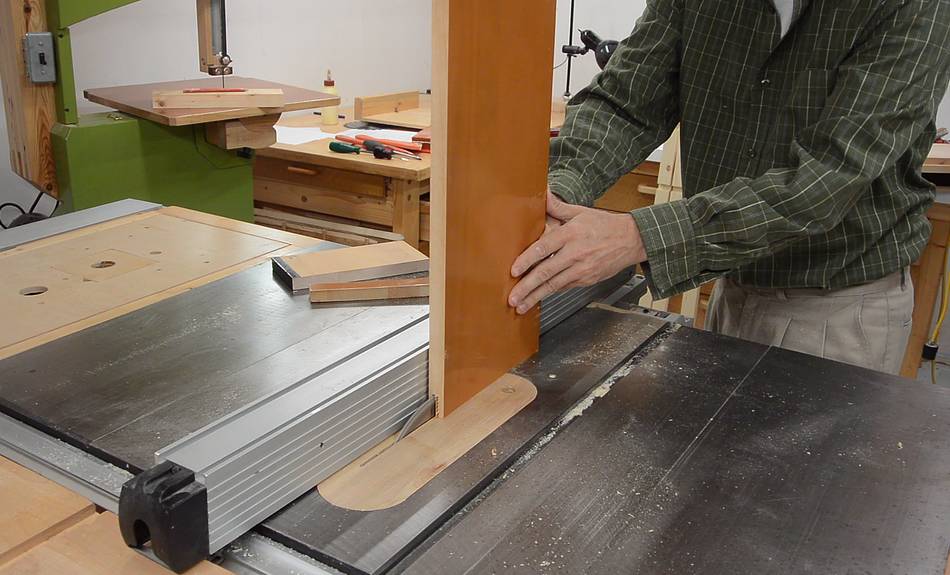
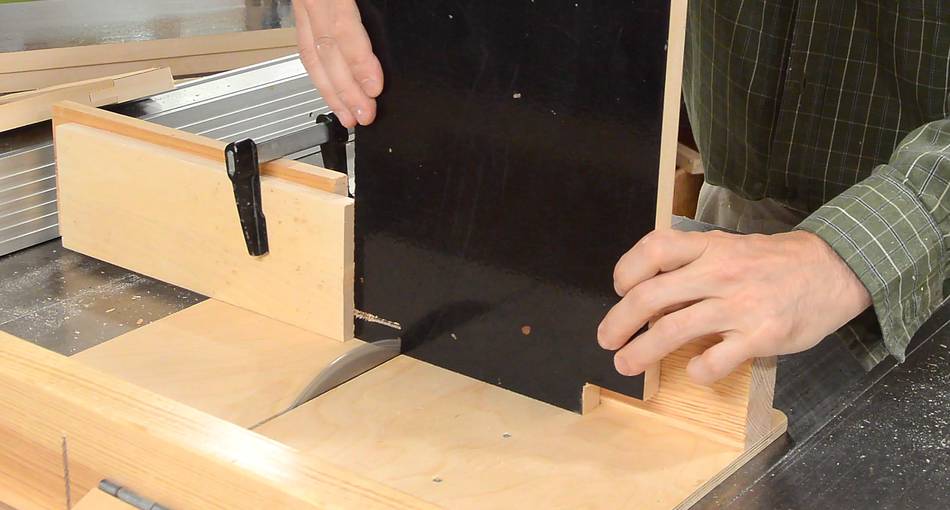
I then cut dadoes where the shelves are to go.
Then ripped the piece of wood into three pieces each about 4 cm wide.
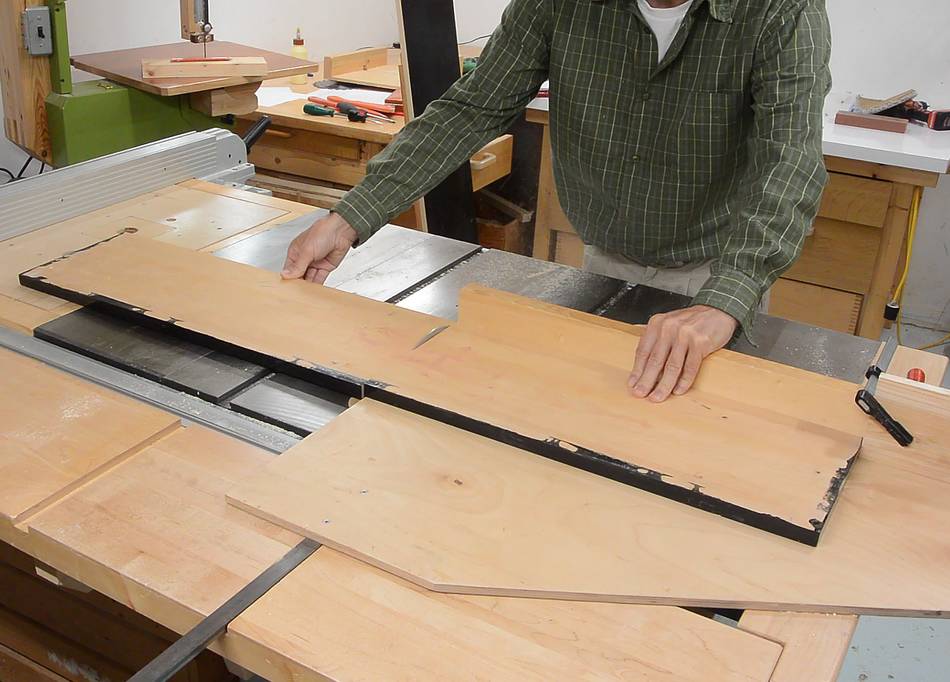
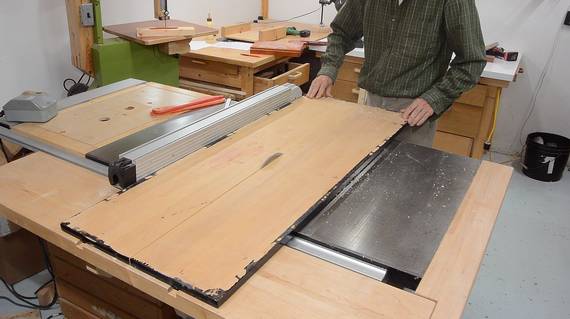
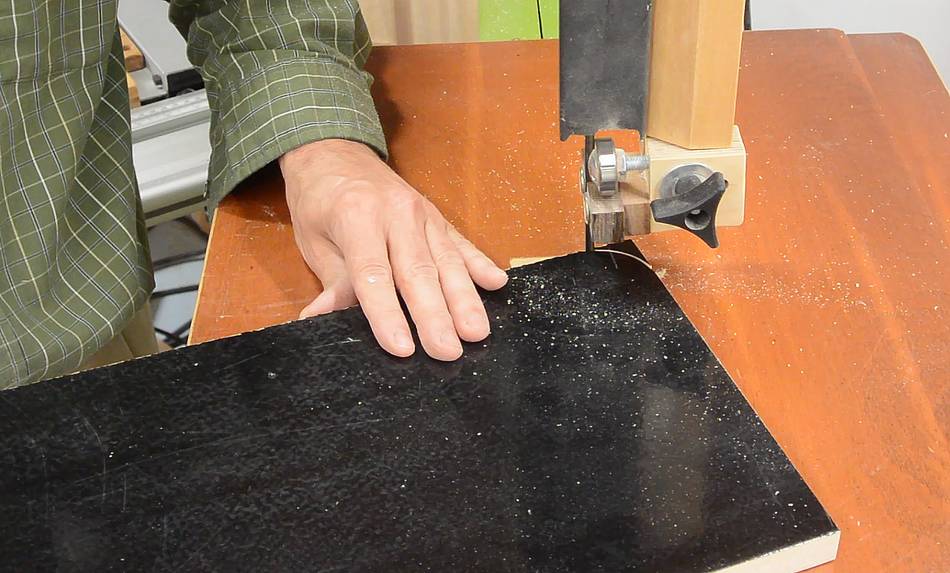
I cut four of the shelves out of a piece of wood that used
to be part of a coffee table that someone painted black.
I don't like using painted wood, nor stripping paint off of wood.
But for these shelves, the black paint didn't matter.
Two more shelves came from another piece of wood that used to
be part of a dresser.
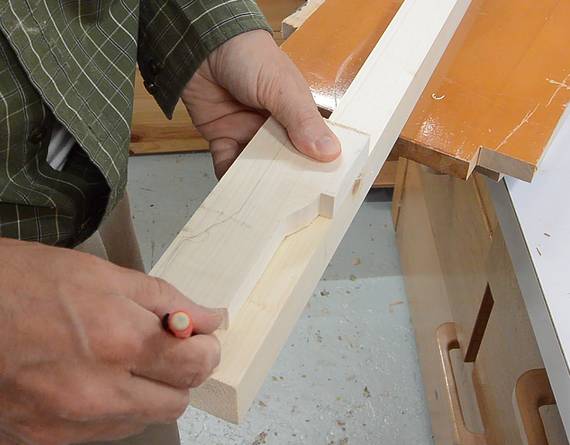
But one of the pieces was too short. So I cut a
sort of mortise and tenon joint to add another piece of scrap
to the end of it to bring it up to length.
This wasn't terribly accurate, and working from both sides,
the mortise ended up being slightly narrower on one side
than the other (that's why I don't advise working
from both sides when cutting mortises or tenons).
But I made it fit, partly by making some part-length cuts
on the tenon to make it correspondingly narrower on one end.
It wasn't a perfect fit, but I managed to bang it in.
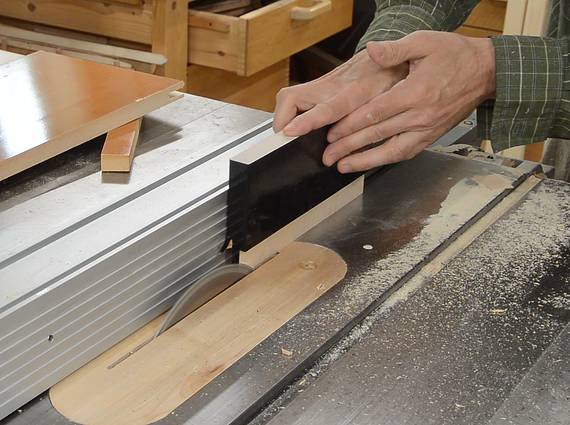
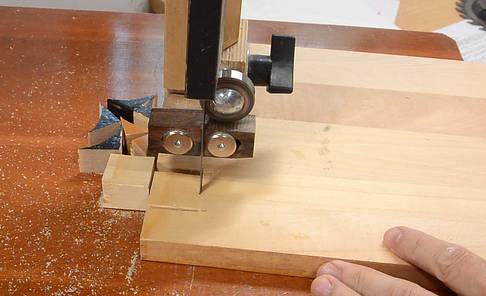
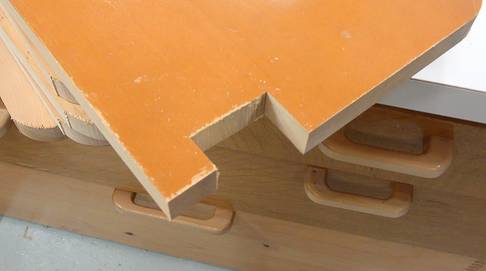
One corner of the shelves will be exposed, so I cut these
round on the bandsaw.
A notch near the corner is for one of the uprights to fit
into. This upright will be just behind the closet
door frame (the closet door has trim on the outside and inside
of the closet).
And two more notches on the other end of the shelves for
two more uprights.
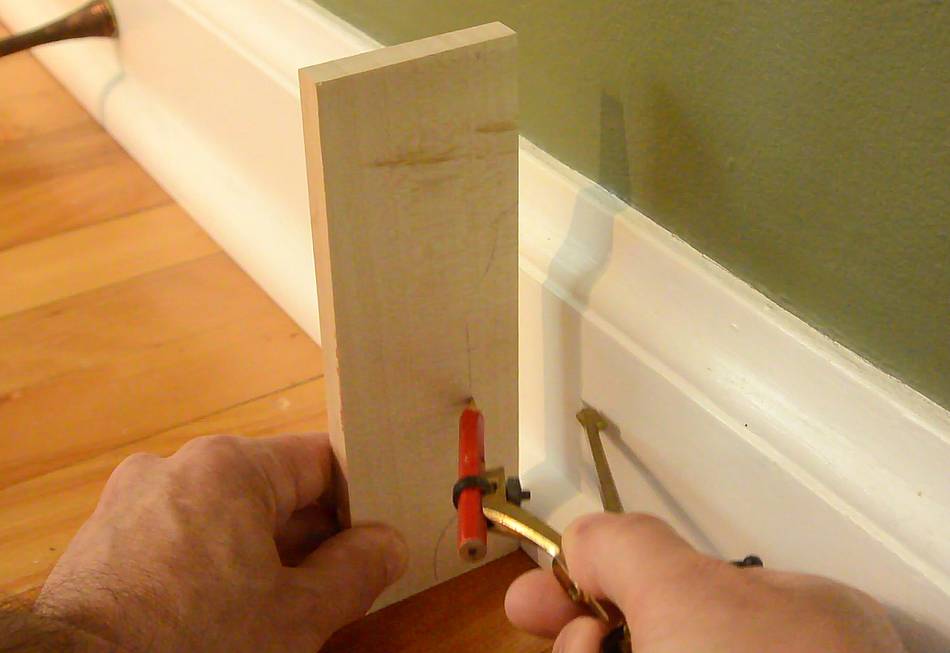
I needed to cut away parts of the uprights to fit around the
baseboard. I captured the shape by tracing it,
using a compass as a spacer to offset the contour onto
a scrap of wood. I then cut out the baseboard shape,
checked it against the original, and then used it to
trace what needed to be cut away from the shelf uprights.
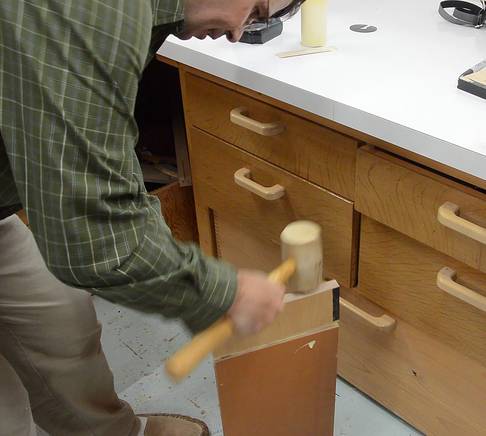
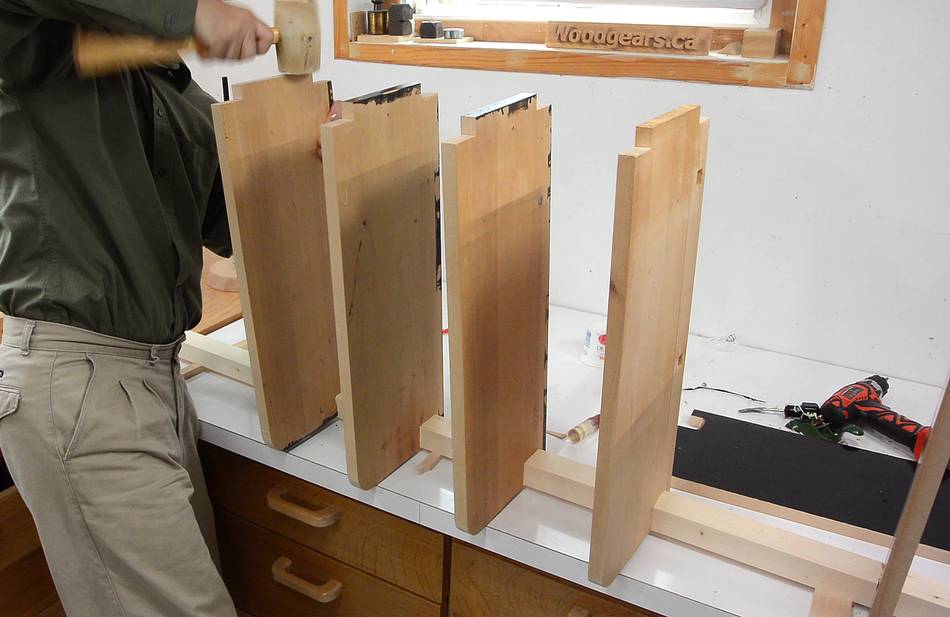
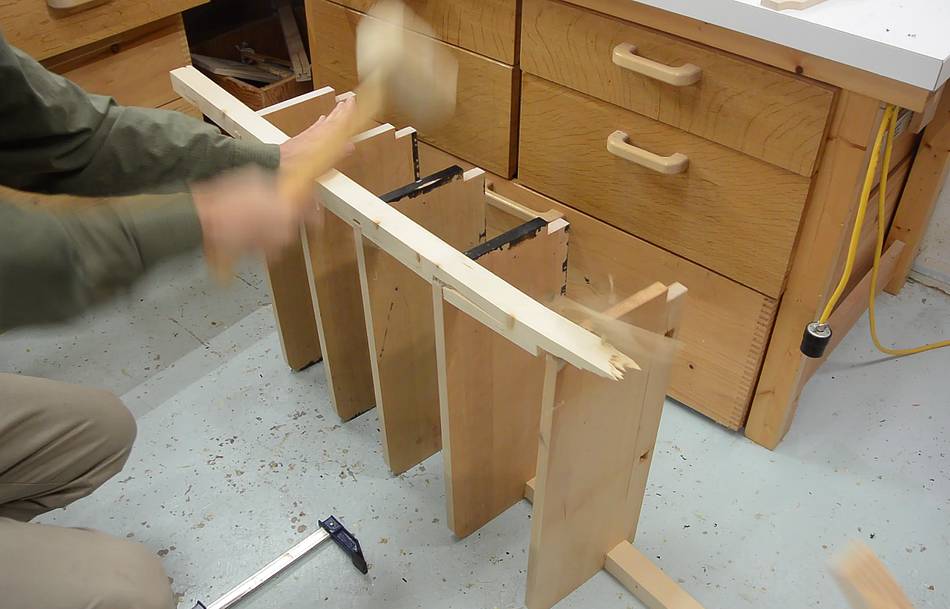
Now ready to assemble the shelf. It turned out, the dadoes
were a bit tight, so it took some banging to get it together.
I put the shelf on the floor to get the uprights on the other
side on. Again, it took some pounding, and then the wood just
broke apart. I figured, no problem, I'll just glue that
back together later.
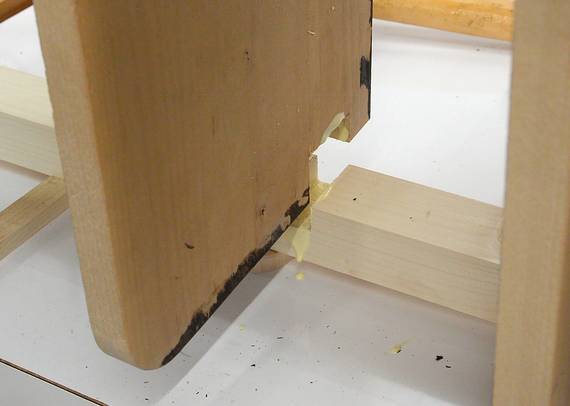
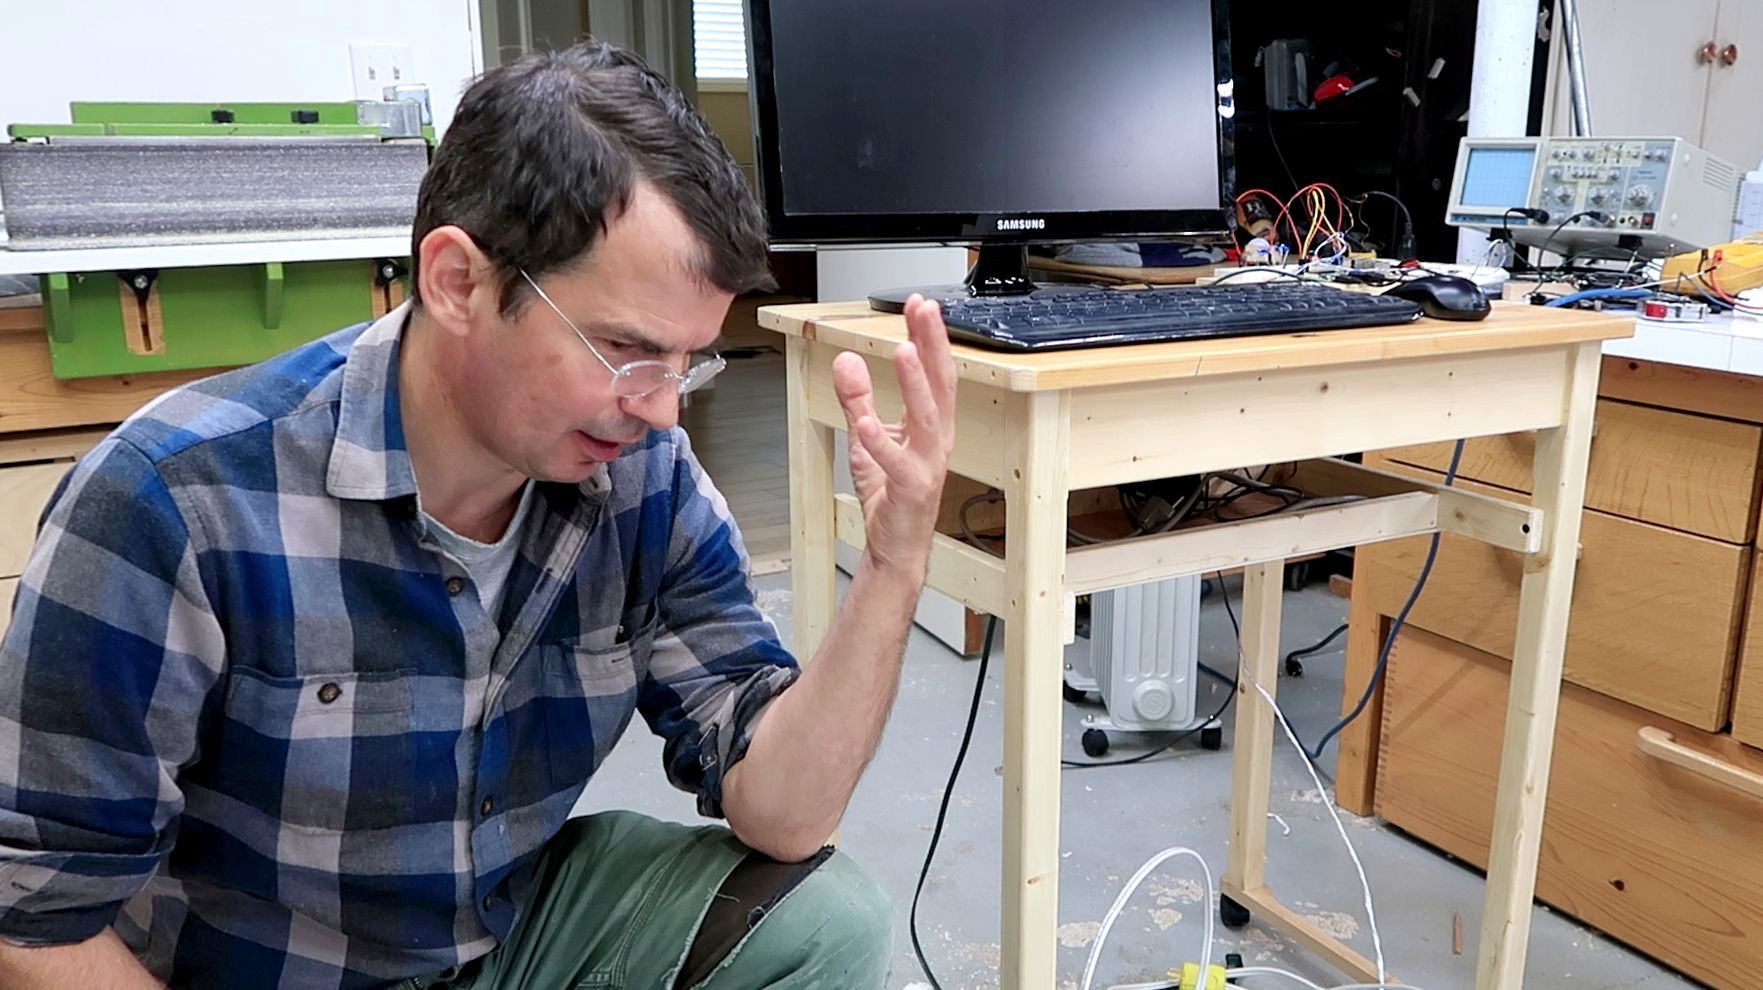
But then, pounding it some more, the wood broke apart
in another place where it wouldn't be so easy to glue.
At this point, I got frustrated and gave the wood a few more
whacks than necessary, and it just disintegrated. This very
light spruce breaks very easily!
That 2x10 felt unusually light when I cut it on the table saw.
Being so light, it might be good material for a guitar sound board,
but not for something where strength matters.
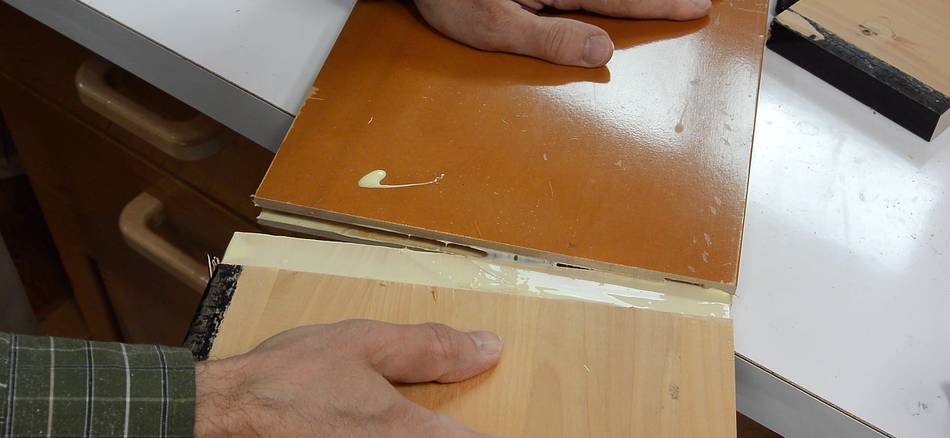
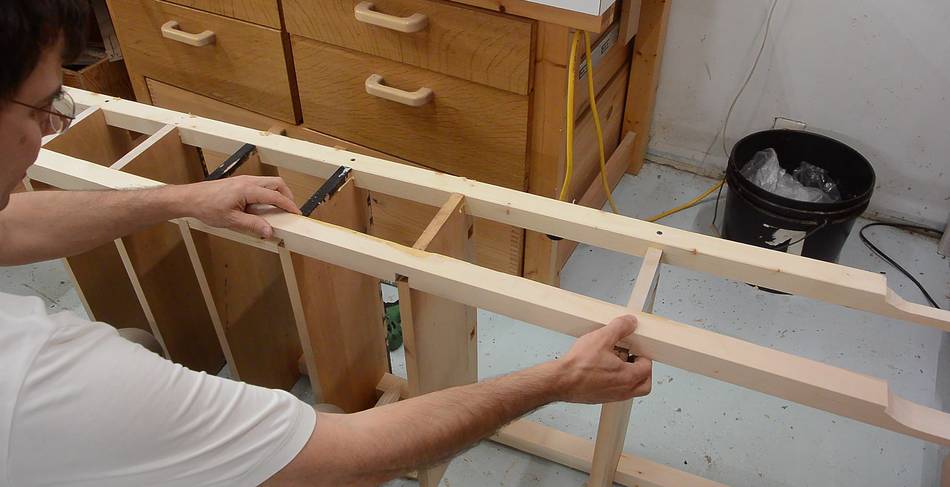
With the upright partly glued on and partly disintegrated,
I made a maple part to replace the part I had obliterated.
The maple is much harder and heavier. I joined it
with a lap joint that I hand cut into the intact part that was already
glued in place.
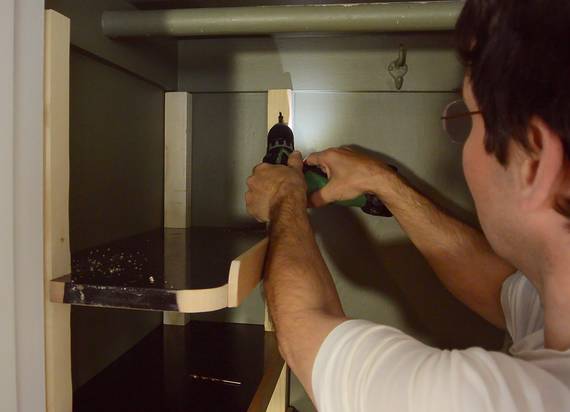
After assembly, I also added a few screws to make sure everything
would stay together even if the glue were to fail.
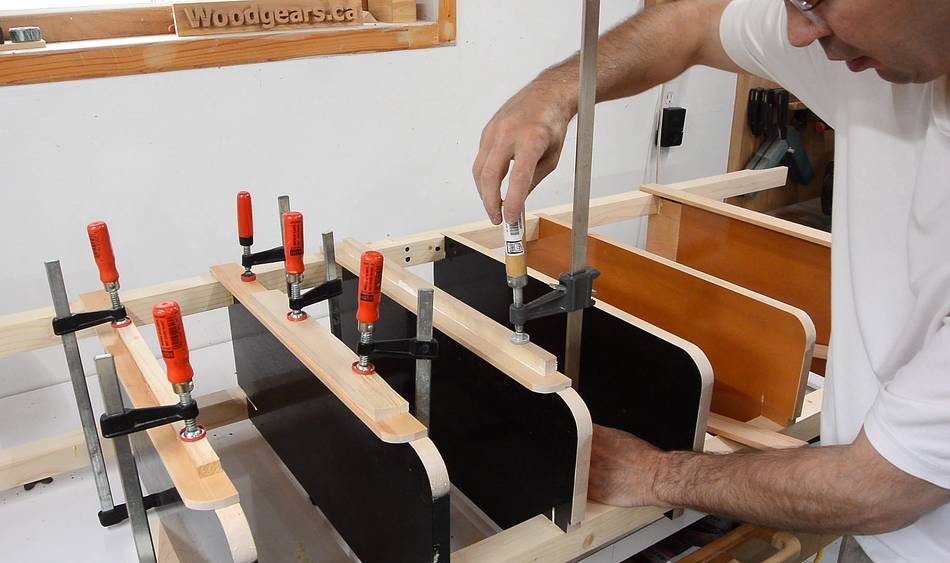
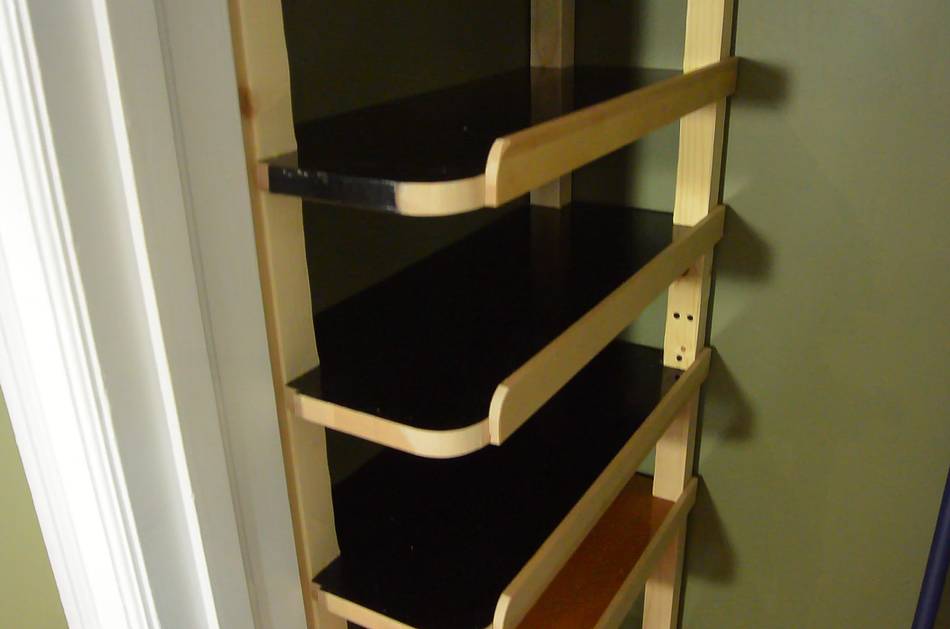
Then adding a ledge to the side of each shelf. Some of the stuff
to go on the shelves will be bags of rice, beans and lentils, and the
ledge will be useful to keep those from falling off.
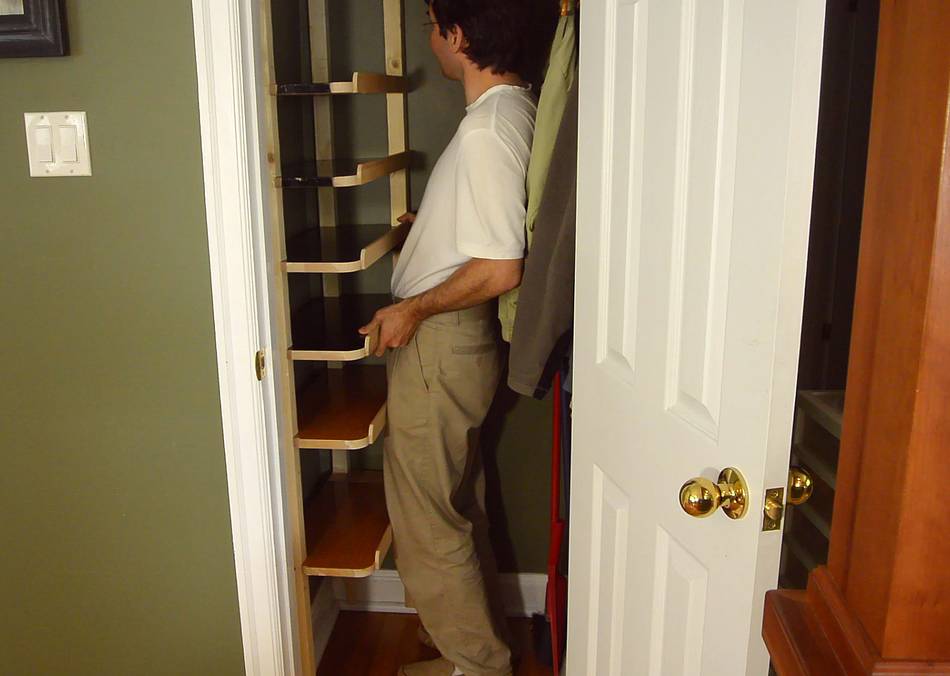
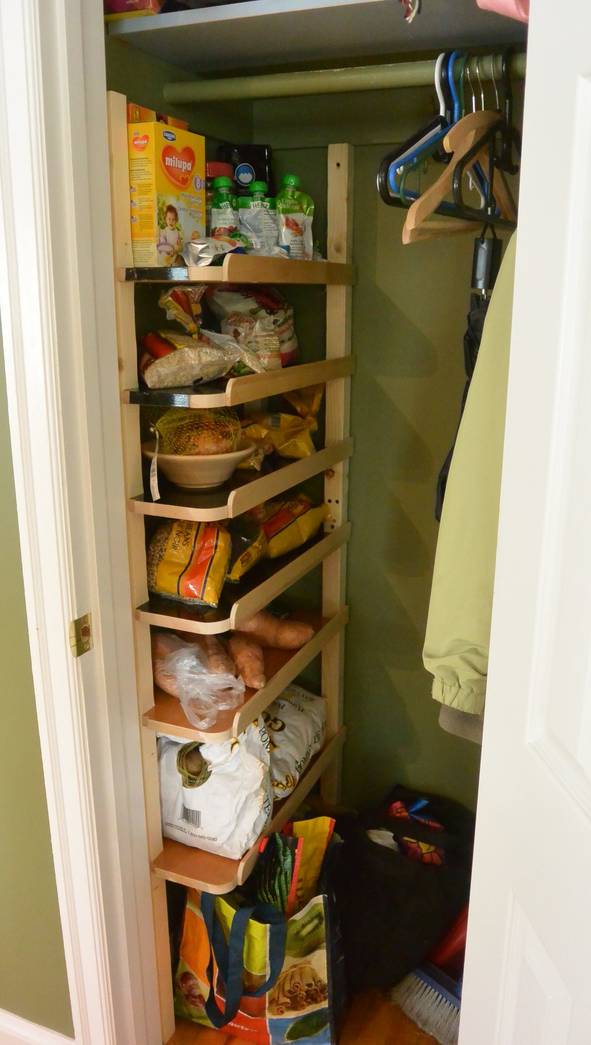
Installing the shelf. It fits. But it turns out, the bottom of the closet
is a bit deeper than the top, so the shelf uprights are about a centimeter
from the wall on the bottom back. You can never count on houses to be
totally square. I guess an alternative would have been to screw the
uprights against the wall, then cut each shelf to size as I install them.
I screwed the top of the shelf uprights into a piece of wood that holds the top
shelf in the closet, and the bottom into the baseboard.
If it was a free-standing shelves, I'd be a bit worried about the uprights breaking,
but with them screwed down on both ends, I think it will hold.
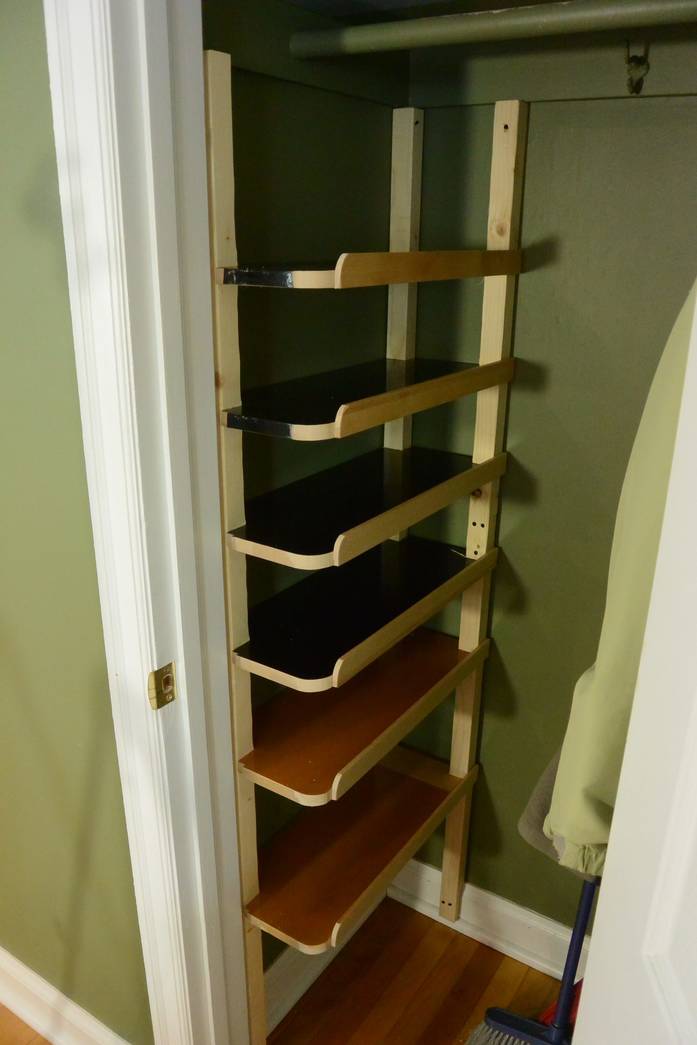
Half an hour later, already filled with stuff.
By making a custom shelf, it was possible to make something that optimally
uses the available space, and with the shelves open on the front, it's also
relatively easy to get at what's on them.
 With not enough cabinet space in our kitchen, Rachel started to use the
broom closet to store food stuff. She used a
plastic drawer unit, but to be able to open the drawers, it couldn't be
placed against the closet wall, so it was not an ideal use of space.
With not enough cabinet space in our kitchen, Rachel started to use the
broom closet to store food stuff. She used a
plastic drawer unit, but to be able to open the drawers, it couldn't be
placed against the closet wall, so it was not an ideal use of space.

 Another project where things didn't go right
 Basement shelving
 Building storage shelves
 Rack of storage boxes
 Quick shelves with
 Kitchen cabinet
 Ramekin serving tray
 Paper towel roll holder
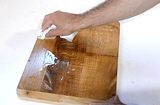 Warp-free cutting board
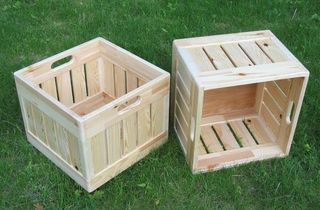 Milk crate boxes
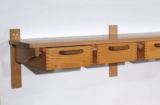 Shelf with drawers
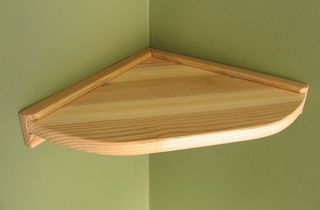 Small corner shelf