Building the elevating mechanism
 This article covers the building of the frame and ramps that
mount the elevating wheels and guide the marbles
in and out of the wheels.
This article covers the building of the frame and ramps that
mount the elevating wheels and guide the marbles
in and out of the wheels.
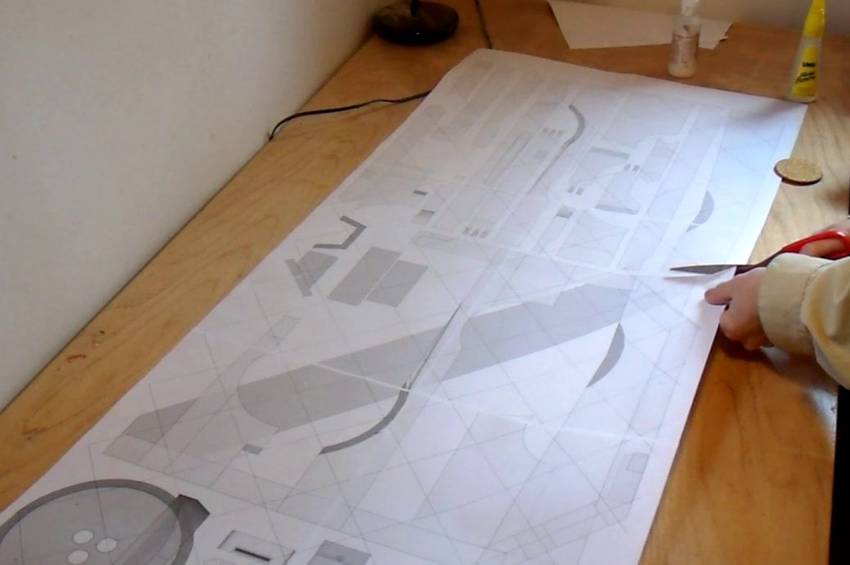 Full-scale printouts of the back of the machine, and its individual components,
are used to get all the part sizes. I hadn't yet made any dimensioned drawings
of the machine, so when I built this one, I just spread all the
parts over an area in CAD and then used my
BigPrint program to make a large 1:1
multi-page printout of it.
Full-scale printouts of the back of the machine, and its individual components,
are used to get all the part sizes. I hadn't yet made any dimensioned drawings
of the machine, so when I built this one, I just spread all the
parts over an area in CAD and then used my
BigPrint program to make a large 1:1
multi-page printout of it.
 For intricate parts like gears, it makes sense to glue the template onto the piece
of wood and then cut it out. But for the simpler parts, it's easier to just cut the
template out with scissors and then trace around it with a pencil.
That way, there's no glue residue to clean off the wood parts.
For intricate parts like gears, it makes sense to glue the template onto the piece
of wood and then cut it out. But for the simpler parts, it's easier to just cut the
template out with scissors and then trace around it with a pencil.
That way, there's no glue residue to clean off the wood parts.
The two parts shown here will cover part of the wheels to prevent the marbles from rolling out of the gears before they get to the top.
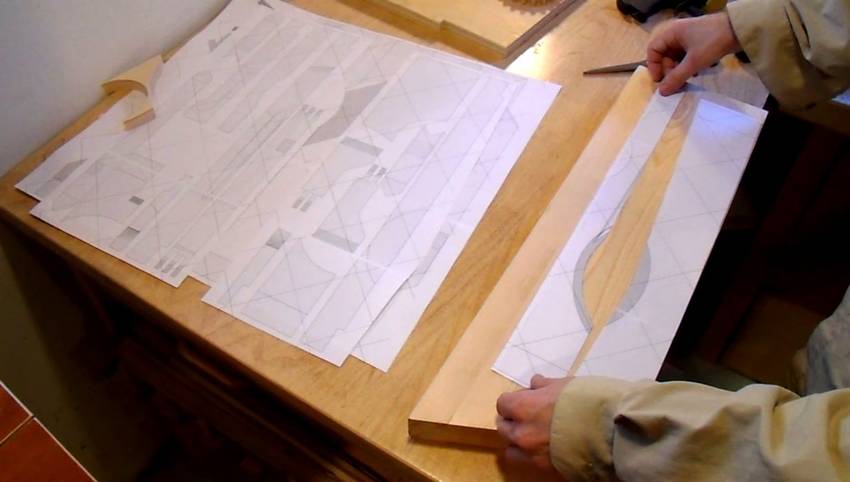 Using cutouts of individual parts of the assembly helps to figure out
how best to avoid defects in the wood while making efficient use of it.
Using cutouts of individual parts of the assembly helps to figure out
how best to avoid defects in the wood while making efficient use of it.
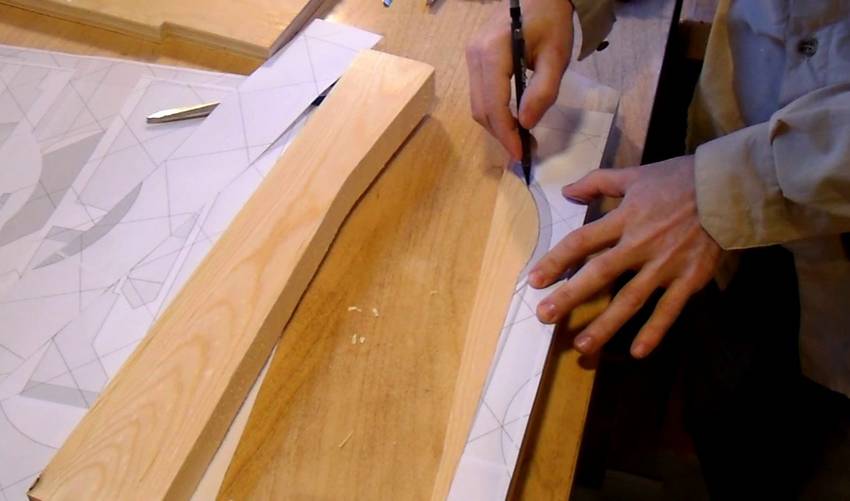 Tracing the shapes onto the wood. It's not always worth gluing the templates
onto the wood.
Tracing the shapes onto the wood. It's not always worth gluing the templates
onto the wood.
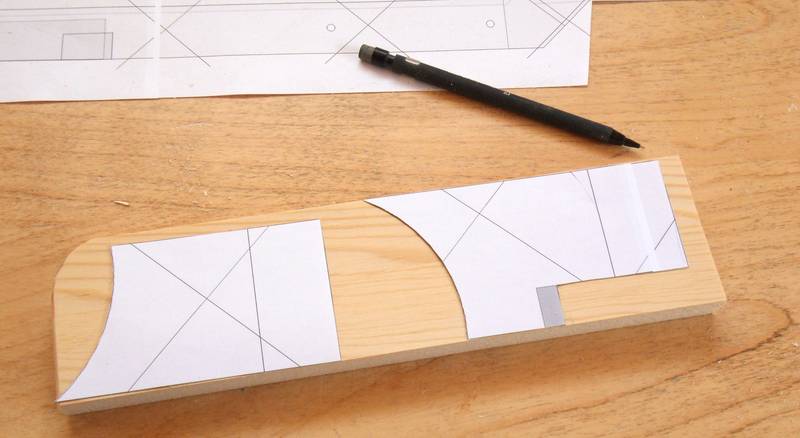
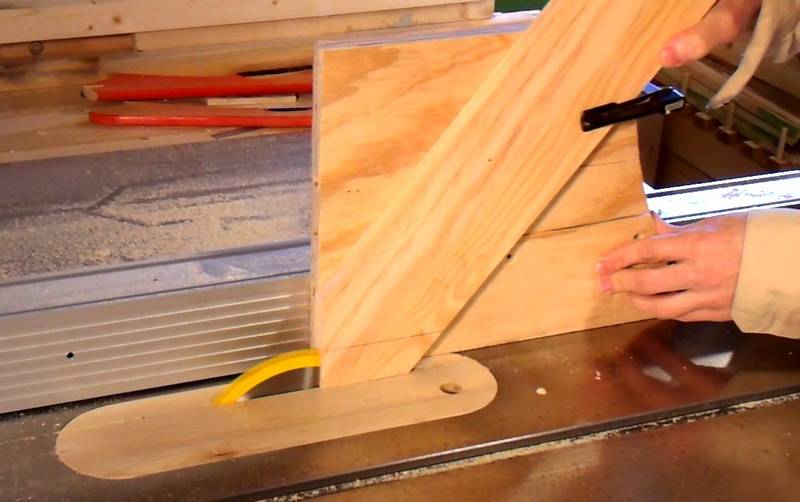
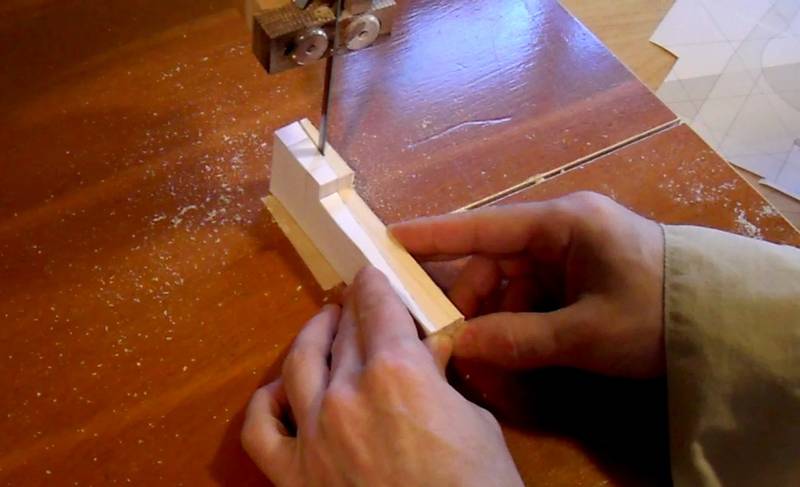
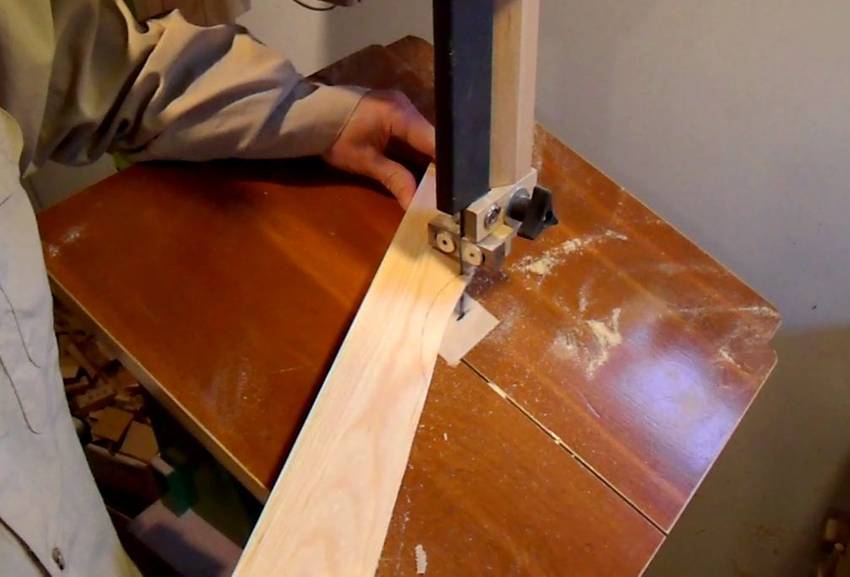 The parts where the marbles feed into the wheels are a beveled cut around a circular arc. I cut away
the shaded arched part of the template and traced it again to get the shape of that part of the cut.
I tilted the bandsaw table to make the beveled cut. The rest of the part is cut with the table
level at 90 degrees.
The parts where the marbles feed into the wheels are a beveled cut around a circular arc. I cut away
the shaded arched part of the template and traced it again to get the shape of that part of the cut.
I tilted the bandsaw table to make the beveled cut. The rest of the part is cut with the table
level at 90 degrees.
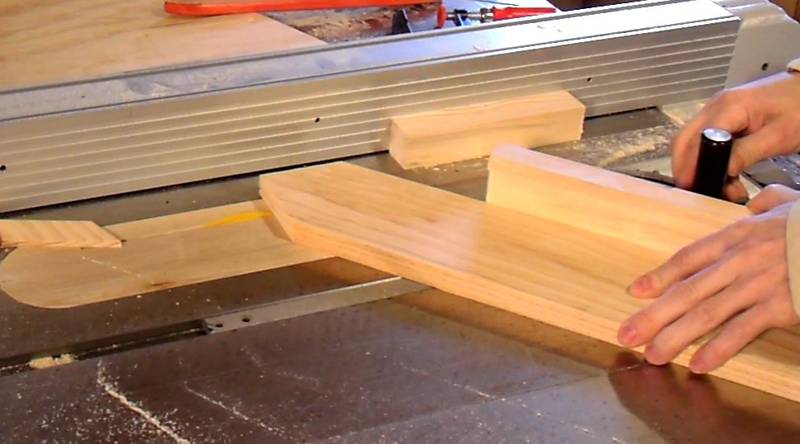
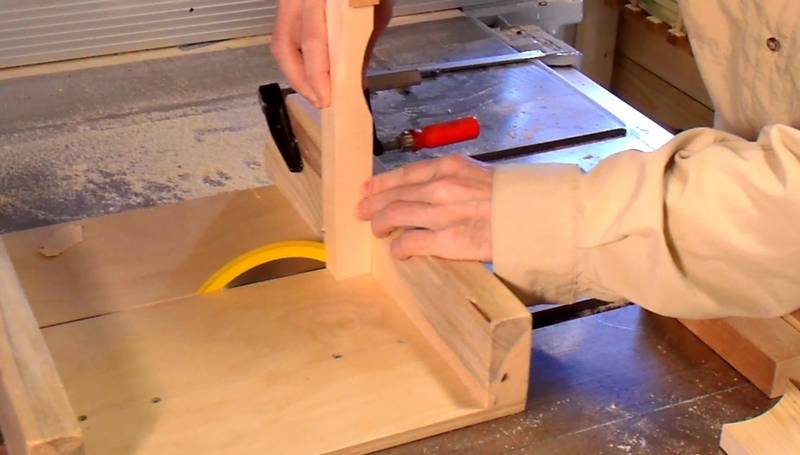 A notch needs to be cut out of the ends of the horizontal parts where they meet the
vertical posts. It's best to cut all the parts that have this notch at the same time
so that one setup can be used to cut most of them.
A notch needs to be cut out of the ends of the horizontal parts where they meet the
vertical posts. It's best to cut all the parts that have this notch at the same time
so that one setup can be used to cut most of them.
A tenon jig is useful for making this kind of cut, but if you don't have a tenon jig, a simple table saw sled, like the one I'm using here, will do the job as well.
You could also cut those notches on the bandsaw.
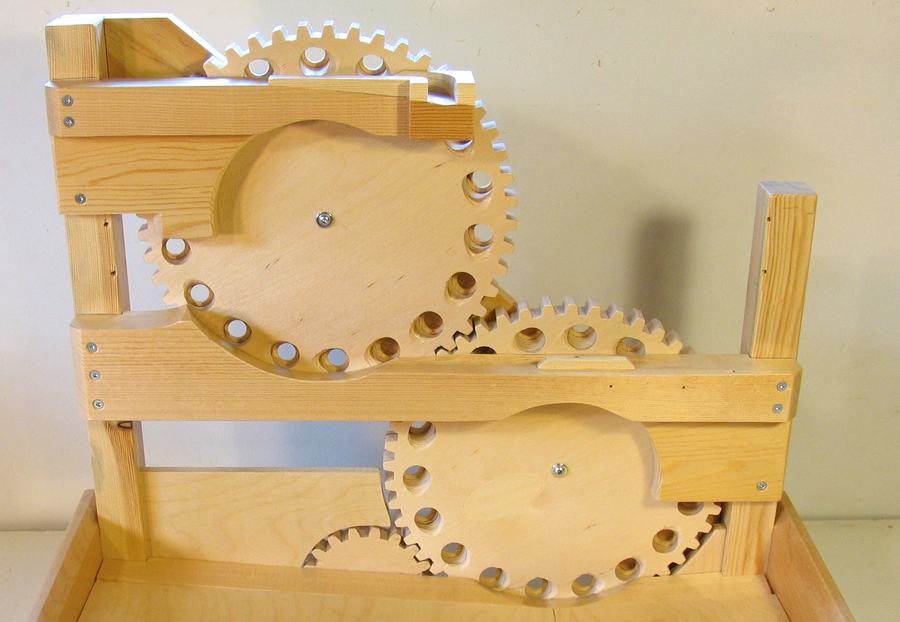
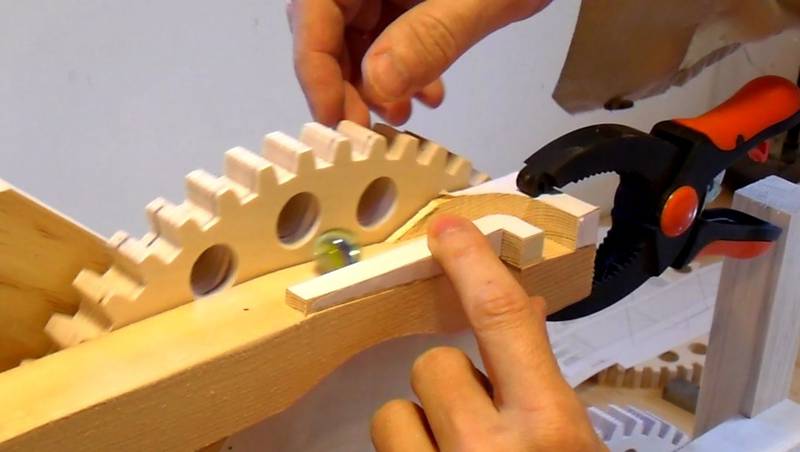
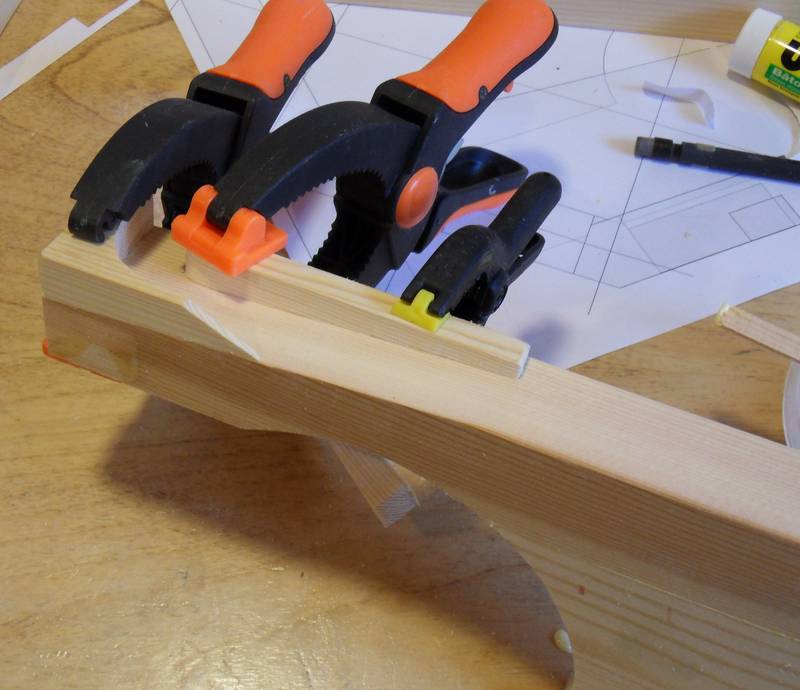
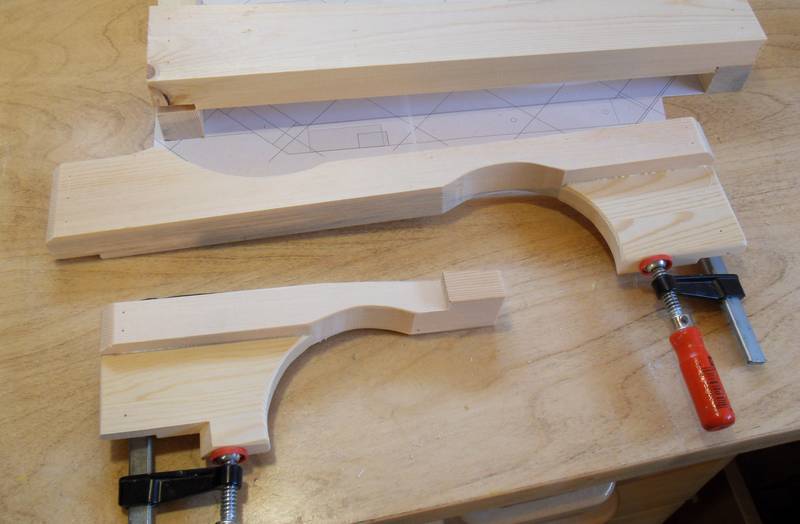 Here's gluing the guards below the rails. These guards prevent the marbles from rolling out
of the elevating wheels prematurely.
As soon as the marbles are more than half-way up the wheels, the holes in the wheels start pointing
slightly downwards, so these covers prevent the marbles from rolling out before
they reach the top.
Here's gluing the guards below the rails. These guards prevent the marbles from rolling out
of the elevating wheels prematurely.
As soon as the marbles are more than half-way up the wheels, the holes in the wheels start pointing
slightly downwards, so these covers prevent the marbles from rolling out before
they reach the top.
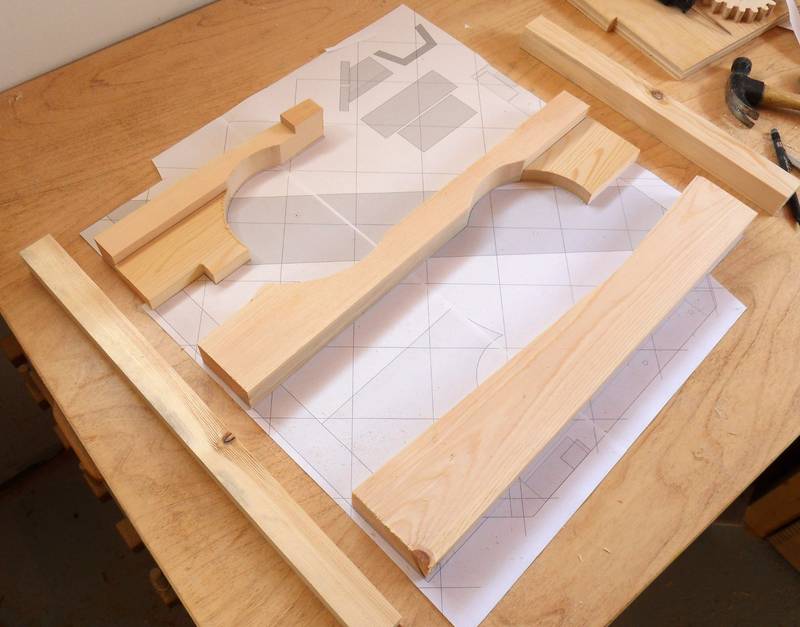 Laying the parts on the 1:1 printout to make sure everything is there and is the right size.
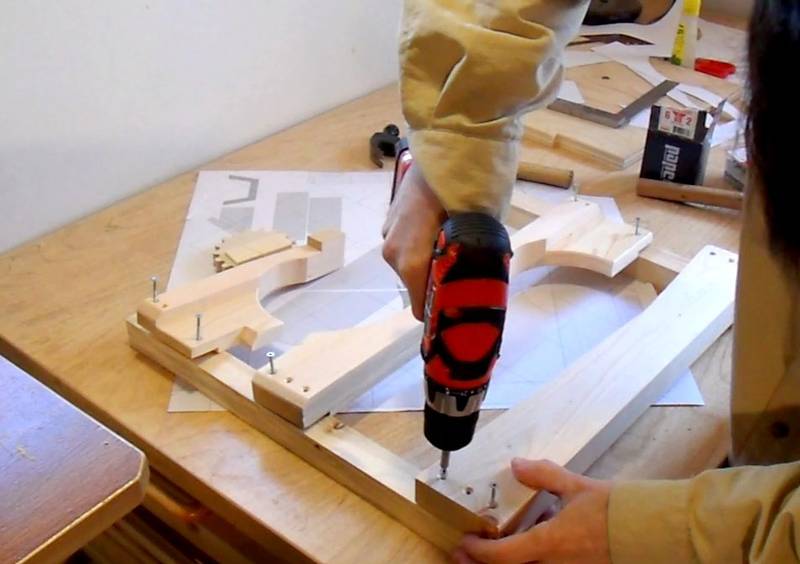
 After drilling the screw holes, I'm making sure that all the parts are aligned exactly according
to the printout. That way, I don't have to make measurements.
After drilling the screw holes, I'm making sure that all the parts are aligned exactly according
to the printout. That way, I don't have to make measurements.
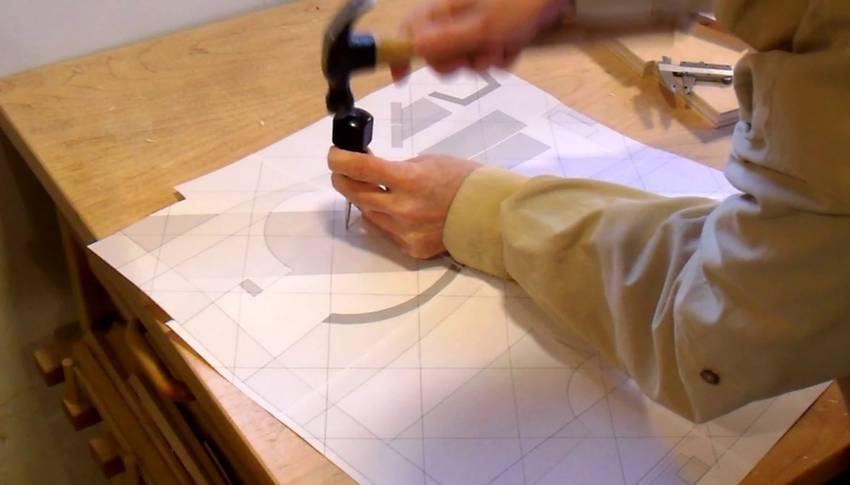
![]() The screw holes were drilled to be just large enough for the screws to fit in.
By tapping the screws with a hammer, each screw tip will make a small divot in the wood
which will mark where the pilot hole needs to be drilled.
The screw holes were drilled to be just large enough for the screws to fit in.
By tapping the screws with a hammer, each screw tip will make a small divot in the wood
which will mark where the pilot hole needs to be drilled.
 After drilling the pilot holes, the back can be assembled.
The frame is assembled with screws. With a machine like this, until the whole machine is finished and debugged, it's important to be able to take it apart again to make adjustments
 There is a board that runs diagonally across the back of the machine to hold the wheels.
This board has a rabbet at an angle on each end.
There is a board that runs diagonally across the back of the machine to hold the wheels.
This board has a rabbet at an angle on each end.
A tenon jig can be useful for cutting these rabbets, but it's not strictly necessary. I clamped the board to a piece of plywood for support and am running that along the fence of the saw to make the cut.
 Another cut, using the miter gauge, finishes the rabbet cut.
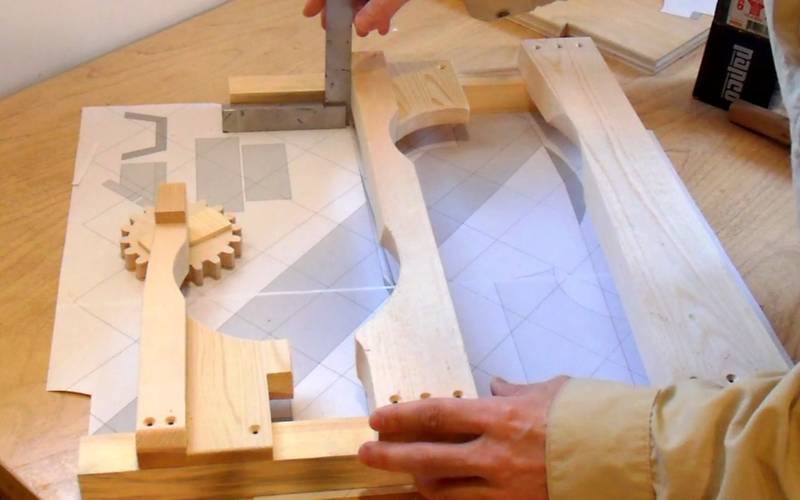
 Here's marking the location of the holes for the wheels. I slid the board under the
1:1 printout of the back of the machine.
Here's marking the location of the holes for the wheels. I slid the board under the
1:1 printout of the back of the machine.
Alternately, you can attach the board to the back of the machine, lay the machine on its back, position the wheels so they line up with the tracks, and then punch through the centers of the wheels to mark the location on the board.
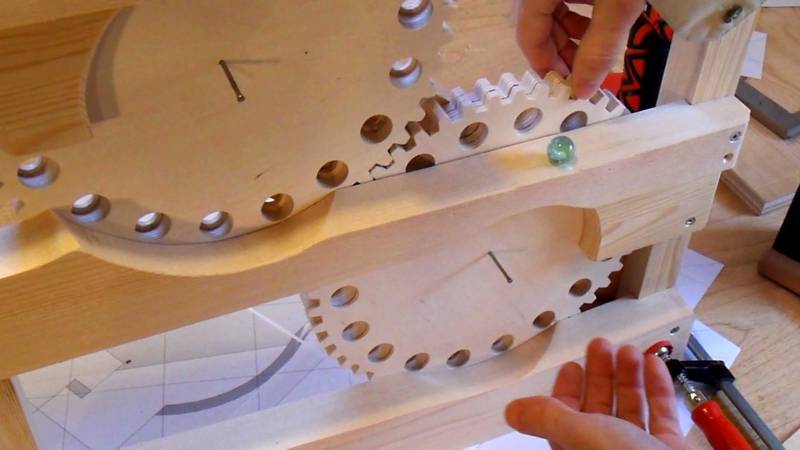 Testing the intermediate progress. The gears are still only held in place with
nails. The marble pickup works, but the exit ramp at the top of the lower wheel still
needs shaping. Here it's still flat, and the marbles just roll across it and fall off.
Testing the intermediate progress. The gears are still only held in place with
nails. The marble pickup works, but the exit ramp at the top of the lower wheel still
needs shaping. Here it's still flat, and the marbles just roll across it and fall off.
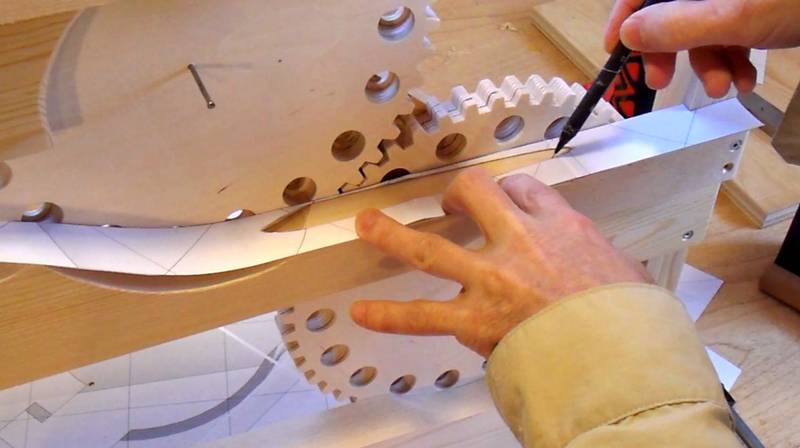 I cut out the top view of the ramp from the plans and am marking the outline of the
groove that needs to be cut.
I cut out the top view of the ramp from the plans and am marking the outline of the
groove that needs to be cut.
 I'm sure a router jig could be constructed for cutting this groove, but chiseling it
out manually with a gouge doesn't take much time, so it's not worth
jigging it up for the router.
I'm sure a router jig could be constructed for cutting this groove, but chiseling it
out manually with a gouge doesn't take much time, so it's not worth
jigging it up for the router.
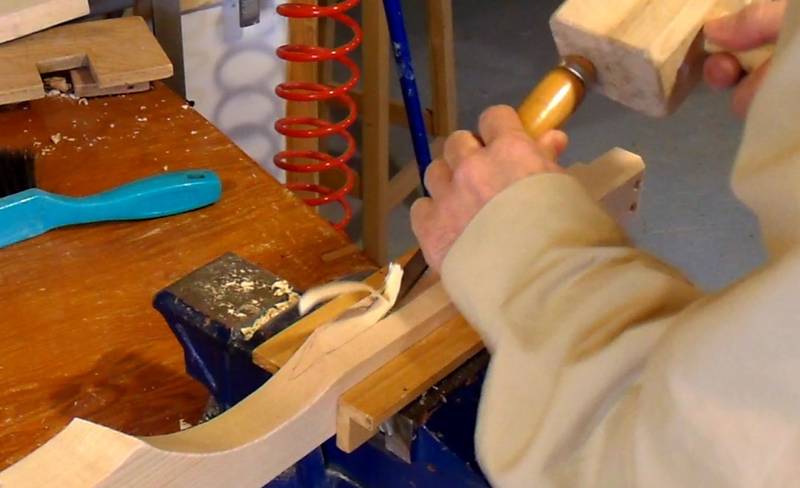
I make the initial rough cuts by tapping the back of the gouge with a mallet.
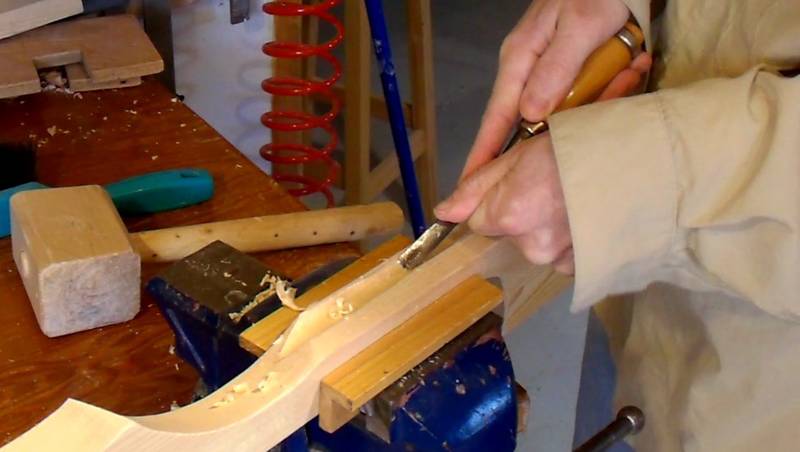 Next I just push the chisel along the groove to smooth it out
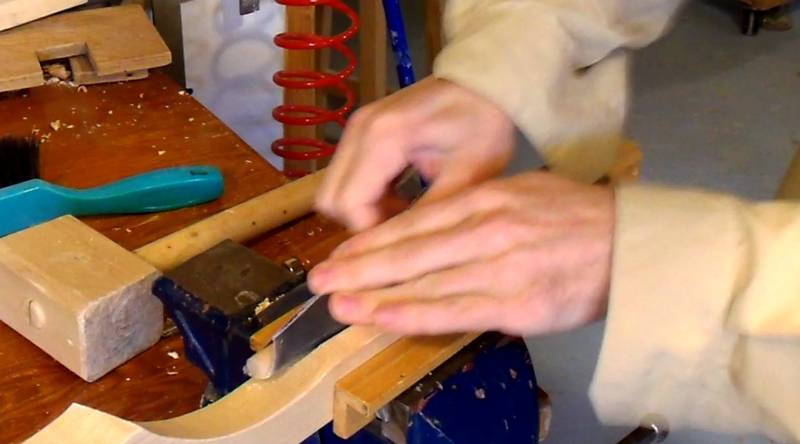 Finally, a 1/2" (or 12mm or 14 mm) dowel with sandpaper wrapped around it is used
to smooth the groove so that marbles can roll along it and not get stuck on
any uneven parts.
Finally, a 1/2" (or 12mm or 14 mm) dowel with sandpaper wrapped around it is used
to smooth the groove so that marbles can roll along it and not get stuck on
any uneven parts.
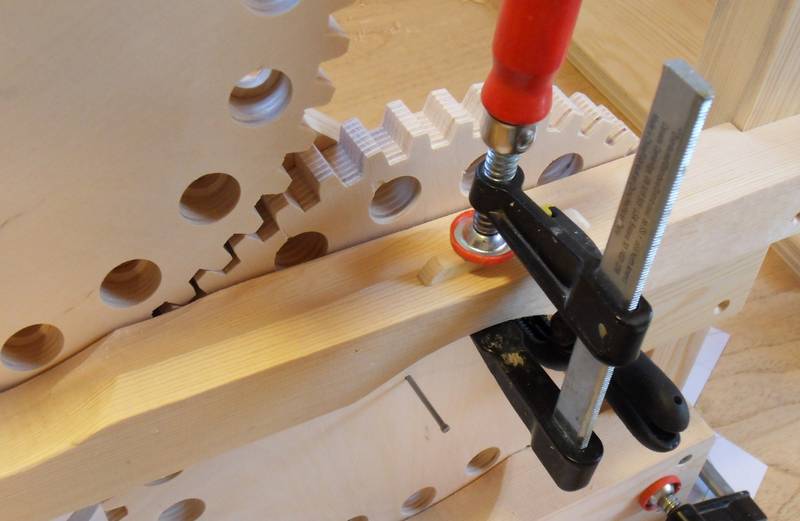 The smooth track alone is not deep enough to prevent the marbles from sometimes skipping
over it, so a small piece of wood is glued on across from where the marbles exit the wheel.
This keeps the marbles in the track.
The smooth track alone is not deep enough to prevent the marbles from sometimes skipping
over it, so a small piece of wood is glued on across from where the marbles exit the wheel.
This keeps the marbles in the track.
 Making the guide for where marbles exit at the top of the machine.
These are cut out of a wedge-shaped piece of wood. Here I'm cutting the wedge shape using the paper template as a guide.
 Cutting out the guide shape
 Temporarily holding the guide pieces in place to make sure they work.
 Guing them onto the exit ramp.
Next: Marble machine base
Back to Marble machine 2.1