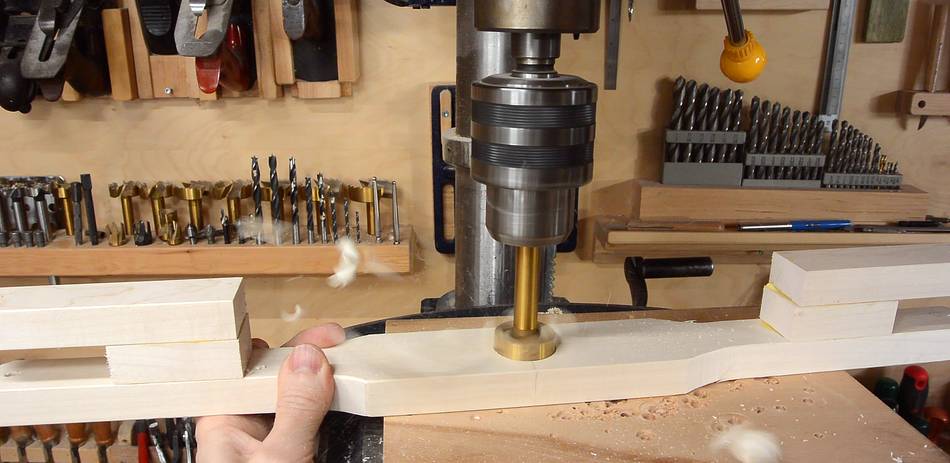
 Drilling a hole large enough for the plasma cutter torch to fit through.
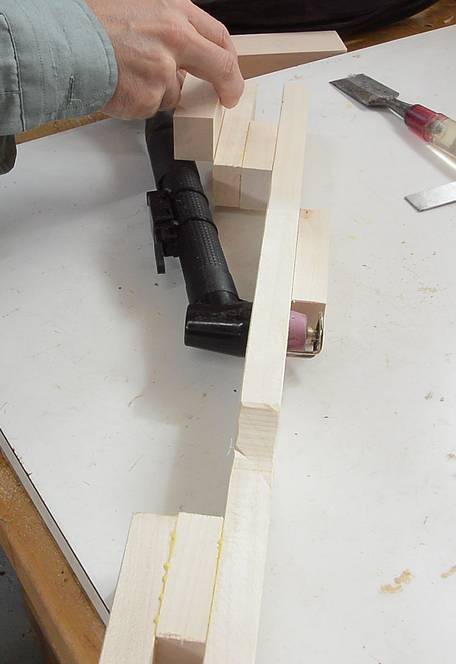
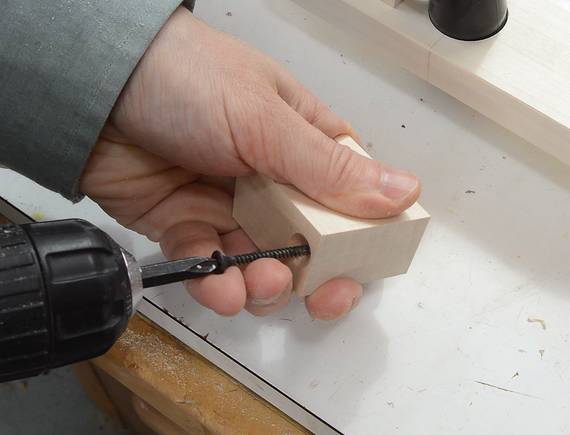
 I made some blocks with an angled notch to cradle the handle of the plasma torch
against the link.
I made some blocks with an angled notch to cradle the handle of the plasma torch
against the link.
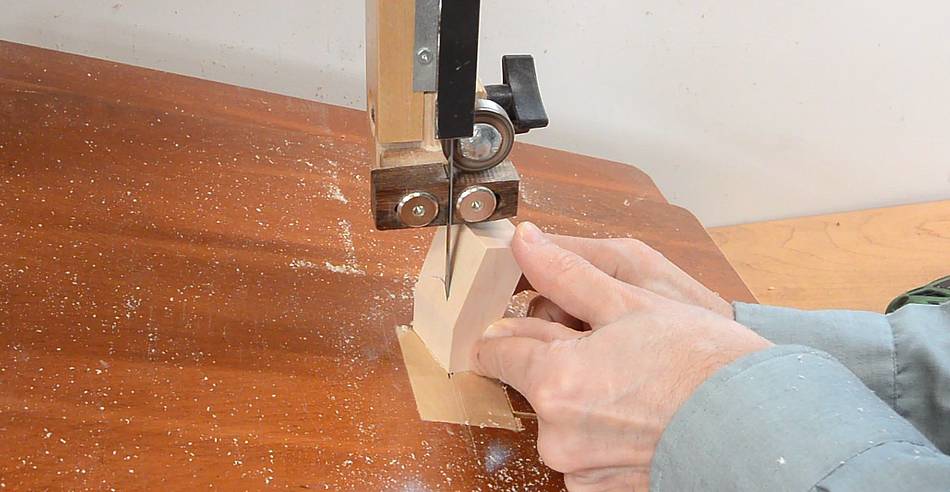
 I made another block to clamp the torch to the pantograph with.
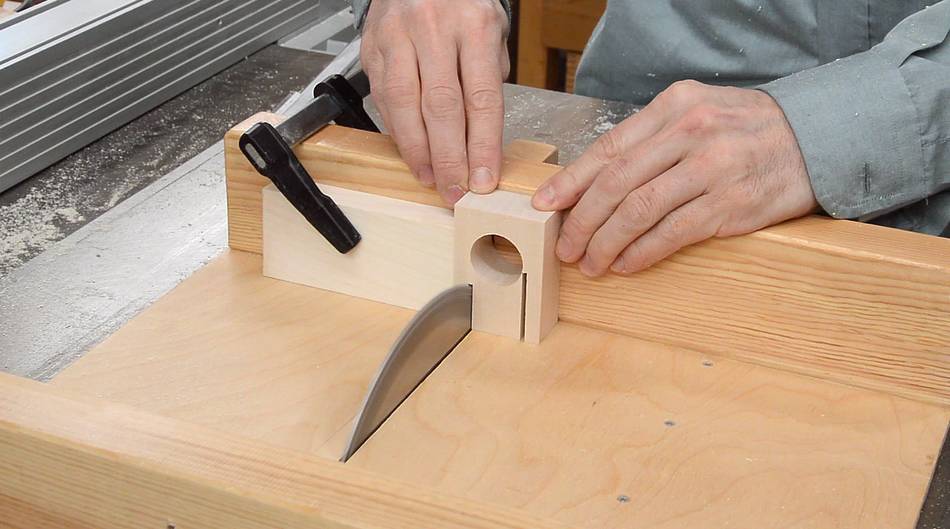
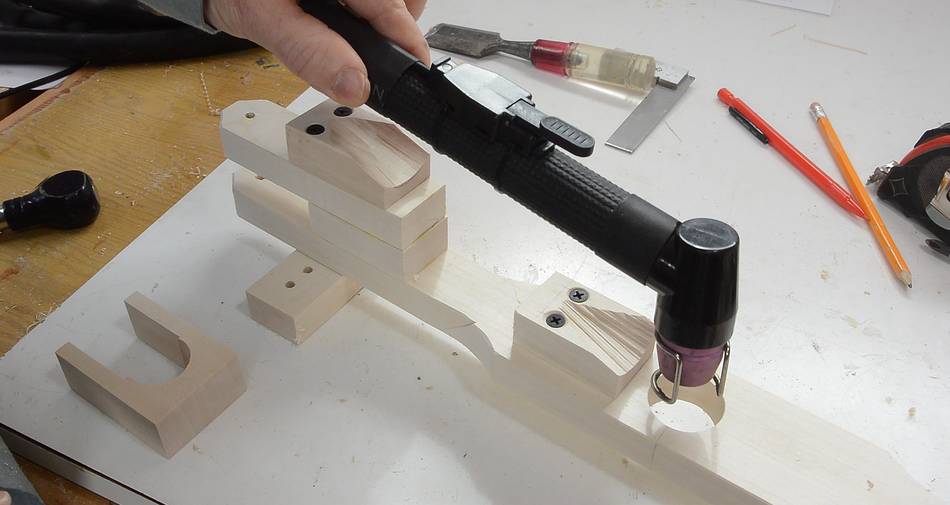 Here's how the torch fits on.
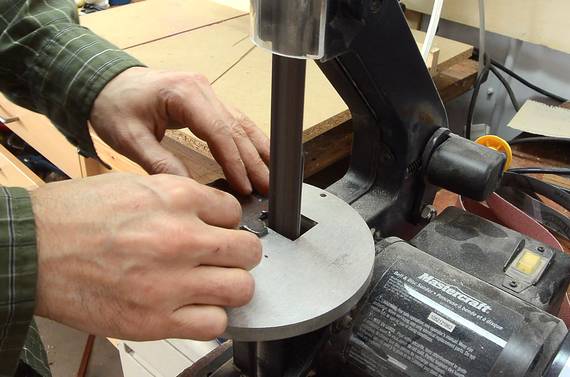
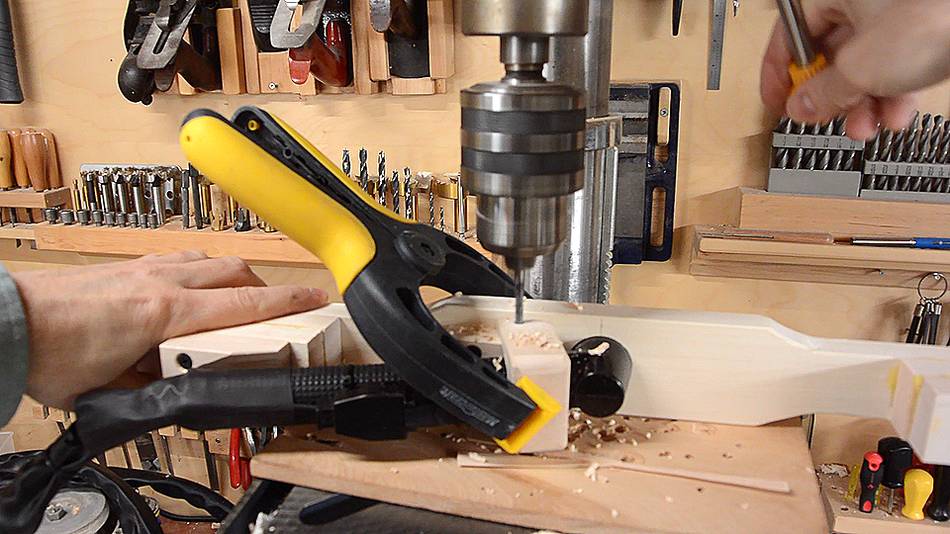 With the block to hold the torch clamped to the link, I drilled a hole
through both it and the block it mounts to.
With the block to hold the torch clamped to the link, I drilled a hole
through both it and the block it mounts to.
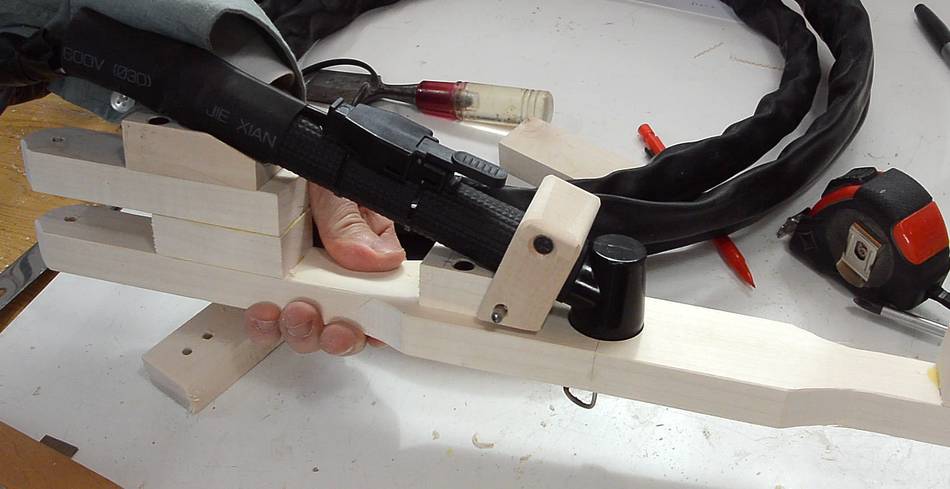 A piece of stainless steel shaft secures the block, and the torch in place.
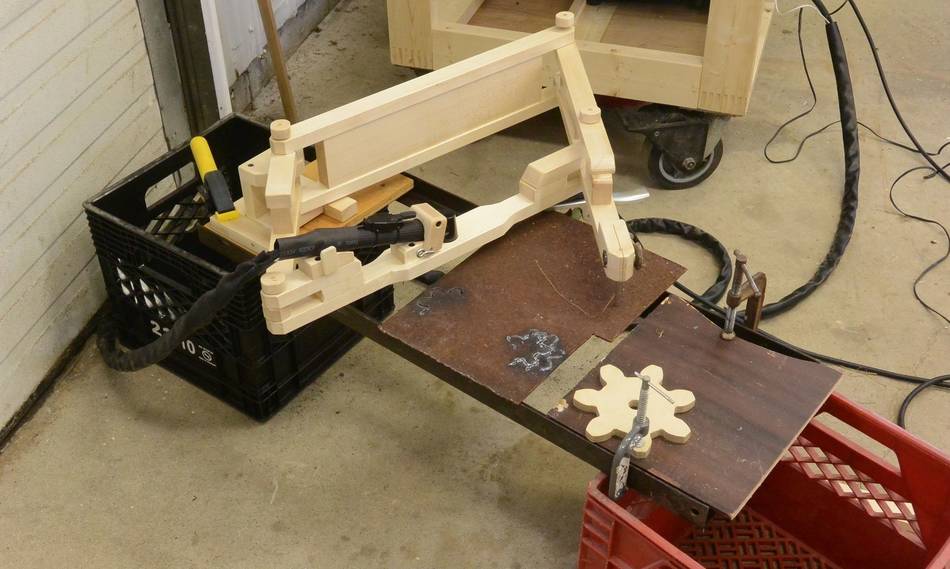 My thought was that this pantograph could be clamped to a large sheet of
steel for cutting parts out of it. But most of my steel scraps are much smaller
than that, so I had to rig something up. This was my first attempt,
on some bed frame angle irons propped up on milk crates. It worked,
but it was awkward.
My thought was that this pantograph could be clamped to a large sheet of
steel for cutting parts out of it. But most of my steel scraps are much smaller
than that, so I had to rig something up. This was my first attempt,
on some bed frame angle irons propped up on milk crates. It worked,
but it was awkward.
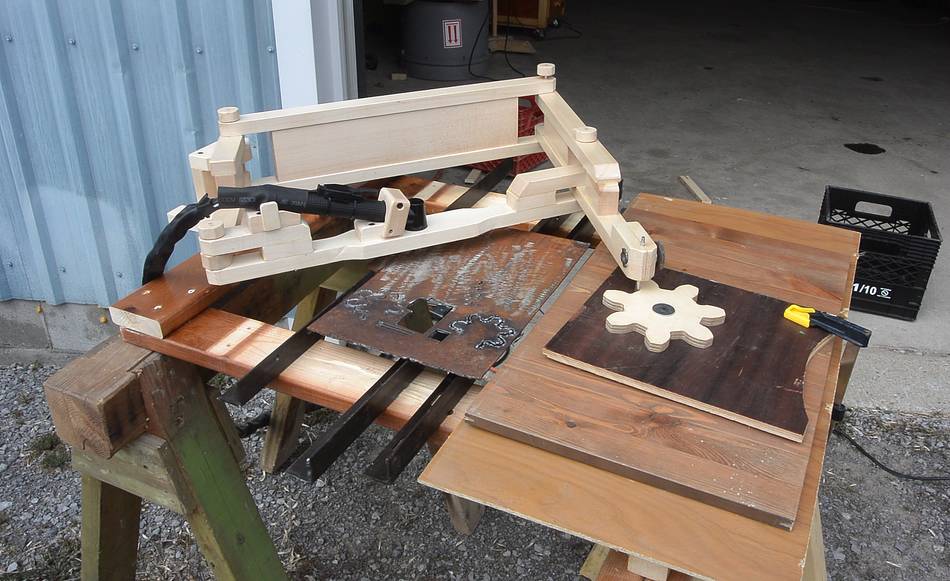 So I built a wooden frame from some scrap wood. The frame is open in
the middle, with some pieces of bed frame angle iron supporting
the workpiece. It's supported on
sawhorses on either end so all
the sparks can go straight to the ground.
So I built a wooden frame from some scrap wood. The frame is open in
the middle, with some pieces of bed frame angle iron supporting
the workpiece. It's supported on
sawhorses on either end so all
the sparks can go straight to the ground.
Of course, I have to be careful where I cut. If I cut above the wood, that will set it on fire. A metal frame would be better, but making a wood frame was quicker and cheaper.
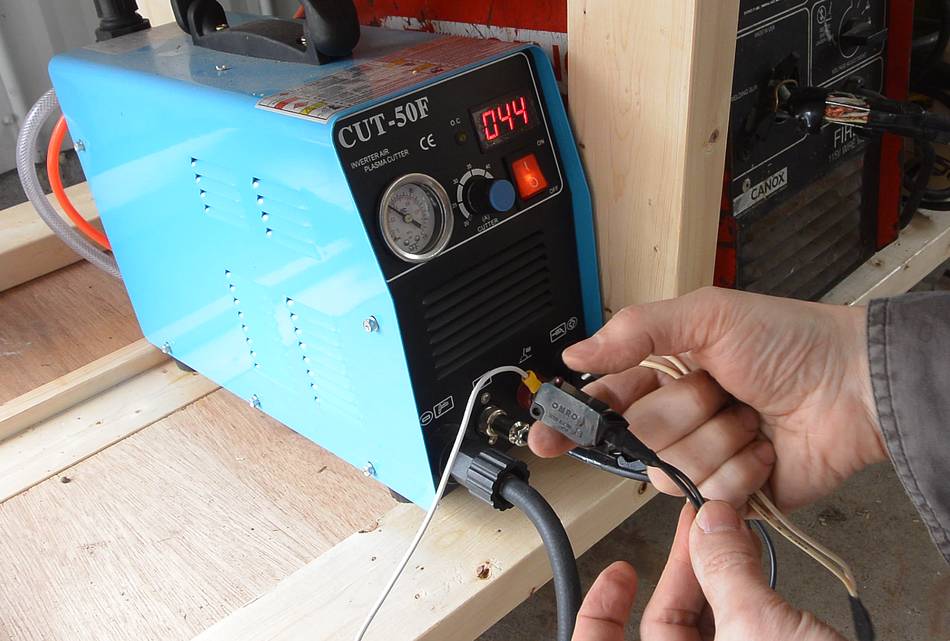 The gun part of the plasma cutter has a trigger button, but this
would be awkward to reach while using the pantograph. So I wired
another micro switch in parallel with the gun's trigger.
The gun part of the plasma cutter has a trigger button, but this
would be awkward to reach while using the pantograph. So I wired
another micro switch in parallel with the gun's trigger.
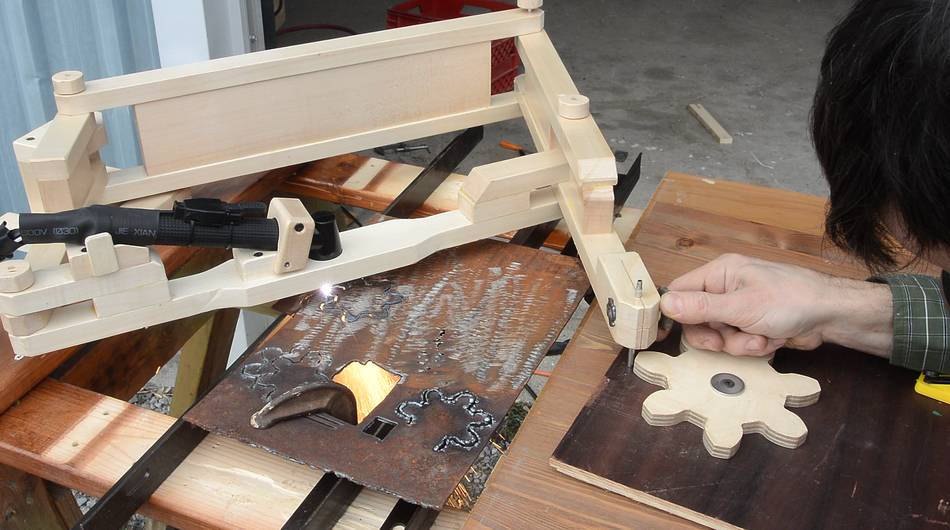 Cutting out a gear shape. The gear I'm using as a template is actually one that
I made back in 2007
Cutting out a gear shape. The gear I'm using as a template is actually one that
I made back in 2007
 A problem I was running into is beads of molten metal sticking to the bottom
of the cut-out. At right, the gear behind has a lot more of this. I was told
cutting faster would help. Maybe I also need to increase the air pressure.
I'm not a plasma cutting expert.
A problem I was running into is beads of molten metal sticking to the bottom
of the cut-out. At right, the gear behind has a lot more of this. I was told
cutting faster would help. Maybe I also need to increase the air pressure.
I'm not a plasma cutting expert.
 The top side of the cut certainly looks clean. Here, the second gear I cut out.
Better than the first one.
The top side of the cut certainly looks clean. Here, the second gear I cut out.
Better than the first one.
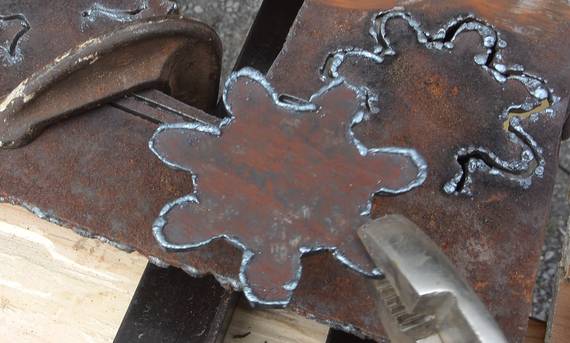
The gear teeth were a bit "fatter" than the template. This was because the 3/16" pin I used to trace around the gear was more than twice the diameter of the plasma cutter's cut. A follower pin exactly twice the diameter cut, tracing around a 2x size template, would have reproduced the shape more faithfully.
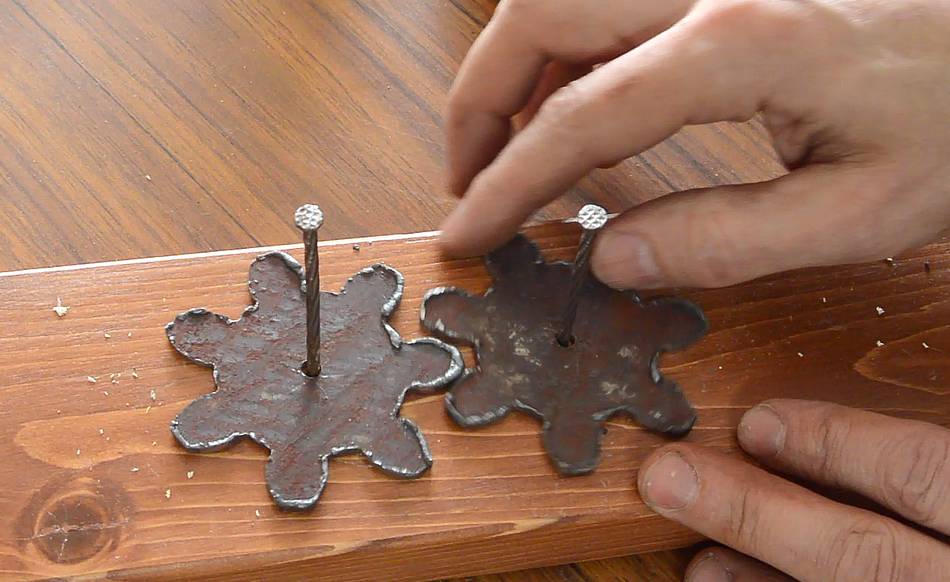
 I gave the edges of the teeth a quick sanding on my old strip sander, and
after that, the gears actually worked! They didn't exactly run smoothly, but
gears with only seven teeth will always be a bit rough. Machines that require
power transmission never use flat gears with so few teeth.
I gave the edges of the teeth a quick sanding on my old strip sander, and
after that, the gears actually worked! They didn't exactly run smoothly, but
gears with only seven teeth will always be a bit rough. Machines that require
power transmission never use flat gears with so few teeth.
Maybe gears with more teeth, cut in steel plate 8 mm thick, with some filing and sanding to make them smoother, could actually be useful for some low speed applications. Maybe for an animated outdoor mechanical sculpture.
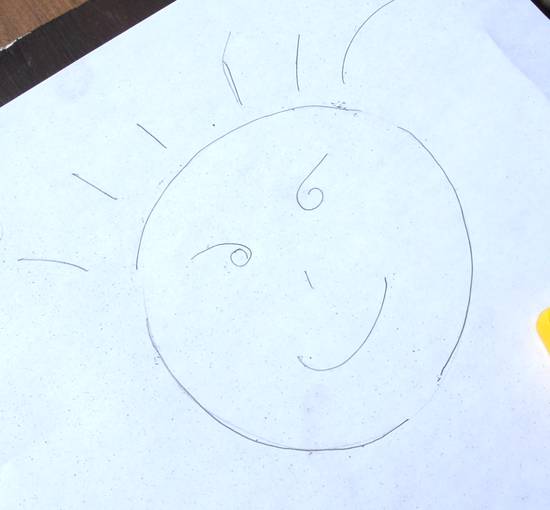
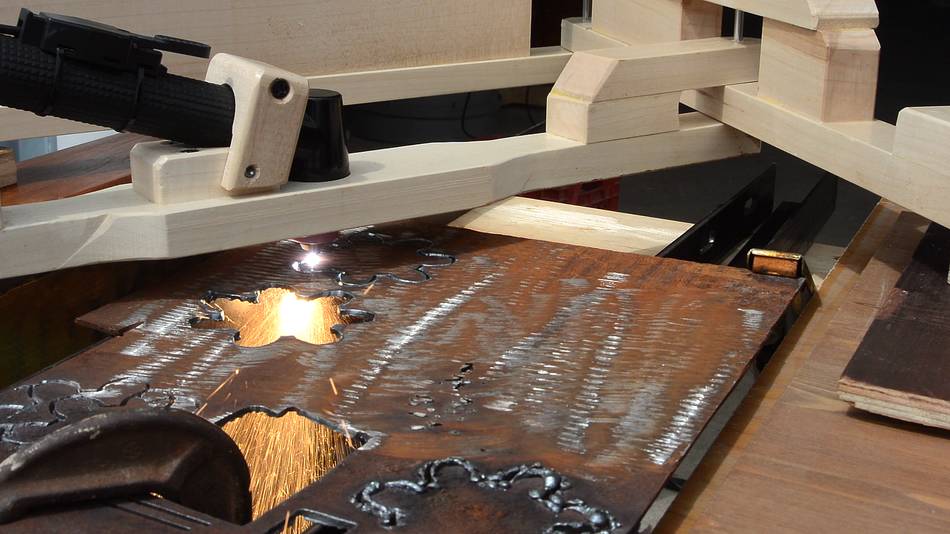
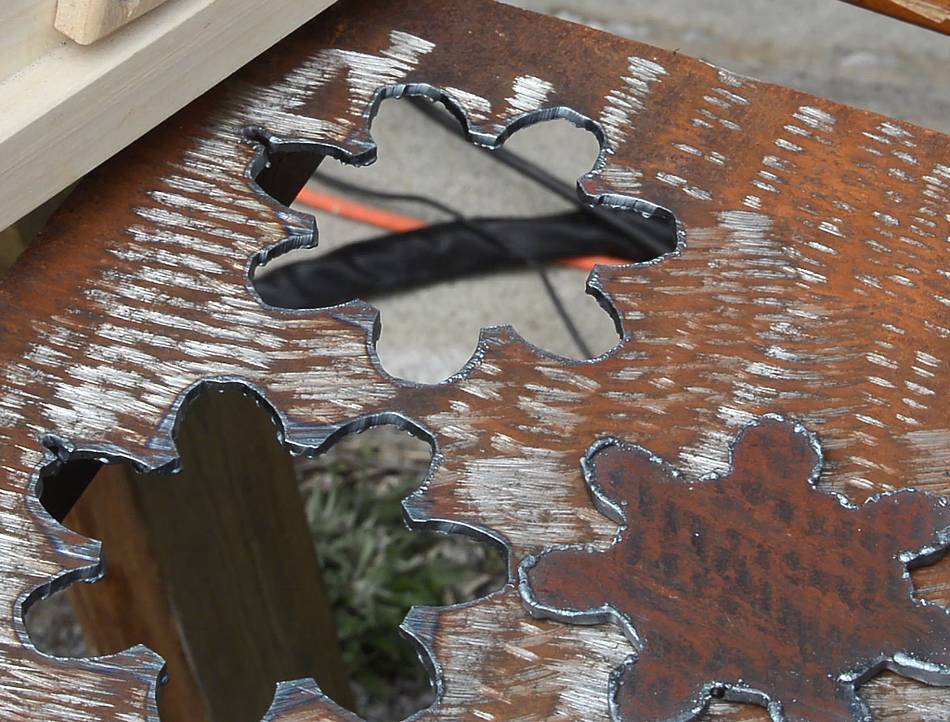
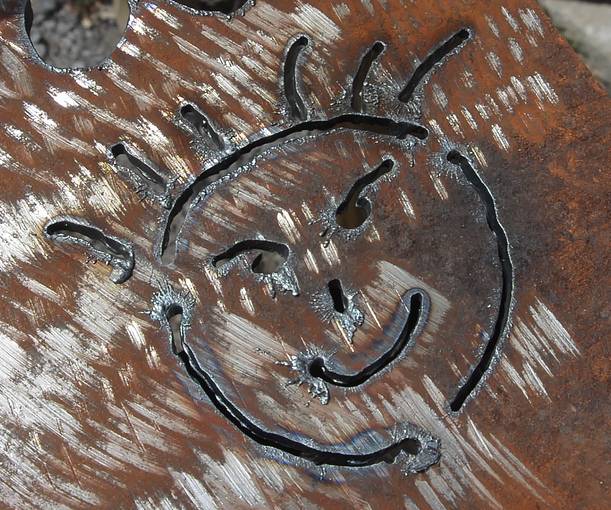 And another experiment - a quick hand sketch, plasma cut in metal.
Cutting small intricate shapes like that freehand would be very difficult!
And another experiment - a quick hand sketch, plasma cut in metal.
Cutting small intricate shapes like that freehand would be very difficult!
I think for clean cuts, getting the parameters right, including cutting speed is very important. A CNC plasma cutter would have the advantage of having a very consistent cutting speed.
More metal working related:
 Building the 3d router pantograph
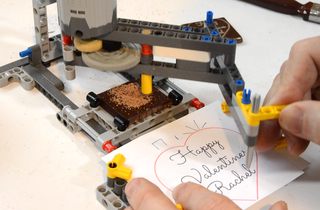 Chocolate carving Lego pantograph
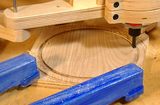 Cutting circles with the pantograph
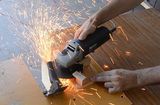 Angle grinder flat cut off jig
 Building a lawn tractor trailer
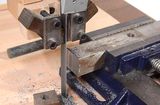 Wooden metal cutting bandsaw
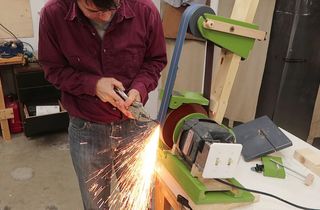 Belt grinder build
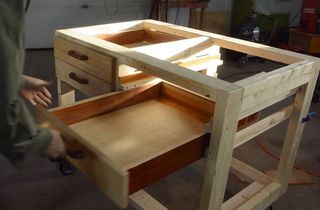 Workbench for welding
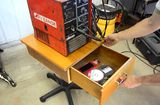 Office chair to welding cart
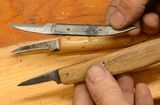 Chip carving knife
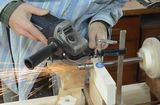 Machine taper with an angle grinder