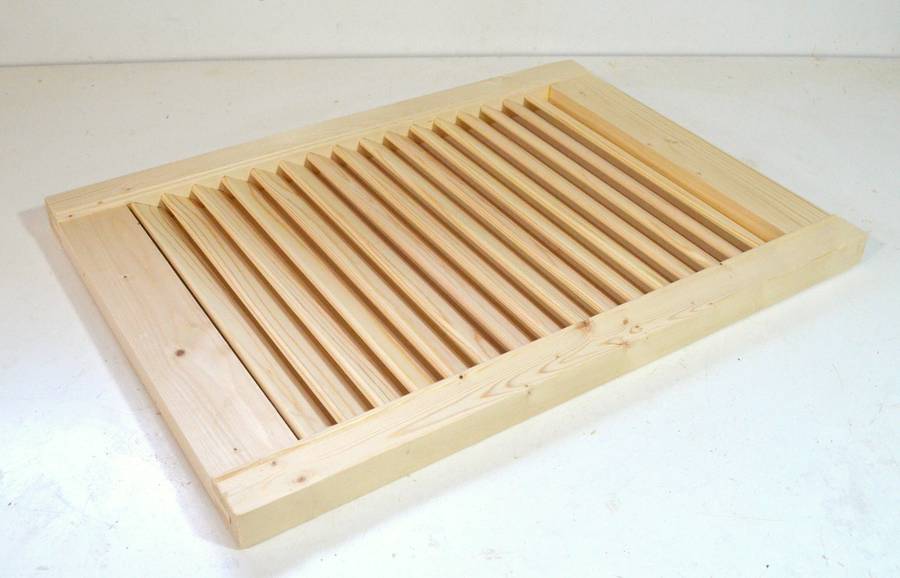
 From time to time, people have asked me how to make louvered shutters
like this one. I don't have a need for any louvered shutters myself,
but my pantorouter is well suited for
making them, so I though I'd build one just to demonstrate.
From time to time, people have asked me how to make louvered shutters
like this one. I don't have a need for any louvered shutters myself,
but my pantorouter is well suited for
making them, so I though I'd build one just to demonstrate.
 This was my first time making one of these, so to avoid a lot of trial and error,
I started by working out a layout for the slats in SketchUp.
This was my first time making one of these, so to avoid a lot of trial and error,
I started by working out a layout for the slats in SketchUp.
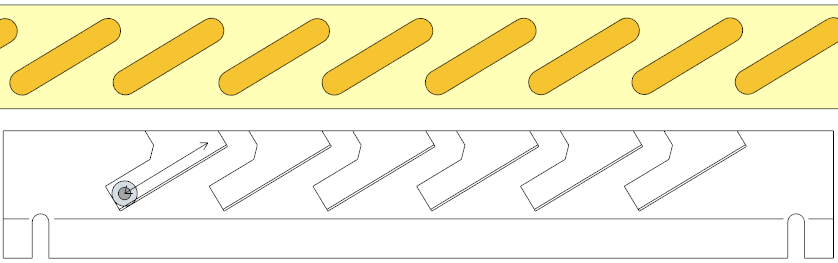
I used that shape to then generate a template for cutting the slanted mortises. The template has a series of angled tracks that the follower guide bearing can roll around in. Basically, the template is for making a series of angled mortises in a rail.
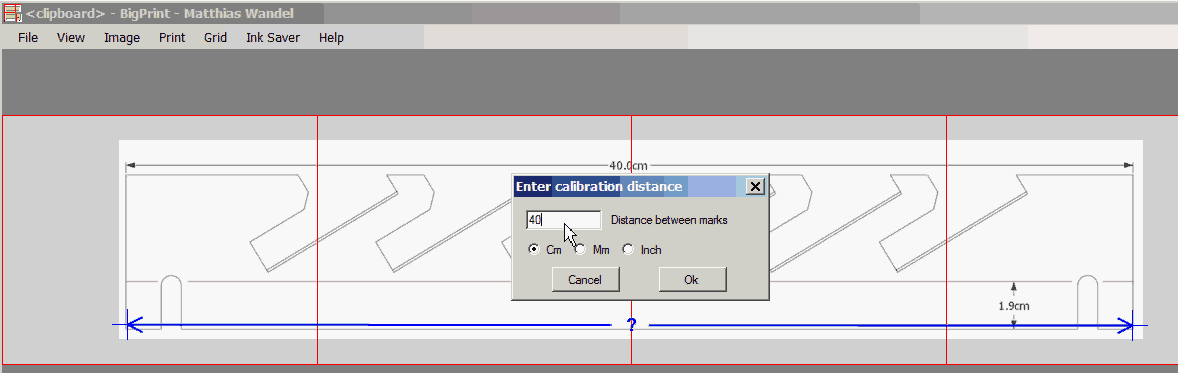 Next I full-screened the image, took a screenshot by pushing the "print screen"
key on the keyboard, and then imported the image into my
BigPrint program. I then used a known dimension on the template to set the scale,
and printed it across two pages.
Next I full-screened the image, took a screenshot by pushing the "print screen"
key on the keyboard, and then imported the image into my
BigPrint program. I then used a known dimension on the template to set the scale,
and printed it across two pages.
You can download my louver template as PDF or as an image file that even the free eval version of BigPrint will print. You can also download the SketchUp model.
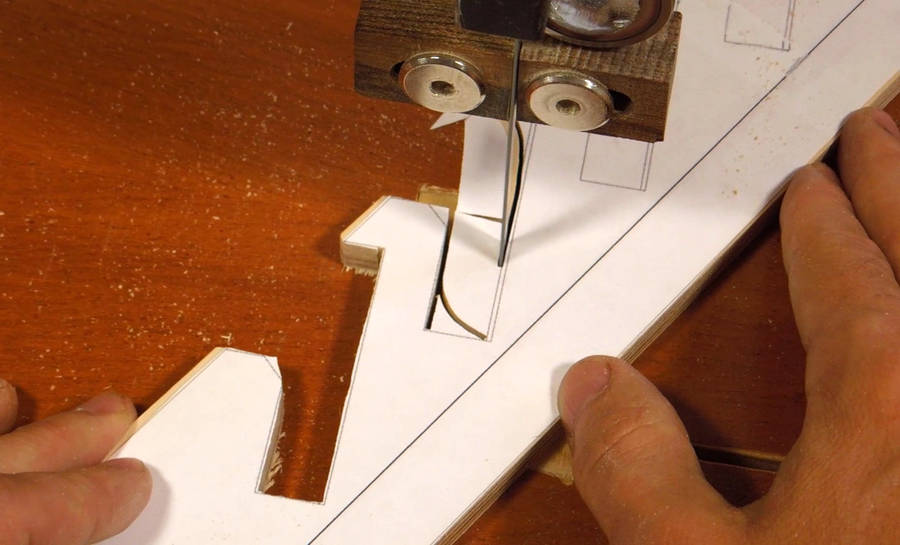 I pasted the template onto an 8 mm thick piece of plywoodd and cut it out on the bandsaw.
I drew a double line for the bottom of my tracks. I cut to the first line with
the bandsaw...
I pasted the template onto an 8 mm thick piece of plywoodd and cut it out on the bandsaw.
I drew a double line for the bottom of my tracks. I cut to the first line with
the bandsaw...
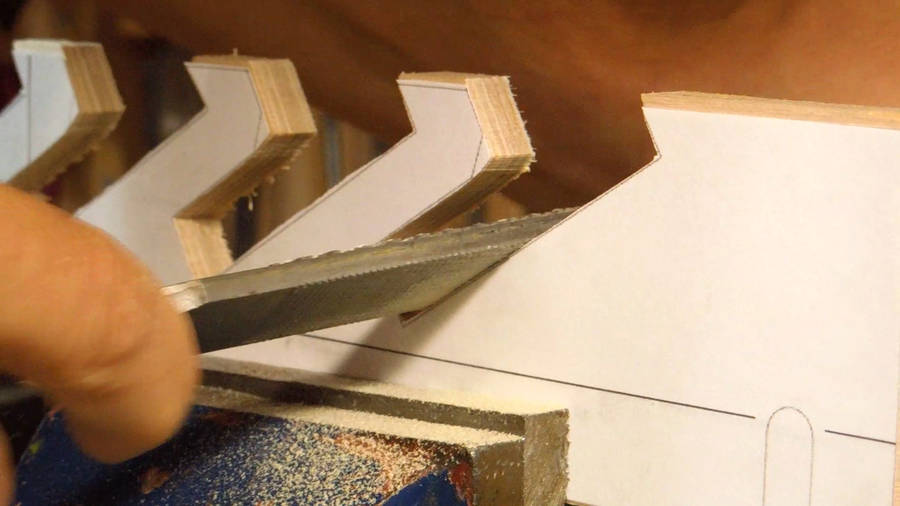 ...and then used a rasp to carefully file it down to the second line.
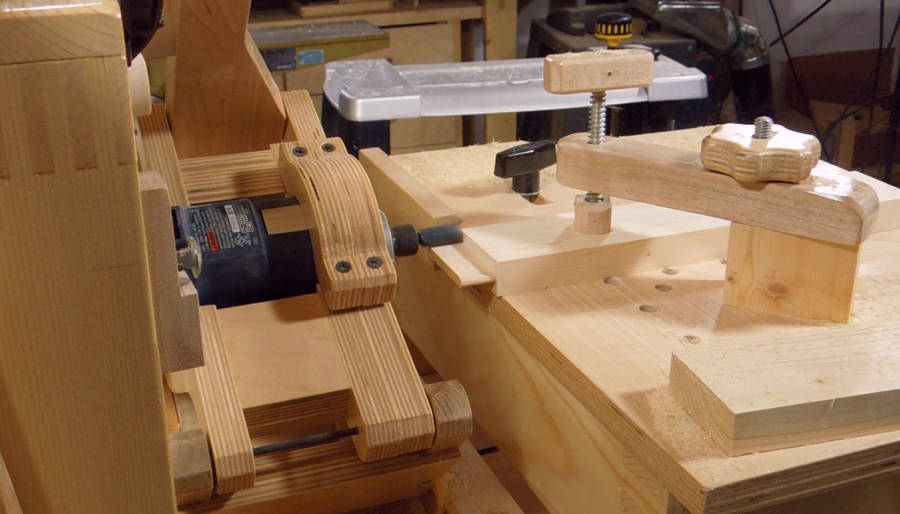
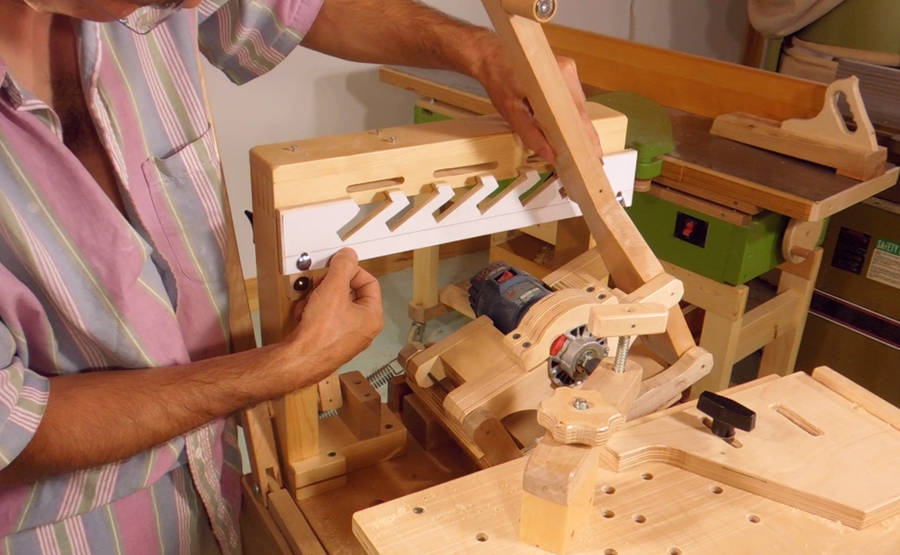 The template mounts on my pantorouter.
 I made two blocks to attach to the template frame of the pantorouter for holding
the template in place.
I made two blocks to attach to the template frame of the pantorouter for holding
the template in place.
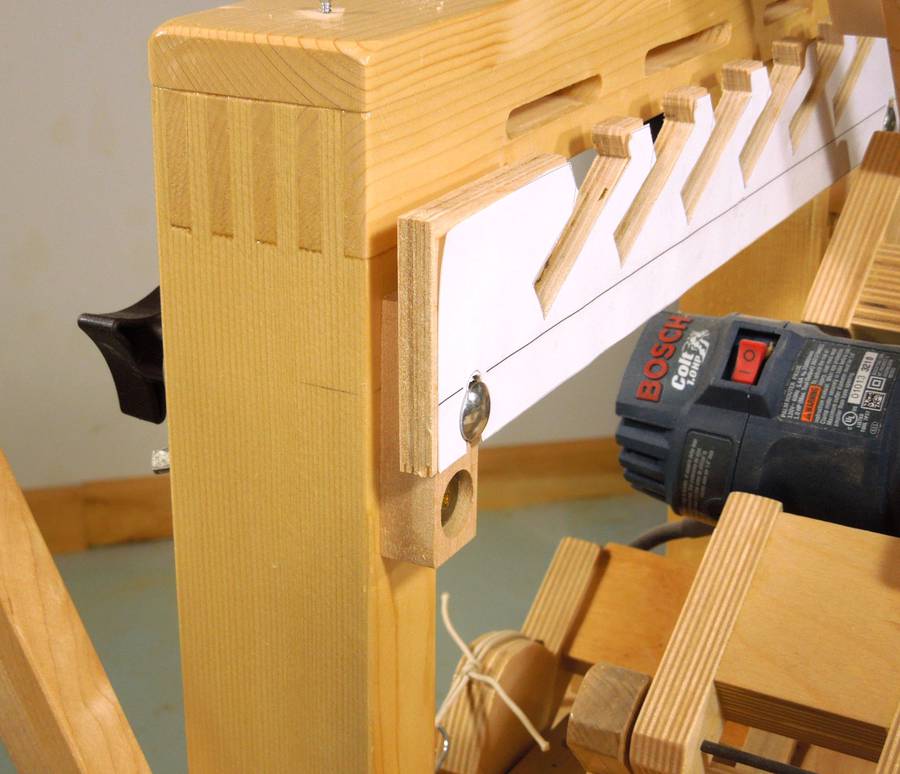
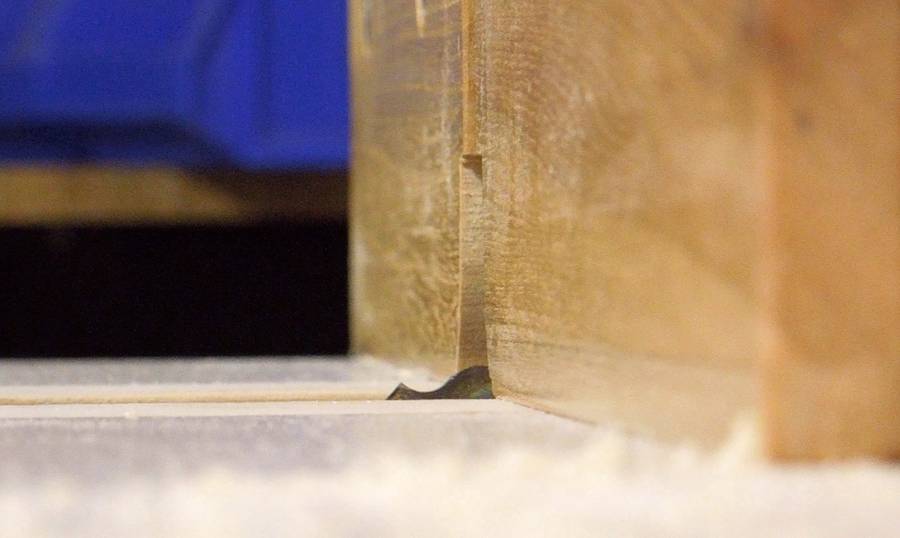
A tricky aspect is getting the vertical alignment of the template just right. The black line on the template represents the level of the table, so with a 1/4" bit in the router and a 1/2" follower bearing, when the bit rests on the table, the bottom edge of the bearing should just be on that line.
 It's hard to set the position of the supporting blocks with the template
in place, but the black line on the template is exactly 19 mm from the bottom
edge, so I took the template off...
It's hard to set the position of the supporting blocks with the template
in place, but the black line on the template is exactly 19 mm from the bottom
edge, so I took the template off...
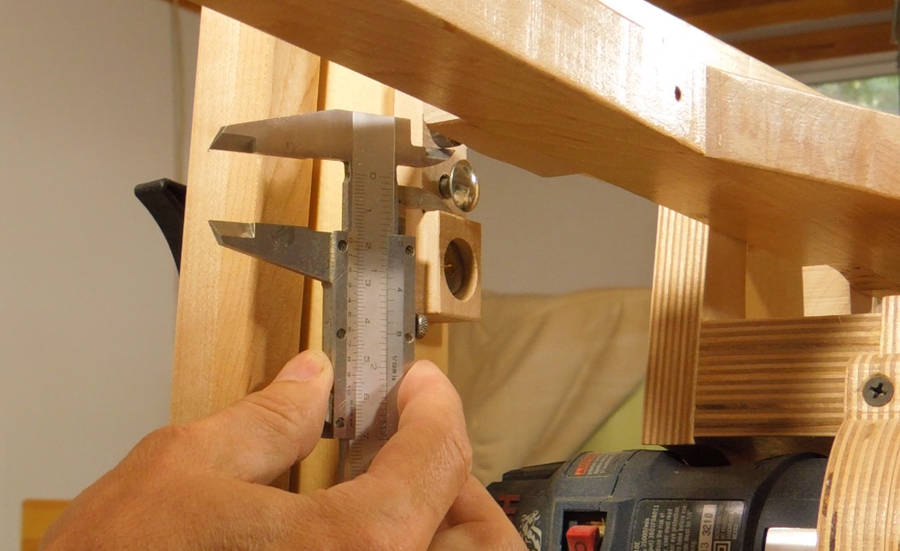 ... and used my calipers to set the position
of the block to be 19 mm below the bearing when the router bit is resting on the table.
... and used my calipers to set the position
of the block to be 19 mm below the bearing when the router bit is resting on the table.
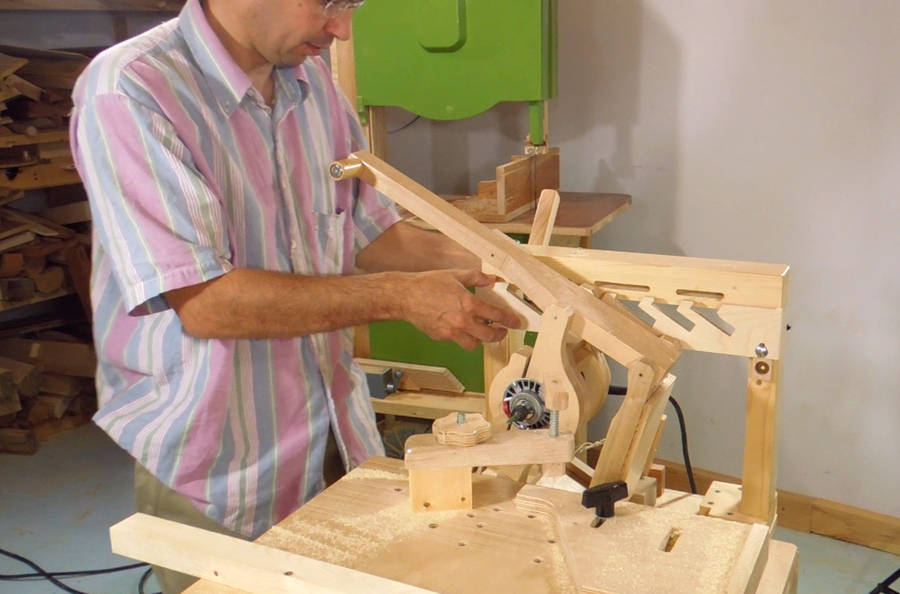
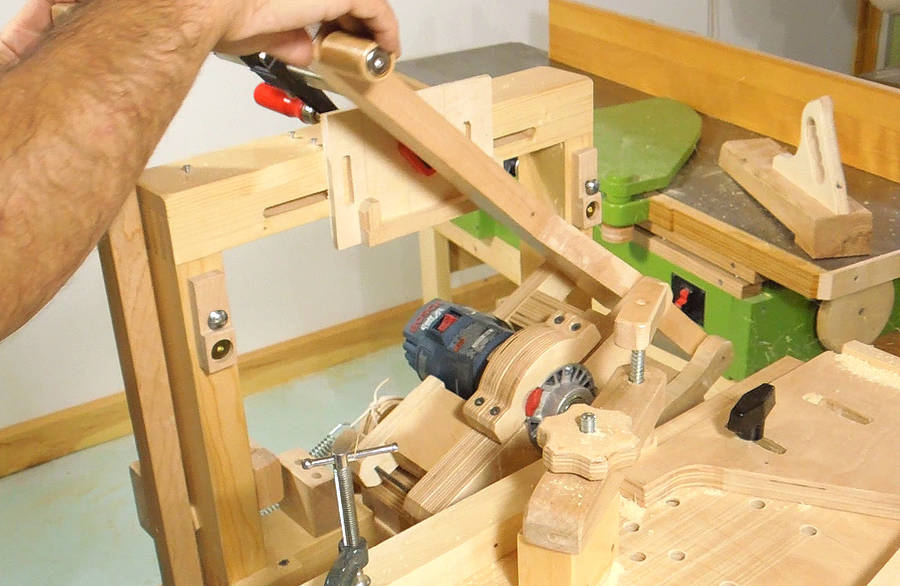
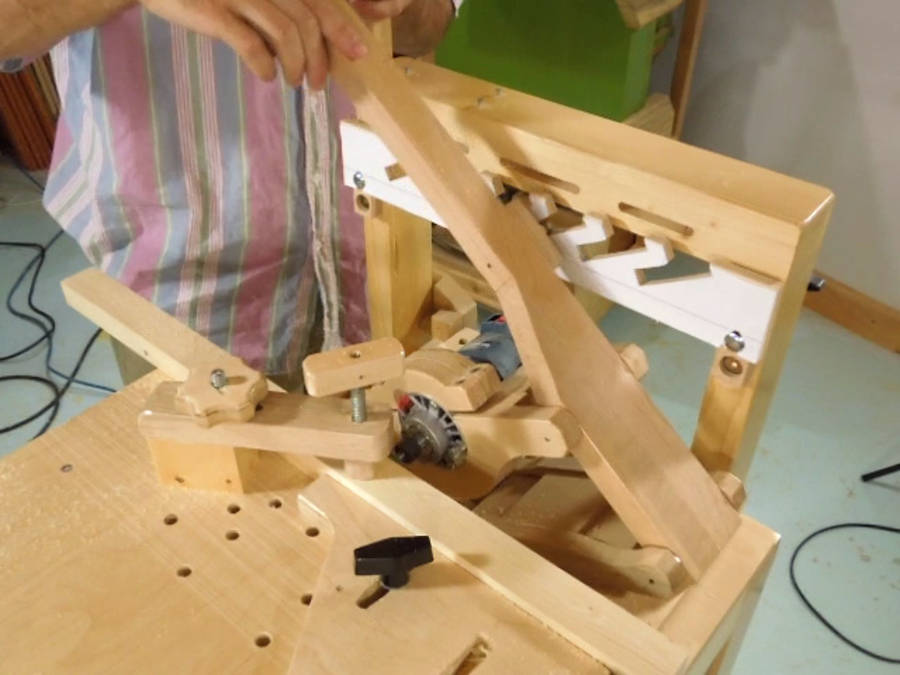 With the template mounted, and the workpiece clamped to the table, I can now
cut six slots without having to move the workpiece.
With the template mounted, and the workpiece clamped to the table, I can now
cut six slots without having to move the workpiece.
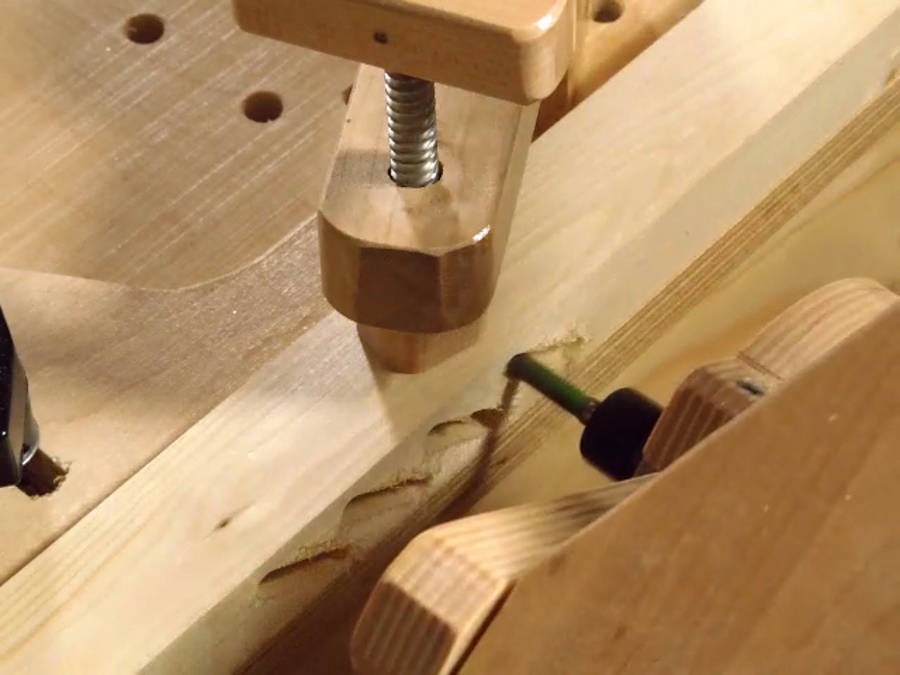 Once six slots are cut, I turn off the router, unclamp the workpiece, and
move it over by five slots. Then I move the router back to the first slot position
and line it up with the last slot cut in the rail.
Once that's done, I can re-clamp and mill another five slots.
Once six slots are cut, I turn off the router, unclamp the workpiece, and
move it over by five slots. Then I move the router back to the first slot position
and line it up with the last slot cut in the rail.
Once that's done, I can re-clamp and mill another five slots.
 The two rails are mirror images of each other, so I need another template with the
slots slanting in the opposite direction. But I made my template without
any sort of backer board, so I can just take the template off, flip it side
to side, and use it to mill the matching slots.
The two rails are mirror images of each other, so I need another template with the
slots slanting in the opposite direction. But I made my template without
any sort of backer board, so I can just take the template off, flip it side
to side, and use it to mill the matching slots.
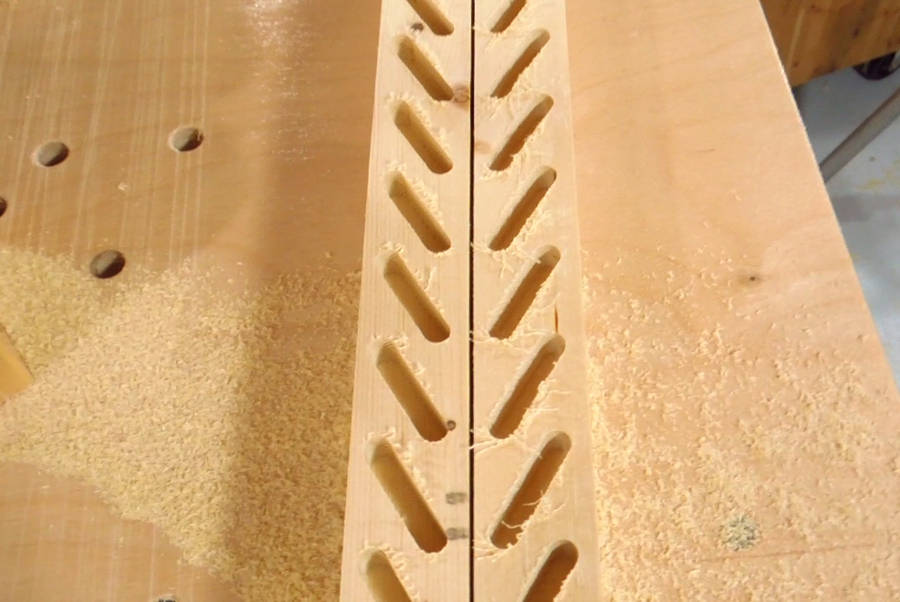 Two matching set of slots milled.
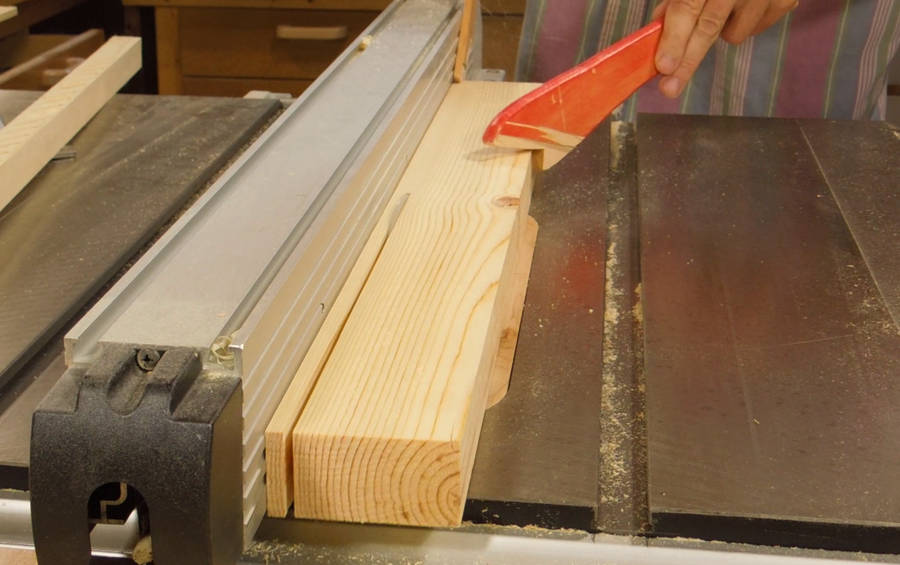 Next I need to cut the slats. I used my table saw to rip these
off a piece of 2x4. Before ripping, I planed that 2x4 to just the right thickness
so the slats ended up the right width.
Next I need to cut the slats. I used my table saw to rip these
off a piece of 2x4. Before ripping, I planed that 2x4 to just the right thickness
so the slats ended up the right width.
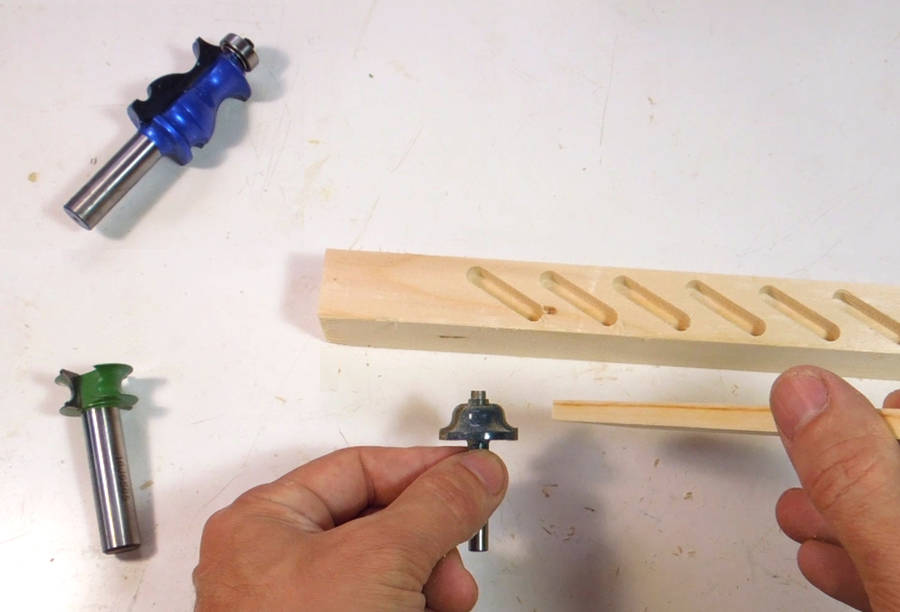 I needed to round the edges of the slats to make them fit in the holes.
Looking at the router bits I had, I had a bit for the half round, but it had the wrong radius. I also had a roman ogee bit, with a 1/8" radius inside round that I could have used, but that would have taken two passes per side for each slat.
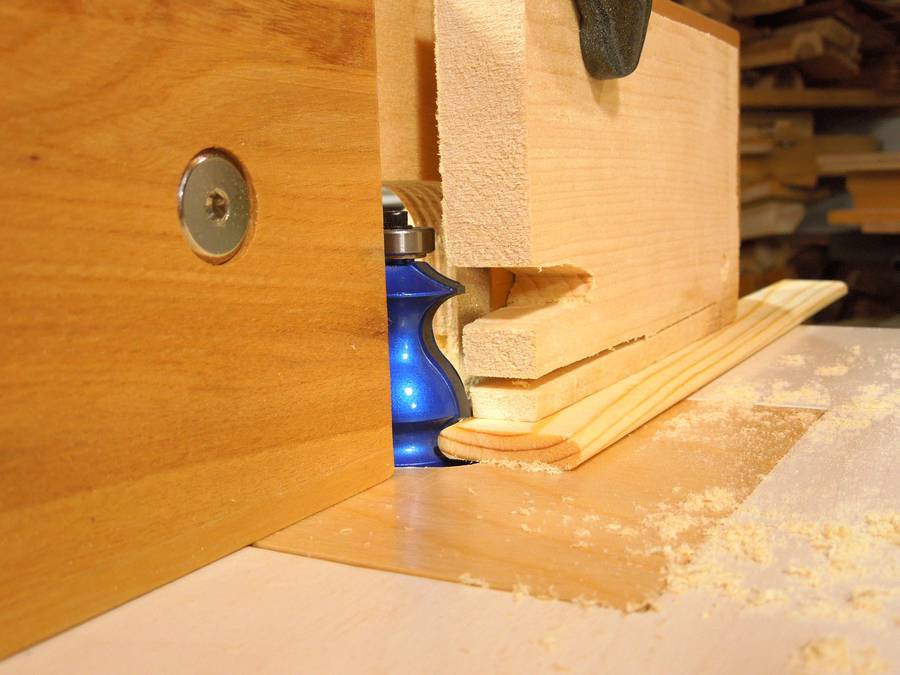
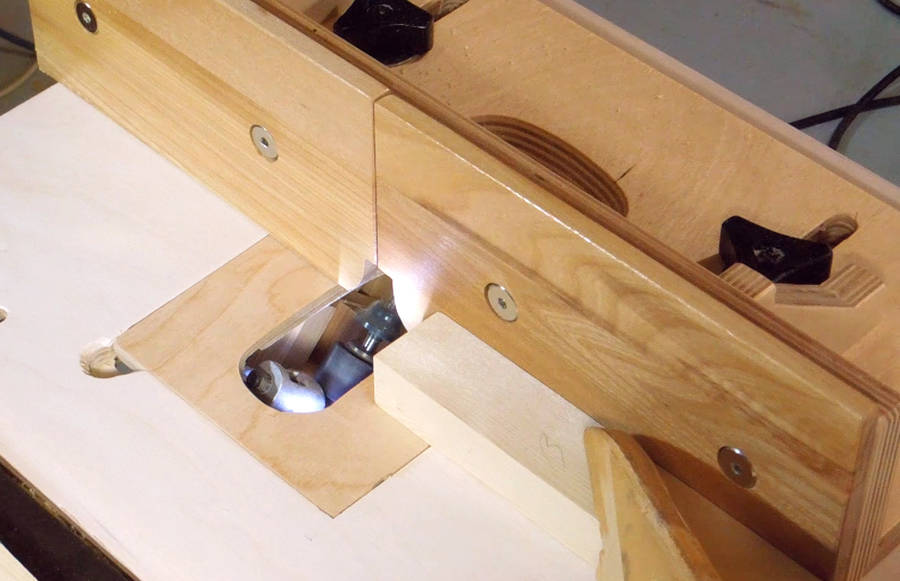
 So instead, I used a big fancy router bit that I have, which happens to include
a semicircle of just the right size.
So instead, I used a big fancy router bit that I have, which happens to include
a semicircle of just the right size.
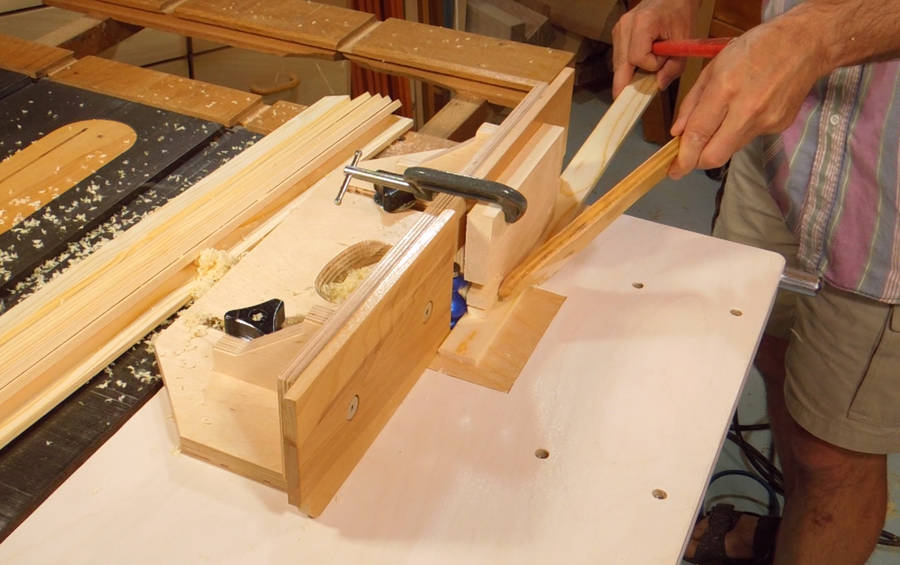
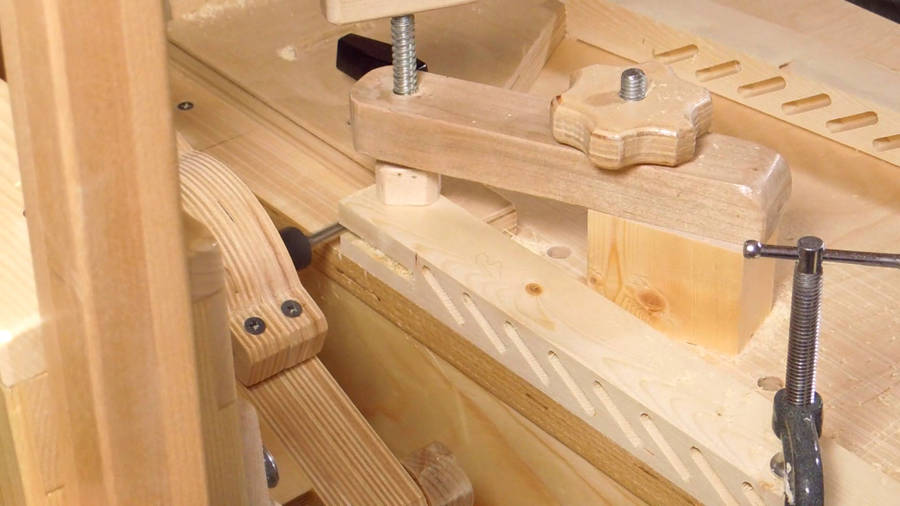
But a catch with that bit is that it has this other point near the top of the bit, and I was afraid that I might accidentally make contact with that.
 So I made a piece of wood to both act as a hold-down, and to keep my
fingers away from that protruding part.
So I made a piece of wood to both act as a hold-down, and to keep my
fingers away from that protruding part.
 Milling the round edges of the slats.
 Checking the fit of the slats. I ended up with a tight fit - tight enough
to be difficult to assemble the whole shutter.
Checking the fit of the slats. I ended up with a tight fit - tight enough
to be difficult to assemble the whole shutter.
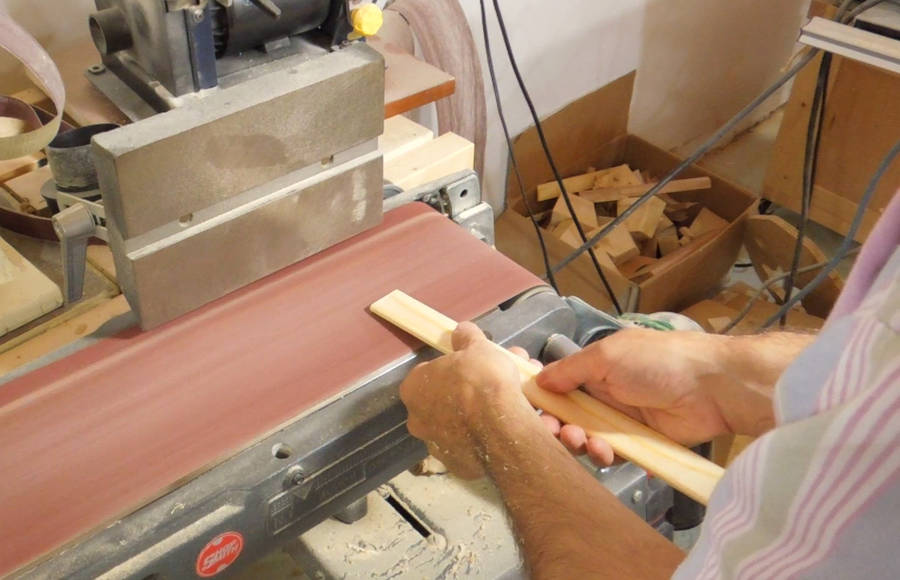 So I put a slight taper on the ends of all my slats using the belt sander.
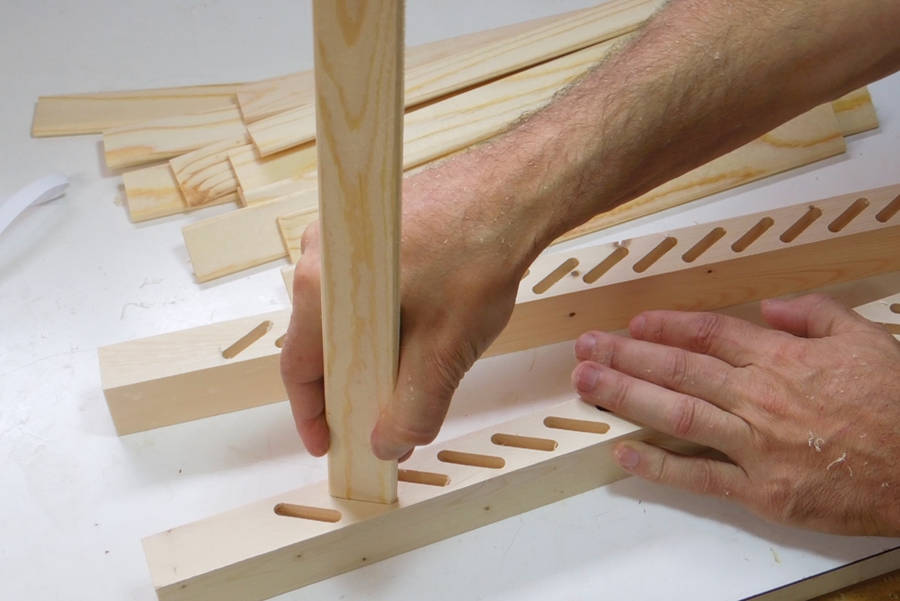
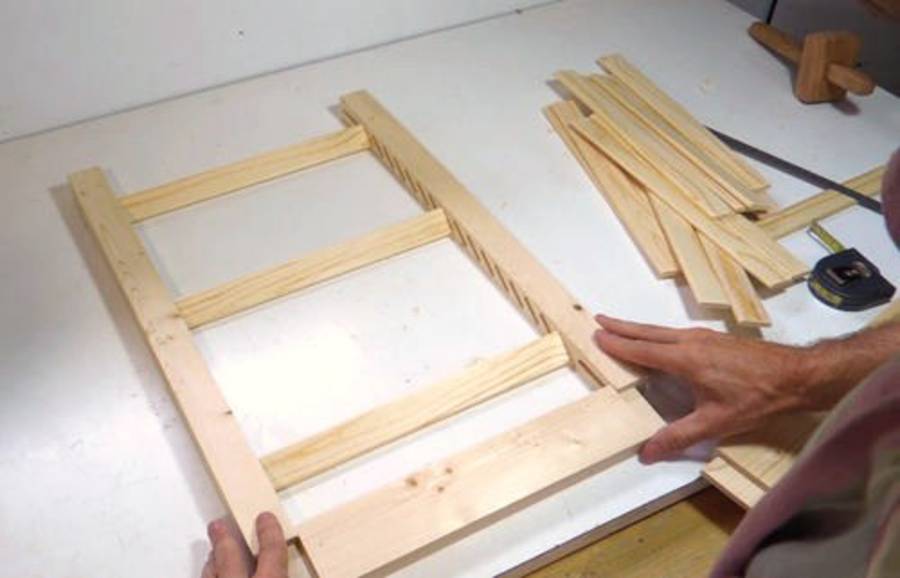
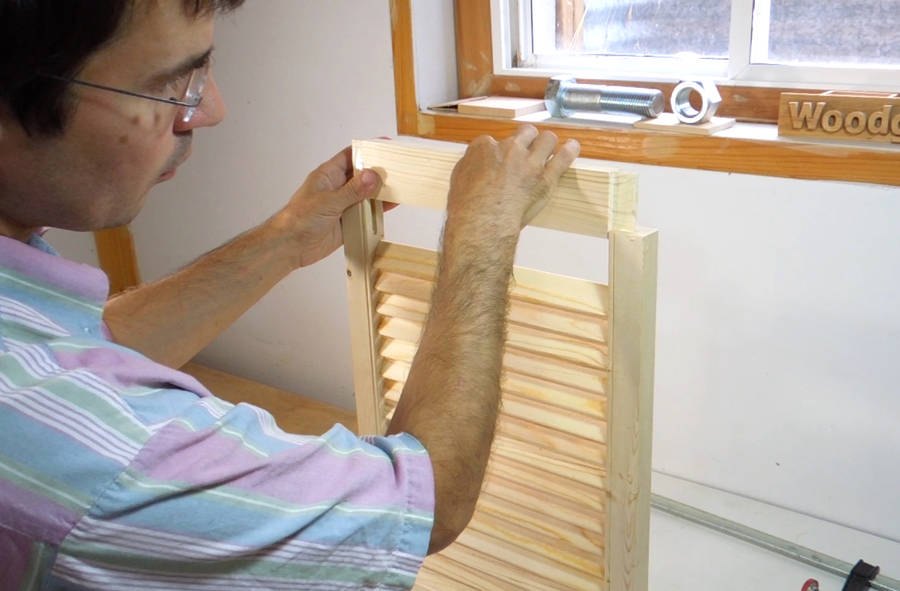
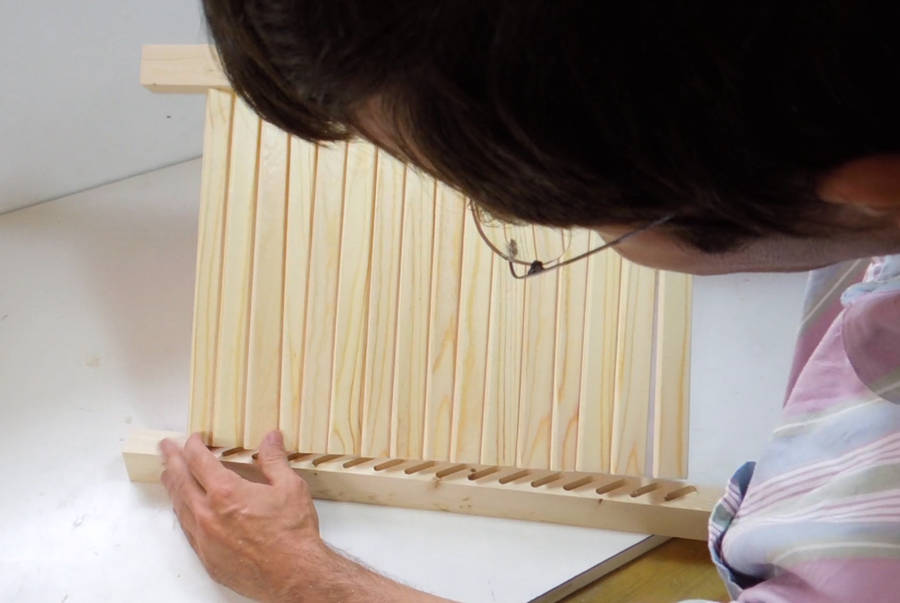 Inserting all the slats in one rail was easy enough, but getting them to all
line up with the other rail at the same time -- much more difficult!
Inserting all the slats in one rail was easy enough, but getting them to all
line up with the other rail at the same time -- much more difficult!
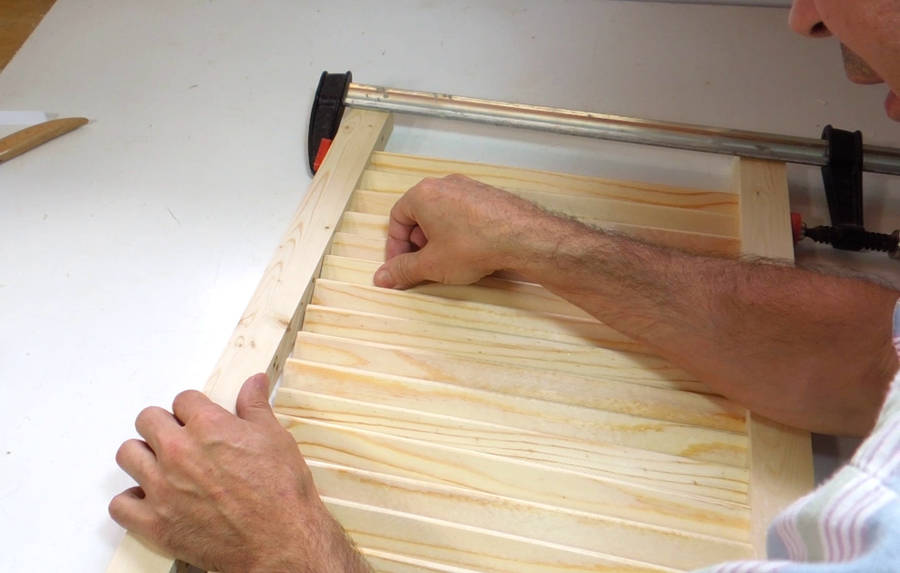 After a bit of experimenting, I found that inserting them from one end and
working towards the other end worked best. I had to put a clamp on the end
that I had already done to keep it from popping apart again.
After a bit of experimenting, I found that inserting them from one end and
working towards the other end worked best. I had to put a clamp on the end
that I had already done to keep it from popping apart again.
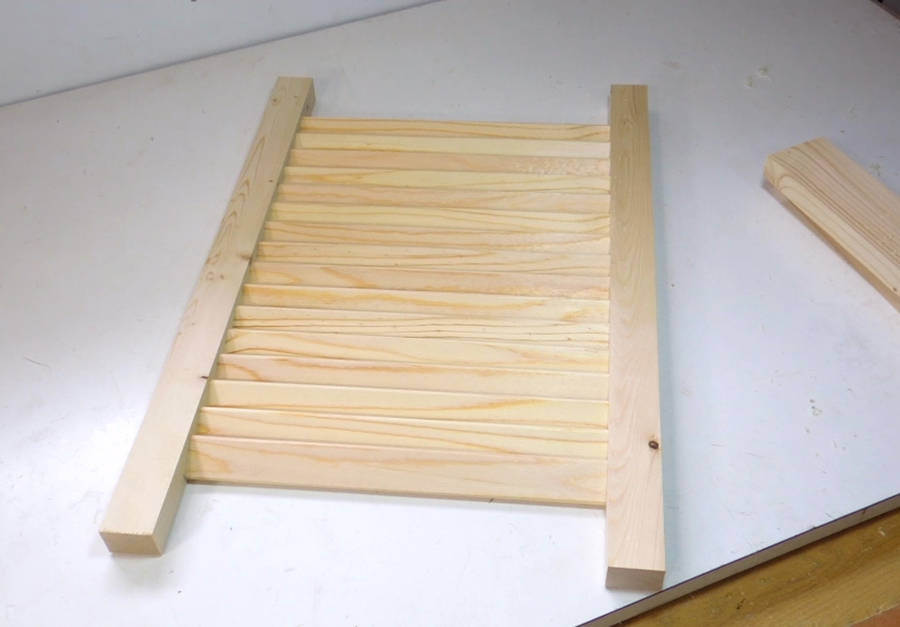 Slats all inserted,
but I still need to cut the joints for the top and bottom rail, so it all has to come apart again.
My initial thought was to use mortise and tenon joints on the top and bottom, but that would require assembling the mortise and tenons at the same time as the slats -- as if the slats themselves weren't tricky enough.
 So I cut the mortises in the slats to go all the way to the ends. That way, I could
insert the top and bottom rails from the ends after getting all the slats in.
So I cut the mortises in the slats to go all the way to the ends. That way, I could
insert the top and bottom rails from the ends after getting all the slats in.
 I cut the mortises using the pantorouter.
 And I also used it to cut the tenons, naturally.
 A quick test fit for the top and bottom rails. I didn't bother inserting all
the slats this time.
A quick test fit for the top and bottom rails. I didn't bother inserting all
the slats this time.
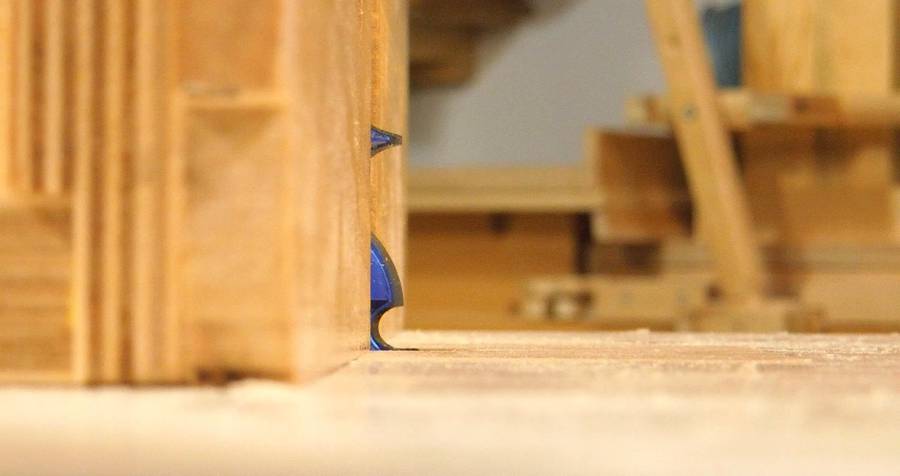
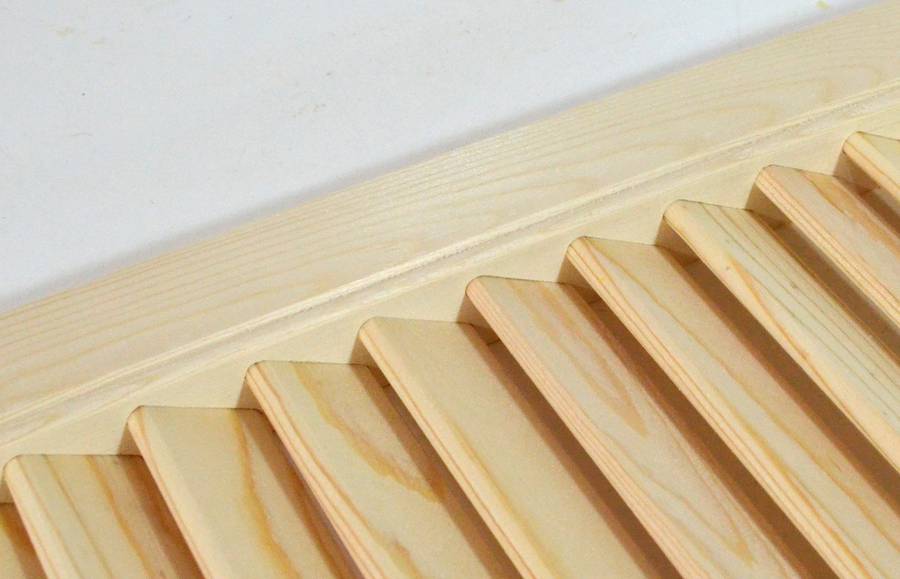
 Louvered shutters usually have a bead cut next to the slats.
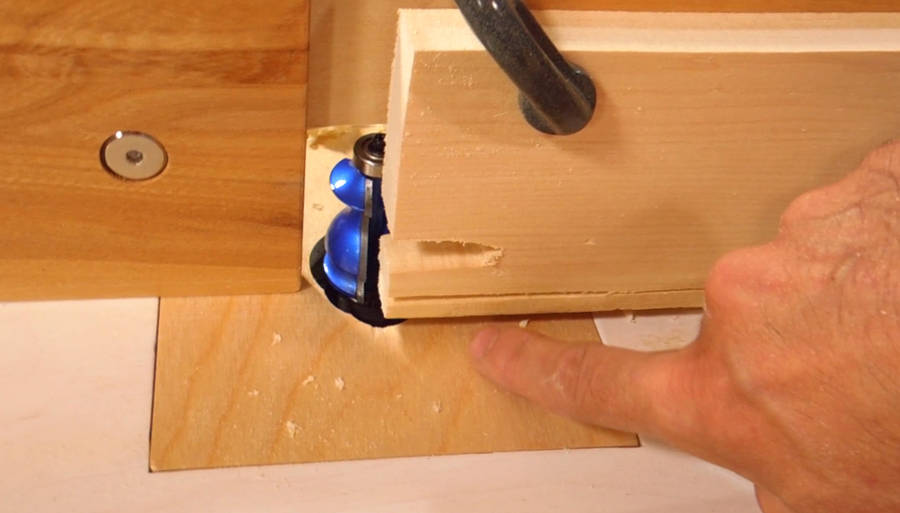
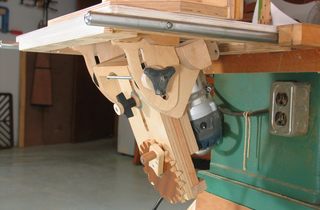
So I used my tilting router lift and tilted a small roman ogee bit by 45 degrees.
 Cutting the beads. My router insert has a large-ish hole in it to accommodate
the shaft lock mechanism on the front of my router.
Cutting the beads. My router insert has a large-ish hole in it to accommodate
the shaft lock mechanism on the front of my router.
 Final assembly, inserting one of the rails from the end...
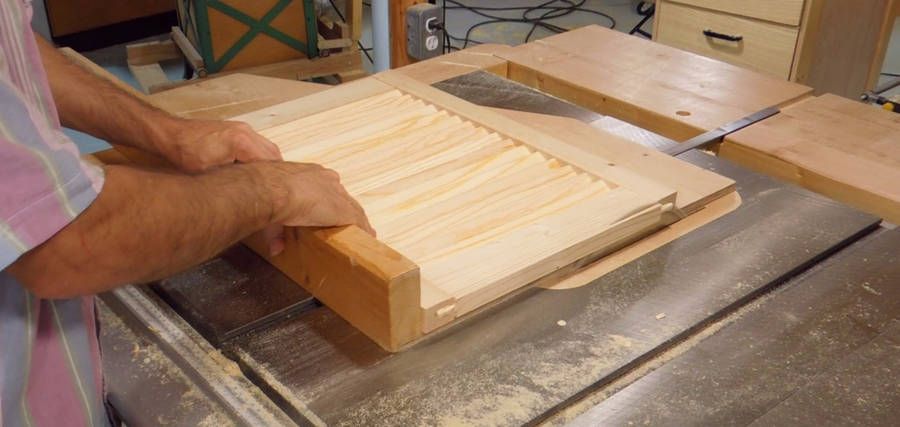 ... and then cutting it all flush.
Finished shutter. I don't actually have a use for it - I only built it to show
how the Pantorouter can be used to make shutters like this.
 Finger joints on the pantorouter
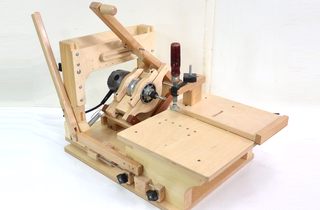
 Tilting router lift
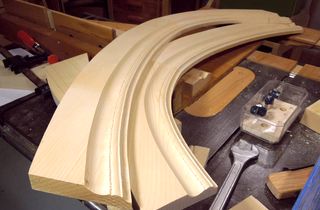 Making curved trim
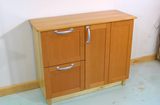 Storage cabinet
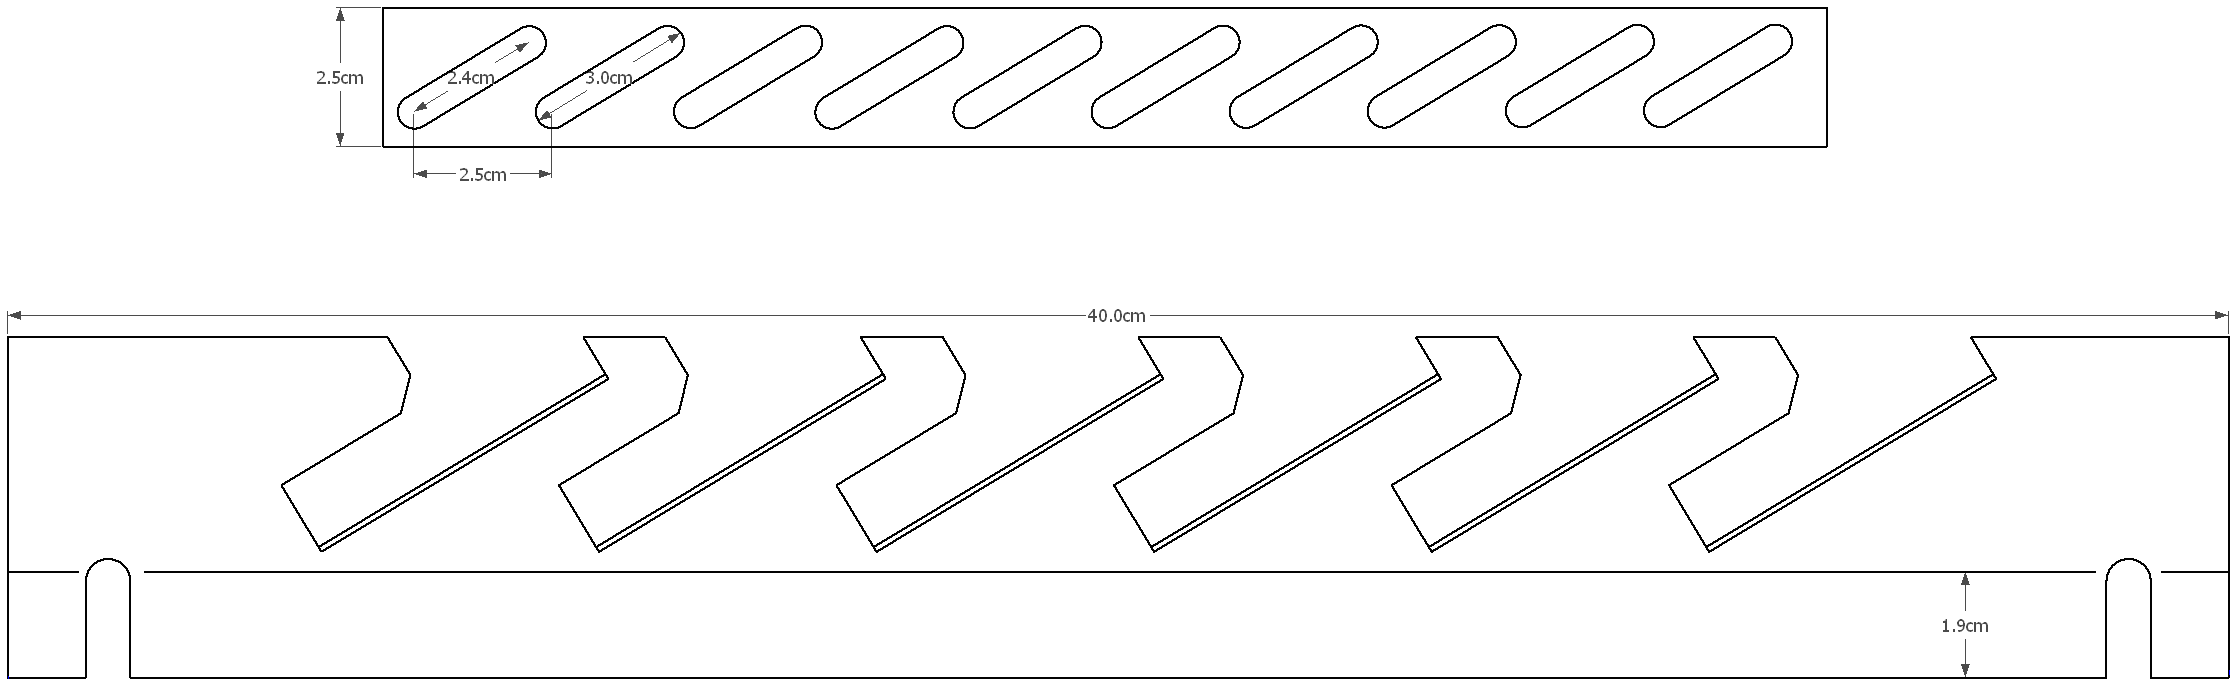