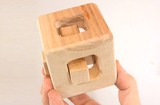
Cube within a cube puzzle
 My cross inside a cube wasn't as interesting
as I had hoped, so I figured I should still try to make a cube within a cube puzzle.
But I still wanted to give it my own twist.
My cross inside a cube wasn't as interesting
as I had hoped, so I figured I should still try to make a cube within a cube puzzle.
But I still wanted to give it my own twist.
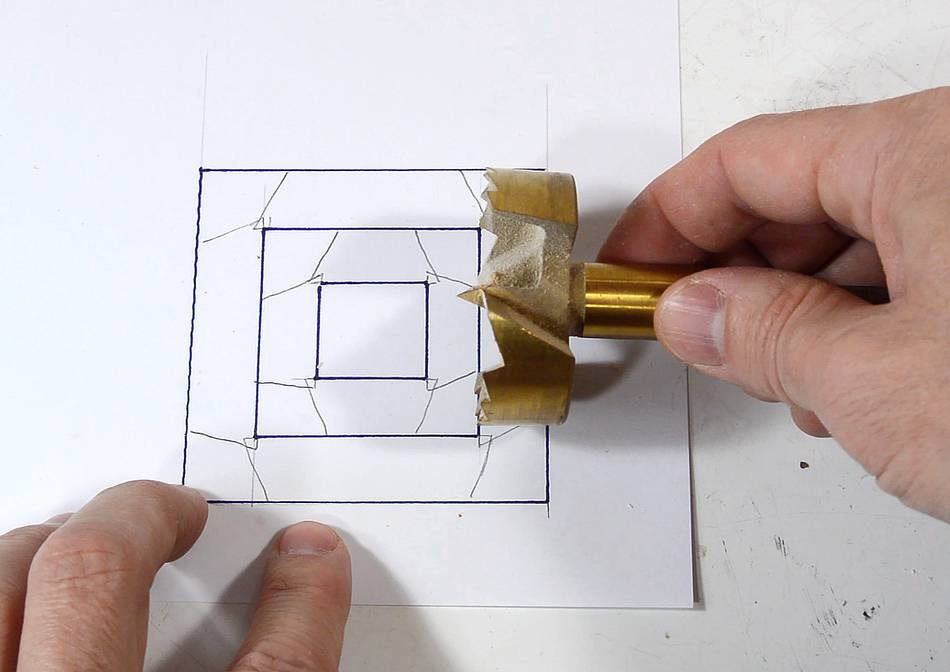
The typical cube within a cube is made by drilling with a large Forstner bit from all six sides until a cube inside is almost freed up. The corners are then cut with a knife.
But I figured more square-ish holes, cut with my pantorouter machine would be more efficient. I could have a larger cube on the inside without getting as close to the outside edges of the cube as I would with round holes.
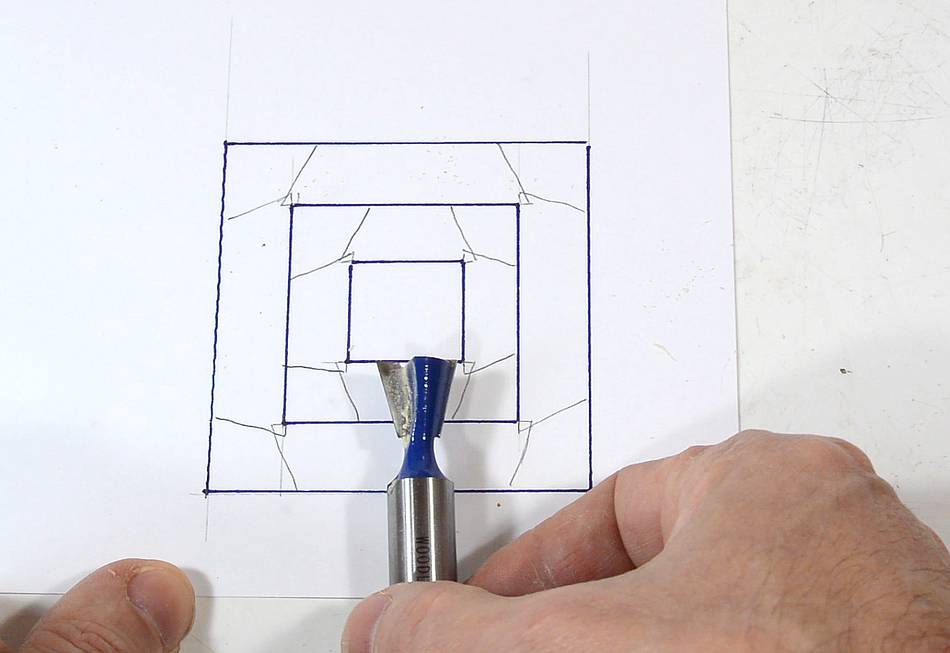
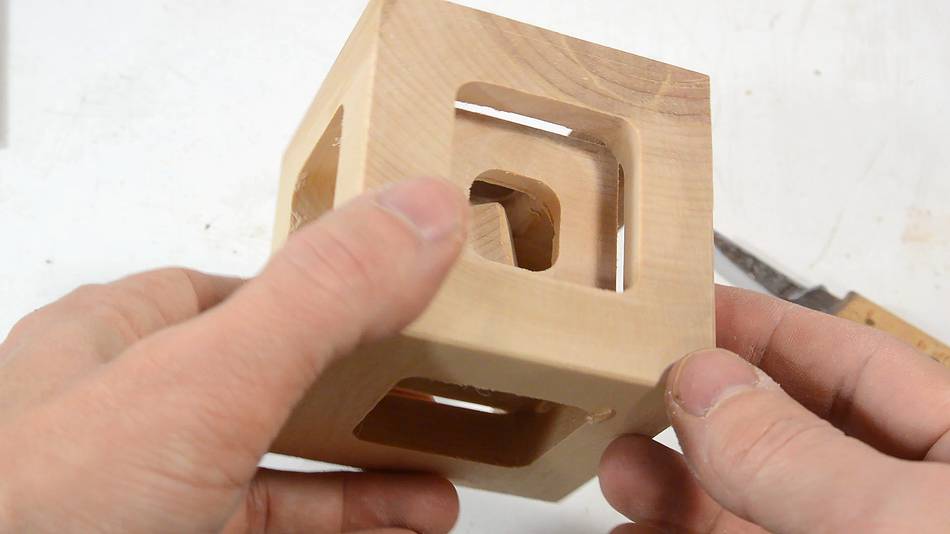
 To add to the challenge, I decided to make my square holes with a dovetail bit, so that
the holes would be larger on the inside. I also made it a cube within a cube
within a cube, for extra challenge.
To add to the challenge, I decided to make my square holes with a dovetail bit, so that
the holes would be larger on the inside. I also made it a cube within a cube
within a cube, for extra challenge.
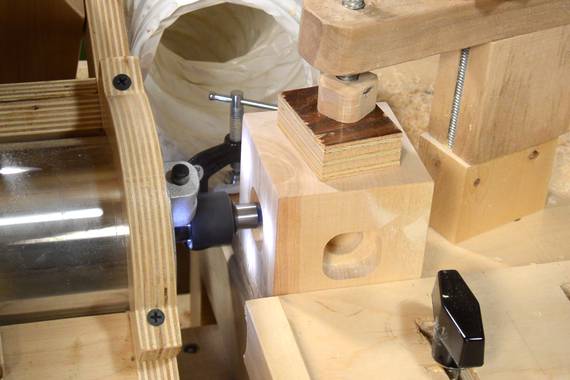
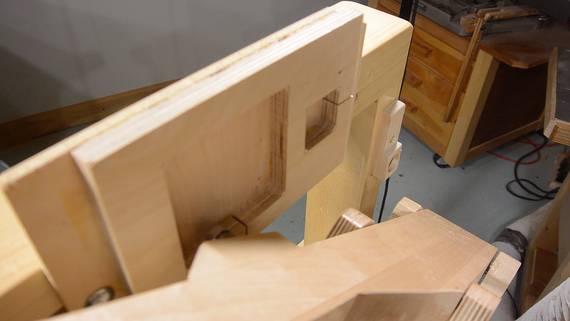
A catch with the dovetail bit is that it can't plunge. So I had to pre-drill some holes in each face to start already plunged.
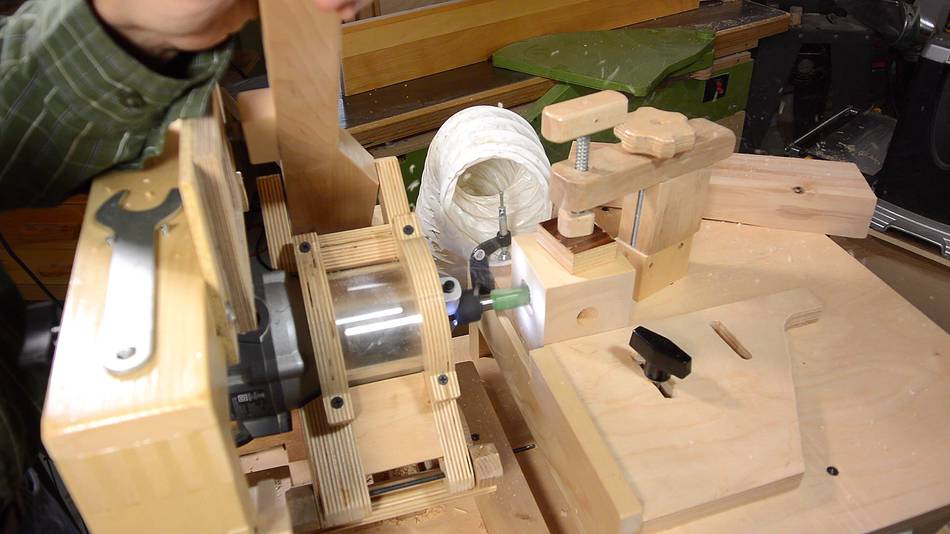 I wanted to cut the inside cube first. But before I could carve the inside
with the dovetail bit, I had to make some room for the bit's 1/2" wide shank.
So I used a 3/4" (19mm) straight bit, with the smaller template, to carve out
part of the less-deep cavity to make room.
I wanted to cut the inside cube first. But before I could carve the inside
with the dovetail bit, I had to make some room for the bit's 1/2" wide shank.
So I used a 3/4" (19mm) straight bit, with the smaller template, to carve out
part of the less-deep cavity to make room.
I had to be careful aligning everything. More about that in my previous article about a similar puzzle.
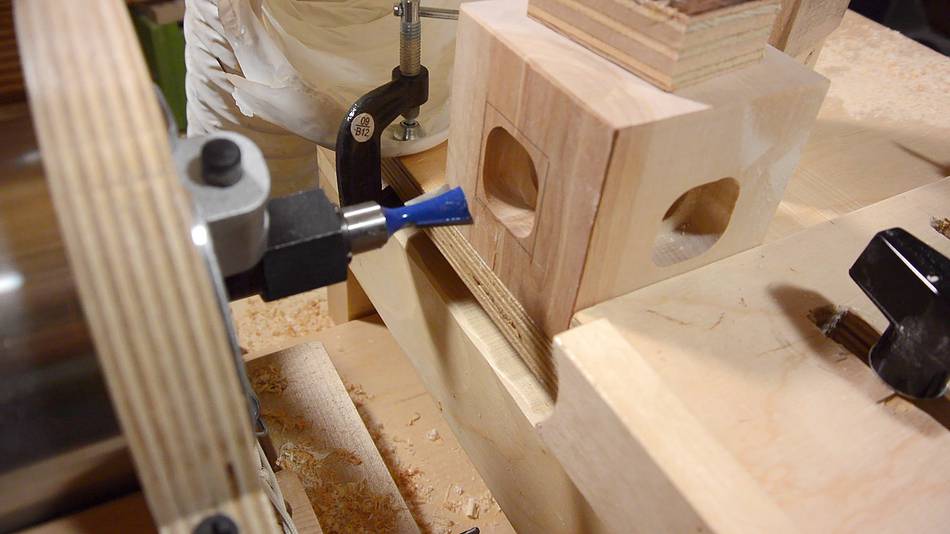
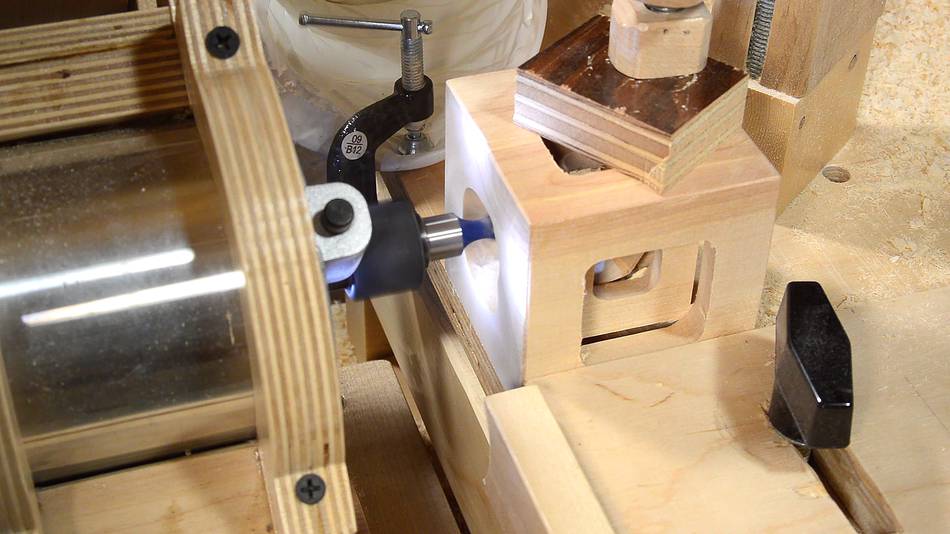
 With the first cavity cut out, I had enough room to work the inner
cavity with the dovetail bit.
With the first cavity cut out, I had enough room to work the inner
cavity with the dovetail bit.
 Checking the depth of cut. The catch with using a dovetail bit is, you can't gradually
increase the depth. With the bit widest at the tip, a non-full-depth pass will cut away
material that a full depth pass would not.
Checking the depth of cut. The catch with using a dovetail bit is, you can't gradually
increase the depth. With the bit widest at the tip, a non-full-depth pass will cut away
material that a full depth pass would not.
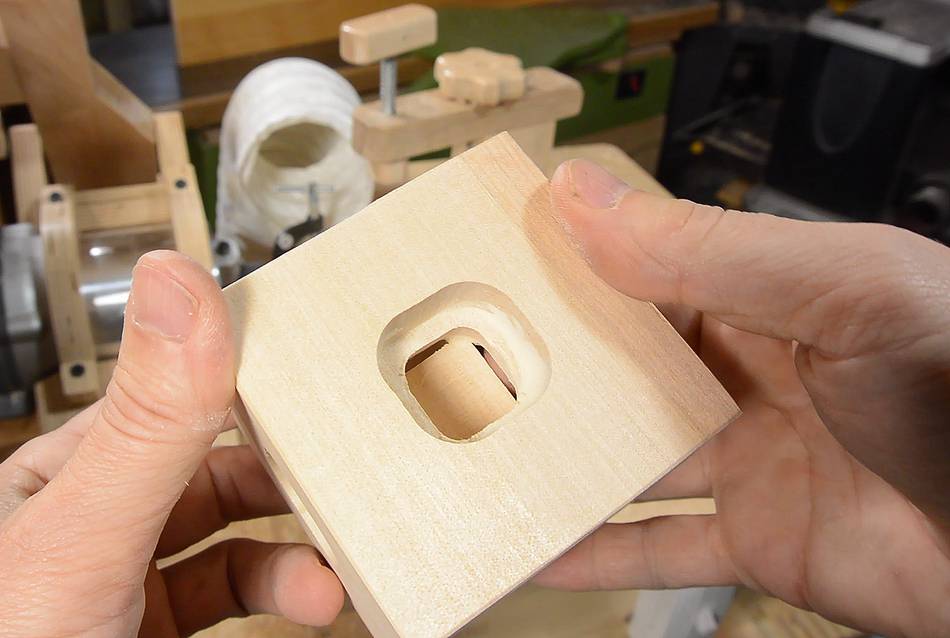
After routing all four sides, I cut the corners with a carving knife to free up the cube. There is less attachment than there would be if I used round holes, but the corners of the holes are still round, so there is still attachment.
 After freeing the cube I also chamfered its edges to give it a bit more slack
inside.
After freeing the cube I also chamfered its edges to give it a bit more slack
inside.
 Next, switching to the larger template. Unfortunately, this meant re-doing
the alignment.
Next, switching to the larger template. Unfortunately, this meant re-doing
the alignment.
Here, I'm cutting the final face. I saved an end-grain face for last. The end grain faces are easiest to cut with the router because as the bit moves side to side, the bit itself is cutting side-grain.
 Finished cuts. I had to "cheat" a little bit. Some of the slots at the edges were
not deep enough, so I put the cube on the machine in different orientations and re-milled
some of the edges to make the slots all about the same.
Finished cuts. I had to "cheat" a little bit. Some of the slots at the edges were
not deep enough, so I put the cube on the machine in different orientations and re-milled
some of the edges to make the slots all about the same.

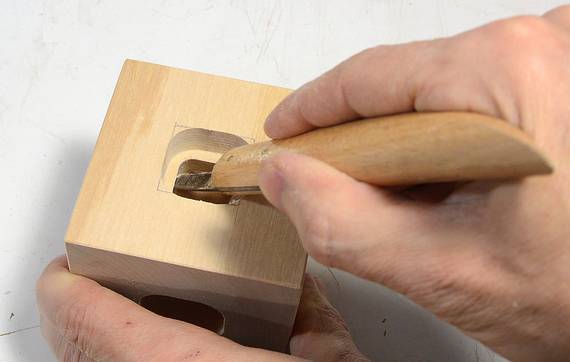
 I first tried freeing up the corners with a carving knife, but was afraid I might
split the cube apart. I also kept slipping and gouging other parts of the cube.
So after that, I switched to a cheap thin carving chisel to punch through the corners
I first tried freeing up the corners with a carving knife, but was afraid I might
split the cube apart. I also kept slipping and gouging other parts of the cube.
So after that, I switched to a cheap thin carving chisel to punch through the corners
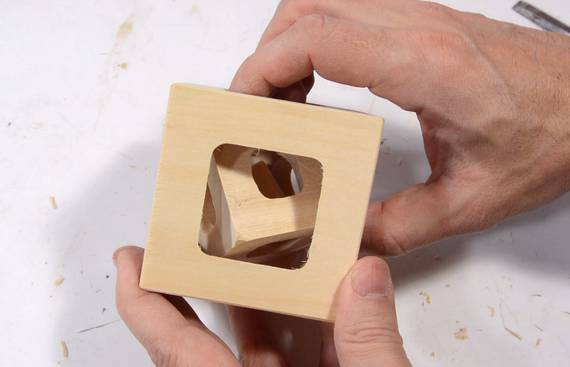
 Similar to the inside-most cube, it was hard to rotate that cube freely, so I chamfered
the corners. It's still a bit tricky to turn the inside cube. If it's turned
on an axis parallel to one of the edges it jams, so it always has to be rotated
diagonally.
Similar to the inside-most cube, it was hard to rotate that cube freely, so I chamfered
the corners. It's still a bit tricky to turn the inside cube. If it's turned
on an axis parallel to one of the edges it jams, so it always has to be rotated
diagonally.
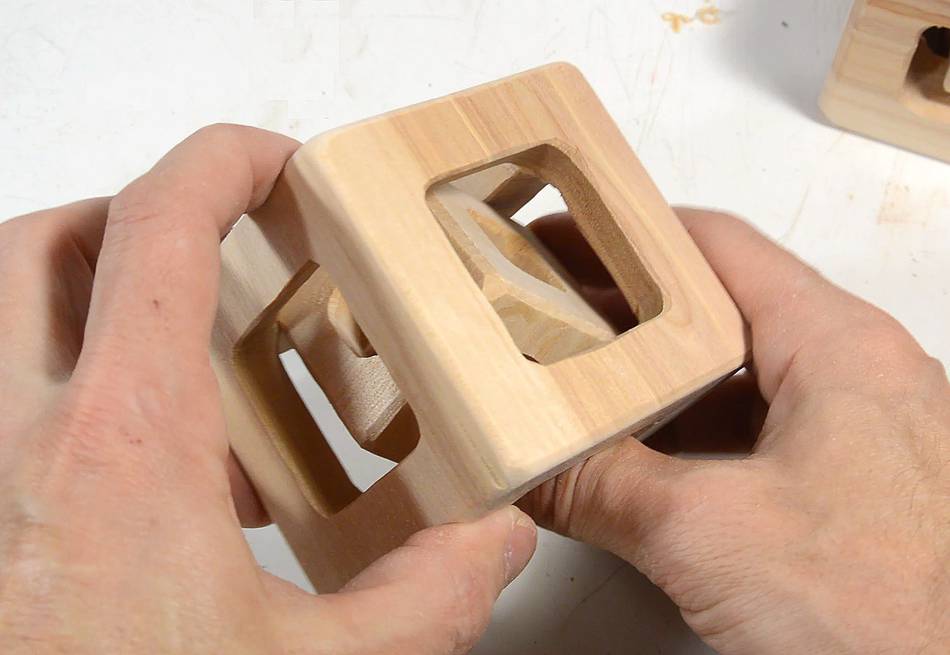
I have to say, this cube within a cube within a cube turned out much more interesting than my captive cross cube
See also:
 Captive cross
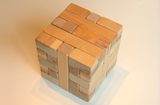 Borg puzzle
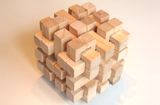 36-piece burr puzzle
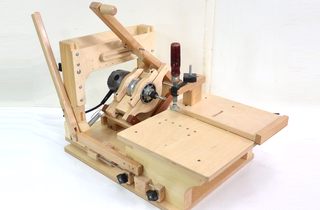 The pantorouter
 Wooden puzzles