
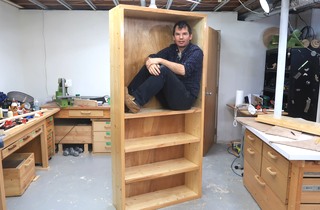
 With all the kids books we now have, it was time to build another bookcase.
I spotted a headboard and footboard made out of some
nice oak veneer plywood in the garbage, so I salvaged that specifically
to make this bookcase.
With all the kids books we now have, it was time to build another bookcase.
I spotted a headboard and footboard made out of some
nice oak veneer plywood in the garbage, so I salvaged that specifically
to make this bookcase.
With all the kids books we now have, it was time to build another bookcase.
I spotted a headboard and footboard made out of some
nice oak veneer plywood in the garbage, so I salvaged that specifically
to make this bookcase.
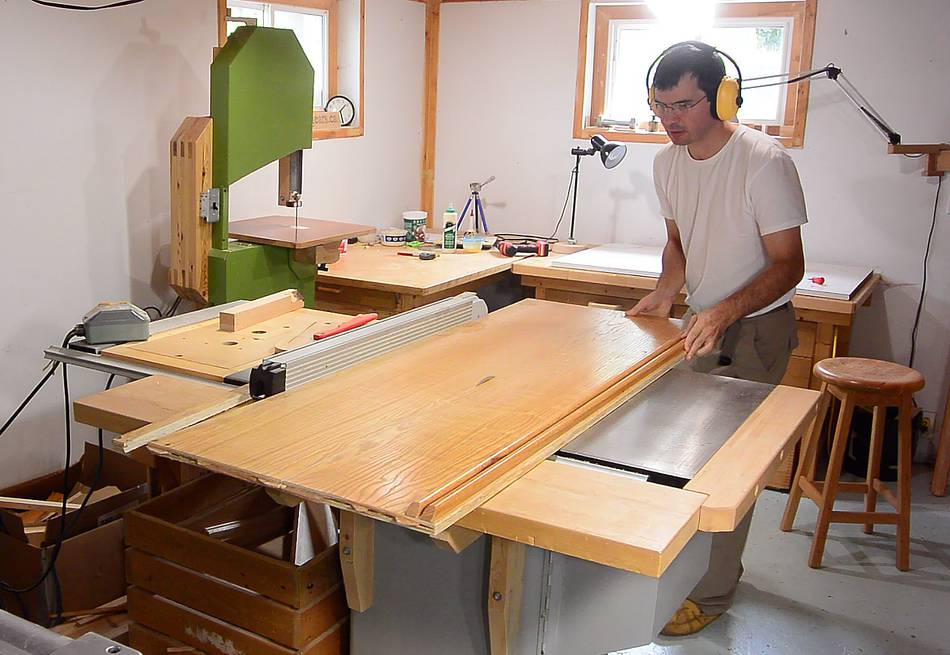 Cutting the headboard into strips for the shelves.
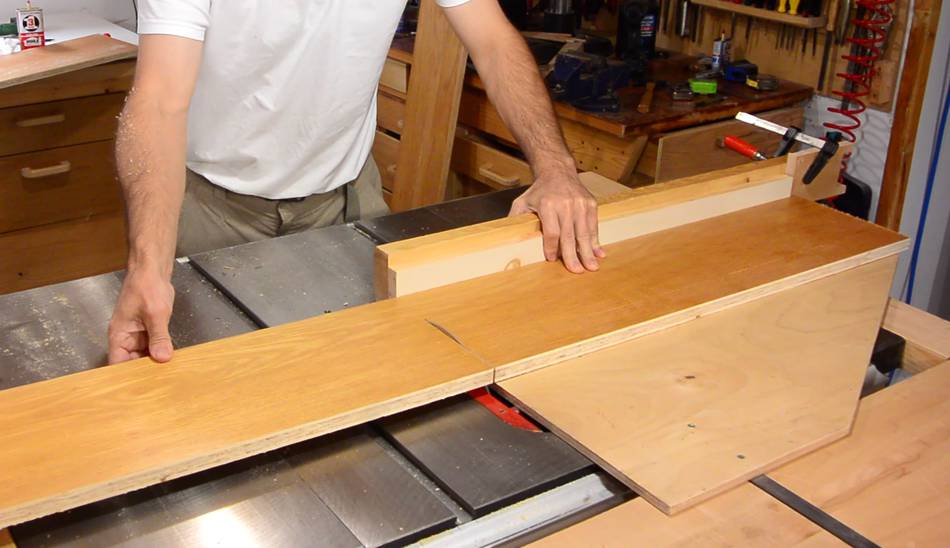
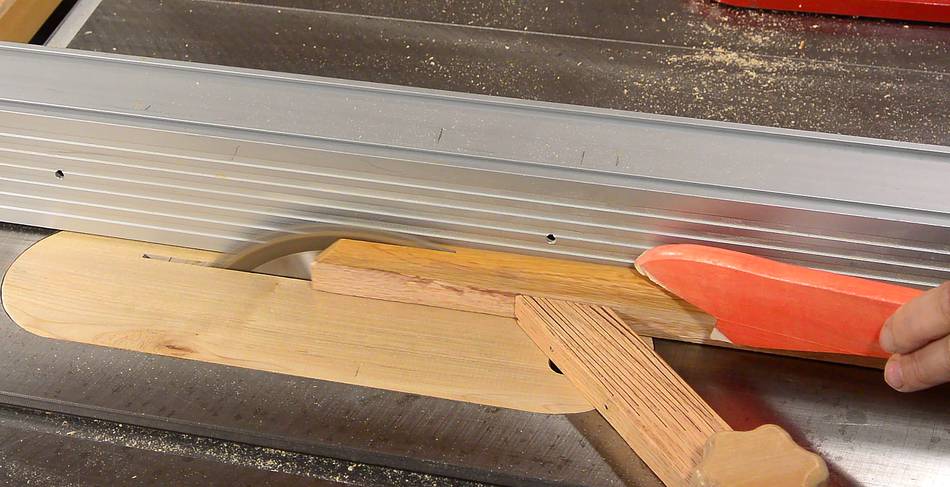
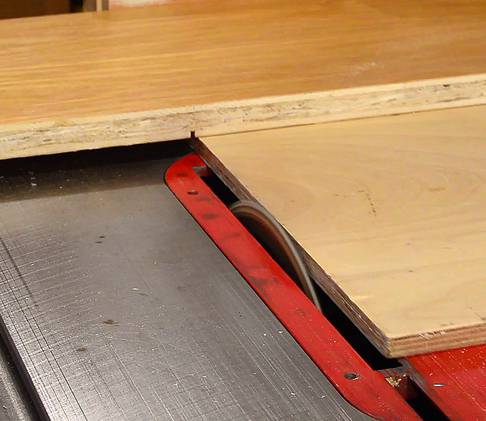 Then cross cutting the pieces. I start all the cuts with a
backwards scoring cut to avoid
tearout on the bottom.
Then cross cutting the pieces. I start all the cuts with a
backwards scoring cut to avoid
tearout on the bottom.
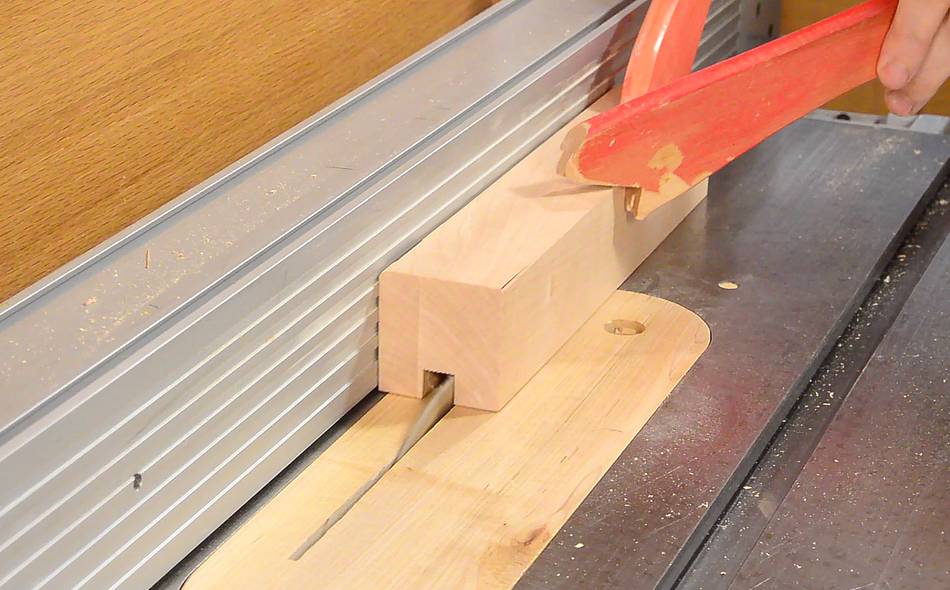
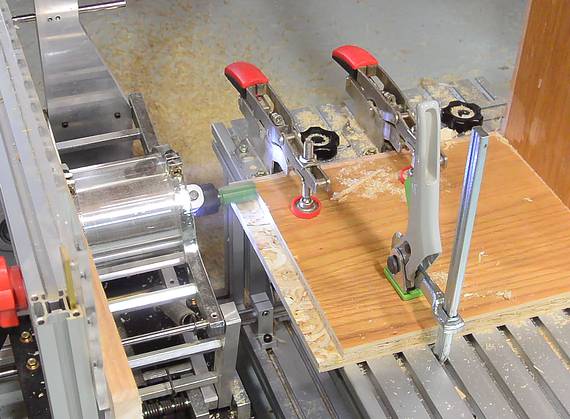
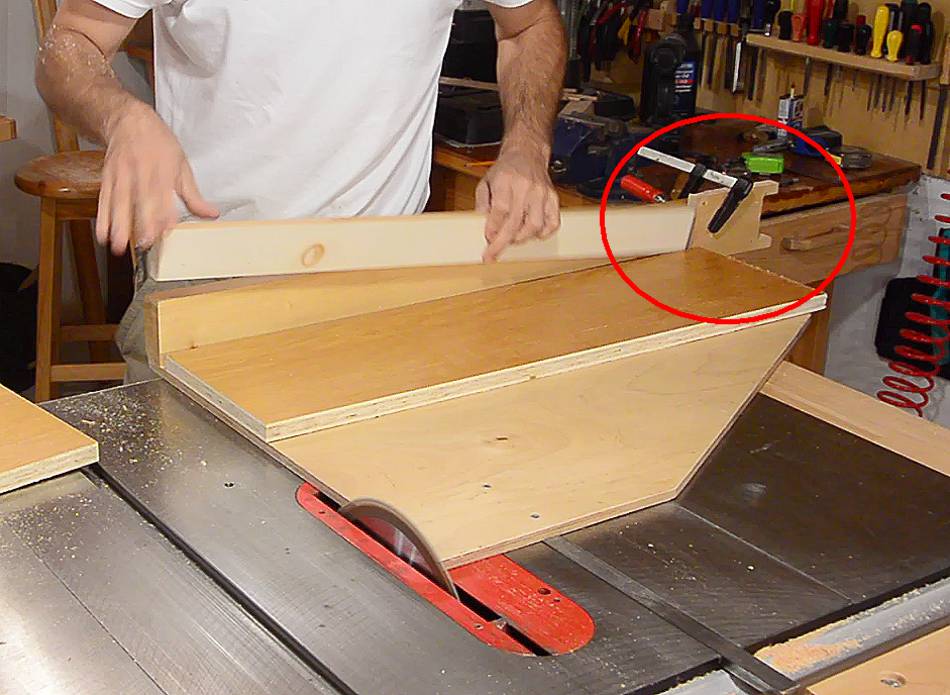 Another trick I'm using is to put a board in front of the stop (circled in red)
that I clamped to the fence. With the board in front of the fence, I can push
my workpiece past the stop for the first cut, then remove the board, flip my workpiece
around, and make a clean cut on the other end.
Another trick I'm using is to put a board in front of the stop (circled in red)
that I clamped to the fence. With the board in front of the fence, I can push
my workpiece past the stop for the first cut, then remove the board, flip my workpiece
around, and make a clean cut on the other end.
A flip-up stop would work too, but I just clamp scraps of wood to the fence when I need them.
 The plywood from the headboard has veneer and a thick ply on
either side, and a layer of OSB in the middle.
This doesn't make for nice looking edges, so I cut some strips
of oak to cover it up. I cut these from solid oak trim
that was also part of the headboard.
The plywood from the headboard has veneer and a thick ply on
either side, and a layer of OSB in the middle.
This doesn't make for nice looking edges, so I cut some strips
of oak to cover it up. I cut these from solid oak trim
that was also part of the headboard.
 Gluing on the strips...
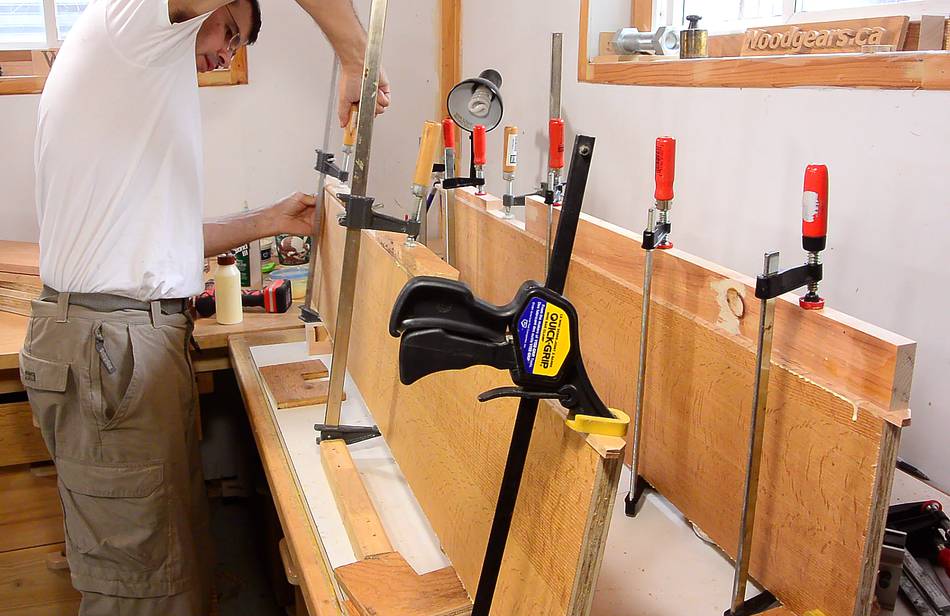 ... using lots of clamps, and pieces of wood to spread the pressure.

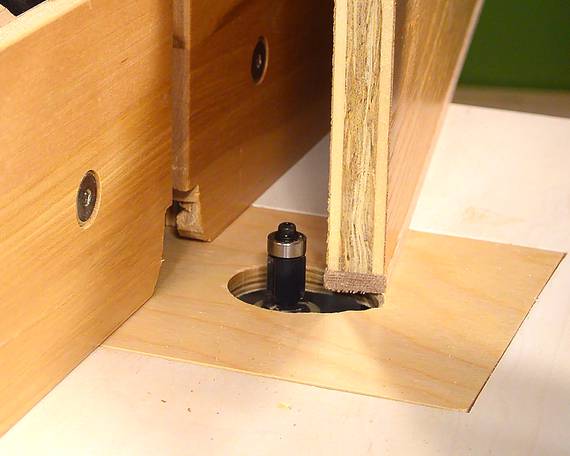 I made the trim slightly wider than the thickness of the boards, then used
a flush trim bit on my router table to trim it. I raised the bit only as
high as necessary, and set the fence so it was only about 1 mm further back than
the bit's guide bearing. That way I can use the fence to make sure the stock
is roughly vertical.
I made the trim slightly wider than the thickness of the boards, then used
a flush trim bit on my router table to trim it. I raised the bit only as
high as necessary, and set the fence so it was only about 1 mm further back than
the bit's guide bearing. That way I can use the fence to make sure the stock
is roughly vertical.
 A doweling jig can be useful for drilling the holes in the ends of the boards
for dowels. But for drilling the holes in the sides of the boards it's
not ideal (though I did make a jig for that
at some point).
A doweling jig can be useful for drilling the holes in the ends of the boards
for dowels. But for drilling the holes in the sides of the boards it's
not ideal (though I did make a jig for that
at some point).
 I wanted to experiment with making a one-time use doweling jig out
of hardwood. I started by cutting a slot in one side to correspond to
the thickness of the shelves.
I wanted to experiment with making a one-time use doweling jig out
of hardwood. I started by cutting a slot in one side to correspond to
the thickness of the shelves.
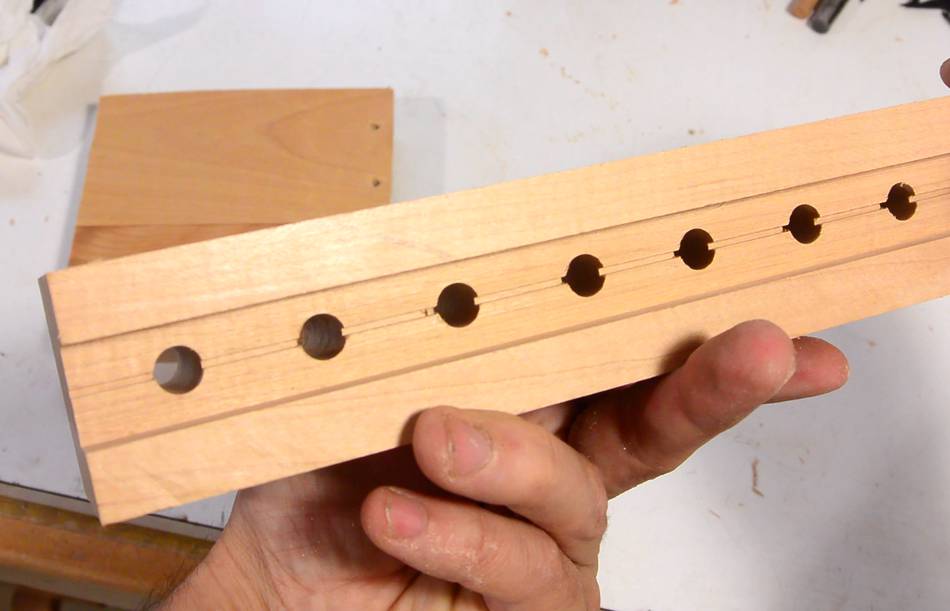
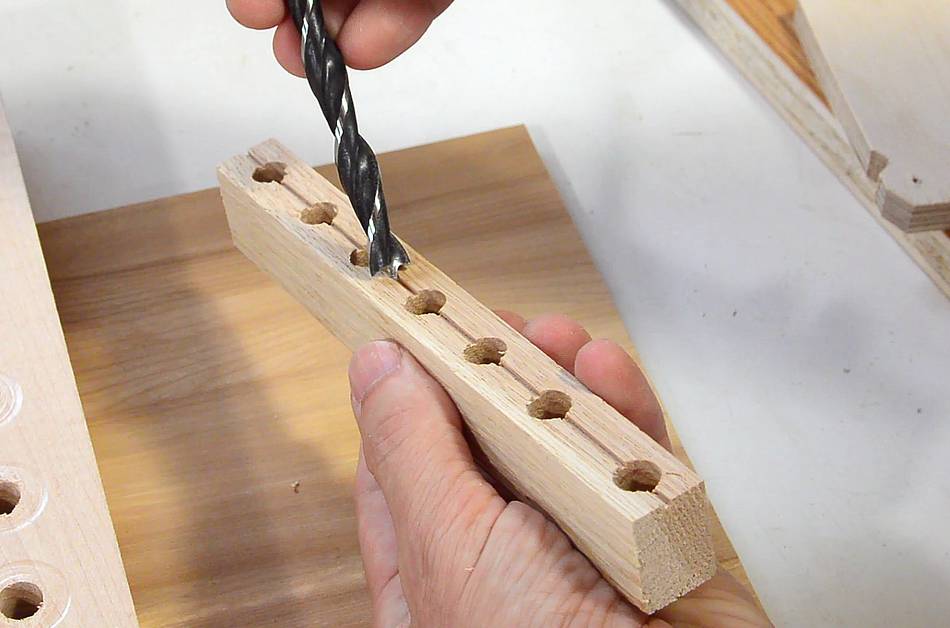
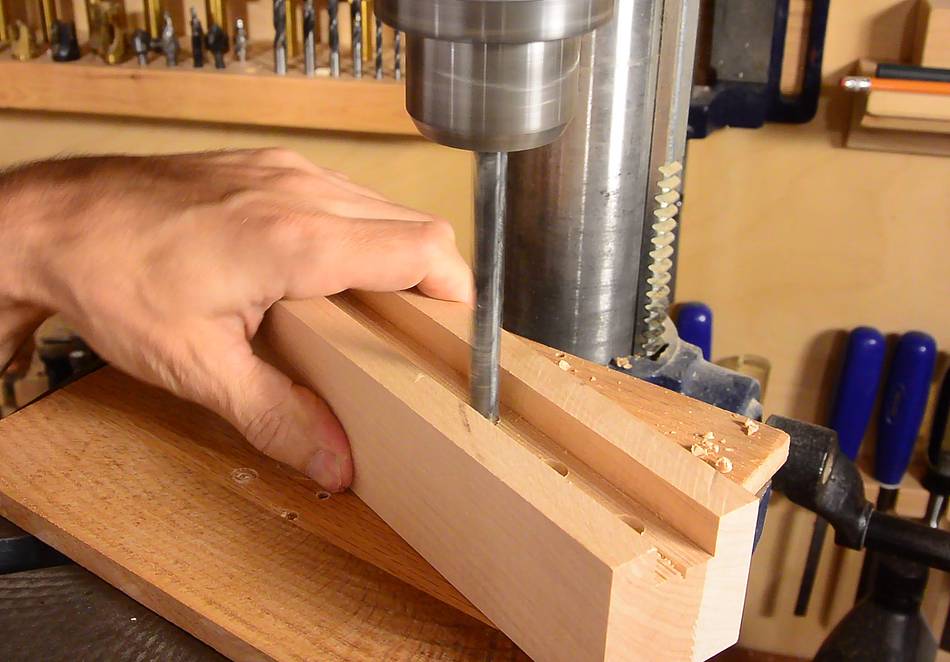 Then I drilled a 3/8" (10mm) hole every three centimeters.
Before drilling these holes, I made a shallow cut exactly down the middle of the slot to help the drill's point line up with it. This worked out quite nice.
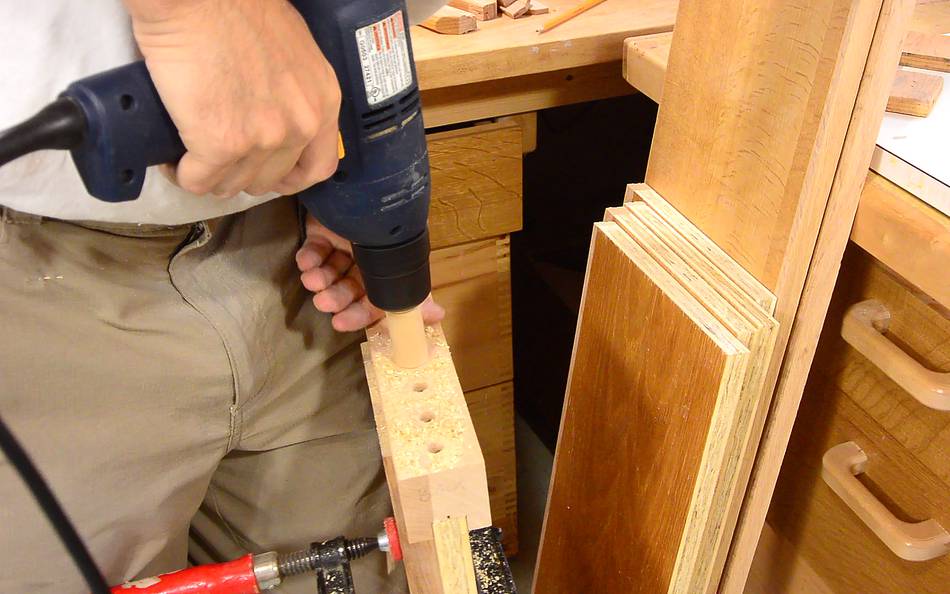
 I needed a way to clamp this jig to the end of a board, so I screwed another
board to the side of it.
I needed a way to clamp this jig to the end of a board, so I screwed another
board to the side of it.
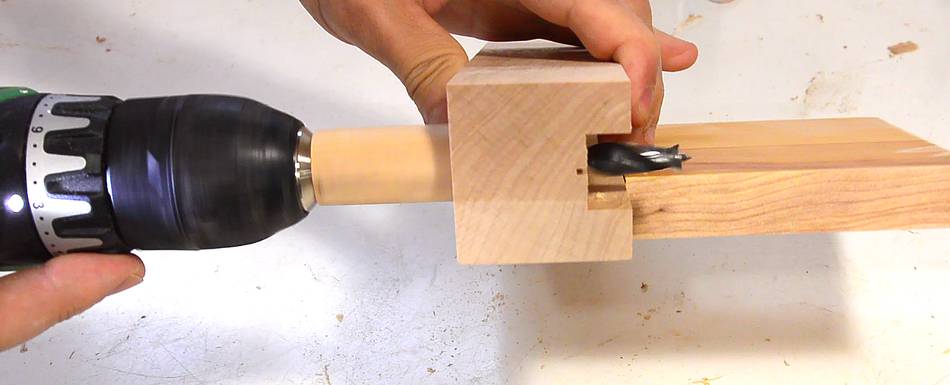 I made a wooden sleeve to go around part of the drill bit to
limit how deep I could drill with it.
I made a wooden sleeve to go around part of the drill bit to
limit how deep I could drill with it.
 Then drilling the shelves. This went well and fast. So far, this
jig is working out well.
Then drilling the shelves. This went well and fast. So far, this
jig is working out well.
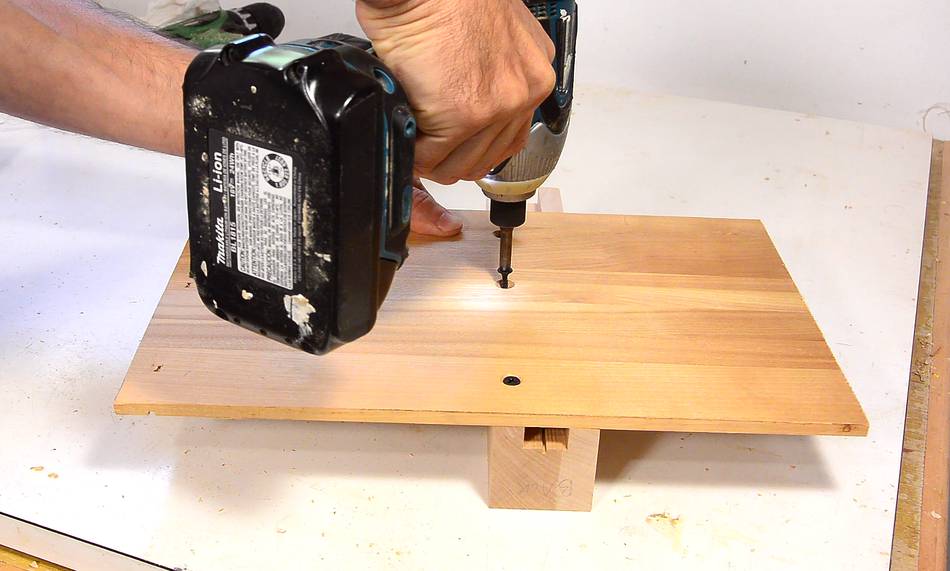
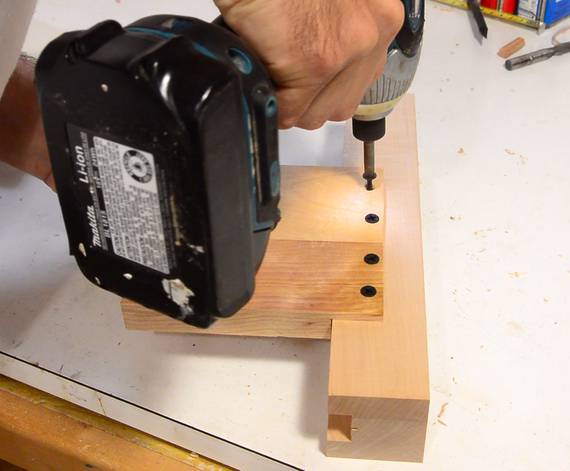
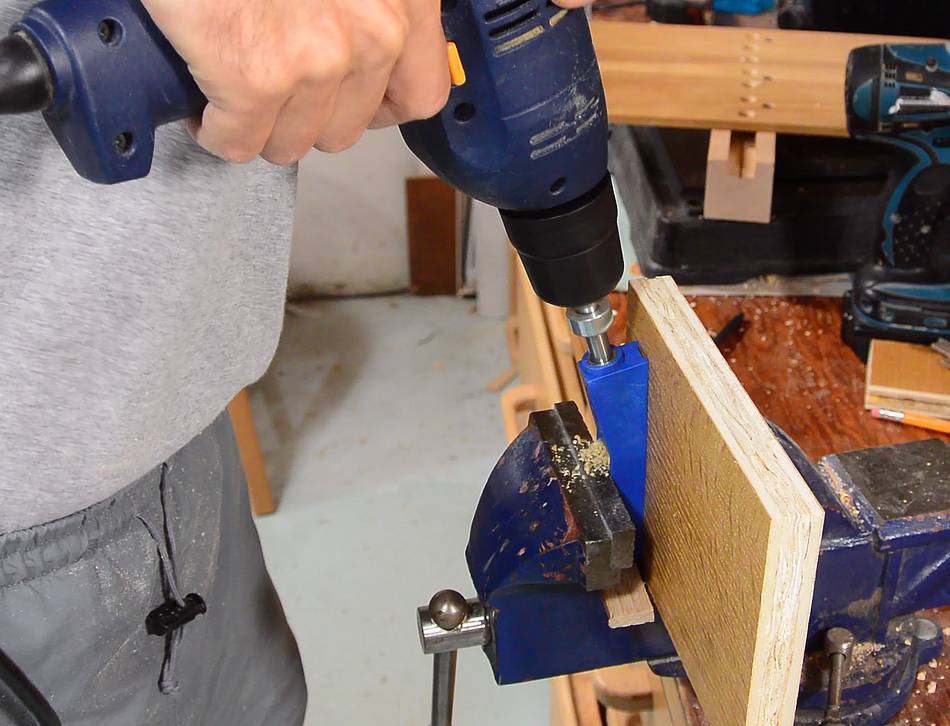
 Then I needed a good way to clamp the jig against the sides of the
boards that would make the vertical sides of the shelves.
I figured the best way to do that was to
screw it to a thin flat piece of wood and drill through it.
Then I needed a good way to clamp the jig against the sides of the
boards that would make the vertical sides of the shelves.
I figured the best way to do that was to
screw it to a thin flat piece of wood and drill through it.
I shortened my spacer to give me just the right amount of penetration through the jig and the board.
 Drilling the holes in the sides of the upright parts of the shelves.
This also went fairly fast.
Drilling the holes in the sides of the upright parts of the shelves.
This also went fairly fast.
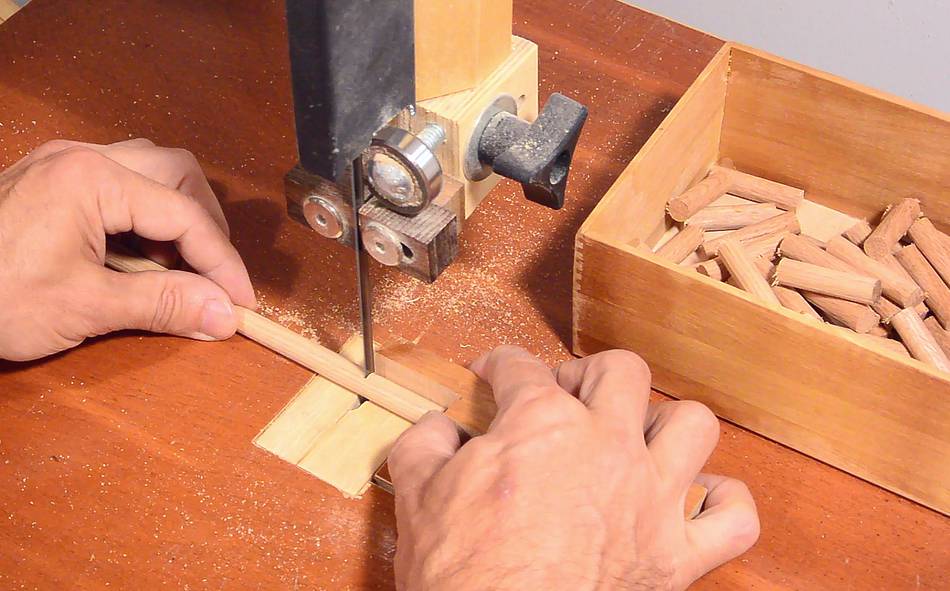
 I needed a whole lot of short dowels, 37 mm long.
I cut a corner out of the end of a piece of wood, which I used as a guide to cut the dowels to length. The guide piece is the same colour as my bandsaw table, so it's hard to see in the picture at left.
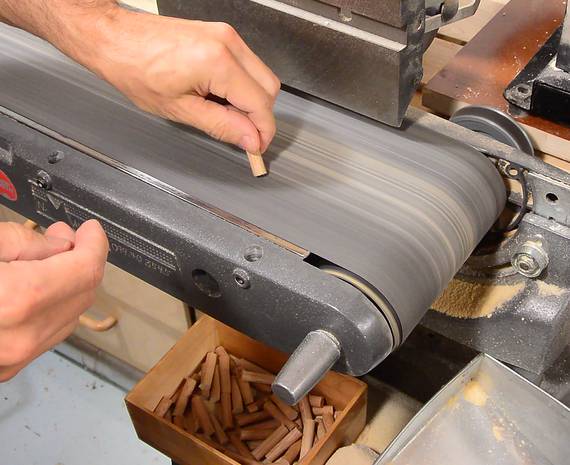
Then I chamfered the ends of the dowels on the belt sander.
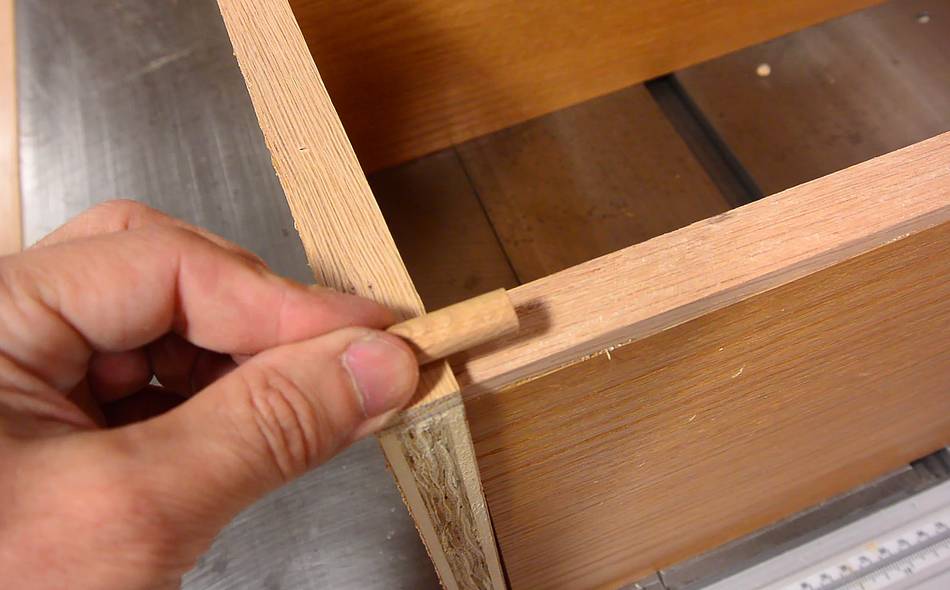
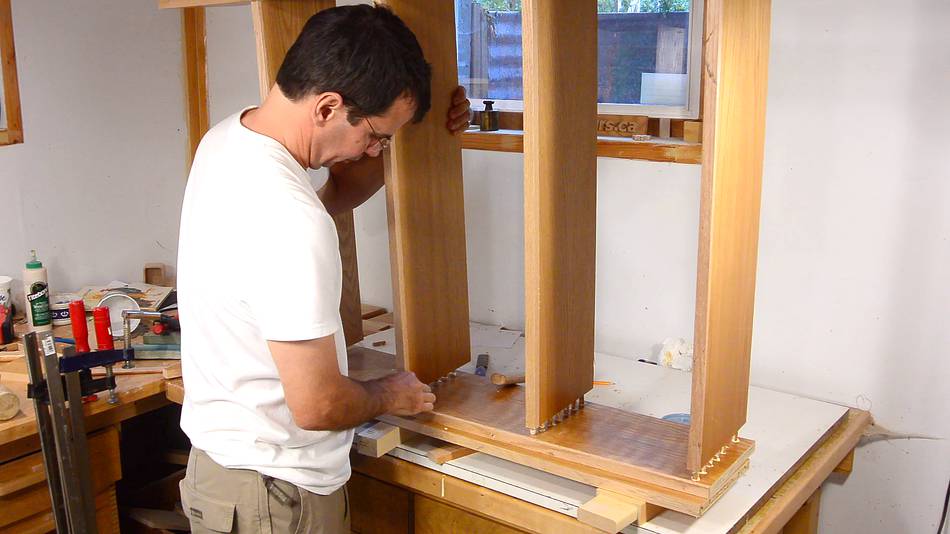
 Now for the main challenge: How well does it fit? With seven dowels to line up,
it's easy enough for things to go wrong.
Now for the main challenge: How well does it fit? With seven dowels to line up,
it's easy enough for things to go wrong.
The dowels lined up well enough, but it turned out that they were 1 mm too long, so I couldn't close the joint. So I hurriedly pried it apart and cut the ends off the dowels, added more glue and forced it back together.
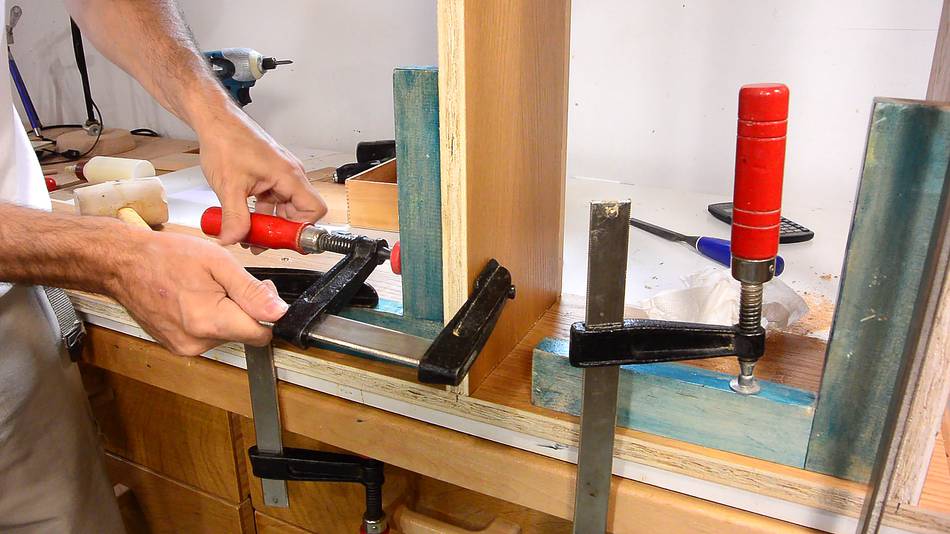 The next joints went together much better. But the dowels fit very tight in the
holes even when inserting one at a time. So I needed quite a bit of force to
close the joints. I then added my clamping squares to make sure they are square.
The next joints went together much better. But the dowels fit very tight in the
holes even when inserting one at a time. So I needed quite a bit of force to
close the joints. I then added my clamping squares to make sure they are square.
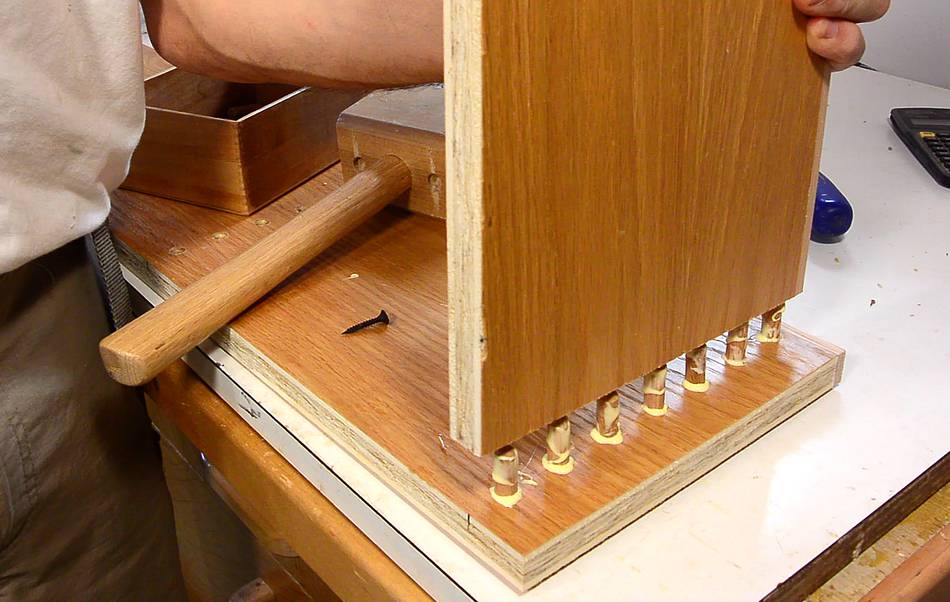
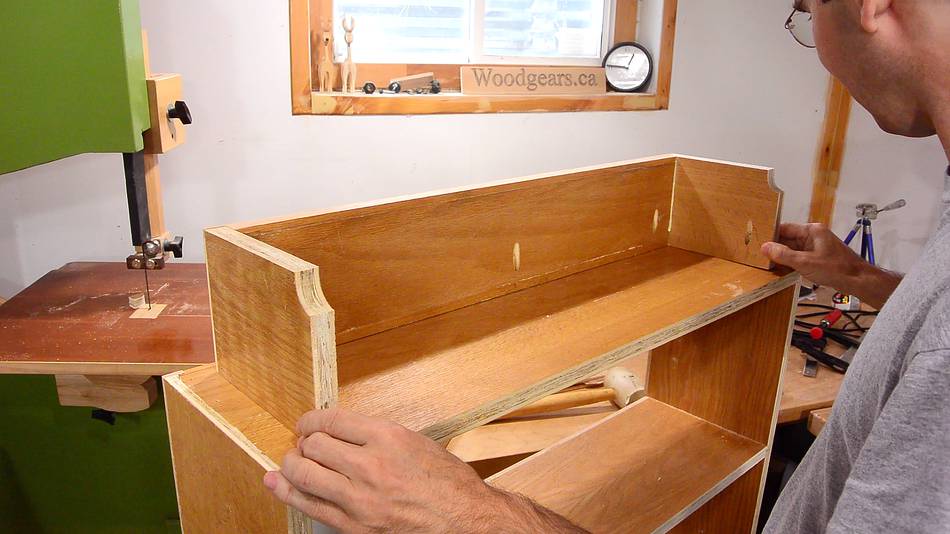
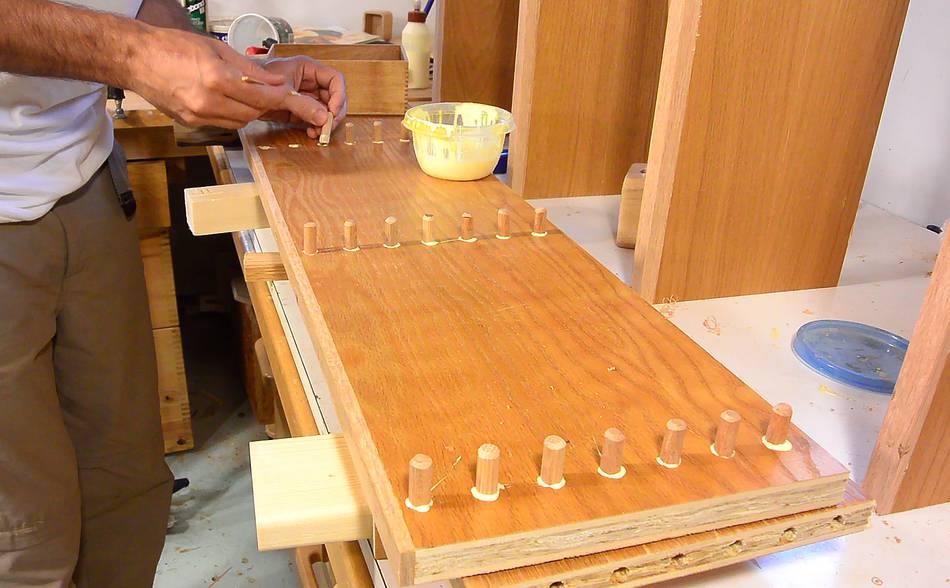 But the biggest challenge was still to come. To join the other side
of the shelf, I needed to glue four rows of seven dowels all at the same time.
28 dowels!
But the biggest challenge was still to come. To join the other side
of the shelf, I needed to glue four rows of seven dowels all at the same time.
28 dowels!
This would have been much easier if I had used fewer dowels, but I wanted the shelf to have side-to-side rigidity once it's done, and more dowels make the joints stiffer.
 Mating the dowels. I sanded a bigger chamfer onto the ends of the dowels
facing up in this picture to make it easier to align everything.
Mating the dowels. I sanded a bigger chamfer onto the ends of the dowels
facing up in this picture to make it easier to align everything.
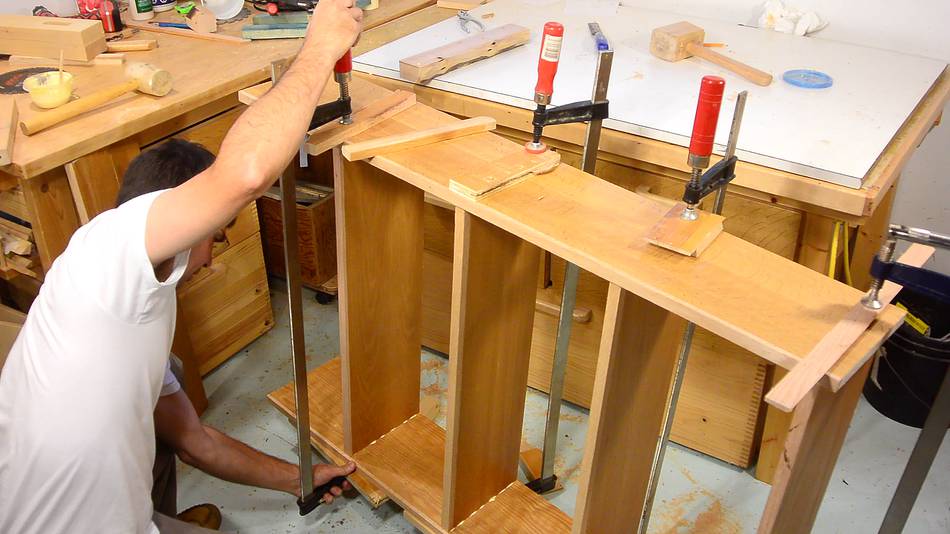 It was a tense eight minutes, with lots of big clamps to force all the joints closed!
The joints were tight to begin with, and the glue was starting to set at the same time!
It was a tense eight minutes, with lots of big clamps to force all the joints closed!
The joints were tight to begin with, and the glue was starting to set at the same time!
My original intention was to have the main part of the shelf just sit on the bottom
part (which will be on a slightly narrower base), using butt joints. But then I'd have
the end grain of the base showing. So I had the idea of using a rabbet joint to
attach the base.
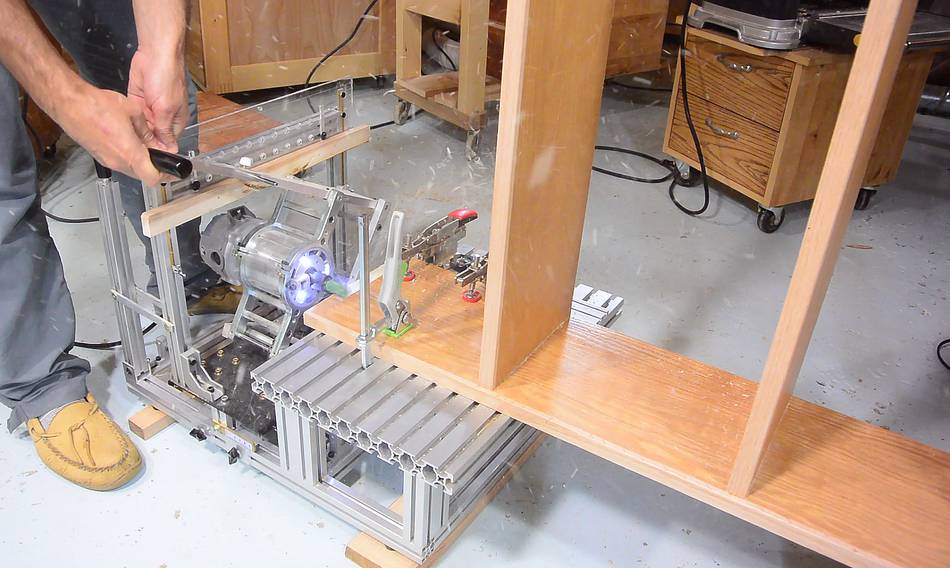
 It would have been easier if I cut that rabbet before assembling the shelf.
Thinking about it, the most expedient way to cut that rabbet now
was with the pantorouter.
It would have been easier if I cut that rabbet before assembling the shelf.
Thinking about it, the most expedient way to cut that rabbet now
was with the pantorouter.
I could have cut it just with a router, but I have much more control over the router with a pantorouter. With the pantorouter, I can make a more dangerous "climb cut" without the risk that the router gets away on me. With a climb cut, the bit is always cutting into the wood, and that prevents tearout.
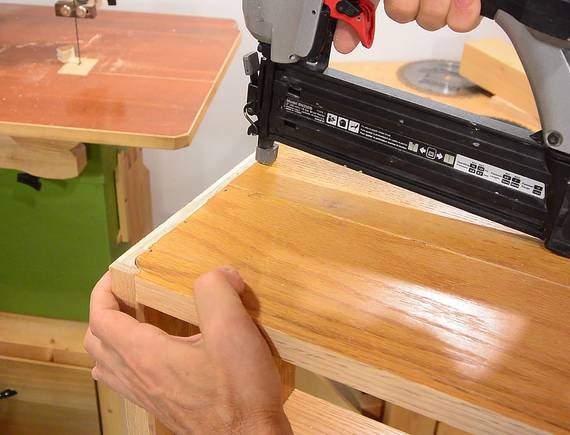 Bottom in place. I secured it with glue and some brad nails. It's the bottom of the shelf,
so no one will see it.
Bottom in place. I secured it with glue and some brad nails. It's the bottom of the shelf,
so no one will see it.
 The base of the shelf is 13 cm high, high enough to raise it above
the baseboards in my house.
The base of the shelf is 13 cm high, high enough to raise it above
the baseboards in my house.
I figured the best way to attach the base was to just screw it on. If I ever move to a house with narrower baseboards, I can just remove the base and shorten it.
And the most expedient way to attach the base was using pocket holes. Yes, pocket holes! They are useful here and there. But I'm sure I'll never hear the end of it for having used pocket holes in one of my projects, especially after these tests.
 The base is inset from the back and sides to get over the baseboard, with an
extra notch on the back to fit around the quarter-round at the bottom of the
baseboard.
The base is inset from the back and sides to get over the baseboard, with an
extra notch on the back to fit around the quarter-round at the bottom of the
baseboard.
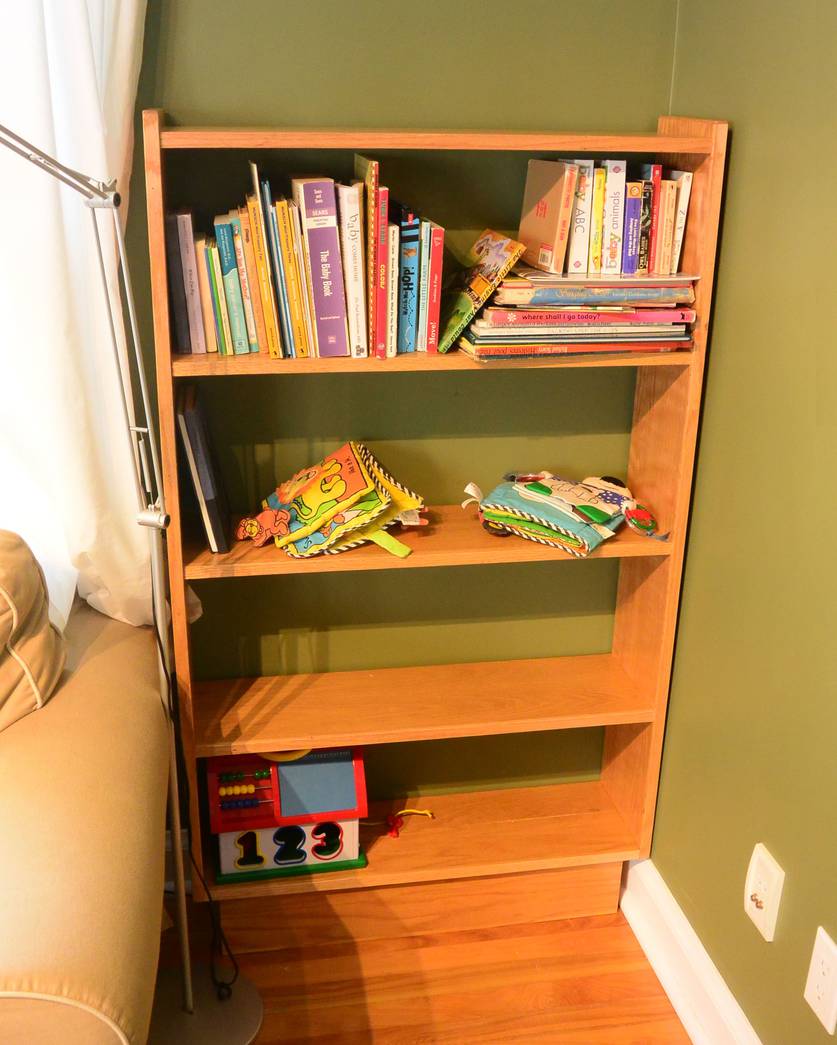
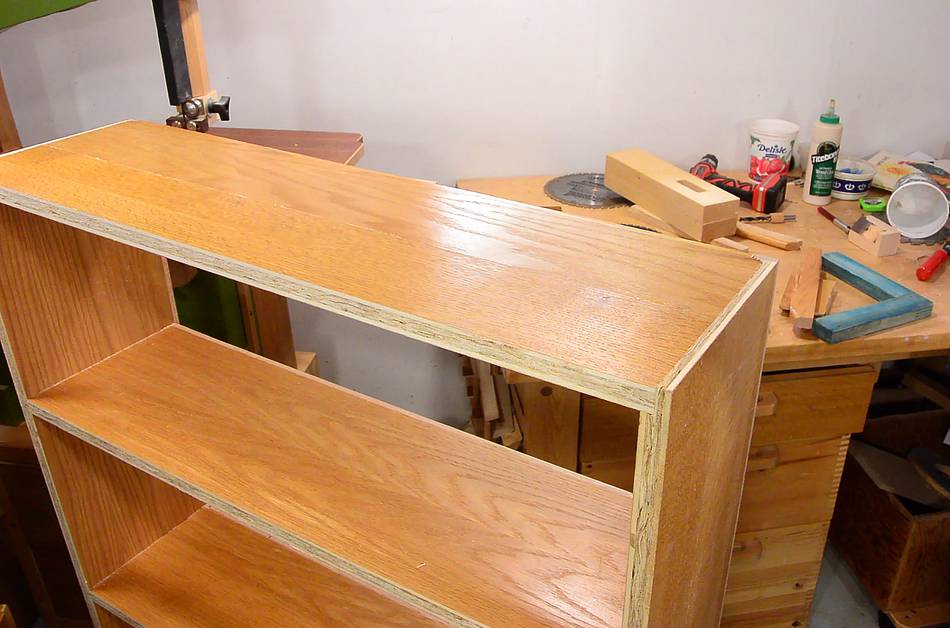
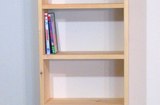
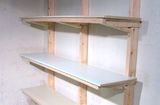
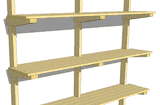
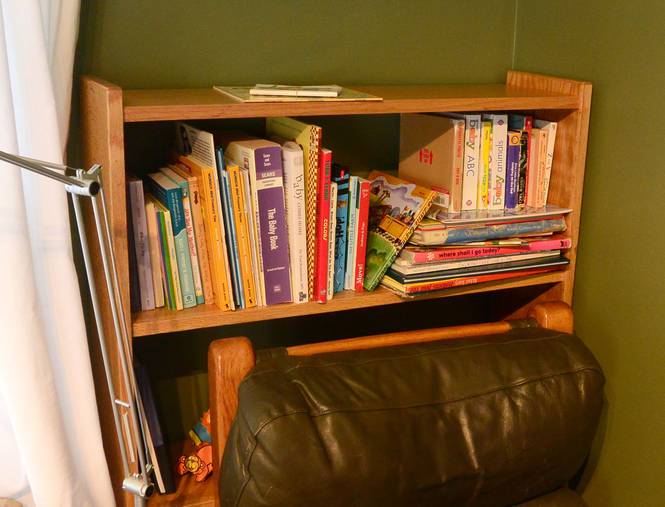 Bookcase set up. Not bad looking considering all the wood is all
from the garbage. Much classier than pallet wood!
Bookcase set up. Not bad looking considering all the wood is all
from the garbage. Much classier than pallet wood!
Most of the book case gets hidden by an armchair, with just the top shelves poking out. It's a good way to make use of the dead space behind the chair.
 Despite the difficulty assembling, I'd say the dowel jig was a success.
A wooden dowel jig won't last very long, but I drilled through each
hole in the jig just 16 times, which wasn't enough to wear it out too much,
especially when drilling straight. I experimented with making a wooden
pocket hole jig once, but that was unuseably worn out after 30 holes.
Despite the difficulty assembling, I'd say the dowel jig was a success.
A wooden dowel jig won't last very long, but I drilled through each
hole in the jig just 16 times, which wasn't enough to wear it out too much,
especially when drilling straight. I experimented with making a wooden
pocket hole jig once, but that was unuseably worn out after 30 holes.
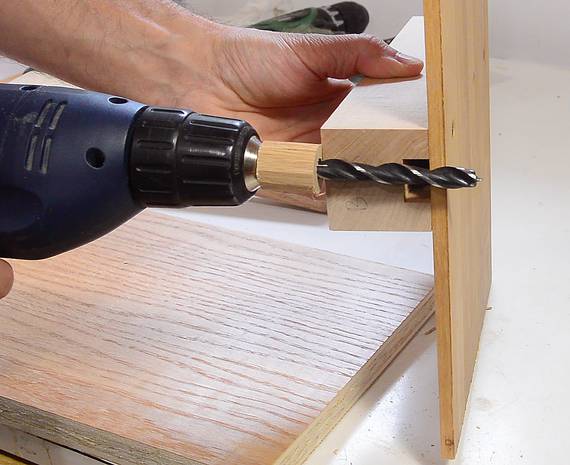
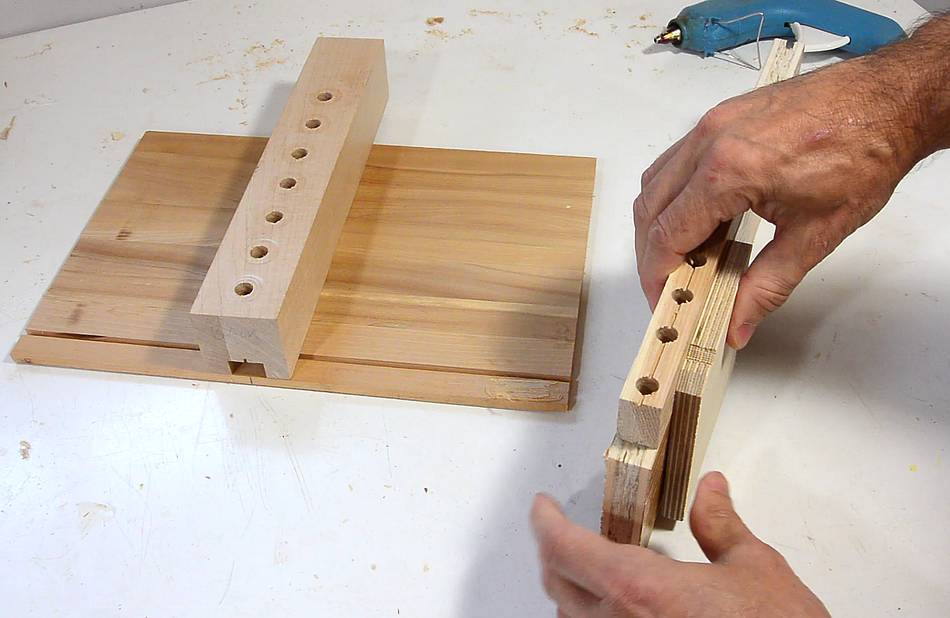
If I was doing it again, I'd make the jig out of just a board the same thickness
as the wood I drilled in to. This would be easier to clamp to the edge
by screwing a piece of plywood to the side (as shown at right in the image),
and just as easy to screw to a larger board for drilling the holes in the side.
 I'd also make the jig deeper so I'd have more support for the drill and
wouldn't need a spacer to limit depth.
I'd also make the jig deeper so I'd have more support for the drill and
wouldn't need a spacer to limit depth.
One thing that worked out well was to use a very thin blade to cut a slot where the lines of holes are. This helped to line up the brad point of the drill bit, so I only had to worry about lining it up in the other direction.
 Another bookcase joined with dowels
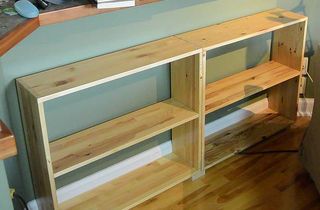 Stackable book
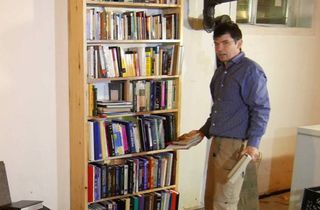 Building a bookcase for the basement
 Big box joined bookcase
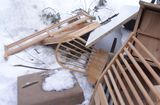 Trash pick wood haul
 Trash to treasure:
 Basement shelving
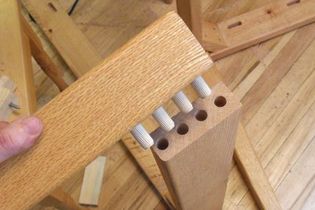
 Garage shelves
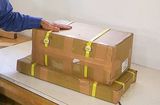 Metal pantorouter