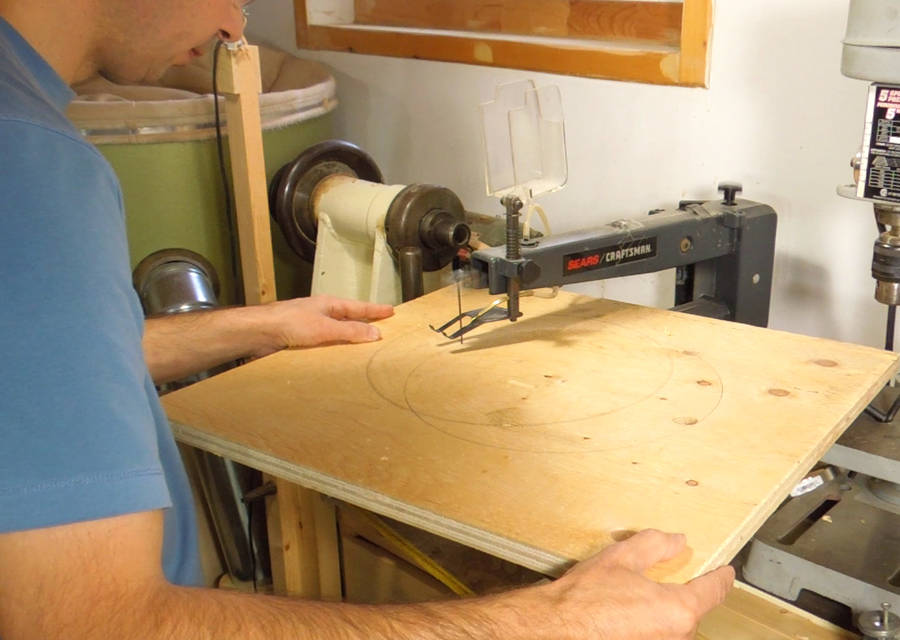
Next, I cut out the plywood for the stator.
This whole siren involved cutting a lot of big holes in plywood, which I can't do with a bandsaw. So I used my scrollsaw. I'm no fan of scrollsaws, but I still prefer them to jigsaws.
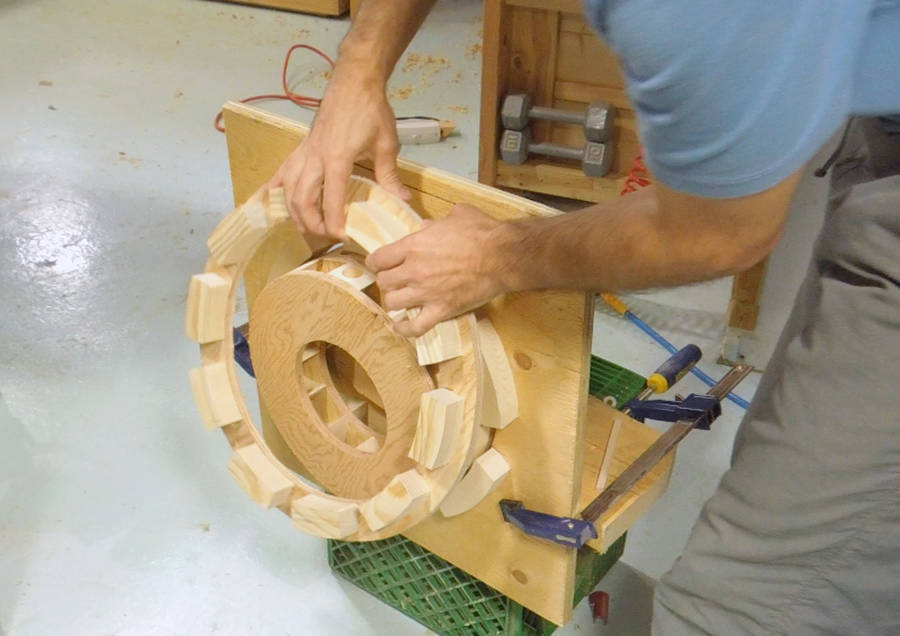
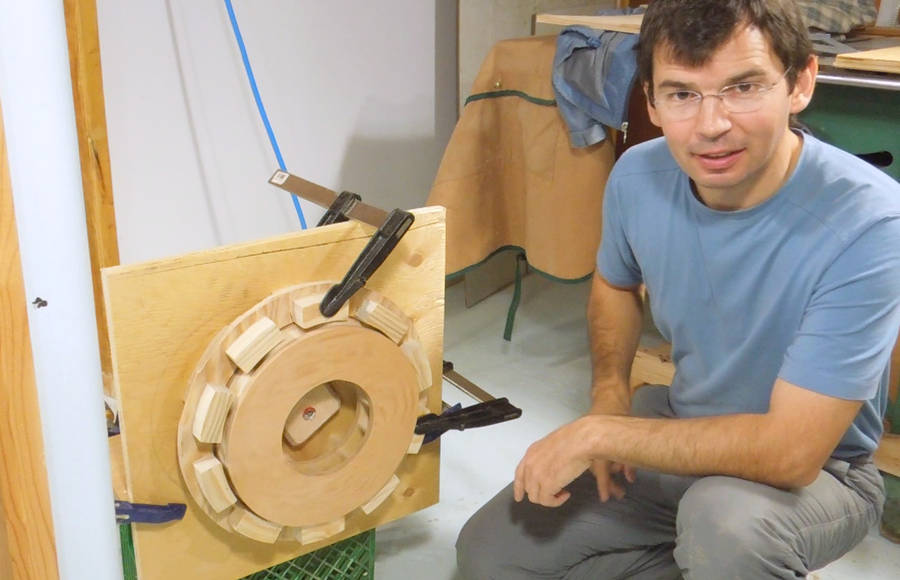
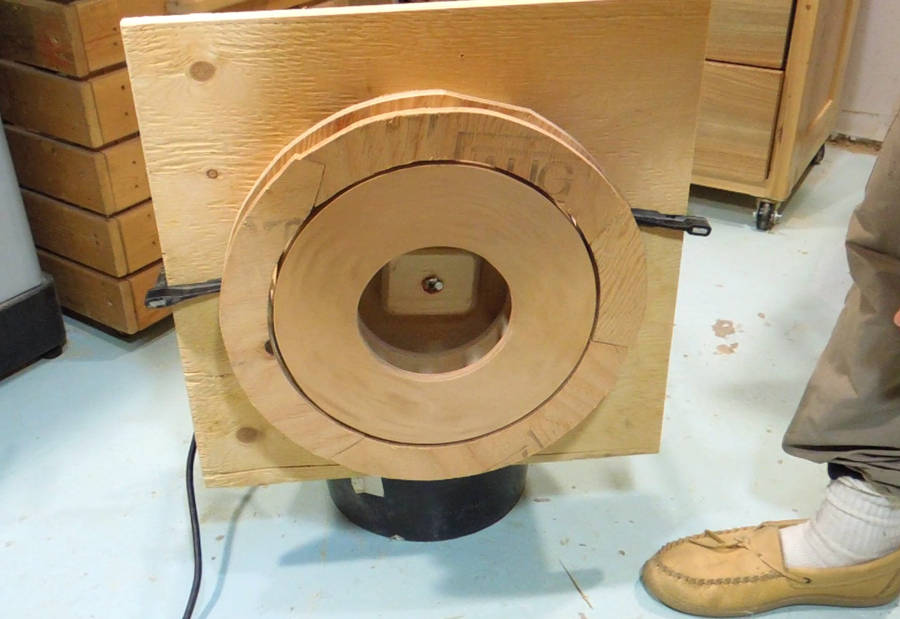
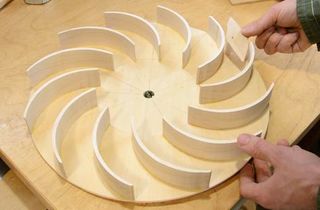
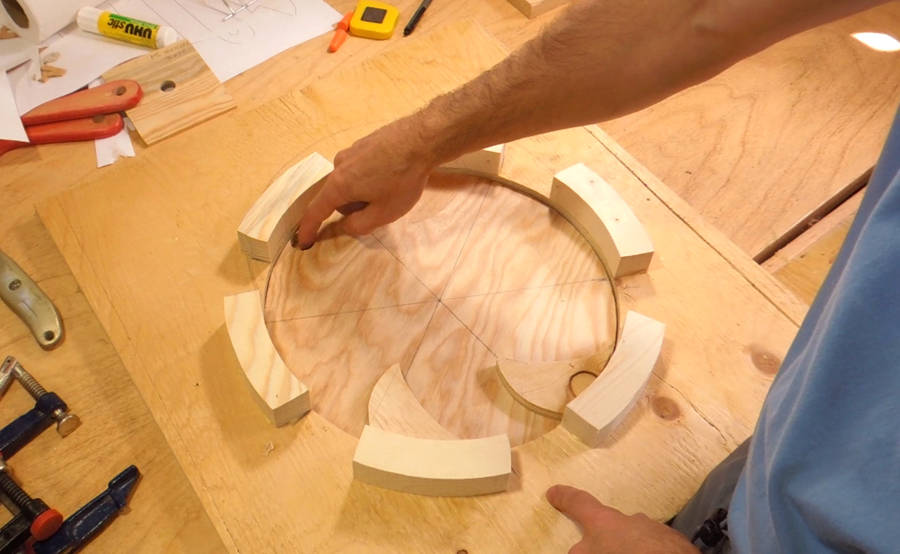 First layer of the stator complete.
The way a siren works is that the rotor is like a fan impeller, and centrifugal force drives the air outwards. But the rotor blades and the gaps in the siren's stator intermittently line up and don't line up, which causes pulsating air flow. That in turn causes pressure waves in the air, which is, of course, sound!
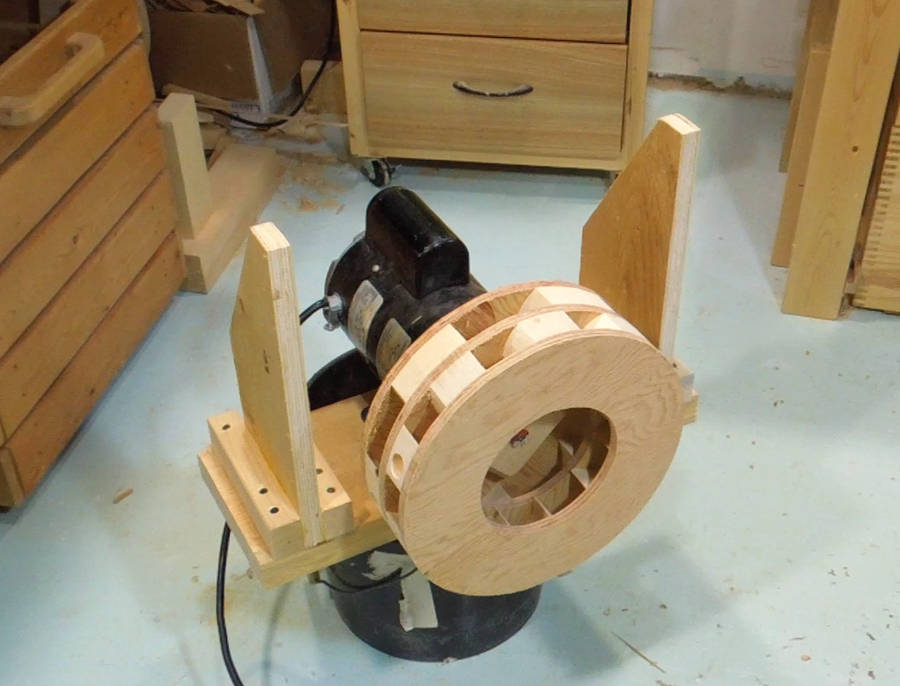
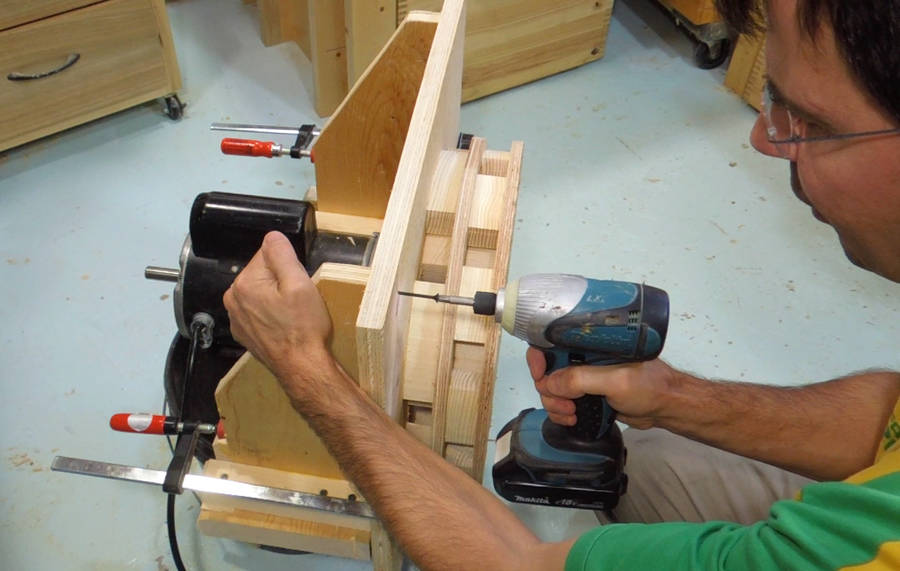
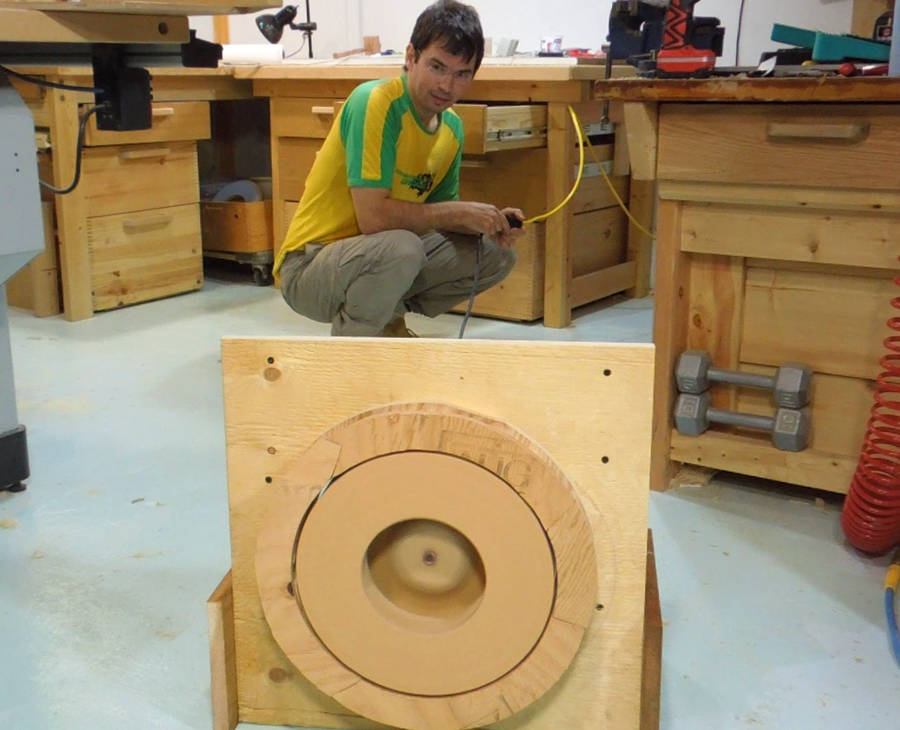
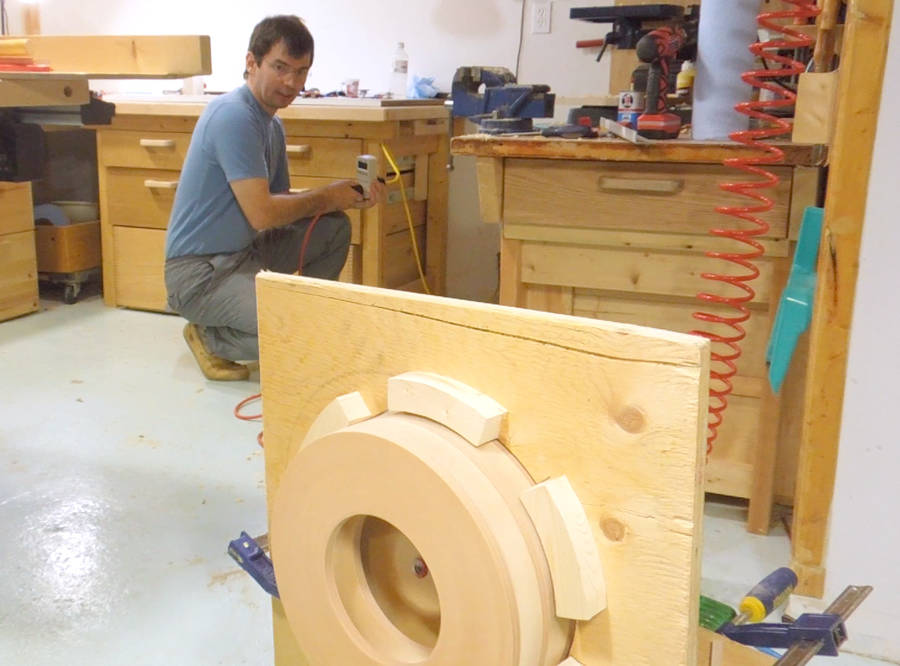 I used some bar clamps to rig up the first layer of my stator with the motor,
just to see if it would make a sound.
I used some bar clamps to rig up the first layer of my stator with the motor,
just to see if it would make a sound.
But I didn't spin it up to full speed. If something became loose, and the stator somehow touched the rotor, I figured the whole thing would start chattering like a bearing and self-destruct in a fraction of a second.
So best to make it all sturdy before a full speed test.
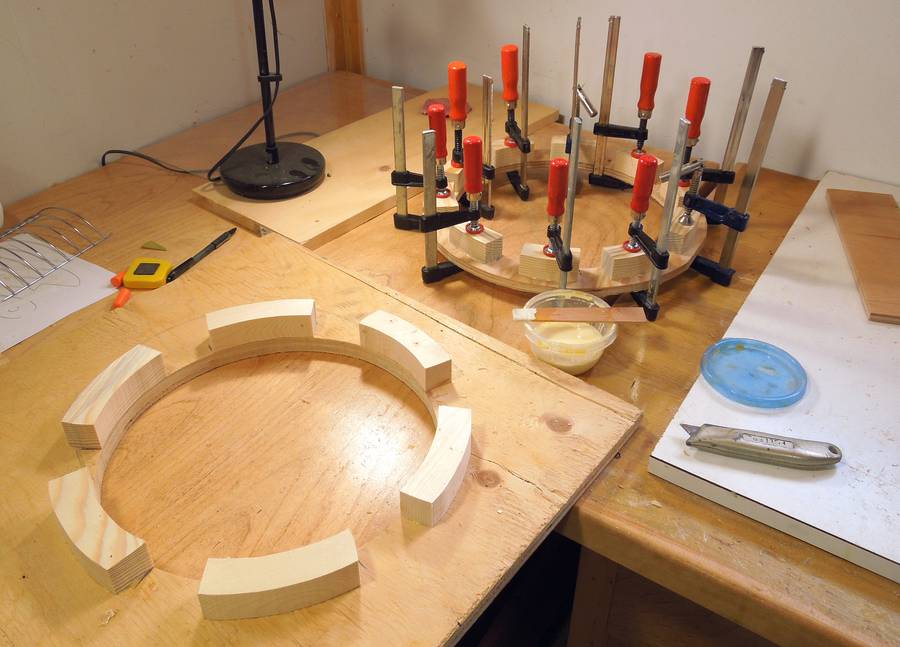 Gluing up the second layer of the stator
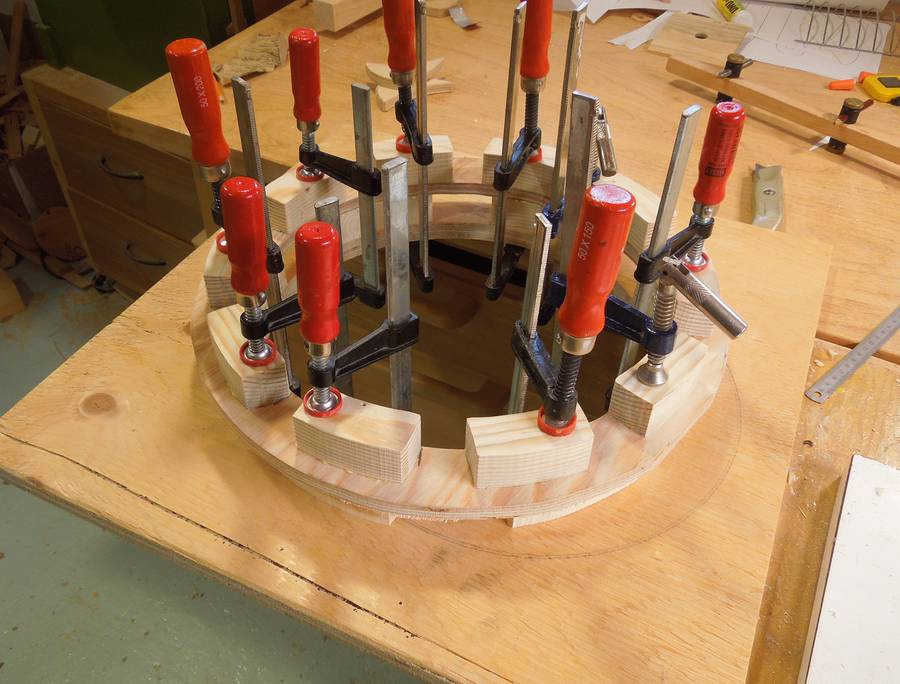 So I proceeded to finish gluing the layers of the stator together.
I made another ring-layer to go on top of those two layers, but didn't take any pictures of that.
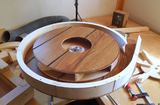
 With the rotor and stator complete, it was time to figure out how to
mount it all together.
With the rotor and stator complete, it was time to figure out how to
mount it all together.
I just left the motor mounted to the board I had used as a temporary mount and made two brackets to hold the stator upright.
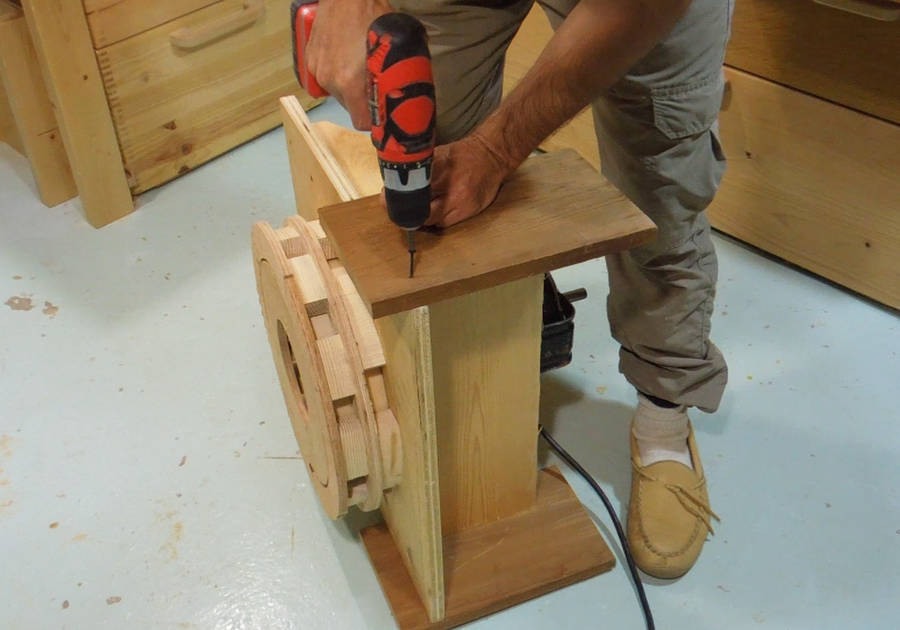
 Next, mounting the stator plate to the bracket.
I used thin pieces of wood as spacers to position the stator so that the gap was even all around.
 Time to screw the stator plate on.
 Also screwing some pieces of wood to the side to sort of act as feet
for the siren.
Also screwing some pieces of wood to the side to sort of act as feet
for the siren.
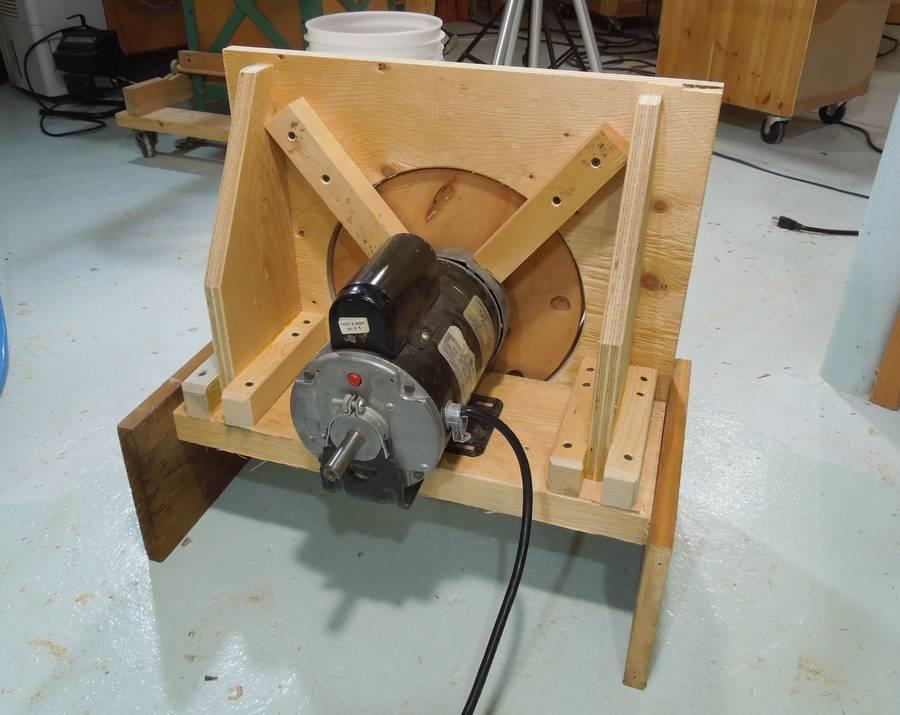 I was still afraid of the rotor striking the stator and
starting to chatter inside. So I added two diagonal pieces to
the back of the stator plate to brace against the front of the motor,
just to give the whole assembly a bit more rigidity if something bad
were to happen.
I was still afraid of the rotor striking the stator and
starting to chatter inside. So I added two diagonal pieces to
the back of the stator plate to brace against the front of the motor,
just to give the whole assembly a bit more rigidity if something bad
were to happen.
 And finally, spinning it up to full speed for the first time.
It really does sound like an air raid siren!
And finally, spinning it up to full speed for the first time.
It really does sound like an air raid siren!
It was loud, although not deafeningly so. At least, my ears were hurting less than they would after spending half an hour in a nightclub with loud music (I find that sort of thing physically painful after a while). But then again, I only spun the siren up for a few seconds at a time.
Looking at a recording without AGC (automatic gain (volume) control for the sound), I can say that it's somewhere about 45 dB louder than normal conversation. And definitely loud enough that it's probably unwise to spin it up in my backyard.
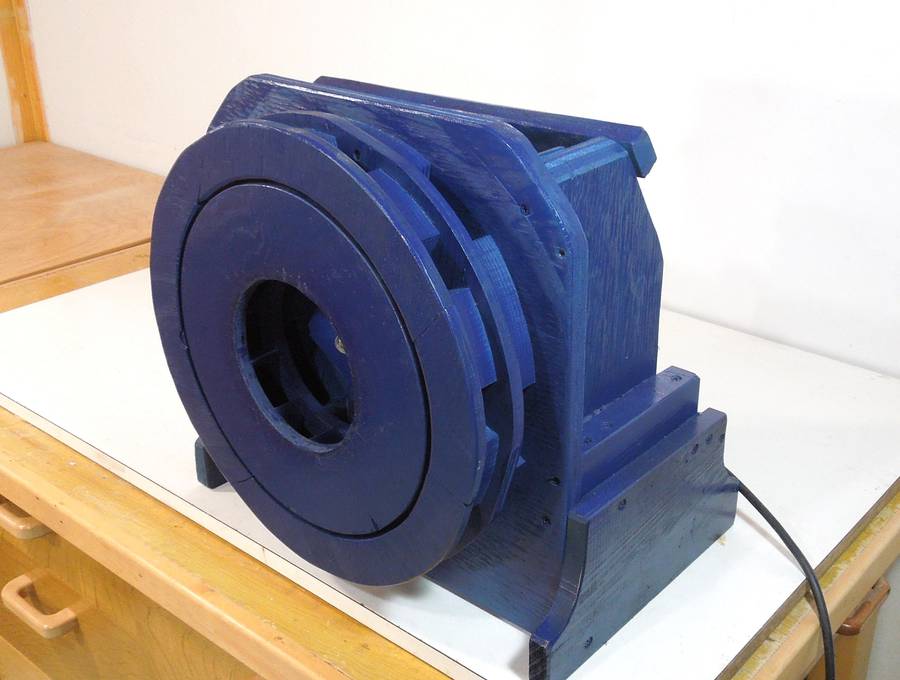
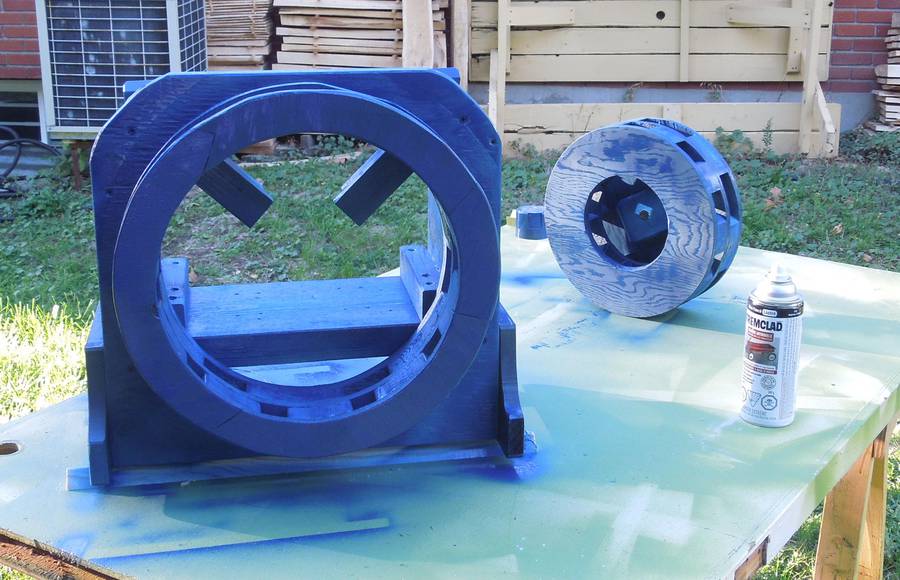 Even though this siren was just an experiment, its just too cool to
turn it into scrap right away. So I cut the stator plate down to a minimal
size to make the unit more compact, and spent $7 on a can of spray paint
to give it a more menacing colour. The unpainted wooden look had its
merits too - it looks so innocent until you spin it up.
Even though this siren was just an experiment, its just too cool to
turn it into scrap right away. So I cut the stator plate down to a minimal
size to make the unit more compact, and spent $7 on a can of spray paint
to give it a more menacing colour. The unpainted wooden look had its
merits too - it looks so innocent until you spin it up.
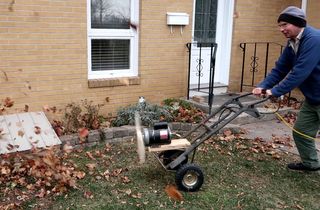
I also thought of various ways to tweak it to make it even louder, but then again, this siren already exceeds my nonexistent air raid sirening needs.
I imagine I'll leave the siren together until I need that motor for something else, and then I'll probably hang the wooden parts of it up in the garage somewhere.
 It really isn't a useful project, but Halloween is coming up. This will be fun to try
on some unsuspecting trick or treat-ers! I'm hoping Halloween
will be an acceptable excuse for spinning this monster up in outside in the city!
It really isn't a useful project, but Halloween is coming up. This will be fun to try
on some unsuspecting trick or treat-ers! I'm hoping Halloween
will be an acceptable excuse for spinning this monster up in outside in the city!
The video at the start of the article is a 2022 re-edit of the 2012 video.
The original 2012 video was twice as long. I have gotten better at editing videos
down to shorter lengths since then, so I re-edited it after ten years. Below, the
original 2012 version.
 Dangerous 1 hp leaf blower
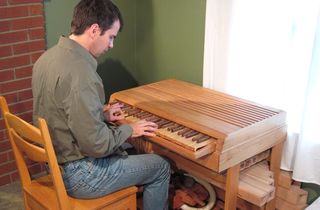 Homemade pipe organ
 A bell that rings two notes (multi-modal vibrations)
 Anti ASMR screeching and scraping sounds
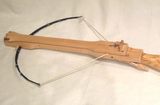
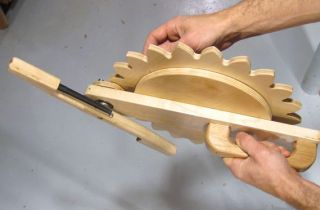
 Plate resonance experiments
 Building a dust collector blower
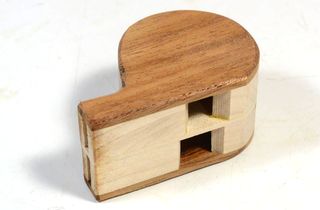 Loony whistle
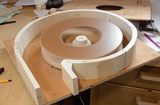 Blower design experiments