Making boxes for paperwork
This article is sponsored by DeWalt.While I try not to let that affect how I go about things, you should know that the tools were provided by DeWalt, and that I am financially compensated for this.
 I needed to make some Christmas presents. I figured some boxes to hold
paperwork in would be nice. And this would be a good project to try
using the
FlexVolt table saw
I needed to make some Christmas presents. I figured some boxes to hold
paperwork in would be nice. And this would be a good project to try
using the
FlexVolt table saw
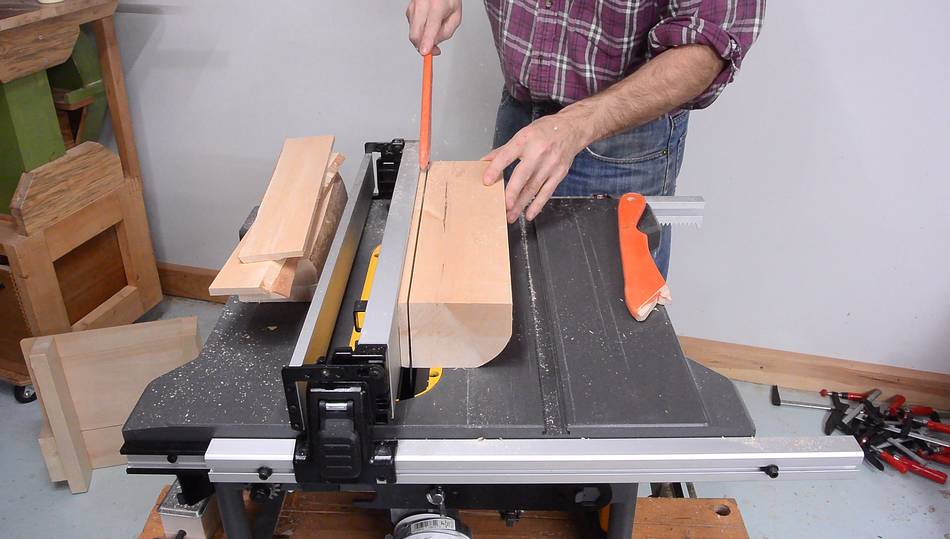
I'm making the boxes out of 8 mm thick pieces of birch hardwood, cut from pieces of firewood. Here I'm resawing one of the pieces, cutting from both sides to cut the boards off. It really wasn't noticeable that the saw runs on batteries. The saw does however use a very thin kerf blade, which means the saw doesn't have to work as hard. The thin blade also wastes less wood, especially when cutting thin strips. The cut is not as clean as a regular blade, however.
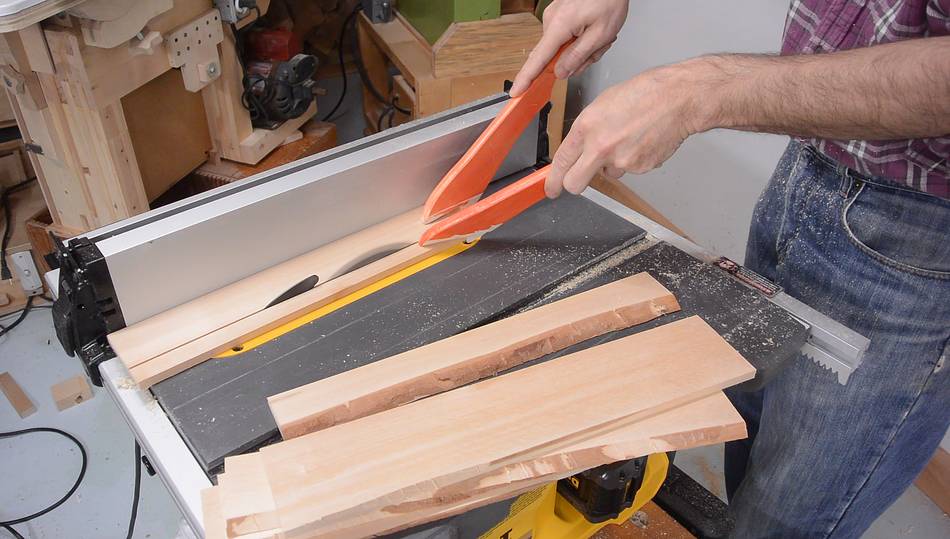 Then ripping all the pieces to the same width.
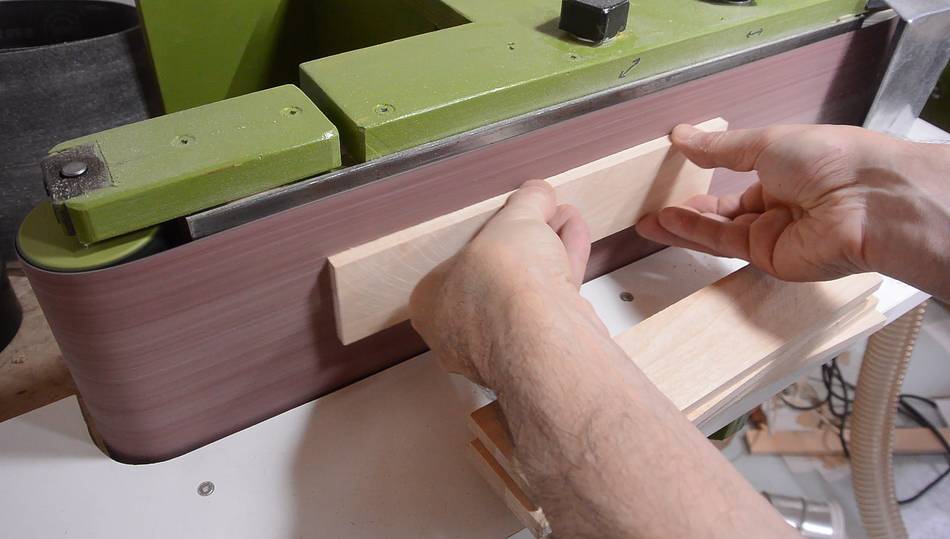 The cuts were not all entirely smooth, so I sanded all the sides
on my belt sander
The cuts were not all entirely smooth, so I sanded all the sides
on my belt sander
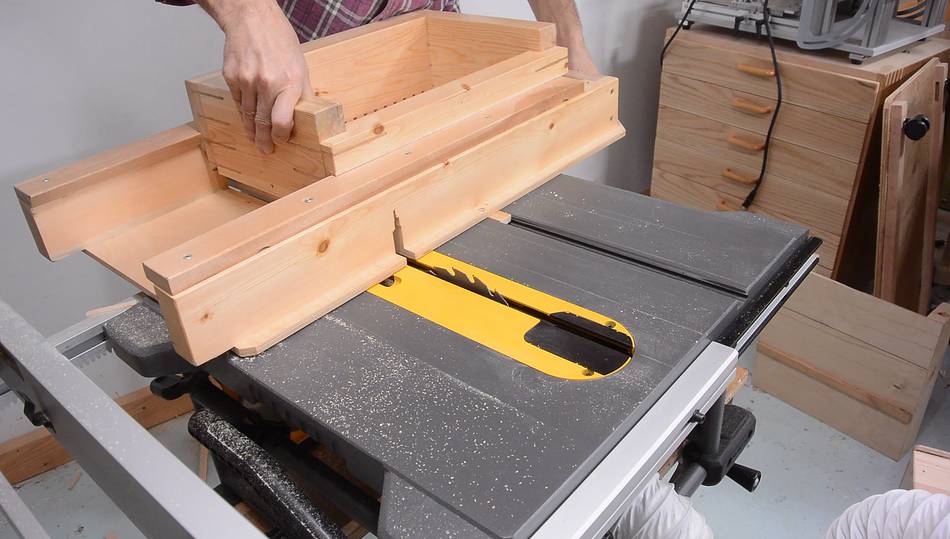
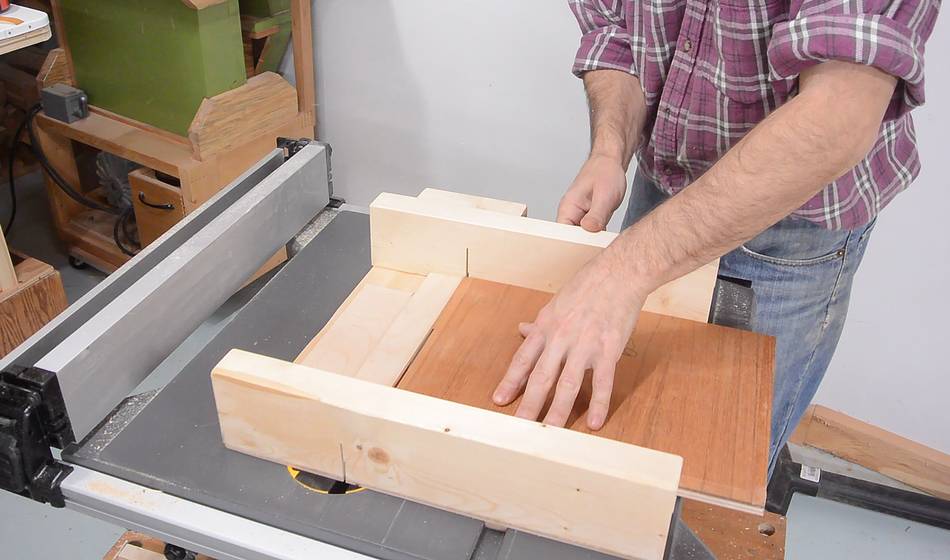
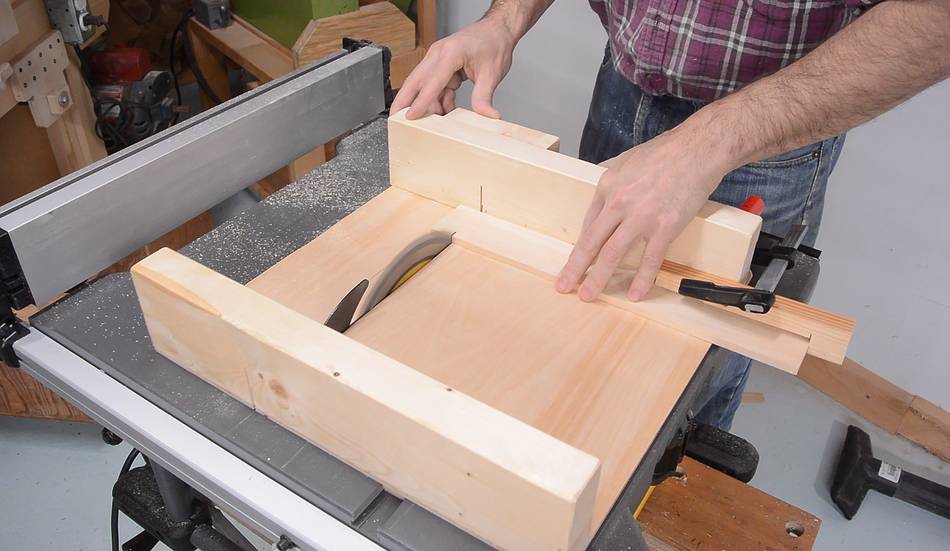 I cut all the pieces to the final length using this
table saw sled, which I made for this saw.
I cut all the pieces to the final length using this
table saw sled, which I made for this saw.
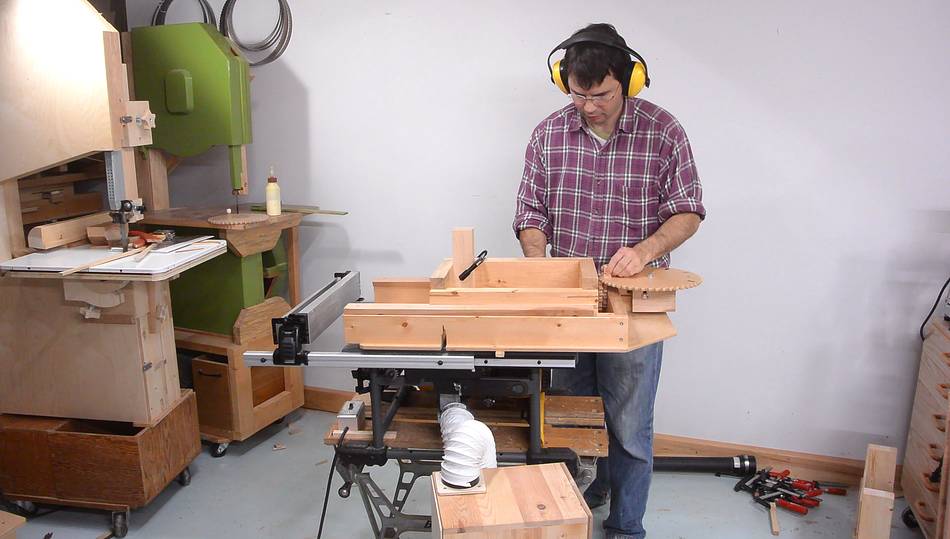
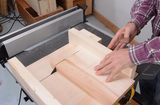
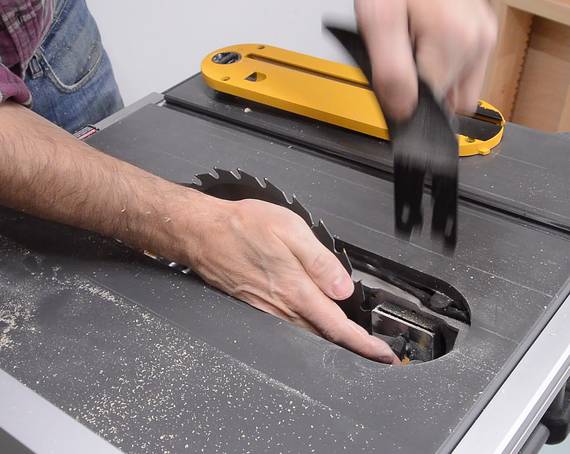 Then I brought out my box joint jig,
which kind of dwarfs this small table
saw. I also removed the riving knife. It doesn't help any when cutting
box joints, and with it removed, I can make cuts during both the
forward and backwards strokes.
Then I brought out my box joint jig,
which kind of dwarfs this small table
saw. I also removed the riving knife. It doesn't help any when cutting
box joints, and with it removed, I can make cuts during both the
forward and backwards strokes.
I have been asked from time to time if the jig can be used with a small jobsite saw. The DeWalt is definitely one of the smaller ones. The jig overhangs the saw on the left, but its center of mass is well above the table.
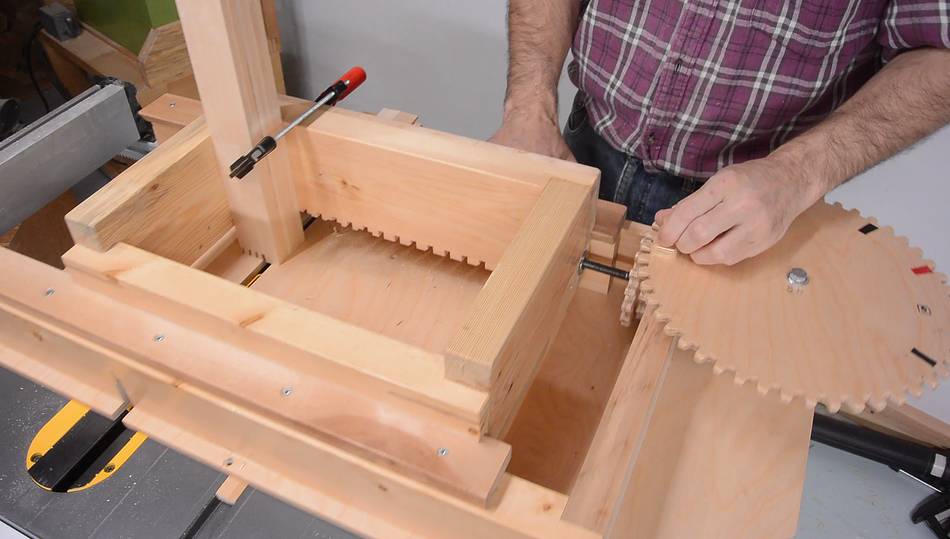
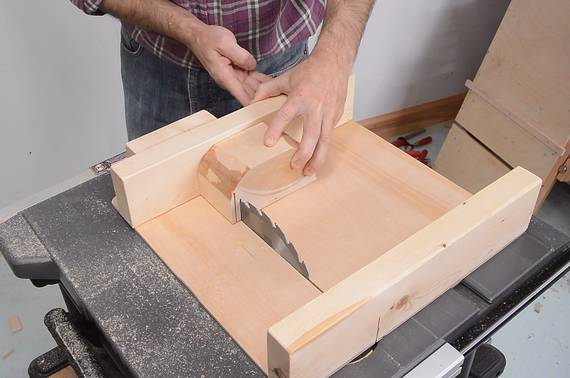
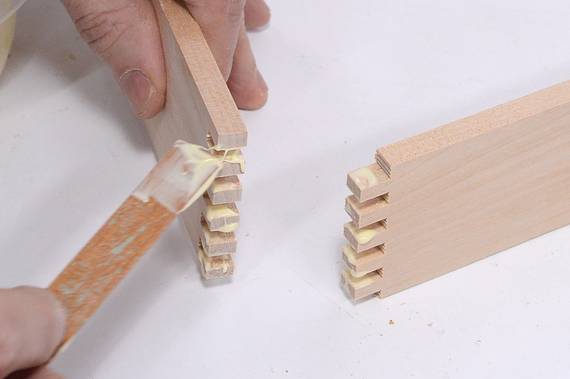
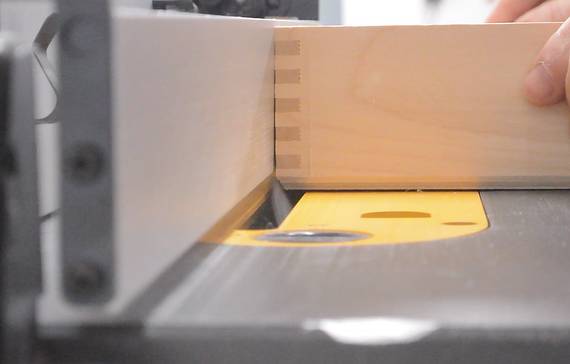
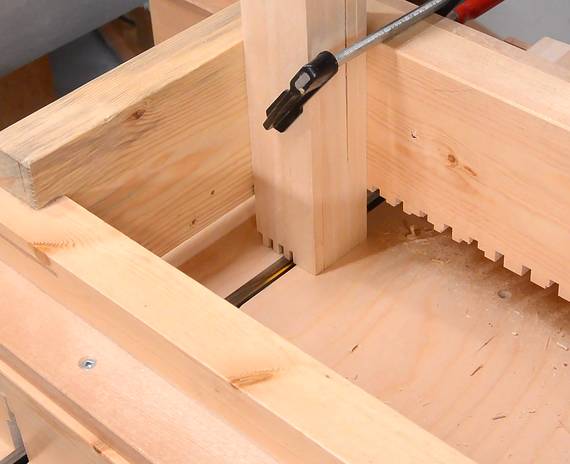 Then cutting the box joints. I cut 3/16" (about 5 mm) wide slots.
This required three cuts with the blade, so I made one cut forward, one cut
while pulling the jig back, and then another cut. The black pieces
of electrical tape on the crank gear indicate which angle I need to
turn the gear to for each cut.
Then cutting the box joints. I cut 3/16" (about 5 mm) wide slots.
This required three cuts with the blade, so I made one cut forward, one cut
while pulling the jig back, and then another cut. The black pieces
of electrical tape on the crank gear indicate which angle I need to
turn the gear to for each cut.
More on box joints without a dado blade
 As I was cutting, it seemed the sled was getting harder and harder to push
across the saw.
As I was cutting, it seemed the sled was getting harder and harder to push
across the saw.
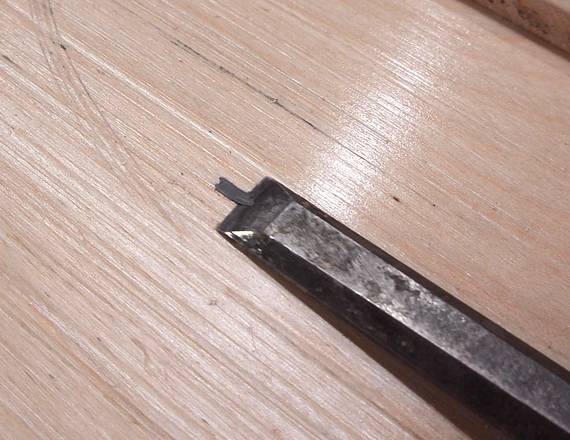
Flipping it over, I noticed what looked like flakes of paint (from the saw's table) stuck to the bottom of the sled. Some of these were really stuck to the jig.
I think what happens is once a small flake sticks to the jig, that rubs more paint (or whatever coating it is) off the top of the saw, building up little welts that rub more and more off the top of the saw.
 At any rate, there weren't any big chips or flakes missing from the saw, but plenty
of scuffing and scratches where these flakes rubbed. I scraped the paint off
the jig with a chisel.
At any rate, there weren't any big chips or flakes missing from the saw, but plenty
of scuffing and scratches where these flakes rubbed. I scraped the paint off
the jig with a chisel.
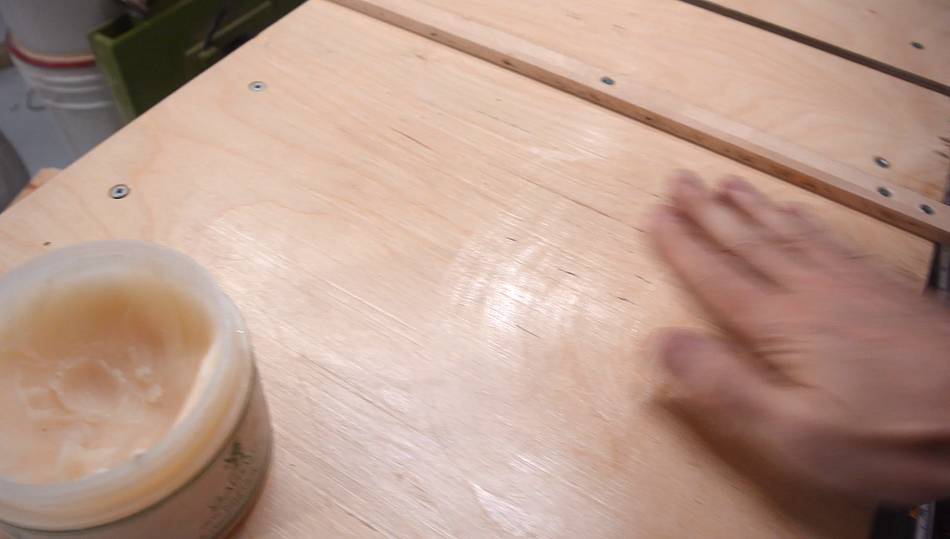
Then I added some salad bowl finish (a mixture of bees wax and mineral oil) to the bottom of the jig.
 The salad bowl finish made a world of a difference, the jig slid so much easier!
But as I was finishing the last set of cuts for the joints, I noticed the saw starting to slow down.
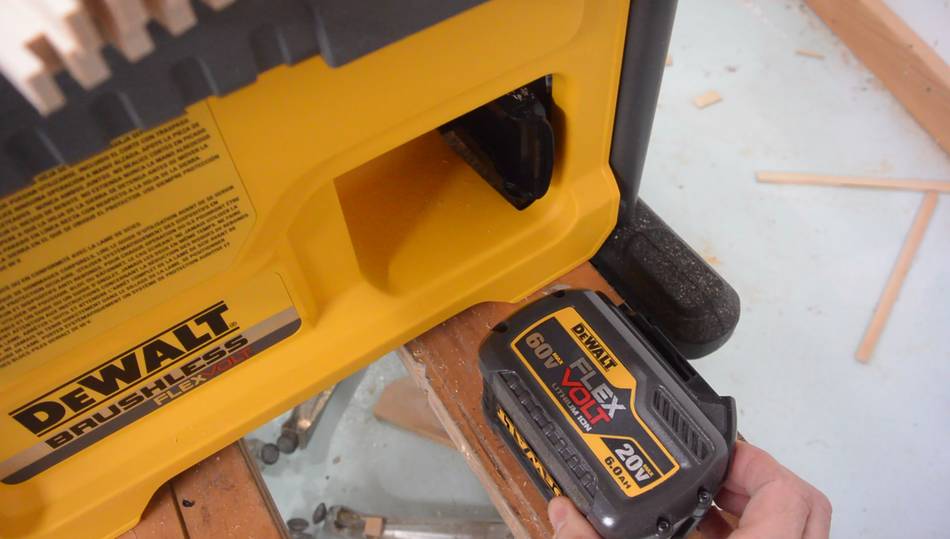
 I figured the battery was almost empty, so I put a block of wood on the table
saw sled and started cutting slots into it. Into the second slot, the saw just
stopped. Battery drained!
I figured the battery was almost empty, so I put a block of wood on the table
saw sled and started cutting slots into it. Into the second slot, the saw just
stopped. Battery drained!
But that one charge had lasted long enough to make this sled, resaw all the wood for these boxes (plus a few extra pieces) and cut all the box joints.
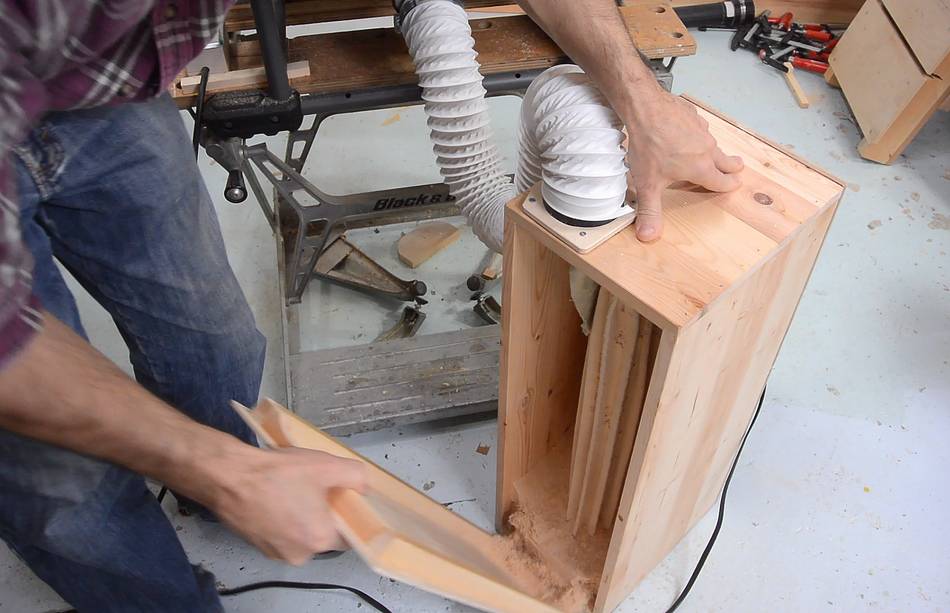 I had my mini dust collector hooked up
to the saw. It's quiet, and it has enough suction to pull the sawdust into it
(the saw on its own already blows air out the back).
I had my mini dust collector hooked up
to the saw. It's quiet, and it has enough suction to pull the sawdust into it
(the saw on its own already blows air out the back).
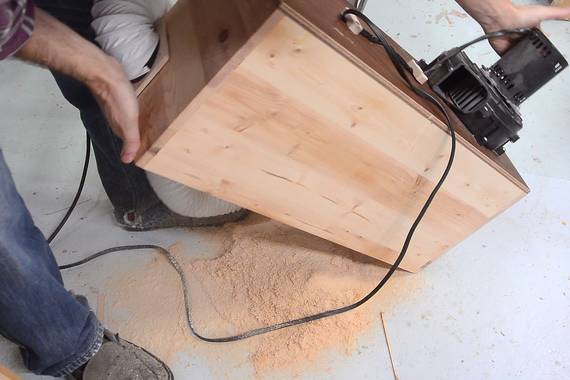 I dumped out the dust collector to get a sense of how much sawdust one battery
charge produced. Not a huge amount, but respectable.
I dumped out the dust collector to get a sense of how much sawdust one battery
charge produced. Not a huge amount, but respectable.
Of course, this is not how this saw is meant to be used. It's a jobsite saw, but I wanted to see what it's capable of.
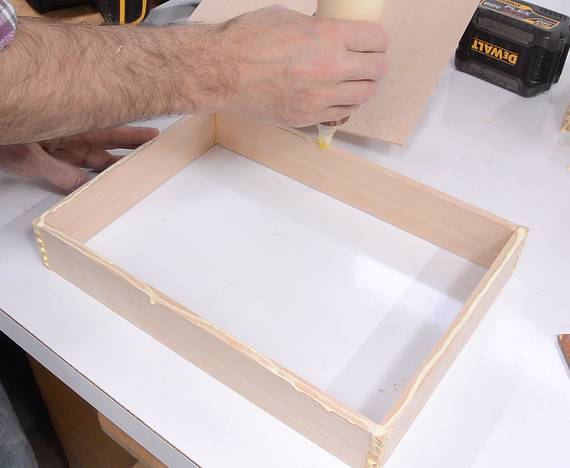
 Then proceeding to glue together the boxes.
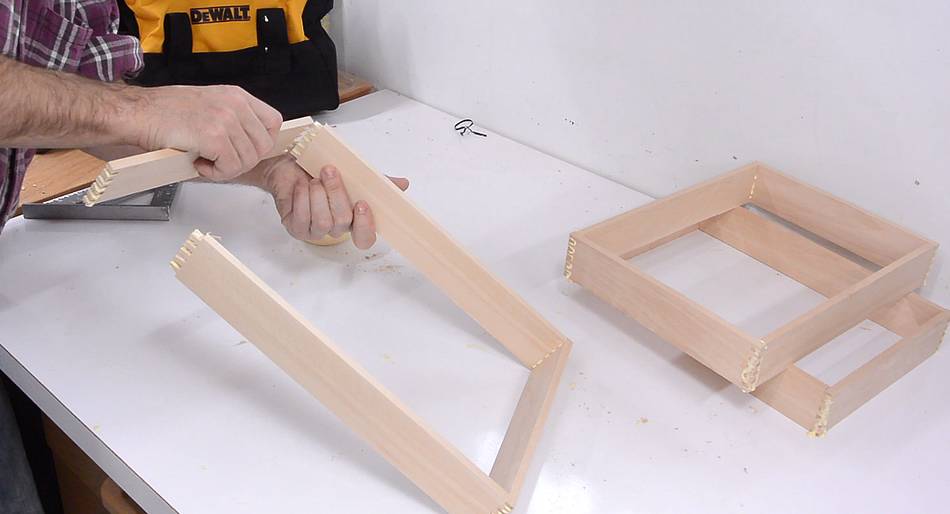 Third box going together.
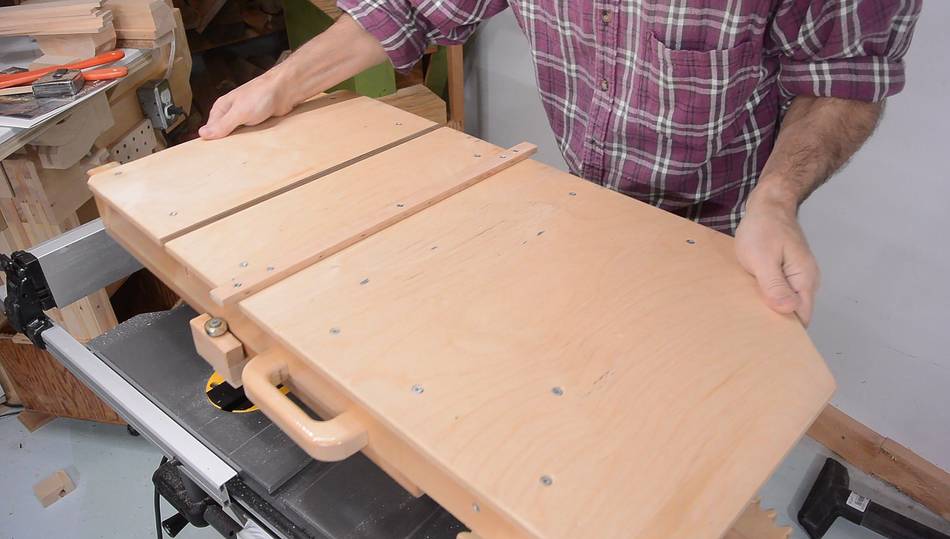
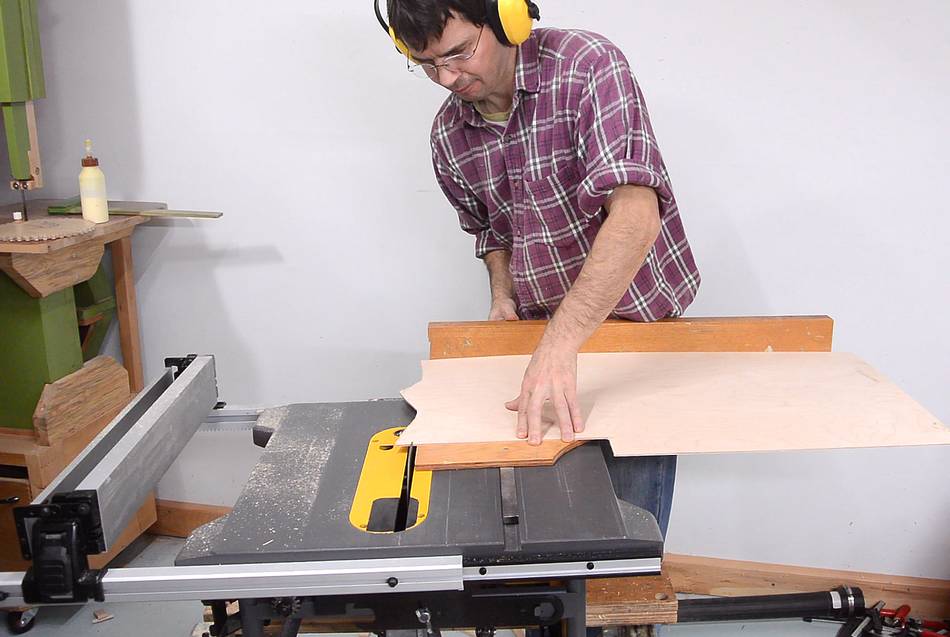 Then I cut the bottoms for the boxes. Here I'm using the larger sled
for my old table saw which fit, although
a bit loose in the slot. But with the very small table of this saw, the sled had
to be held down to keep it from tipping off. This saw could really use a left-side
table extension! What is annoying is that the table top doesn't extend to the
width of the saw. The extra "wings" to hold the fence rails are a bit lower
down, so they offer no support.
Then I cut the bottoms for the boxes. Here I'm using the larger sled
for my old table saw which fit, although
a bit loose in the slot. But with the very small table of this saw, the sled had
to be held down to keep it from tipping off. This saw could really use a left-side
table extension! What is annoying is that the table top doesn't extend to the
width of the saw. The extra "wings" to hold the fence rails are a bit lower
down, so they offer no support.
 Then using the rip fence to cut the other side. Much easier!
 And using my new table saw sled to cut the box bottoms to their final length.

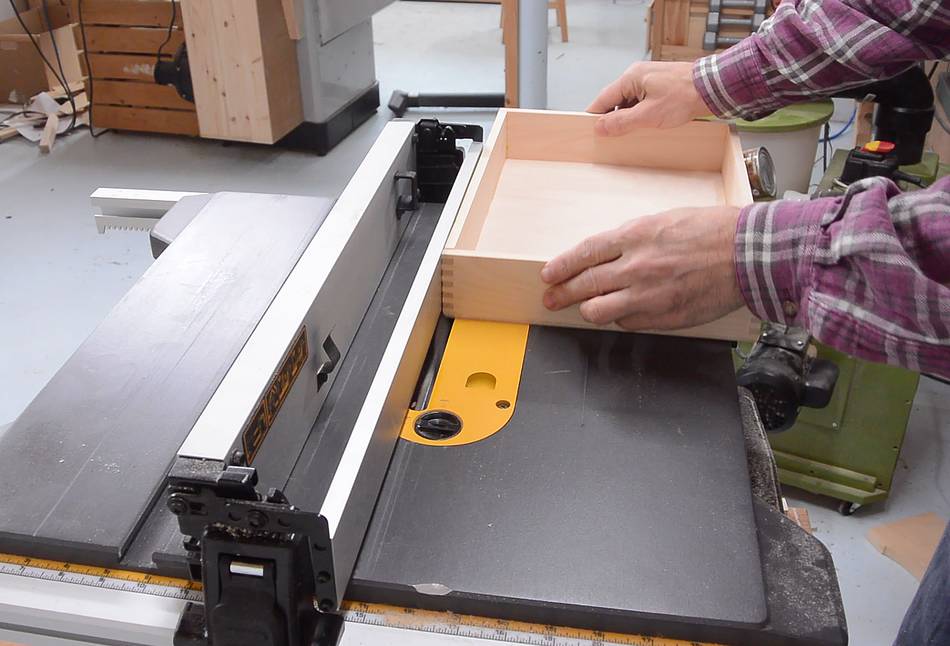
 Then applying glue and putting on the bottom, using some DeWalt FlexVolt
tools to weigh them down.
Then applying glue and putting on the bottom, using some DeWalt FlexVolt
tools to weigh them down.
Would you have ever guessed that this post might be sponsored by a certain company?
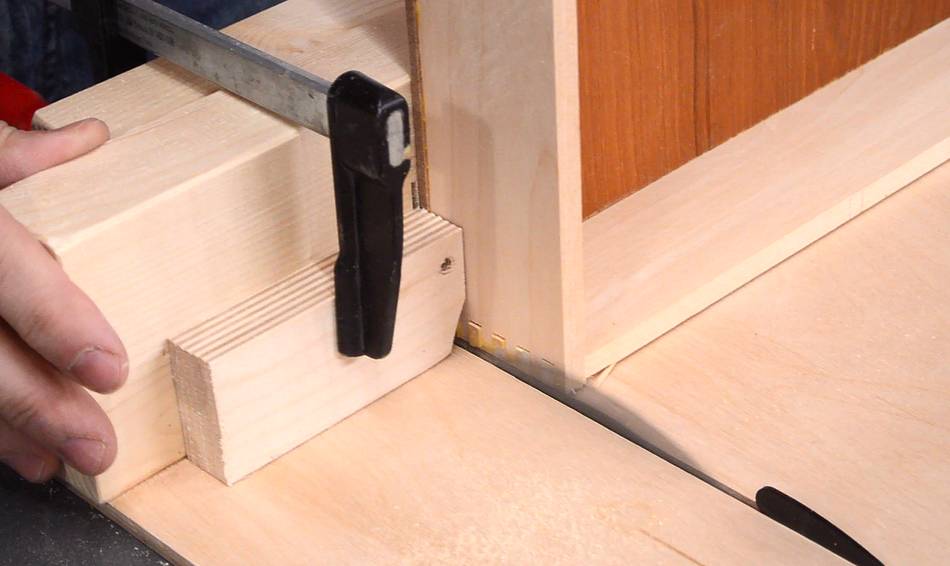
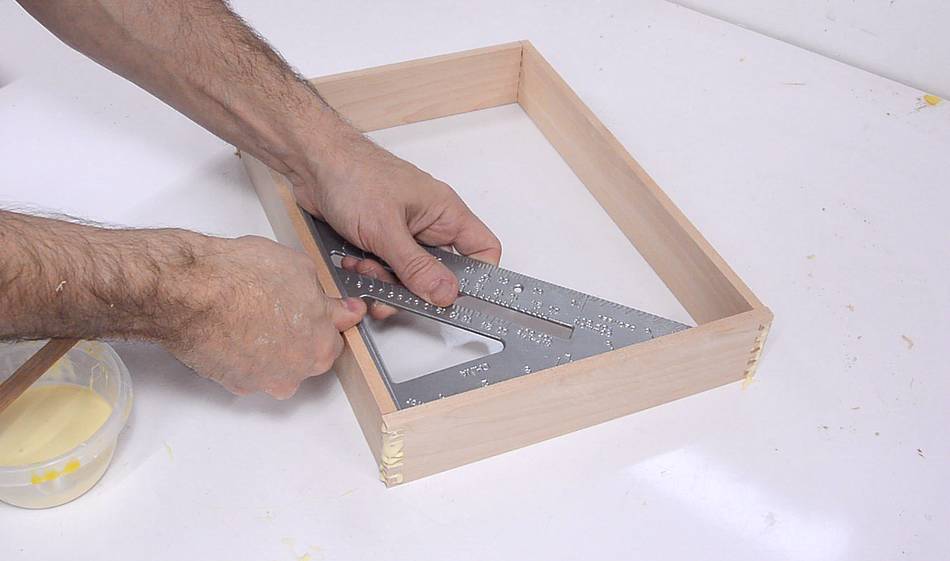
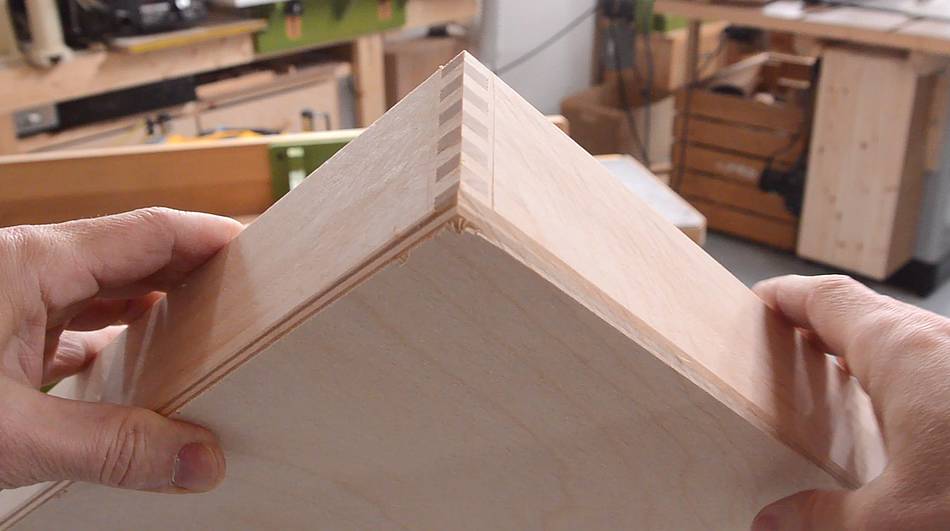
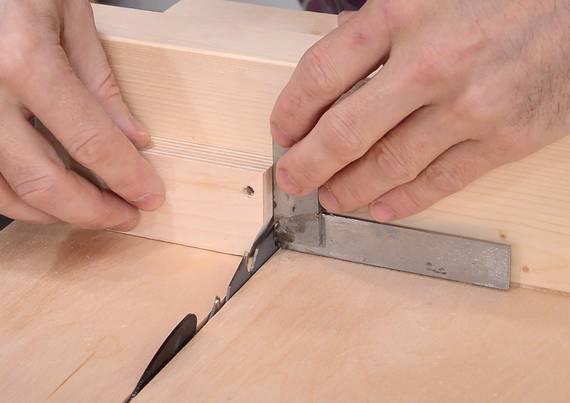 I cut the fingers of the boxes slightly too long. I trimmed
them down by setting up a stop on the table saw to flush trim the protruding
part of the box joints.
I cut the fingers of the boxes slightly too long. I trimmed
them down by setting up a stop on the table saw to flush trim the protruding
part of the box joints.
 Flat glued on bottoms are easy, but they don't look pretty. So to hide
them, I cut a bevel around the bottom edge of the boxes. Again, with the DeWalt
saw. Conveniently, the extra piece of the fence that flips out of the way
is just high enough above the table that I can raise the blade, tilted, below
it to cut that bevel (this is neither how the fence or saw are meant to be used,
but it did the job).
Flat glued on bottoms are easy, but they don't look pretty. So to hide
them, I cut a bevel around the bottom edge of the boxes. Again, with the DeWalt
saw. Conveniently, the extra piece of the fence that flips out of the way
is just high enough above the table that I can raise the blade, tilted, below
it to cut that bevel (this is neither how the fence or saw are meant to be used,
but it did the job).
I made all these cuts "backwards" (with the riving knife removed). But cutting backwards, the saw's teeth are cutting into the wood, so there is much less tearout.
 Finished bevel.
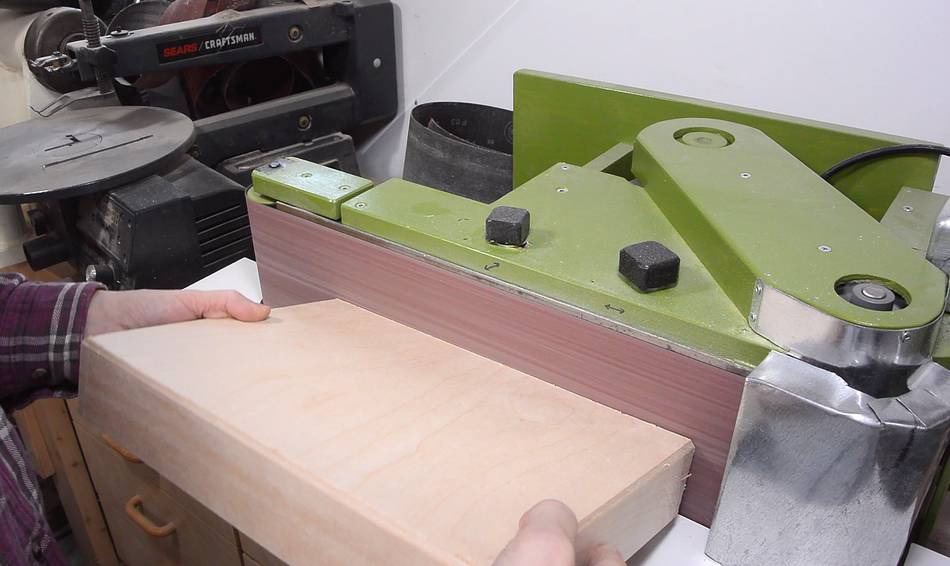 Then a whole lot of sanding on the belt sander
to round over and smooth all the corners.
Then a whole lot of sanding on the belt sander
to round over and smooth all the corners.
 And then the usual three coats of water borne Varathane diamond floor varnish.
More on varnishing.
And then the usual three coats of water borne Varathane diamond floor varnish.
More on varnishing.
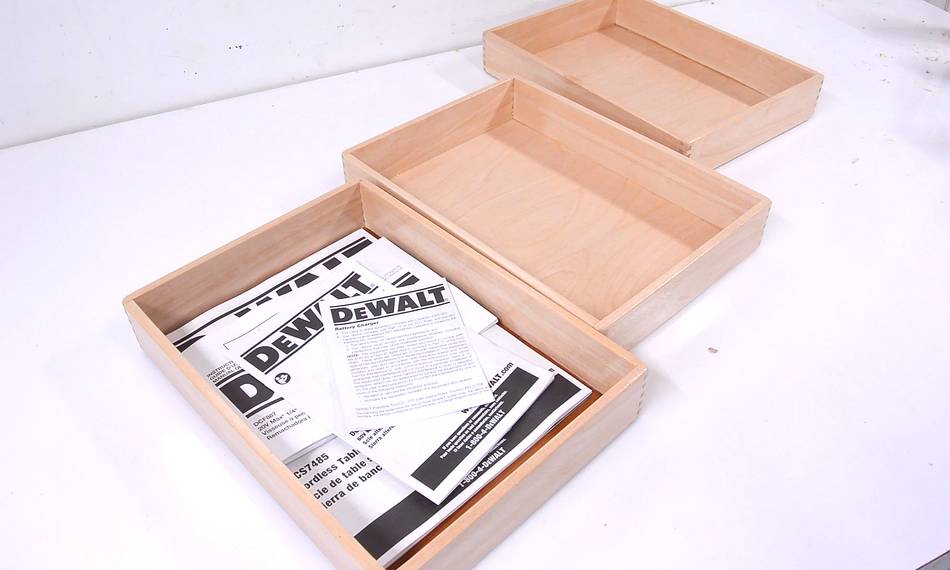 Finished boxes. I made these just the right size for holding sheets of paper.
Paperwork to deal with later, sheets to write on the back of, notepads, that sort of thing.
And there is still a bit of room for pens on one end.
Finished boxes. I made these just the right size for holding sheets of paper.
Paperwork to deal with later, sheets to write on the back of, notepads, that sort of thing.
And there is still a bit of room for pens on one end.
See also:
 A sled for the DeWalt FlexVolt saw
 Box joint jig
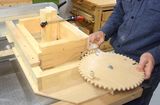 Box joints without a
 Mini dust collector
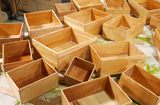 Small box joined boxes
Back to my woodworking website.