Table extension
My dining table is not very large. So when I decided to have a larger dinner party, I had to rig up some sort of extension for this table.
 For the top of my temporary extension I borrowed the top from this
wheely desk.
I made some brackets to screw it to the bottom of my table, and made one extra
supporting leg to hold it up.
For the top of my temporary extension I borrowed the top from this
wheely desk.
I made some brackets to screw it to the bottom of my table, and made one extra
supporting leg to hold it up.
 To give the extension a bit more stability on its one supporting leg, I made the bottom
of the leg the shape of an upside-down "T". I used a bridle joint to connect the
leg to the cross member of the leg. I guess that sort of joint is more like an inside-out
mortise and tenon joint. I mostly used it because it leaves more of the material
for my upright intact.
To give the extension a bit more stability on its one supporting leg, I made the bottom
of the leg the shape of an upside-down "T". I used a bridle joint to connect the
leg to the cross member of the leg. I guess that sort of joint is more like an inside-out
mortise and tenon joint. I mostly used it because it leaves more of the material
for my upright intact.
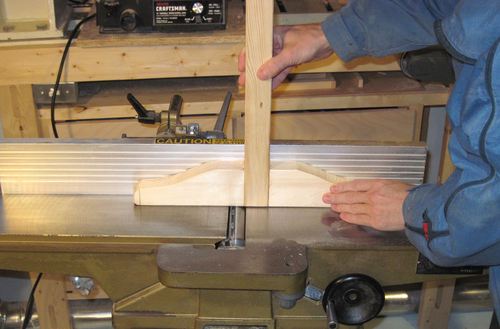
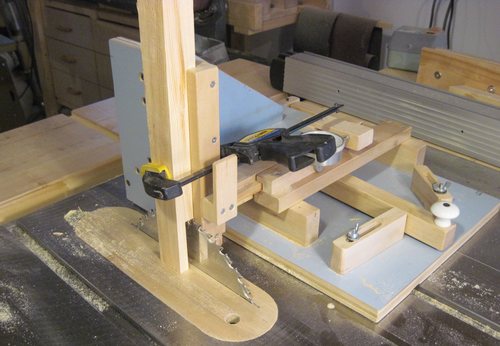 I cut a 1/2" (13 mm) wide notch into the end of my upright. The upright was from a piece
of scrap spruce, about 1 1/2" x 1 3/4" in size. With the 1/2" cut out from the middle,
that left two thirds of the leg intact. My quick-set
tenon jig was particularly handy for making this cut because it's very easy to move
the stock side to side between the two stops when making successive cuts.
I cut a 1/2" (13 mm) wide notch into the end of my upright. The upright was from a piece
of scrap spruce, about 1 1/2" x 1 3/4" in size. With the 1/2" cut out from the middle,
that left two thirds of the leg intact. My quick-set
tenon jig was particularly handy for making this cut because it's very easy to move
the stock side to side between the two stops when making successive cuts.
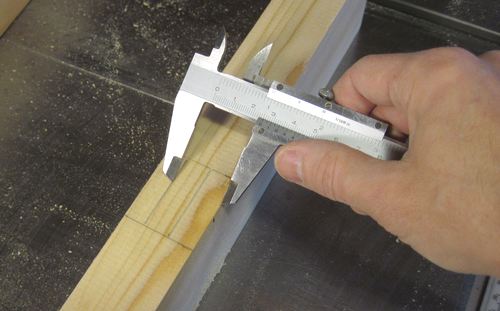 I used my caliper set at 1/2" and at 1" to scratch lines into the crosspiece to indicate
how deep I would have to cut into it.
I used my caliper set at 1/2" and at 1" to scratch lines into the crosspiece to indicate
how deep I would have to cut into it.
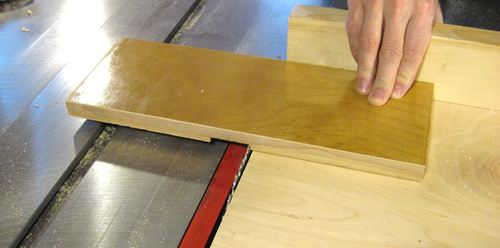
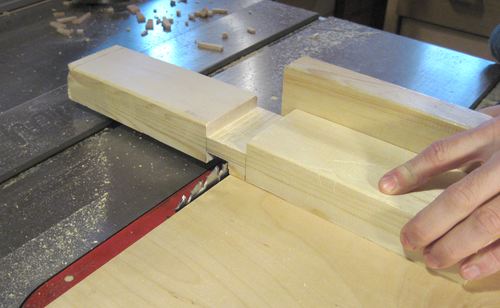 Next I cut out the notches on the crosspiece using my table saw sled.
This sort of work goes faster if you use a dado blade, but seeing that I only had to make
one joint, it wasn't really worth installing the dado blade in my saw. Instead, I just made
a lot of cuts with a regular blade to get the material out.
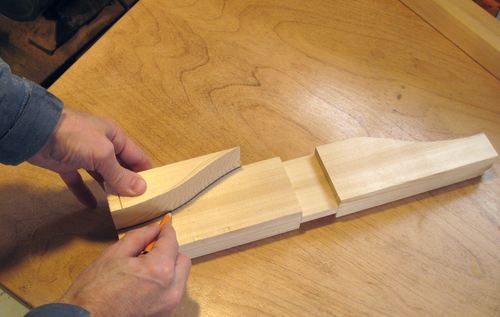 I cut the leg to be more of a sculpted outline. First I sketched the shape on the leg,
then I cut out one side, and used the scrap I had just cut away to mark a mirror
image of that cut on the other half of the leg crosspiece.
I cut the leg to be more of a sculpted outline. First I sketched the shape on the leg,
then I cut out one side, and used the scrap I had just cut away to mark a mirror
image of that cut on the other half of the leg crosspiece.
 After gluing the leg upright onto the crosspiece, I shaped the bottom of the leg
to be just slightly concave. I did this by setting my jointer for a cut about 2 mm
deep (just a bit more than 1/16"), and made a half-pass with the jointer starting
about 5 cm (2") from the end, pushing the piece only so far that the cutter
was under the middle of the piece. I made the same cut starting from the other side.
This left the middle with a very slight
indentation. It's not enough of an indent to be noticeable unless you hold a ruler
to the bottom, but it's enough to make sure the leg won't rock back and forth if the
floor isn't completely fat.
After gluing the leg upright onto the crosspiece, I shaped the bottom of the leg
to be just slightly concave. I did this by setting my jointer for a cut about 2 mm
deep (just a bit more than 1/16"), and made a half-pass with the jointer starting
about 5 cm (2") from the end, pushing the piece only so far that the cutter
was under the middle of the piece. I made the same cut starting from the other side.
This left the middle with a very slight
indentation. It's not enough of an indent to be noticeable unless you hold a ruler
to the bottom, but it's enough to make sure the leg won't rock back and forth if the
floor isn't completely fat.
 The brace to connect the top of the leg to the bottom of the extension table was made
out of some recycled birch wood.
The brace to connect the top of the leg to the bottom of the extension table was made
out of some recycled birch wood.
I cut a notch out of it that was the width of my post to help secure the post against
the mounting brace.
 I cut the mounting piece to have some curves in it. This wasn't just to avoid bumping into
it with the knees. It also made the ends of the mounting piece narrow enough that I could
screw through them and into the table top.
I cut the mounting piece to have some curves in it. This wasn't just to avoid bumping into
it with the knees. It also made the ends of the mounting piece narrow enough that I could
screw through them and into the table top.
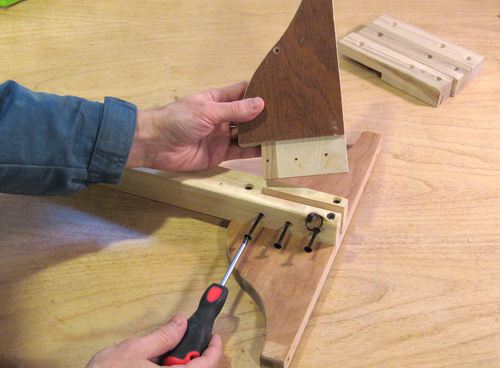
I cut a gap into the top end of the post, similar to the bridle joint at the bottom,
but this one only 1 cm (0.4") wide. A tenon on another piece of support fit in there.
The tenon is only secured with three screws, not glued in.
That way, I can take the third piece out again so that the extra leg can be made
flat for storing it. It might be a while before I host another dinner party
large enough that I need to extend the table,
but when I do I have my table extension ready.
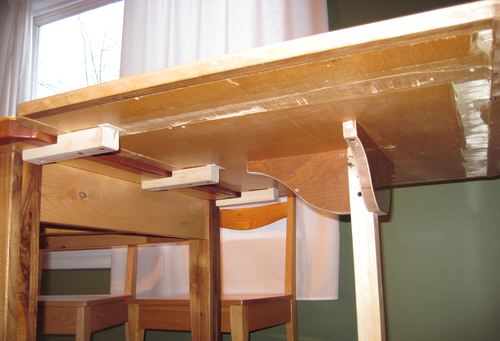 And here's the leg attached to the bottom of the table top extension. The three blocks
on the left of it screw to the bottom of the main table.
And here's the leg attached to the bottom of the table top extension. The three blocks
on the left of it screw to the bottom of the main table.
It's not quite sturdy enough to sit on, but it does feel fairly secure, especially because the table it attaches to is really stiff and sturdy.
The next time I used this tagble extension, I switched to using a bigger piece of plywood for more guests. And for even more guests, I set up some tables in my workshop to use that as a party room.
Update 2018
I built that table extension in 2010. Afer we moved in 2017, we no longer used this table,
using this table instead. I needed an extension
for that table for when we have more guests, and I had a time lapse camera running while
I built that.
See also:
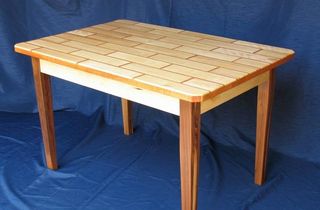 Building the table this attaches to
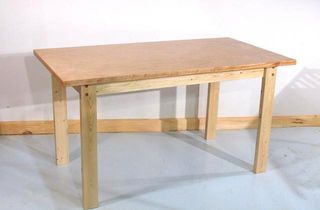 How to build a
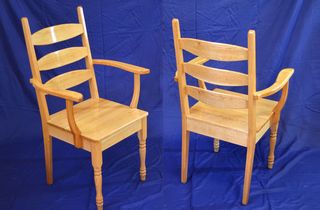 Kitchen chairs
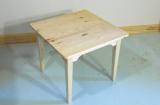 Building a kid's table
To my Woodworking website, or the Woodwork projects page.