 I wanted to experiment with building a whistle. But as usual, I wanted to
give the project an extra twist. I wanted one that sounded unusual. So I made
this one to play two tones at once, with a "pea" in each chamber to modulate
both tones.
I wanted to experiment with building a whistle. But as usual, I wanted to
give the project an extra twist. I wanted one that sounded unusual. So I made
this one to play two tones at once, with a "pea" in each chamber to modulate
both tones.
I wanted to experiment with building a whistle. But as usual, I wanted to
give the project an extra twist. I wanted one that sounded unusual. So I made
this one to play two tones at once, with a "pea" in each chamber to modulate
both tones.
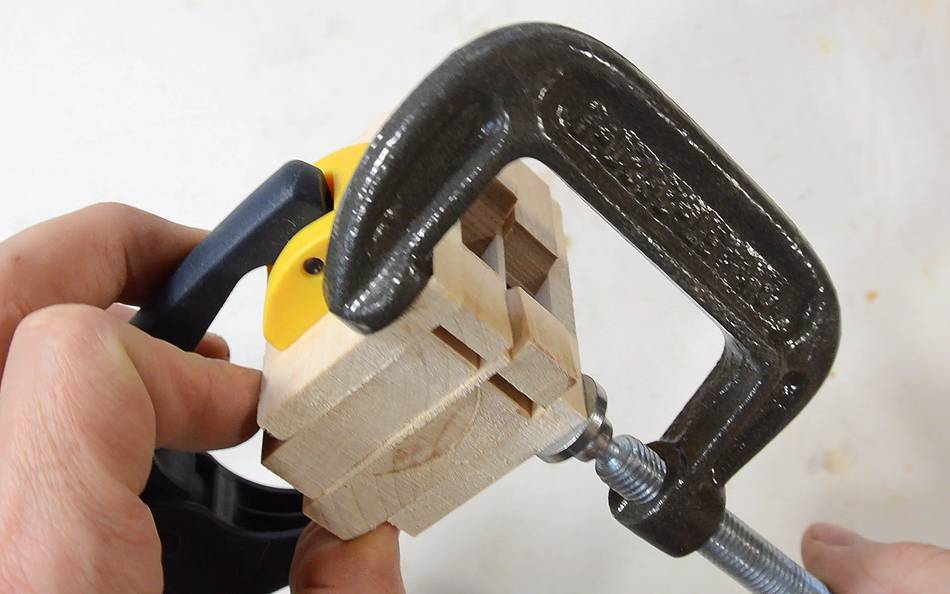 I prototyped the concept just by clamping dry pieces of wood together and blowing
into it. That way, I could still tweak it to get the right sound.
I prototyped the concept just by clamping dry pieces of wood together and blowing
into it. That way, I could still tweak it to get the right sound.
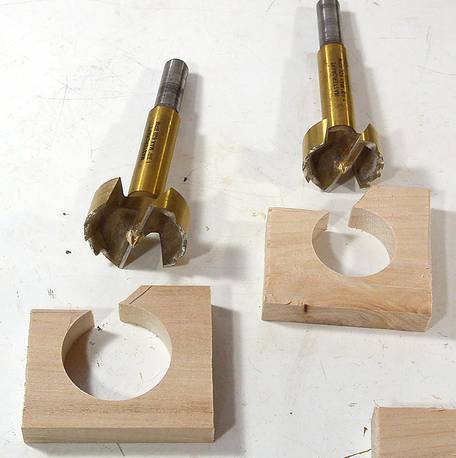 The two chambers of the whistle are cut with a 1 1/8" and a 1 3/8" drill.
The closer the ratio of pitches, the more dissonant the whistle will sound. But
if the two pitches are too close to each other, the two chambers of the whistle will
pull each other into unison.
The two chambers of the whistle are cut with a 1 1/8" and a 1 3/8" drill.
The closer the ratio of pitches, the more dissonant the whistle will sound. But
if the two pitches are too close to each other, the two chambers of the whistle will
pull each other into unison.
(It's probably for this reason that the pea-less Fox-40 whistle has the mouths of the two whistles facing away from each other, to reduce the ability of the two whistle elements to synchronize).
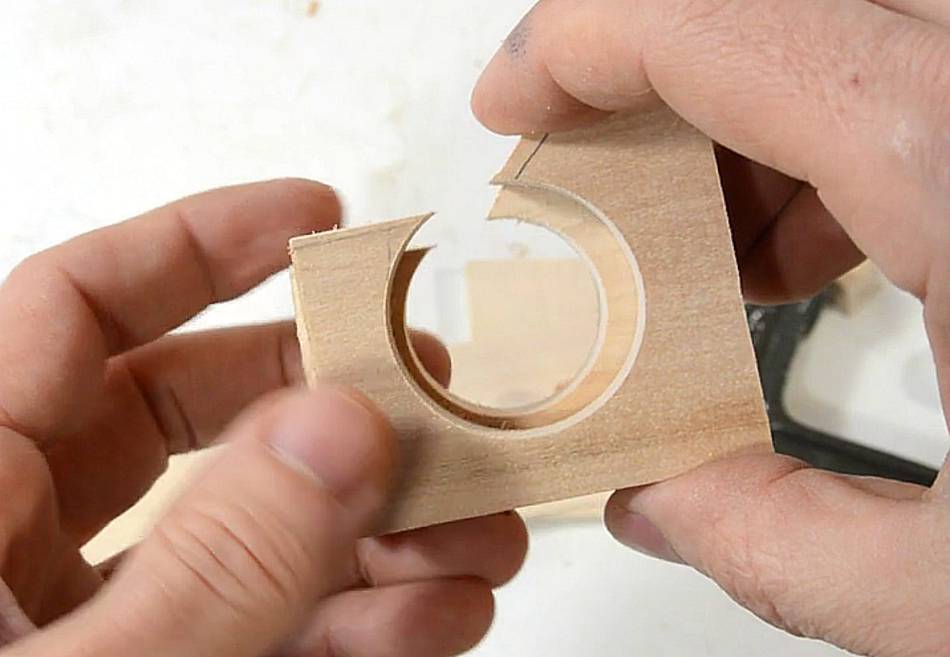
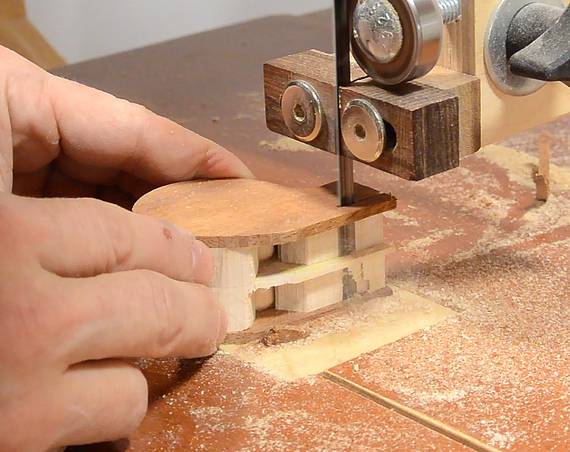
 Working out the shape. The air in channel is just below tangential to the
drilled hole. I cut this out with a bandsaw.
Working out the shape. The air in channel is just below tangential to the
drilled hole. I cut this out with a bandsaw.
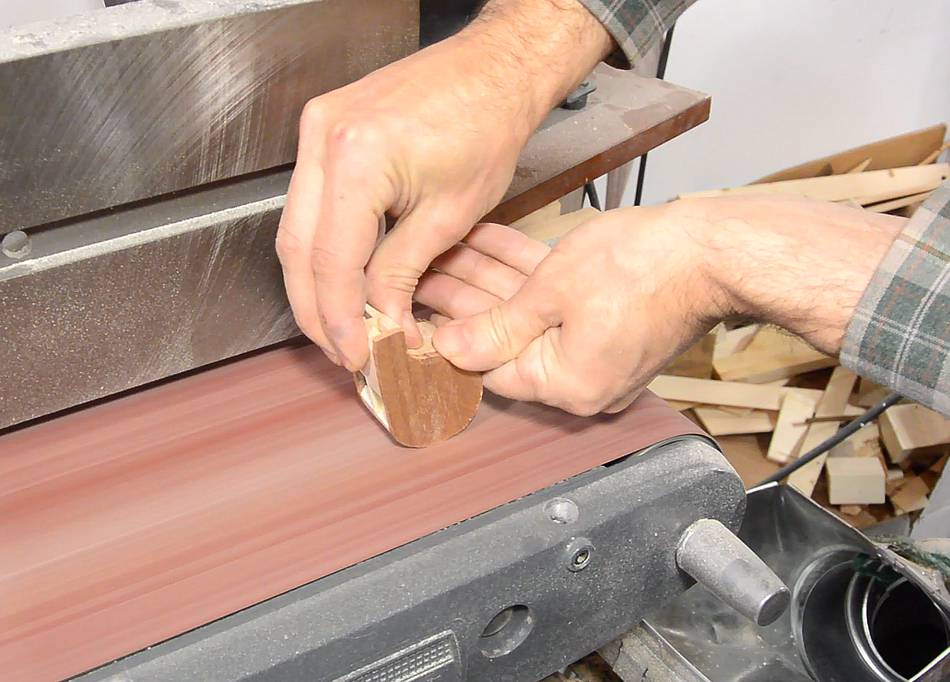
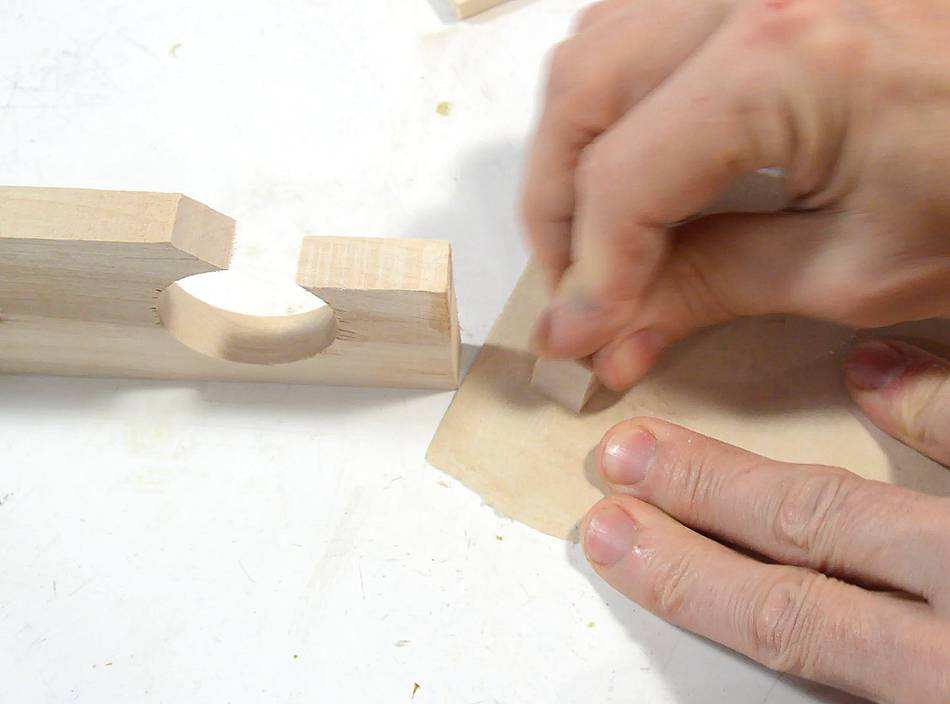 The bandsaw leaves a bit of a rough cut. To get smooth air flow, I sand both
sides of what will form the slot for air to go in.
The bandsaw leaves a bit of a rough cut. To get smooth air flow, I sand both
sides of what will form the slot for air to go in.
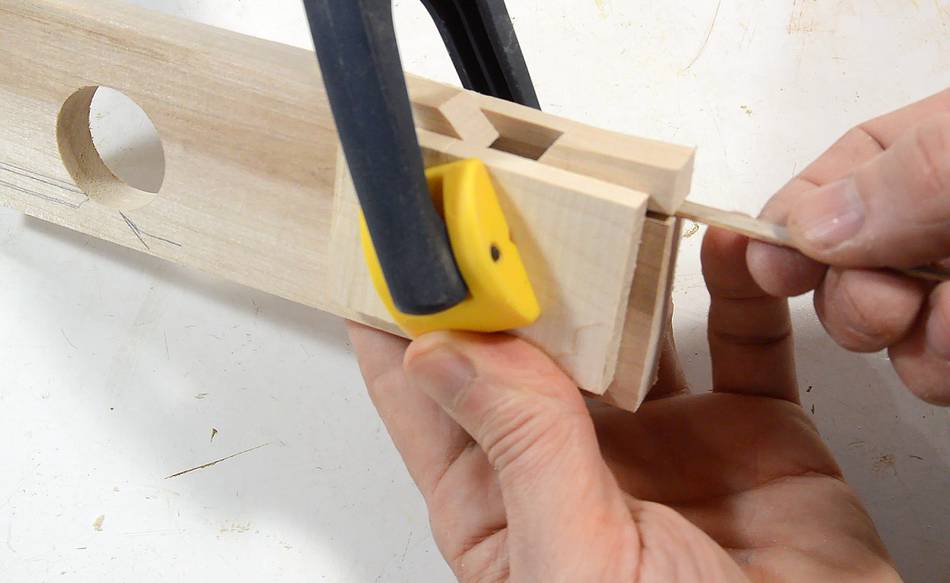
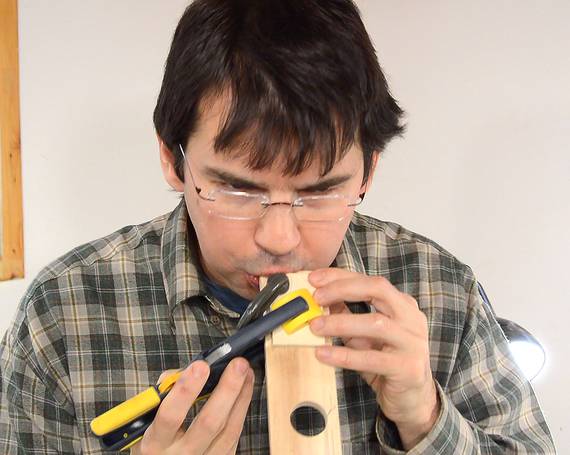 Another trial assembly for testing. I clamp the housing between two pieces of wood,
use a wood splint to set the gap in the air inlet, and blow to test it.
Another trial assembly for testing. I clamp the housing between two pieces of wood,
use a wood splint to set the gap in the air inlet, and blow to test it.
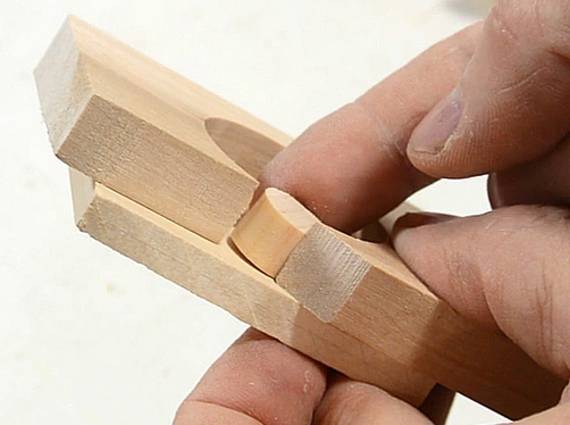 I use a piece of pine doweling to make the "pea" to go inside.
The pea must be light, but large enough not to be able to fall out the slot. It also needs to not fully obstruct the slot. Otherwise, it's too likely to plug up the slot and get stuck there.
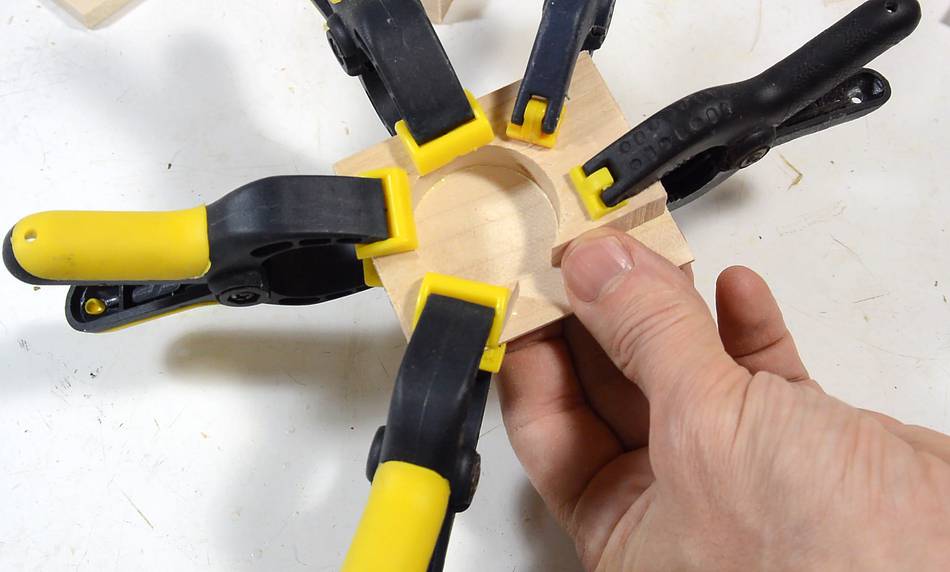 Now time to glue it together. I glue both bodies to either side of a 2 mm thick piece
of hardwood, making sure the inlets, and the outlets of both sides line up.
Now time to glue it together. I glue both bodies to either side of a 2 mm thick piece
of hardwood, making sure the inlets, and the outlets of both sides line up.
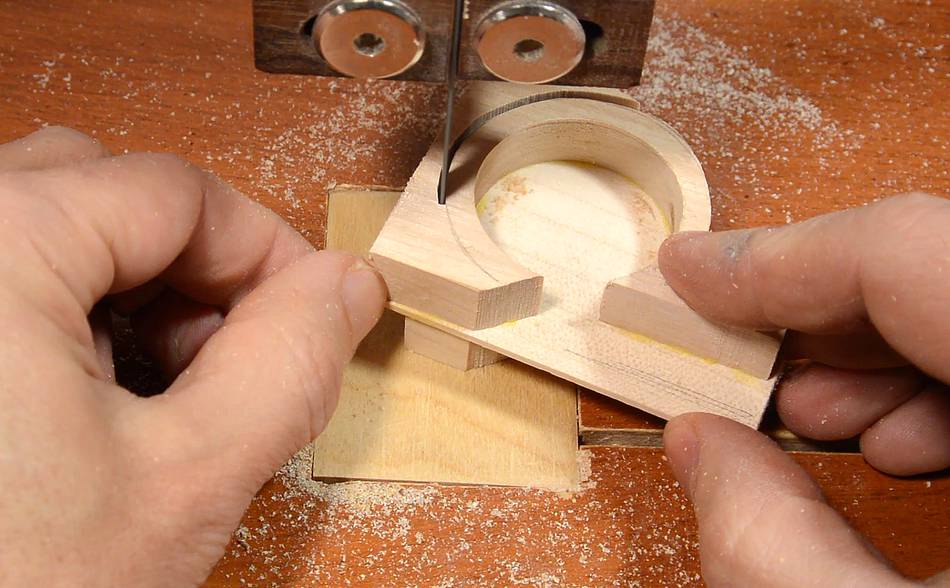
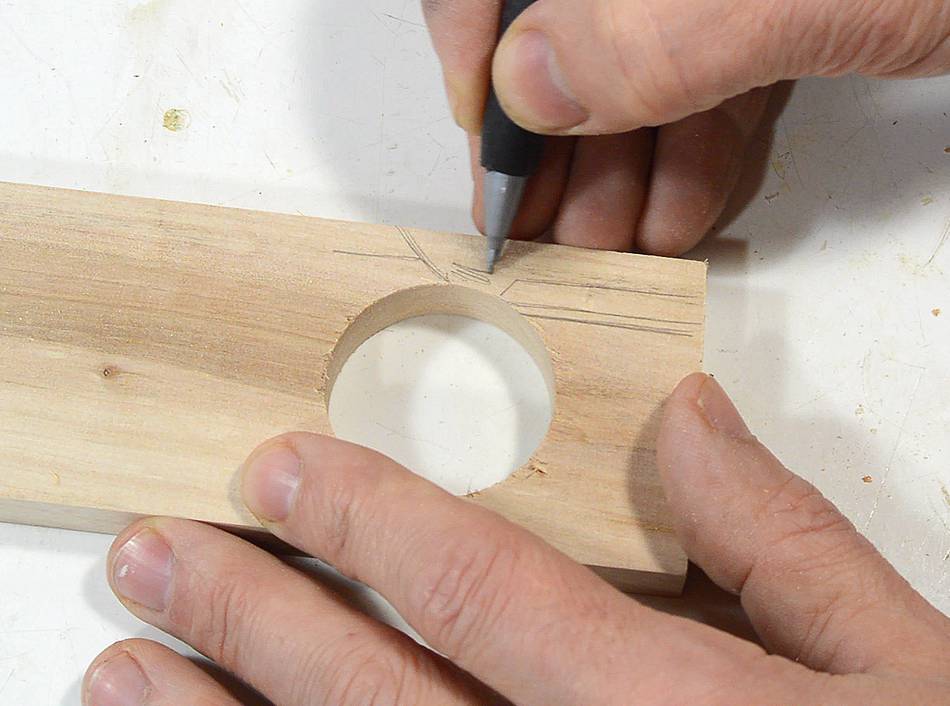
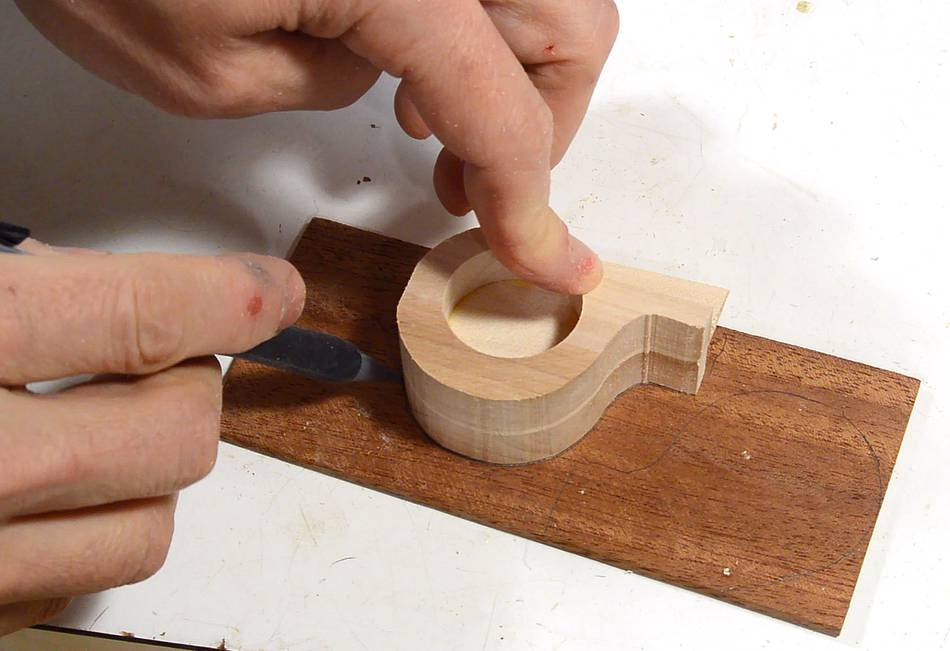
 With both halves glued to the center divider, I cut around the larger cavity to
form the overall shape of the whistle. I use a compass, set to about 4 mm, and drag
the point along the inside edge of the body to mark the line where I'm cutting.
With both halves glued to the center divider, I cut around the larger cavity to
form the overall shape of the whistle. I use a compass, set to about 4 mm, and drag
the point along the inside edge of the body to mark the line where I'm cutting.
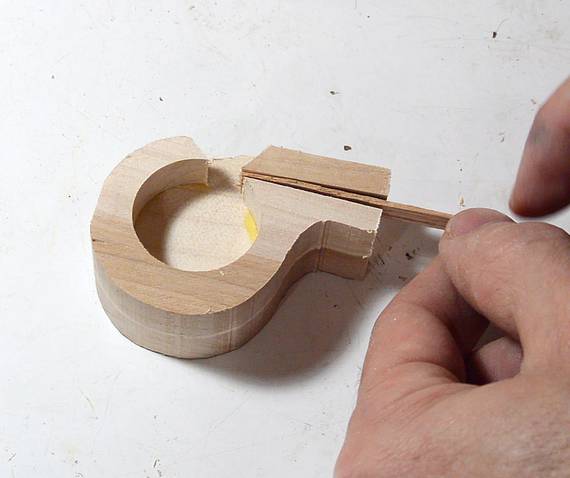
After that, I glue in the top of the mouthpiece to form the inlet. I use the same splint that I used to set the gap for testing earlier to now set it back to that position.
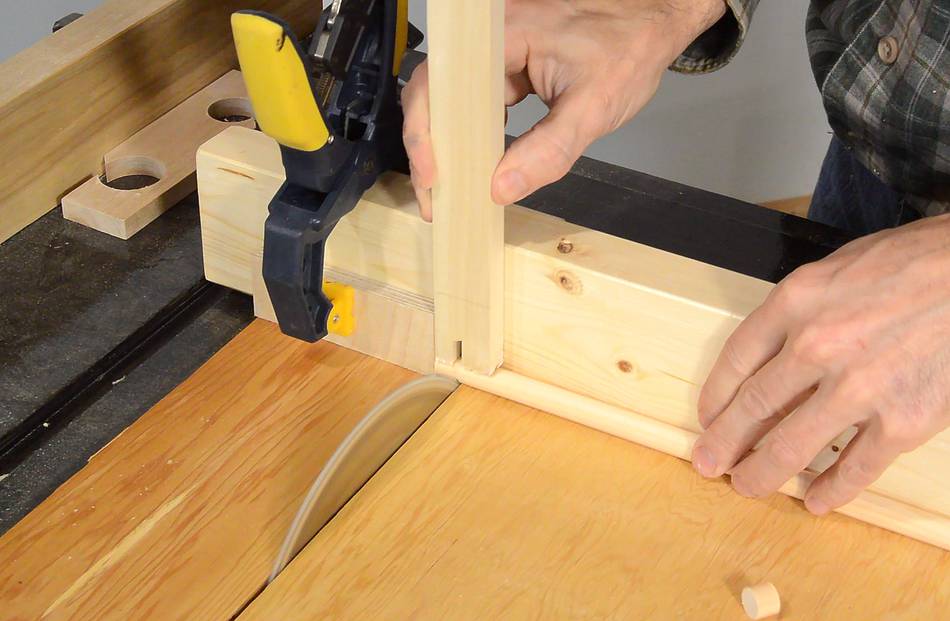
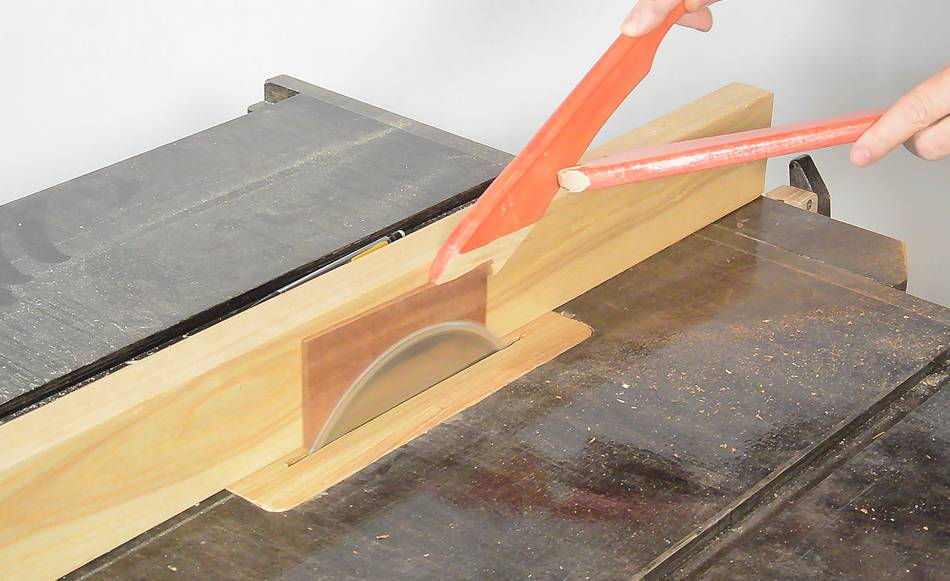 Cutting some nice dark mahogany for the sides of the whistle. I saw these thin on the
table saw. In this case, on my homemade table saw.
Cutting some nice dark mahogany for the sides of the whistle. I saw these thin on the
table saw. In this case, on my homemade table saw.
 I trace the outline of the body on the mahogany, then cut that out on the bandsaw, leaving 1-2 mm
around the outline.
I trace the outline of the body on the mahogany, then cut that out on the bandsaw, leaving 1-2 mm
around the outline.
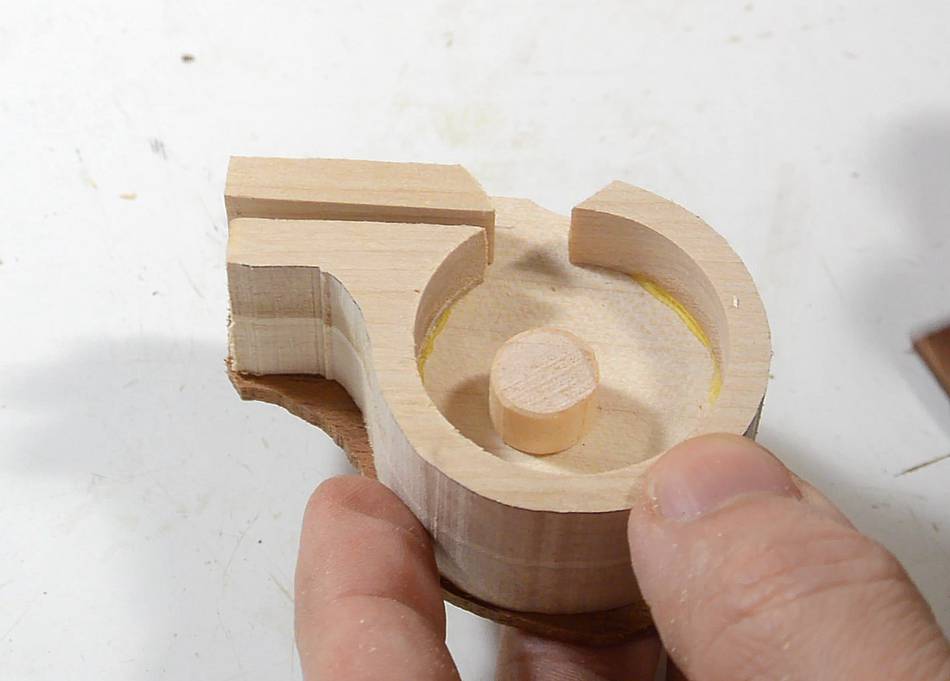 Assembling it. Important - don't forget the pea. Also, it's important to not shake
it while the glue is drying so the pea won't end up sticking to glue squeezeout.
Assembling it. Important - don't forget the pea. Also, it's important to not shake
it while the glue is drying so the pea won't end up sticking to glue squeezeout.
 I glued it up one side at a time. Trying to align everything all at once would be too
difficult.
I glued it up one side at a time. Trying to align everything all at once would be too
difficult.
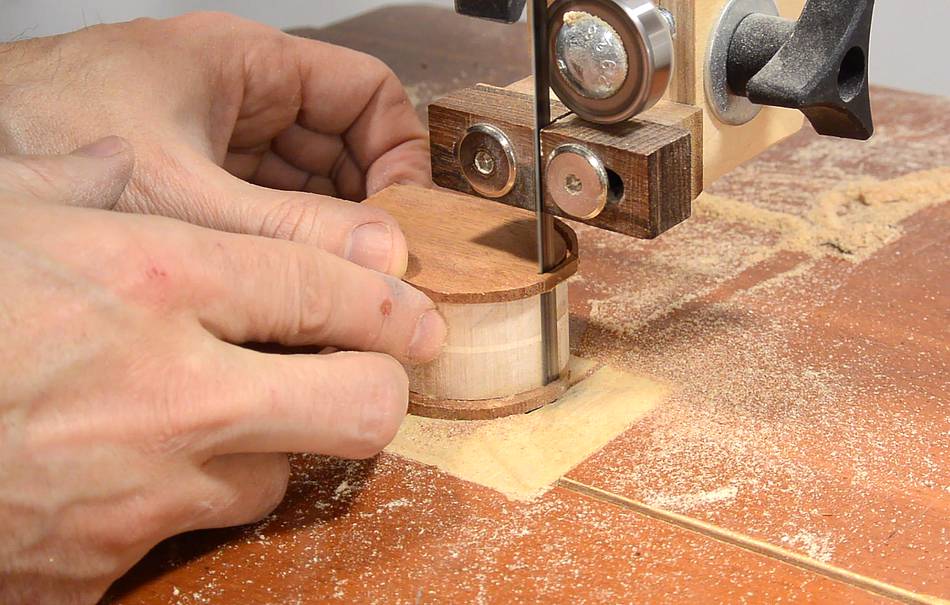
 With everything glued up, I trim the mahogany flush with the body of the whistle, and also
trim the inlet side.
With everything glued up, I trim the mahogany flush with the body of the whistle, and also
trim the inlet side.
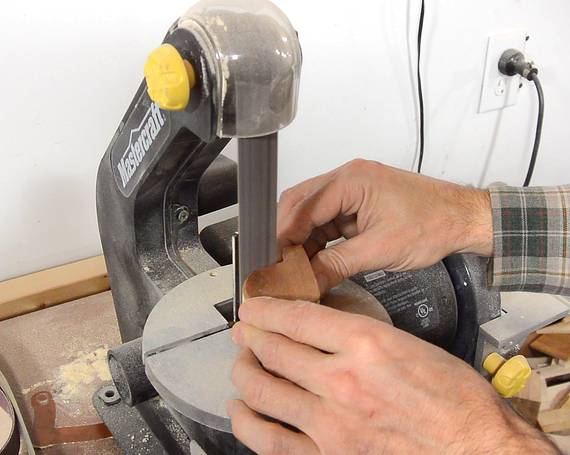 Finally sanding it. I do the inside curves with my strip sander (I don't have a spindle
sander, and the strip sander works much faster anyway).
Finally sanding it. I do the inside curves with my strip sander (I don't have a spindle
sander, and the strip sander works much faster anyway).
Completed whistle. With two pitches, both warbling from the pea, it makes an
unusual sound. It reminds me of the sound that a loon makes.
The lower of the two holes is a bit larger than ideal - I should have left it smaller so there would be less risk of getting the pea stuck in the slot.
It would be a good idea to finish the whistle with a food grade finish before it discolours too much from usage. I have not done that on mine.
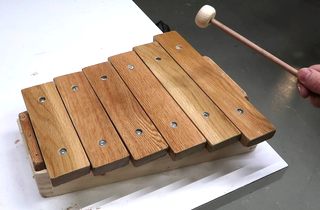 Xylophone toy build
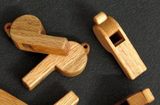 Ron Walters's wooden whistles
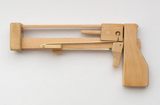 Jenga pistol
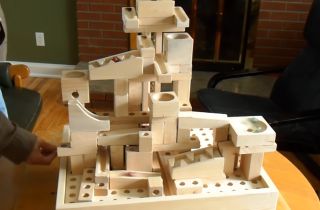 Modular marble machine
 Wooden burr puzzles
 Homemade pipe organ