Jean-Yves's box joint jig
Jean-Yves built a mirror image version of the box joint jig to better fit his table saw.Jean-Yves writes:
On my 1969 LUREM, I have barely 15 cm on the left and 50 cm at the right side.
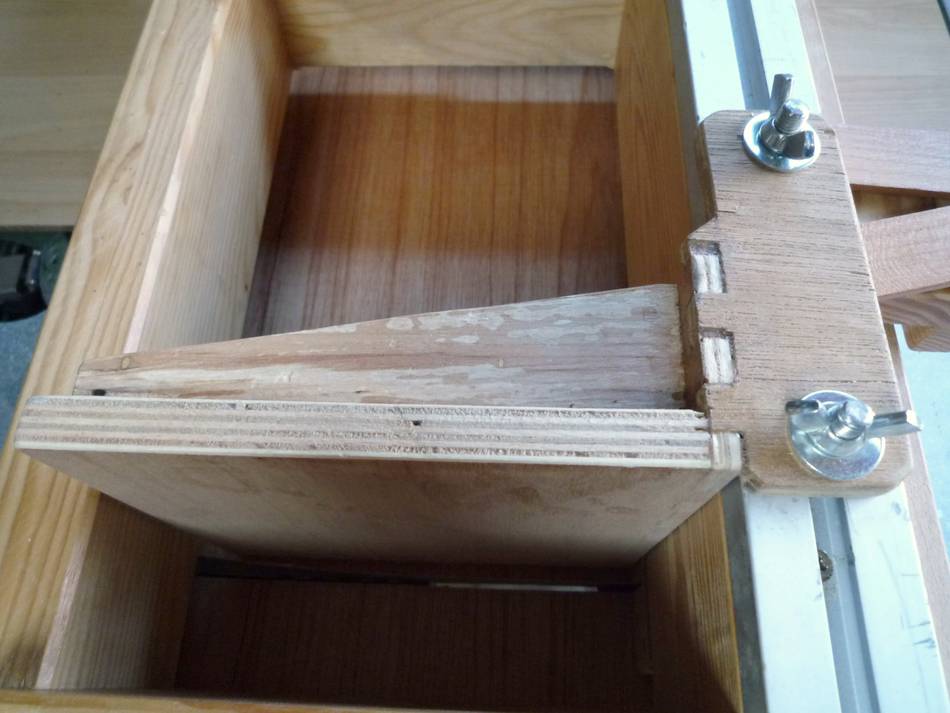
Moreover, the bar is only a straight gap on the table so the guide bar is not a t-slot one that is supposed to hold the jig.
It must be kept as stable as possible on top, so I changed the design to be mostly on the right side.
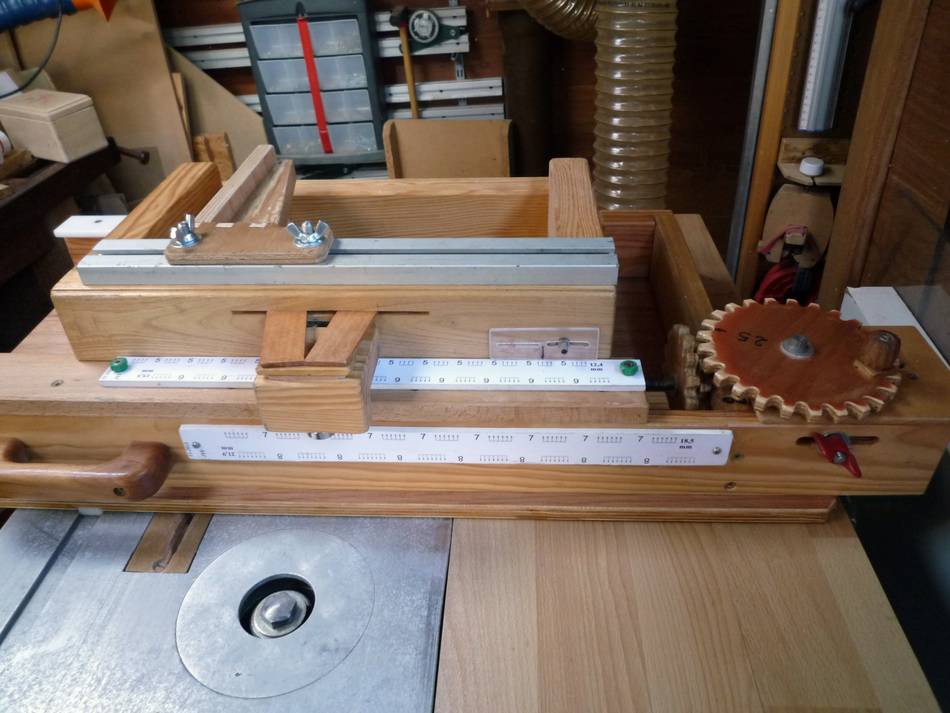
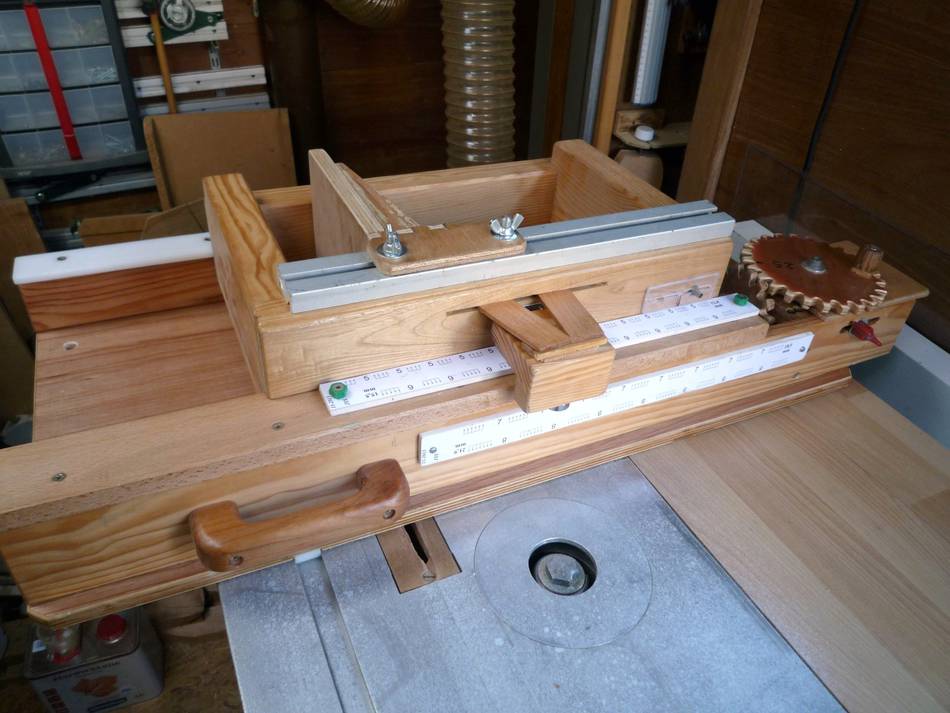
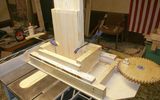
Seyler added a fence to help keep all the boards aligned to the left. Normally, it's desirable to keep the boards as far right as possible, but with Seyler's jig a mirror image of the design, it makes more sense to have a fence that pushes the boards left as far as possible.
Seyler writes:
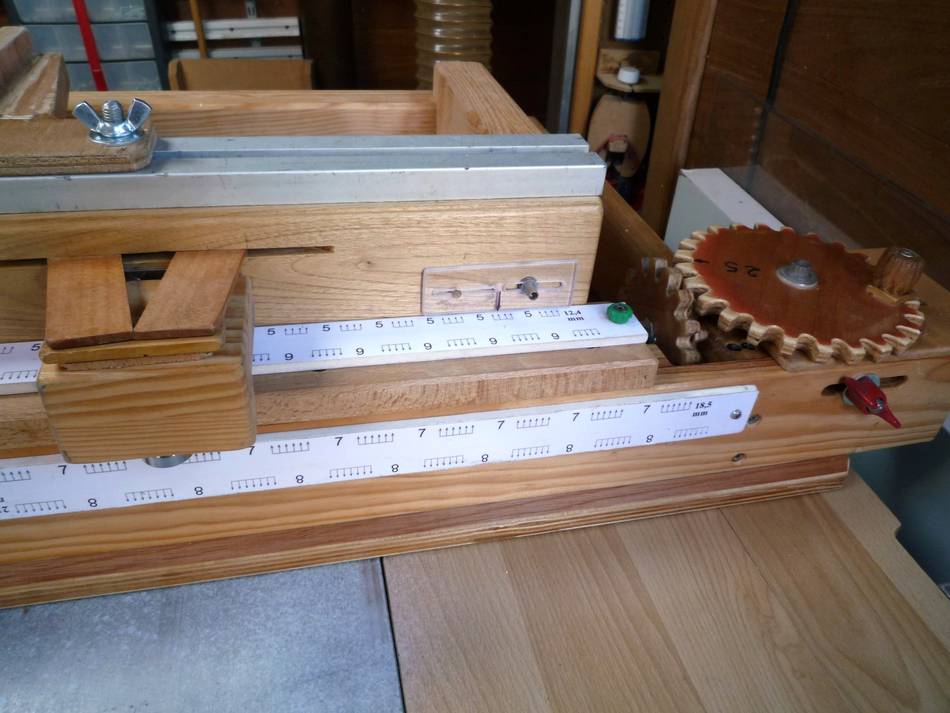
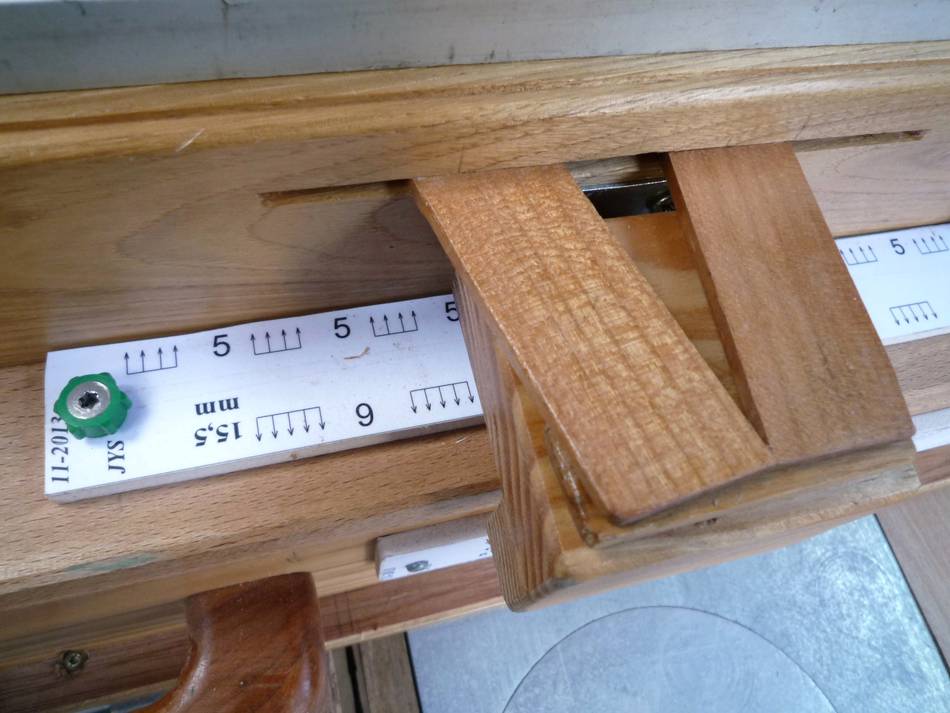
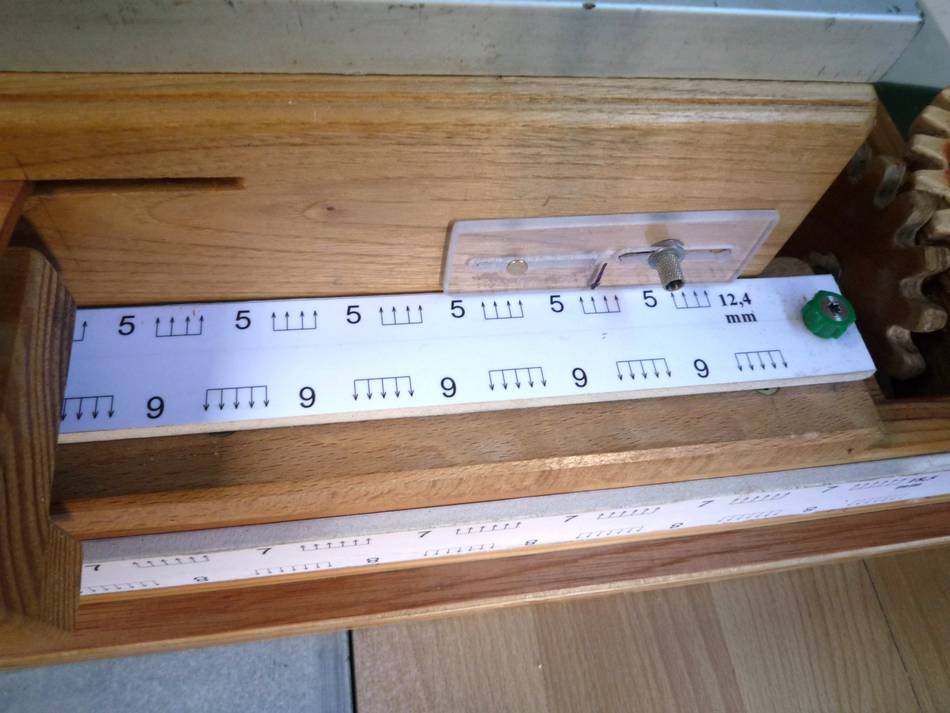
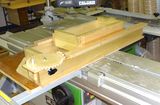
The most useful addendum (at least for me) is the white "ruler" :
In fact, I use the jig only with a "regular" 3.1mm blade. Here in France, we don't use dado blades.
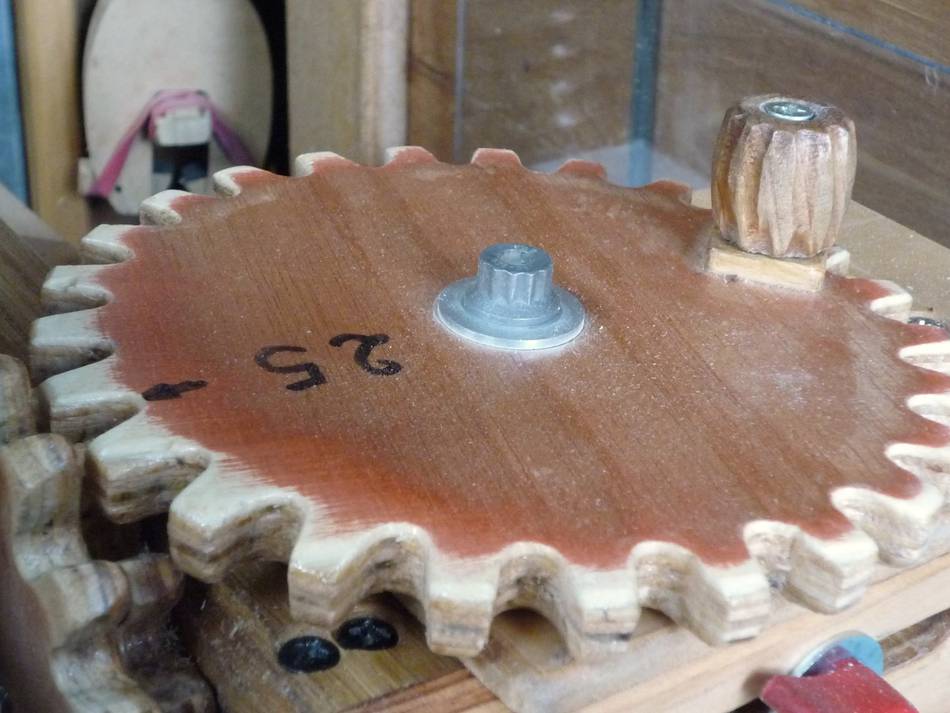
The solution you proposed to make
multiple cuts with regular blades works quite well but
needs (much like knitting ;-) to count and not miss the numbers!
I chose to rely on marks on the ruler rather than on my memory : the arrow means a cut through the blade,
the figures are the number of gear turns...
I computed several finger gaps from 6 to 25mm and built 2 rulers that can be flipped front to back
and upside-down. That makes 8 possibilities.
The arrow is also moveable so you can choose to begin by a finger or a void. The arrows are for counting the turns only. The exact position is determined by the gears and screws.
See also:
 Earl Davidson's
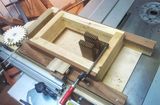 Elyasaf Shweka's
 Cutting box joints
 Screw advance
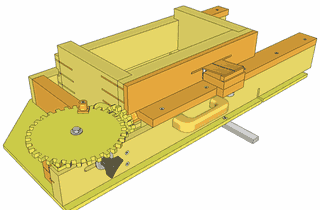 Plans for the
Back to screw advance box joint jig