 We wanted to buy a big corkboard, but they were sold out everywhere,
probably another pandemic side effect.
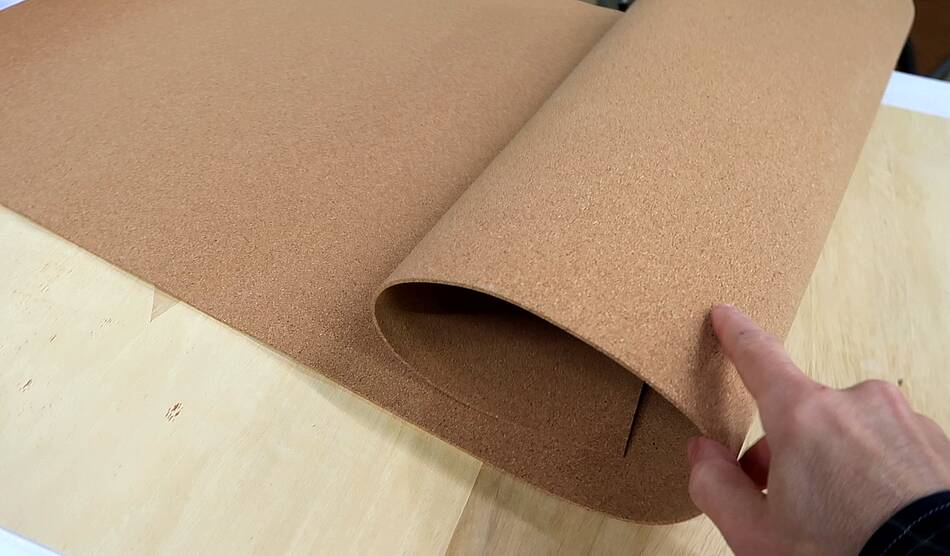
So I ordered a roll of cork to make my own.
We wanted to buy a big corkboard, but they were sold out everywhere,
probably another pandemic side effect.
So I ordered a roll of cork to make my own.
We wanted to buy a big corkboard, but they were sold out everywhere,
probably another pandemic side effect.
So I ordered a roll of cork to make my own.
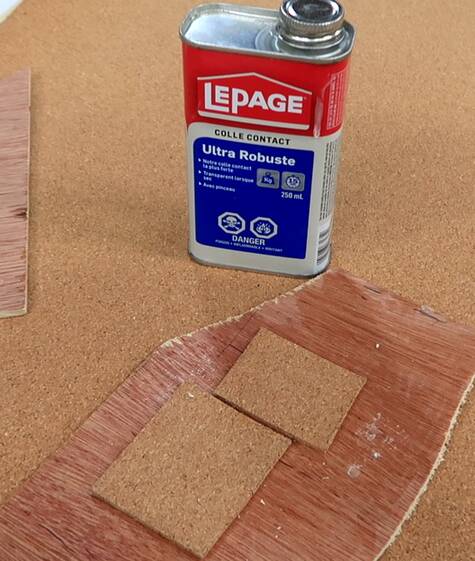
But how to glue that cork onto some plywood? I was going to use contact cement, but testing it on a small sample, both the wood and the cork were very absorbent, so the glue I bought would probably not be enough. And it would be very smelly.
I also tried a small square of wood glue. This worked fine, but how could I clamp the cork over such a large area?
 I had the idea of using plastic and a vacuum, similar to "bagging it" that
some people do to glue up veneers, but with just a scrap
of 6 mil plastic vapour barrier and a vacuum cleaner.
I had the idea of using plastic and a vacuum, similar to "bagging it" that
some people do to glue up veneers, but with just a scrap
of 6 mil plastic vapour barrier and a vacuum cleaner.
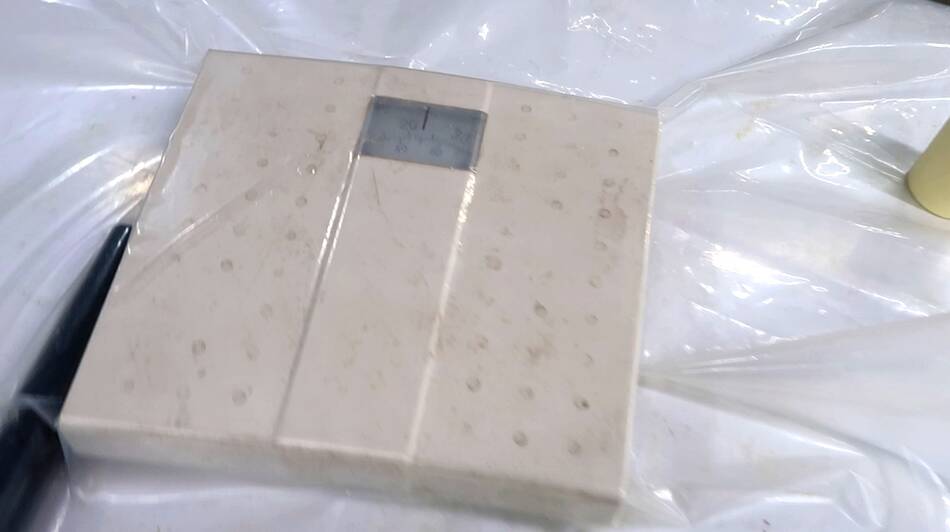
I tested the idea by placing the vacuum hose next to a bathroom scale, covering it with plastic and letting the vacuum cleaner suck.
Without any attempt at sealing the edges, the scale read 22 kg, or 40 lbs.
 I then weighed down the edges of the plastic a bit...
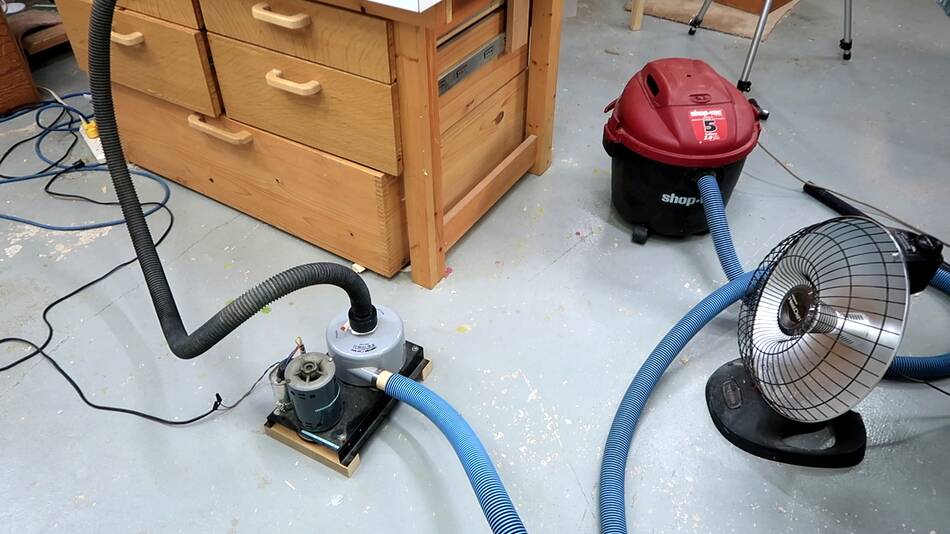 ...and hooked up a vacuum
cleaner plus another blower in series to see how much force I could get.
...and hooked up a vacuum
cleaner plus another blower in series to see how much force I could get.
That small blower has almost the same suction as my shopvac, but it's much quieter, and with a 1/3 hp motor, consumes much less power.
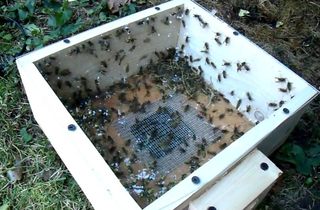
I previously used that blower for my wasp sucking machine
 The bathroom scale read 110 kg, or 240 lbs! Spread over the
scale's area, the blower and shopvac were sucking over 1/8th of
an atmosphere!
The bathroom scale read 110 kg, or 240 lbs! Spread over the
scale's area, the blower and shopvac were sucking over 1/8th of
an atmosphere!
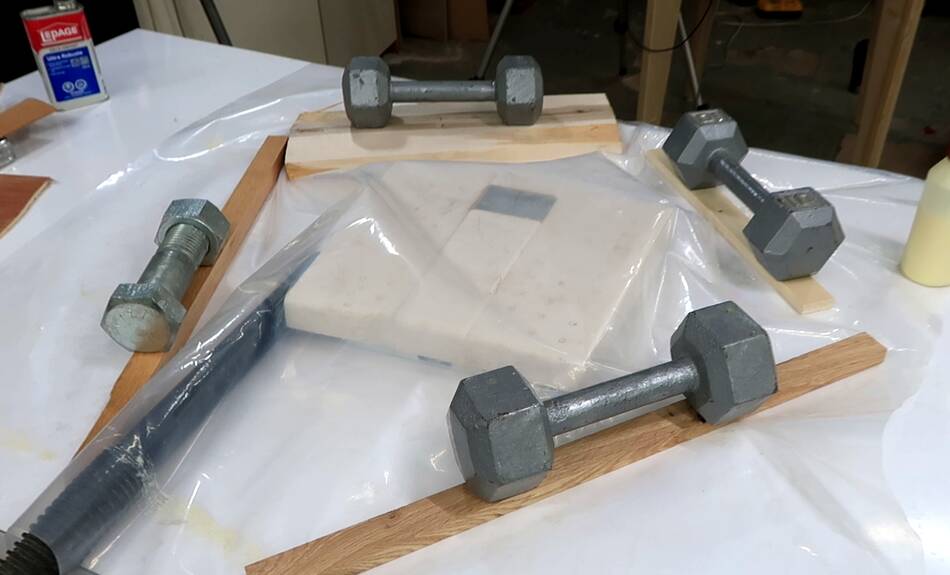
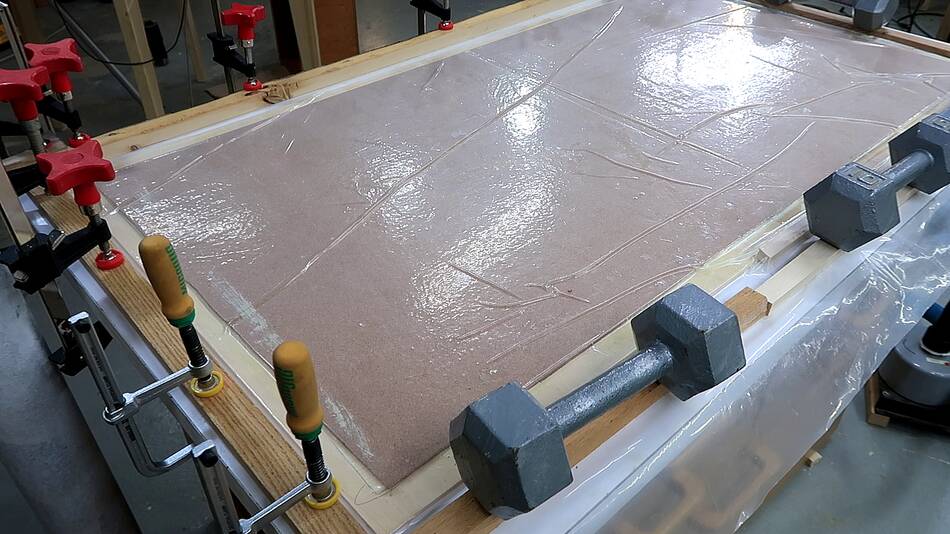
That's considerably more force than stacking the whole area with 10 lb barbells as tightly as possible, three layers high.
I figured the pressure I had should be more than adequate.
 With a good clamping solution, I proceeded to apply wood glue
with a flooring glue spreader to the plywood.
With a good clamping solution, I proceeded to apply wood glue
with a flooring glue spreader to the plywood.
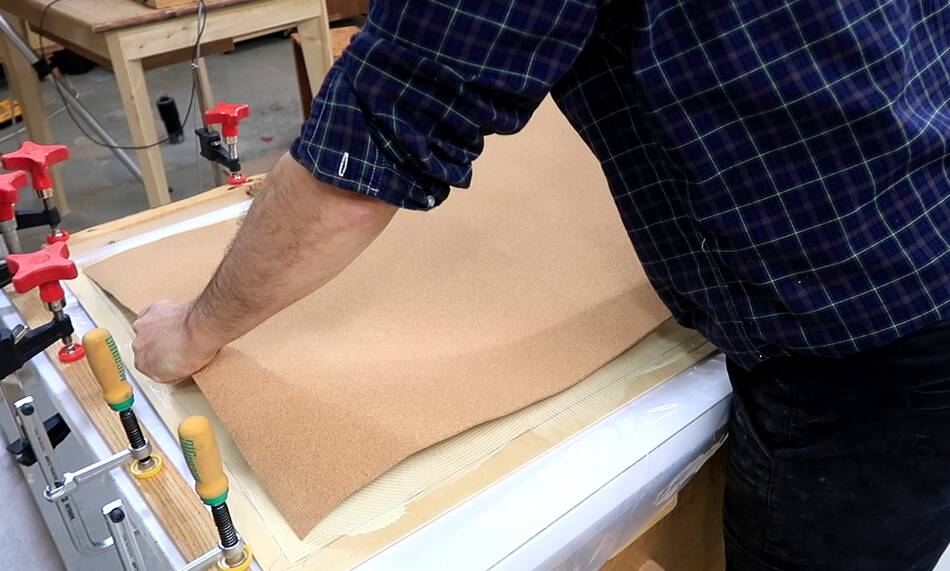 Then cork on top. I didn't apply any glue to the cork.
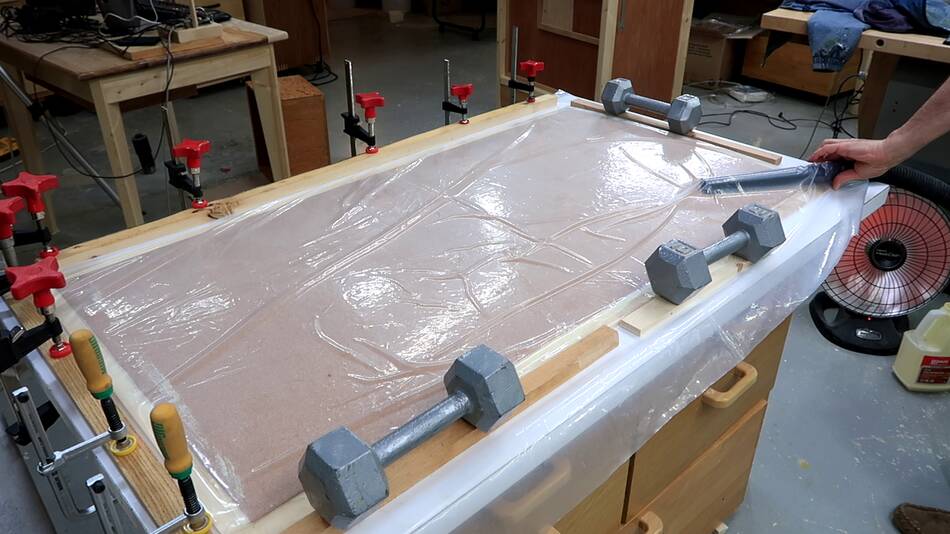 Then sucking out the air.
At first I put the nozzle on top of the cork, but it was lifting up the cork right where the nozzle was, so I repositioned the nozzle to be off to the side.
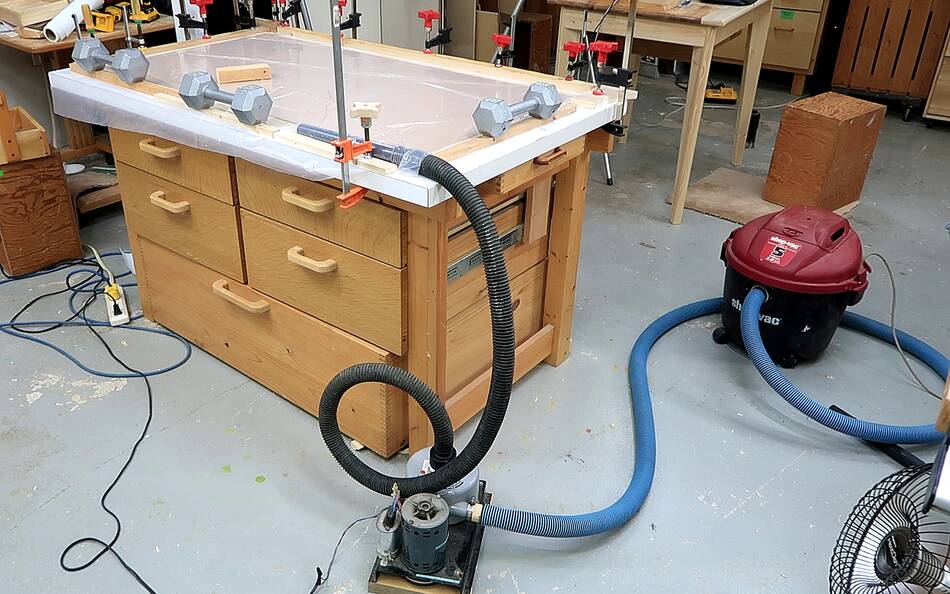
 I let my blower and my shopvac suck in series for the first
ten minutes, to make sure everything got pressed together
well.
I let my blower and my shopvac suck in series for the first
ten minutes, to make sure everything got pressed together
well.
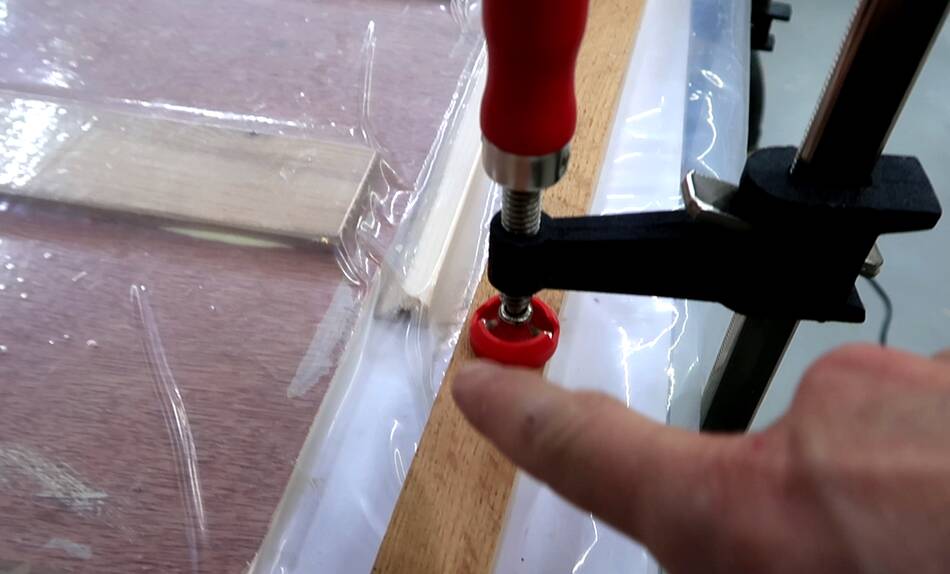
I also fixed a few spots around the edges where I could hear air leaking in.
 With the plastic pressing down on the workpiece, that
didn't allow the air to flow under it very well.
And with slight leakage around all the edges I'm pretty
sure the level of vacuum at the far corner was considerably
less than at the nozzle.
With the plastic pressing down on the workpiece, that
didn't allow the air to flow under it very well.
And with slight leakage around all the edges I'm pretty
sure the level of vacuum at the far corner was considerably
less than at the nozzle.
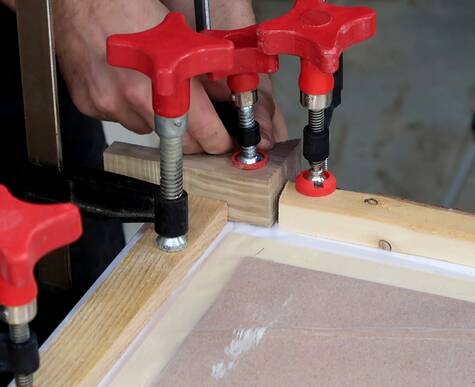
 I ended up placing a few bits of wood at an odd angle along
the long edge to allow air to flow under them to distribute
the vacuum a bit better.
I ended up placing a few bits of wood at an odd angle along
the long edge to allow air to flow under them to distribute
the vacuum a bit better.
 I left the small blower running for a few hours to give the
glue time to dry.
I left the small blower running for a few hours to give the
glue time to dry.
After taking it out of my setup, the plywood was as curved as it was before. Possibly even more so.
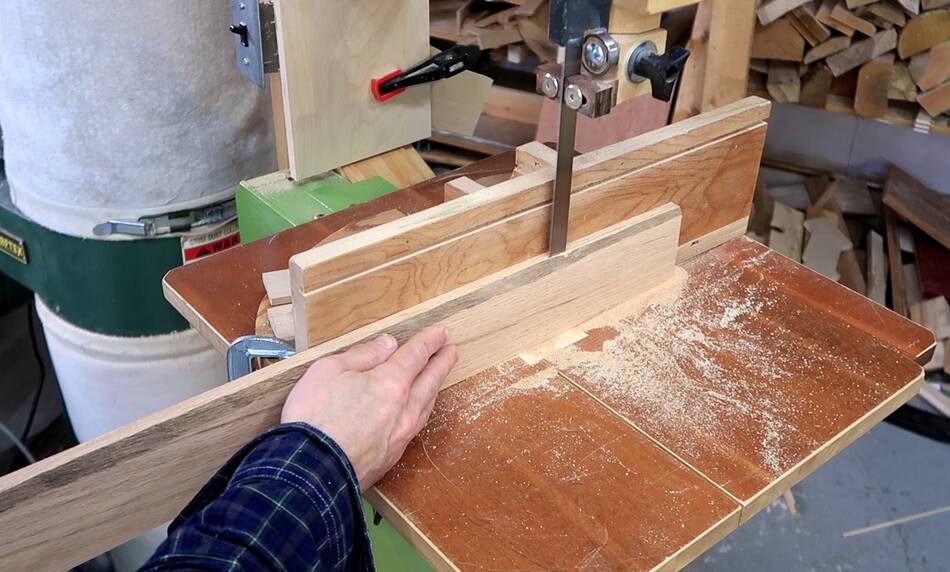
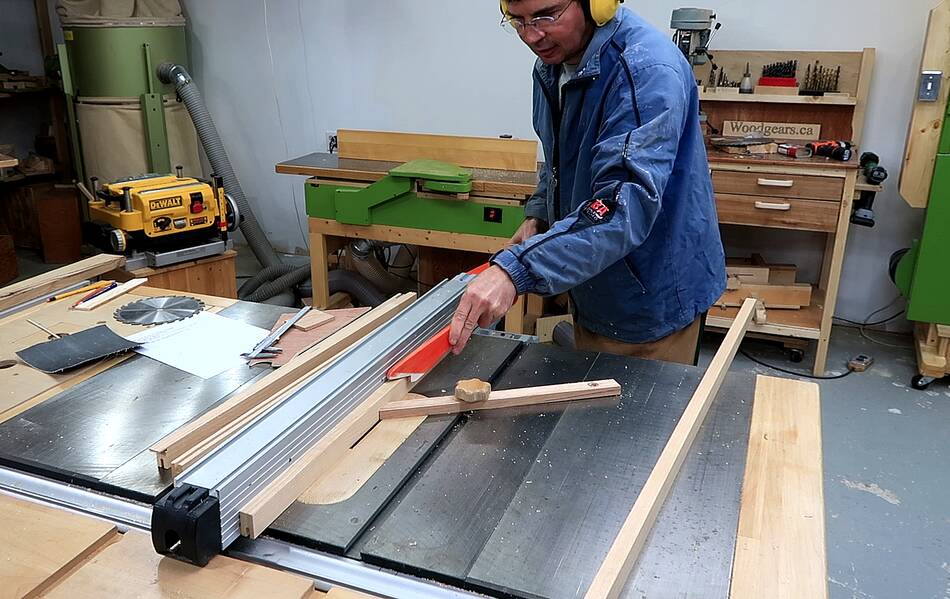
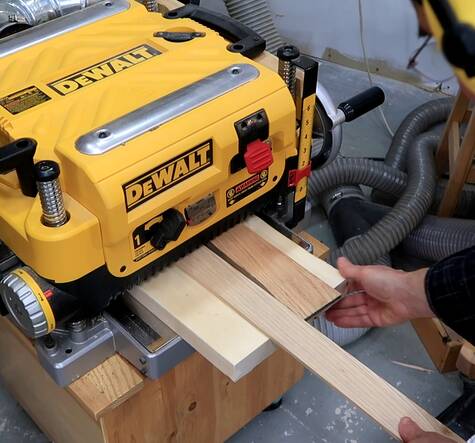 I made some battens to glue to the back of the plywood to
force it flat. I cut these on my bandsaw using
a woodslicer resaw blade
(more on that)
. But I couldn't get
the fence angle just right, and the blade kept drifting
on me. Part way through one piece, the blade had drifted
too far to the right, so I pulled it back an started from
the other side, only to find the blade drifting LEFT.
So it appears that blade has a tendency to follow the grain
of the wood.
I made some battens to glue to the back of the plywood to
force it flat. I cut these on my bandsaw using
a woodslicer resaw blade
(more on that)
. But I couldn't get
the fence angle just right, and the blade kept drifting
on me. Part way through one piece, the blade had drifted
too far to the right, so I pulled it back an started from
the other side, only to find the blade drifting LEFT.
So it appears that blade has a tendency to follow the grain
of the wood.
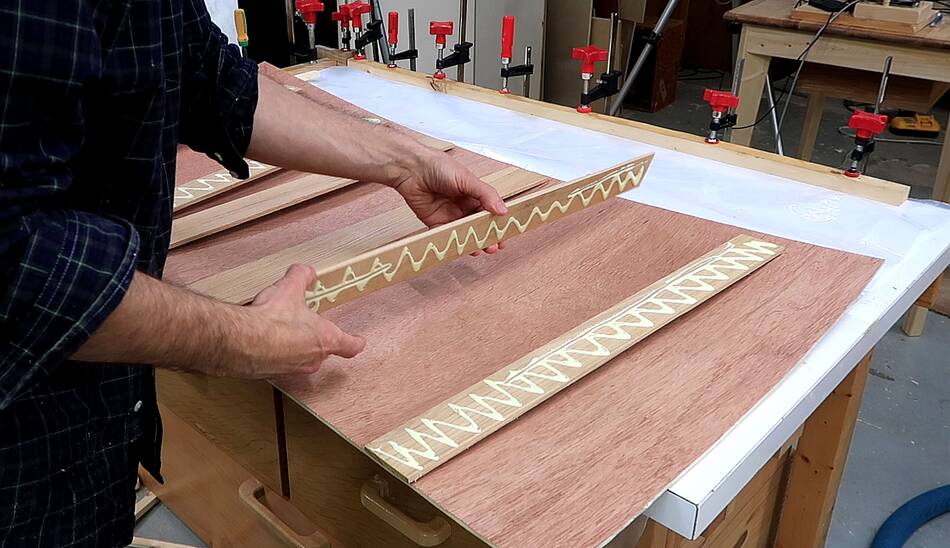 Glue applied to the battens, flipping them down onto the
wood, though with how the wood is bowed, they aren't making
contact with it yet.
Glue applied to the battens, flipping them down onto the
wood, though with how the wood is bowed, they aren't making
contact with it yet.
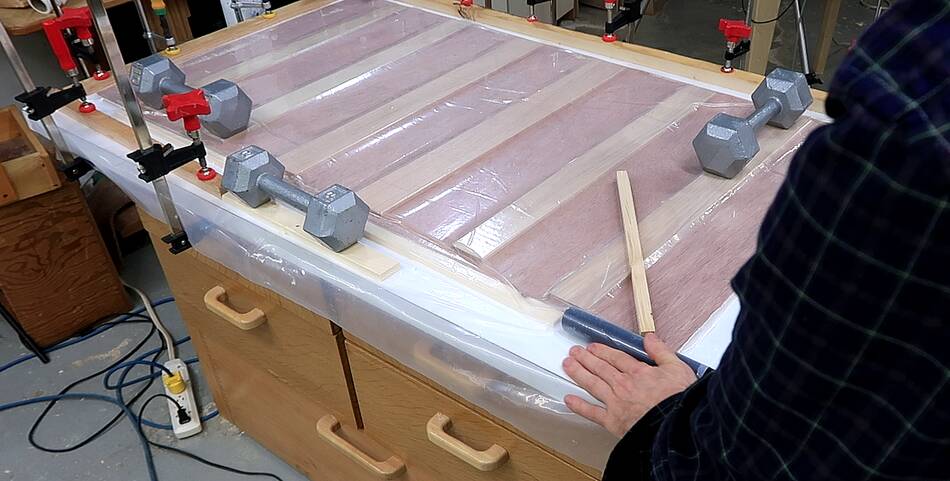
 Then using my vacuum clamping setup again to clamp the
battens down.
Then using my vacuum clamping setup again to clamp the
battens down.
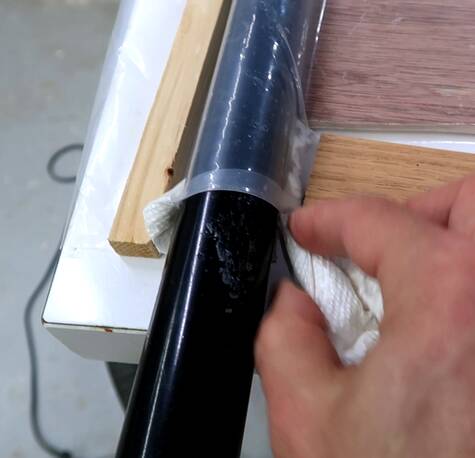
Stuffing bits of paper towel in the corners around the hose cut down on whistling noises considerably, and also reduced the air flow out of the blower by a lot.
 I also cut a long channel in a piece of wood, with slots
off to the side, to help spread the vacuum. Though, with
the cork facing down, and the plywood overhanging the cork,
my vacuum distribution was much better than last time
to begin with.
I also cut a long channel in a piece of wood, with slots
off to the side, to help spread the vacuum. Though, with
the cork facing down, and the plywood overhanging the cork,
my vacuum distribution was much better than last time
to begin with.
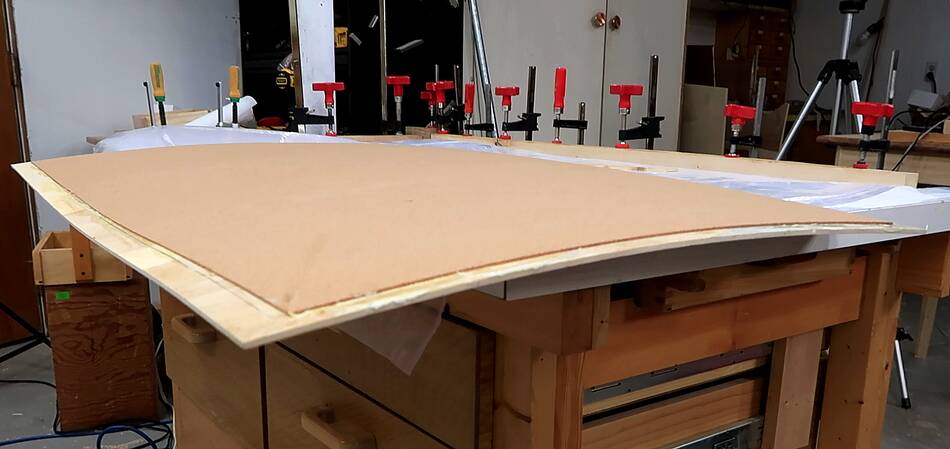
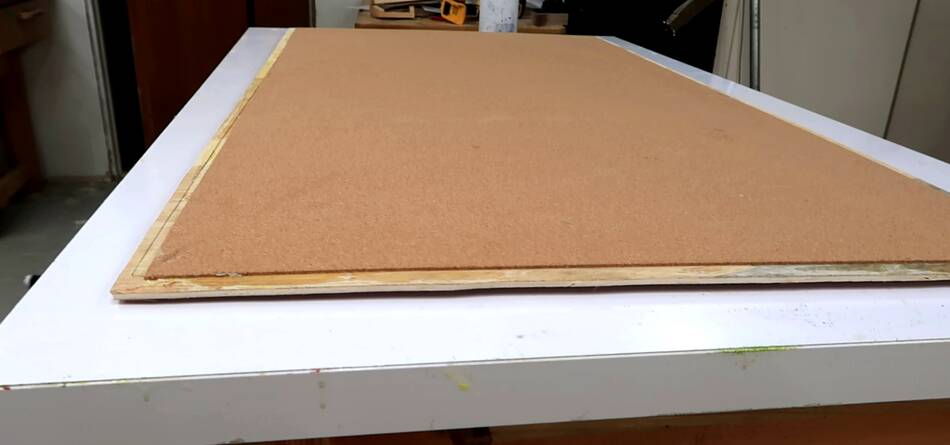 After leaving the small blower running for four hours, I
pulled the glue-up out. It wasn't perfectly flat, but good enough.
After leaving the small blower running for four hours, I
pulled the glue-up out. It wasn't perfectly flat, but good enough.
That small blower is really handy for this, I wouldn't want to leave a shopvac running hours at a time.
I wish I had thought of this technique when I glued up this bandsaw table. It would have been easier and the result flatter.
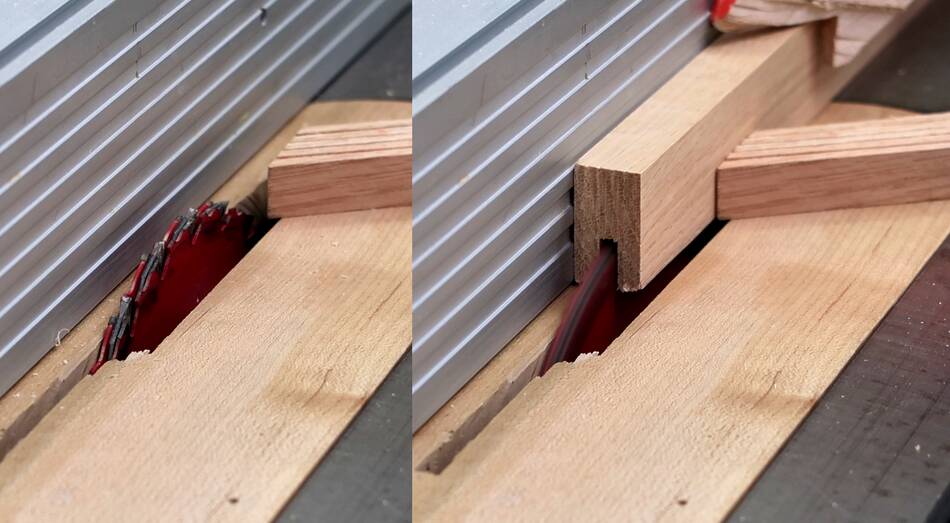 I still had to make trim to go around the edges. I stacked three
thin saw blades in my table saw to cut a slot that the plywood
just fits into.
I still had to make trim to go around the edges. I stacked three
thin saw blades in my table saw to cut a slot that the plywood
just fits into.
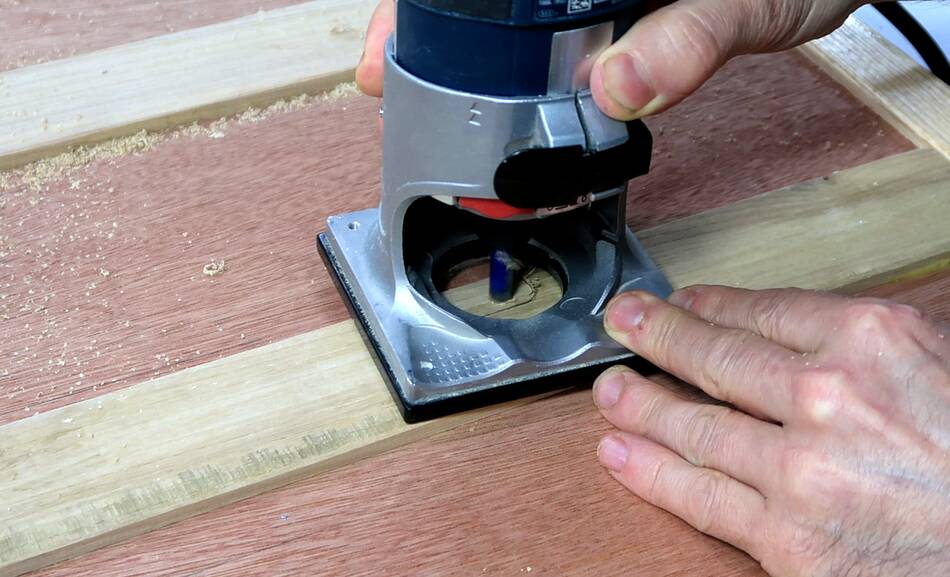
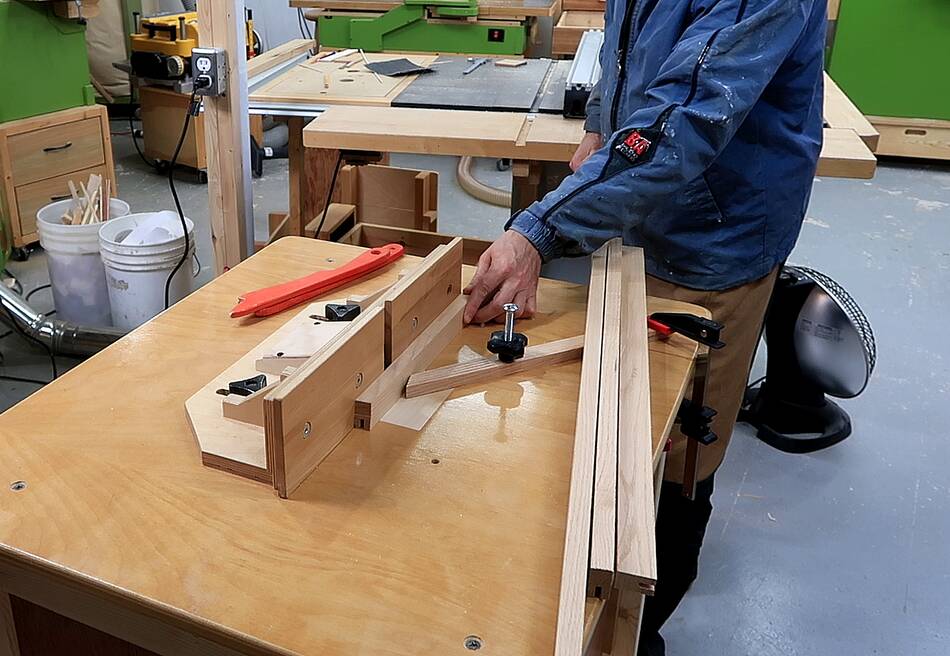 Then routing all four edges with a 1/2" radius round-over bit.
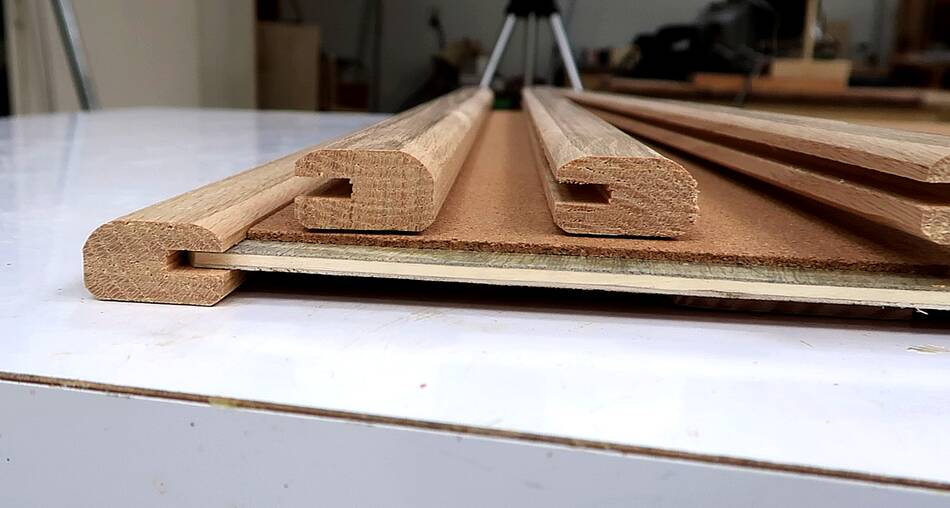 I used different parts of the roundover for different edges
to get this profile.
I used different parts of the roundover for different edges
to get this profile.
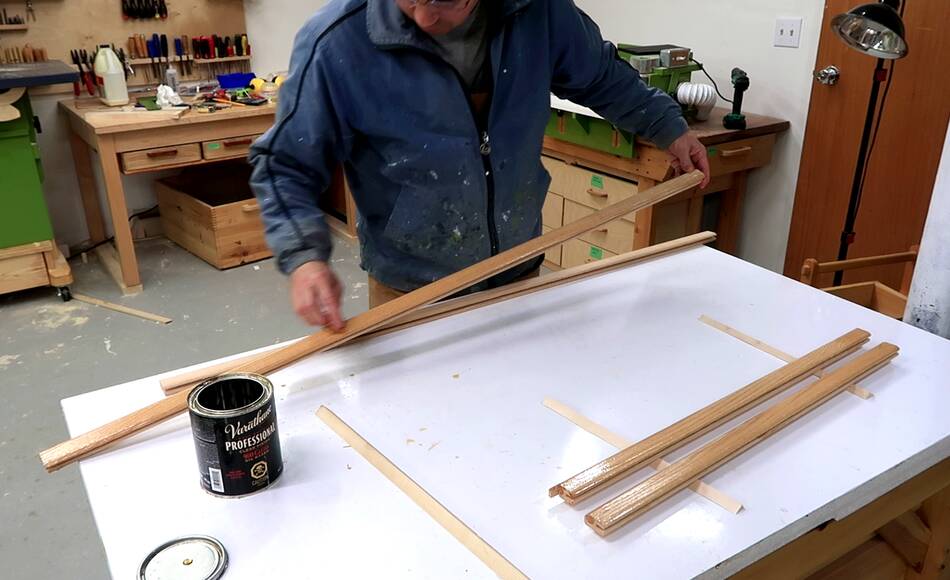 I varnished the trim before gluing it onto the corkboard.
That way I didn't have to be careful not to get any varnish onto
the cork board.
I varnished the trim before gluing it onto the corkboard.
That way I didn't have to be careful not to get any varnish onto
the cork board.
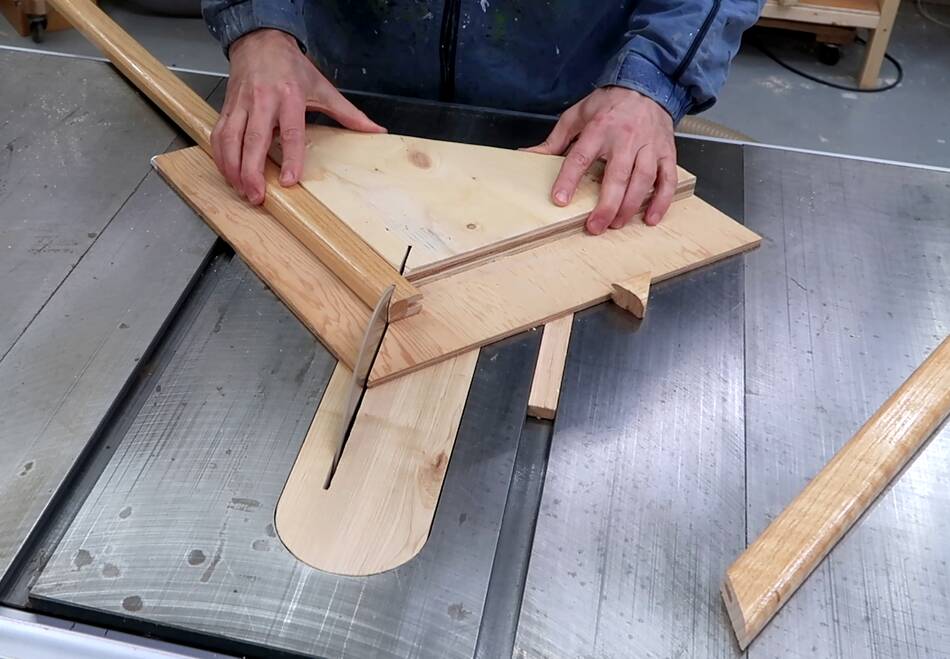
 Then cutting the miters on the table saw using a miter sled I made a few
years back. The two sides of the sled are used to cut the matching
miters, and doing a quick fit check before gluing up.
Then cutting the miters on the table saw using a miter sled I made a few
years back. The two sides of the sled are used to cut the matching
miters, and doing a quick fit check before gluing up.
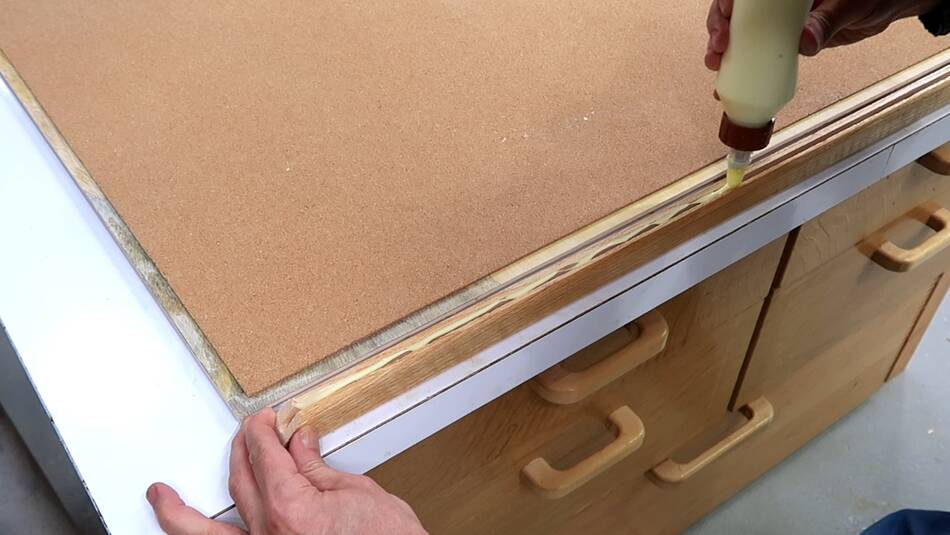 Then squeezing some glue into the slot...
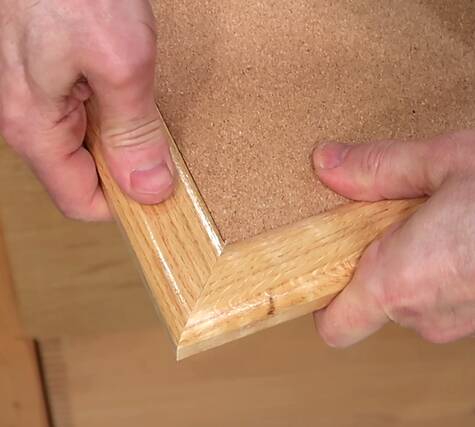
 ... and carefully lining up the ends and gluing the first piece on.
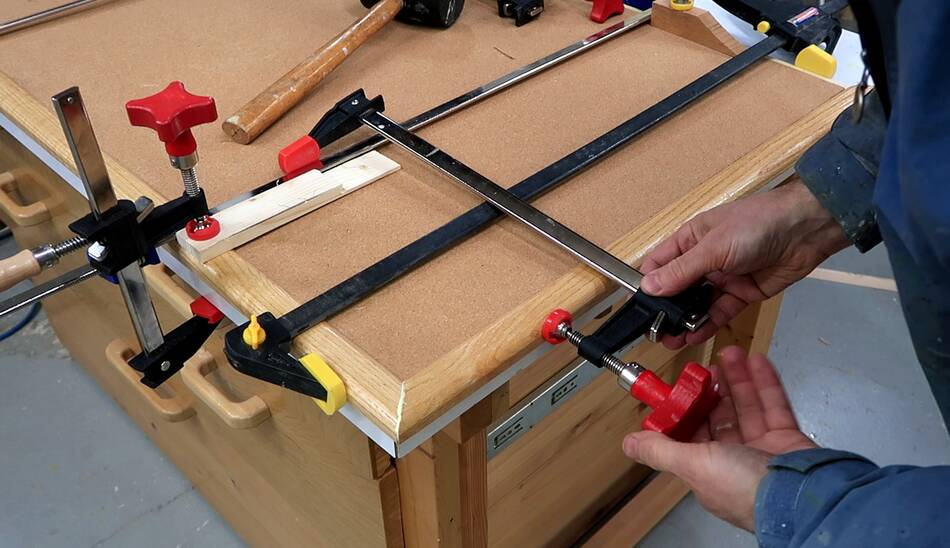
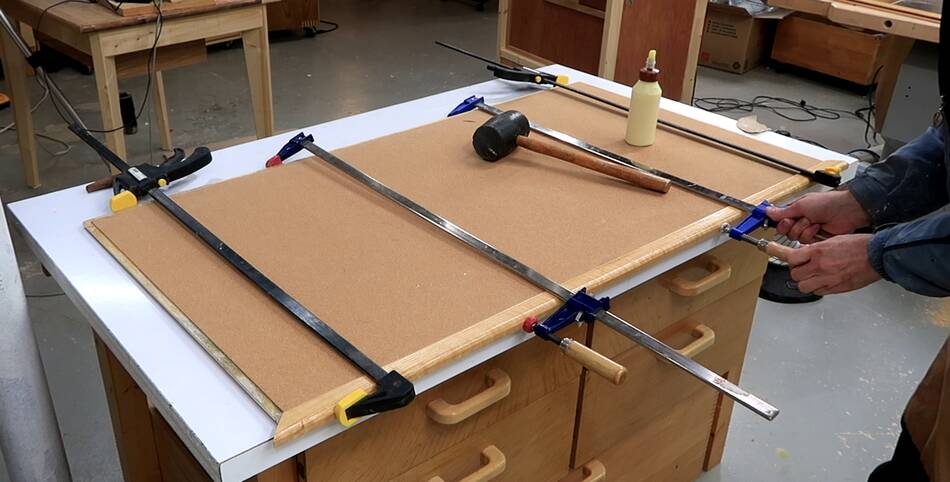
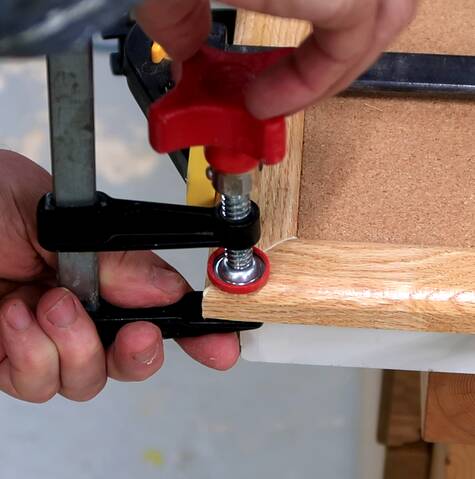 I didn't have any clamps as long as the corkboard is wide,
so the end piece is clamped on by pulling against the
bar of one of my clamps across the corkboard.
I didn't have any clamps as long as the corkboard is wide,
so the end piece is clamped on by pulling against the
bar of one of my clamps across the corkboard.
I put a small clamp across the joint to make sure both halves are aligned.
 Then cutting some slots for splines in the corner on the table saw.
This piece is too large to put on a 45-degree sled, so I raised the blade, clamped a stop to the fence, and slide the corkboard part-way towards the blade.
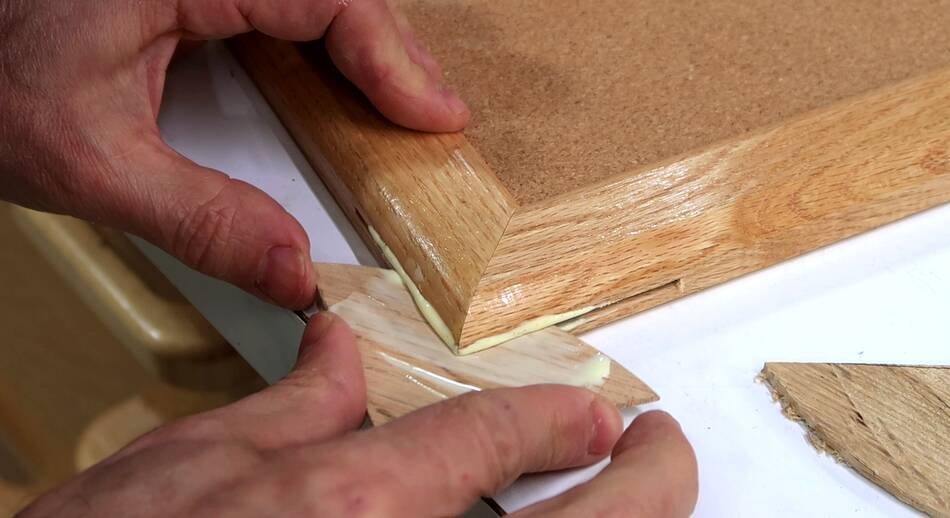 Then gluing splines in the corners. The inside edge of these splines
is cut to the same radius as that of the saw blade that made the cut.
Then gluing splines in the corners. The inside edge of these splines
is cut to the same radius as that of the saw blade that made the cut.
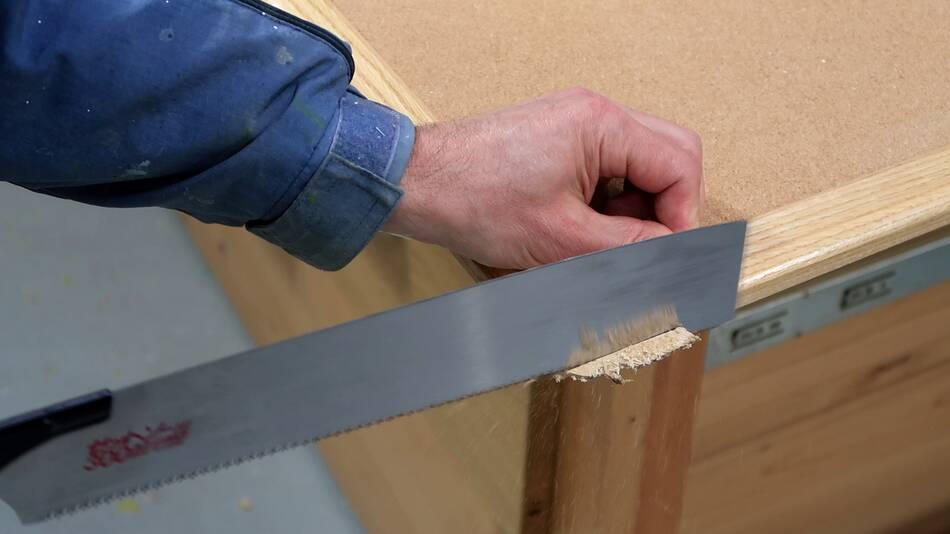 Then flush trimming the excess.
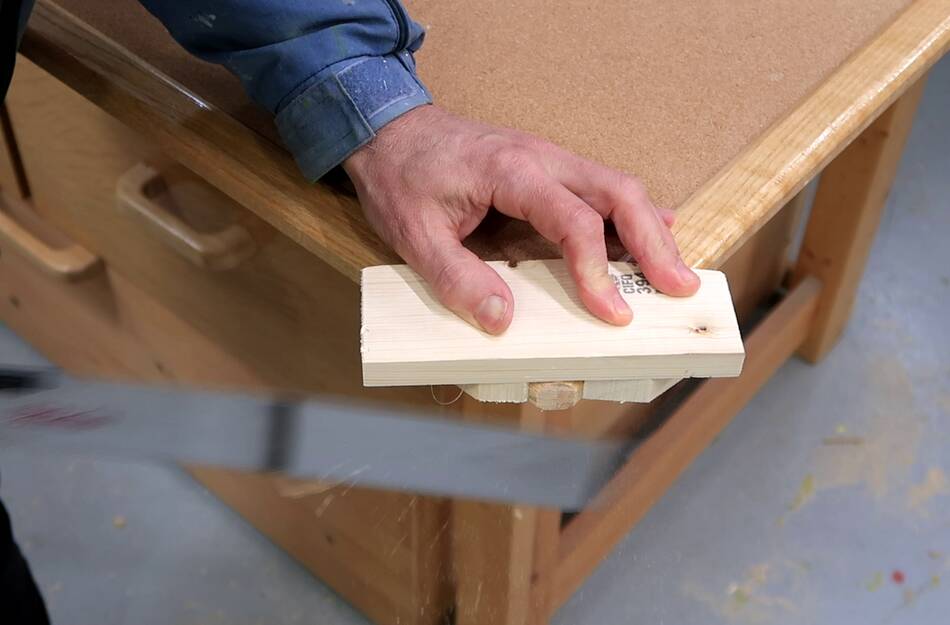 And cutting off the corners, using a guide I hot glued
together out of three pieces of scrap wood
And cutting off the corners, using a guide I hot glued
together out of three pieces of scrap wood
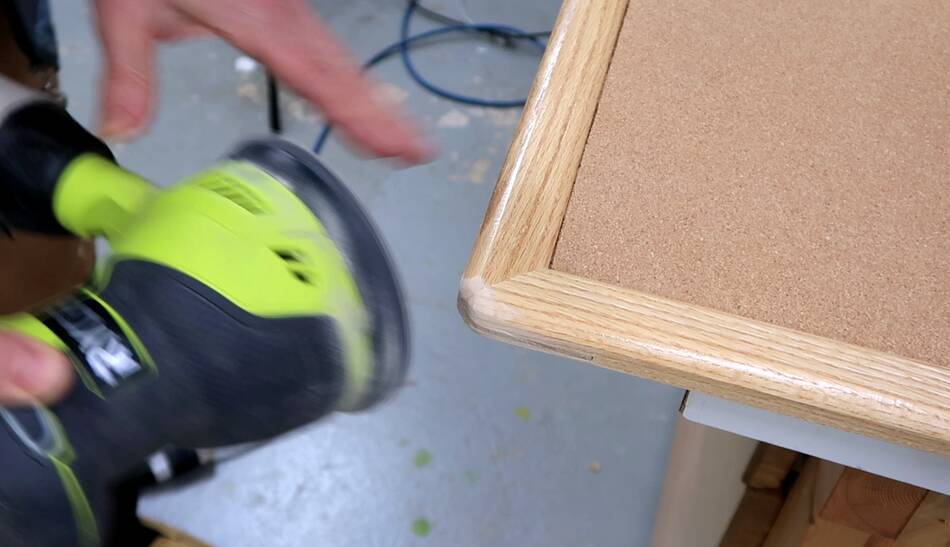
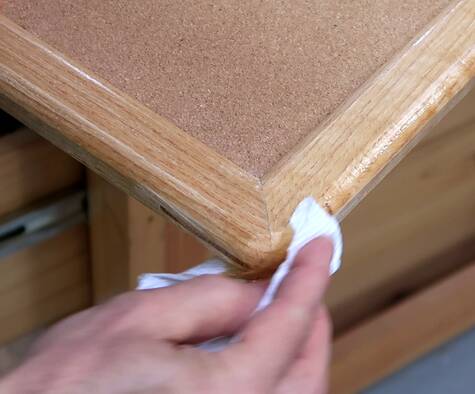 I then rounded the corner with an orbital sander, then
applied varnish to where I cut and sanded, plus another
light coat over the whole frame.
I then rounded the corner with an orbital sander, then
applied varnish to where I cut and sanded, plus another
light coat over the whole frame.
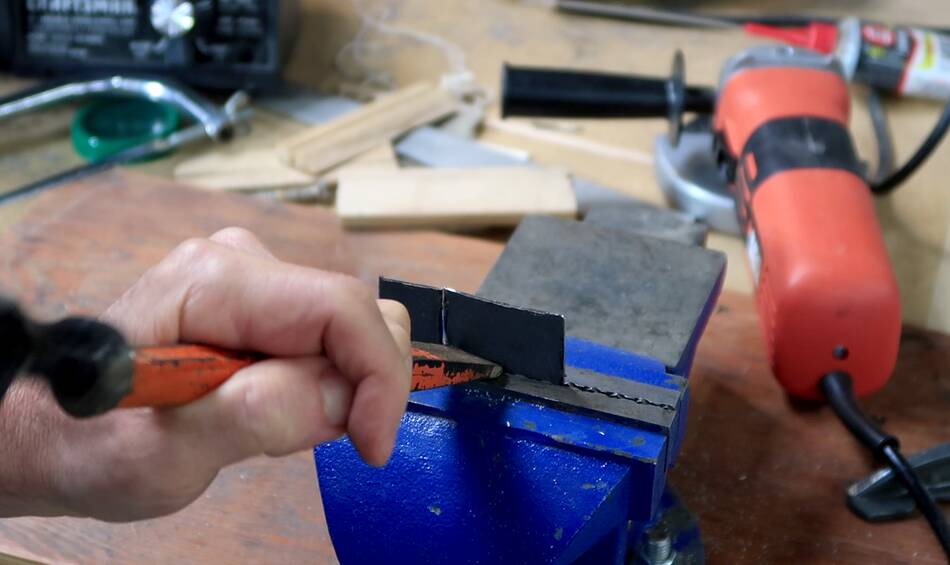 I made two L-shaped brackets for hanging the cork board,
using a cold chisel to cut the sheet metal.
(more on that)
I made two L-shaped brackets for hanging the cork board,
using a cold chisel to cut the sheet metal.
(more on that)
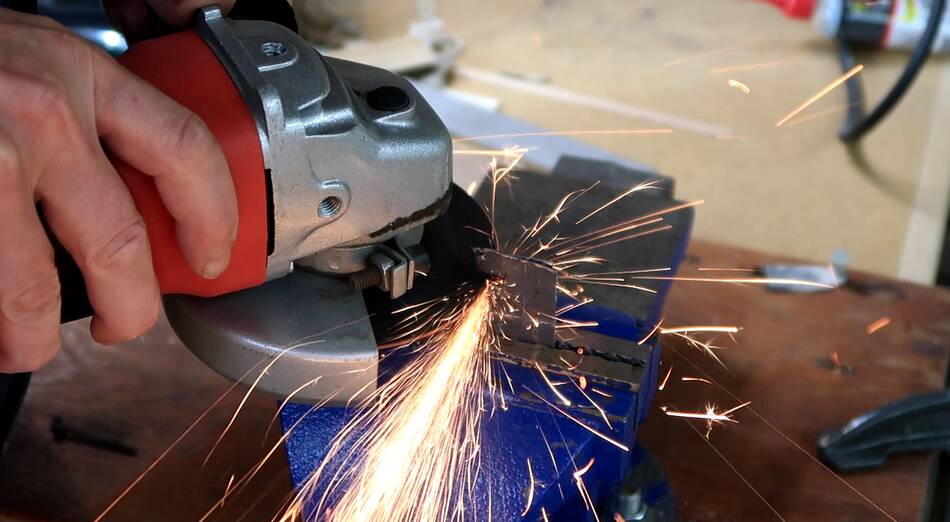 I ground a slot into the brackets for the screw head to
slide into.
I ground a slot into the brackets for the screw head to
slide into.
 I cut a shallow recess for the brackets on the battens on the
back of the cork board.
I cut a shallow recess for the brackets on the battens on the
back of the cork board.

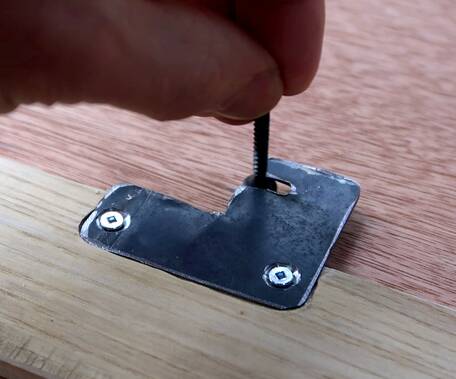 I drilled mounting holes in the brackets, then screwed them
onto the back with very short screws.
I drilled mounting holes in the brackets, then screwed them
onto the back with very short screws.
 I located the mounting brackets on the back of the corkboard so
that the screws to hang it from both ended up in a stud.
I located the mounting brackets on the back of the corkboard so
that the screws to hang it from both ended up in a stud.
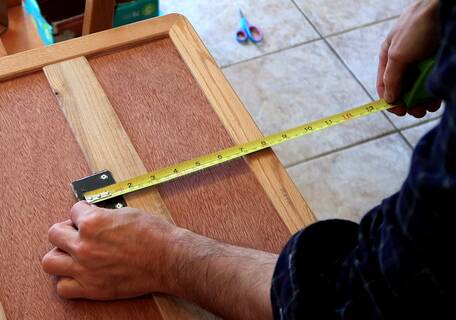
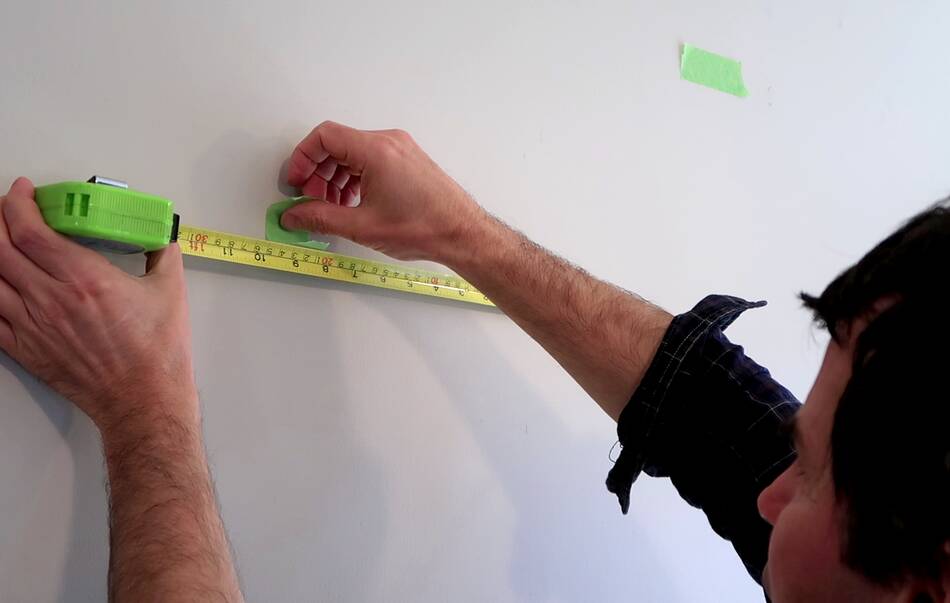
But hooking it onto the mounting brackets can be tricky without being able to see behind the cork board, so I measured how far to the edge from the mounting bracket, and put a piece of tape that far from the screw on the wall.
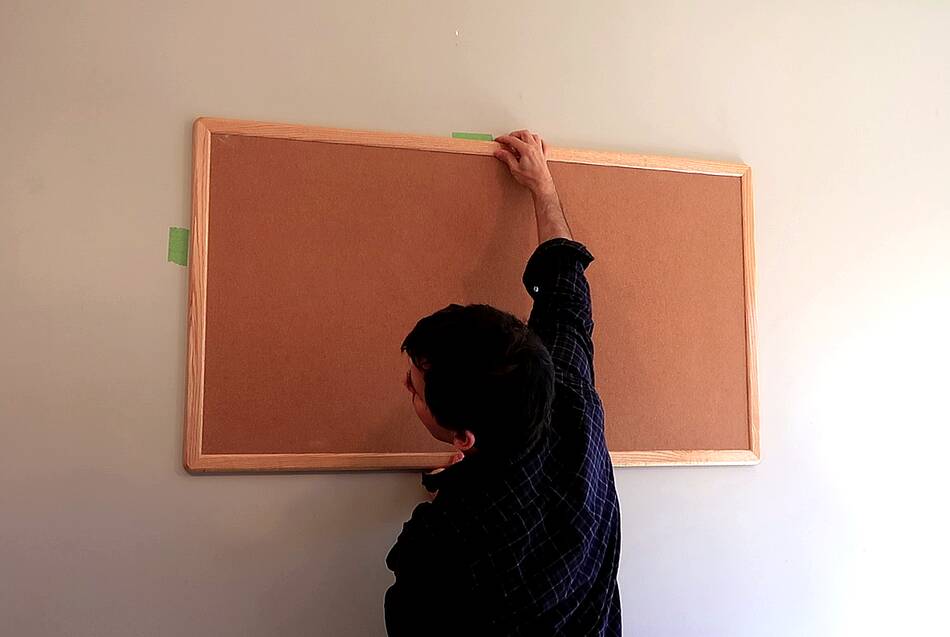 I used that tape, plus another piece of tape at the top to line
it up with the screws, then lower it slightly so the hooks hooked
the screws. That made something that could have been frustrating
very easy.
I used that tape, plus another piece of tape at the top to line
it up with the screws, then lower it slightly so the hooks hooked
the screws. That made something that could have been frustrating
very easy.
 Wasp sucking machine (2011)
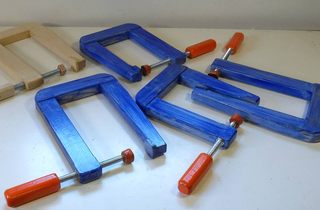 Long reach C clamps (2010)
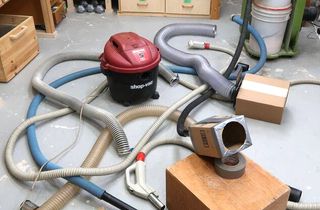 Effect of hoses on airflow (2020)
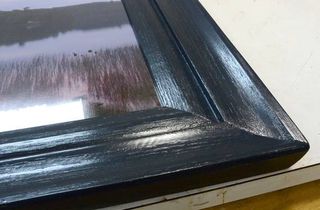 Making a picture frame (2014)
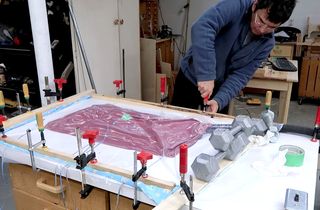 Vacuum clamping: measuring suction spread
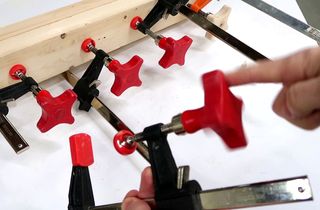 More ergonomic bar clamp handles
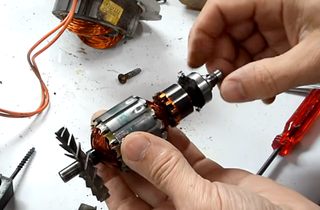 Shopvac bearing oiling / disassembly
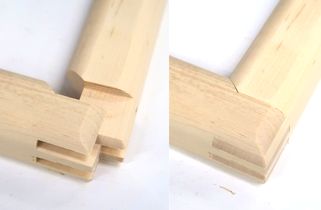 Half box / miter joint: Another corkboard