It's been a while since I built the band saw using your plans; recently
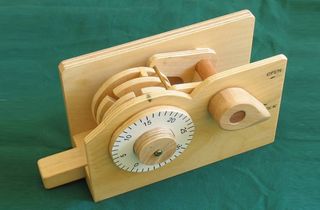
I have built a wooden combination lock largely inspired by your
combination lock, therefore I thought I would share some pictures of my
wooden combination lock with you.
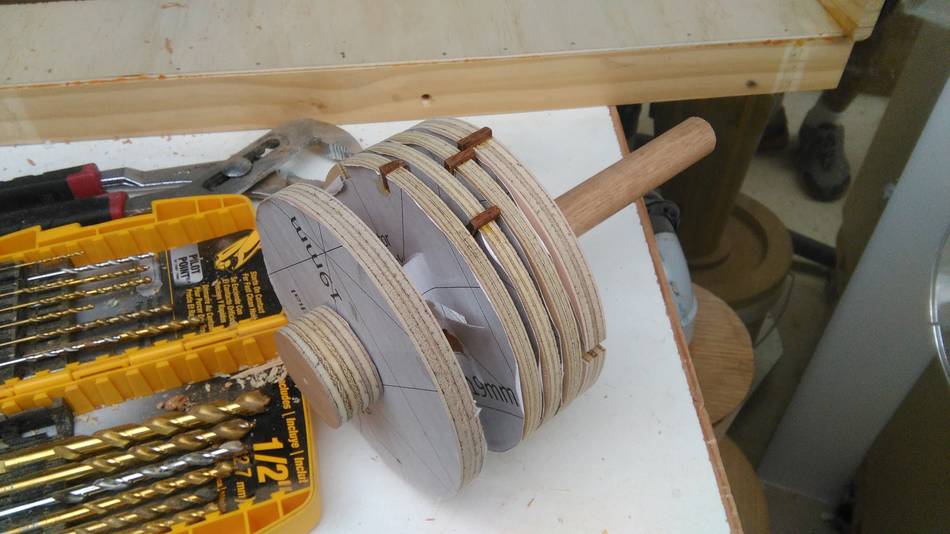
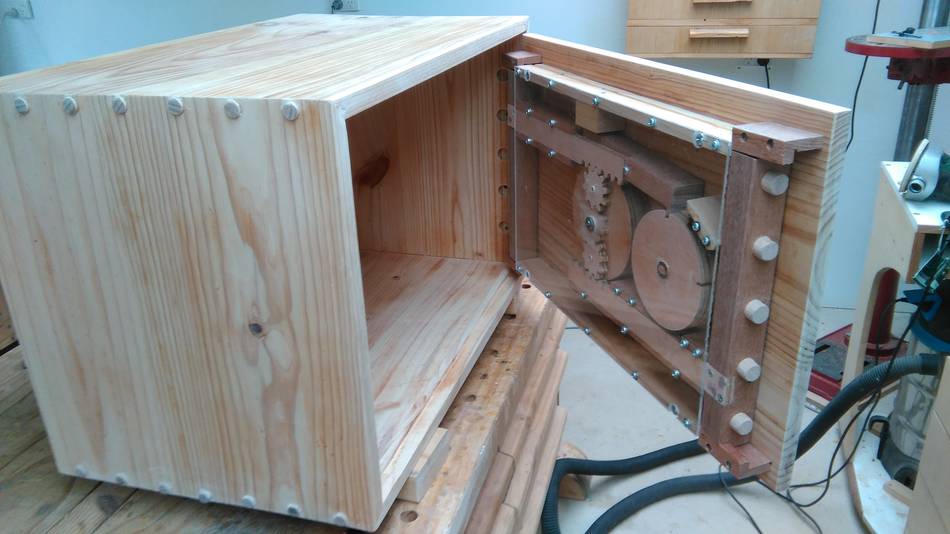
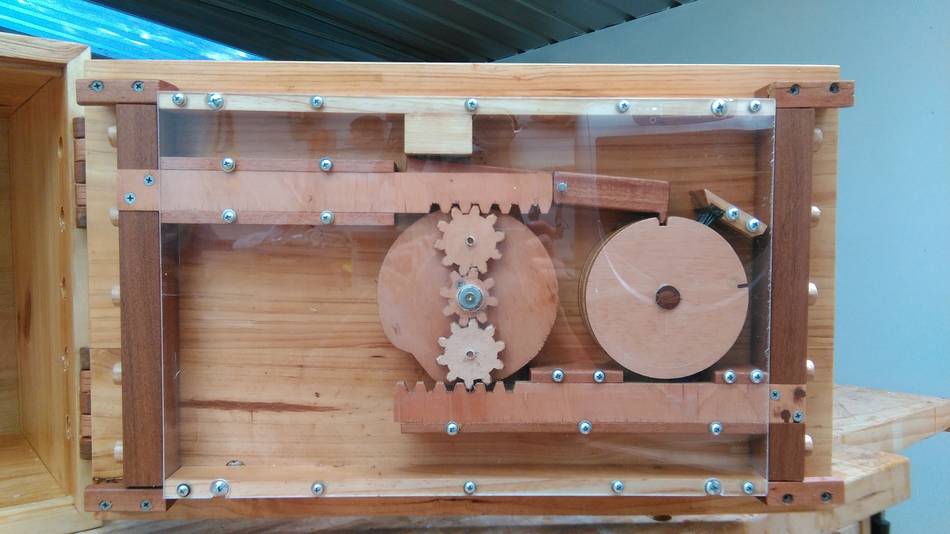
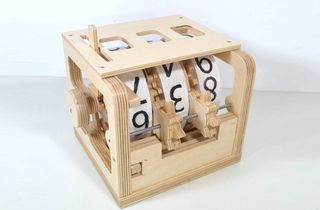
This is the rotor assembly, it has 4 rotors instead of three because at
first I was going to have an automatic drop down bar which would make
the last digit of the combination very easy to find, and also because it's a
bit more secure, although at the end of the day the safe is still made
of wood.
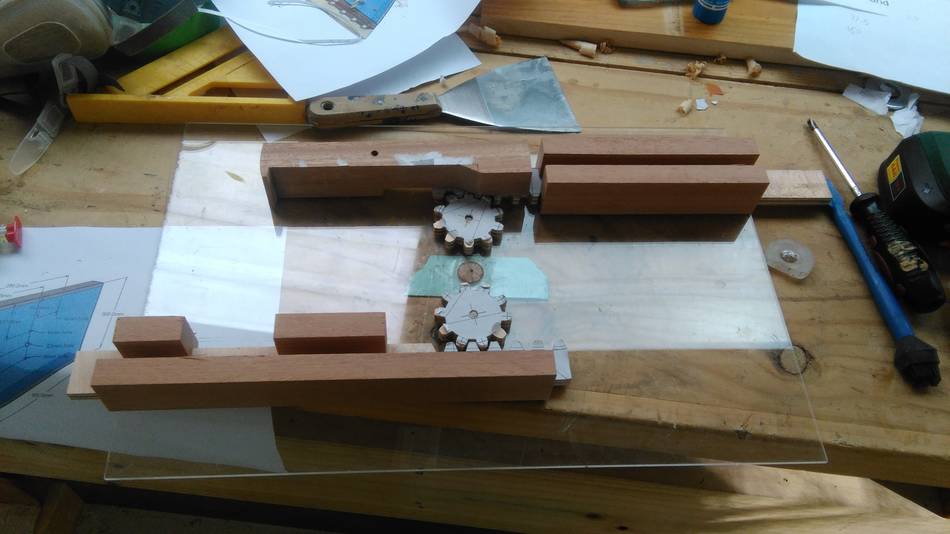
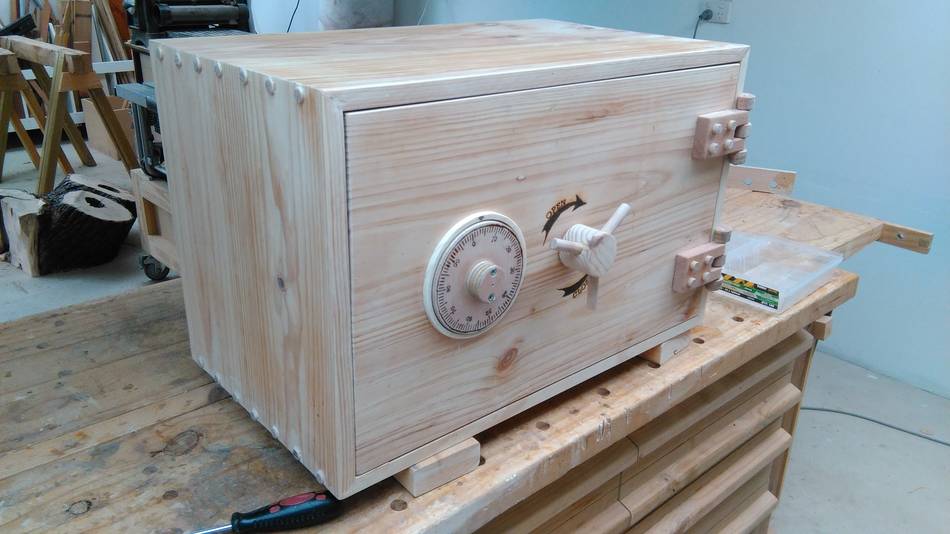
I decided to combine the Nautilus door locking mechanism into the
combination lock because just making the combination lock was way too
easy. I used acrylic for the back of the door so that people can
see all the hard work put into the safe.
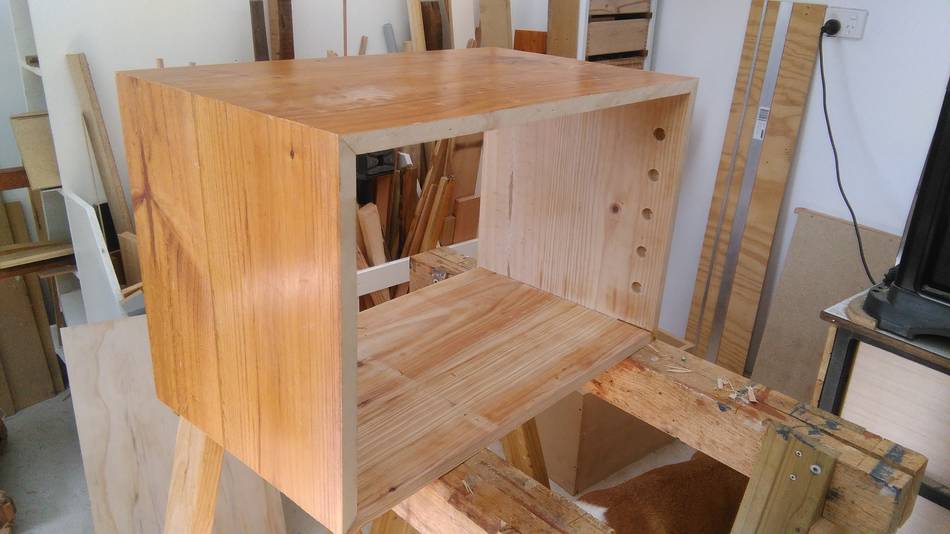
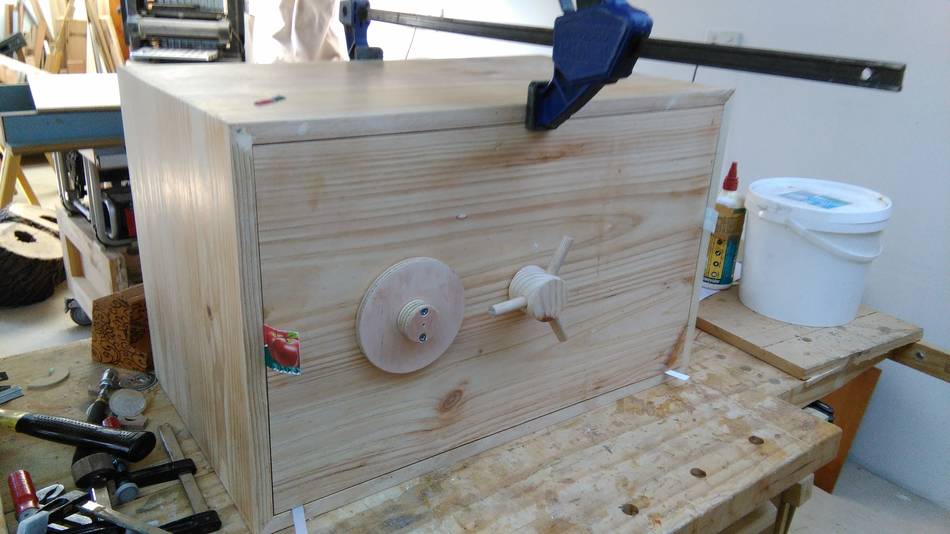
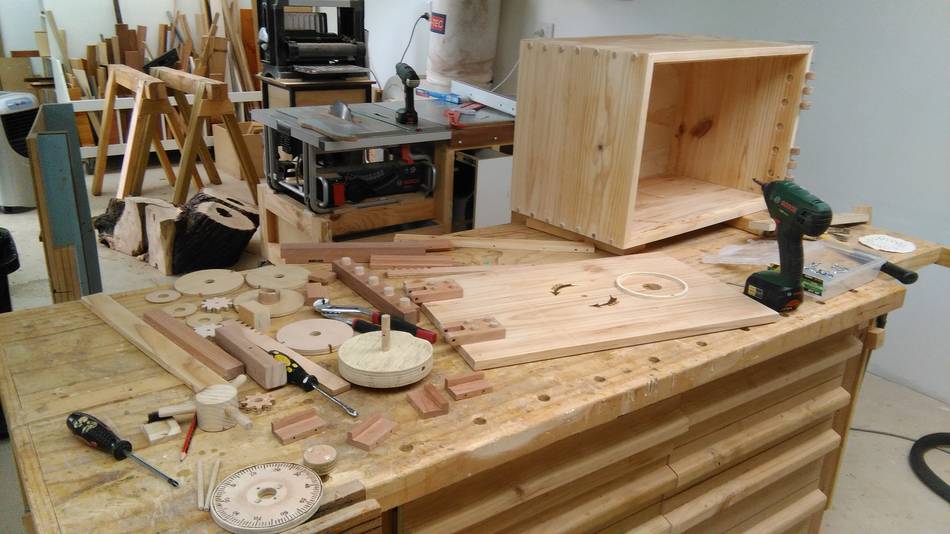
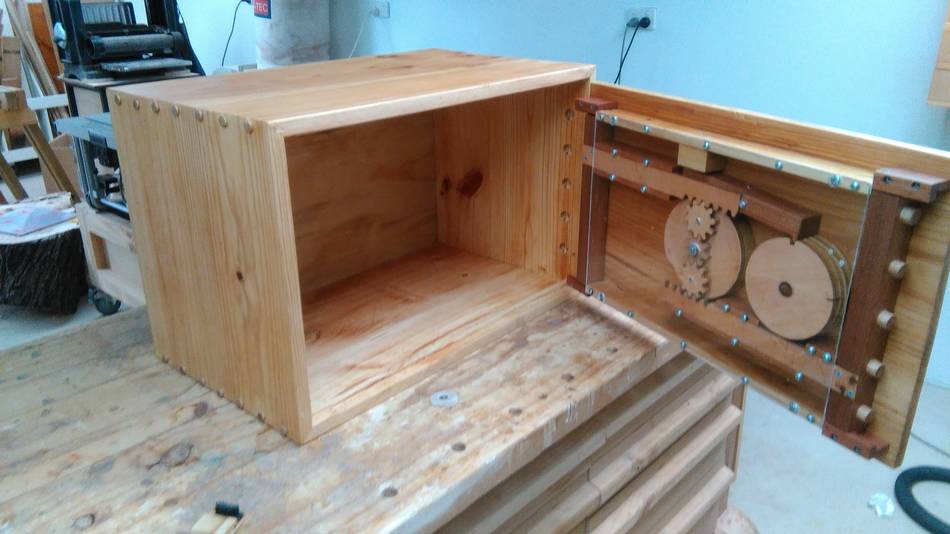
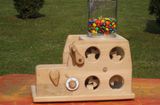
The box, or the safe. I picked up the wood from a huge cabinet that had
really nice solid wood panels. I would have used your box joint jig to
join the corners if it was five centimeters narrower, so I just
used a mitered joint which proved my table saw to be horrible at making
miter cuts.
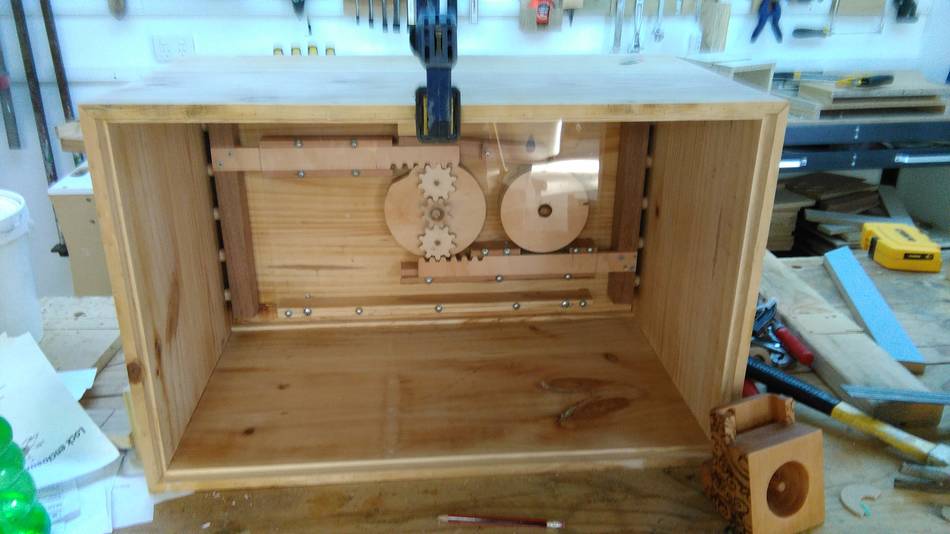
When assembling and testing the entire thing, I left the back off so
that I could still tweak the combination lock.
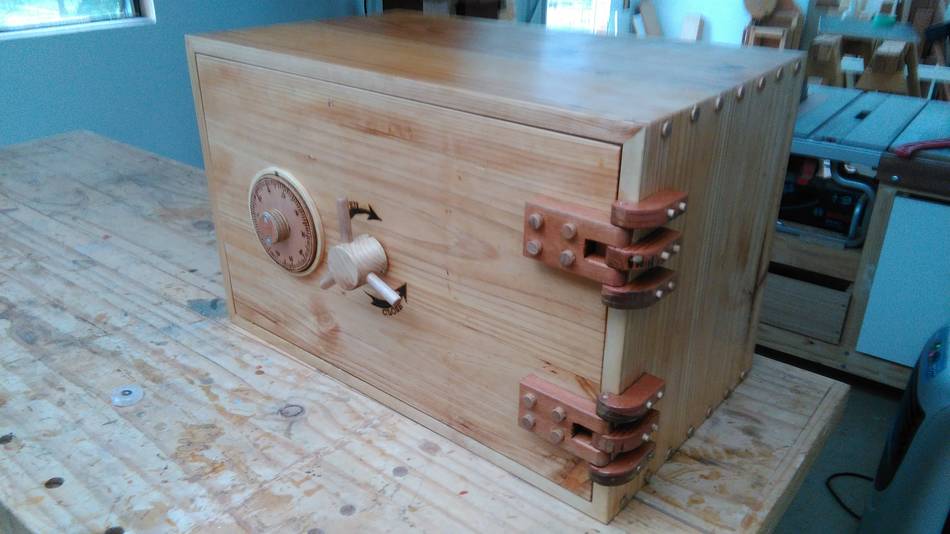
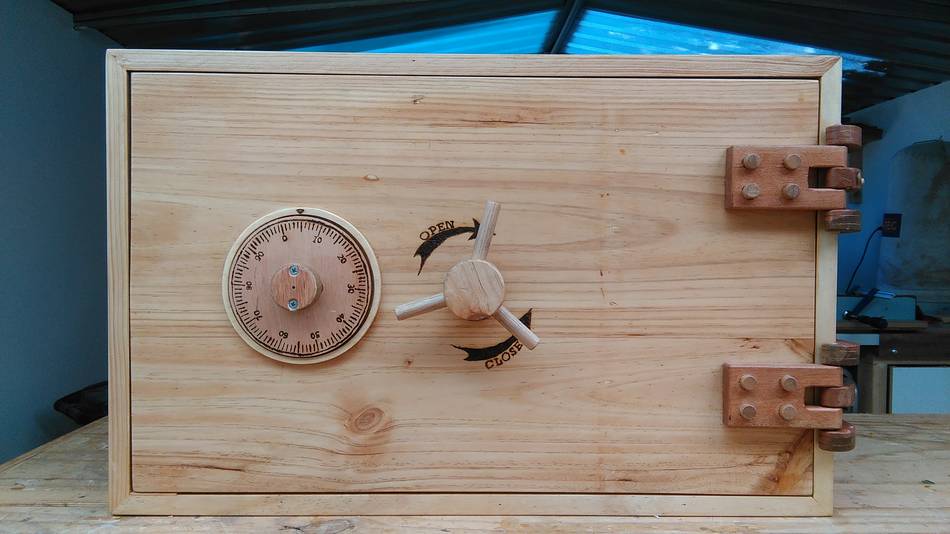
The front view of the safe and getting ready to install the hinges.
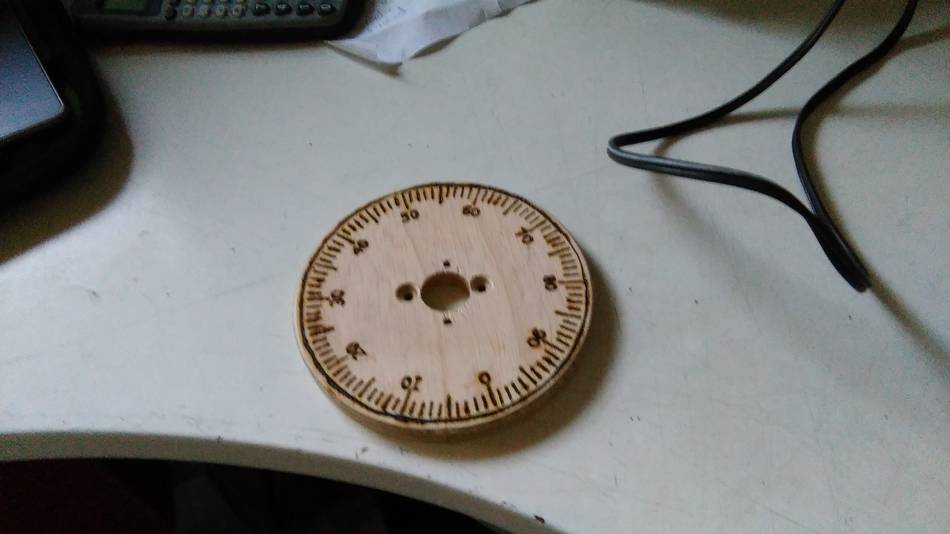
When everything was working as it was supposed to, I burnt the numbers
onto the combination dial and also the close and open sign for the hand
wheel.
To make the safe as tough looking as it could, I pinned the miters with
exposed dowels, imitating the huge bolts exposed on metal safes.
I also added four more hinge fingers to the safe because the original two
just weren't strong enough, especially when the shape doesn't
respect the wood grain direction that much, so I also added splines to
the four new hinge leaves.
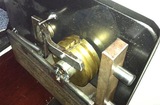
The mechanism inside, and finally working perfectly after adding a brush
to the rotors (to keep them from freewheeling) and four guide rails
to the door locks.
Then I took everything apart and wiped a coat of varnish on even though
the manufacturer did not recommend wiping it on, but it worked out a lot
better compared to brushing it on because it didn't add too much
thickness to the components and therefore everything still worked
when I put it back together.
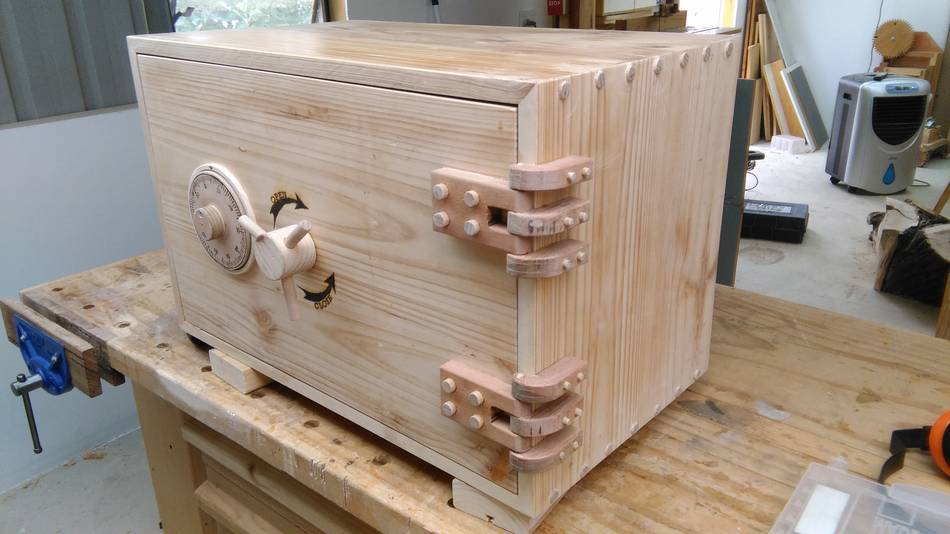
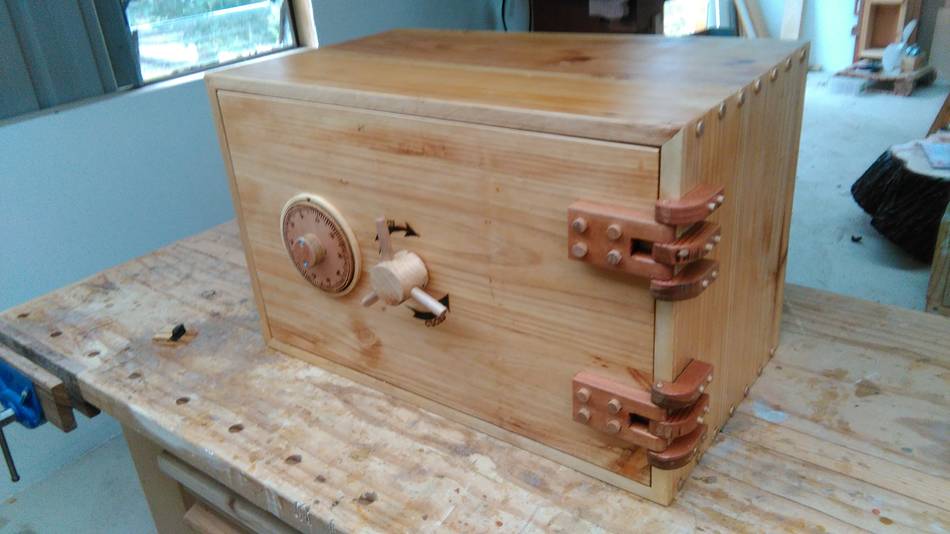
The safe completely finished, although I did have to change the
Tasmanian oak axle in the hand wheel to a spotted gum axle which was
incredibly difficult to make but was well worth it.
I hope you found it interesting and thank you for inspiring me take on
such an unique journey
 This is the rotor assembly, it has 4 rotors instead of three because at
first I was going to have an automatic drop down bar which would make
the last digit of the combination very easy to find, and also because it's a
bit more secure, although at the end of the day the safe is still made
of wood.
This is the rotor assembly, it has 4 rotors instead of three because at
first I was going to have an automatic drop down bar which would make
the last digit of the combination very easy to find, and also because it's a
bit more secure, although at the end of the day the safe is still made
of wood.
 Wooden combination lock

 Wooden air engine
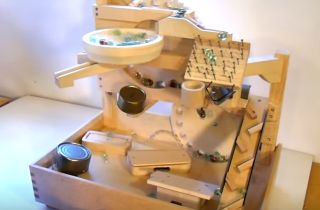 Marble machine 2.1
 Binary marble adding machine