Needlessly complicated axe repair
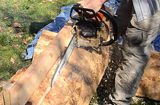
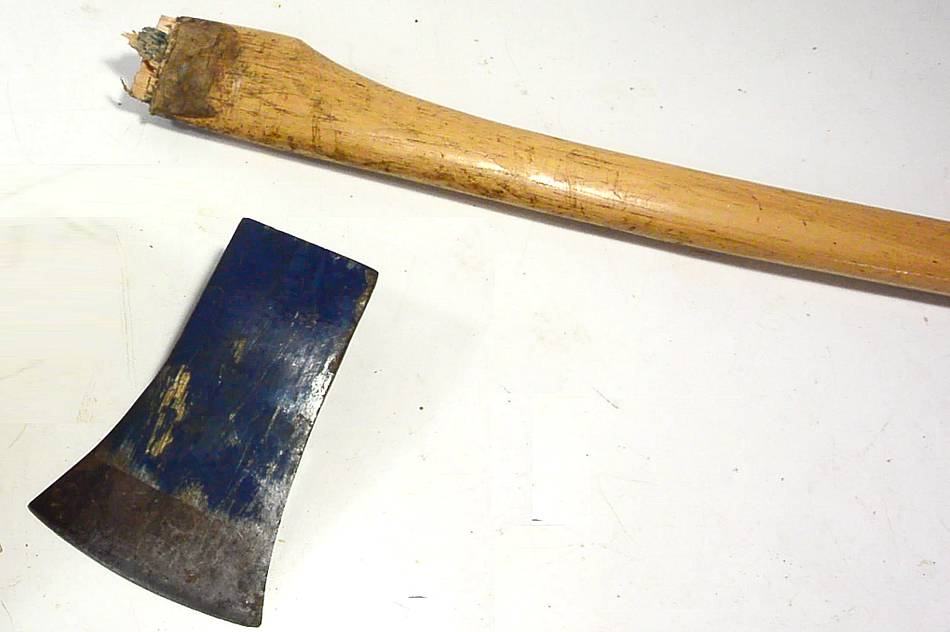 While I was milling up some logs
I had the idea of turning the log by whacking my axe in the end and levering
it to the side. This turned out to be a bad idea because the axe handle
is not strong in that direction, and it broke.
While I was milling up some logs
I had the idea of turning the log by whacking my axe in the end and levering
it to the side. This turned out to be a bad idea because the axe handle
is not strong in that direction, and it broke.
Yes, I know, the proper tool for turning a log a is cant hook or a log peavey. Neither of which I have.
 So I figured I should make a new axe handle. But then I had the idea of
repairing the old one, using some of my fancy tools and getting extra clever
to compensate for the stupidity of breaking it in the first place.
So I figured I should make a new axe handle. But then I had the idea of
repairing the old one, using some of my fancy tools and getting extra clever
to compensate for the stupidity of breaking it in the first place.
I started by planing a flat reference surface to one side of the handle, which would help fix the handle in my jigs.
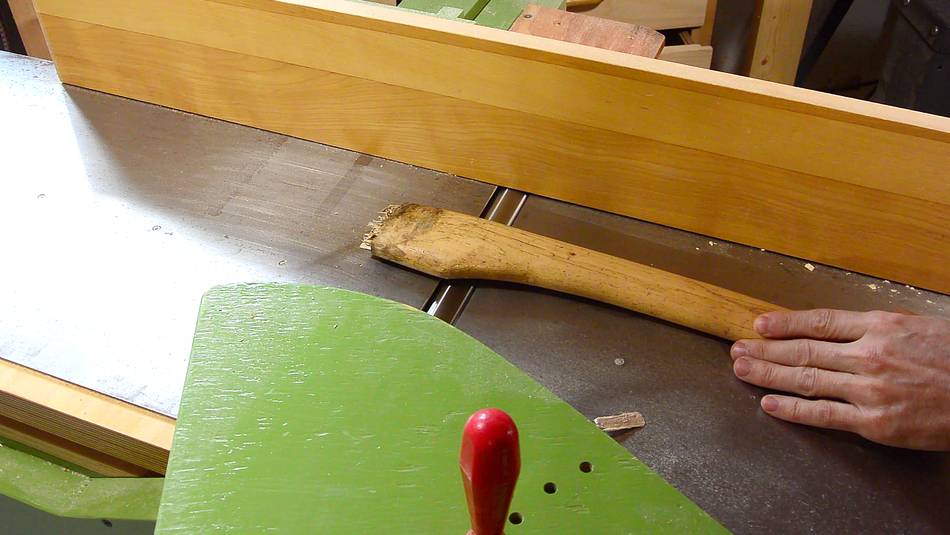
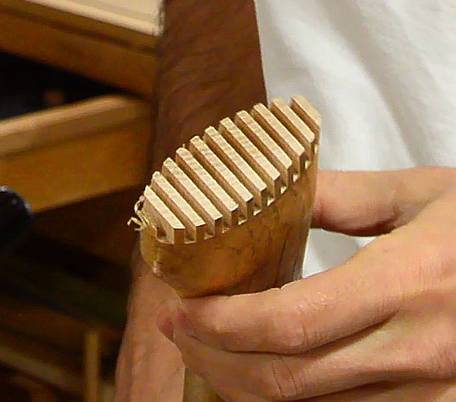 I also cut off about 4 cm off the end of the handle, then put it in my
screw advance box joint jig to
cut a finger joint in the end of it.
I also cut off about 4 cm off the end of the handle, then put it in my
screw advance box joint jig to
cut a finger joint in the end of it.
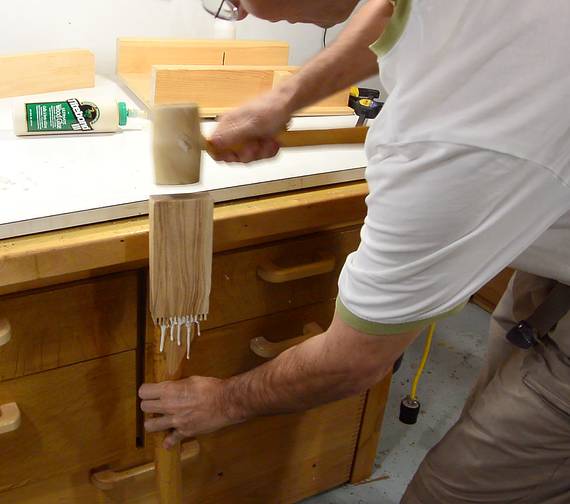
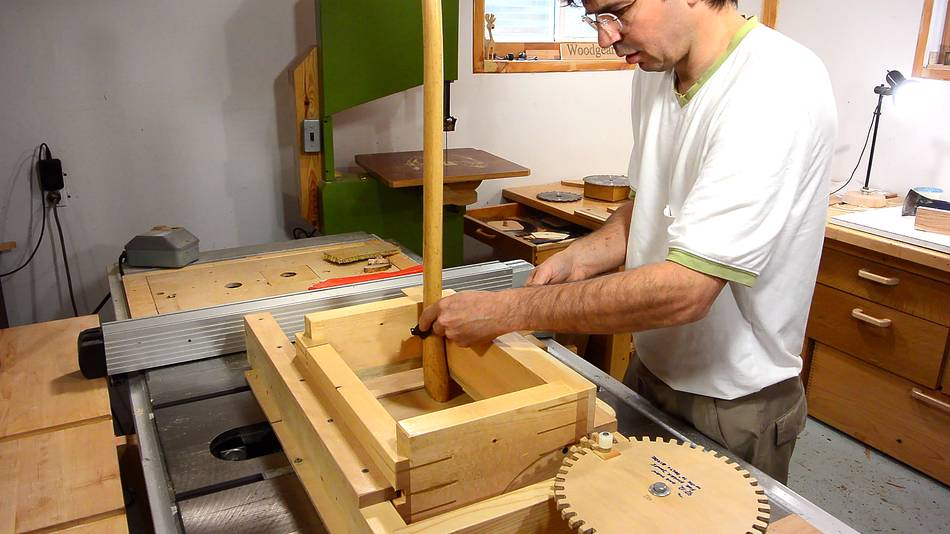
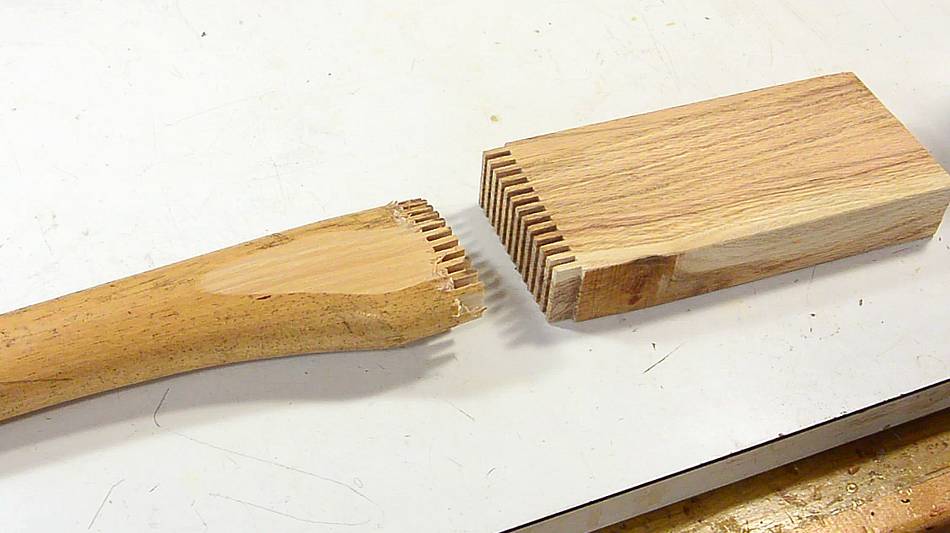 I cut a mating joint in the end of a block of oak,
then glued the two halves together. It was a tight fit, and I had to "tap"
it in with a mallet to make sure the joint bottomed out.
I cut a mating joint in the end of a block of oak,
then glued the two halves together. It was a tight fit, and I had to "tap"
it in with a mallet to make sure the joint bottomed out.
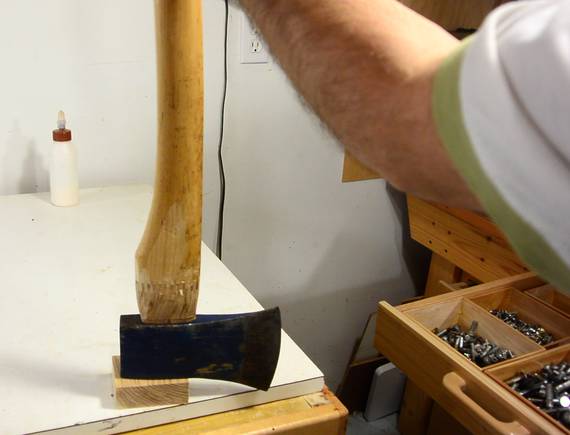
 The axe head has a tapered hole in it, and normally, the handle is
inserted in the narrow end and a wedge driven in from the other side to
lock the head in place.
The axe head has a tapered hole in it, and normally, the handle is
inserted in the narrow end and a wedge driven in from the other side to
lock the head in place.
Because my axe handle broke right where the head is attached, I figured I'd get a bit more strength if I had a tapered handle that inserted from the wider end of the head. To keep the head from flying off, I'll fasten it with a screw and washer.
Not sure if this makes much difference. The hole isn't tapered as much as I'm showing with the model here.
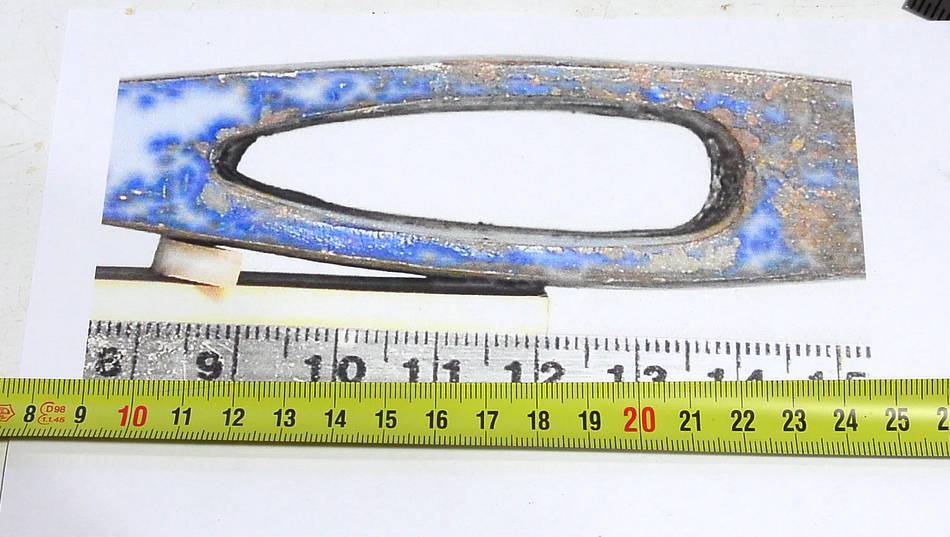 While I was at it using fancy tools, I figured I could carve the tenon for
the head using my pantorouter. So I photographed the larger hole in the
axe head next to a ruler. Using the ruler as a reference in my
BigPrint program, I scaled
the image up to be exactly twice the size to make a pantorouter template.
While I was at it using fancy tools, I figured I could carve the tenon for
the head using my pantorouter. So I photographed the larger hole in the
axe head next to a ruler. Using the ruler as a reference in my
BigPrint program, I scaled
the image up to be exactly twice the size to make a pantorouter template.
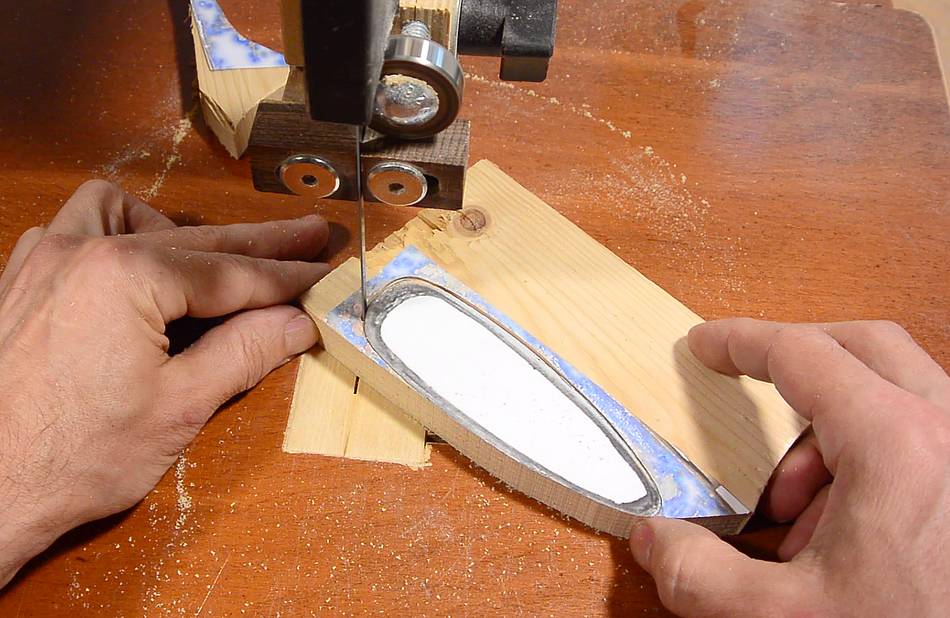 I glued the template onto a scrap of wood and cut it out on the bandsaw.
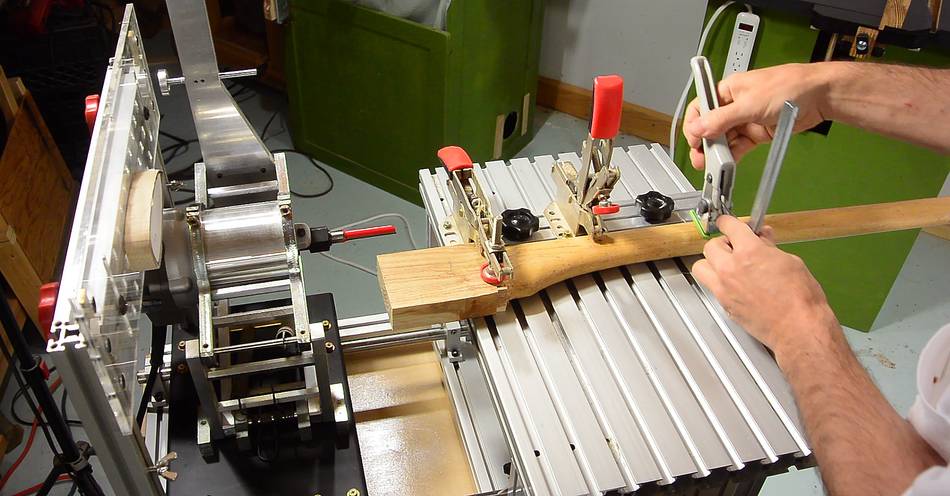 I then mounted the template and axe handle on my pantorouter
(the one from Kuldeep).
I then mounted the template and axe handle on my pantorouter
(the one from Kuldeep).
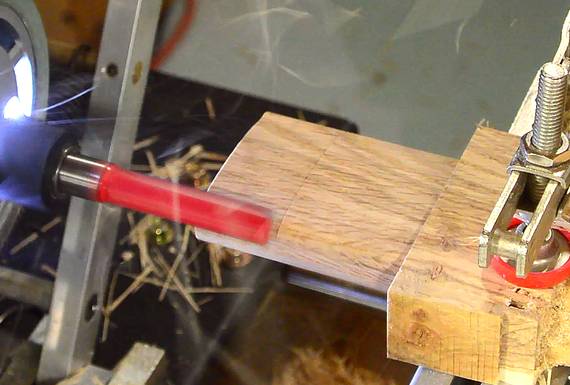
I set the vertical alignment by holding the router bit at the height of the middle of the block on the end of the handle, then raised the template so its center was at the same height as the follower bearing. For horizontal alignment, I held the follower bearing above either end of the template and made sure the router bit was positioned to cut equal amounts from either side.
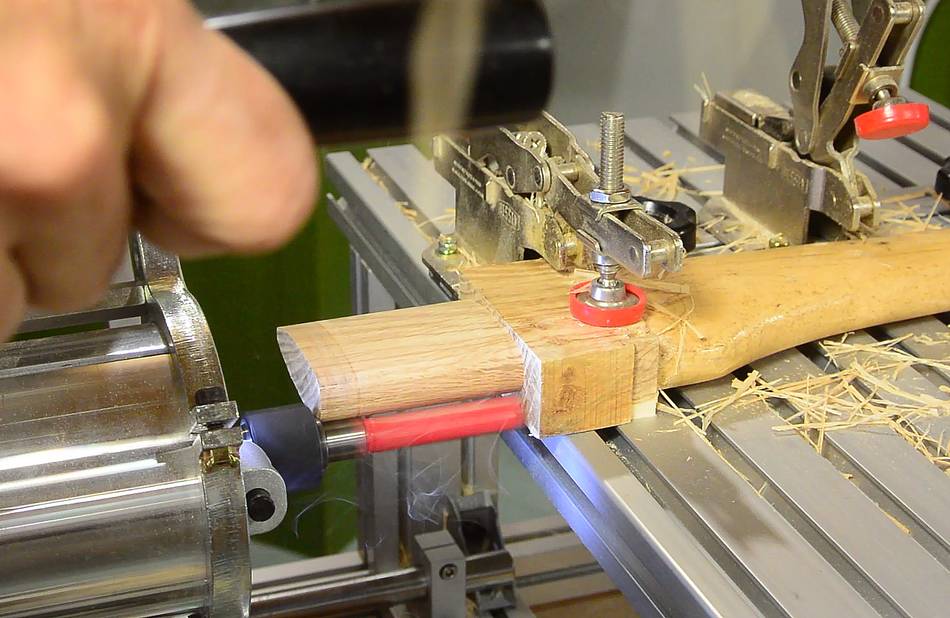
 Cutting the tenon. It was slow going — the wood I glued on was
very hard.
Cutting the tenon. It was slow going — the wood I glued on was
very hard.
I made a straight tenon, but what I really needed was something slightly tapered. So I put a smaller follower on the pantorouter, which makes for a smaller tenon, then routed the end of the tenon again.
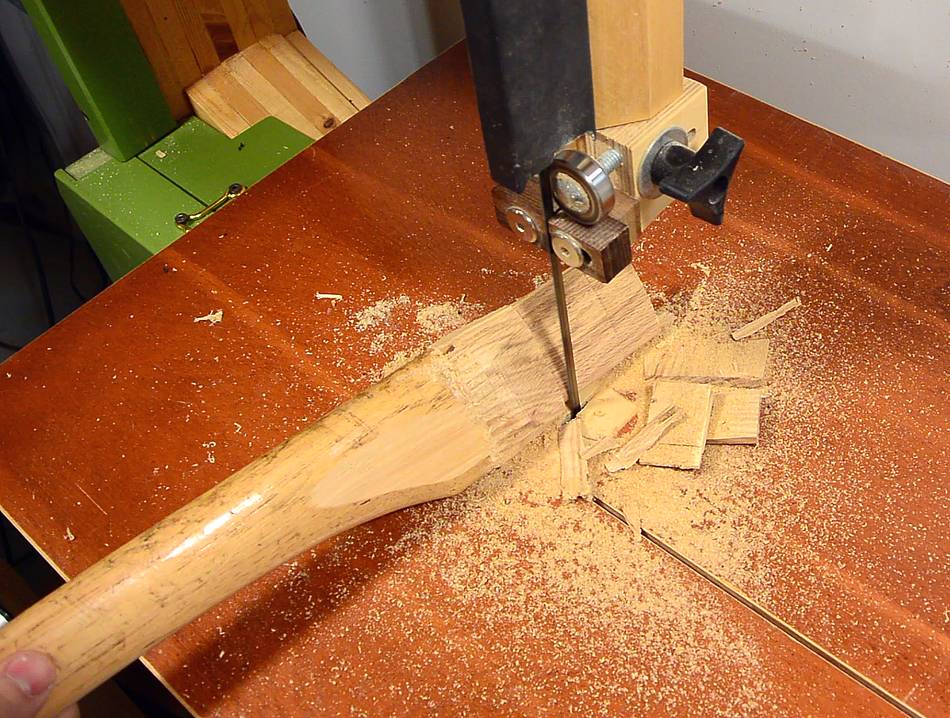 Next I carved the transition from the old handle to the new tenon on the
bandsaw...
Next I carved the transition from the old handle to the new tenon on the
bandsaw...
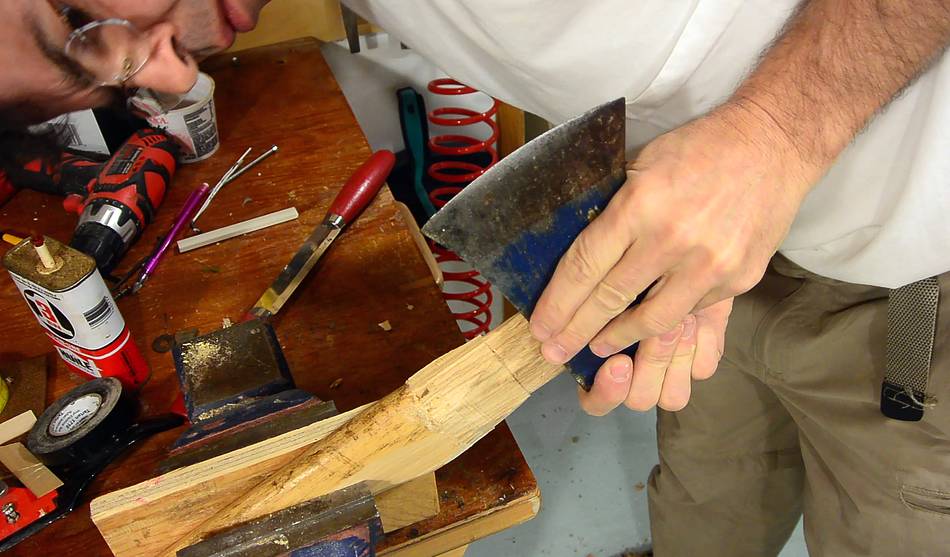
 ...then, using a draw knife, I tapered the tenon to fit in the tapered
hole in the axe.
...then, using a draw knife, I tapered the tenon to fit in the tapered
hole in the axe.
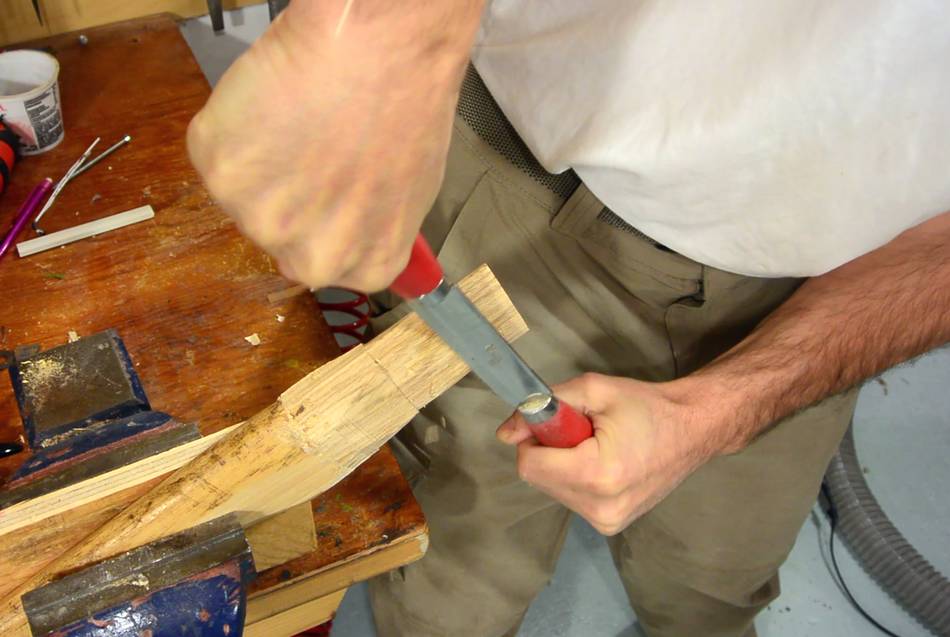
 I fine tuned the shape by trying to fit the axe head again and again,
carving off the parts where I could tell the axe head had rubbed against
the wood.
I fine tuned the shape by trying to fit the axe head again and again,
carving off the parts where I could tell the axe head had rubbed against
the wood.
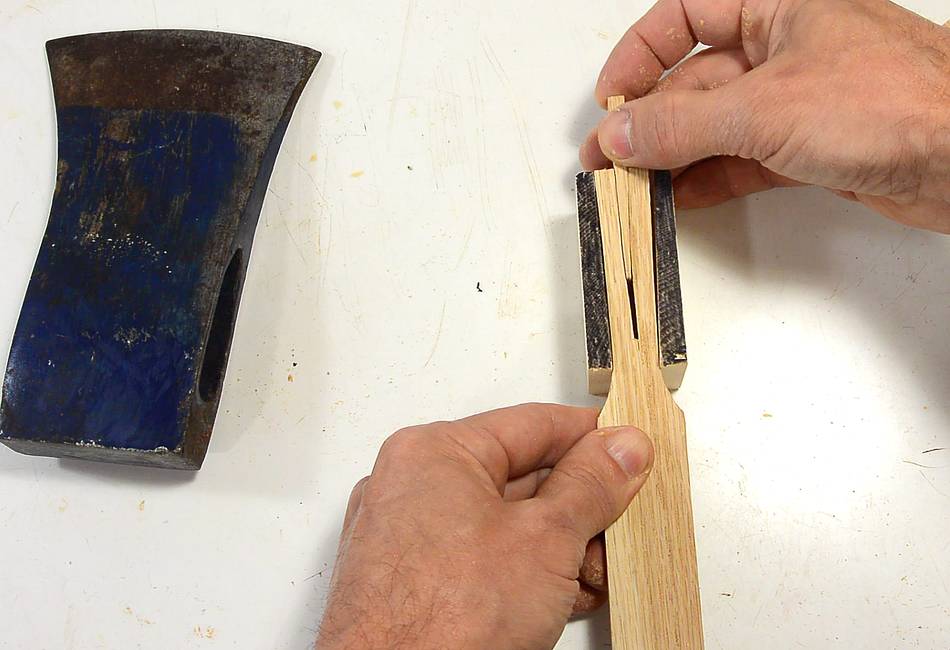
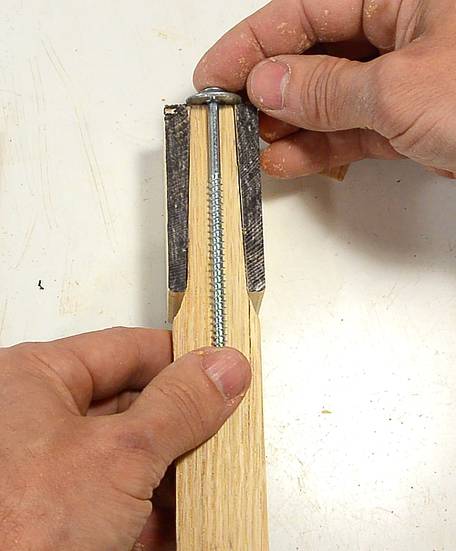
Once I could get the head most of the way on, I hammered it in all the way.
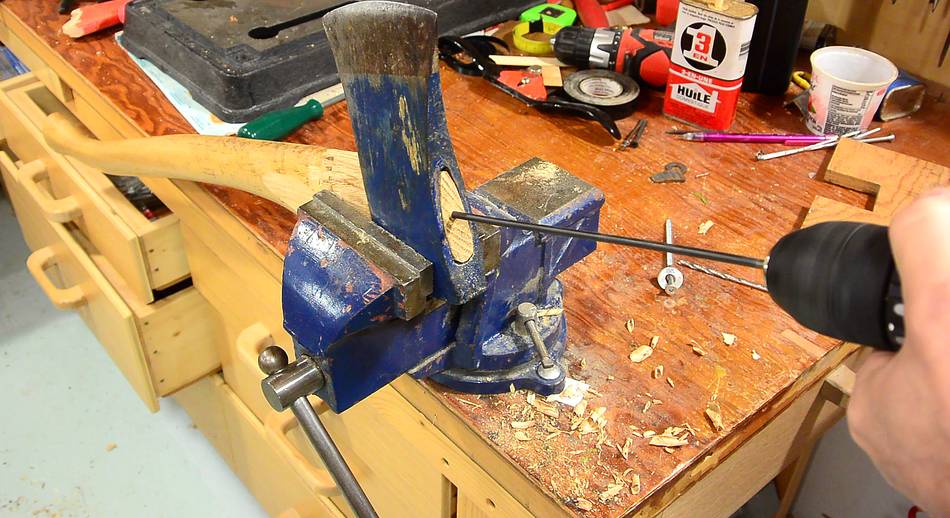 I had to use an extra long drill bit for the pilot hole for a 4 1/4" (115 mm) screw.
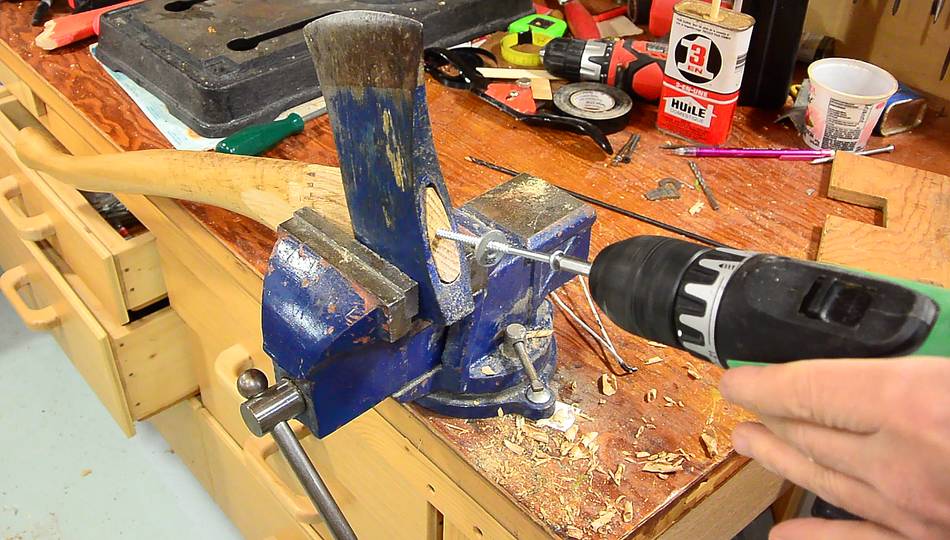 A washer behind the screw head is larger than the tenon and holds the axe head on.
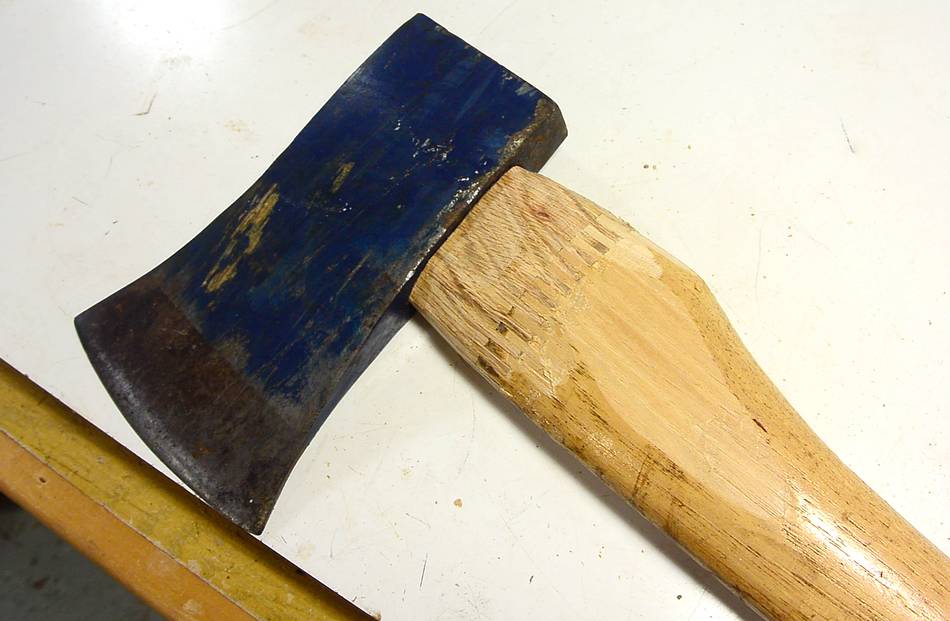 Finished axe repair.
Finger jointing the handle instead of making a new one definitely cut down on work. I'm not sure if carving the tenon with the pantorouter saved much time, though if I had to make a lot of handles, it would definitely be worth it.
I'm sure people will warn me about the risk of the handle breaking where I joined it, but the handle is much thinner where it joins the axe head. So it will break there long before it will break at the finger joint.
I think the reason the handle is so wide at that point is so that the handle doesn't get worn away as fast from over striking (that is, hitting the wood with the handle instead of the axe head). But I don't think an overstrike is likely to break that joint either.
See also:
 Chainsaw milling a log
 Sharpening a chainsaw
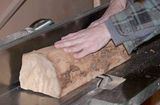 Cutting lumber from
 Splitting logs for lumber
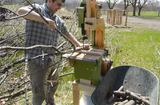 Making firewood with a bandsaw (video only)
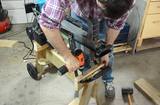 Electric log splitter stand (video only)
Back to my Woodworking website