Making a trunk cover for a Honda Fit
I recently bought a 2013 Honda Fit. After I drove it home, I called the dealership because they forgot to give me a trunk cover. Except they hadn't. This part of the car is a $350 "accessory" with Honda. What a ripoff!I could get one cheaper online, but by the time I'd get it shipped to Canada, I don't think it would be that cheap anymore. So I built one myself.
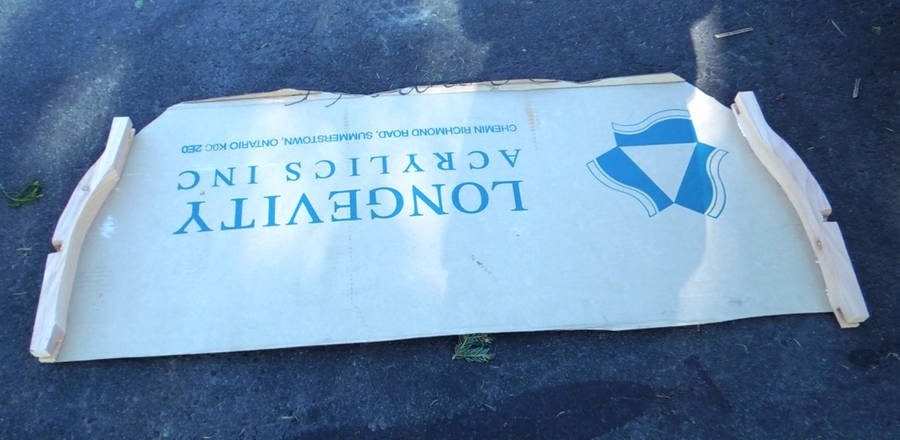
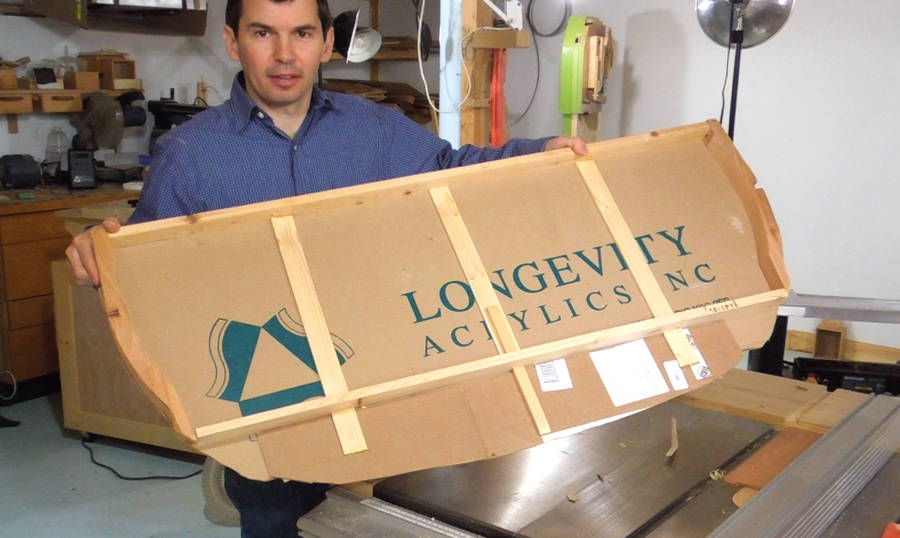
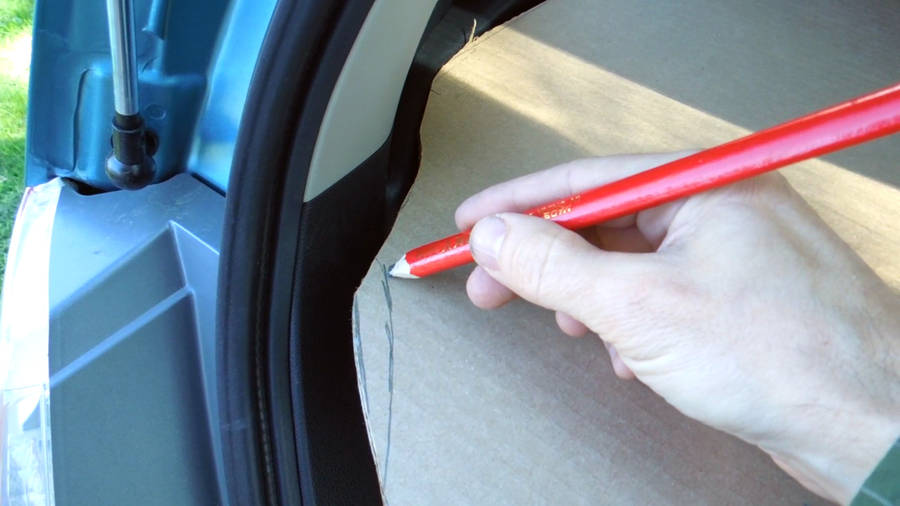 I started with a piece of cardboard big enough to cover the trunk area.
I cut it roughly to size, then kept fitting it, marking where I needed to cut...
I started with a piece of cardboard big enough to cover the trunk area.
I cut it roughly to size, then kept fitting it, marking where I needed to cut...
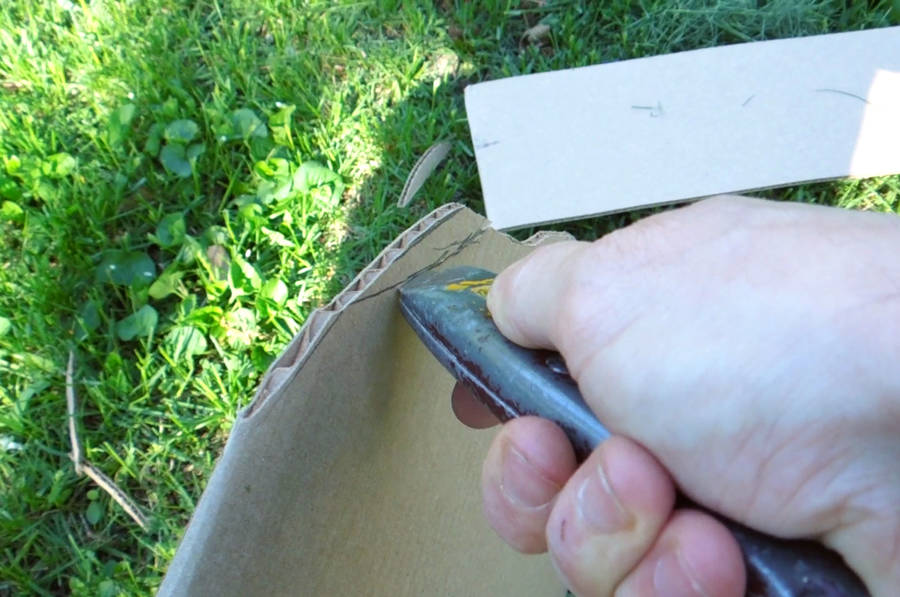 ... and slicing the excess off with a utility knife. A knife with a sharp blade
will just pull through cardboard. I always polish the knife a little on
the buffing wheel to make it go smoother.
... and slicing the excess off with a utility knife. A knife with a sharp blade
will just pull through cardboard. I always polish the knife a little on
the buffing wheel to make it go smoother.
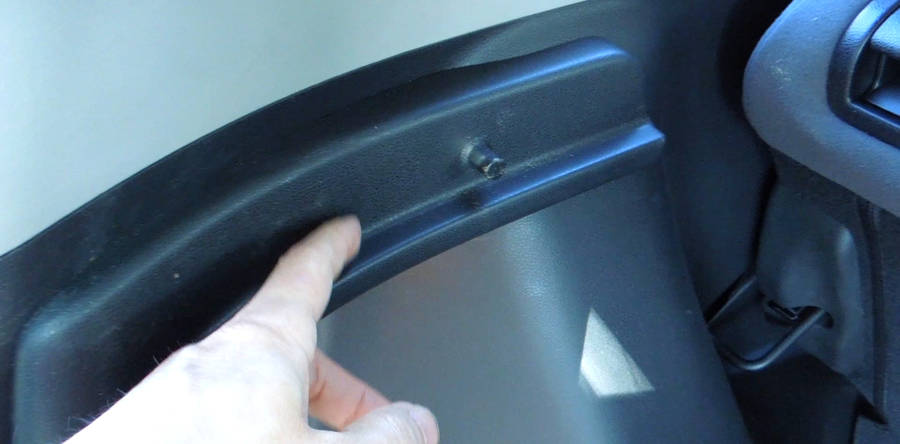 There is a ledge on the sides of the trunk, with a pin sticking out.
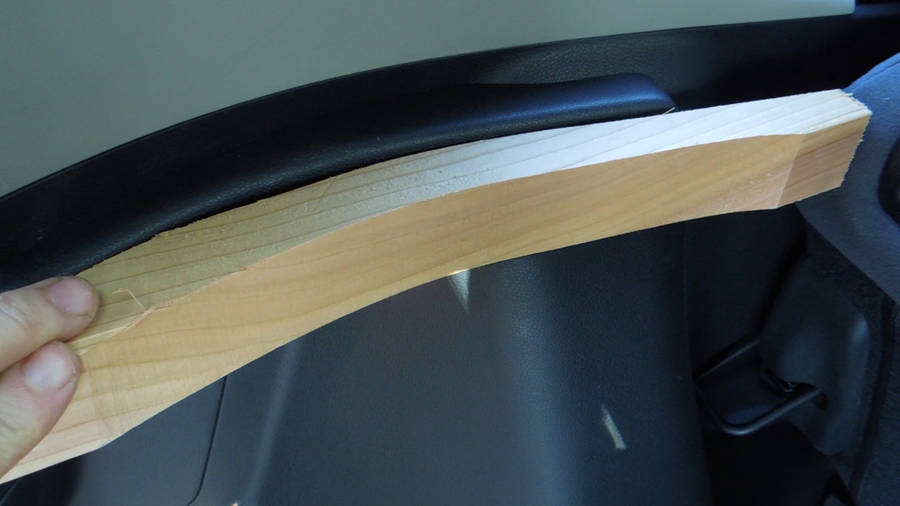 So I cut two pieces of wood to exactly follow the ledge on either side,
with a slot where the pin goes.
So I cut two pieces of wood to exactly follow the ledge on either side,
with a slot where the pin goes.
 Gluing and stapling the wooden pieces onto the cardboard.
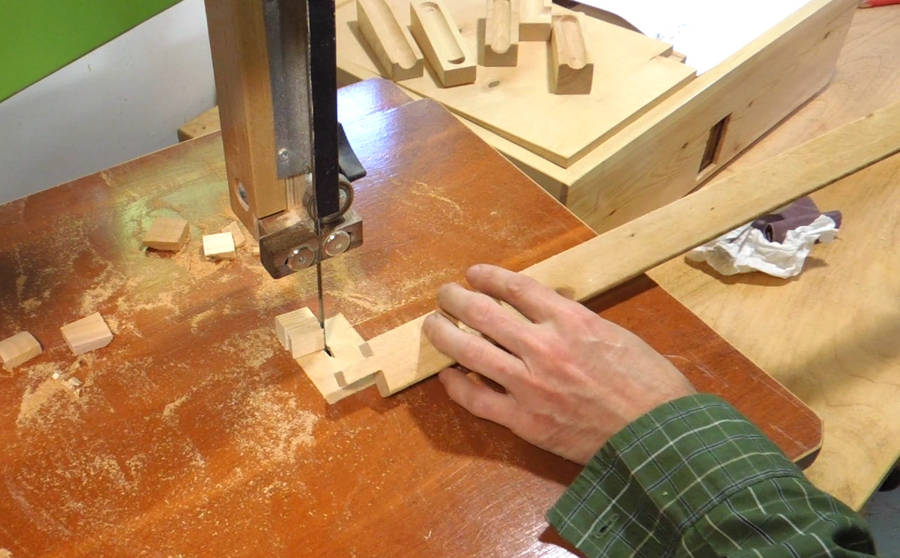 I cut rough bridle joints into the ends of the pieces
for corner joints.
I cut rough bridle joints into the ends of the pieces
for corner joints.
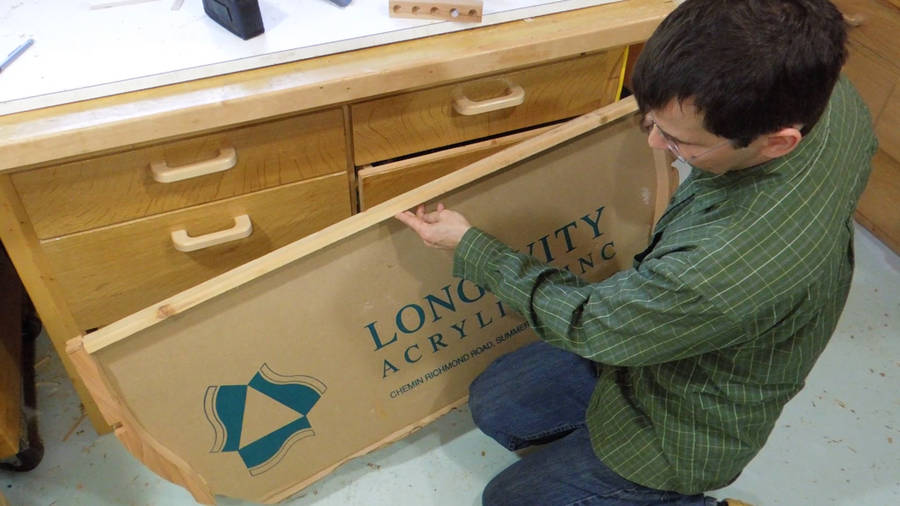 Fitting the first rib to go across.
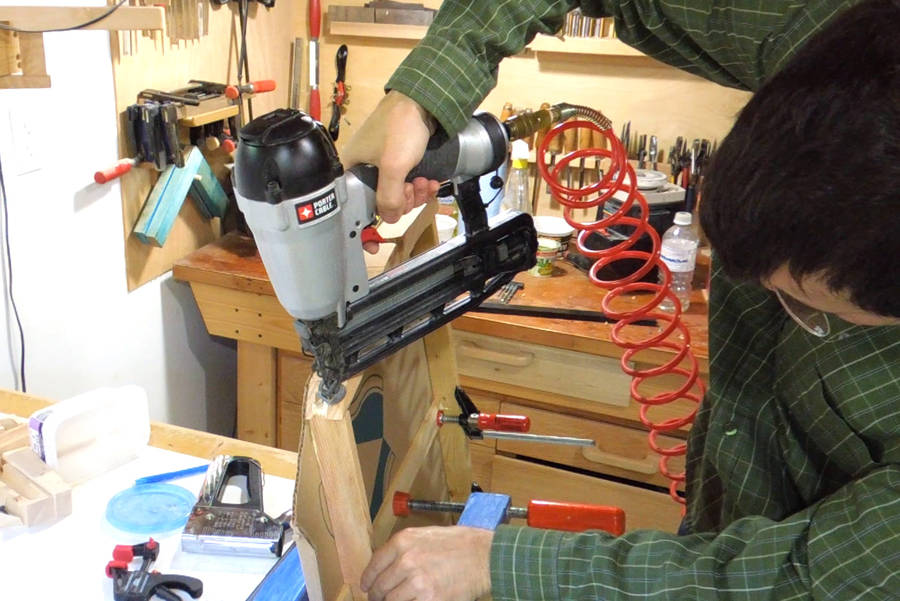 A few brad nails to reinforce the corners.
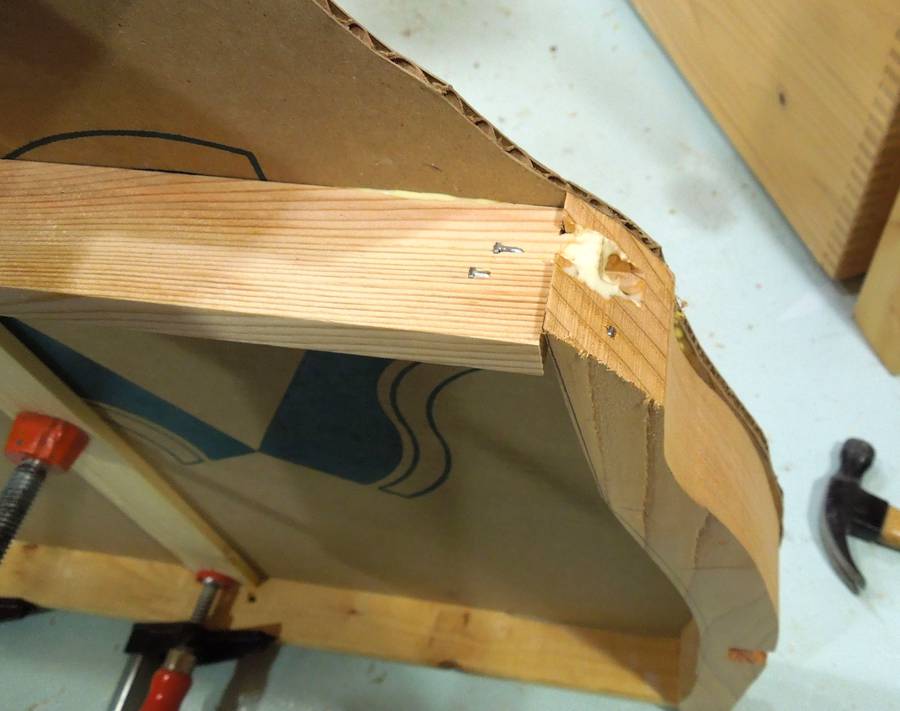 Not pretty, those nails, but they do the job.
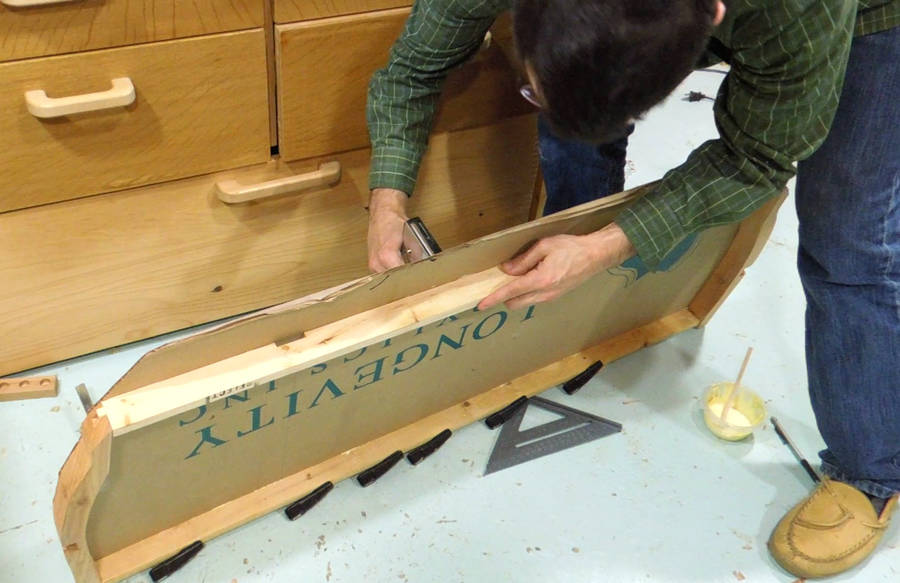 More stapling and gluing the cardboard to the ribs.
 For the rib at the edge, clamping instead of stapling.
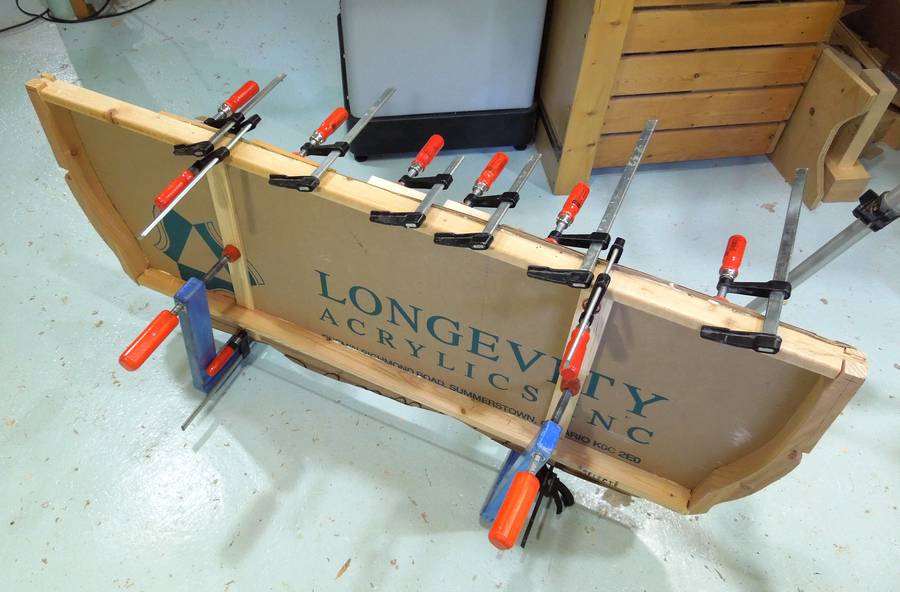
I also added some thin ribs across the piece. My long reach clamps came in handy once again (it's hard to imagine what I did before I built those!)
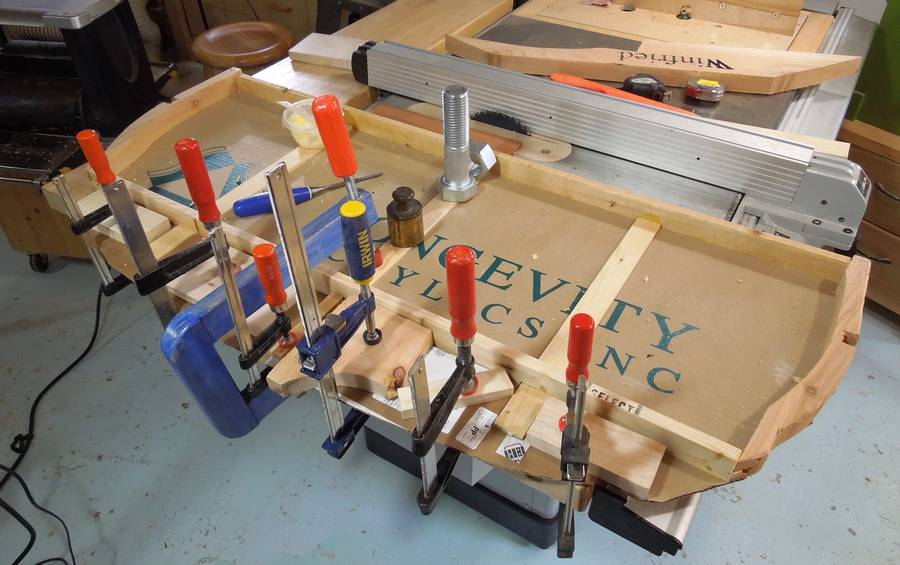 The trunk lid curves outward quite a bit, so my piece of cardboard
wasn't quite wide enough. I extended the trunk cover to make sure
you can't see what's in the trunk.
I glued an extra piece of cardboard on.
The trunk lid curves outward quite a bit, so my piece of cardboard
wasn't quite wide enough. I extended the trunk cover to make sure
you can't see what's in the trunk.
I glued an extra piece of cardboard on.
 All glued up.
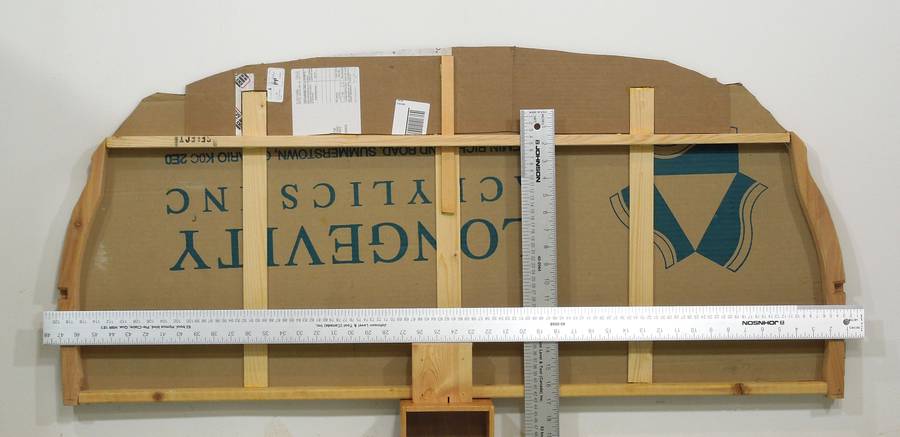 For reference, I took a photo of it exactly perpendicular, from far away, and
at right angles. That way, you can use my BigPrint
program to make an exact 1:1 printout if you make your own Honda fit
trunk cover. Just download this file
honda_fit_trunk_cover.bpf and the BigPrint
eval copy, and drop the file onto BigPrint.
For reference, I took a photo of it exactly perpendicular, from far away, and
at right angles. That way, you can use my BigPrint
program to make an exact 1:1 printout if you make your own Honda fit
trunk cover. Just download this file
honda_fit_trunk_cover.bpf and the BigPrint
eval copy, and drop the file onto BigPrint.
Figuring out the shape of the thing was the most complicated part of the job, so that should make it easier to make one, regardless of how you make it. You could even make one out of rigid Styrofoam.
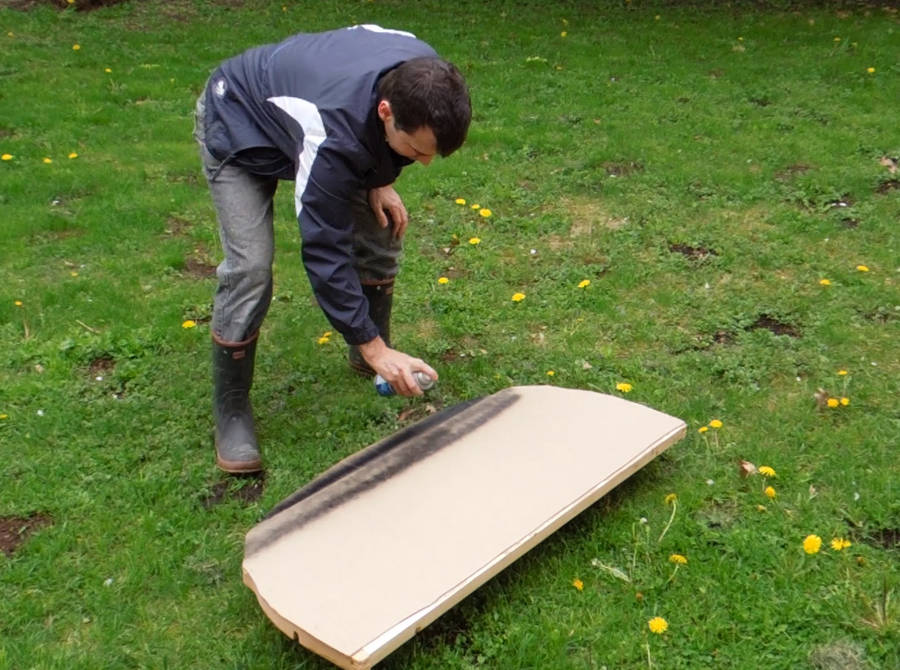 I spray painted the whole thing black. I used a matte spray paint.
I should have used the glossy paint. The glossy paint for my
dust photographing box came out much better on the cardboard.
I spray painted the whole thing black. I used a matte spray paint.
I should have used the glossy paint. The glossy paint for my
dust photographing box came out much better on the cardboard.
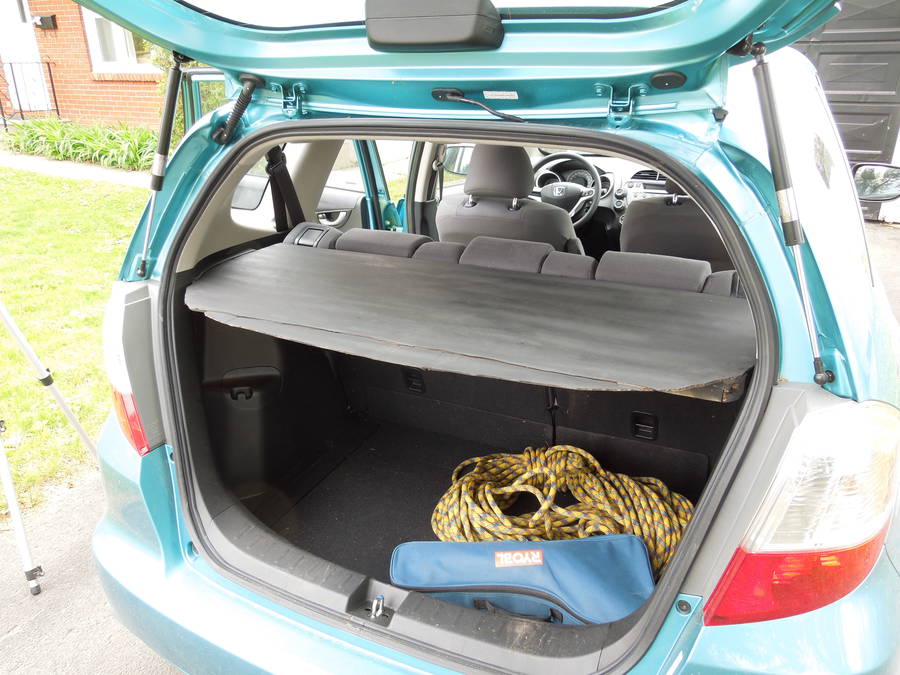 Trunk cover in place.
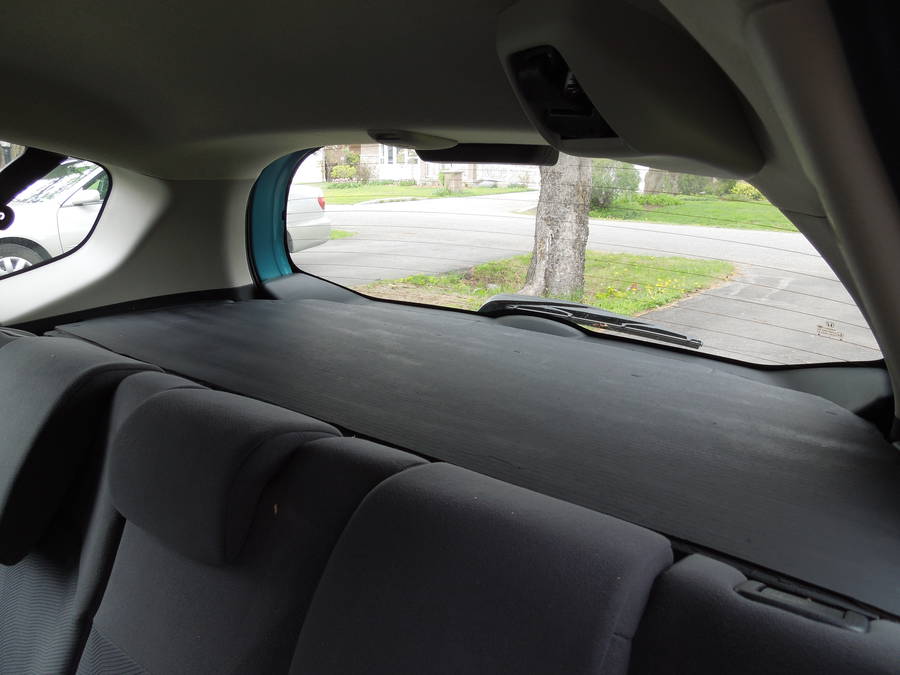 And from the inside.
Even though it's very light and made of cardboard, the wooden ribs give it surprising rigidity.
See also:
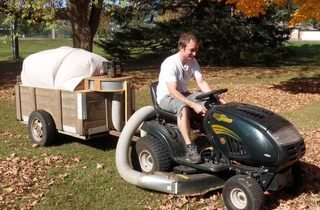 Leaf vacuum trailer
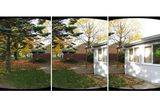 Panorama photography
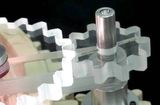 Making Plexiglas gears
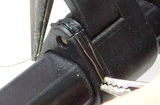 Repairing plastic parts
 Andy's homemade truck
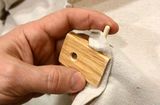 Making wooden tarp clips
Back to my Woodworking website.