Wooden percussion elements
Rocker element
 The rocker element is a sort of see-saw that throws marbles up in the air.
Marbles are dropped on the left side of the rocker element. The marble then rolls to the right side. When the next marble is dropped on the left side, the impact catapults the marble on the right side off the rocker.
 The main part of the body of the rocker element is glued together out of three pieces of wood.
 It's easiest to trim the pieces to their final length after gluing them together.
This ensures the ends of the pieces are all flush.
It's easiest to trim the pieces to their final length after gluing them together.
This ensures the ends of the pieces are all flush.
 Next, two smaller pieces are glued to the rocker. The grain orientation of these pieces
is parallel to that of the main block, so the pieces are actually cut across the grain.
Next, two smaller pieces are glued to the rocker. The grain orientation of these pieces
is parallel to that of the main block, so the pieces are actually cut across the grain.
 The corners of the rocker base are cut round with a bandsaw, then sanded.
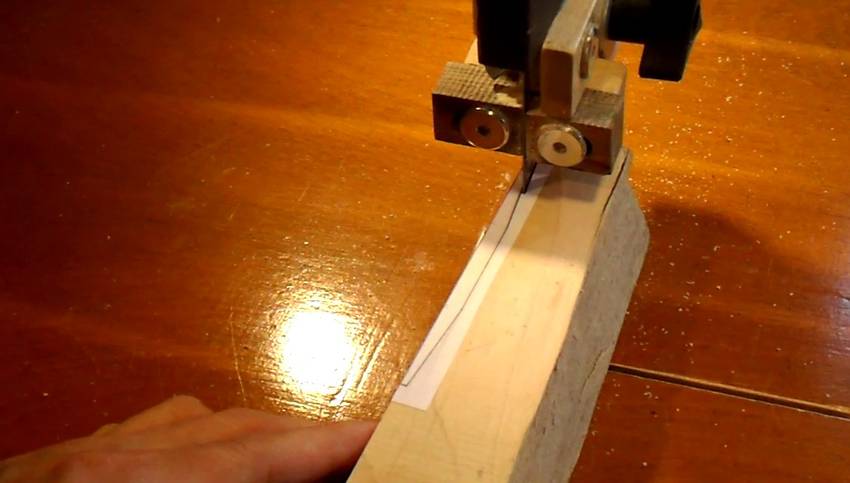 The shape of the rocker paddle is cut off the edge of a piece of wood
on the bandsaw, using a paper template.
The shape of the rocker paddle is cut off the edge of a piece of wood
on the bandsaw, using a paper template.
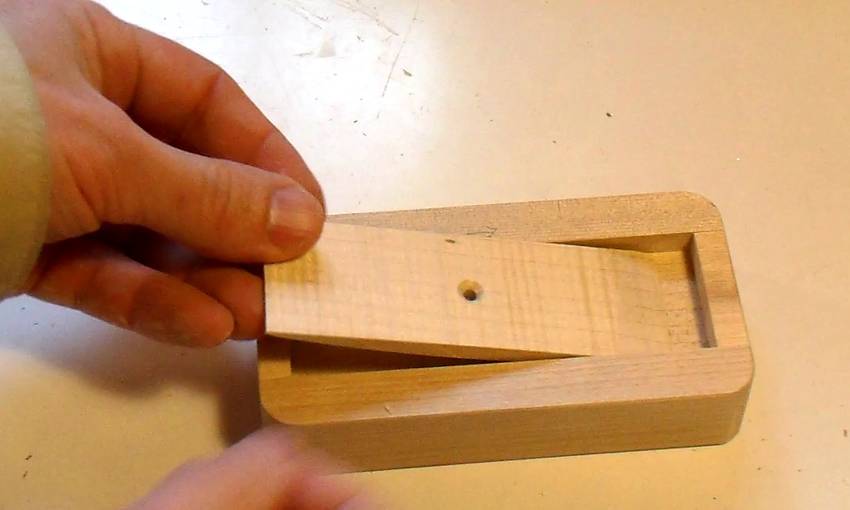 The rocker paddle is screwed loosely into the base. The piece should be able to
tip towards the right side a bit, but not too far to the left. If it can tilt
too far to the left, marbles might not roll to the right.
Note that the slope of the floor of the machine puts the whole element
at an incline, so marbles will roll to the right even if the rocking piece is level
with the top or inclined slightly to the left.
The rocker paddle is screwed loosely into the base. The piece should be able to
tip towards the right side a bit, but not too far to the left. If it can tilt
too far to the left, marbles might not roll to the right.
Note that the slope of the floor of the machine puts the whole element
at an incline, so marbles will roll to the right even if the rocking piece is level
with the top or inclined slightly to the left.
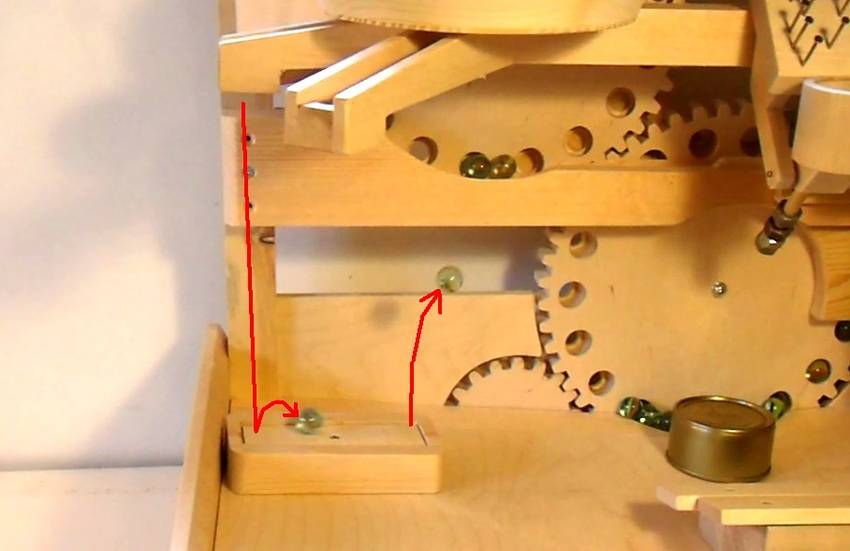 The arrows show the path of marbles in the rocker. The marble at the end of the up
arrow really bounced that high.
The arrows show the path of marbles in the rocker. The marble at the end of the up
arrow really bounced that high.
Clacking box
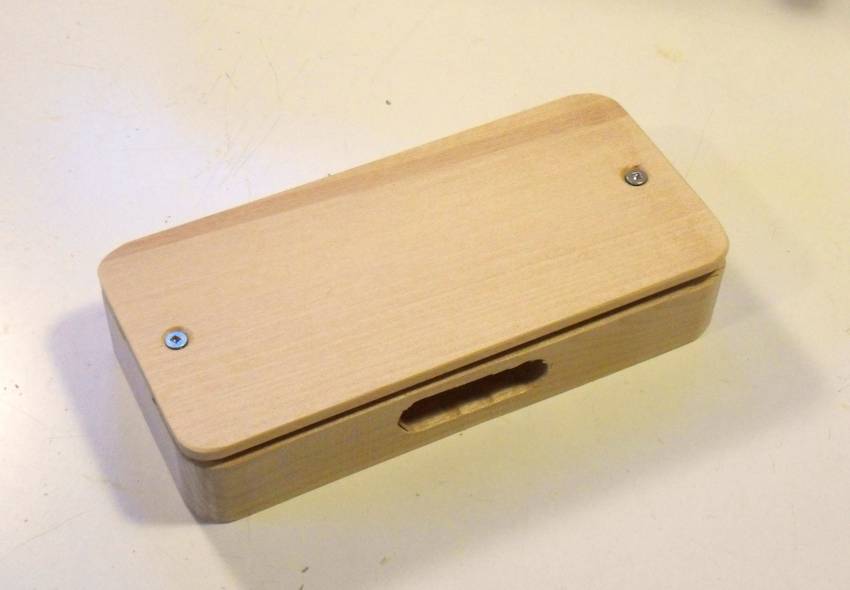 The clacking box is designed to make a loud clack when a marble falls onto it.
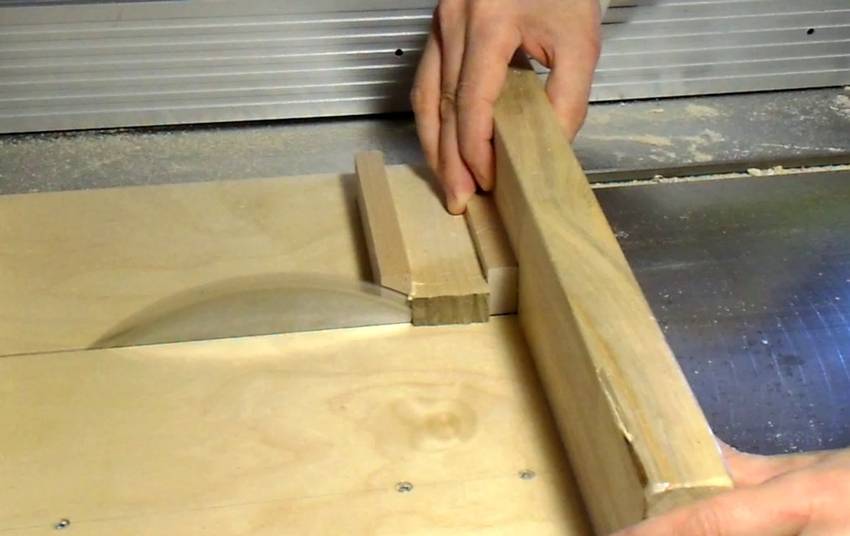
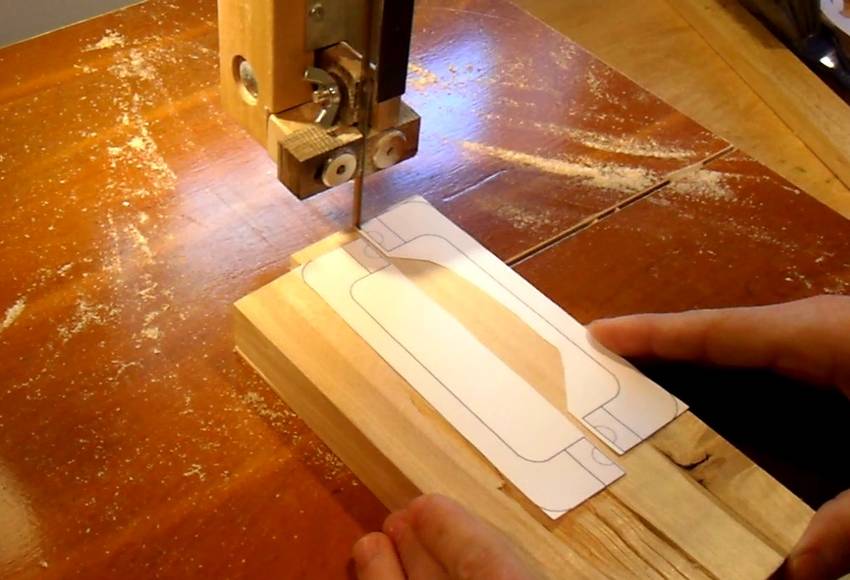 The base of this box is hollow. It's cut out as two halves, so
the inside can be cut with a bandsaw. A scroll saw would be too slow
in thick hardwood.
The base of this box is hollow. It's cut out as two halves, so
the inside can be cut with a bandsaw. A scroll saw would be too slow
in thick hardwood.
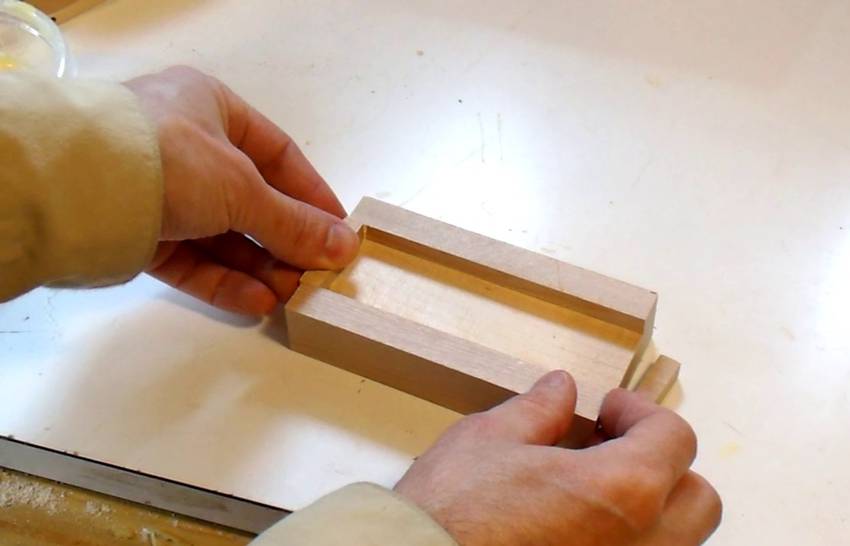
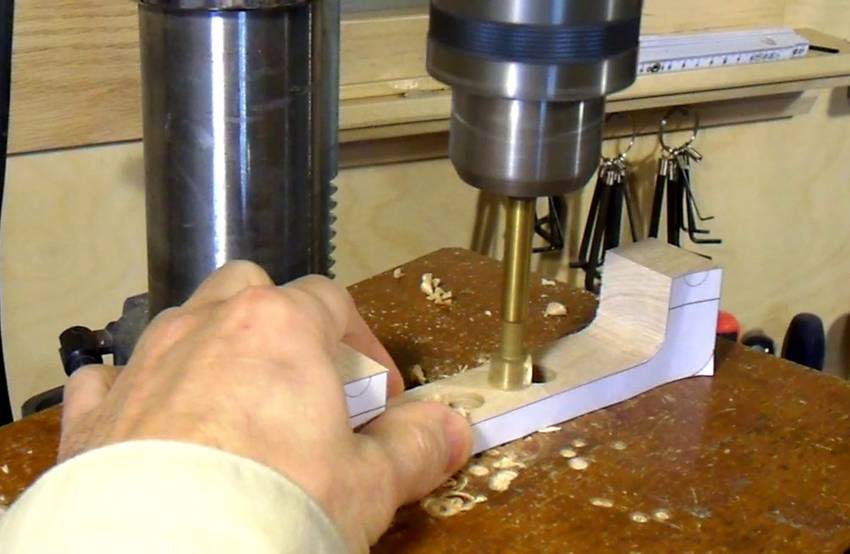 There's a slot in the side of the box to let the sound out, although I'm
not sure it makes much of a difference. I'm drilling a series of 1/2" holes
to shape the slot...
There's a slot in the side of the box to let the sound out, although I'm
not sure it makes much of a difference. I'm drilling a series of 1/2" holes
to shape the slot...
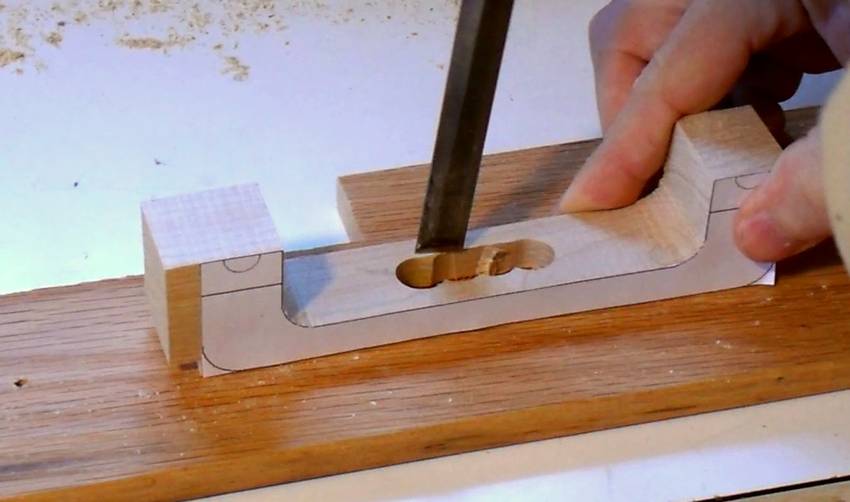 ... then chiseling out the sides.
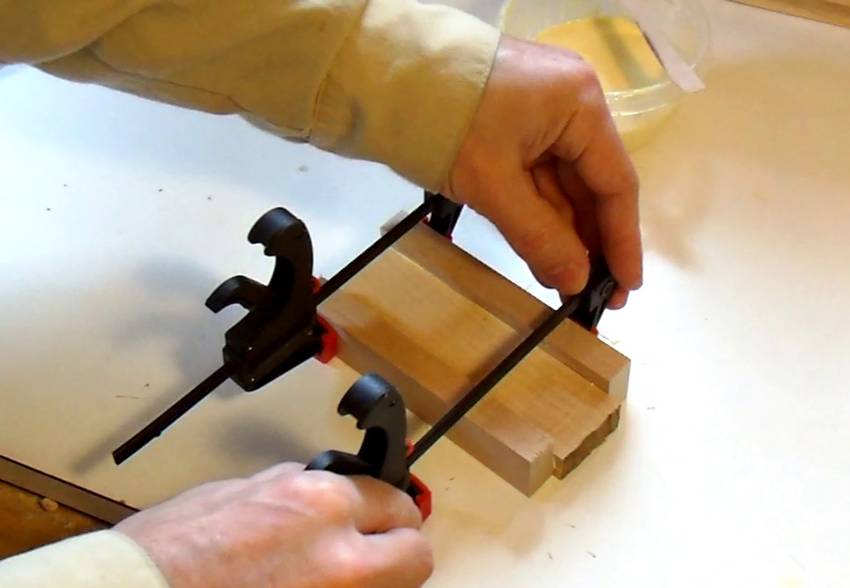
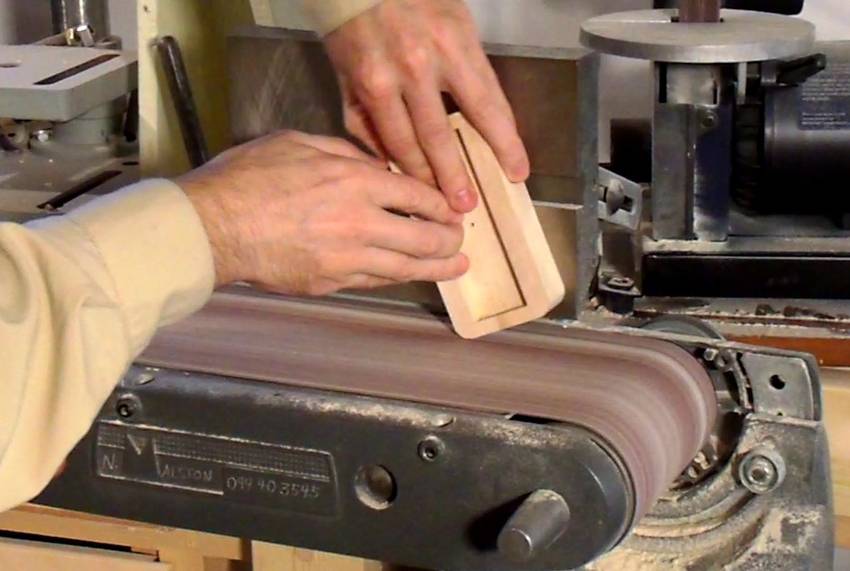
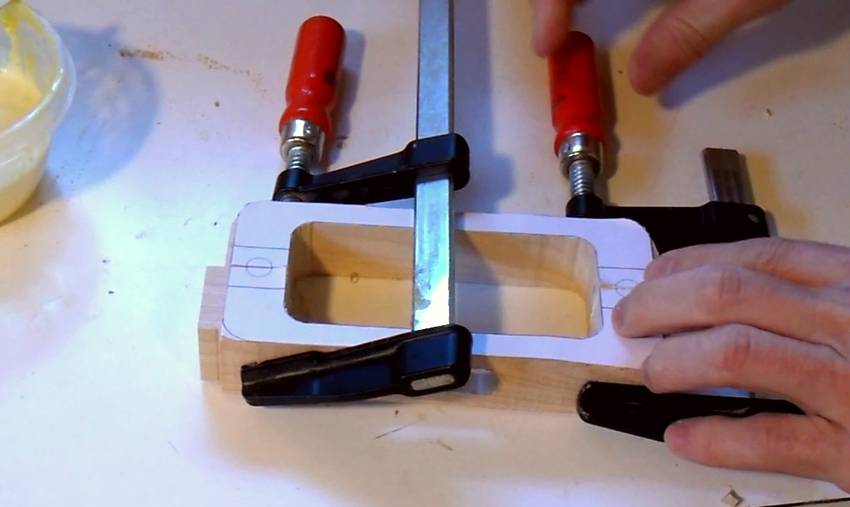 Now gluing the halves together. I smoothed the bandsaw-cut joint surfaces with a belt sander.
Also note that I haven't cut the pieces to length yet. I trim the length after gluing
the halves together. That makes sure both pieces are flush with each other, just like
I did with the rocker element (sorry, I neglected to take a photo of that step)
Now gluing the halves together. I smoothed the bandsaw-cut joint surfaces with a belt sander.
Also note that I haven't cut the pieces to length yet. I trim the length after gluing
the halves together. That makes sure both pieces are flush with each other, just like
I did with the rocker element (sorry, I neglected to take a photo of that step)
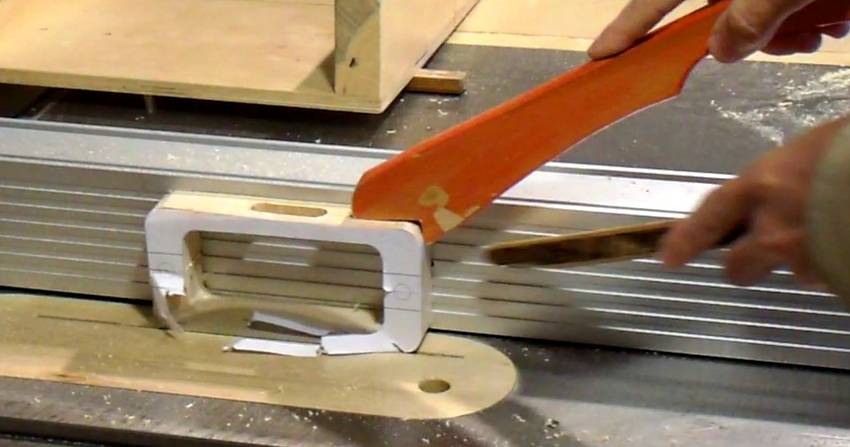 The clacking box is just slightly higher where the top attaches. So to cut the rest
of it lower, I'm passing it over the table saw. I didn't bother to peel off the
template because this step cuts away most of it.
The clacking box is just slightly higher where the top attaches. So to cut the rest
of it lower, I'm passing it over the table saw. I didn't bother to peel off the
template because this step cuts away most of it.
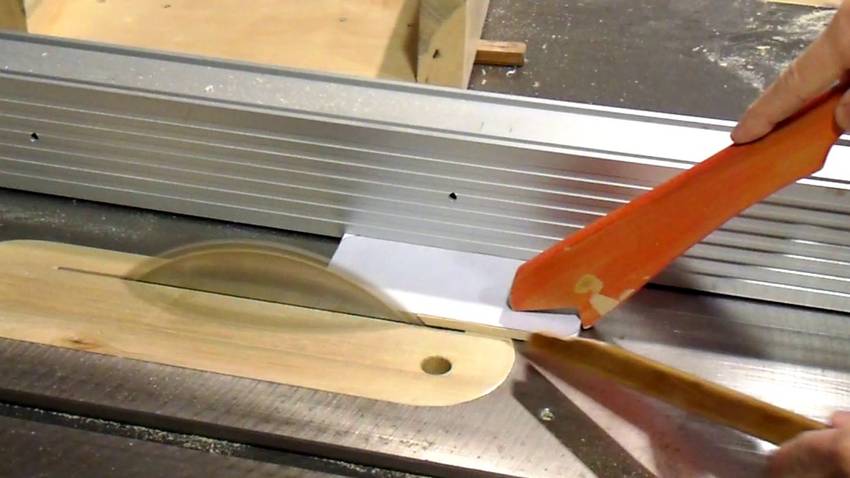 Although I used a paper template for the top, it's actually easier to cut it on the table
saw than the bandsaw. The paper template is still useful to make sure I have the size
right, and for cutting the corner radiuses on the bandsaw afterwards.
Although I used a paper template for the top, it's actually easier to cut it on the table
saw than the bandsaw. The paper template is still useful to make sure I have the size
right, and for cutting the corner radiuses on the bandsaw afterwards.
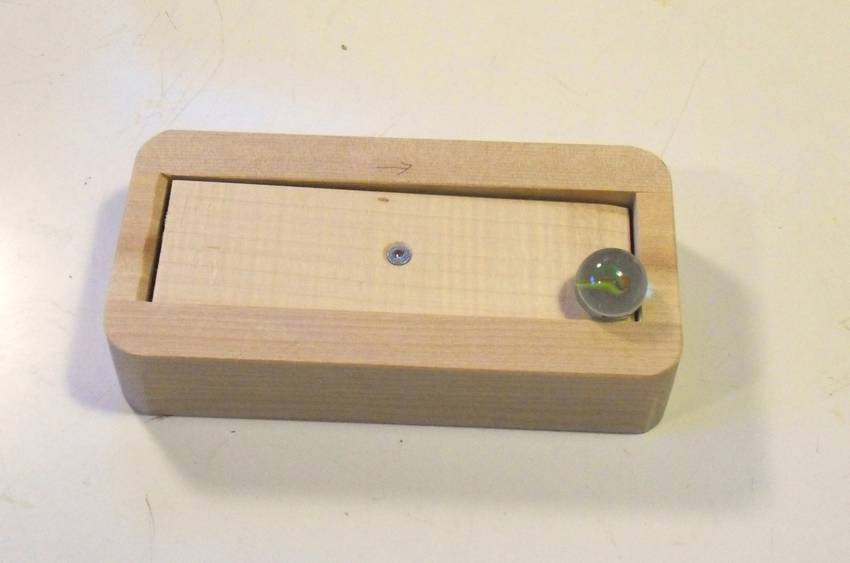
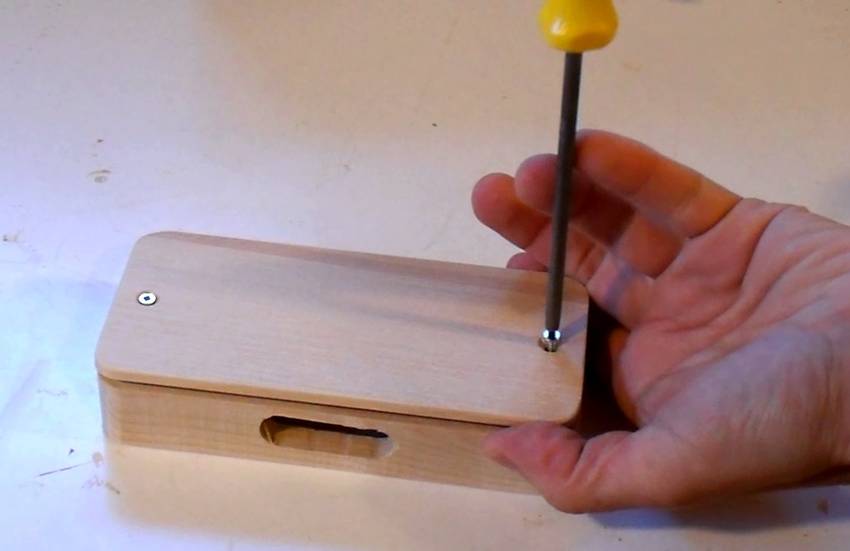 Now screwing the lid on the box. The screws aren't tightened all the way down, so the
top can vibrate freely.
Now screwing the lid on the box. The screws aren't tightened all the way down, so the
top can vibrate freely.
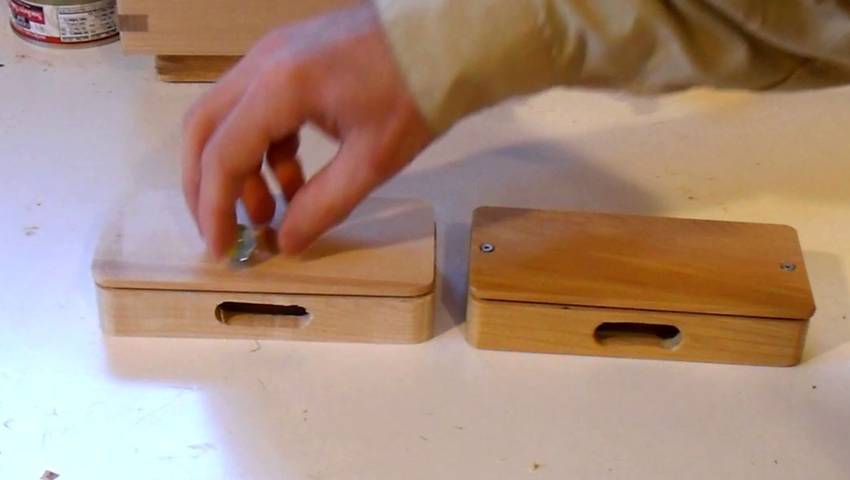 Doing a quick sound check of the clacking box, comparing it to the one for my
first marble machine 2. I originally cut the top to be 5 mm thick, but the sound wasn't
as good as the old one, so I cut it down to 3 mm. I changed the plans to 3 mm.
Doing a quick sound check of the clacking box, comparing it to the one for my
first marble machine 2. I originally cut the top to be 5 mm thick, but the sound wasn't
as good as the old one, so I cut it down to 3 mm. I changed the plans to 3 mm.
Next: Xyloboard and alignment pegs
Back to Marble machine 2.1