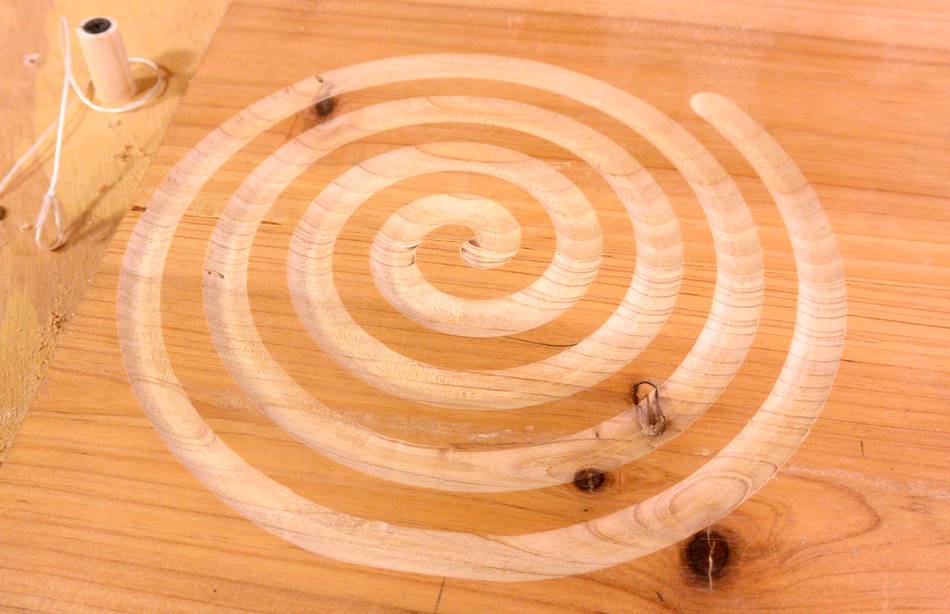
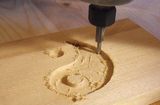
Cutting spirals with a router
 |
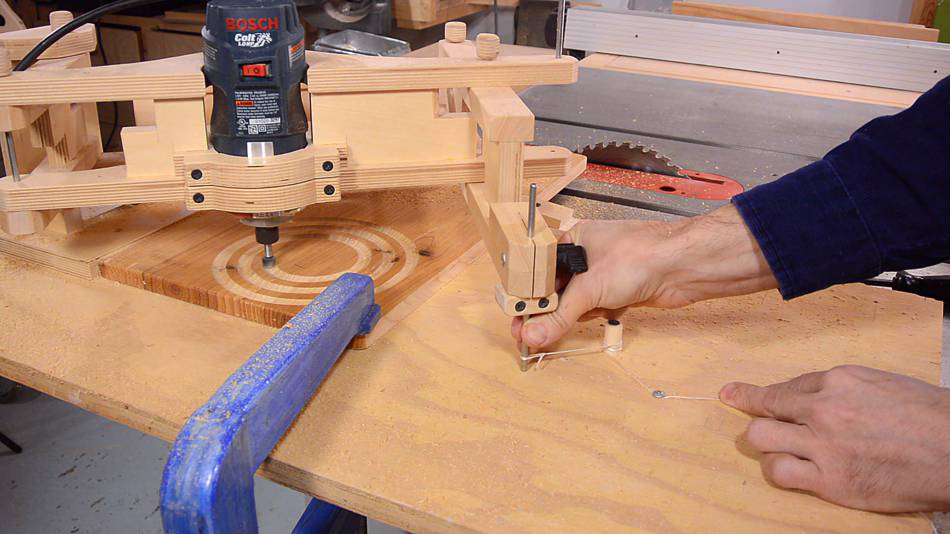
And like so many times before, my router pantograph was the answer.
 I trace out a spiral by winding a string onto a post. The stylus of the pantograph is tied
to the string, so the stylus traces the spiral. And the pantograph faithfully reproduces
this shape at 1/2 scale with the router. Simple as that.
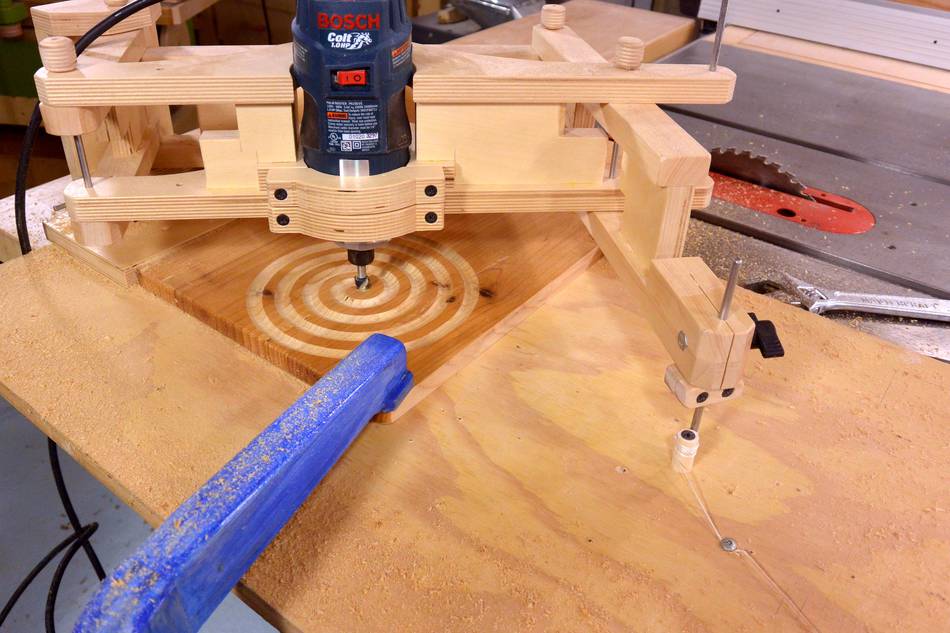
I trace out a spiral by winding a string onto a post. The stylus of the pantograph is tied
to the string, so the stylus traces the spiral. And the pantograph faithfully reproduces
this shape at 1/2 scale with the router. Simple as that.
The size is limited by how large a pattern the pantograph can route, but it makes for some clean spirals.
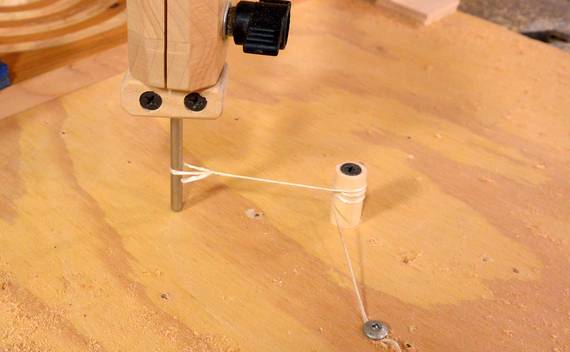
 If you try this yourself, I'd recommend a string that doesn't stretch very much (braided and
twisted strings tend to stretch a bit). I use a strand from a string that used to hold
a crate together. You might also use metal wire for the string.
If you try this yourself, I'd recommend a string that doesn't stretch very much (braided and
twisted strings tend to stretch a bit). I use a strand from a string that used to hold
a crate together. You might also use metal wire for the string.
Also, if you want to be able to take more than one pass, make sure the string does not wind onto itself.
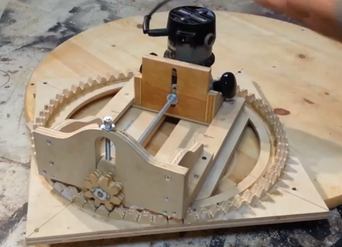
So, if you already have a pantograph, cutting spirals is easy. If you don't have a pantograph, consider building one. The pantograph is still easier to build that cool and complicated jig of Izzy's. The other catch with Izzy's jig is that the rotating platform is quite tricky to get operating smoothly.
That said, there are some cool contraptions on Izzy's YouTube channel
Izzy has also since made an
update video on spiral cutting jigs in response to my video.
And Matthias Burger has made
this video showing how the string method could be used to cut sprials
without a pantograph.
See also:
 Inlays with the router pantograph
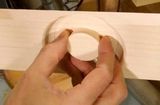 Recessed knobs
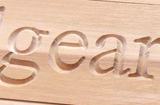 Carving 3D letters
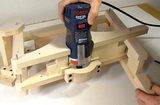 Router pantograph
 Letter stencil maker
More about the 3D router pantograph on my woodworking website