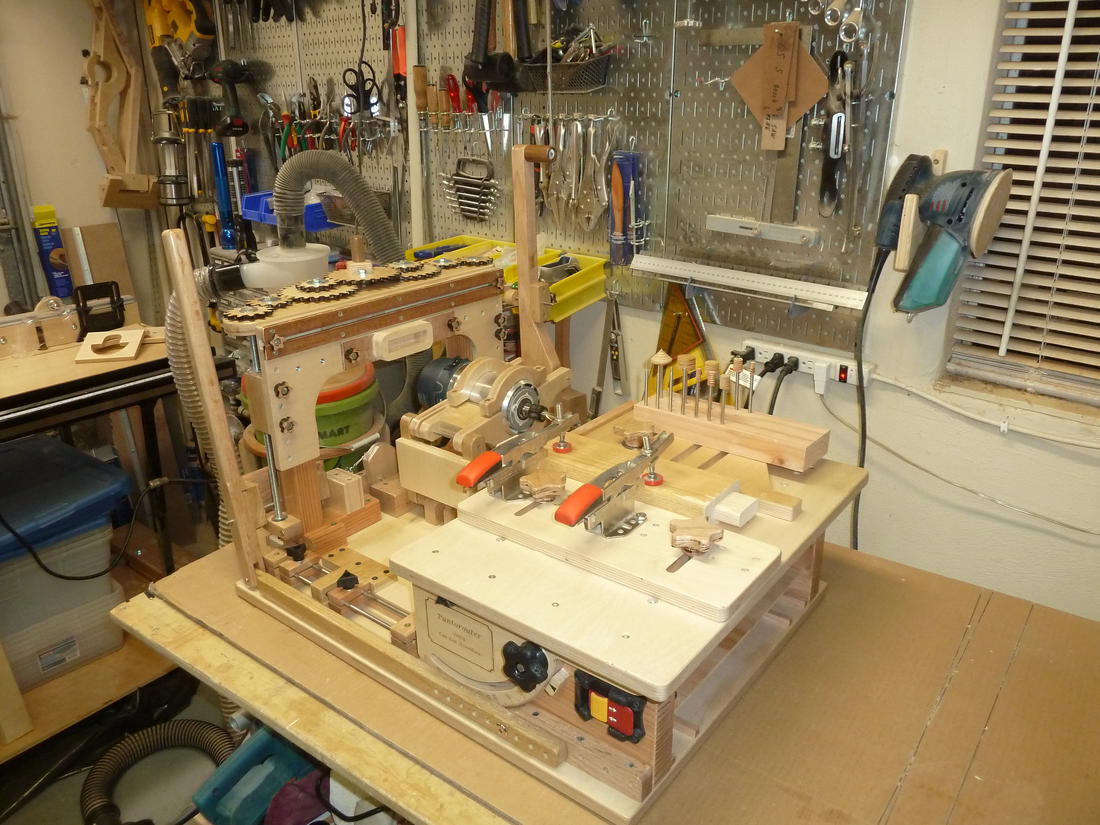
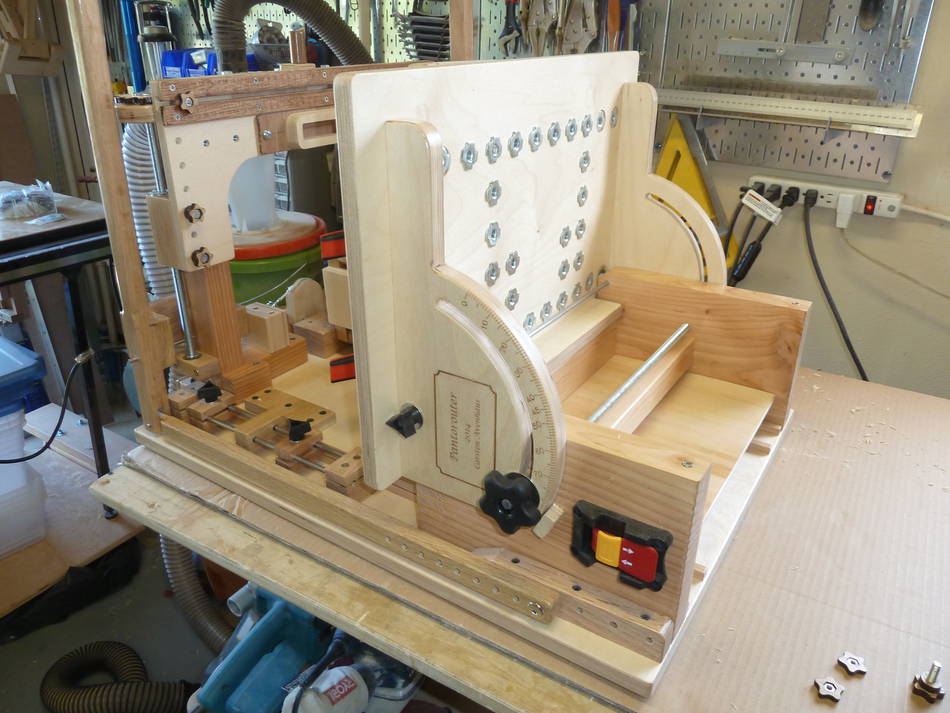
Carsten Avenhaus's pantorouter, with gears
Carsten Avenhaus writes:My goal was to combine the flexibility of the Pantorouter with the easy setup of the Slot Mortising Machine. I also tried to address some of the issues you pointed out in your comparison with Kuldeep's version. So it has a total plunge depth of 17cm using 20" drawer slides from LeeValley.
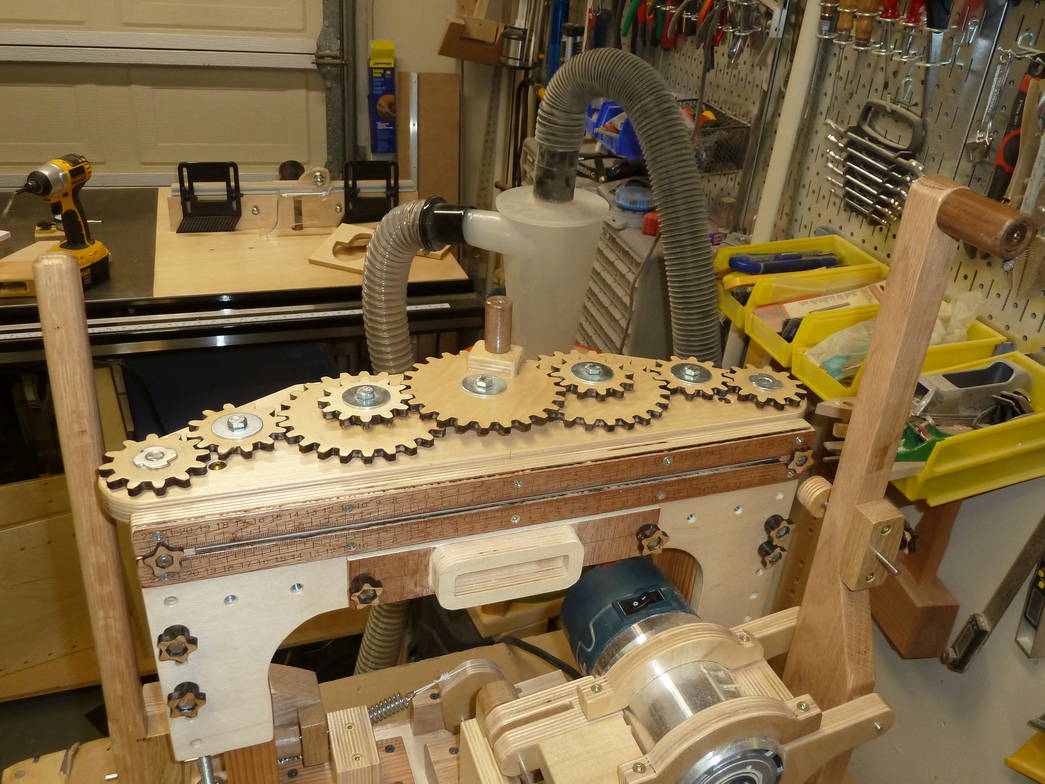
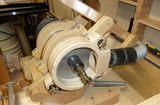
Template Lift
I wanted the template height to be easily and quickly adjustable without having to worry about getting the templates straight all the time. This gave me the opportunity to use wooden gears on the Pantorouter. :-)
The template height is adjusted by cranking a set of gears on top of the
template frame. The gears have a ratio of 4:1 and drive two threaded
3/8" rods with 16 threads per inch.
So one turn of the main gear raises the template by 1/4 inch, which
translates to 1/8 inch of the router bit. As you pointed out, threaded
rods from the hardware store are not always very accurate, but I checked
with a caliper before I bought them. The two rods are cut from the same
piece, so this should ensure the template is raised by exactly the same
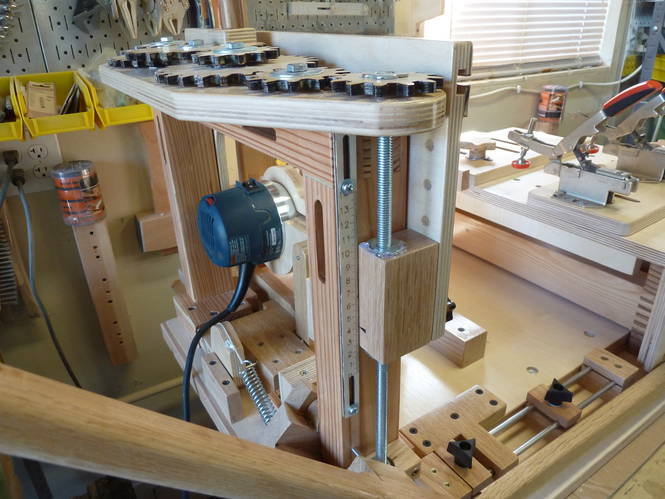
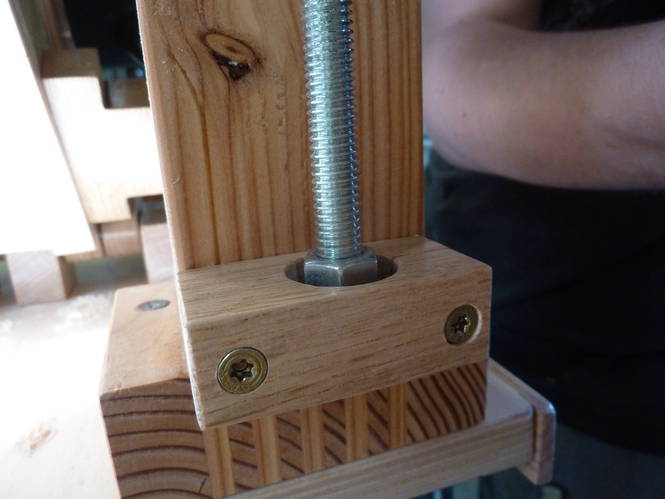
amount on both sides. The threaded rods are mounted with ball bearings
on the top and bottom. They raise and lower two wooden blocks using
T-nuts similar to your Long-reach
wooden C-clamps. I used some hot glue on the upper nut to eliminate
vertical play. Instead I should have just used screws to hold the lower
nut in place, but I only noticed the problem after assembly. Oh well,
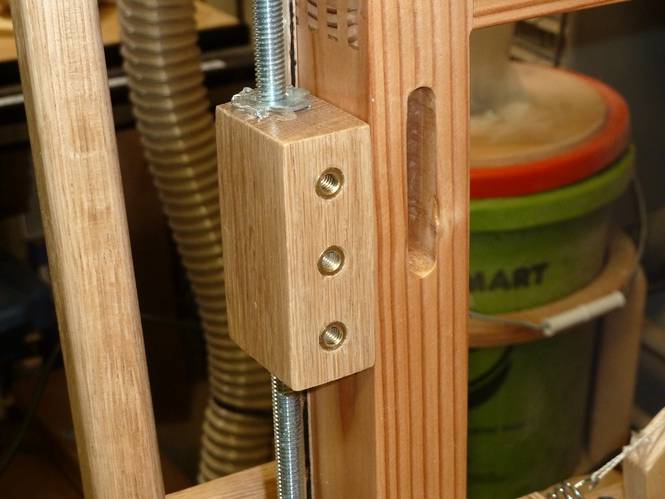
some alcohol will make it easy to get the hot glue off. The wooden
blocks have threaded inserts for the template holder that will slide up
and down.
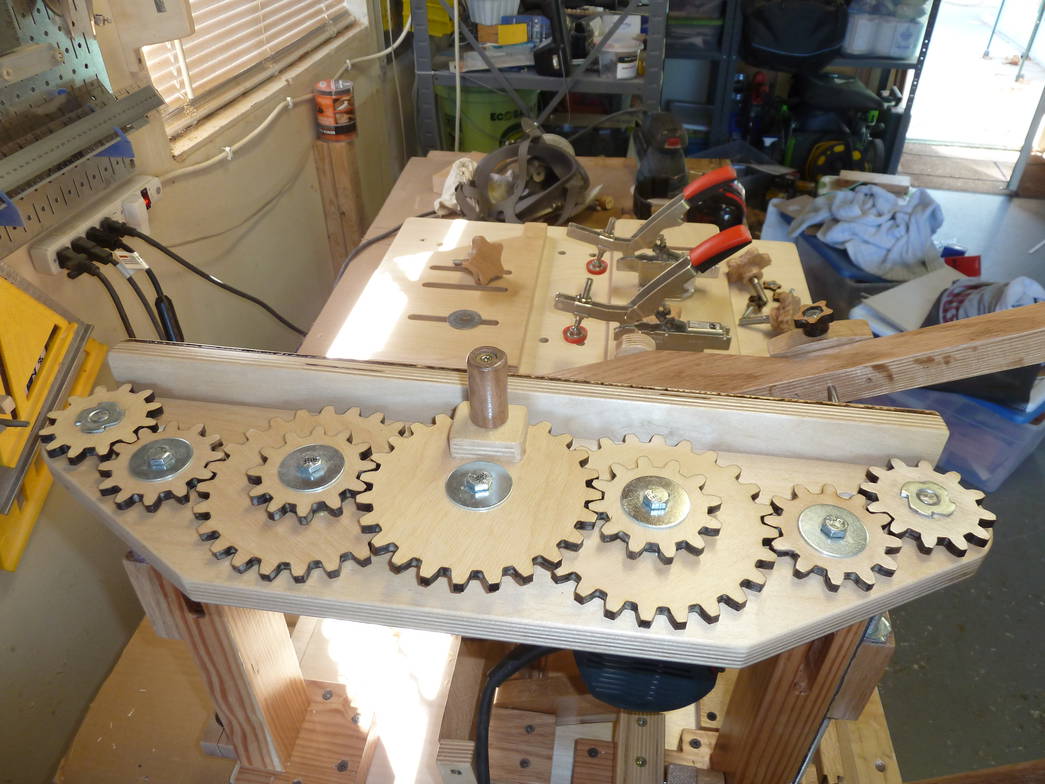
The gears were designed with your Gear Generator and are cut with a laser
cutter. I have made wooden gears by
hand before for some of your other projects. The laser cutter can
only cut stock up to 6mm, but that's enough for this application, and
it's really precise and convenient.
Overall I am quite happy about how this mechanism turned out and
how smoothly it operates.
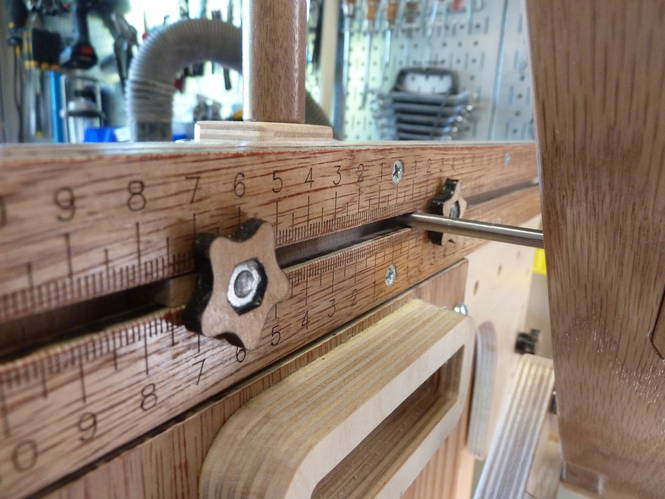
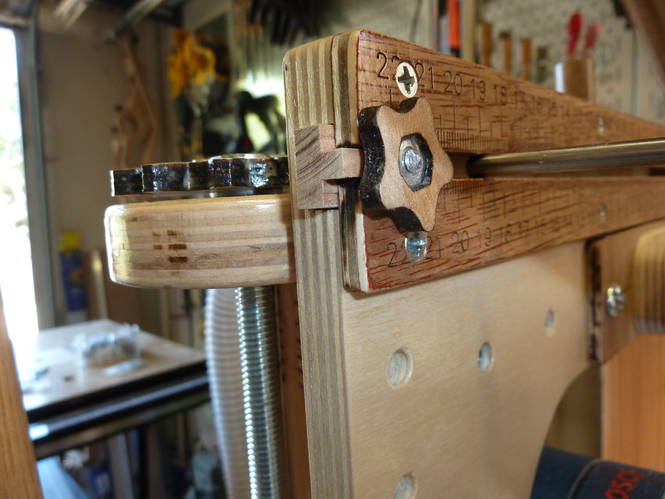
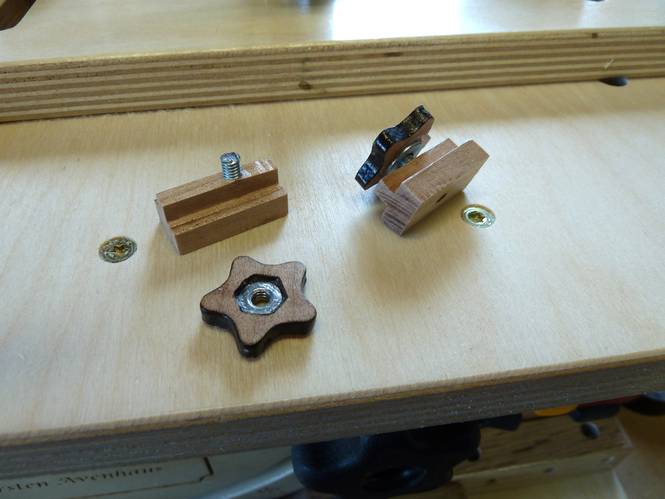
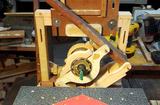
Adjustable Slot Template
The Slot Mortiser has sideways stops to set the length of the slots. I replicated that functionality by creating an adjustable slot template. It is basically a T-track that the follower rides in. T-nuts on both ends limit the sideways motion of the follower and router. The T-nuts are made from maple with cut off #8 screws. The low profile star knobs are maple with a #8 hex nut and washer glued in.
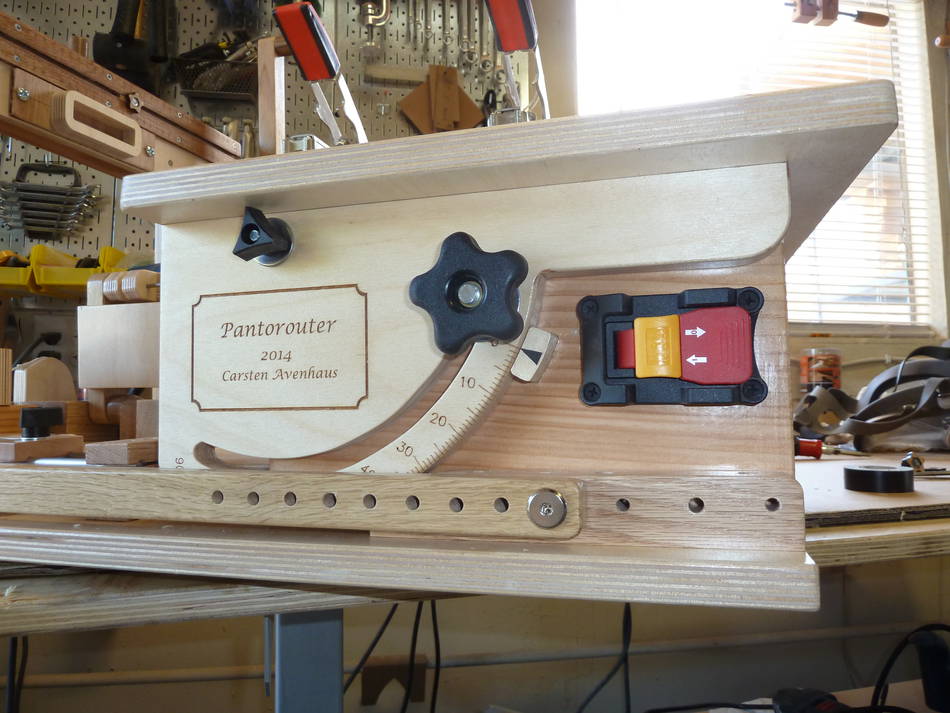
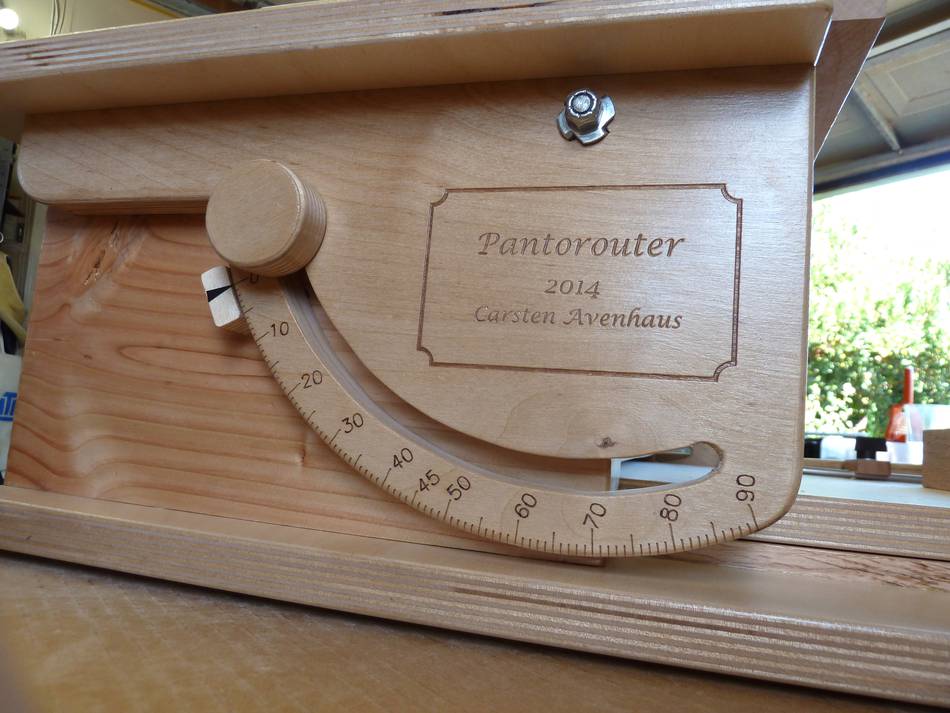
Tilting Table
The table tilts a full 90 degrees. It is mostly based on Bill Kraft's design, but I wanted all the controls to be accessible from one side. So I used a locking mechanism based on your tilting router lift, which only requires one knob to lock both sides. I was a bit worried about sideways play in the tilting mechanism. So I cut threads on the 3/16 rod and added another knob to tighten it up at the front. The opposite side is held in place by a T-nut with lock nut.
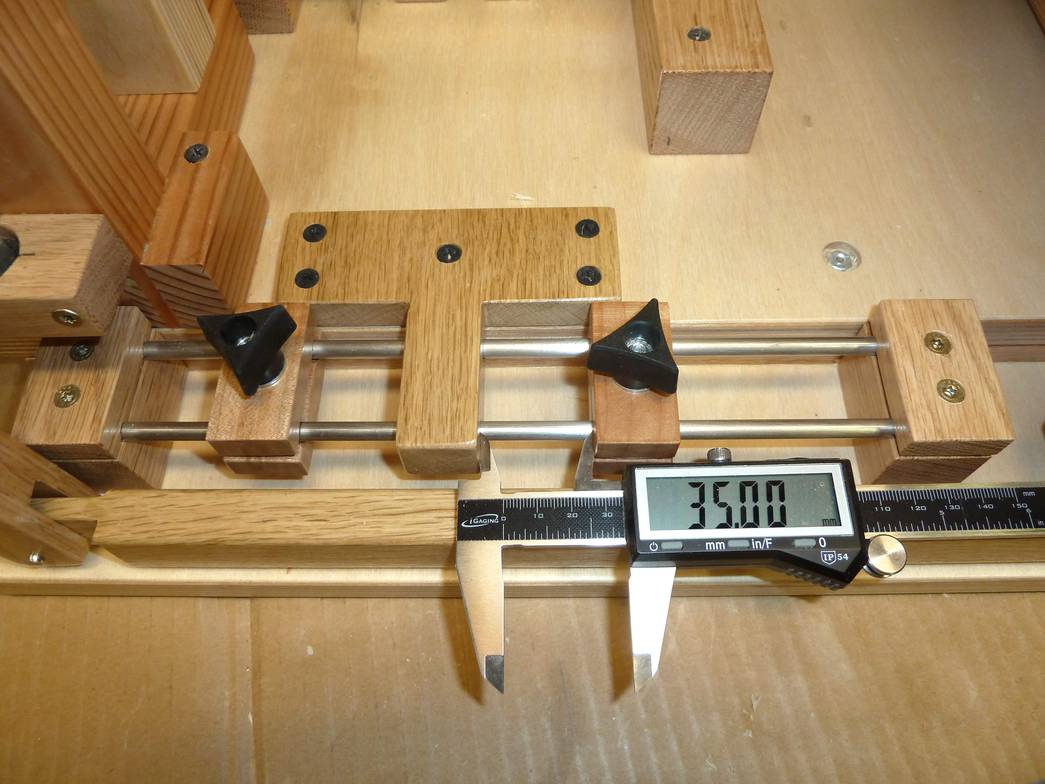
Depth Stops
The depth stops are accessible from the operator side as well. Two stop blocks slide on two 1/4" rods. Because of the longer drawer slides there was no space under the table anyway. It's very easy to use a caliper with them.
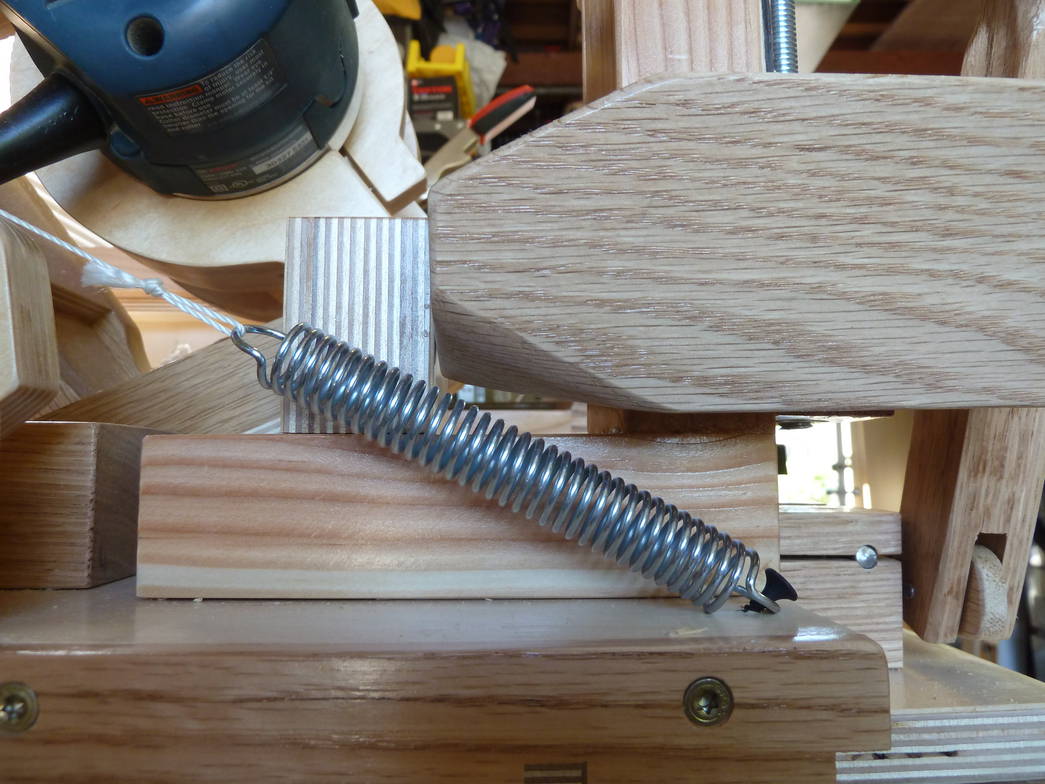
Plunge Lever
I needed to adjust the plunge lever a few times. At first I tried to raise the pivot point to give me a greater range of motion for the longer drawer slides. But that made the bracket interfere with the router. I did make the bracket a bit deeper though, so that helps a little. The bracket interfered with the spring so I cut away that corner. I also needed to account for the additional space required for the lifting mechanism and the gear on top.
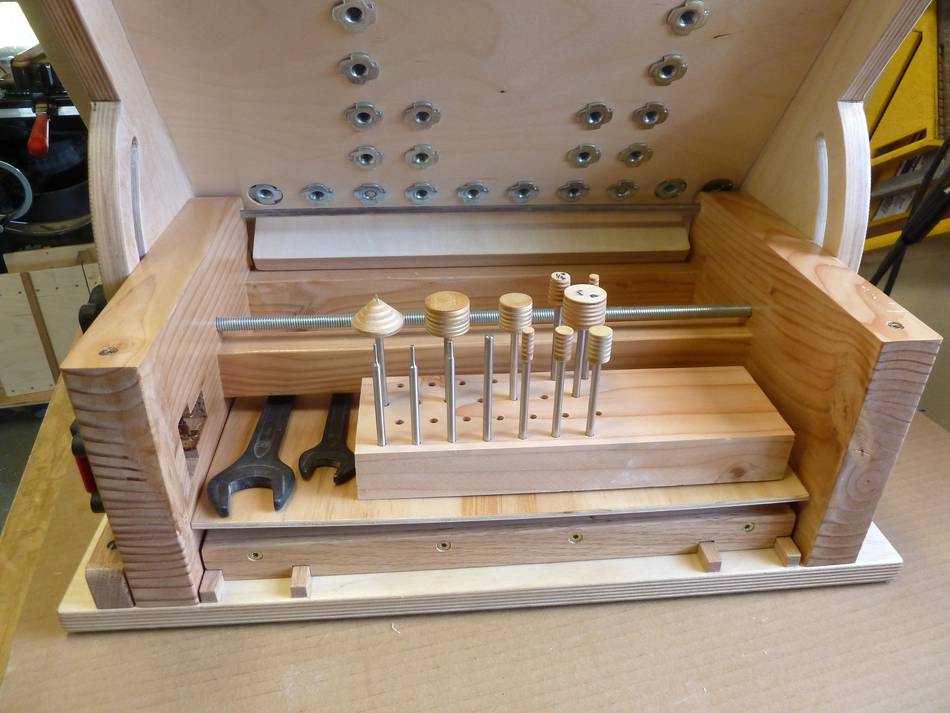
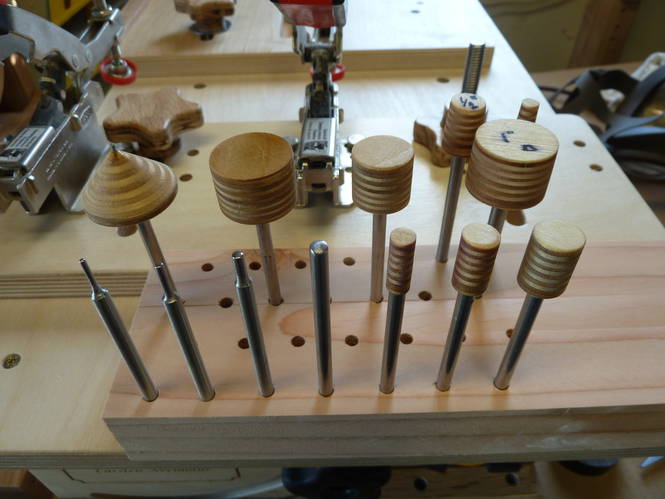
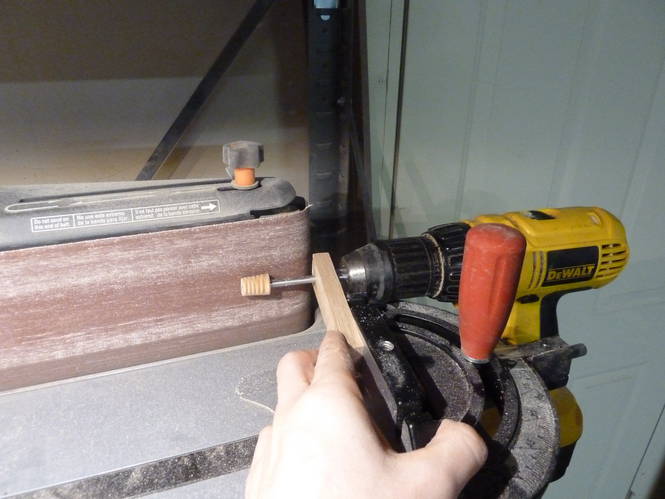
Conical Followers
I already had a number of followers from the 3-D router pantograph and wanted to use them for the Pantorouter as well. So I stuck with the 3/16 (4.8mm) shafts. 1/4 might have been better for increased stiffness, but it's nice to be able to exchange followers. I first made a beveled template, but then decided that conical followers are easier to make and the chance of screwing up is also less. With the help of a miter gauge its easy to make fairly consistent conical followers with the belt sander.

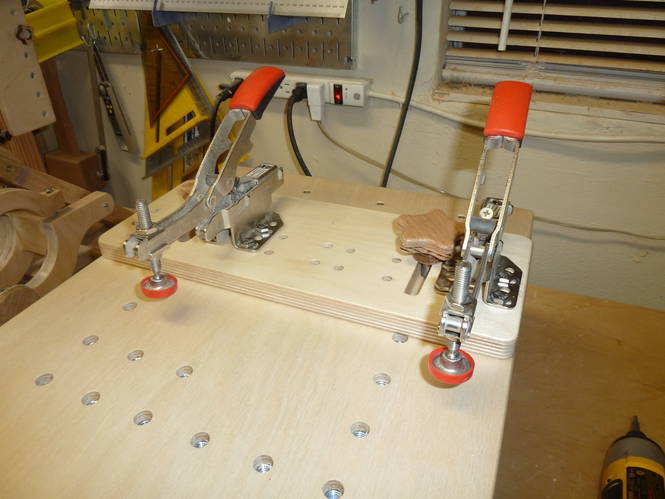
Clamps
I got two of the self adjusting Bessey clamps a while ago and finally found a good use for them.
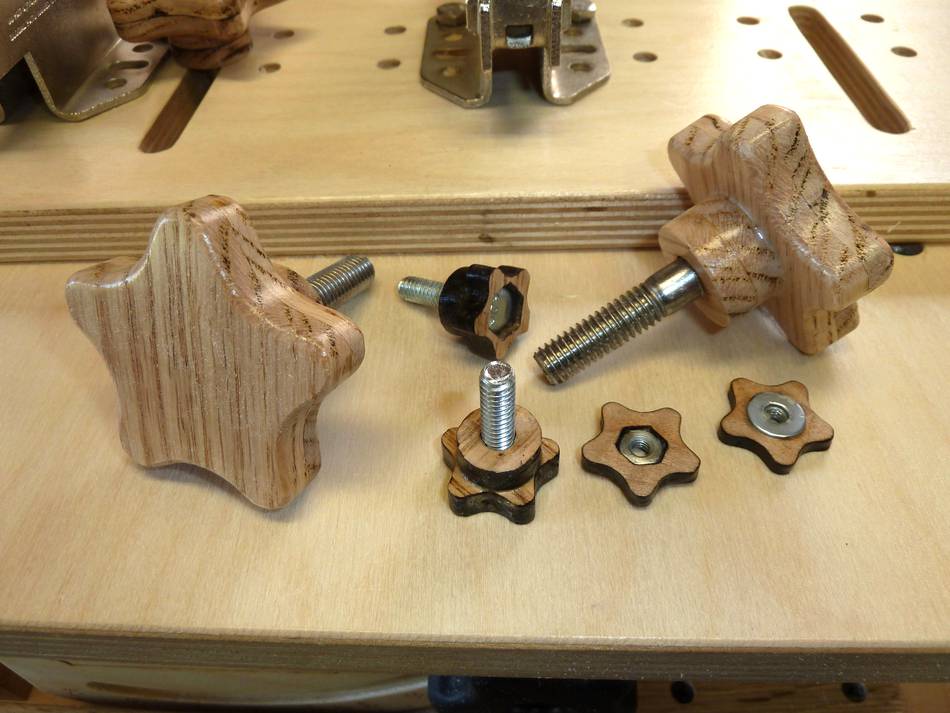
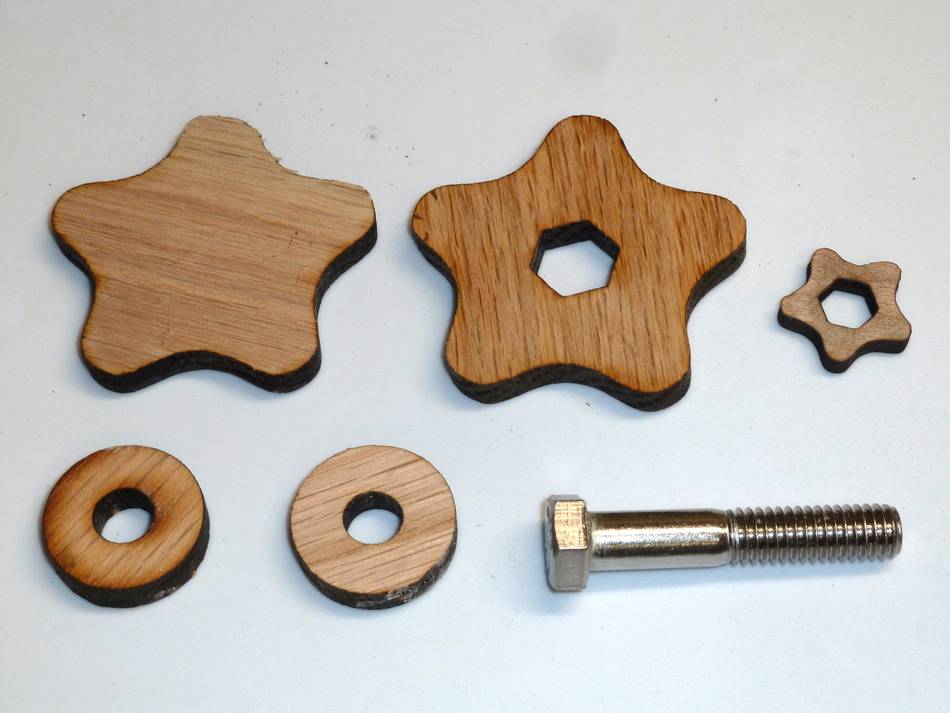
Knobs
The clamps and the fence are held to the table with oak star knobs that have 3/8" hex bolts embedded in them. The star knobs consist of four layers that are laminated together. The end product looks and feels very nice. I also made some small 1/4" star knobs for the template holder. The hex bolts easily slide out, so I can use different length hex bolts with them. Finally there are low profile #8 star knobs for the T-nuts of the slot template.
More of Carsten's projects:
 Pantorouter upgrades
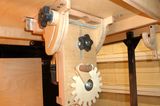 Router lift
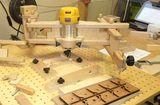 Pantograph
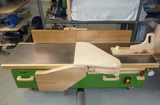 Jointer
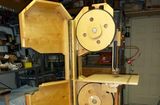 Bandsaw
See also:
 More reader built
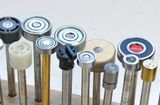 Making pantorouter
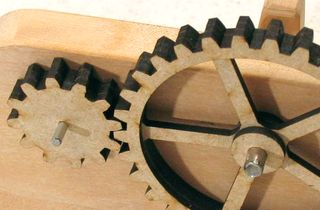 Making gears on