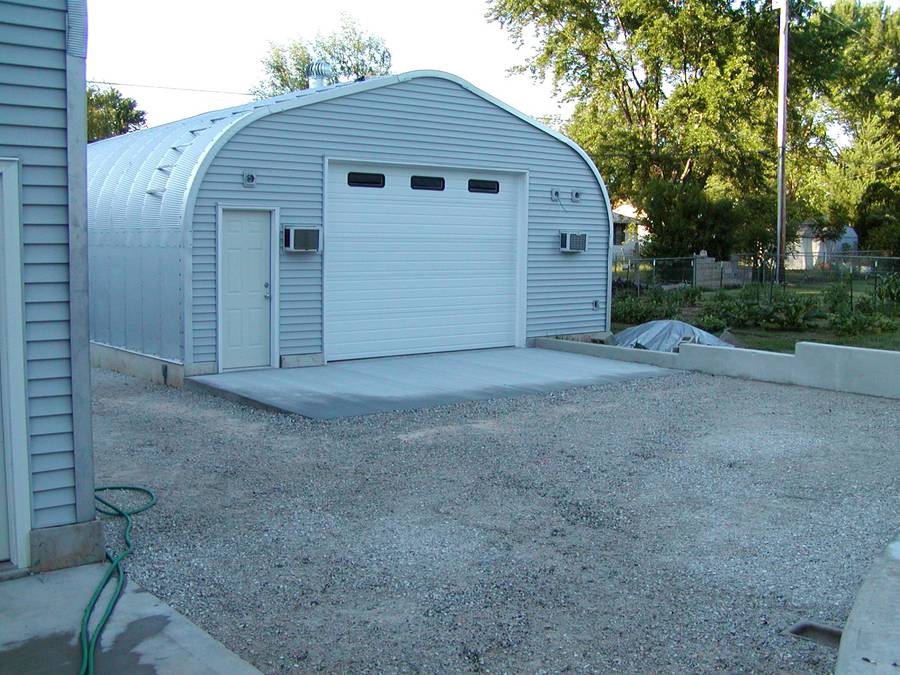
Building My Steel Garage (later to become new workshop)
This article and video contributed by Ron Walters
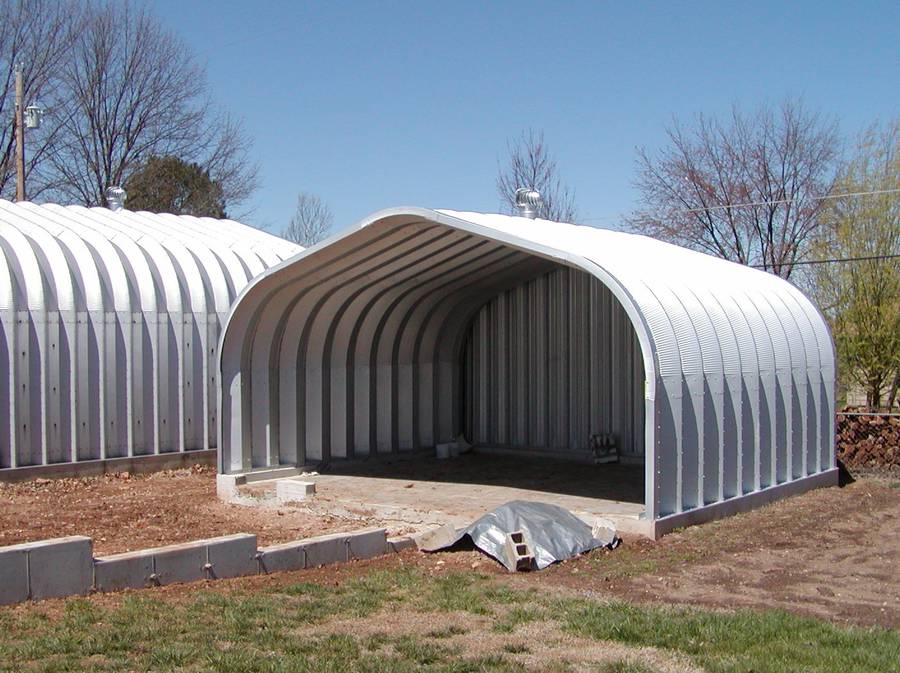
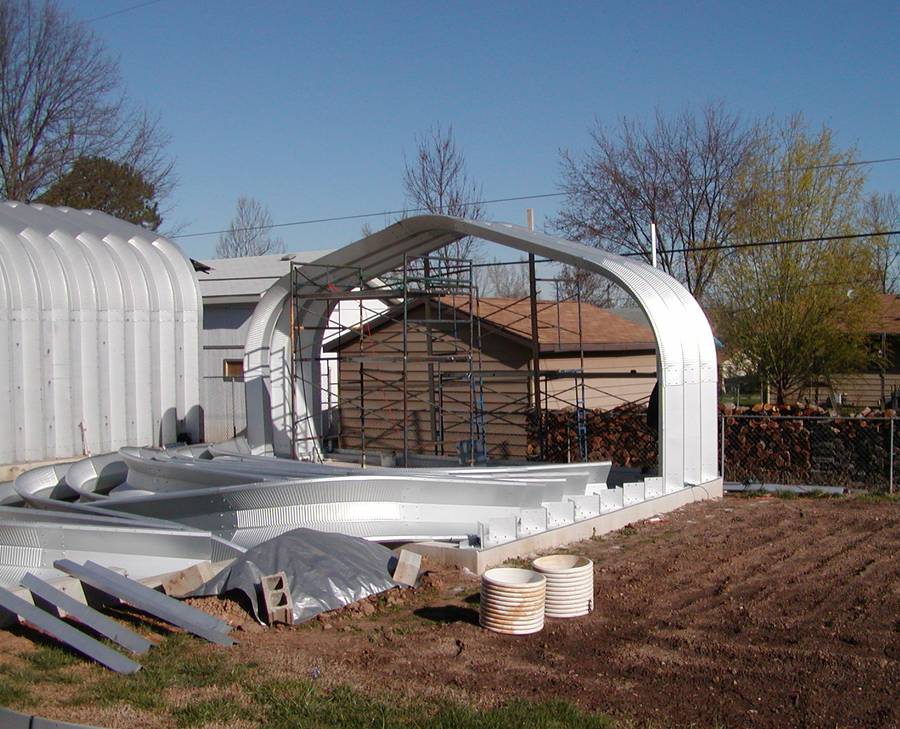
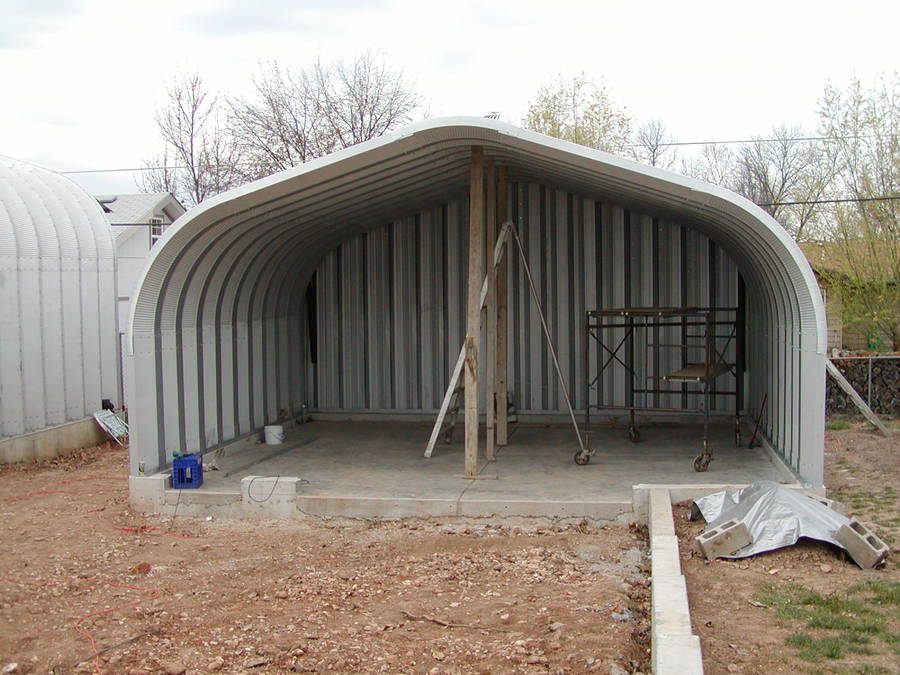
Bolt-together corrugated steel buildings are available in many different
shapes and sizes. They all go together in a similar way and a 3 or 4 man
crew can put together most sizes sold. There are several
methods for connecting the building to the foundation. My personal
choice and recommendation is the use of Industrial Base Plates. The
Industrial Base Plate requires a 10" wide stem wall on top of a solid
footing.
I decided to use radiant heat, which is quiet, efficient and economic.
The radiant heat pipes need to be centered in the concrete slab.
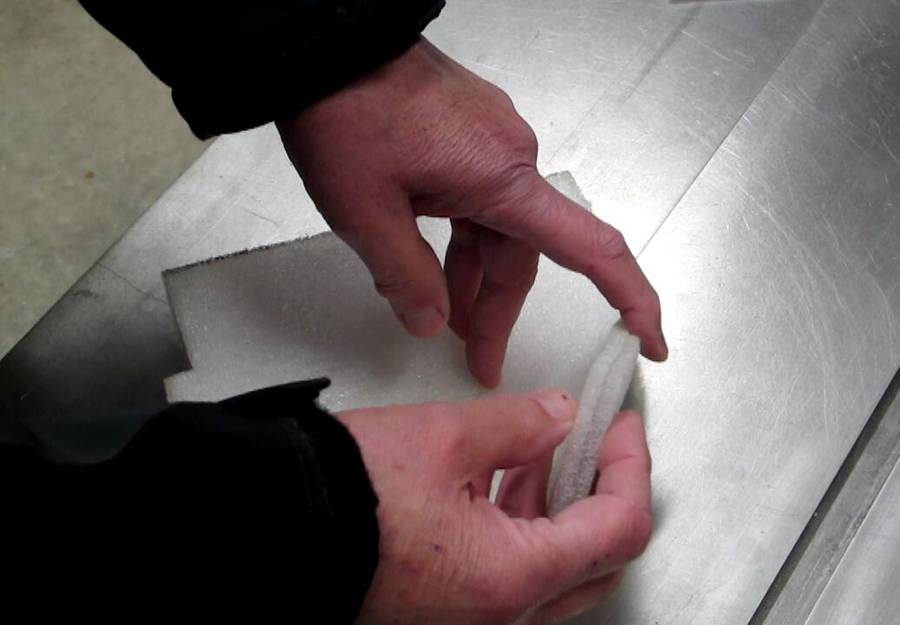
The radiant heated concrete floor requires a thermal break, which helps
keep the heat in the slab, avoiding heat loss to the earth below. I used
1/2" thick plastic foam insulation with an aluminum foil layer. The foil
helps reflect the radiant energy back into the concrete. On top of the
foam I used a heavy gauge plastic sheet for a vapor barrier, which
prevents moisture coming up from below. It keeps the poured concrete
from drying out too quickly.
After the stem walls are poured, the dirt floor area is leveled and
compacted. Then a 5" layer of crushed rock is leveled and compacted. The
Foam Insulation is rolled out and the joints taped. Long nail spikes are
used to pin the foam into position. The plastic sheet is placed on top
of the foam and the joints taped.
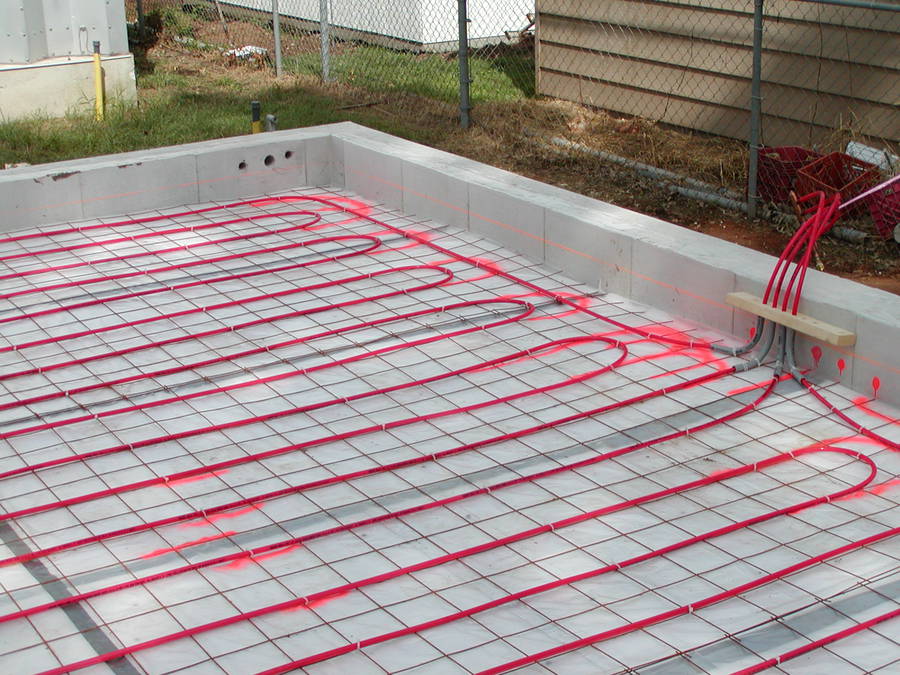
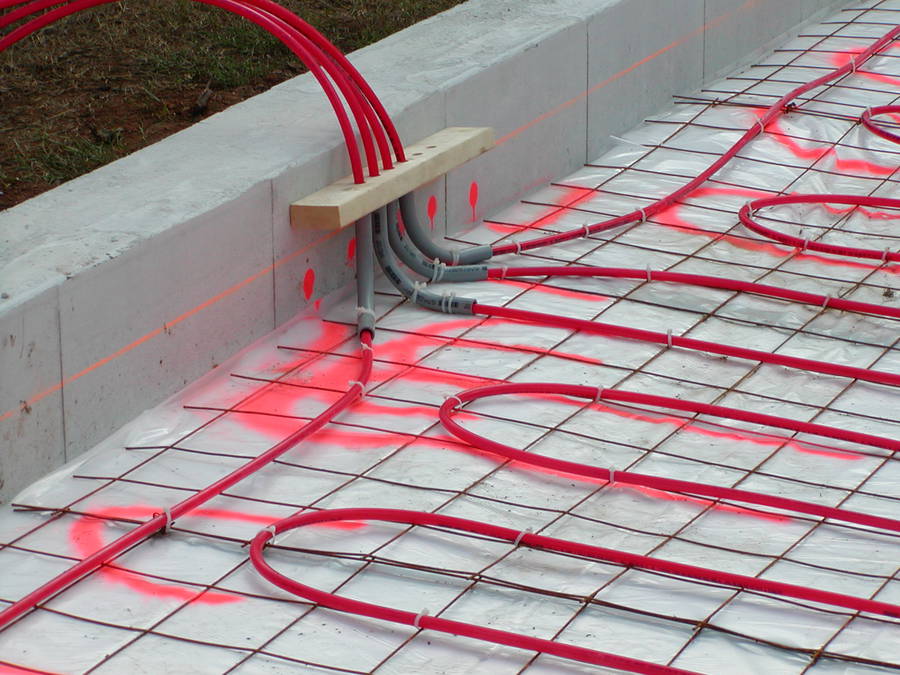
The pipes need to be evenly spaced and weighted down so they will not
float in the concrete. 6" square wire mesh was used. The mesh is very
handy for laying out the PEX heat pipes on 12" centers and the PEX is
zip-tied to the mesh. I recommend prior
planning of the PEX installation routes so you do not end up with any
splices inside the concrete.
The PEX should be connected to a temporary manifold
so you can keep it pressurized until the concrete floor is
completed. Concrete workers are notorious for stabbing the concrete with
their rakes, which can puncture the PEX. Keeping the PEX pressurized
will alert you of a puncture. Have a repair kit handy just in case.
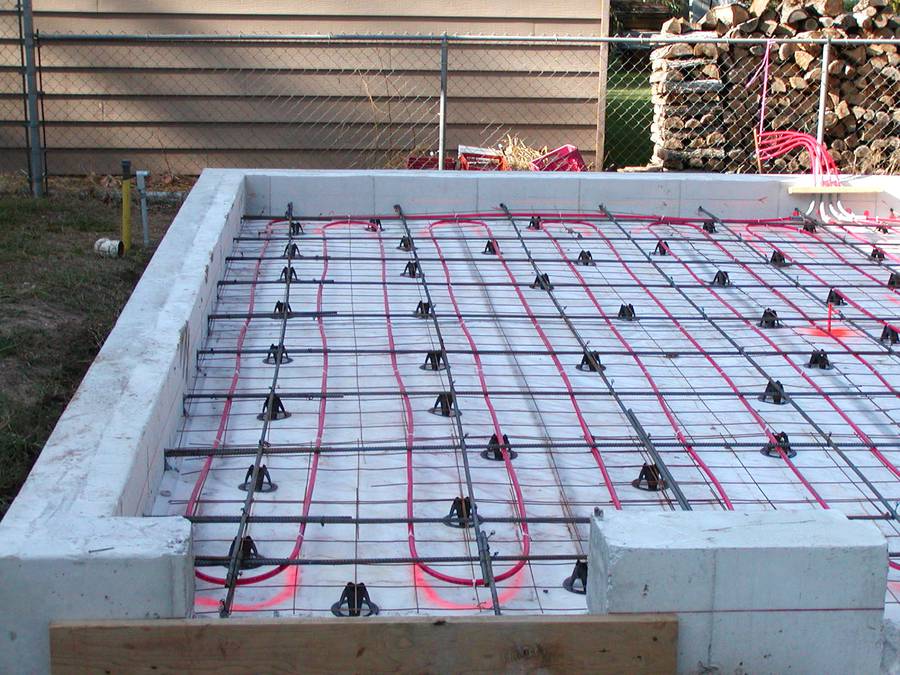
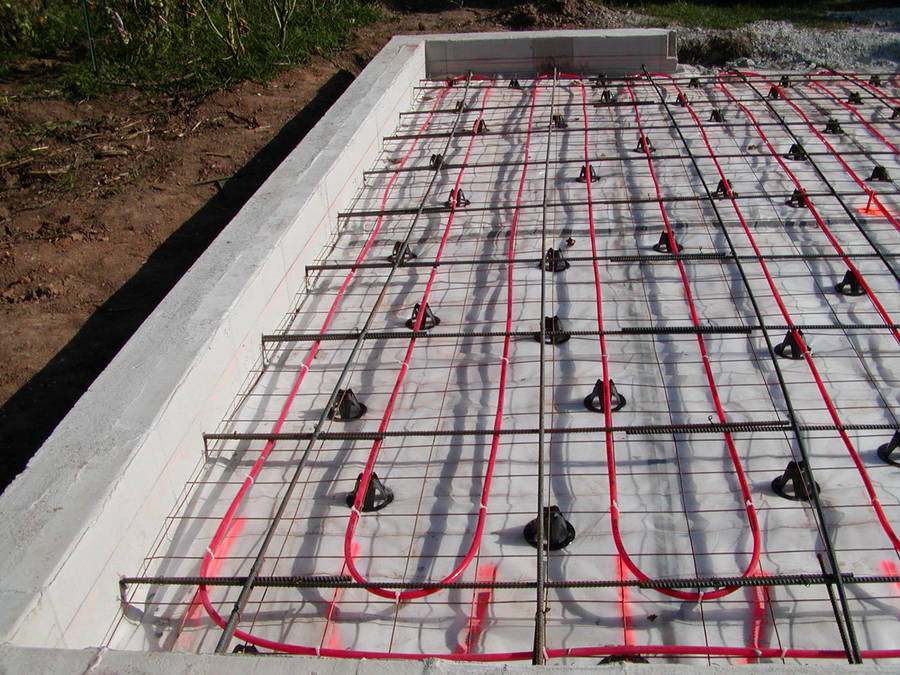
Rebar was placed on top of the PEX on 2 ft centers in both directions.
The stem walls are drilled, dust blown out of the holes and the rebar
epoxied into the holes. These steel buildings need a solid foundation
and one that will not roll over or get pushed out by the inherent tendency
of the building to push outwards on the stem walls. The rebar is used to
tie the stem walls together to prevent any displacement by the
building design.
The wire mesh is placed on top of plastic chairs, which place the PEX
pipe and rebar in the center of the 5" concrete floor.
The Industrial Base Plates are used to mark the hole pattern on the stem
walls. The holes are drilled, blown free of dust and anchor bolts firmly
set into the concrete. The Base Plates are caulked to the stem wall. The
Base Plates firmly tie the steel building to the stem wall. They also
accurately space the arches as the building is bolted together.
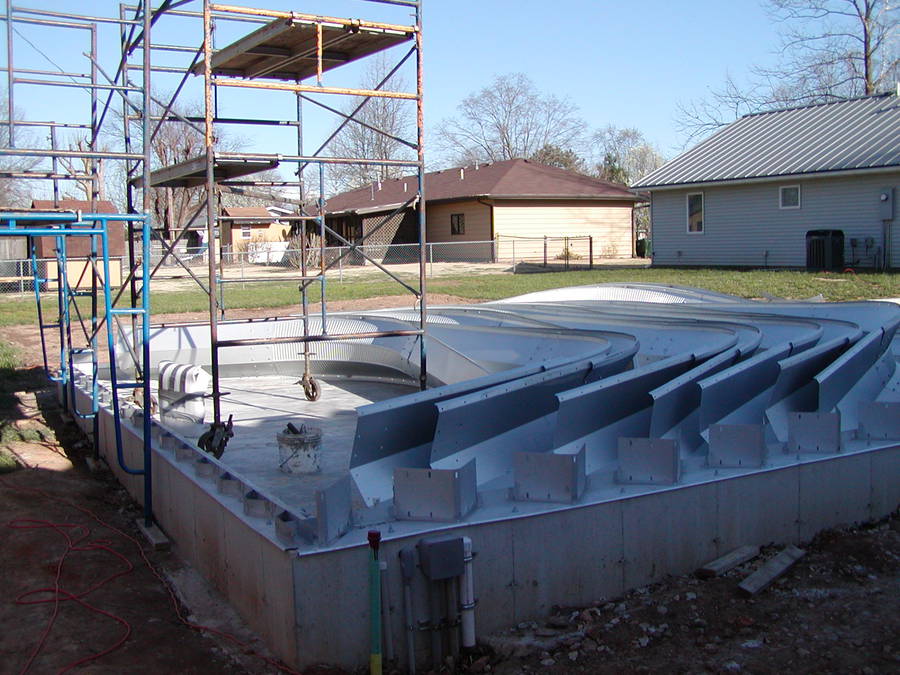
Pre-assembly of the arch halves will save a lot of time later on. The
overlapping panels have all of the bolts & nuts installed (finger tight
only). It is not a good idea to start the erection on a windy day.
The first arch is raised and held square, and at the correct height, with
scaffold. After three arches are in place the structure is fairly solid.
The arches are attached to each other with only a few well-spaced bolts
until the entire building is assembled. This allows the building to
wiggle and makes the alignment of the holes and bolt insertion a lot
easier.
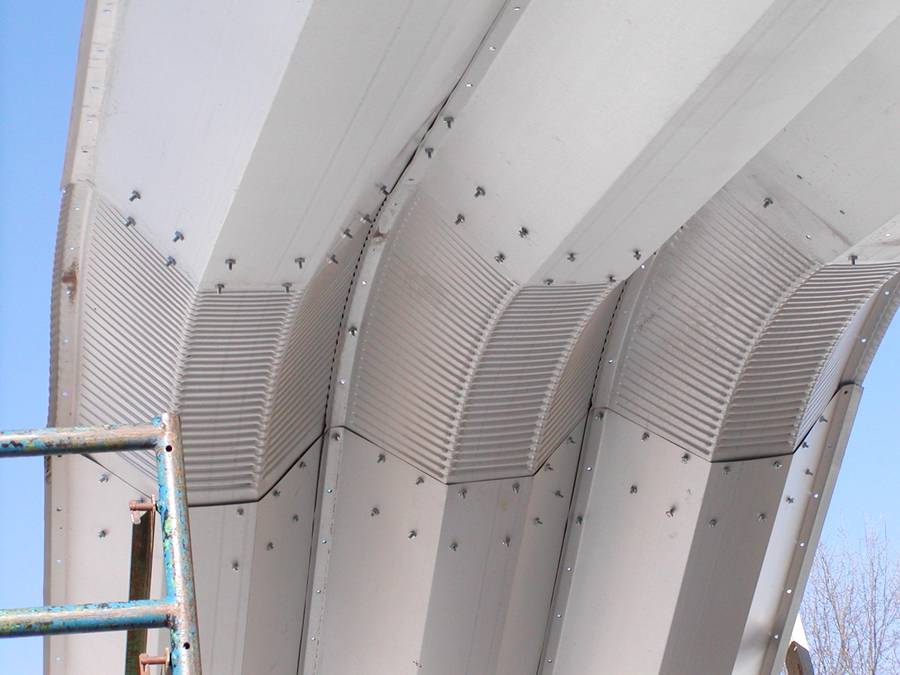
There are places in these building where four layers of sheet metal need to
be aligned for insertion of the bolts. This is why you want everything
finger tight at first, so you can align the holes and install all of the
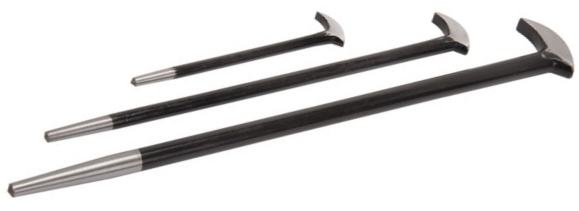
bolts. A driftpin or alignment pin is used. It's a tapered tool used (by hand only
- no hammers) to wiggle around in the hole to get things to line up.
Remember, a driftpin (or pry bar pin) is not to be used as a punch. You
want to align the holes, not enlarge the holes. So ... no hammers!
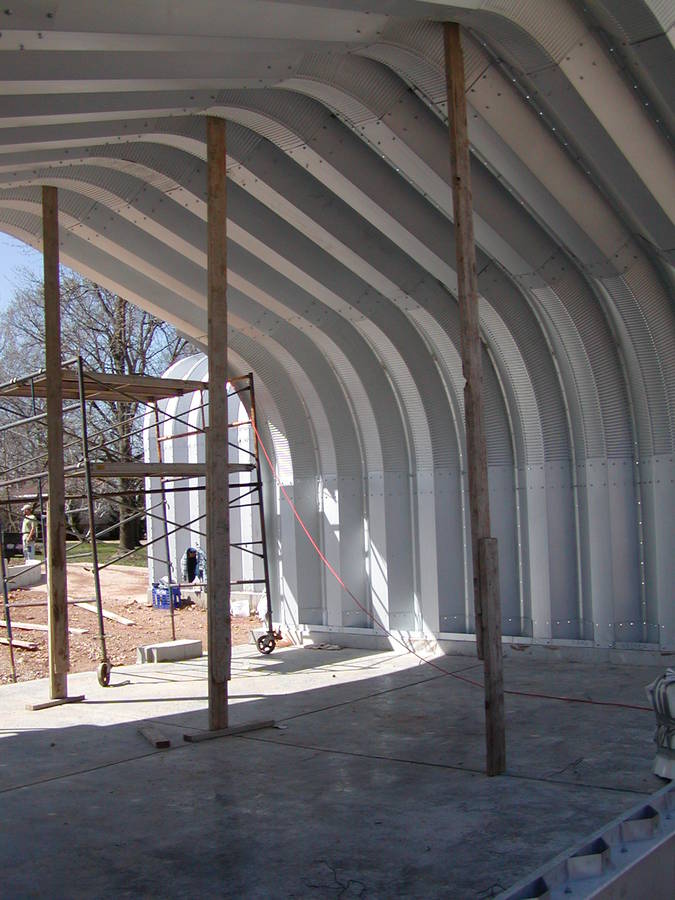
A center support is used every third section to hold the building at
the designed height. If your concrete floor has a slope, don't forget to
take that into account when placing the center supports. After all of
the arches are installed and the building has been checked to be at the
design height, square and plumb, then the remaining bolts & nuts are
installed (finger tight only).
After all bolts & nuts are installed, check the building one last time.
Now the bolts & nuts can be tightened symmetrically, bottom to top, both
sides evenly, arch by arch.
The metal rear end wall is installed last.
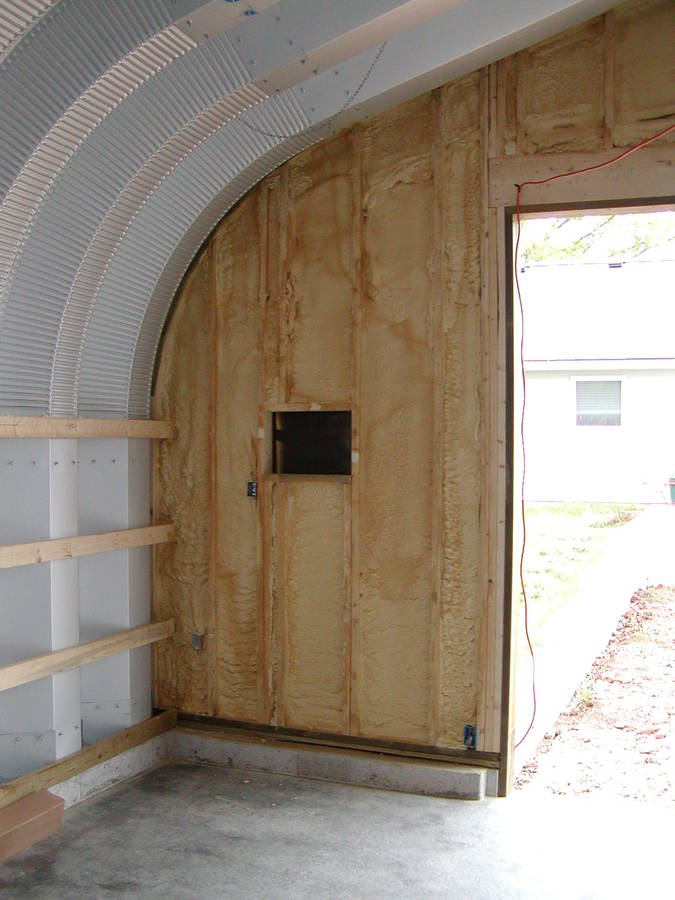
I prepared the building for sprayed foam insulation. I power
washed the inside of the building using soap and water and several
rinses. Otherwise, the foam will not adhere to the metal.
I wanted to use a conventional garage door so the front-end wall was
framed using wood.
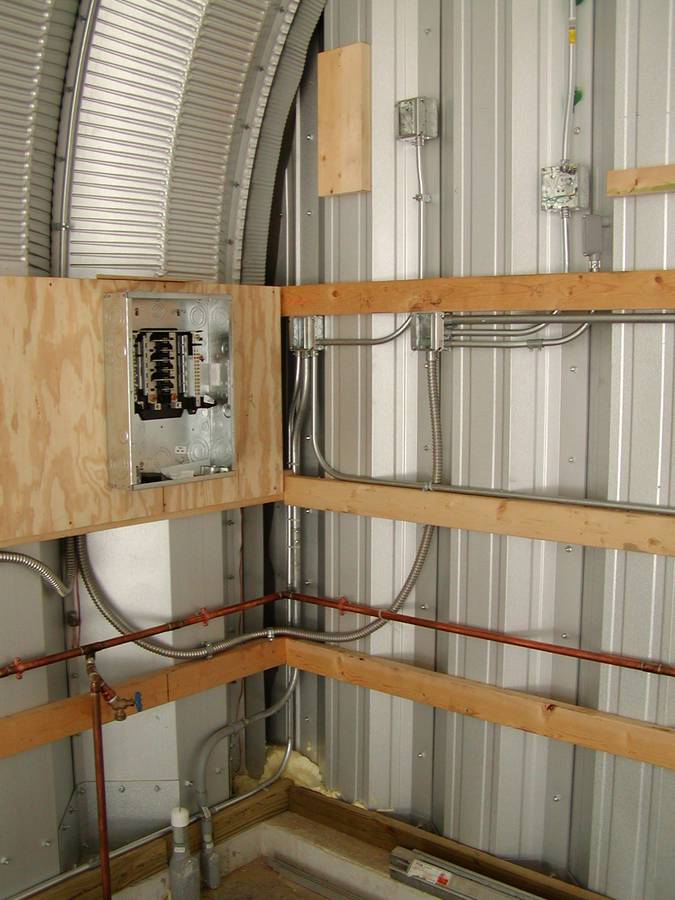
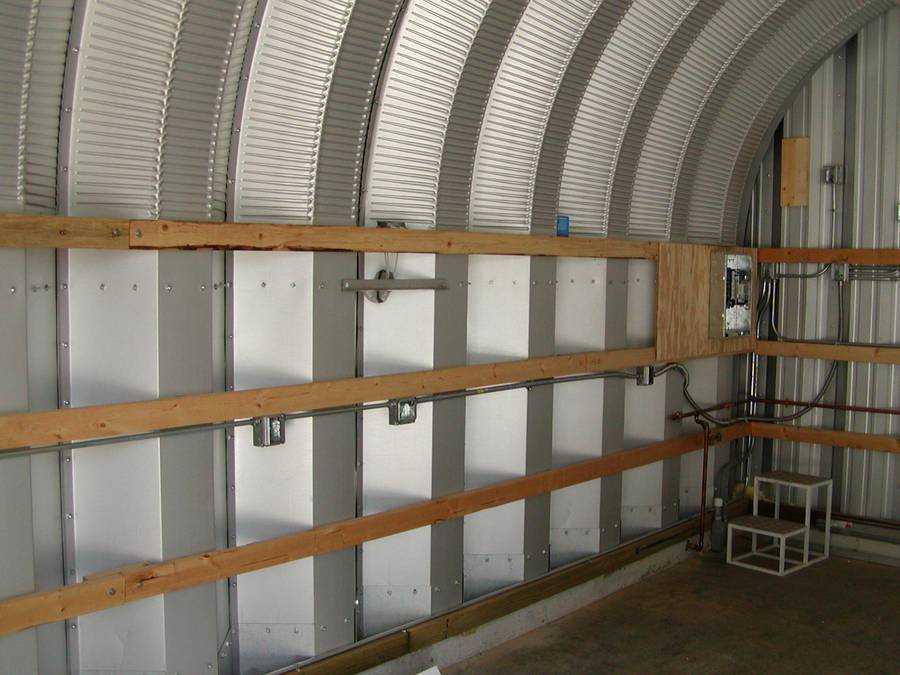
All wiring (conduit) junction boxes, etc must be installed before the
foam is sprayed. Check, recheck and then check again to make sure there
is nothing else you want to attach to the building before spraying the
foam.
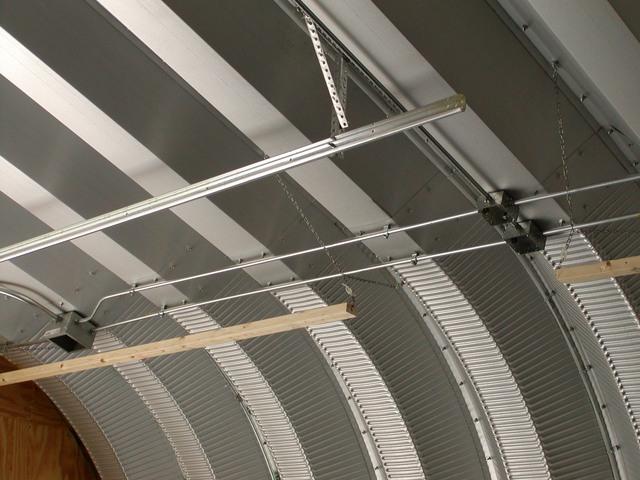
I used 2x2's as spreader bars to hold the suspension chains for the fluorescent
light fixtures at the correct spacing and angles.
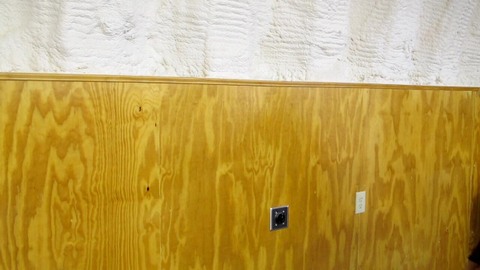
Horizontal 2 x 4's were attached to the walls for the plywood paneling.
The paneling was used to protect the foam insulation and to allow
attachment of shelves or tools, plus it looks nice.
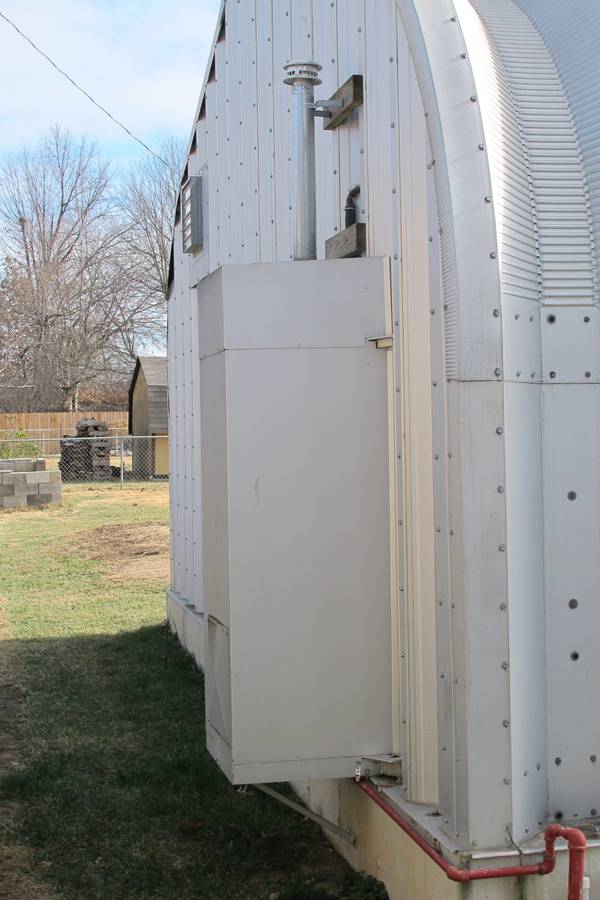
The garage is heated with a 30-gallon hot water heater which hangs on
the outside of the rear wall.
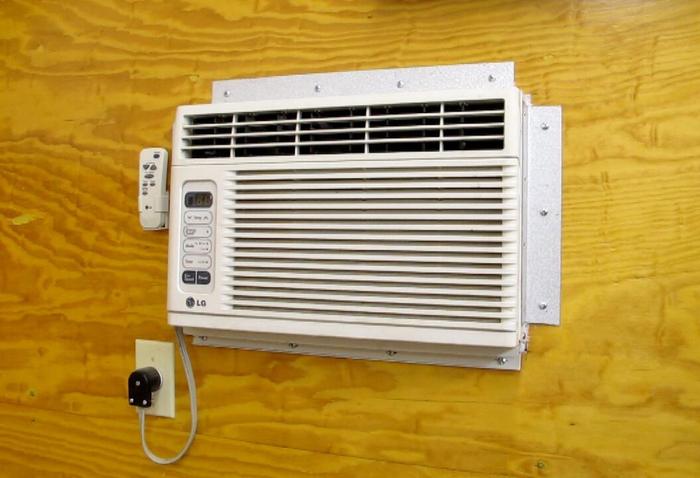
With the high density closed cell foam insulation, two small window air
conditioners will cool this building on the hottest days.
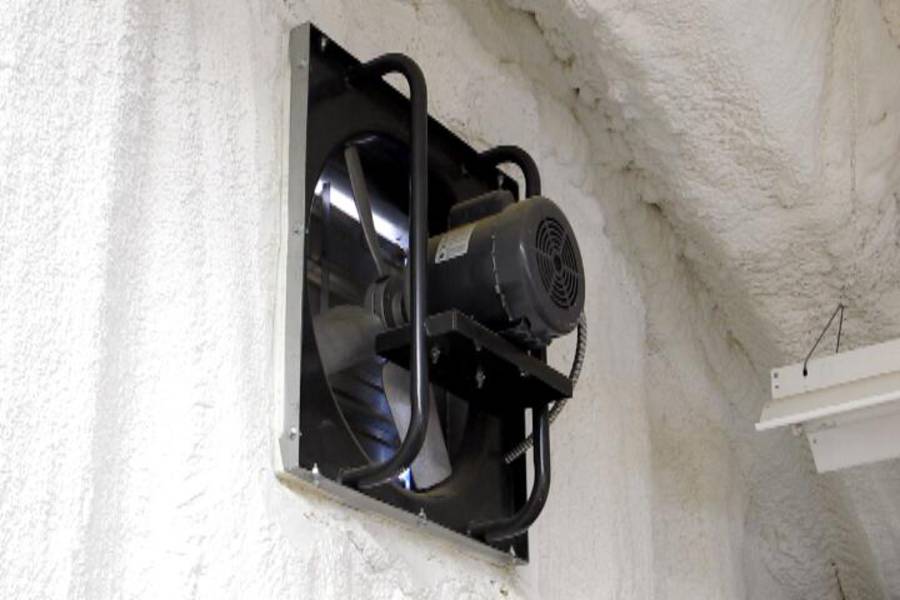
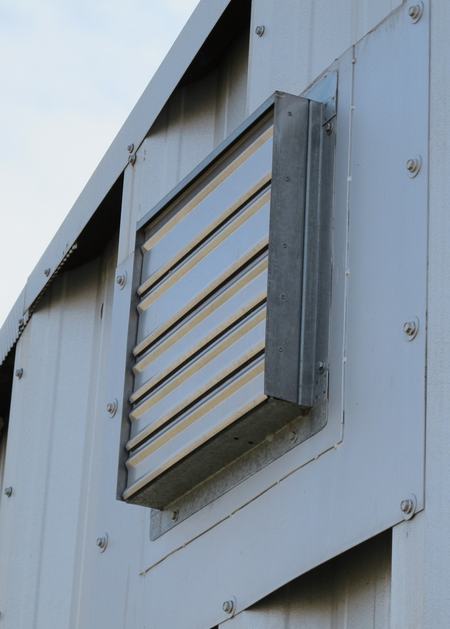
For the exhaust fan and shutter, I developed a method of cutting out the
rear steel end wall and using an overlapping frame insert. This
maintains the integrity of the wall and it does not leak.
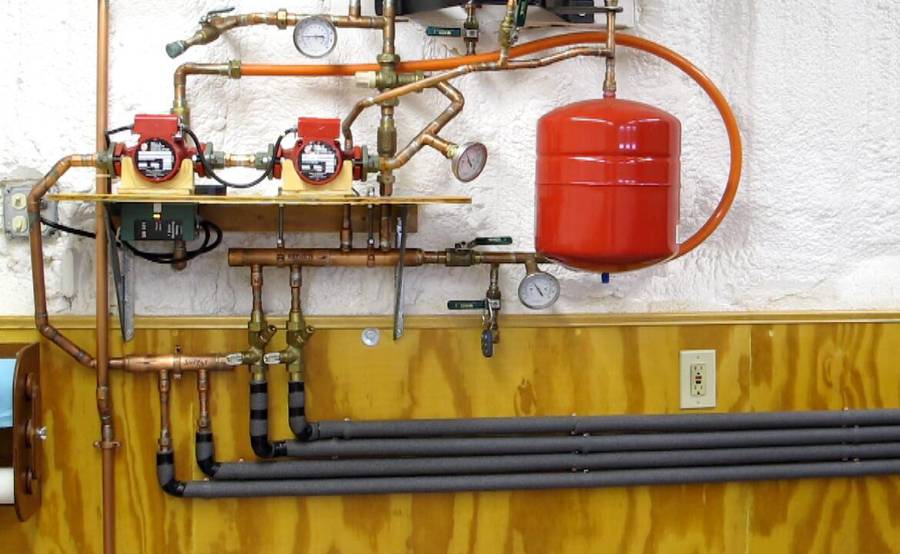
The radiant heat system looks complicated, but once you understand how
it works, it is actually quite simple. It takes a while to eliminate
entrapped air and balance the system flow rates, but once that is done,
just light the heater and turn on the pumps.
The water heater is set to 140 degF (60 C). Typically, once the system is up
and running (steady state) the mixing valve has been adjusted for 90-95
degF fluid going out to the floor and the return fluid has stabilized
around 80 degF (26 C). The mixing valve takes 140 degF fluid from the heater
and mixes it with some of the return fluid (~ 80 degF) to send 90-95
degF fluid to the circulating pumps. The actual required heater size and
flow rate depends on many variables: building size, type and thickness
insulation, thickness of concrete, floor area, expected coldest
temperatures, etc. The system design can usually be obtained from one of
the PEX manufacturers who have the radiant heating design programs.
When I start this system with a very cold floor, I do not want to change
the settings on the mixing valve. Concrete expands and contracts, but in
order to avoid cracking it, you need to warm it up very slowly. I
usually start the pumps and then light the water heater. With the cold
fluid continuously returning to the heater it takes a long time for the
heater to get the fluid up to even 80 degF, which is good and helps
prevent shocking the concrete floor with fluid that is too hot. In time,
the floor will warm slowly and the system will return to normal
operating parameters.
Building my steel garage
Steel Garage – Finding Building Bolts In Foam
Steel Garage Ceiling Foam Repair
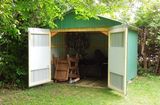
With these changes, the building became my new workshop
 Bolt-together corrugated steel buildings are available in many different
shapes and sizes. They all go together in a similar way and a 3 or 4 man
crew can put together most sizes sold. There are several
methods for connecting the building to the foundation. My personal
choice and recommendation is the use of Industrial Base Plates. The
Industrial Base Plate requires a 10" wide stem wall on top of a solid
footing.
Bolt-together corrugated steel buildings are available in many different
shapes and sizes. They all go together in a similar way and a 3 or 4 man
crew can put together most sizes sold. There are several
methods for connecting the building to the foundation. My personal
choice and recommendation is the use of Industrial Base Plates. The
Industrial Base Plate requires a 10" wide stem wall on top of a solid
footing.

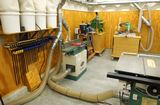 New workshop
 shop solutions
 Scissor extending lamp
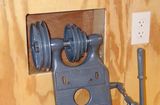 Hole in the wall
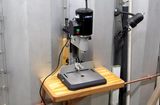 Wall mounted shelf for bench mortiser