 I went with a slightly unusual design for the walls. Conventionally, for a shed, there
would be a stud every two or three feet (60 or 90 cm). With sheet metal siding, there would
be some boards or plywood nailed to the side, with the sheet metal screwed to that.
I went with a slightly unusual design for the walls. Conventionally, for a shed, there
would be a stud every two or three feet (60 or 90 cm). With sheet metal siding, there would
be some boards or plywood nailed to the side, with the sheet metal screwed to that.
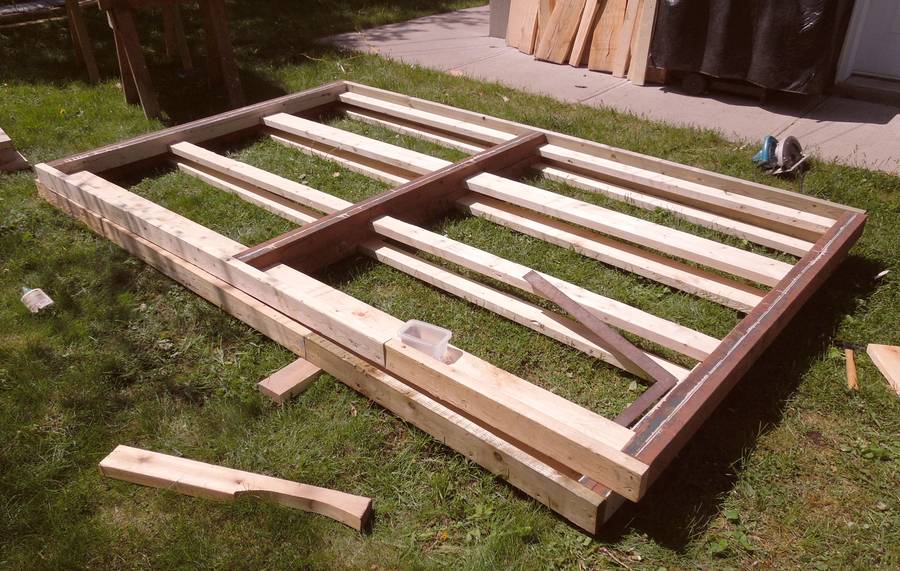
Instead of doing it that way, I decided to run some 2x4's and 2x6's along the length of the building and notch those into the studs. The studs are doubled up, and much further apart. The idea is that the space between the studs becomes usable storage space when there is more space between them.
Another advantage, which I hadn't realized at first, is that the sheet metal screws don't poke through the thicker 2x4s and 2x6s. Those screw points poking through can lead to a lot of nasty cuts and scratches.
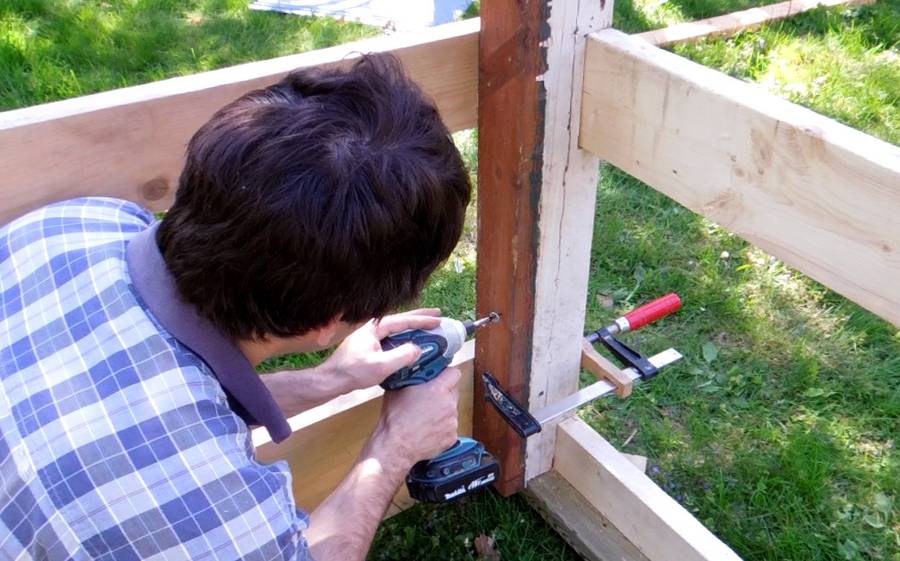
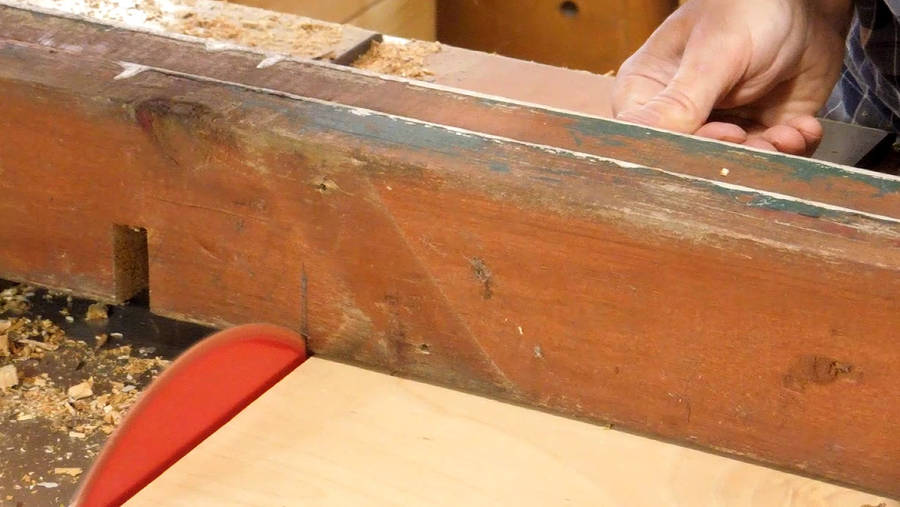 I had to notch four studs for each side. I used old decking 2x4's for the studs - that's
why they all look a little shabby with bits of paint on them. Here's making the cuts at the sides
of the notches.
I had to notch four studs for each side. I used old decking 2x4's for the studs - that's
why they all look a little shabby with bits of paint on them. Here's making the cuts at the sides
of the notches.
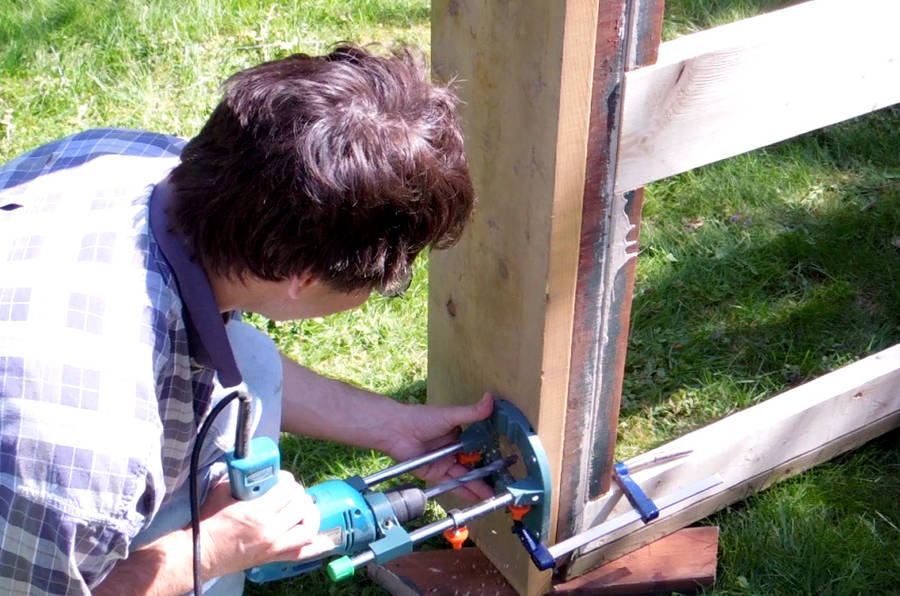
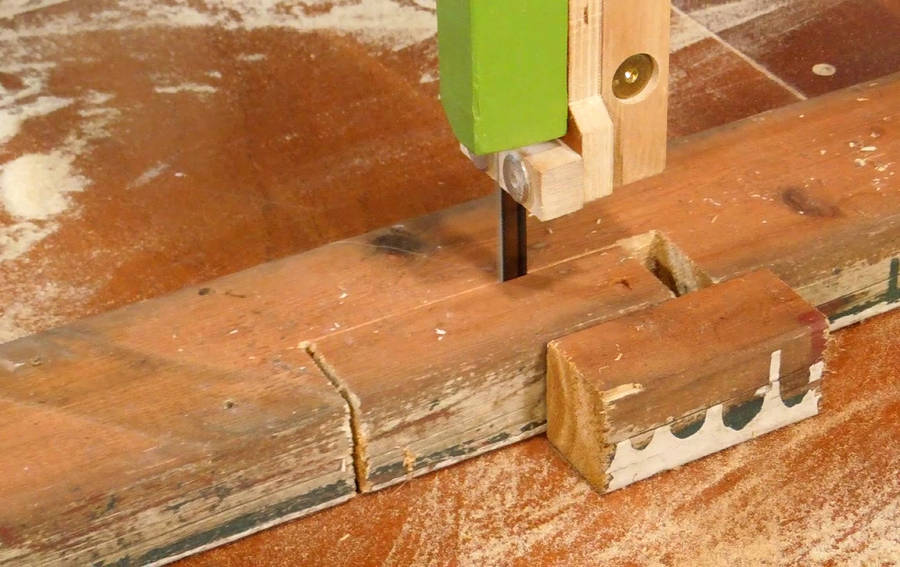 I made several cuts on one end of the notch to make it easier to get in there
with my bandsaw without rotating the 2x4.
I made several cuts on one end of the notch to make it easier to get in there
with my bandsaw without rotating the 2x4.
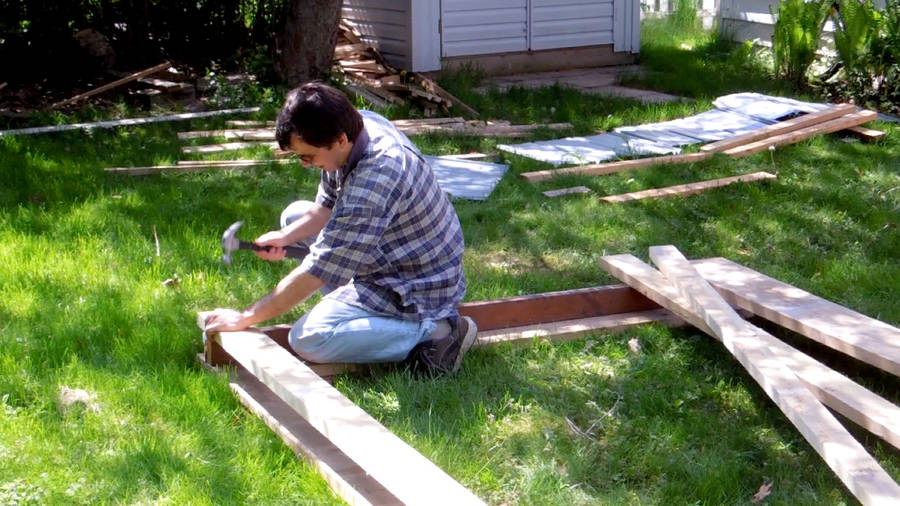
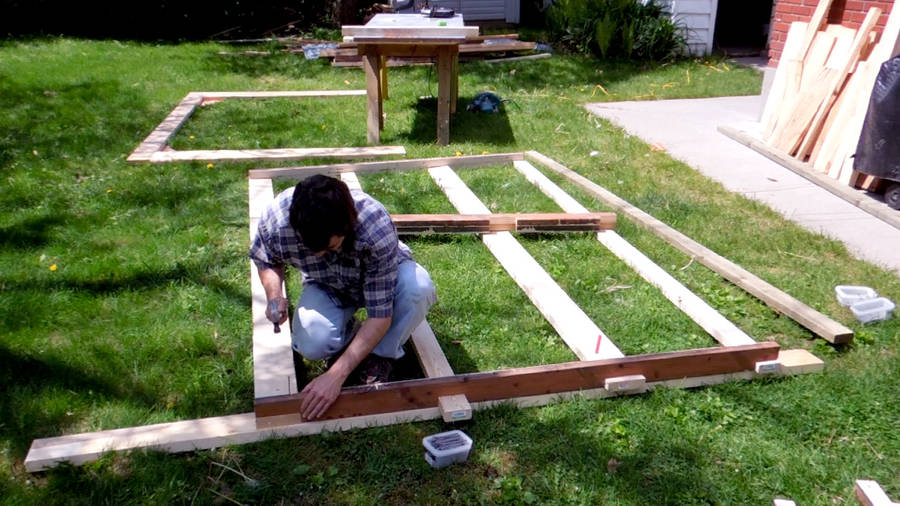 Starting to nail the side walls together. I also put some wood glue in the joints,
just for good measure. Not sure if it will help much, but I'm sure it won't hurt.
Starting to nail the side walls together. I also put some wood glue in the joints,
just for good measure. Not sure if it will help much, but I'm sure it won't hurt.
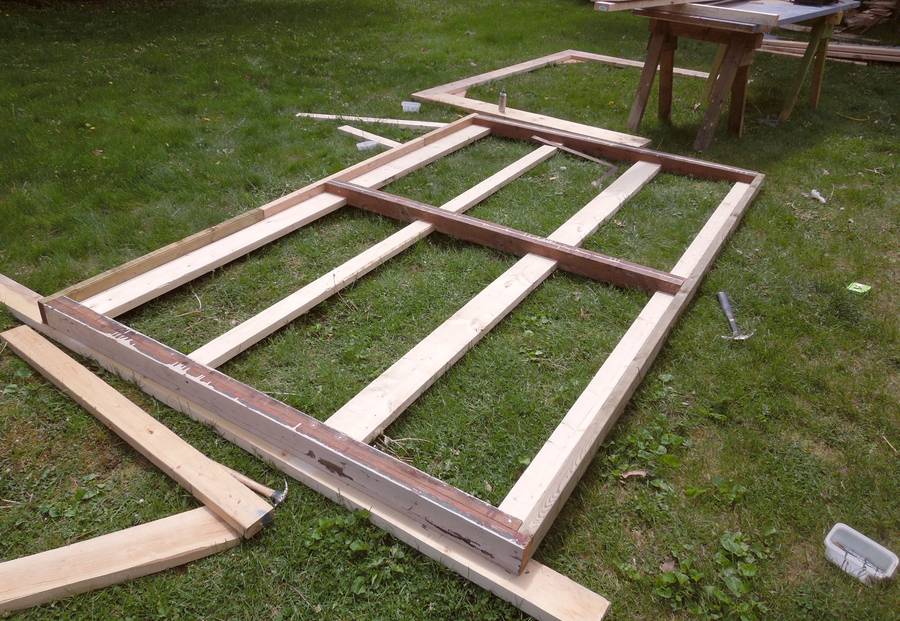 First wall assembled.
 I assembled the second wall right on top of the first wall.
For the top plate of the walls, I just used shorter scraps and nailed those on. With the roof right on top of that wall, these top plates really don't add anything in terms of stiffening anyway, so this was a good way to use up scraps.
 Here's nailing the back wall together. The back wall only has two studs
towards the edges. That way, when I park my trailer in the shed, I can push
it right up against the back. The shed will be just barely deep enough for
the trailer.
Here's nailing the back wall together. The back wall only has two studs
towards the edges. That way, when I park my trailer in the shed, I can push
it right up against the back. The shed will be just barely deep enough for
the trailer.
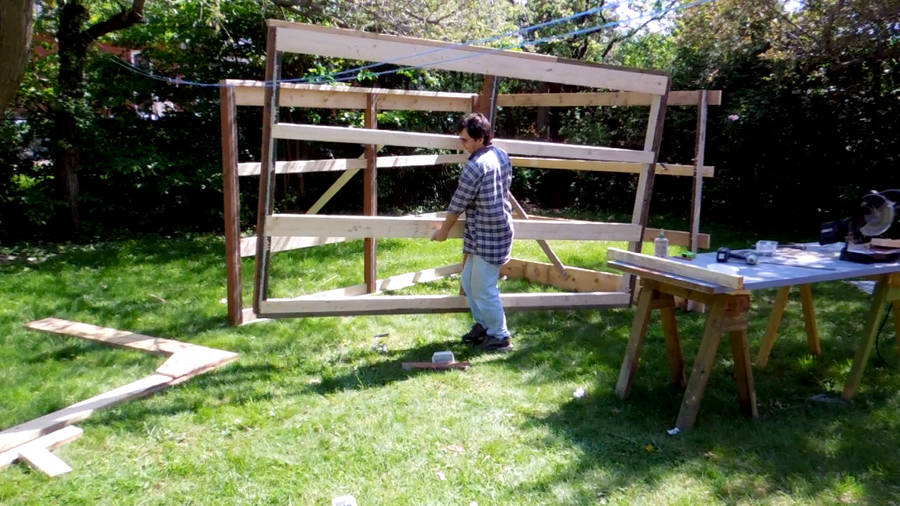 Here's assembling the walls for a test fitting. I could
just barely carry the assembled side walls on my own.
Here's assembling the walls for a test fitting. I could
just barely carry the assembled side walls on my own.
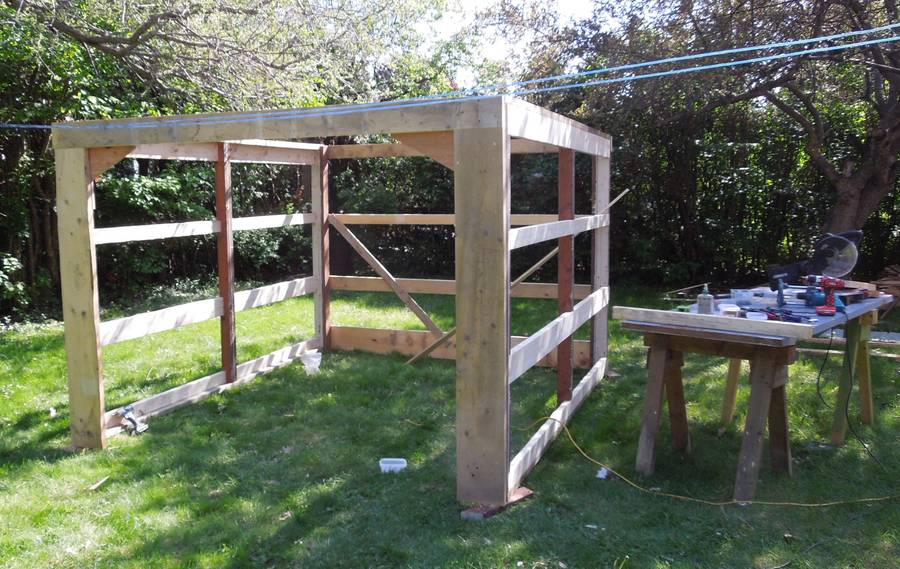 Test-assembled in the middle of my backyard. So far so good.
 I screwed the individual wall section together using some 3" long
drywall screws.
The idea was that I could take this shed apart again, even after I
did the final assembly. I was initially thinking I should get some
much larger screws to put it together, but then I thought if I just use a lot of
drywall screws,
that will hold just as well and they are less likely to split the wood.
I screwed the individual wall section together using some 3" long
drywall screws.
The idea was that I could take this shed apart again, even after I
did the final assembly. I was initially thinking I should get some
much larger screws to put it together, but then I thought if I just use a lot of
drywall screws,
that will hold just as well and they are less likely to split the wood.
 I added some "alignment pins" To make sure the parts would
go together again the same way next time.
I added some "alignment pins" To make sure the parts would
go together again the same way next time.
I drilled some 1/2" holes through both parts, then glued a dowel to just the first piece, so that it protrudes about 1/2" (15 mm or so) into the other piece. I'm going to invite some friends to help me with final assembly, so I may not have the time to make sure everything aligns perfectly, but the alignment pins should make it easier.
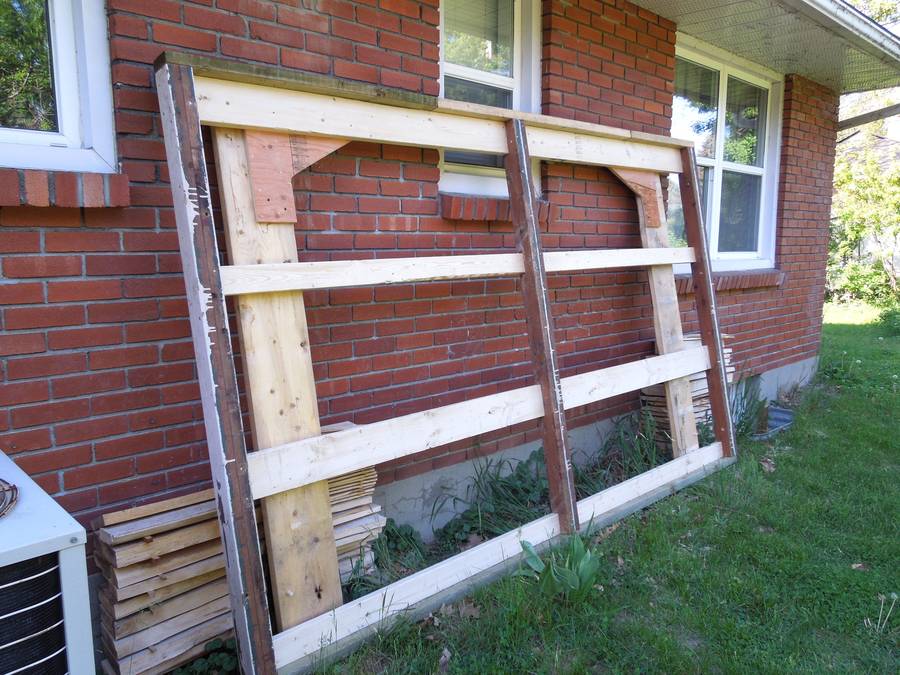 Having added the alignment pins, I took the shed frame apart again. Here are the
front and right side walls leaning against my house.
Having added the alignment pins, I took the shed frame apart again. Here are the
front and right side walls leaning against my house.
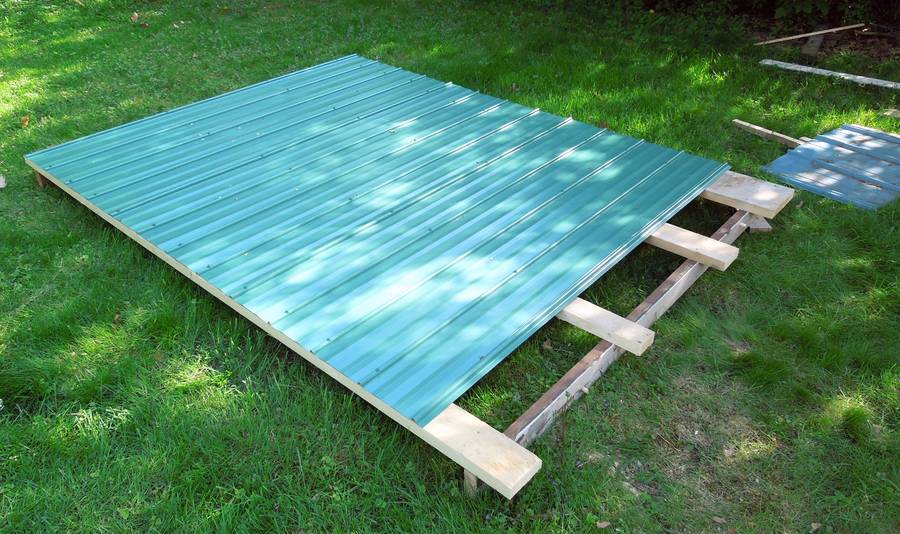 I added sheet metal roofing to one side and the back wall while the pieces were on the ground.
Those walls will be facing the fence and hedge, so it's much more convenient to
screw on the metal on the ground than in tight quarters afterwards.
I added sheet metal roofing to one side and the back wall while the pieces were on the ground.
Those walls will be facing the fence and hedge, so it's much more convenient to
screw on the metal on the ground than in tight quarters afterwards.
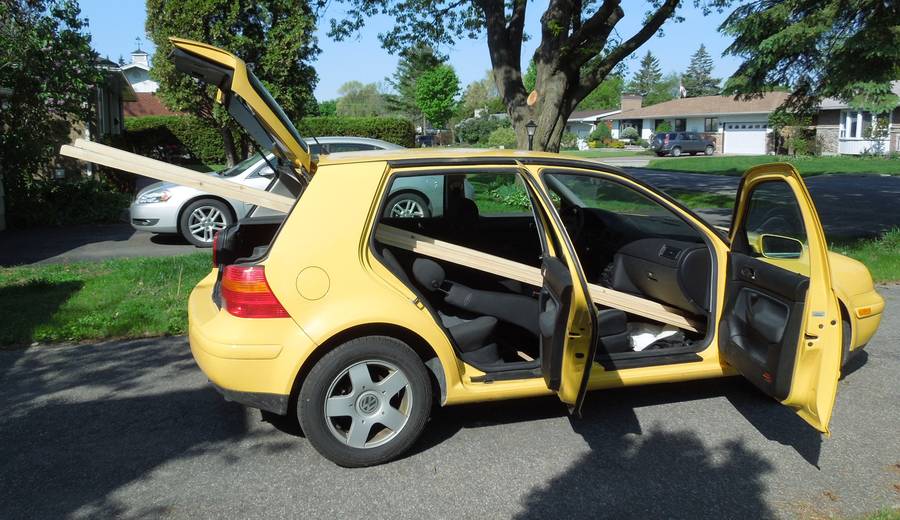 It turns out, I needed to get two more 12-foot (3.6 meter) long 2x4's.
What I love about hatchback cars is that they are quite good at moving long stuff. Even with a full size pickup truck, the 12' 2x4's would have stuck further out the back than they do with my car!
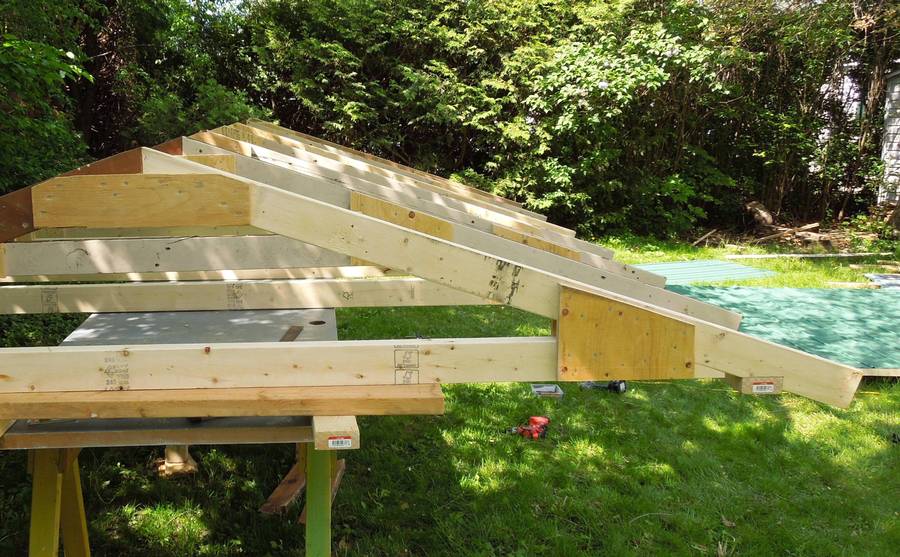
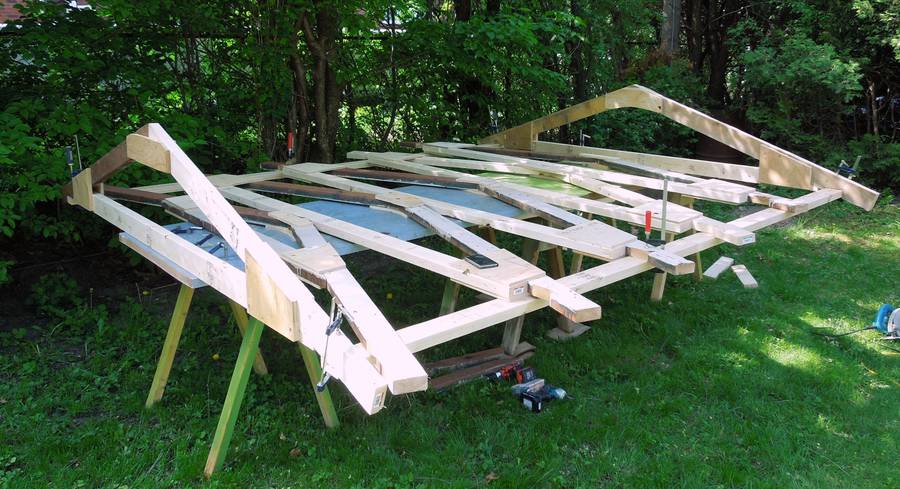 I built the roof structure separate from the shed. I put two old doors down on
some sawhorses and used that as a platform to build up the roof structure.
I built the roof structure separate from the shed. I put two old doors down on
some sawhorses and used that as a platform to build up the roof structure.
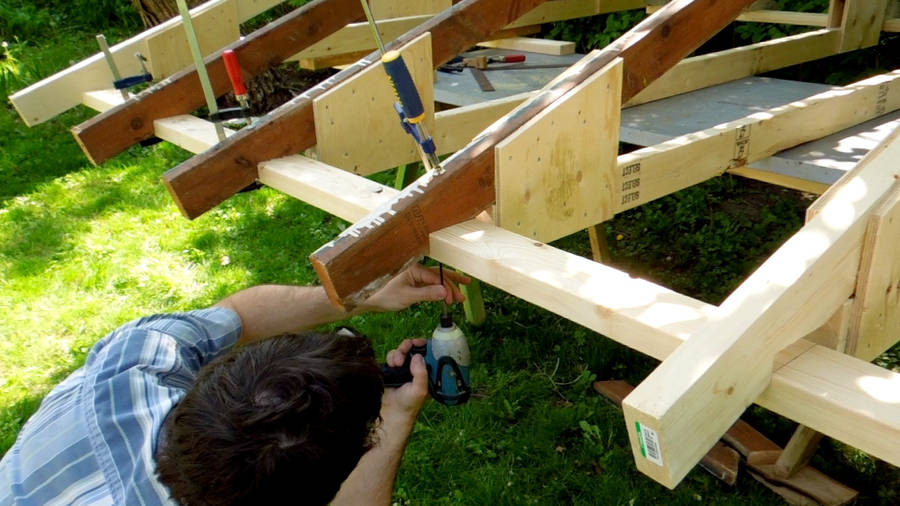 I screwed the plate on from the bottom. Normally, this would be nailed, but with everything
on sawhorses the way I had it, nailing those joints would have been very awkward.
I screwed the plate on from the bottom. Normally, this would be nailed, but with everything
on sawhorses the way I had it, nailing those joints would have been very awkward.
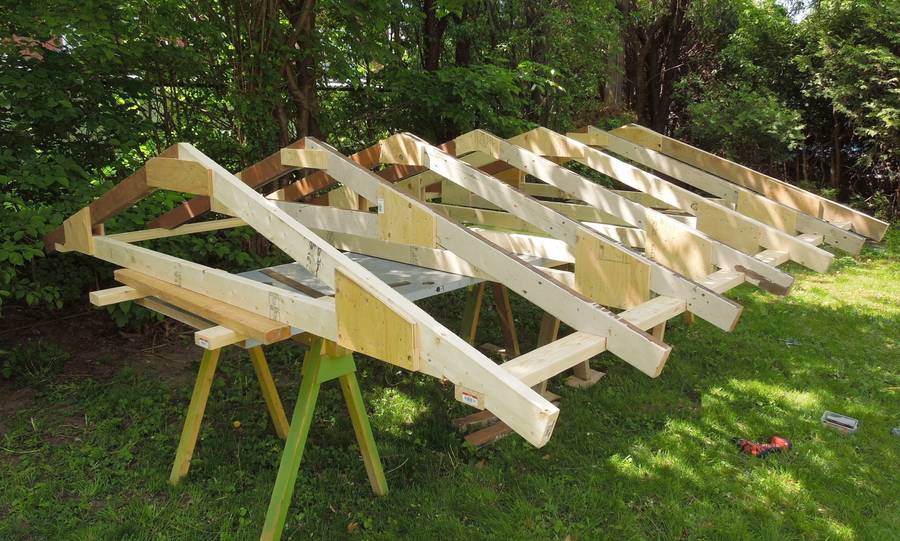 My seven trusses. Looking at it now, I think I could have easily gotten away
with just six.
My seven trusses. Looking at it now, I think I could have easily gotten away
with just six.
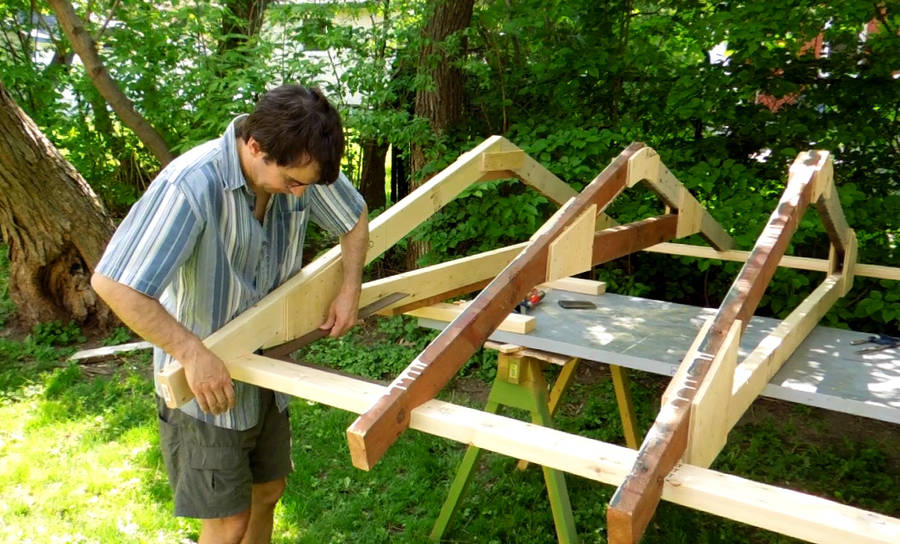
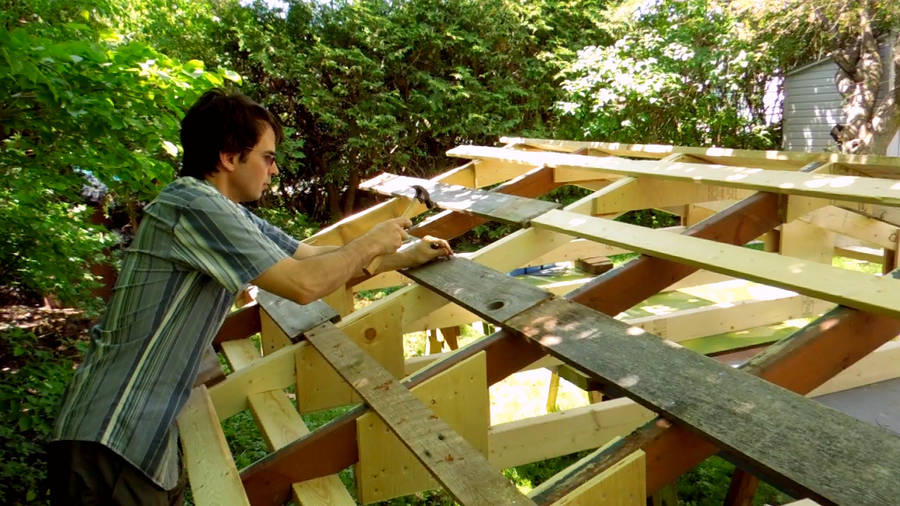
 Before attaching the strapping and roofing, I had to make sure
my structure was straight and square. The strapping and sheet metal roofing
really stiffen up the structure, so if it's crooked when you put the metal on,
it will be hard to get it straight later.
Before attaching the strapping and roofing, I had to make sure
my structure was straight and square. The strapping and sheet metal roofing
really stiffen up the structure, so if it's crooked when you put the metal on,
it will be hard to get it straight later.
 I used various wood scraps as shims, including some between the
sawhorses and doors to get it all straight.
I used various wood scraps as shims, including some between the
sawhorses and doors to get it all straight.
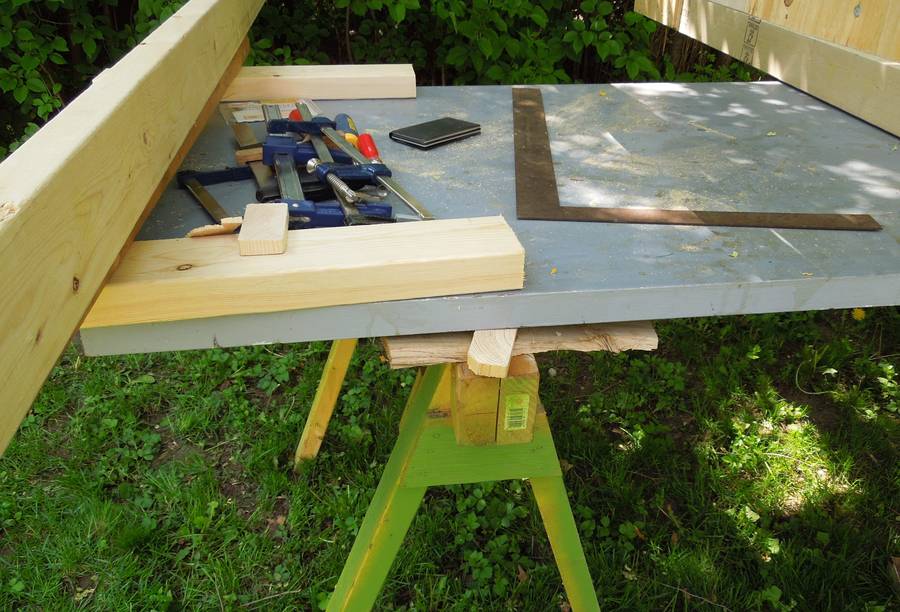
 Also making sure it's square, using a framing square.
I'm sure people will suggest "measure the diagonals" to check it's square, but that would have been quite difficult with the trusses in the way.
The second truss from the front has the cross brace positioned higher than the other trusses. This should make it easier to slide long pieces of wood and such between the other trusses. Under the rafters is always a good place to store long stuff.
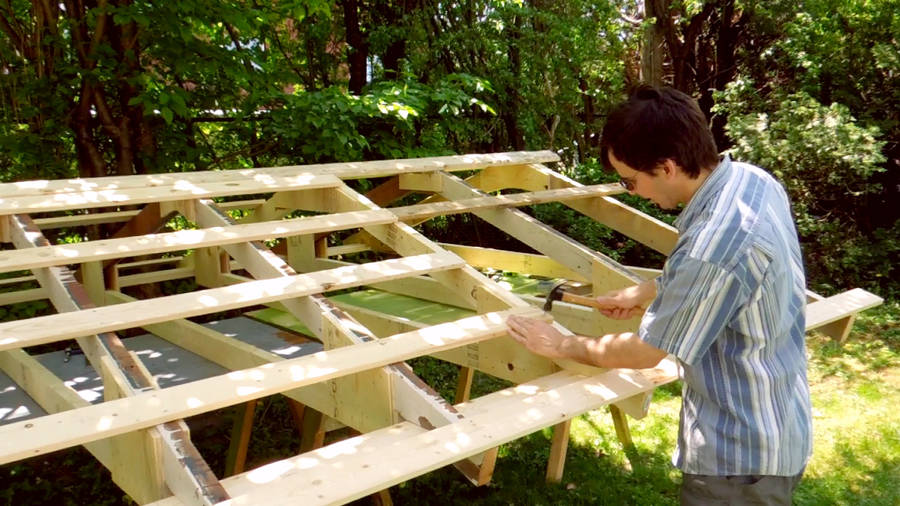 Nailing on the strapping.
 I used some old fence boards as strapping towards the back of the shed. Always good
to recycle.
I used some old fence boards as strapping towards the back of the shed. Always good
to recycle.
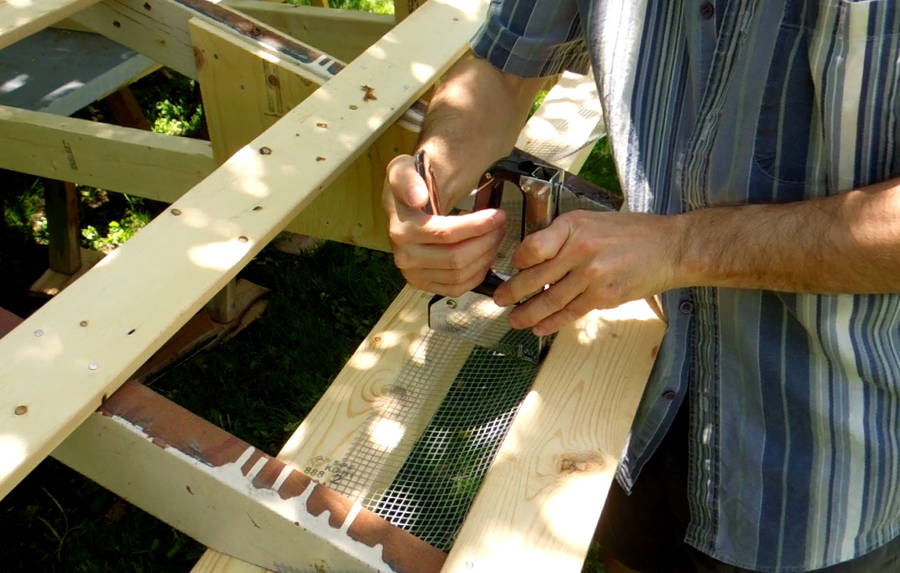 I wanted to keep the eaves of this shed open for better air flow, but
I also want to keep those dirty rotten squirrels out of the shed. So I stapled
some hardware cloth (essentially a wire mesh) to the eaves.
I wanted to keep the eaves of this shed open for better air flow, but
I also want to keep those dirty rotten squirrels out of the shed. So I stapled
some hardware cloth (essentially a wire mesh) to the eaves.
Next: Adding sheet metal roofing
See also: A previous shed build