Making wooden dice with the pantograph
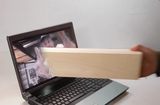
 I used my 3D pantograph to make the holes in the dice
for the video collaboration with Steve Ramsey.
I used my 3D pantograph to make the holes in the dice
for the video collaboration with Steve Ramsey.
In the video, I round the corners and edges with a 1/2" roundover. But I started thinking about rounding the dice to be like one of those dice with the really rounded corners that roll so well. I came up with a neat method using my pantograph, so I thought I'd cover that in more detail.
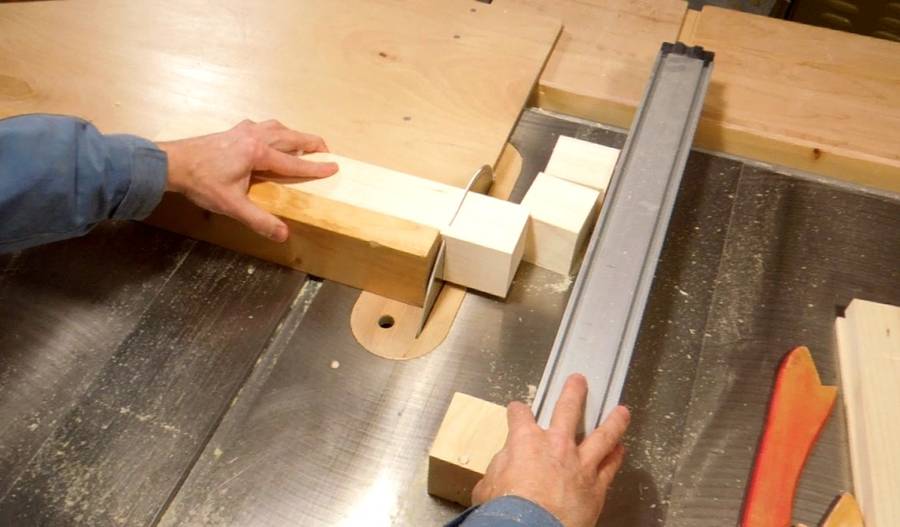 The dice all start as cubes about 6.5 cm (2.5") along each edge.
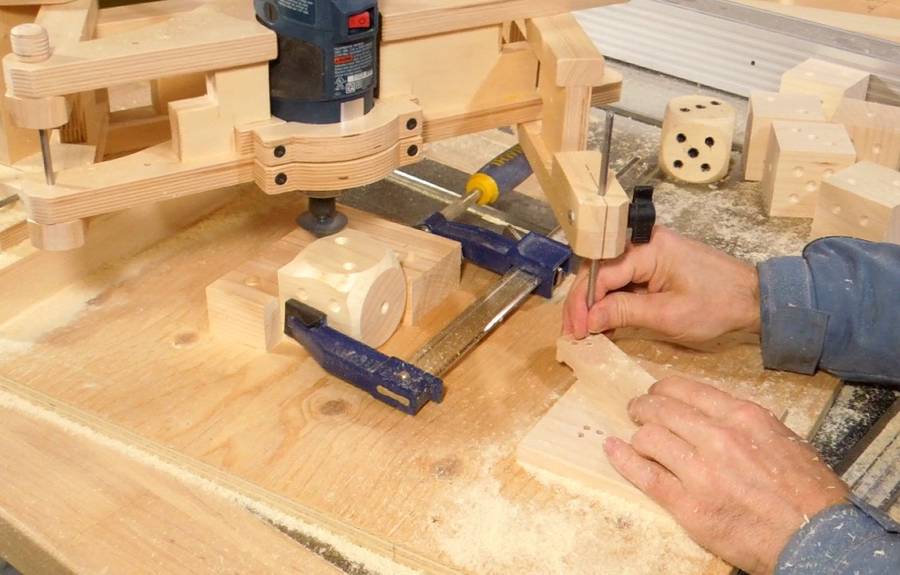
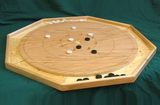
 I made a template that had holes for all the positions that the dots of the die
could be in. To make the holes in the dice in the right place is just a matter of
poking the follower pin in the appropriate holes.
I made a template that had holes for all the positions that the dots of the die
could be in. To make the holes in the dice in the right place is just a matter of
poking the follower pin in the appropriate holes.
The intent for the video had been to use an overly complicated way to do it. Though complicated, this method actually turned out to be very effective at repeatably cutting the holes in the right positions.
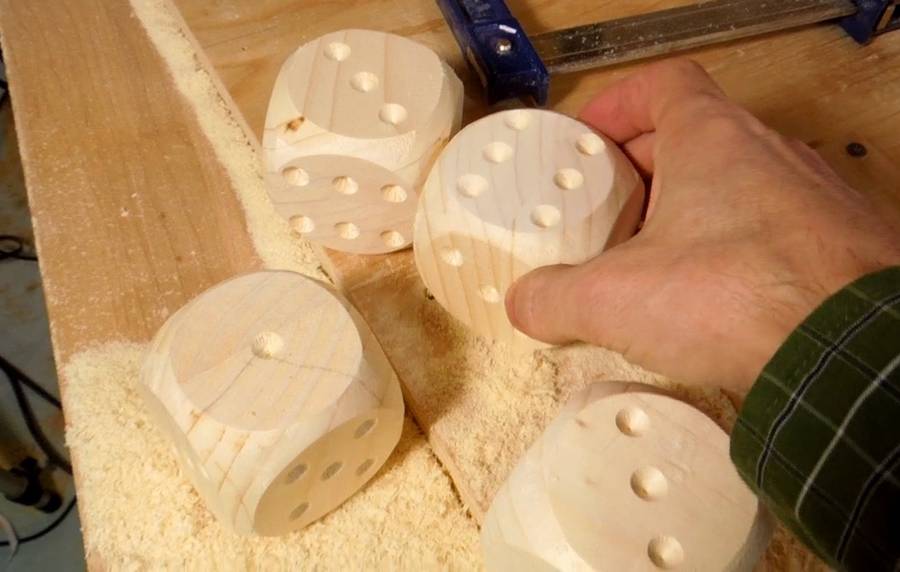
 For the classic round wooden dice shape, the dice is actually more of a sphere with
four sides cut flat. Each face ends up circular in shape, with the wood coming to
the face at close to 45 degrees.
For the classic round wooden dice shape, the dice is actually more of a sphere with
four sides cut flat. Each face ends up circular in shape, with the wood coming to
the face at close to 45 degrees.
So thinking about this a bit, I realized, I could reuse my pantograph circles technique to trace a circle around the face with a 45-degree bevel cutting bit. I use a piece of wood that rotates around the center of my templates to guide the follower pin around a circle twice as large as the one that the router needs to trace.
The router bit needs to be one without a guide bearing, I cut that off.
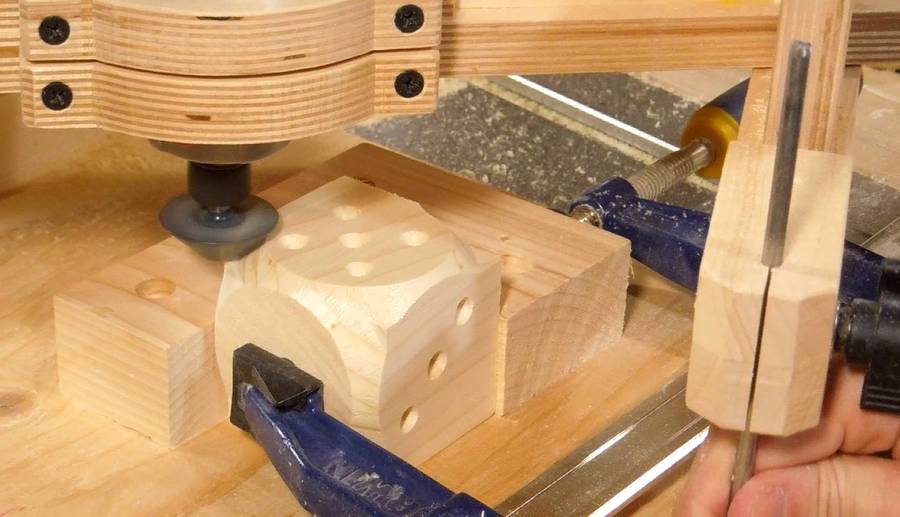 The technique does require working fairly precisely
to make sure all the edges line up...
The technique does require working fairly precisely
to make sure all the edges line up...
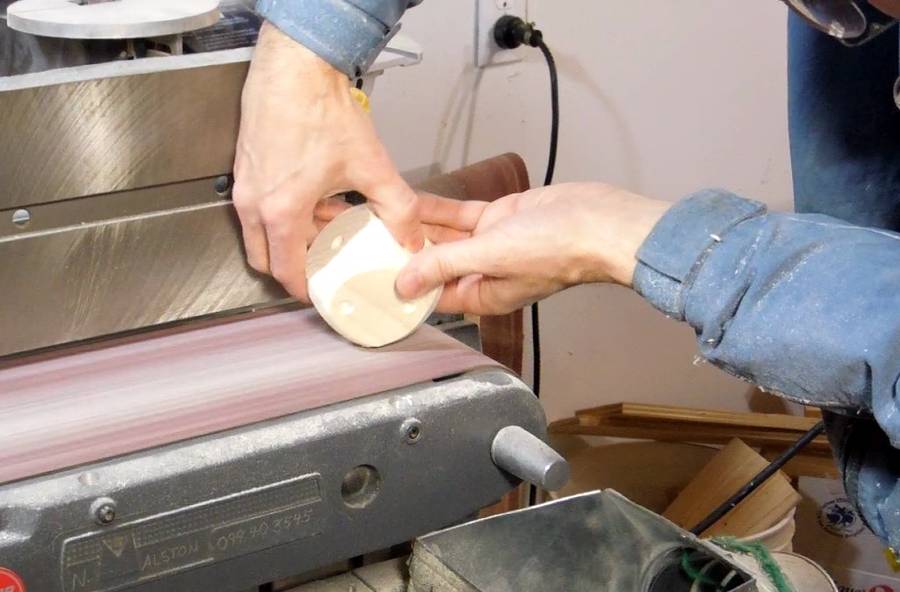 ...but a bit of sanding removes any imperfections.
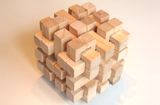
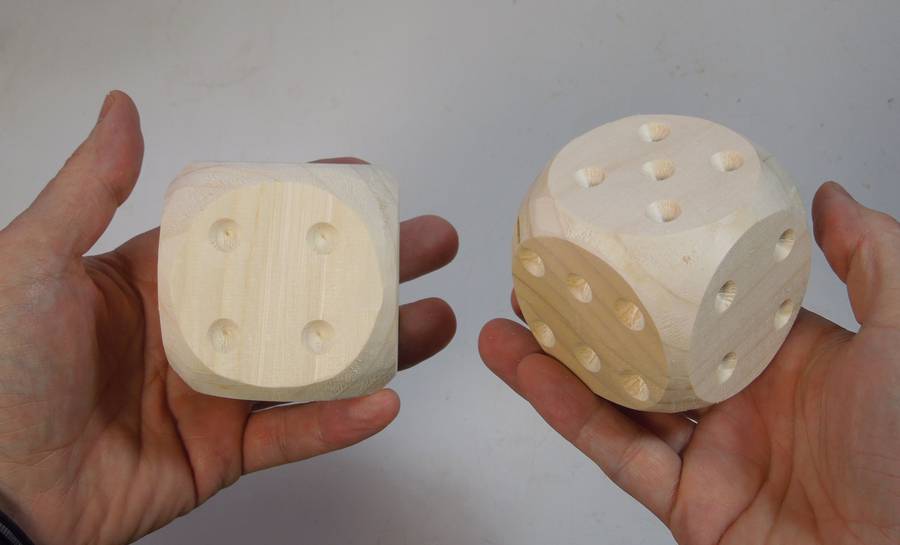 Looking face on at a corner of the resulting dice, you can see how the outline is very
close to circular. This sort of dice rolls very nicely, especially if you
toss it just right.
Looking face on at a corner of the resulting dice, you can see how the outline is very
close to circular. This sort of dice rolls very nicely, especially if you
toss it just right.
And that's all there's to it. Yet another trick with the 3D router pantograph
See also:
 April fools video
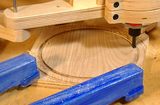
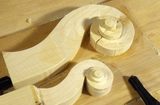 Carving a violin scroll
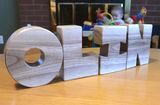
 Making wooden
Back to the 3D router pantograph
![]()