 Up to this point I had been turning saw on and off by using a separate
switched power cord,
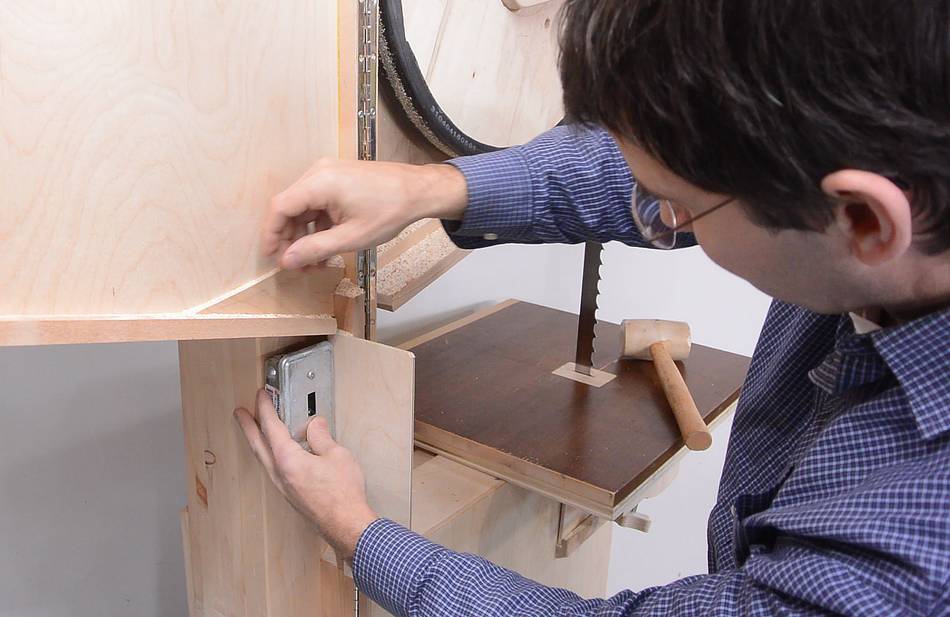
but with the saw nearly done, it was time to add a proper switch.
Up to this point I had been turning saw on and off by using a separate
switched power cord,
but with the saw nearly done, it was time to add a proper switch.
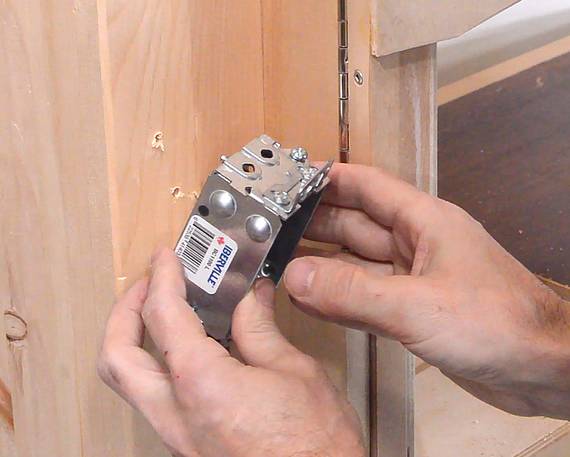
The best place to mount the switch is on the "post" on the left, but I have to make sure the cover doesn't hit the switch.
I used a shallow wall socket box for this. There are of course surface mount electrical boxes, but these are deeper than this one, and that interferes with opening the cover. I had to drill some small holes in the post to make room for the screws sticking out the back of the box.
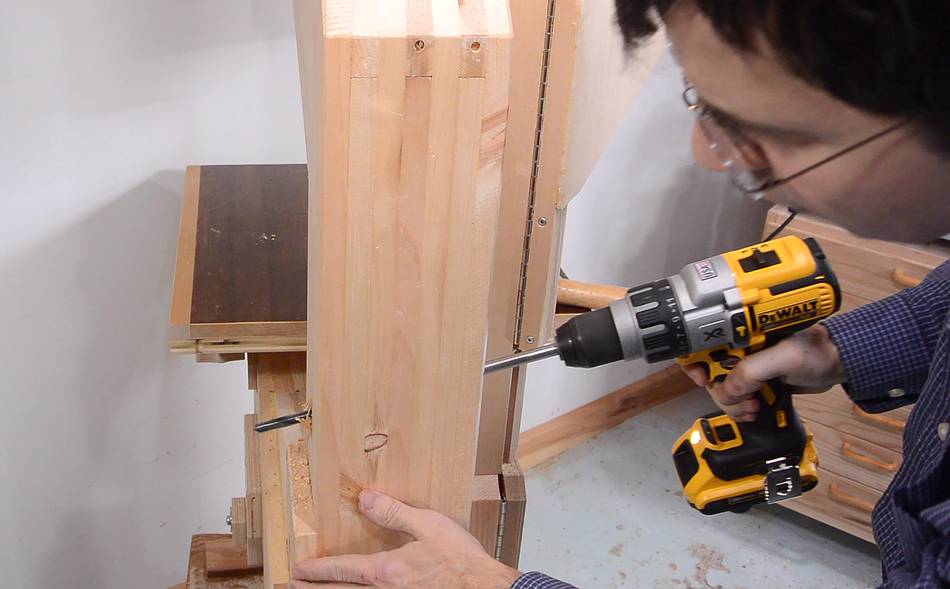
 Then I drilled a hole through the post for the wire. I drilled this at an angle
because I need to go lower on the back side anyway.
Then I drilled a hole through the post for the wire. I drilled this at an angle
because I need to go lower on the back side anyway.
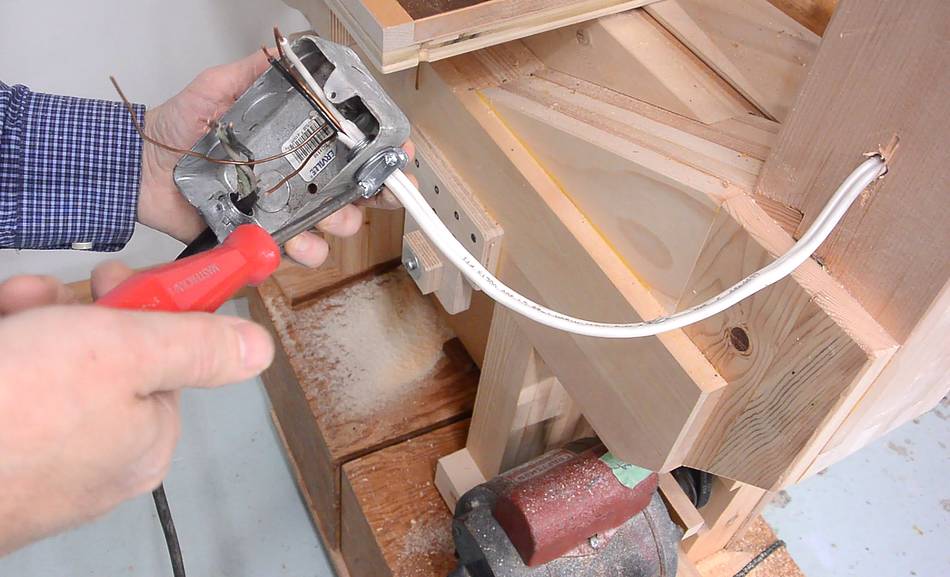
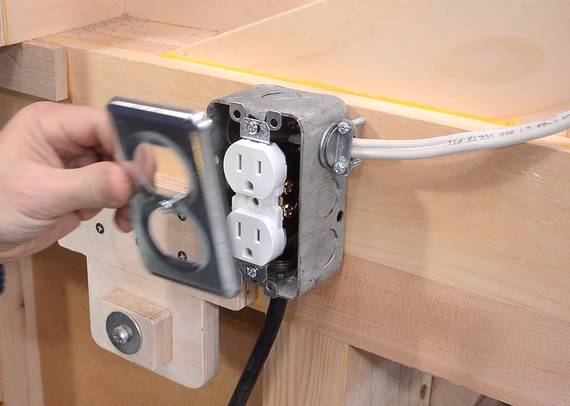 I used a proper surface mount box for the back. This box has the power
cord going into it, and a power outlet for the motor. I'm still undecided
which motor to use for this saw, so plugging the motor into a socket in the
back of the saw seems the best option for now (I used the same approach
for my 16" bandsaw and my 14" bandsaw). I might switch it to 240 volts later,
in which case I have to replace the plug on the power cord and this socket
with 240 volt versions.
I used a proper surface mount box for the back. This box has the power
cord going into it, and a power outlet for the motor. I'm still undecided
which motor to use for this saw, so plugging the motor into a socket in the
back of the saw seems the best option for now (I used the same approach
for my 16" bandsaw and my 14" bandsaw). I might switch it to 240 volts later,
in which case I have to replace the plug on the power cord and this socket
with 240 volt versions.
The wiring on this bandsaw is identical to this simple remote switch.
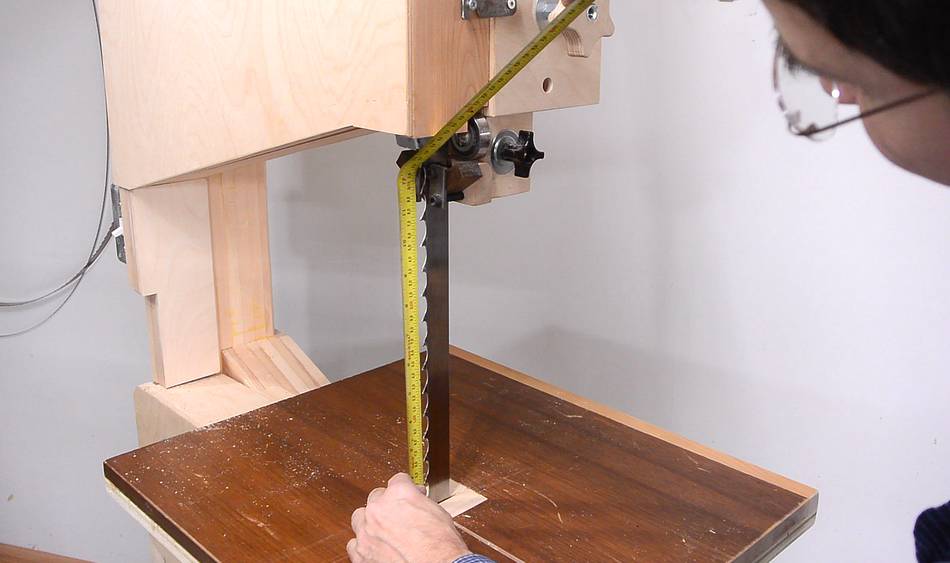
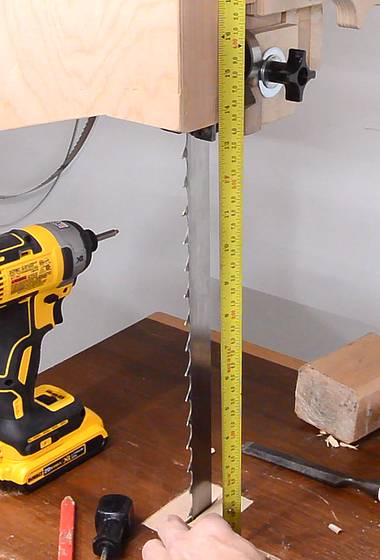
 The maximum resaw height for this saw, as built, was 11" or 28 cm.
But this is not yet optimized.
The maximum resaw height for this saw, as built, was 11" or 28 cm.
But this is not yet optimized.
I already drilled an extra hole in the clamp for the guide post so that I can place it in a higher position. This allows the blade guide to slide up into the housing.
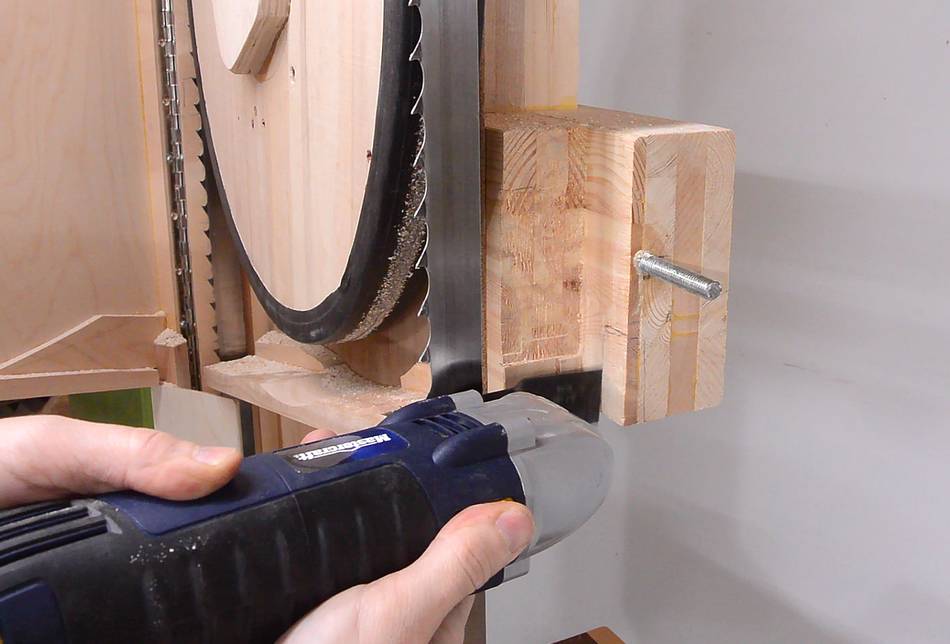
 But depending on how far back the blade guide is adjusted, part of it may interfere
with part of the frame. So here I cut away a corner to make room for that, but still
leaving some bearing surface for the guide post.
But depending on how far back the blade guide is adjusted, part of it may interfere
with part of the frame. So here I cut away a corner to make room for that, but still
leaving some bearing surface for the guide post.
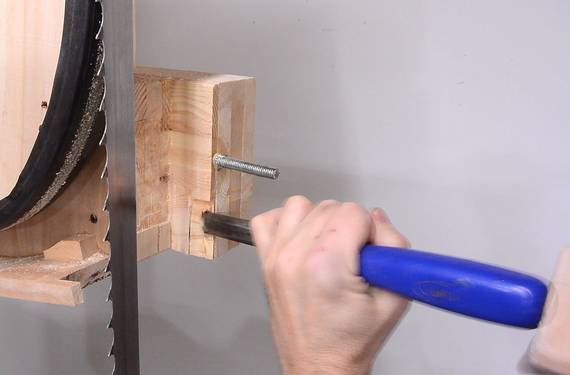
I used one of those oscillating tools and a chisel to cut away the notch. I bought this oscillating tool because it was on sale years ago. I don't have much use for it, but maybe once every year it comes in very handy.
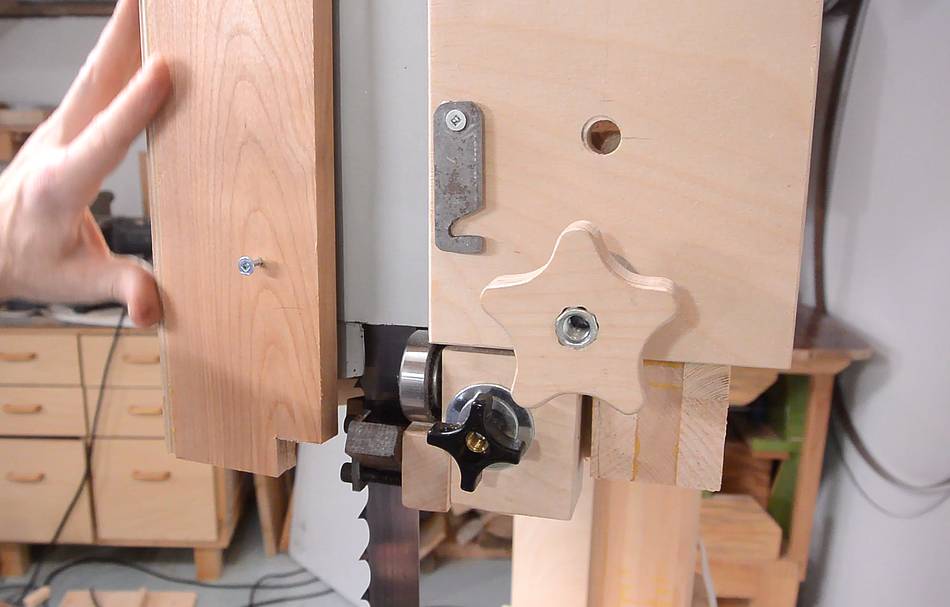 In this photo, you can now see there is a bit of space behind the blade guide
body (just below the wooden stark knob). But with the blade guide this far
up, the top enclosure now hits the blade guide.
In this photo, you can now see there is a bit of space behind the blade guide
body (just below the wooden stark knob). But with the blade guide this far
up, the top enclosure now hits the blade guide.
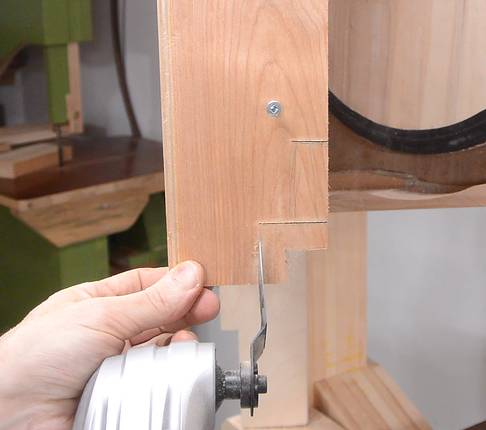 So I used my oscillating tool again to cut this out without having to take
the cover off the saw.
So I used my oscillating tool again to cut this out without having to take
the cover off the saw.
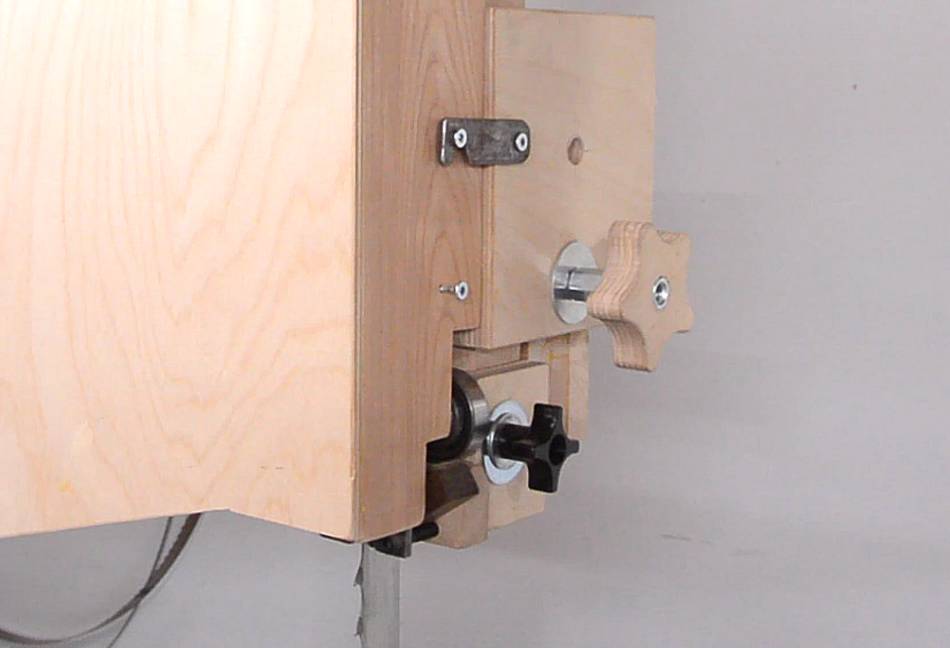
 Final notch, with blade guide in it's upper-most position.
Maximum resaw height is now 13" or 33 cm.
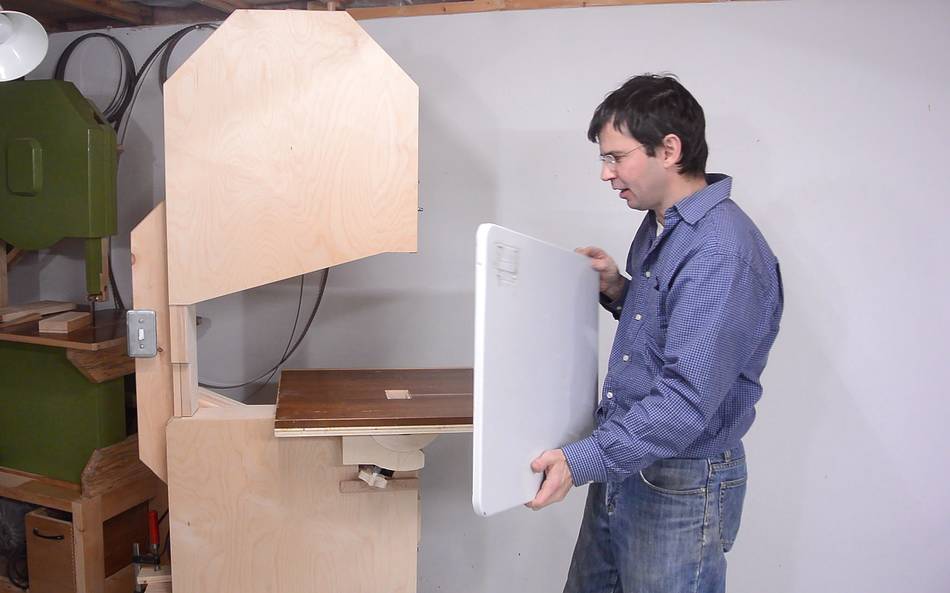 I had been thinking of buying some 1 mm thick stainless steel to make a cover plate
for the wooden table, because, when cutting up logs, the table
on my 18" bandsaw gets quite scratched up.
I had been thinking of buying some 1 mm thick stainless steel to make a cover plate
for the wooden table, because, when cutting up logs, the table
on my 18" bandsaw gets quite scratched up.
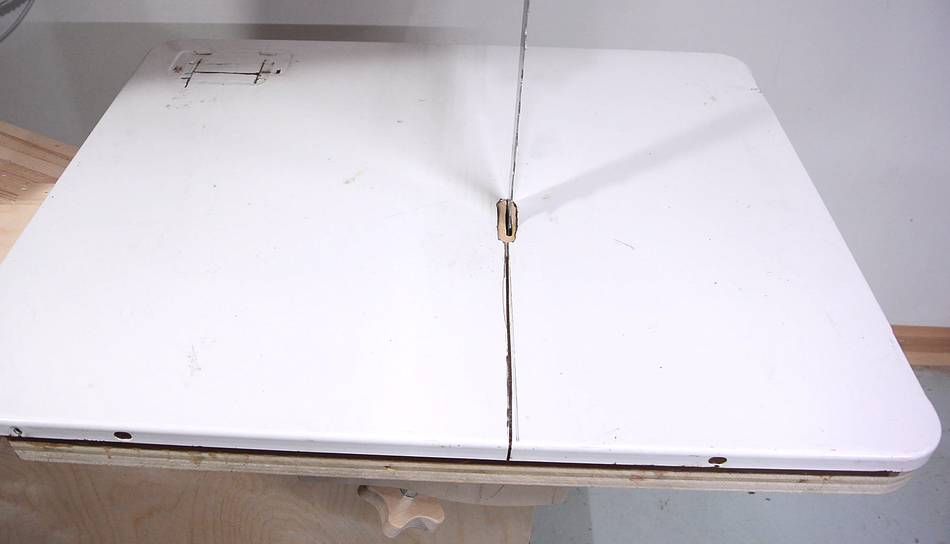
 But I had a lid from a clothes dryer that I saved, and it
fit perfectly in terms of depth, with maybe 3 cm to spare on either side.
But I had a lid from a clothes dryer that I saved, and it
fit perfectly in terms of depth, with maybe 3 cm to spare on either side.
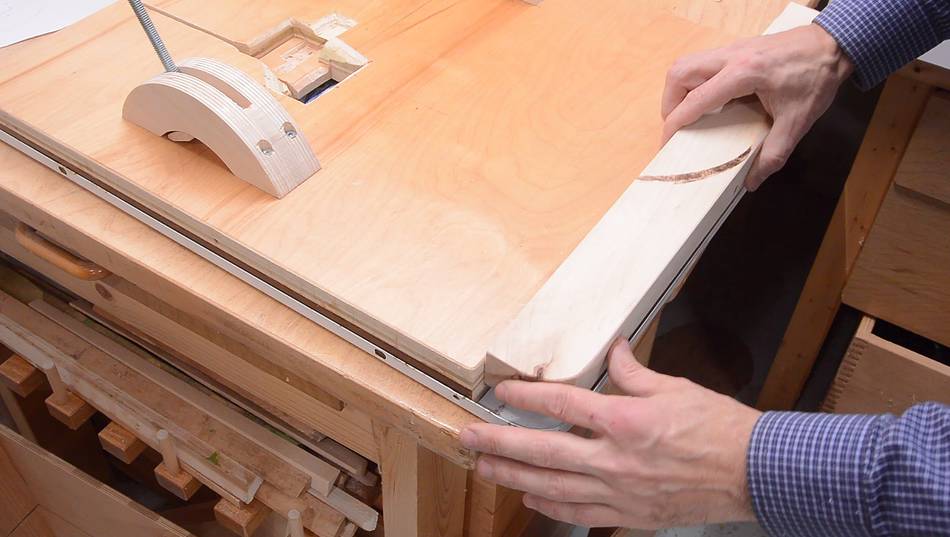
 I cut the corners of the table round on the right side and made an extra piece of wood
to extend the table to the width of the sheet metal on the left. More table area
is always nice.
I cut the corners of the table round on the right side and made an extra piece of wood
to extend the table to the width of the sheet metal on the left. More table area
is always nice.
 I only screwed the extension on for the time being.
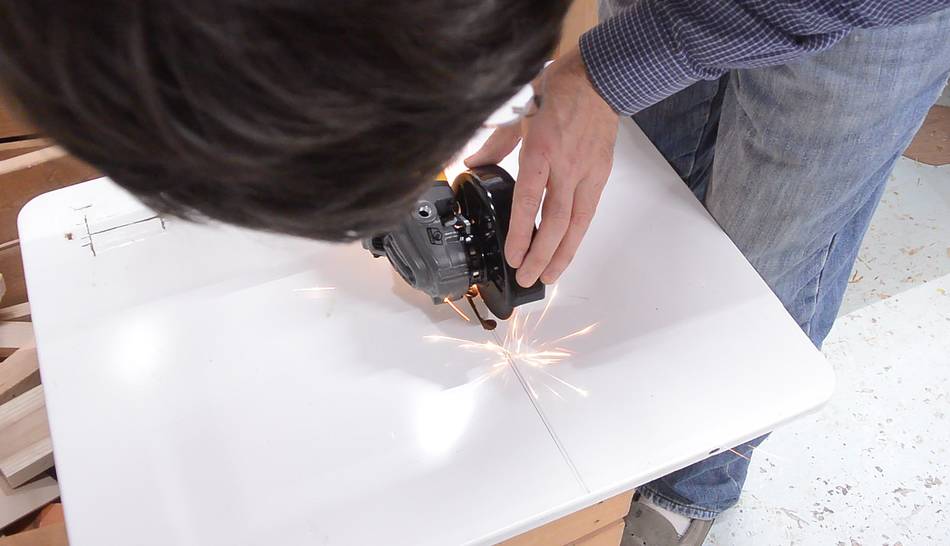
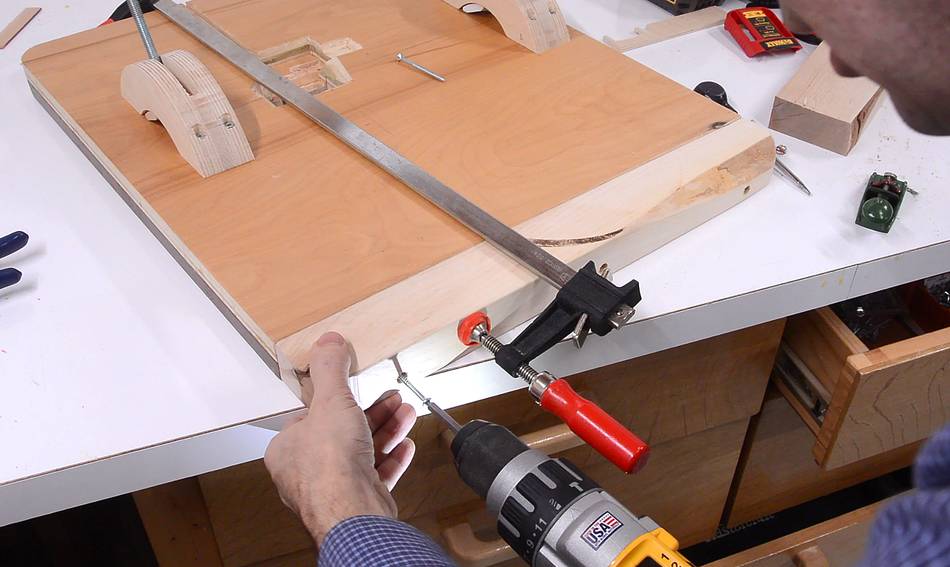
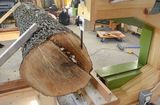
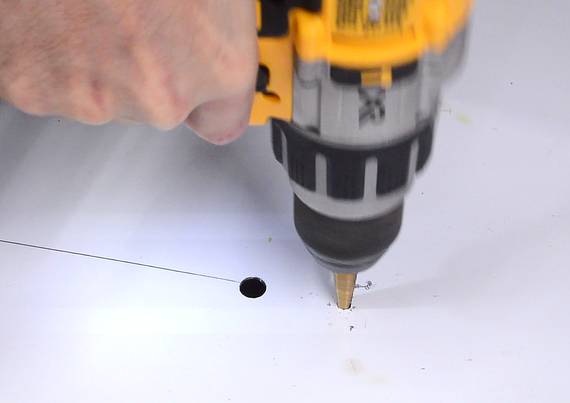 I needed wider slot for the blade to pass through without danger of hitting
the sheet metal. So I drilled two holes with a step drill, then cut
between them with an angle grinder. I also ground a line to the front of the
table with the angle grinder.
I needed wider slot for the blade to pass through without danger of hitting
the sheet metal. So I drilled two holes with a step drill, then cut
between them with an angle grinder. I also ground a line to the front of the
table with the angle grinder.
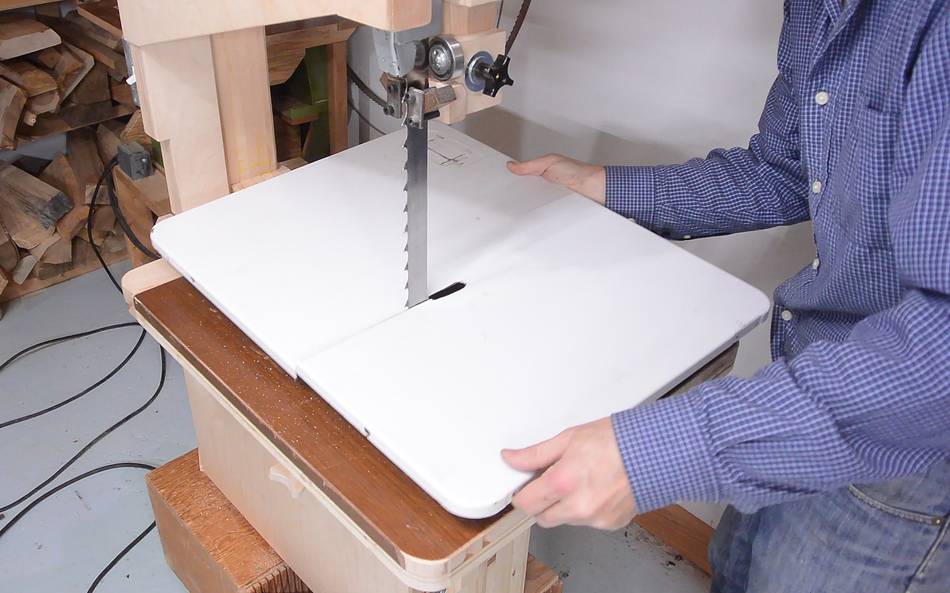 It's a tight fit to slide the table cover around the sawmill blade.
 The idea is that the cover is removable and needs to come off for blade
changes. I cut the slot in the cover
to the front because, if I cut it to the side, I'd need a bigger hole
to turn the blade 90 degrees. There would also be the risk of a log snagging the
slot as I push it across. So I cut the slot to the front because that edge
was closer than the back.
The idea is that the cover is removable and needs to come off for blade
changes. I cut the slot in the cover
to the front because, if I cut it to the side, I'd need a bigger hole
to turn the blade 90 degrees. There would also be the risk of a log snagging the
slot as I push it across. So I cut the slot to the front because that edge
was closer than the back.
 I got a piece of walnut log from Paul at
Canadian Woodworks. Paul buys logs from people who cut down old urban trees
in Toronto, which he mills up for lumber for his products. He also sells slabs.
I got a piece of walnut log from Paul at
Canadian Woodworks. Paul buys logs from people who cut down old urban trees
in Toronto, which he mills up for lumber for his products. He also sells slabs.
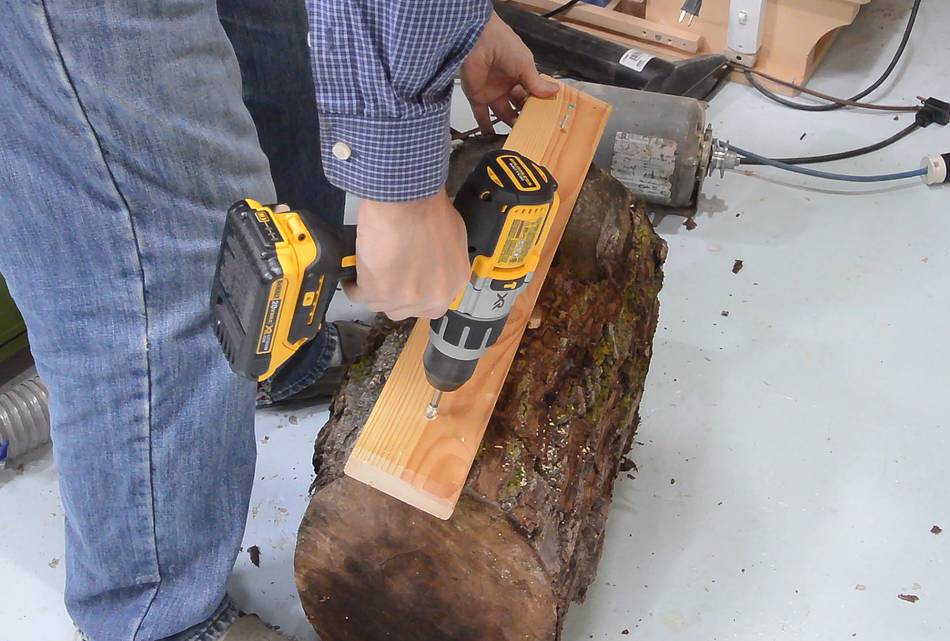
I screwed a straight piece of wood to the log to give me a straight flat reference surface to guide the first cut.
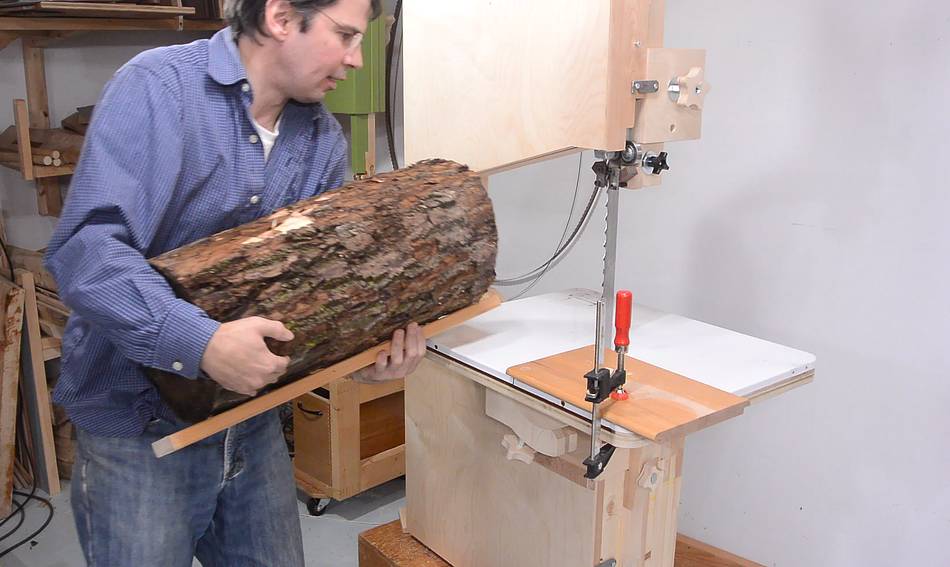 I clamped a scrap of wood to the table to act as a fence. The scrap
goes slightly further left than the blade, so that when I push the log through
the saw, running the guide I screwed onto it against this fence, I won't
be cutting into the guide.
I clamped a scrap of wood to the table to act as a fence. The scrap
goes slightly further left than the blade, so that when I push the log through
the saw, running the guide I screwed onto it against this fence, I won't
be cutting into the guide.
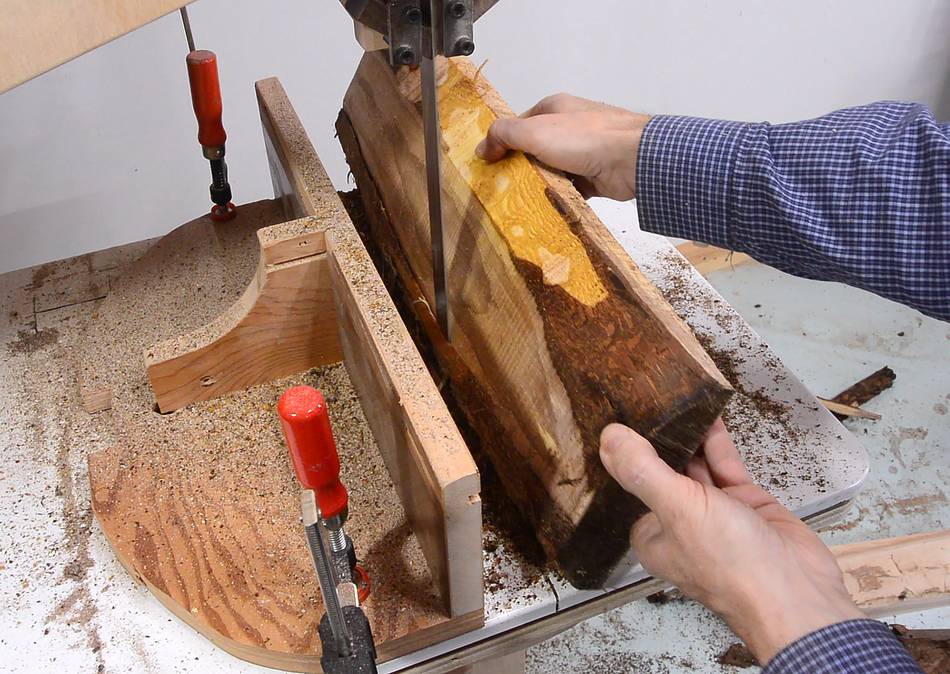
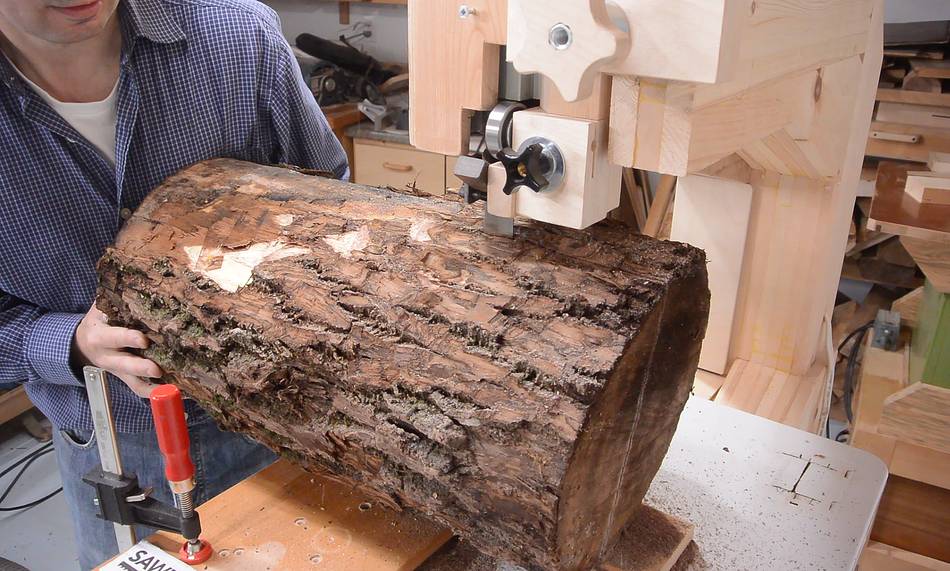 Slicing through the log.
 I'm using a 1 1/4" wide sawmill sawblade sent to my by
sawblade.com.
I stuck a piece of the packaging with their logo on it onto the log for one
of the shots in the video.
I'm using a 1 1/4" wide sawmill sawblade sent to my by
sawblade.com.
I stuck a piece of the packaging with their logo on it onto the log for one
of the shots in the video.
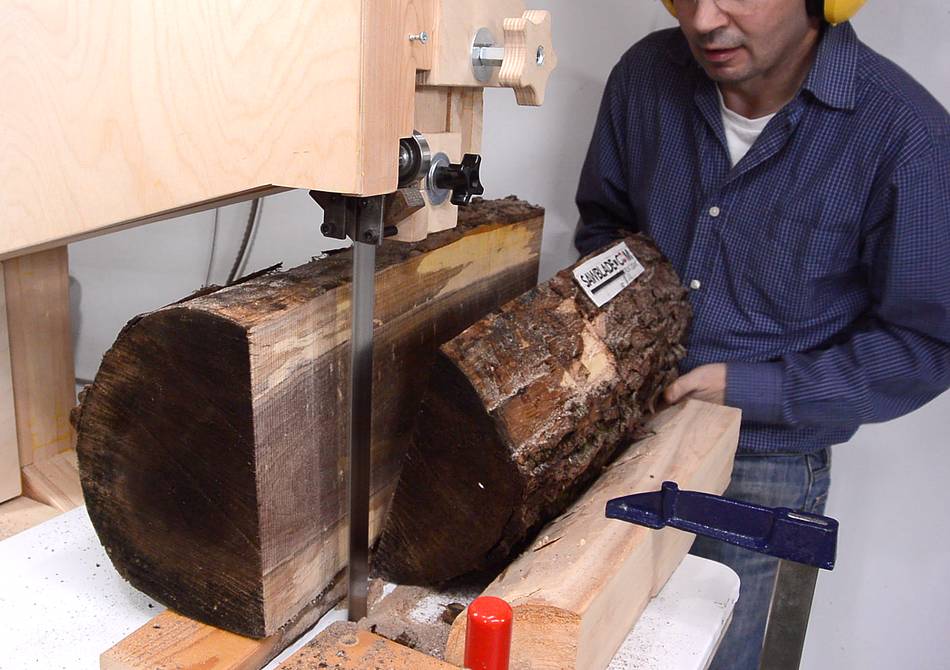
 With the first cut made, I used the same piece of wood screwed to the log as a
reference edge to cut another face flat on the log.
With the first cut made, I used the same piece of wood screwed to the log as a
reference edge to cut another face flat on the log.
 I then used a resaw fence to slice the log into 45 mm thick slices.
I always finished up the cut by pulling from behind. That big coarse sawmill blade is kind of scary, so I didn't want my fingers near it when it comes out of the end of the log.
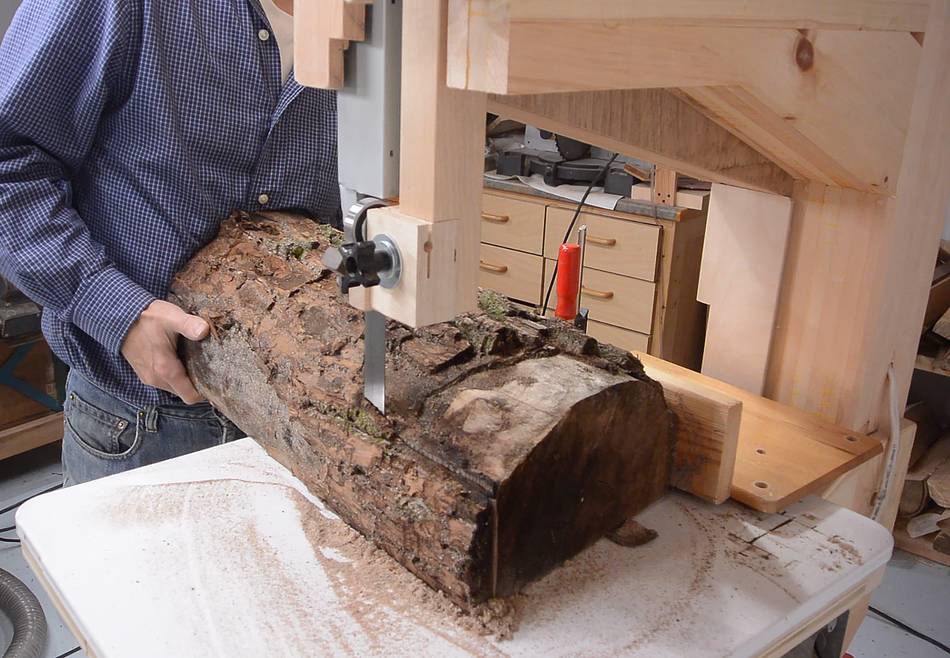
 Then freehand cutting the bark off the log.
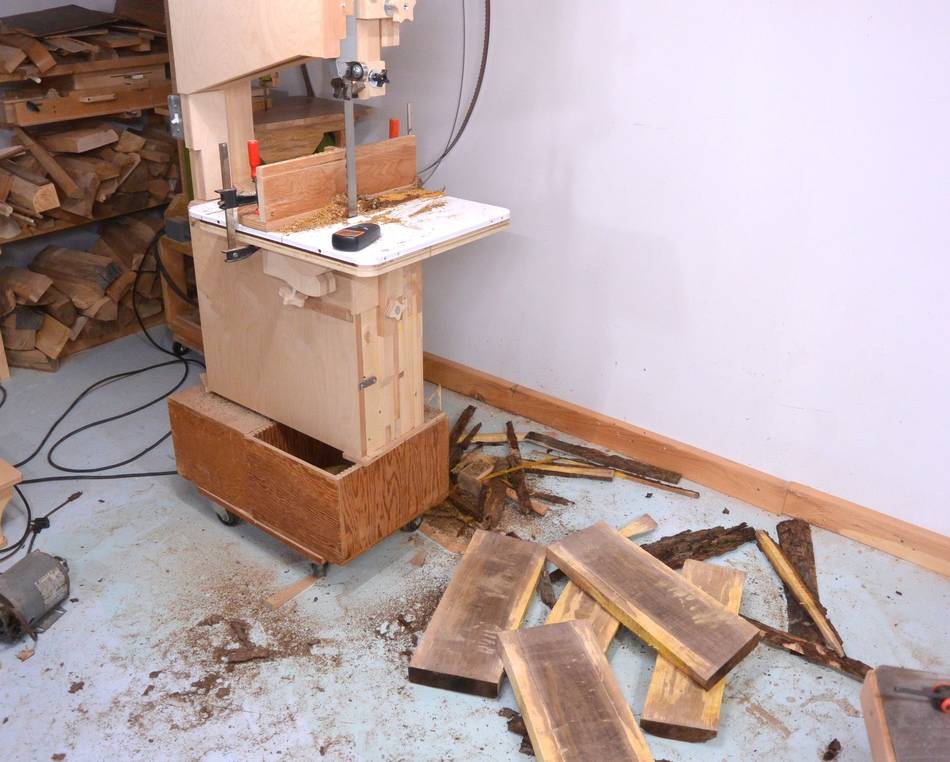 All done.
One of those piece later got used to make Olin's letters
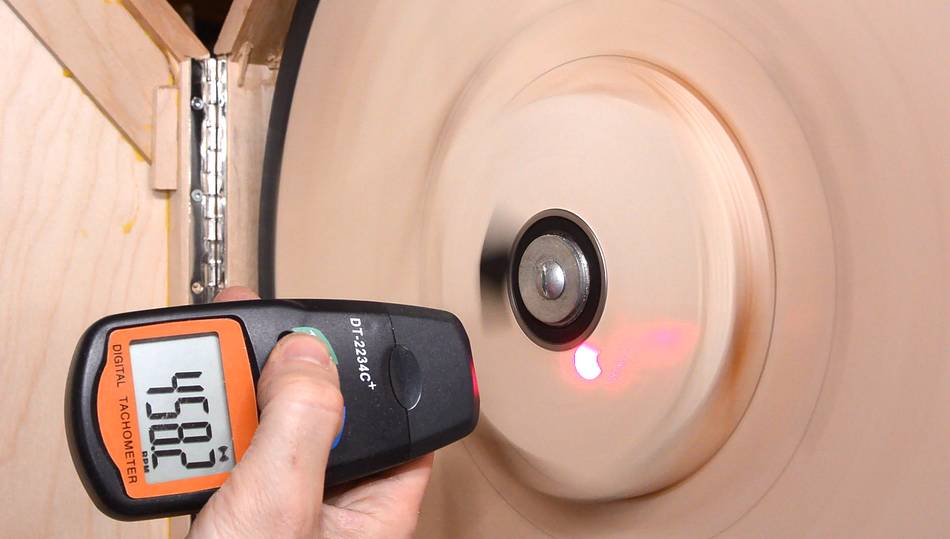 Milling this time went faster because I ran the saw faster, with 458 RPM on the wheels,
which works out to 720 meters per minute, or about 2400 feet per minute.
Milling this time went faster because I ran the saw faster, with 458 RPM on the wheels,
which works out to 720 meters per minute, or about 2400 feet per minute.
I was able to cut about 5 cm along the cut every 6 seconds, or about 0.5 meters/minute of feed rate. (1.6 fpm)
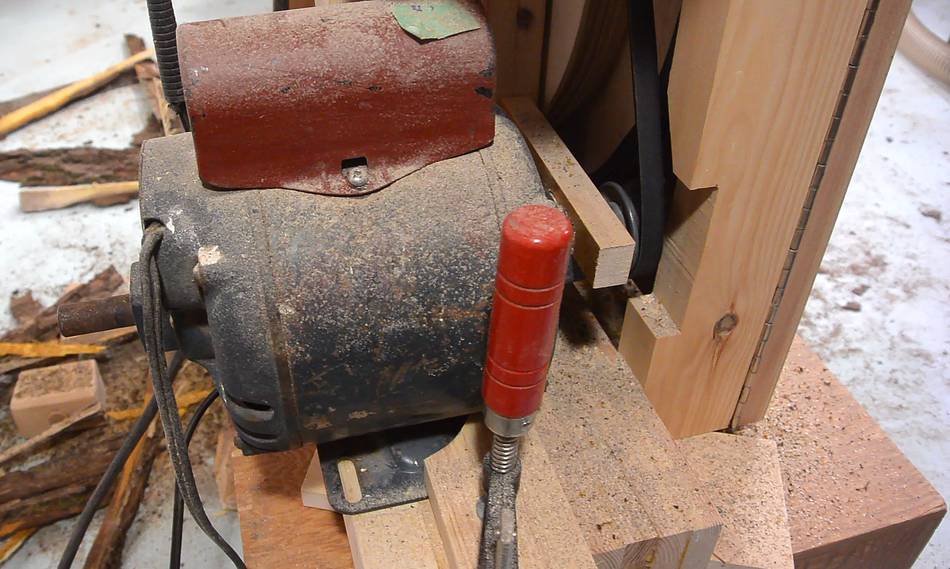 The motor I used for this log is a 3/4 hp 3500 RPM motor with a 2" pulley on it.
The motor came from a yard sale, and used to be on a small contractor saw.
The motor I used for this log is a 3/4 hp 3500 RPM motor with a 2" pulley on it.
The motor came from a yard sale, and used to be on a small contractor saw.
Update 2020:
I had some problems with the pulley getting loose:
Pulleys with setscrews suck.
I tried shimming it with UHMW tape in 2018. Two years later, still firm on the shaft,
so I guess the tape worked.
Back to 20" bandsaw main index
 Bandsaw-on-a-dolly sawmill (2017)
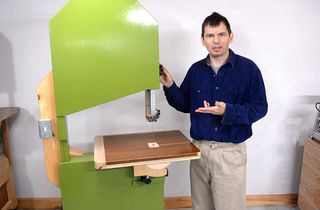 20" bandsaw build (2016)
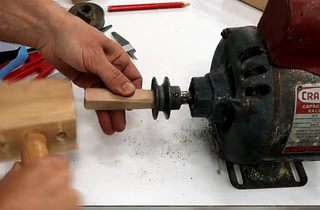 Pulleys with setscrews suck (2018)
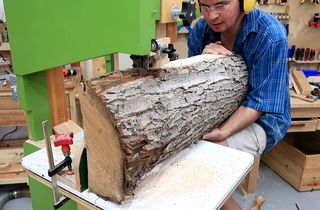 Milling a log on the bandsaw (2021)
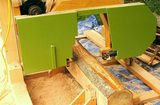 Sawmilling with my 14" bandsaw/sawmill
 Plans for the bandsaw
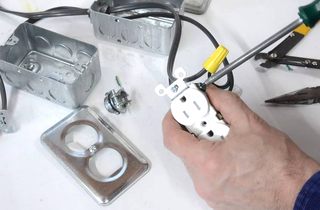 Making a simple remote switch