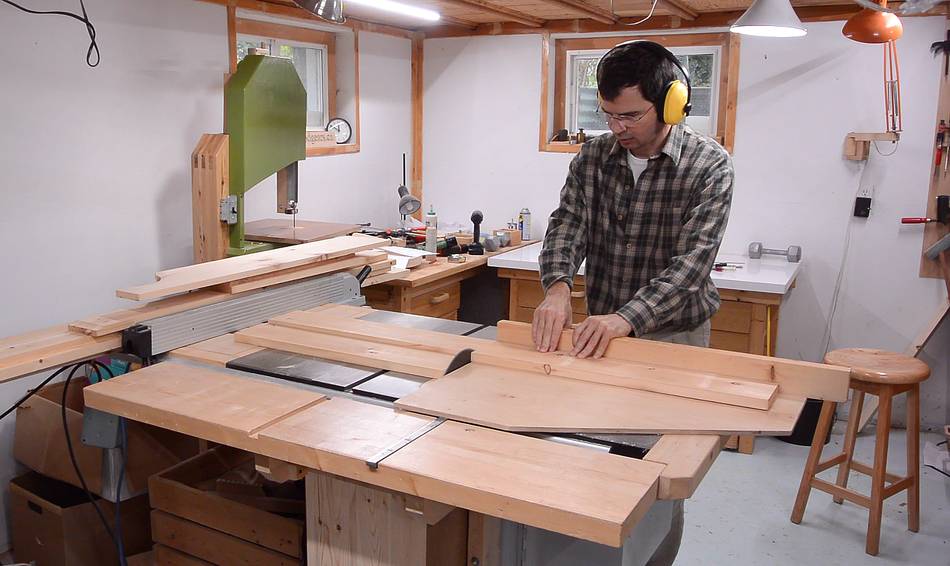
 I'm gluing the frame for this bandsaw together out of lots of individual boards,
much like my 16" bandsaw (shown at left)
and my 14"bandsaw, but bigger.
I'm gluing the frame for this bandsaw together out of lots of individual boards,
much like my 16" bandsaw (shown at left)
and my 14"bandsaw, but bigger.
I'm gluing the frame for this bandsaw together out of lots of individual boards,
much like my 16" bandsaw (shown at left)
and my 14"bandsaw, but bigger.
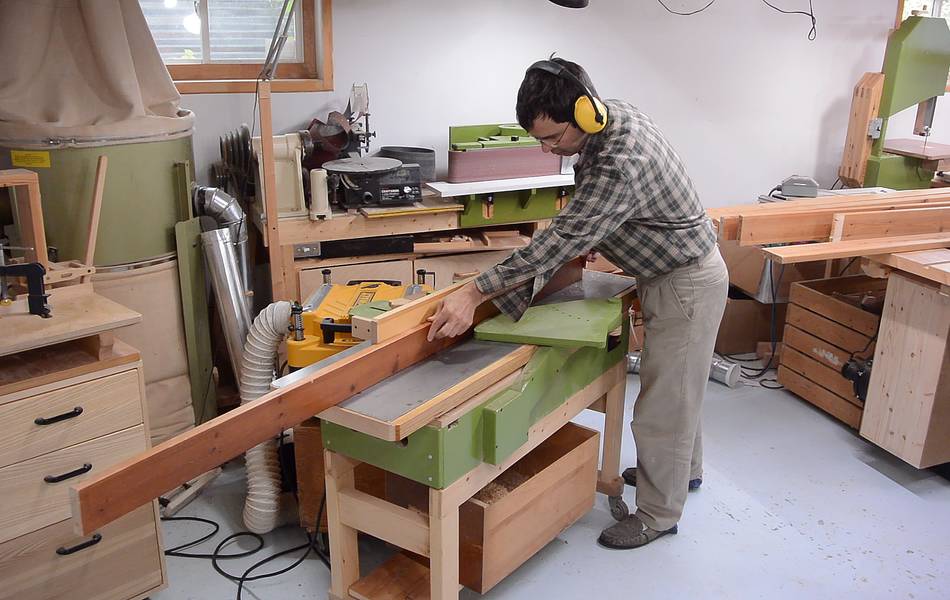 I started with a lot of reclaimed wood - futon frames from the garbage, parts of
bed frames, whatever I came across. These all needed to be jointed and planed.
I started with a lot of reclaimed wood - futon frames from the garbage, parts of
bed frames, whatever I came across. These all needed to be jointed and planed.
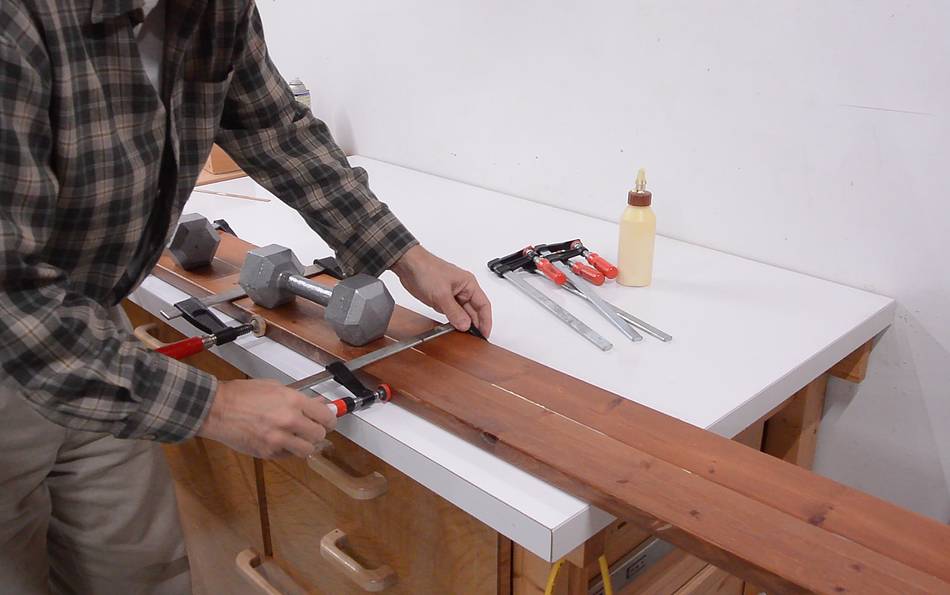
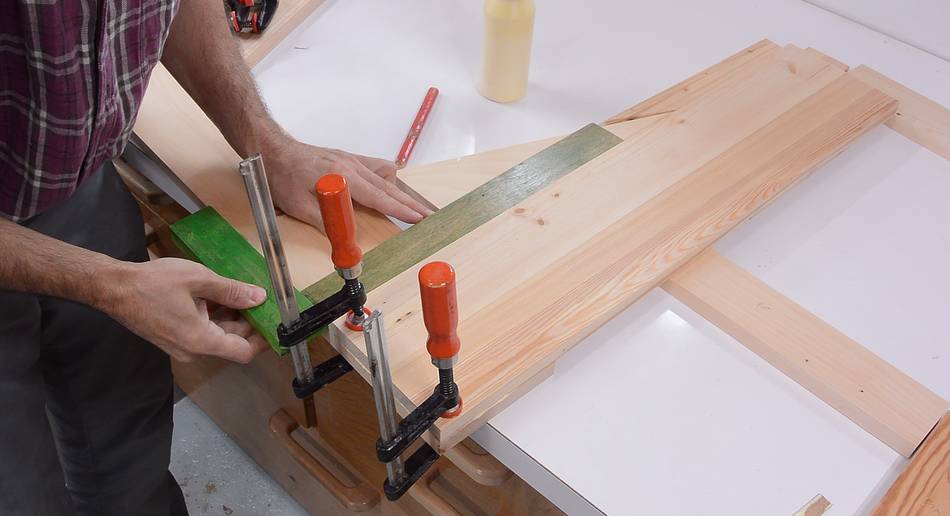
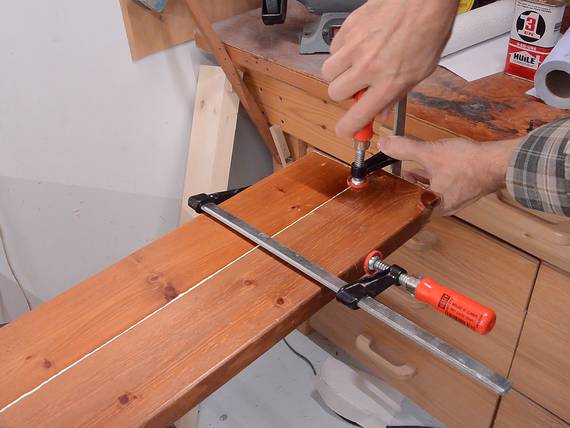 I glued together narrower pieces into wider boards, using clamps and
weights to force the boards into alignment.
I glued together narrower pieces into wider boards, using clamps and
weights to force the boards into alignment.
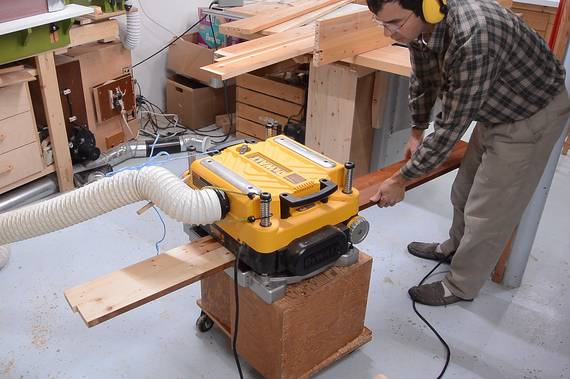 I then ran them through the thickness planer to plane them all down
to 18 mm.
I then ran them through the thickness planer to plane them all down
to 18 mm.
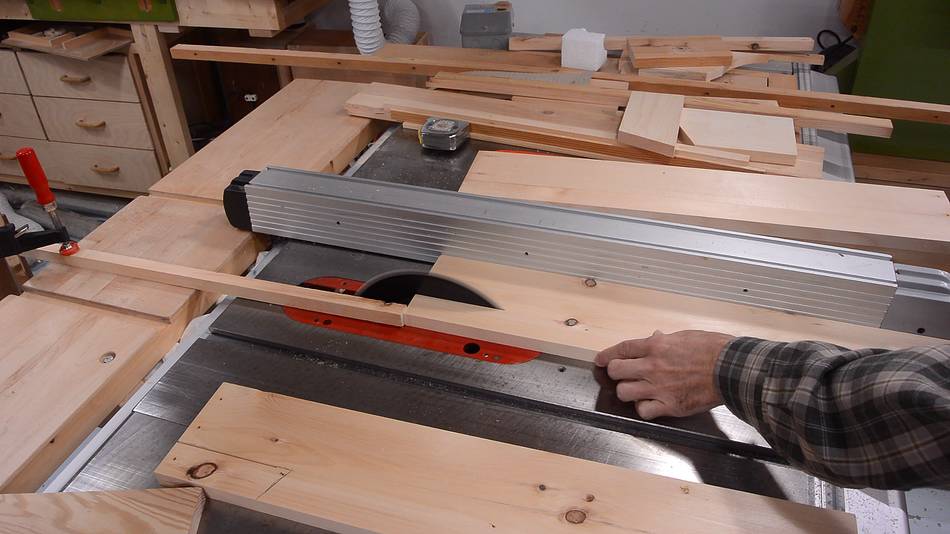
 Cutting the pieces to length and width.
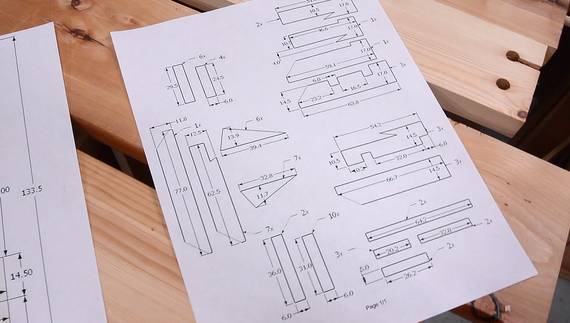 I actually made a sort of "cut list" this time, which helped track
how many of each part I needed to make.
I actually made a sort of "cut list" this time, which helped track
how many of each part I needed to make.
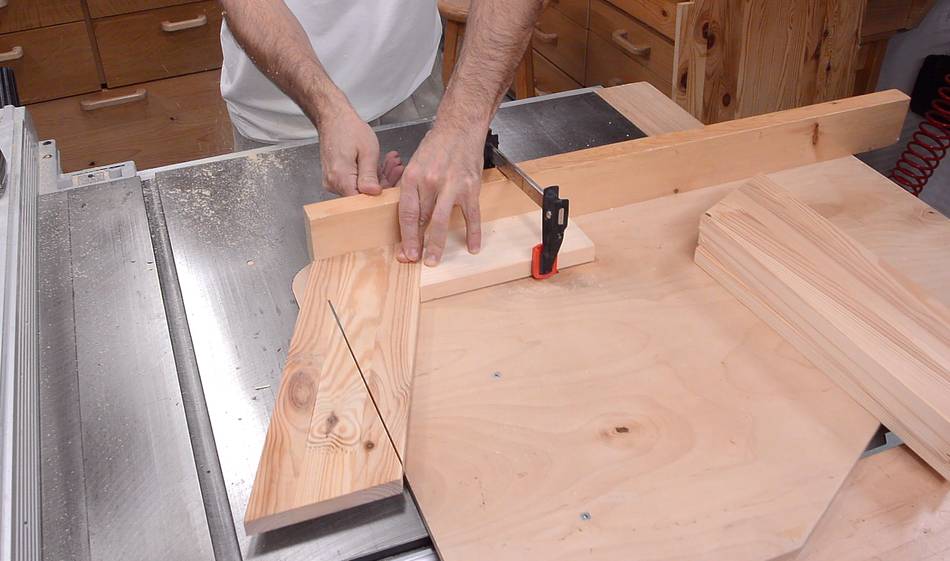
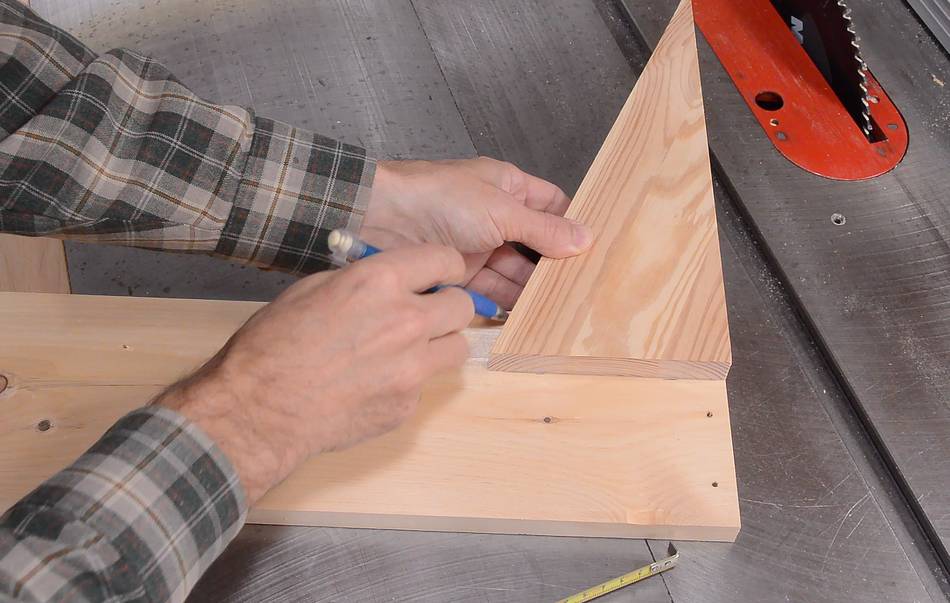
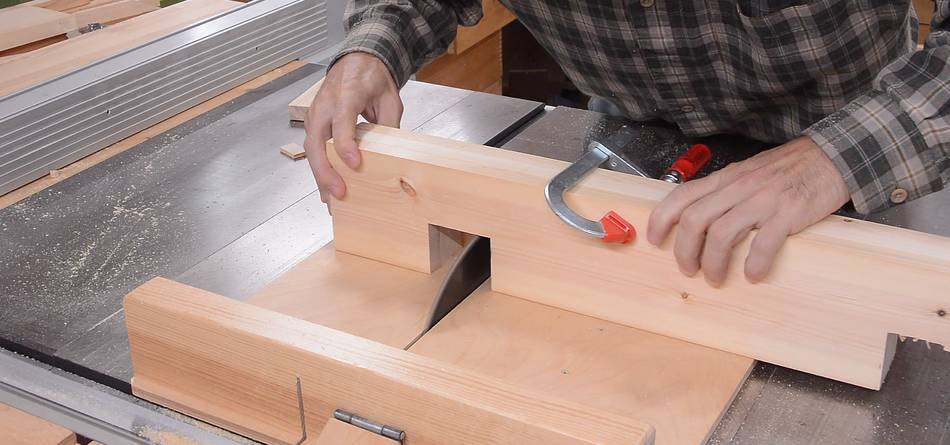
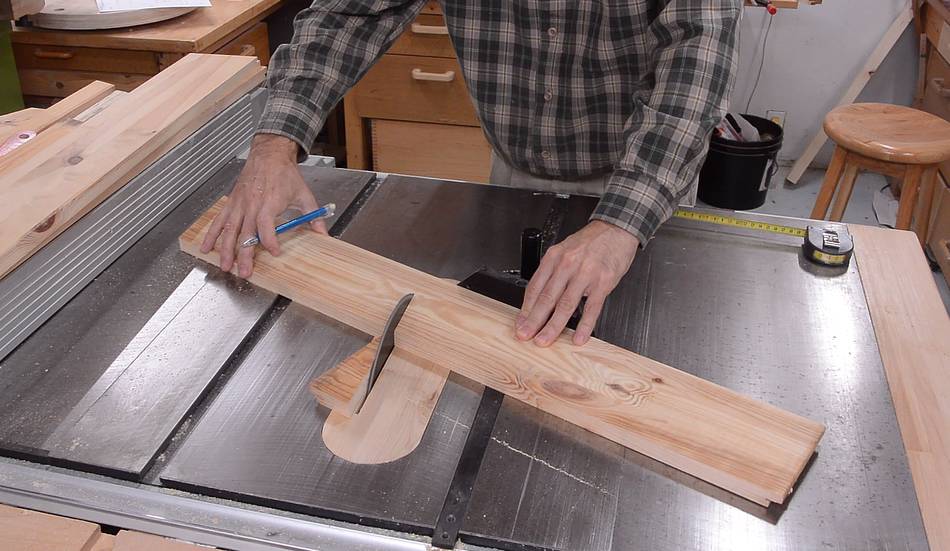 To make the triangles, I first cut the boards at a 22.5 degrees
from square (67.5°).
To make the triangles, I first cut the boards at a 22.5 degrees
from square (67.5°).
 Then, using a scrap of wood from the last step, I clamp it to
the fence of my table saw sled to cut triangles of the right "height",
where "height" is perpendicular to the wood's grain.
Then, using a scrap of wood from the last step, I clamp it to
the fence of my table saw sled to cut triangles of the right "height",
where "height" is perpendicular to the wood's grain.
 Then cutting the boards off that. The cut-off piece from
this is then placed on the sled to cut another triangle.
Then cutting the boards off that. The cut-off piece from
this is then placed on the sled to cut another triangle.
Note how the grain is parallel to the long edge of the triangles.
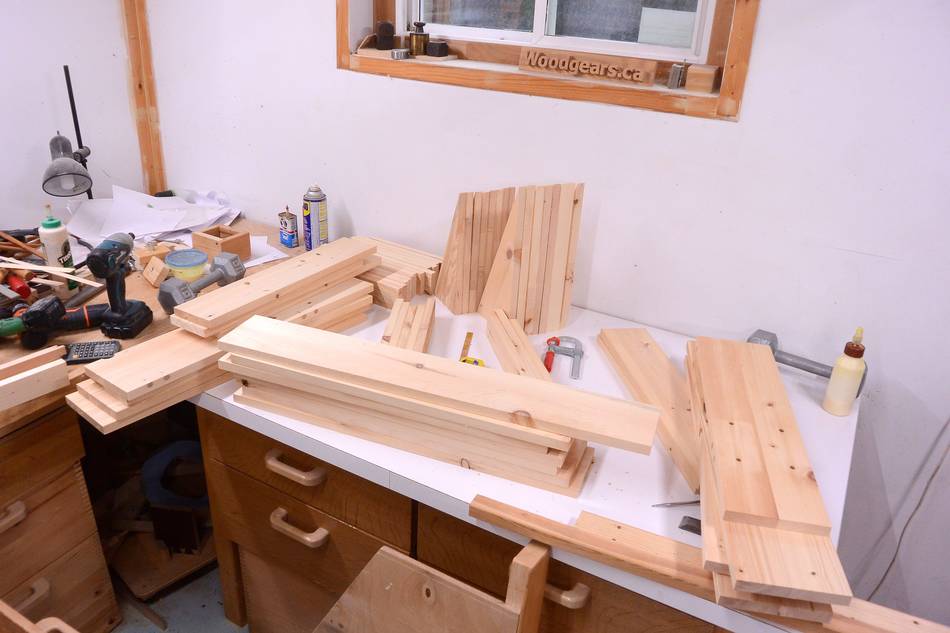 Most of the pieces cut.
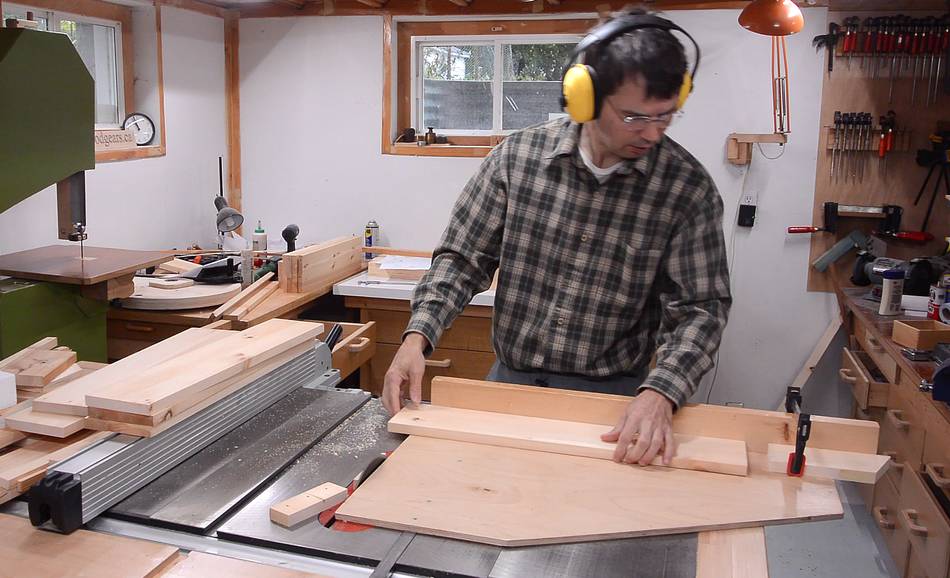 Trimming to final length. I initially cut all the pieces a few millimeters
longer than needed so I didn't have to worry about being precise or consistent.
Trimming to final length. I initially cut all the pieces a few millimeters
longer than needed so I didn't have to worry about being precise or consistent.
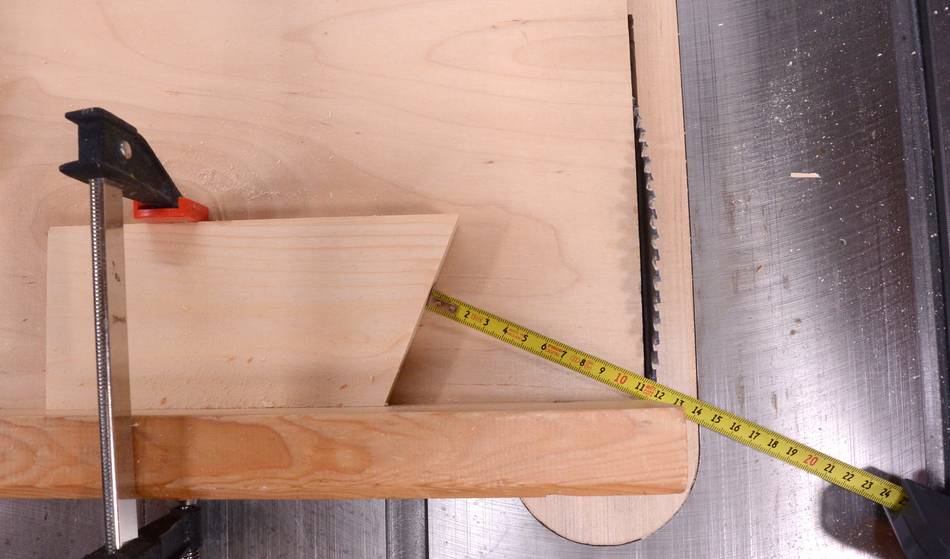
 The long pieces that form the post need a notch cut out of them for
the smaller sized triangles (there are two sizes). I mark where the
notch needs to go.
The long pieces that form the post need a notch cut out of them for
the smaller sized triangles (there are two sizes). I mark where the
notch needs to go.
 I set a up a fence and stop to limit how far I can push the board
and make the first of two cuts for the notch.
I set a up a fence and stop to limit how far I can push the board
and make the first of two cuts for the notch.
 Then tilting the blade by 22.5 degrees, I use a table saw sled to
make the second cut for the notches.
Then tilting the blade by 22.5 degrees, I use a table saw sled to
make the second cut for the notches.
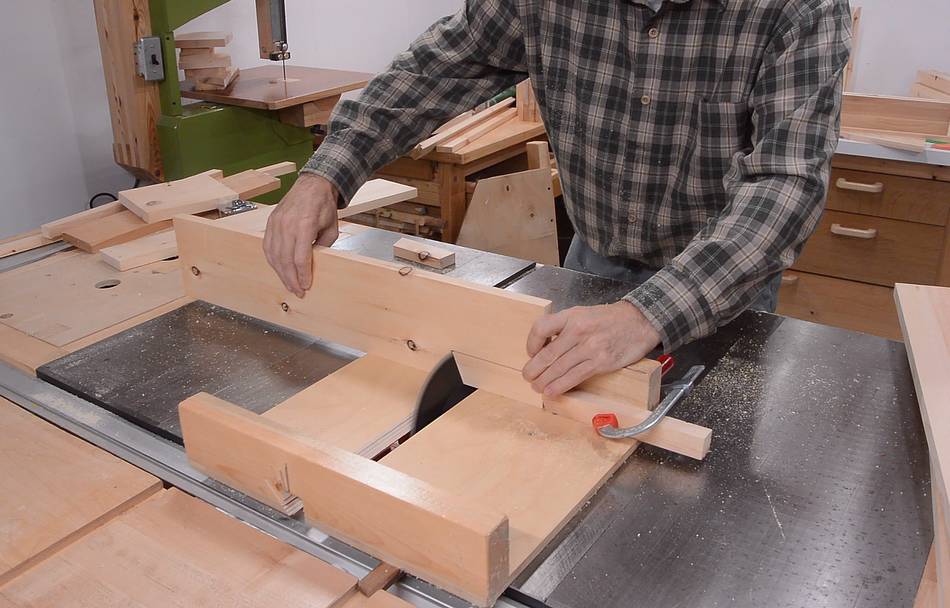
 The long horizontal boards also need to have notches cut into them
for the prongs in the top of the frame and the legs in the bottom.
The long horizontal boards also need to have notches cut into them
for the prongs in the top of the frame and the legs in the bottom.
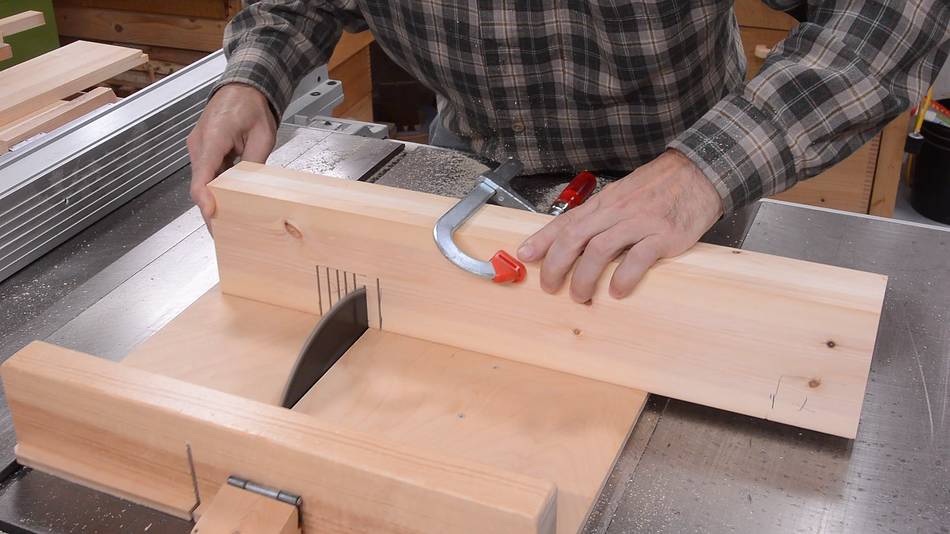
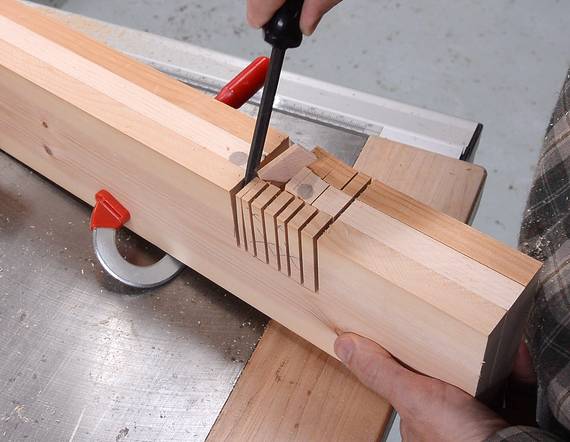 I start by making a series of cuts, then use a screwdriver to break
out most of the waste.
I start by making a series of cuts, then use a screwdriver to break
out most of the waste.
 After that, back on the table saw, and sliding side to side to clean
up the bottom of the cuts.
After that, back on the table saw, and sliding side to side to clean
up the bottom of the cuts.
Note that I have all three boards that have these notches for the legs cut into them on the sled at once, held together with a clamp.
I used the same approach for cutting the notches in the top horizontal parts for the prongs for the upper wheel mount.
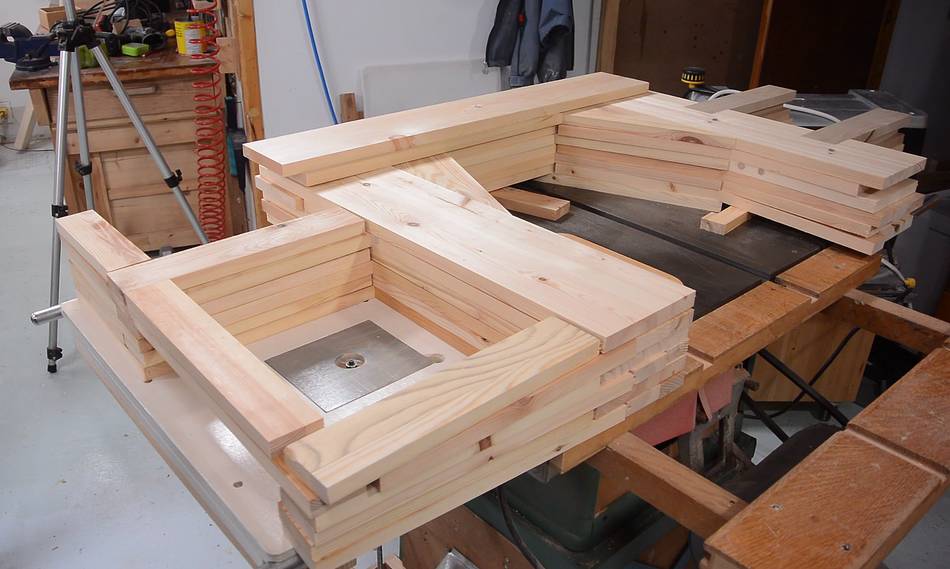
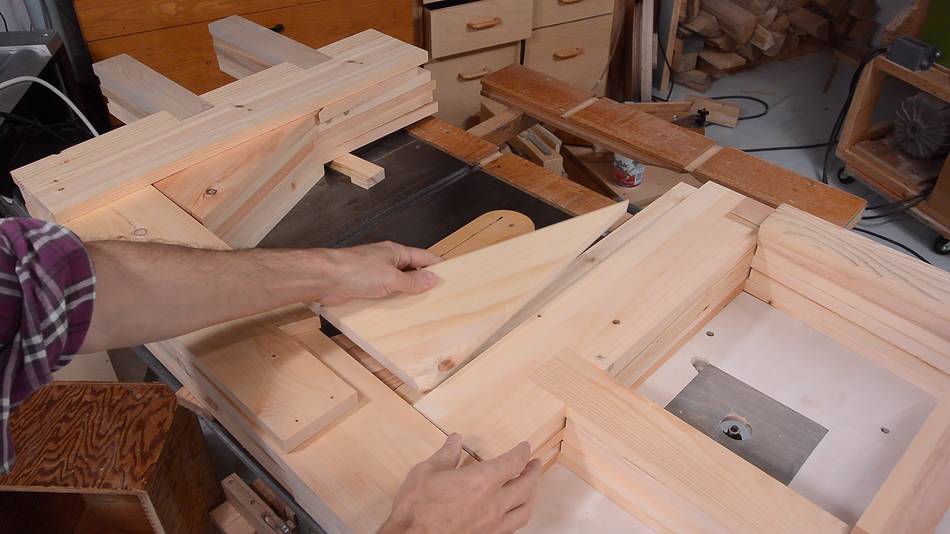 Stacking the pieces up on my old table saw to make sure that they fit
and that I have all the pieces that I need before starting the glue-up.
Stacking the pieces up on my old table saw to make sure that they fit
and that I have all the pieces that I need before starting the glue-up.
 At this point, I had an idea for a design change. In my last two
bandsaw builds, the prongs at the top are towards the back of the frame,
with two L-brackets attached to the front to hold the upper wheel mount
and let it slide up and down (see image at right). I always wanted
to make these prongs a bit thicker because they have a lot of force
applied to them, but there was no room.
At this point, I had an idea for a design change. In my last two
bandsaw builds, the prongs at the top are towards the back of the frame,
with two L-brackets attached to the front to hold the upper wheel mount
and let it slide up and down (see image at right). I always wanted
to make these prongs a bit thicker because they have a lot of force
applied to them, but there was no room.
But if I make the L-bracket an integral part of the prongs, then I could make the whole prong deeper. I changed the front three layers to hardwood to make for a better sliding surface.
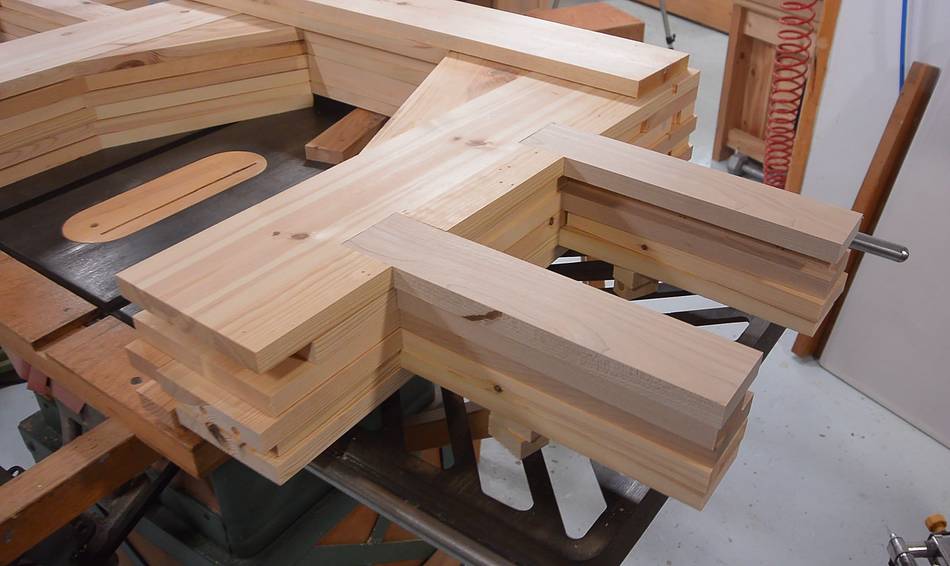
 After this, I took the stack apart again, putting each layer in
a separate pile and labeling each pile.
After this, I took the stack apart again, putting each layer in
a separate pile and labeling each pile.
 I'm started assembly with two layers near the back of the frame, joining
the bottom horizontal to the upright, being very careful to get this at
a 90 degree angle.
I'm started assembly with two layers near the back of the frame, joining
the bottom horizontal to the upright, being very careful to get this at
a 90 degree angle.
Then I joined an upright to a top horizontal, again being careful to get it square.
 Next I joined the two vertical pieces together, forming the basic C-shape
of the bandsaw frame.
Next I joined the two vertical pieces together, forming the basic C-shape
of the bandsaw frame.
 After that I glued in the other two horizontal pieces for the layers and started
gluing in the vertical leg pieces and the prongs at the top. I had to flip
what I had over a few times to glue all the pieces on.
After that I glued in the other two horizontal pieces for the layers and started
gluing in the vertical leg pieces and the prongs at the top. I had to flip
what I had over a few times to glue all the pieces on.
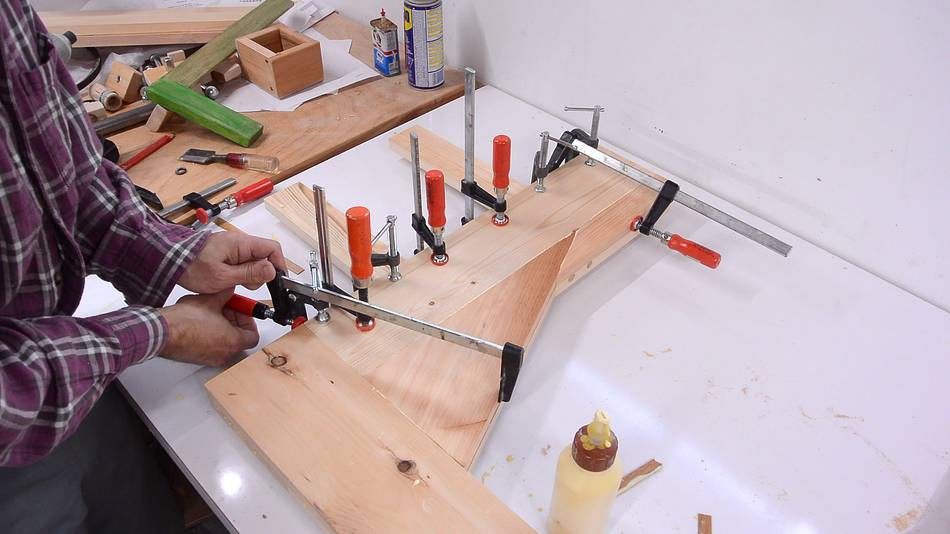
 Also adding the first triangles. The clamp horizontally against the
triangle helps to make sure this makes contact with the post and the
top horizontal.
Also adding the first triangles. The clamp horizontally against the
triangle helps to make sure this makes contact with the post and the
top horizontal.
 Once the clamps are removed, I clean up the glue squeeze-out so the
next layer sits flat.
Once the clamps are removed, I clean up the glue squeeze-out so the
next layer sits flat.
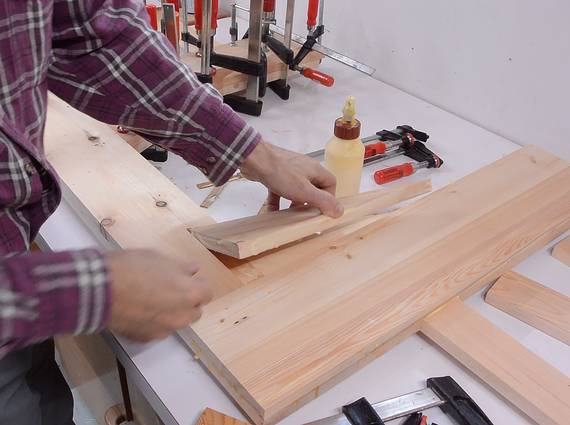
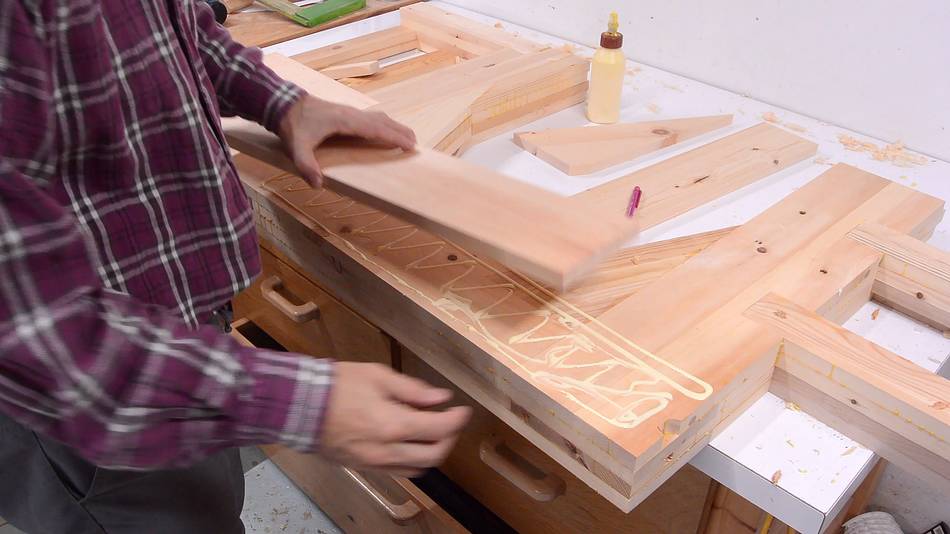
 Then adding the next layer. This will be the third layer from the front.
This layer has hardwood for the prongs at the top.
Then adding the next layer. This will be the third layer from the front.
This layer has hardwood for the prongs at the top.
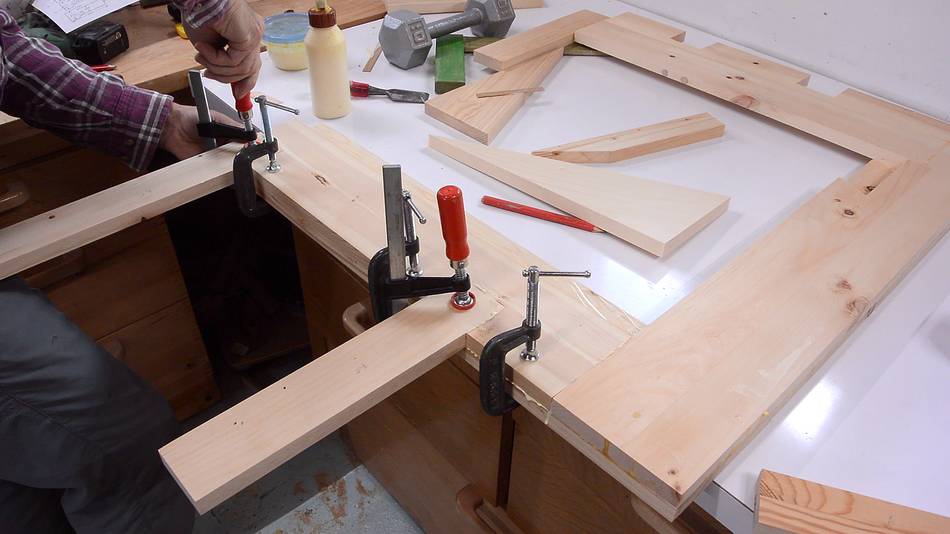
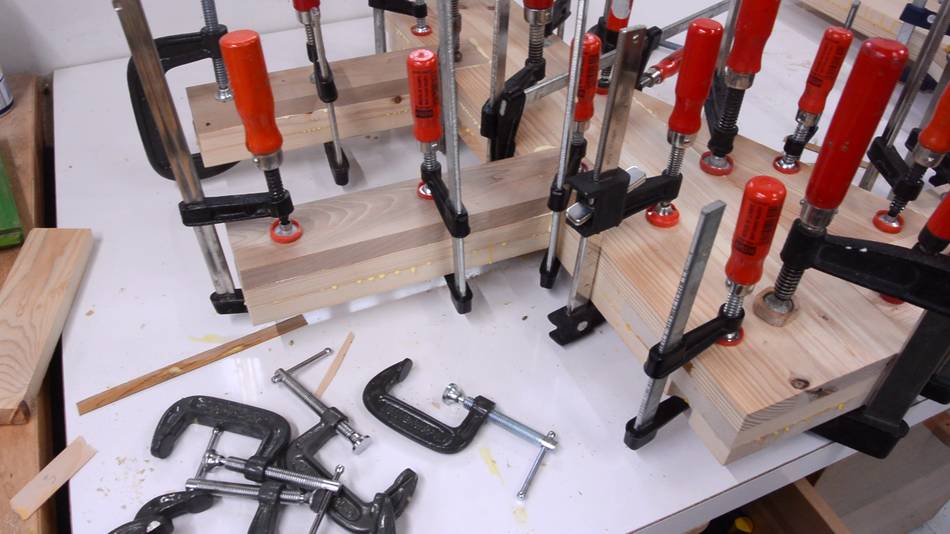
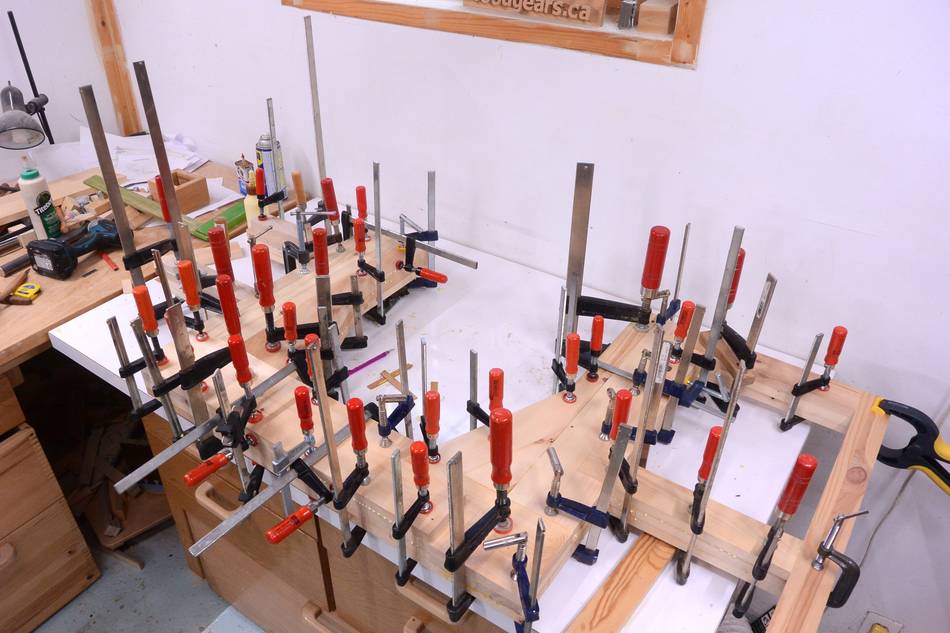 Lots and lots of clamps. If you don't have a lot of clamps, you will have
to glue up each layer in stages, or use a lot of wood screws to hold the
layers together while the glue dries. If you do use screws, I'd recommend
waiting for each layer to dry, then taking out the screws before adding
the next layer.
Lots and lots of clamps. If you don't have a lot of clamps, you will have
to glue up each layer in stages, or use a lot of wood screws to hold the
layers together while the glue dries. If you do use screws, I'd recommend
waiting for each layer to dry, then taking out the screws before adding
the next layer.
The reason the frame is so massive is for stiffness, and screws add nothing to the stiffness compared to glue.
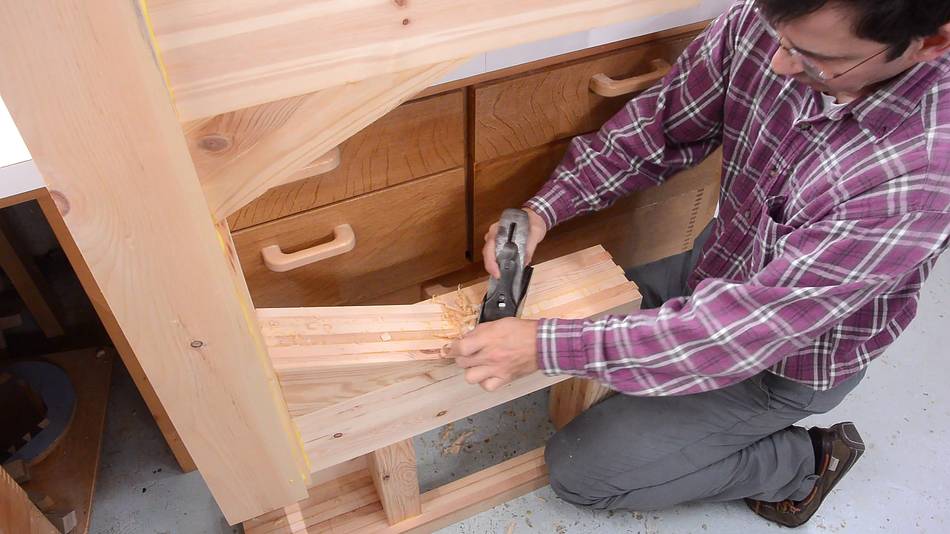
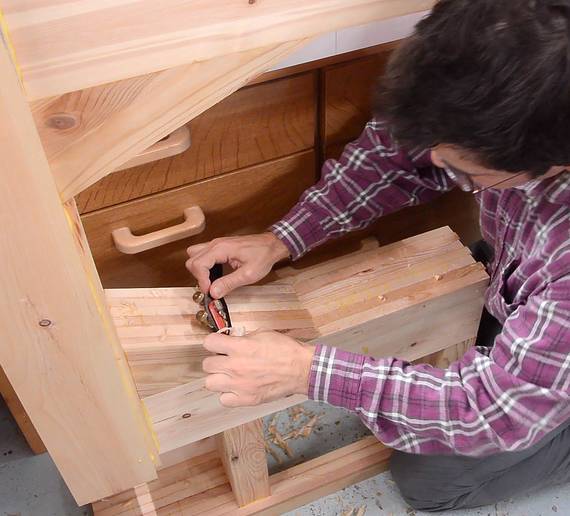
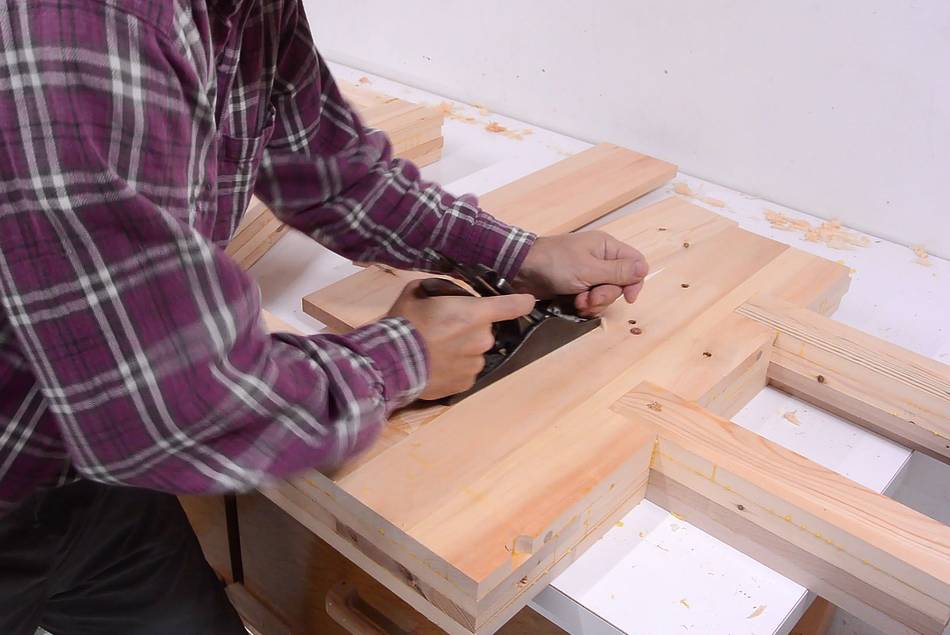 I had to do a bit of cleaning up with a hand plane to make sure the surface
was flat enough before adding the next layer.
I had to do a bit of cleaning up with a hand plane to make sure the surface
was flat enough before adding the next layer.
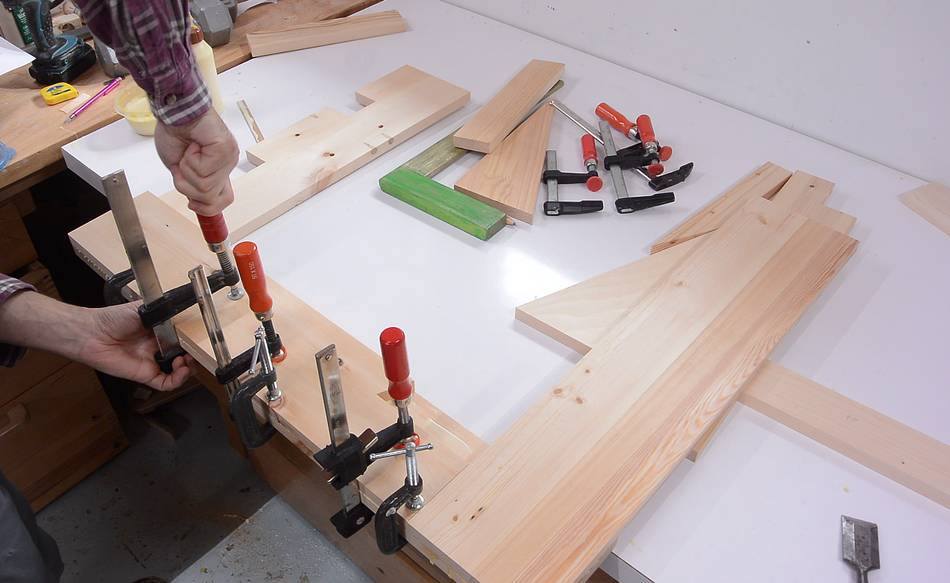
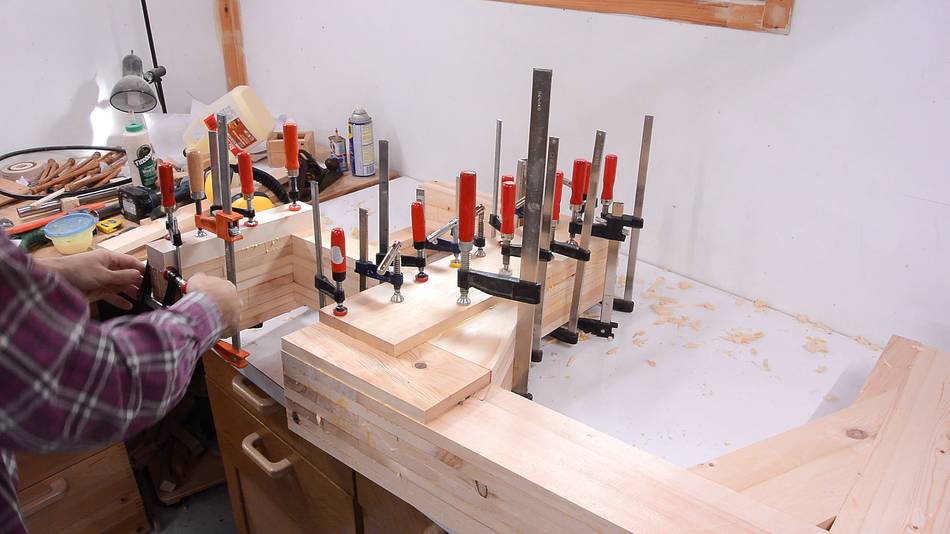
 Lots of gluing and clamping and gluing. Gluing up the frame takes a whole
day, though most of that time is waiting for the glue to dry.
Lots of gluing and clamping and gluing. Gluing up the frame takes a whole
day, though most of that time is waiting for the glue to dry.
 Finally gluing on the last partial layer on the back. The back-most layers
are on the bottom only, while the front-most layers are on the top side only.
The bottom of the frame is further back to better accommodate the drive pulley.
Finally gluing on the last partial layer on the back. The back-most layers
are on the bottom only, while the front-most layers are on the top side only.
The bottom of the frame is further back to better accommodate the drive pulley.
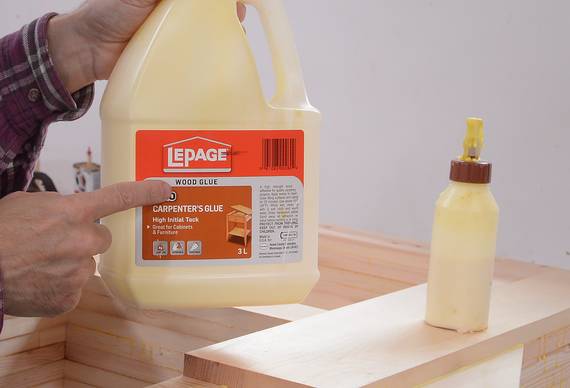 I'm sometimes asked what glue I use for wood. I use wood glue. (For some reason,
some people find that answer insulting). I buy the yellow carpenters glue
in large bottles, then fill smaller containers. For this glue-up, I filled
and emptied the small bottle on the right twice.
I'm sometimes asked what glue I use for wood. I use wood glue. (For some reason,
some people find that answer insulting). I buy the yellow carpenters glue
in large bottles, then fill smaller containers. For this glue-up, I filled
and emptied the small bottle on the right twice.
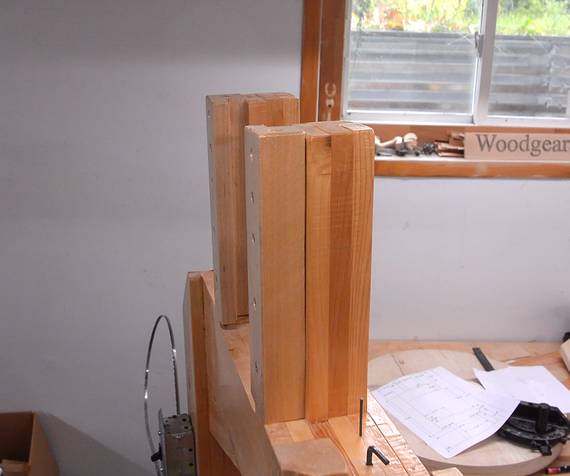
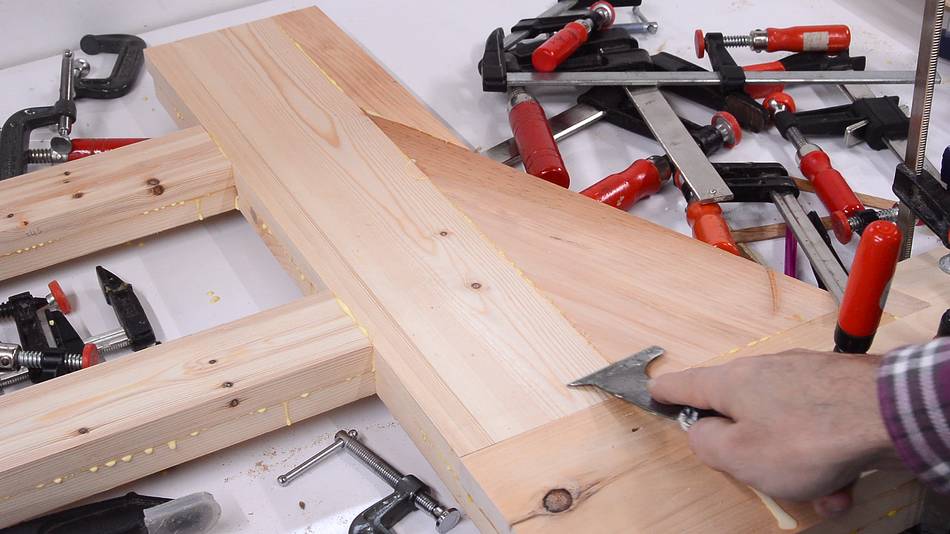
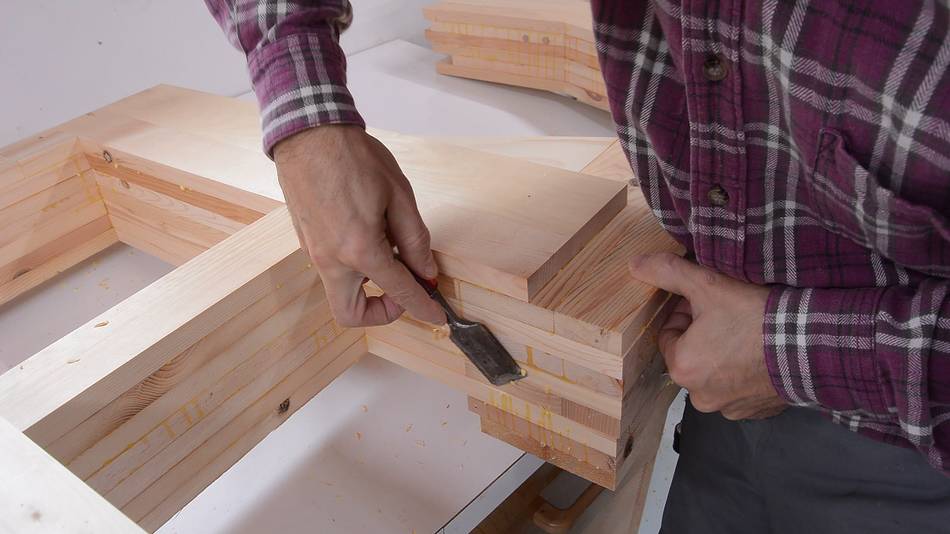 After finishing the glue-up, I clean up the bigger glue drops with a chisel
 Then use a hand plane to smooth out the edges, and a spokeshave for the
corners where a hand plane can't reach.
Then use a hand plane to smooth out the edges, and a spokeshave for the
corners where a hand plane can't reach.
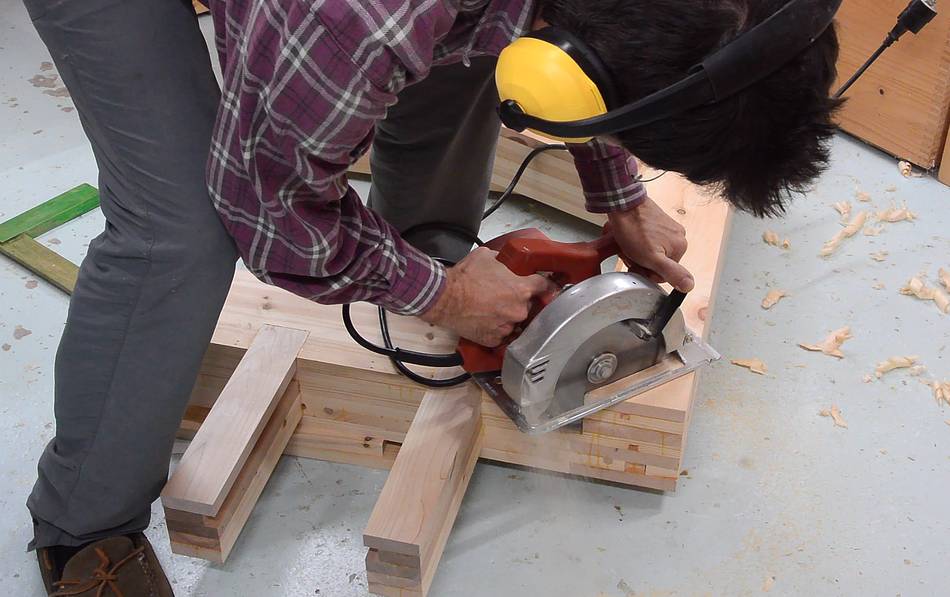 I also cut off the corners of the frame. This is strictly for looks.
The hand held circular saw doesn't reach half way through the wood. I could have
cut from the other side as well and then finished it with a hand saw...
I also cut off the corners of the frame. This is strictly for looks.
The hand held circular saw doesn't reach half way through the wood. I could have
cut from the other side as well and then finished it with a hand saw...
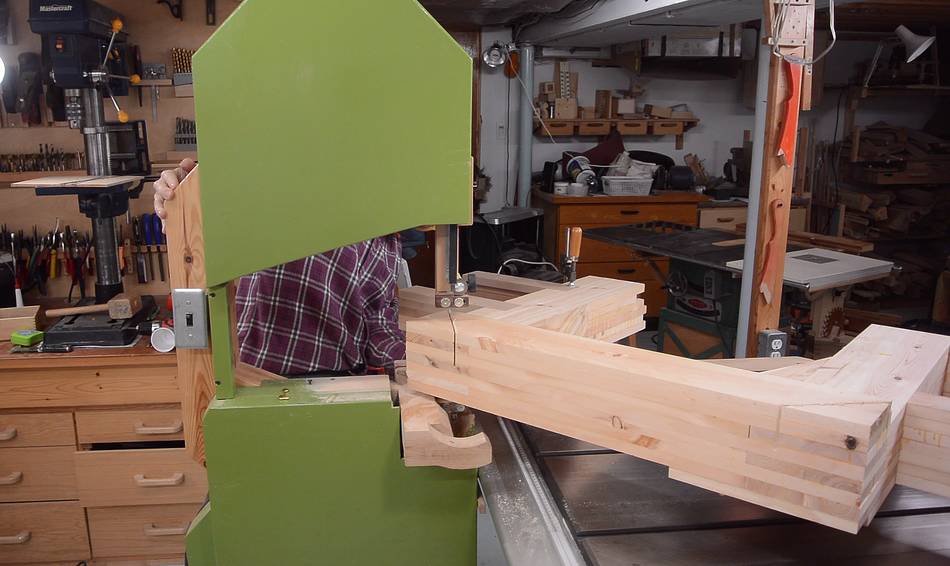 ... but instead I propped the bandsaw frame up on my table saw and then
pushed my 16" bandsaw (which is on wheels) past the frame to finish the cut.
... but instead I propped the bandsaw frame up on my table saw and then
pushed my 16" bandsaw (which is on wheels) past the frame to finish the cut.
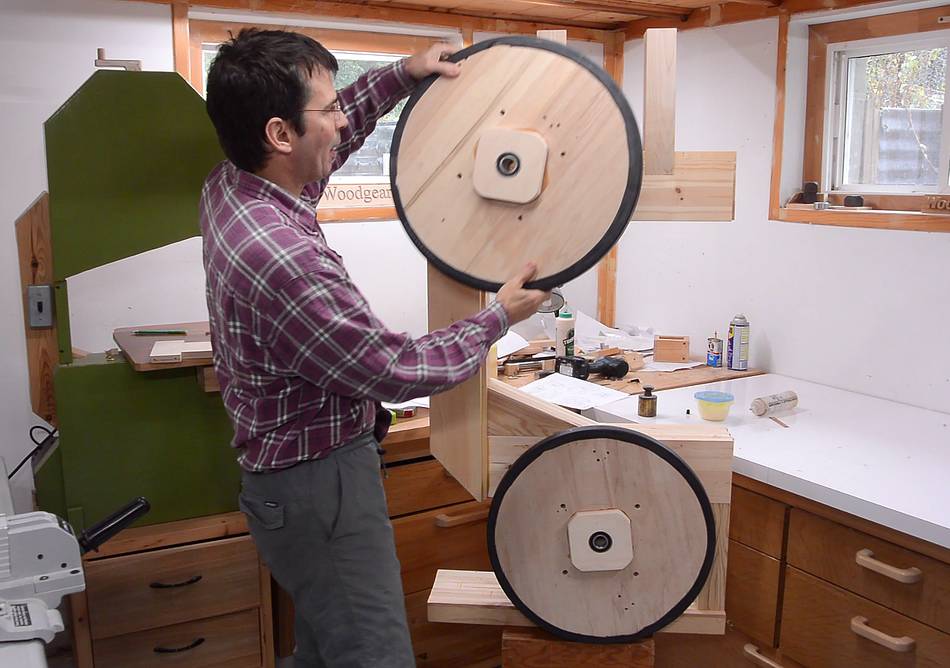 I already built wheels for this bandsaw.
Next: Building the wheel mounts, tension and tracking adjust, and first cut
 Making the frame
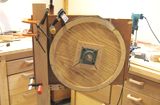 Making the frame
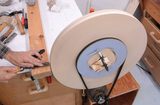 Making the bandsaw wheels
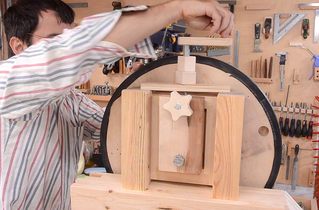 Wheel mounts, tension, tracking, first cut