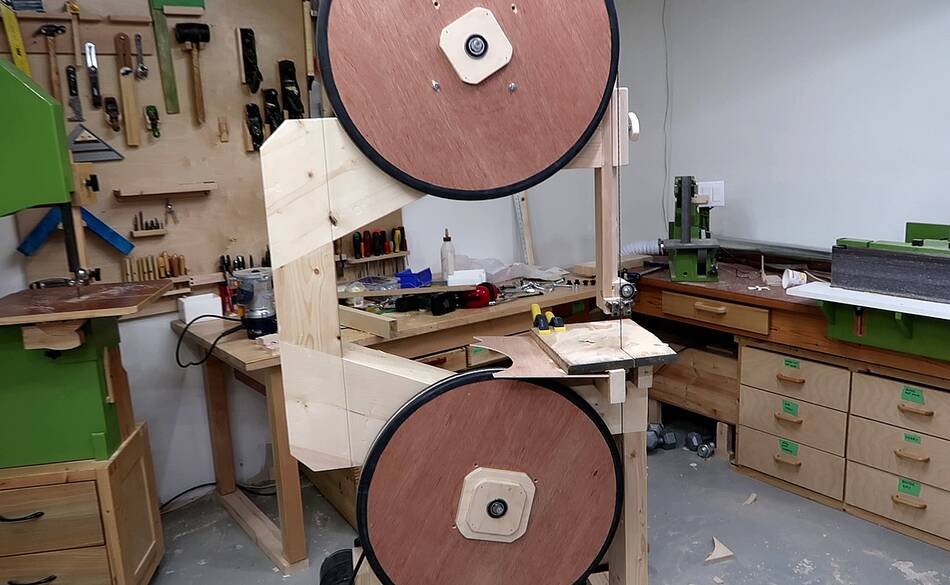
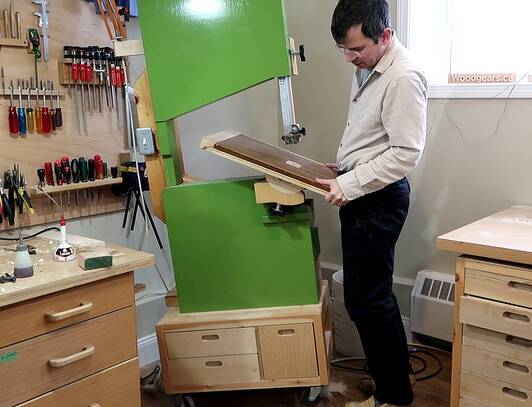
 So far I can use my 26" bandsaw with a temporary table.
So far I can use my 26" bandsaw with a temporary table.
But I want to add a tilt-able table, and the best way to do that is with trunnions. Trunnions put the axis of tilt at the top of the table, which means the opening in the table for the blade won't move side-to-side as the table is tilted. Also, by tightening down on the trunnions, the table's angle is conveniently locked in place.
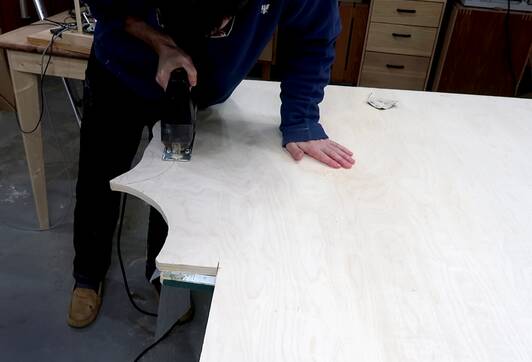 I printed out 1:1 templates of the parts on some card stock (thick paper),
and cut them out with about a 3 mm margin around them. I then traced
these shapes onto some 18 mm baltic birch plywood and rough cut from a
large sheet with a jigsaw.
I printed out 1:1 templates of the parts on some card stock (thick paper),
and cut them out with about a 3 mm margin around them. I then traced
these shapes onto some 18 mm baltic birch plywood and rough cut from a
large sheet with a jigsaw.
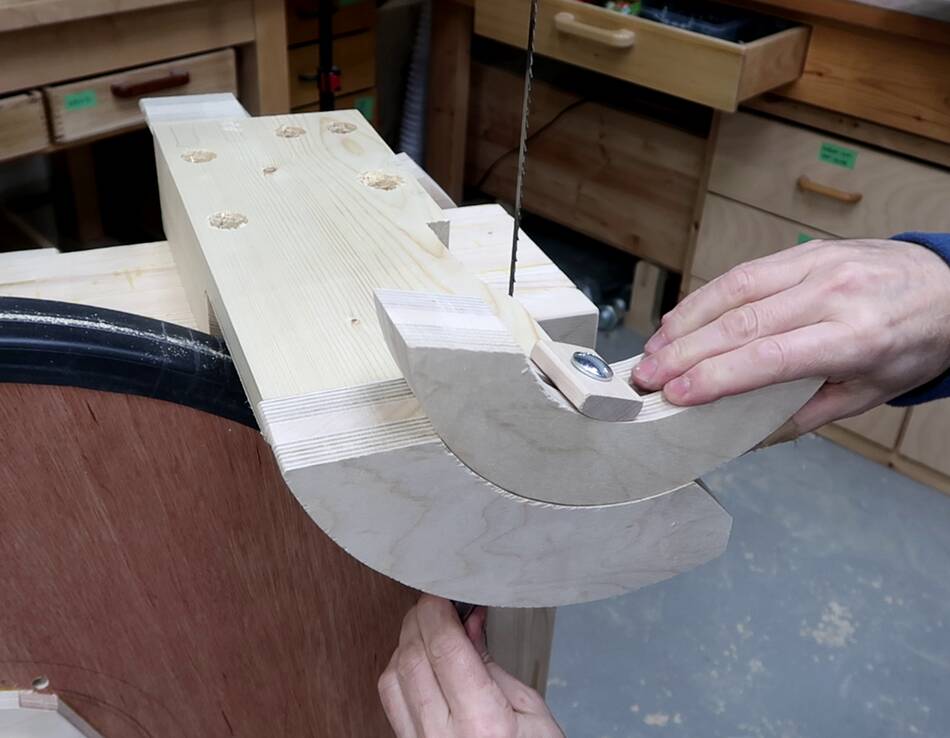
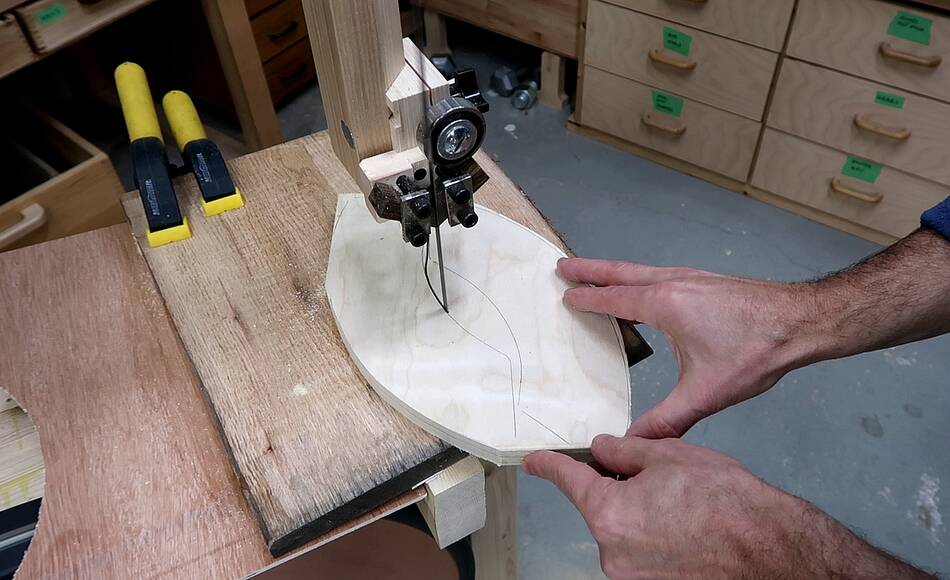 Then cutting to the lines on my unfinished bandsaw.
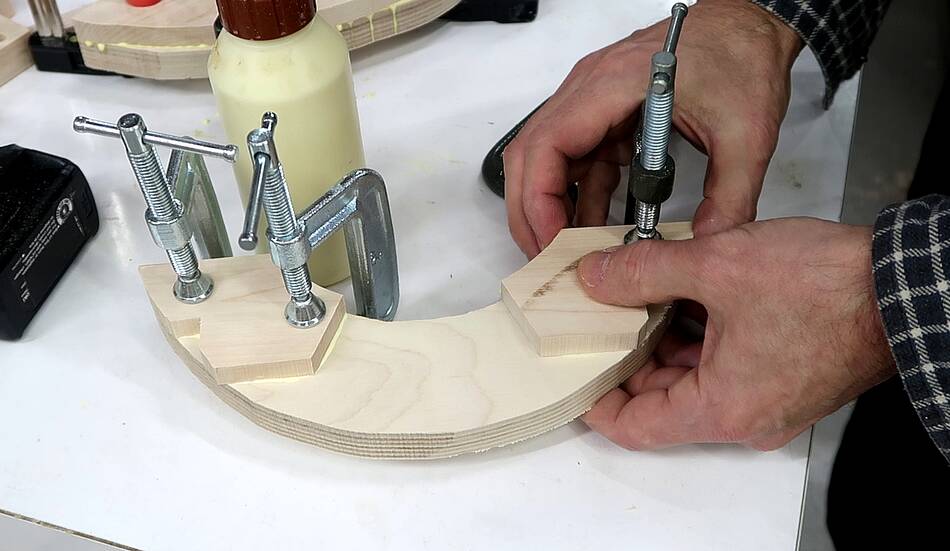
 A layer of hardwood goes between two layers of the baltic birch plywood.
I glued this middle layer on, let the glue dry, then glued on the second layer of plywood so I wouldn't have to worry about lining up all three layers at the same time.
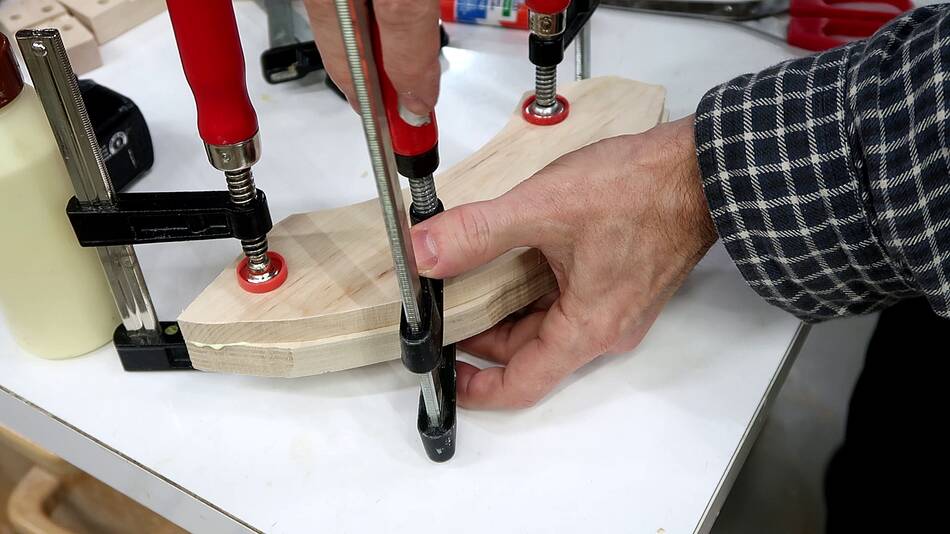
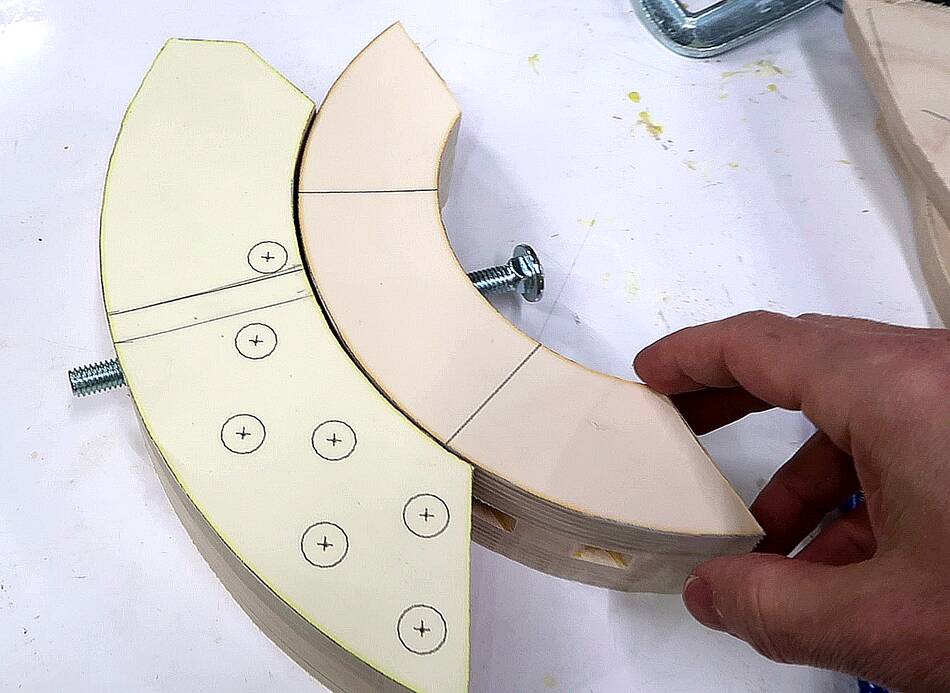
 The top part of the trunnion needs to have a slot
so it can swivel around the mounting bolt. I made the spacer out
of two parts with a big gap in between to leave a slot..
The spacer layer also has a notch cut out near the edge, which is
where the mounting screw will later go.
The top part of the trunnion needs to have a slot
so it can swivel around the mounting bolt. I made the spacer out
of two parts with a big gap in between to leave a slot..
The spacer layer also has a notch cut out near the edge, which is
where the mounting screw will later go.
 Second layer glued onto the trunnion pieces. You can see the slot here.
The middle layer of the piece with the slot is slightly thinner than the other part. This will help this part not rub against the trunnion support beam once everything is put together.
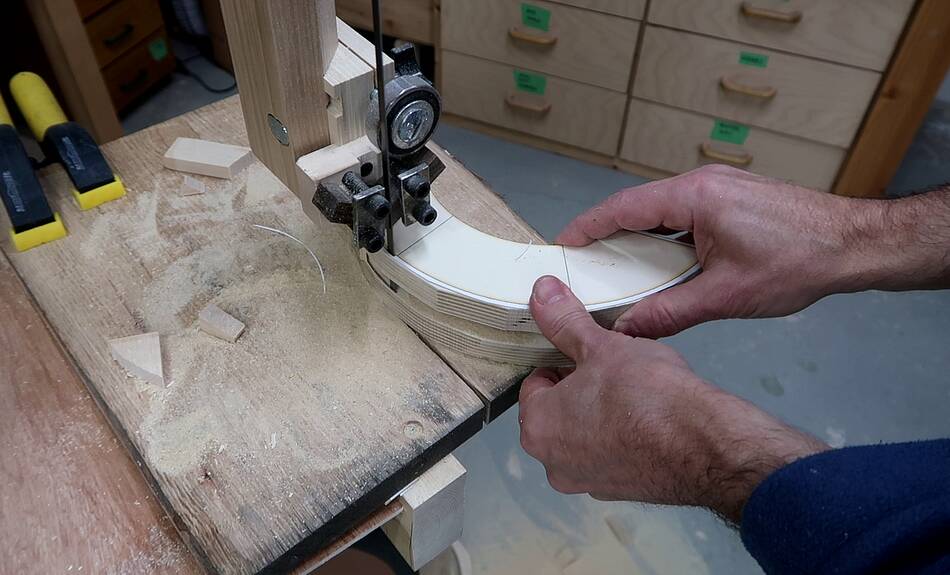
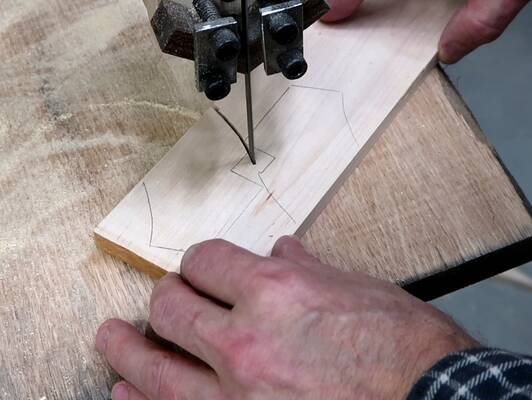
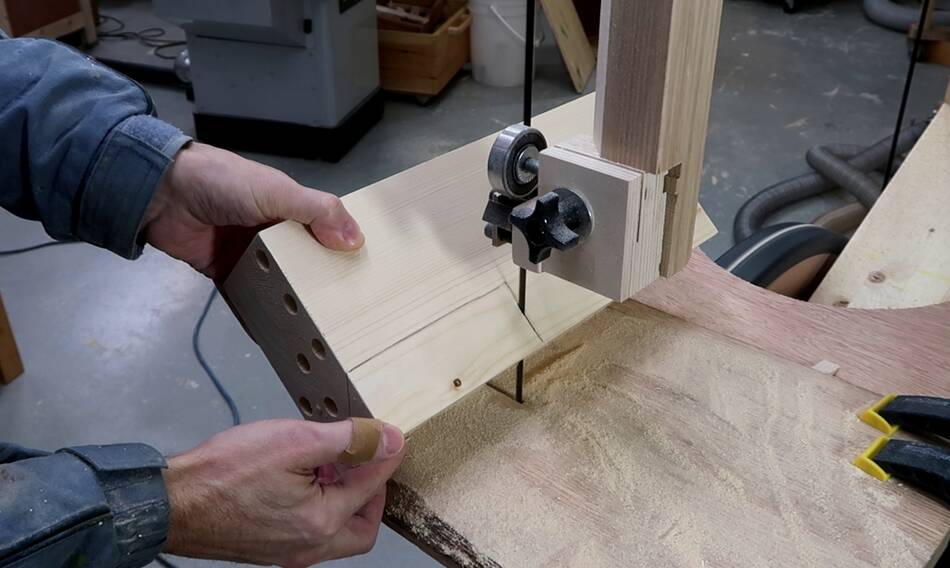
 Then gluing the paper template onto the parts and cutting up to the line
on the bandsaw.
Then gluing the paper template onto the parts and cutting up to the line
on the bandsaw.
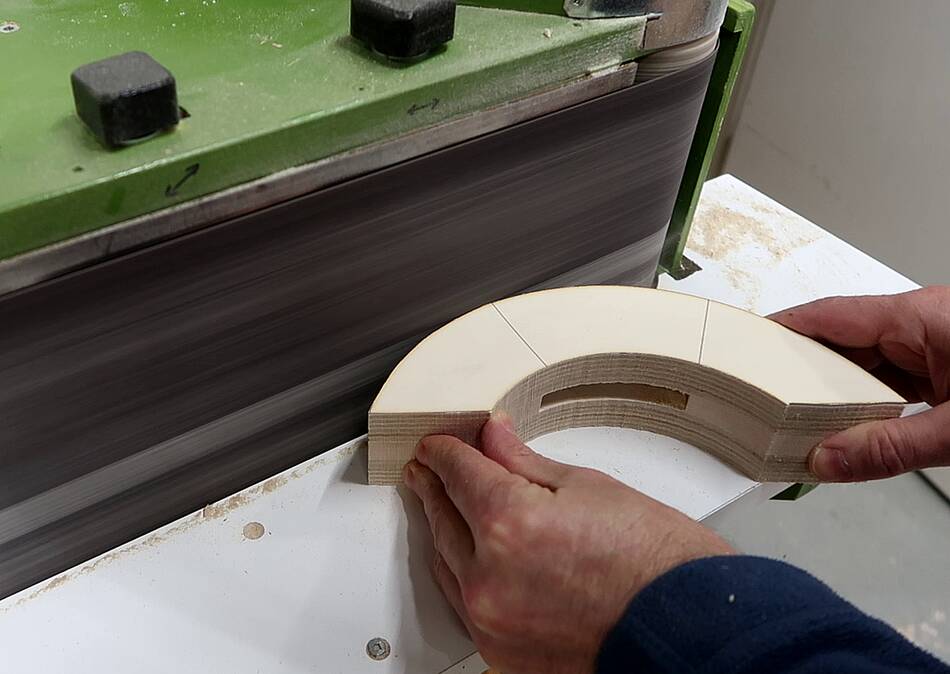 Then doing the final trimming on the belt sander, right up to the line.
 Where the top part of the trunnion has a slot, the bottom part
just has a hole for a carriage bolt to go through. On my
previous bandsaw, I made the middle layer as two parts to leave a gap
to make the hole, but this was difficult to line up while gluing, so for
this one I made the middle layer one piece and drilled out the hole afterwards.
Where the top part of the trunnion has a slot, the bottom part
just has a hole for a carriage bolt to go through. On my
previous bandsaw, I made the middle layer as two parts to leave a gap
to make the hole, but this was difficult to line up while gluing, so for
this one I made the middle layer one piece and drilled out the hole afterwards.
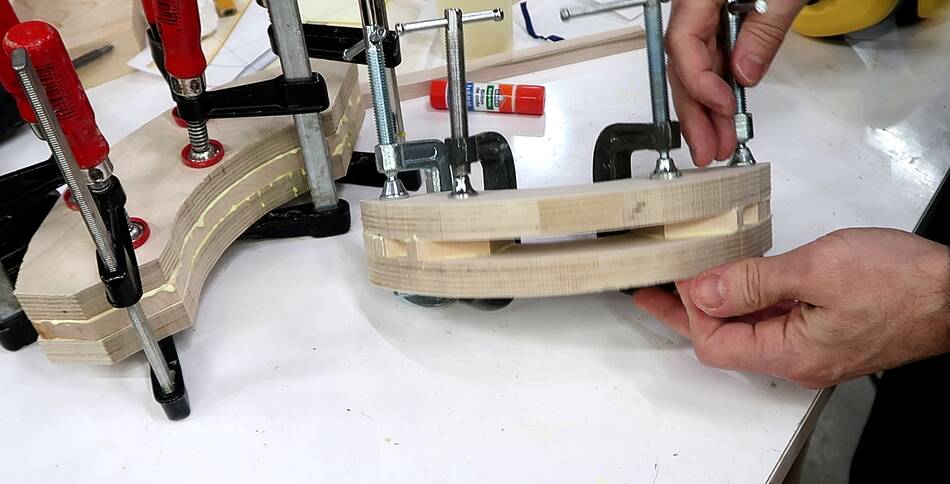
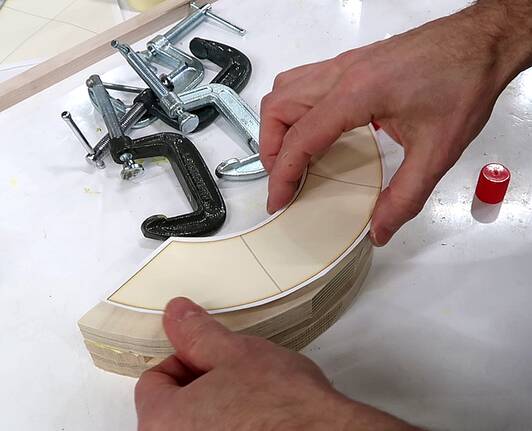
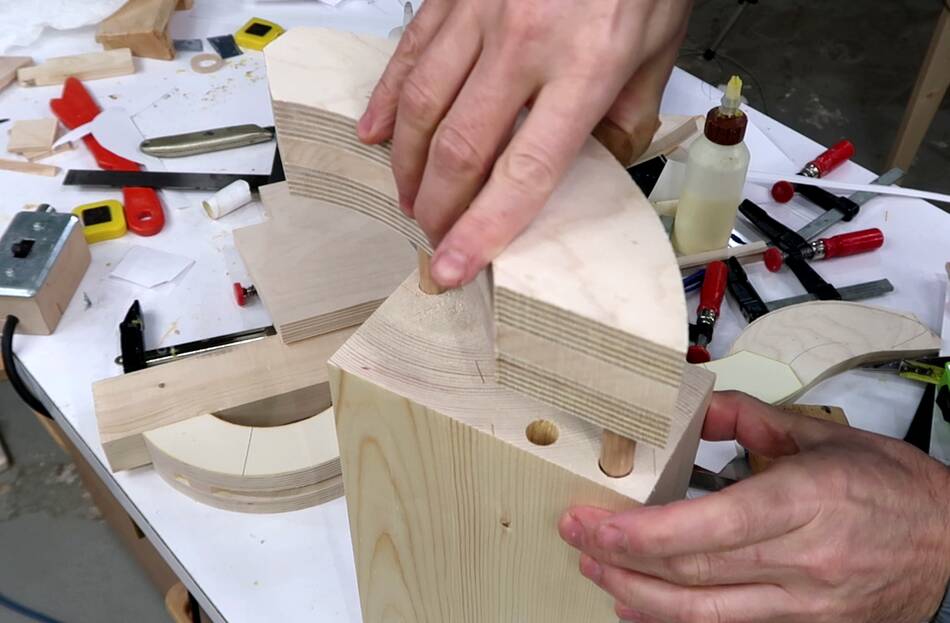
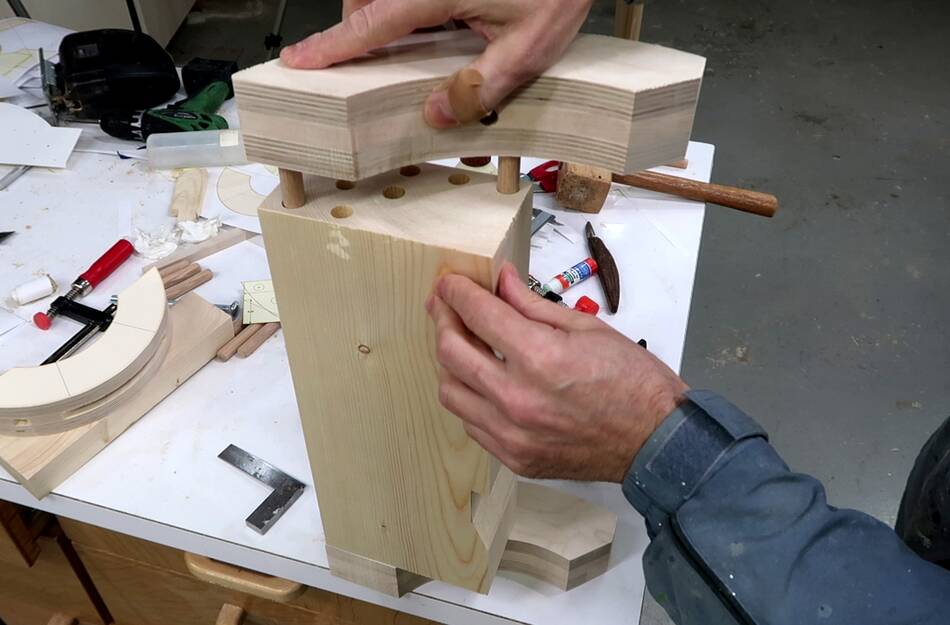
 Fitting the pieces together. I'm always amazed not just that the pieces
slide together nicely, but that they slide well and continue to fit well
as they are rotated.
Fitting the pieces together. I'm always amazed not just that the pieces
slide together nicely, but that they slide well and continue to fit well
as they are rotated.

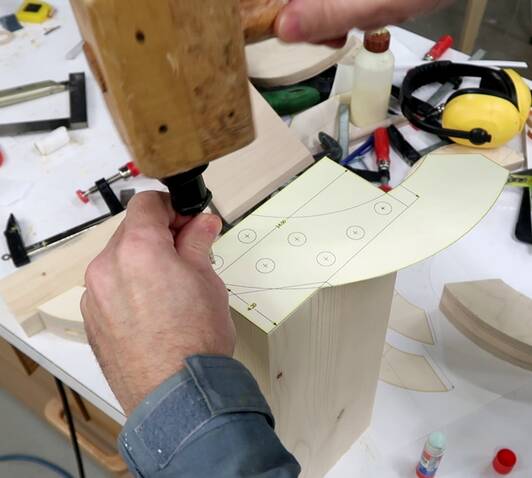 The bottom part of the trunnion attaches to the end of the
trunnion support beam with dowels. I attached a complementing paper
template to the support beam, which also has the dowel positions marked.
The bottom part of the trunnion attaches to the end of the
trunnion support beam with dowels. I attached a complementing paper
template to the support beam, which also has the dowel positions marked.
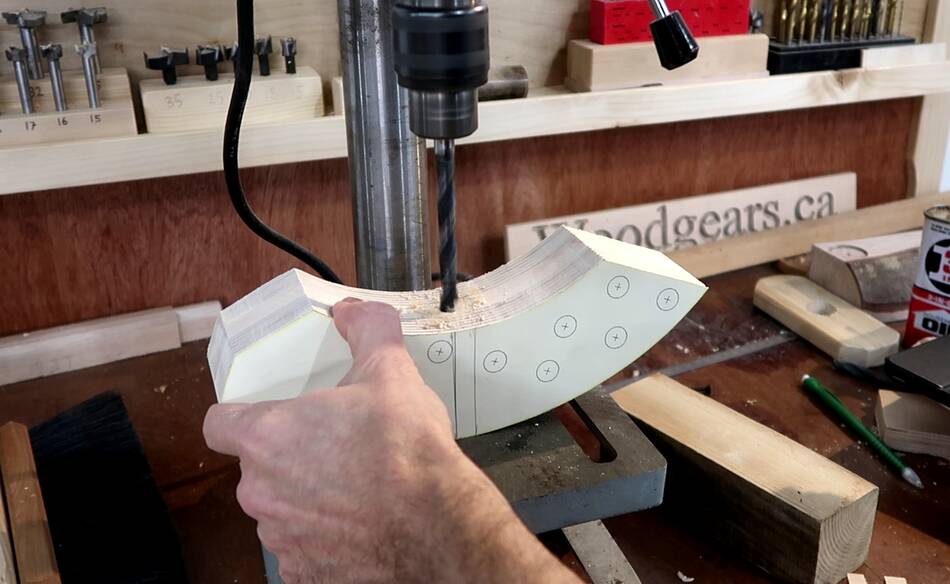
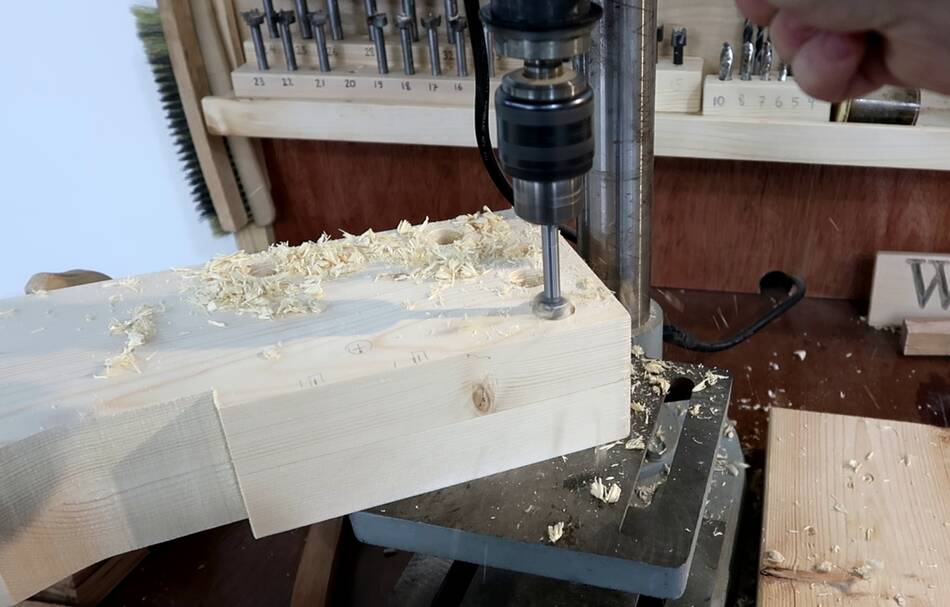
I used an awl to punch through the templates to mark all the hole centers.

 Then with a forstner bit in the drill press I carefully drilled
the dowel holes. I picked a piece with fine even grain for the
beam so the drill would not wander as it entered the wood. The coarse
grain in oak or ash, for example could pull the point of the drill
bit to the side as it enters the wood.
Then with a forstner bit in the drill press I carefully drilled
the dowel holes. I picked a piece with fine even grain for the
beam so the drill would not wander as it entered the wood. The coarse
grain in oak or ash, for example could pull the point of the drill
bit to the side as it enters the wood.
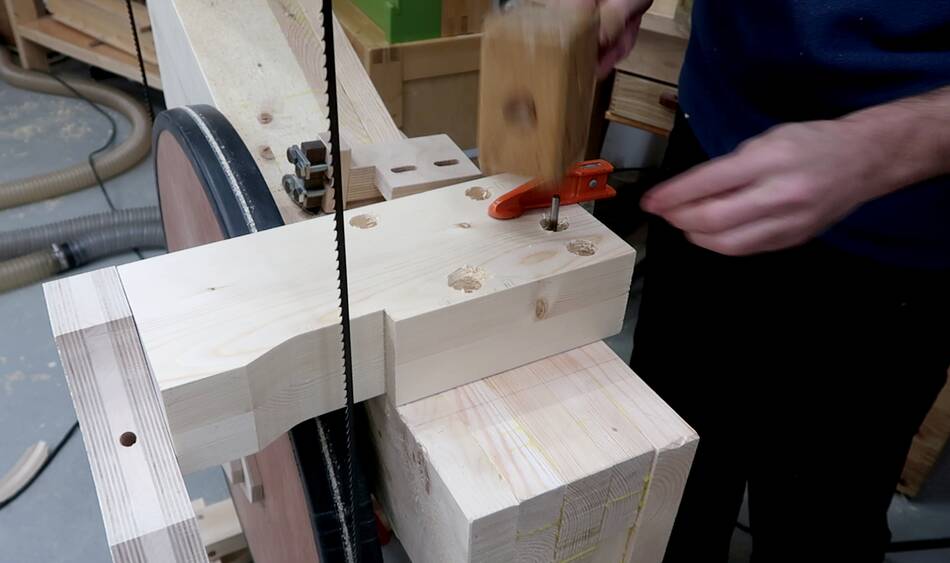
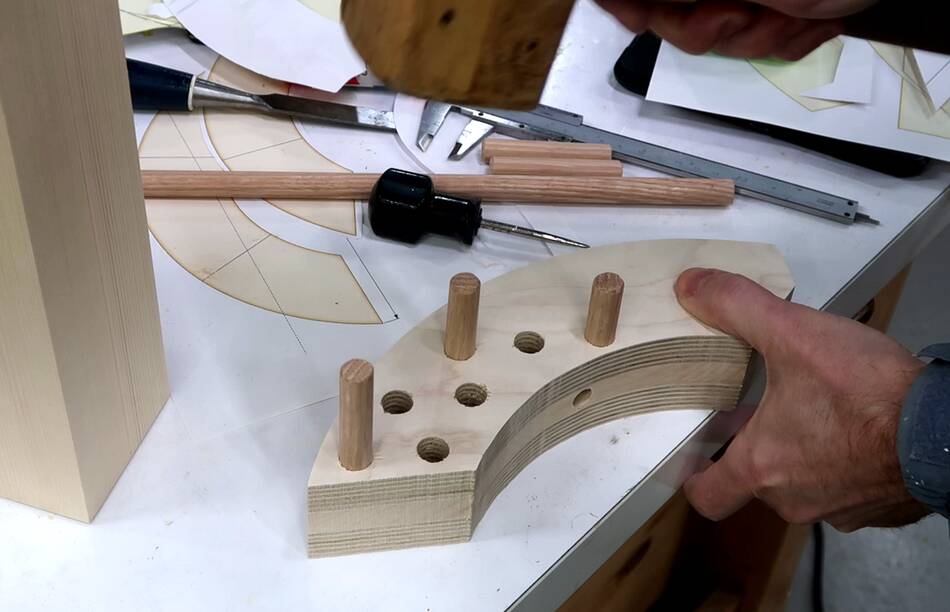 I tapped just a few dowels into the trunnion piece for a dry fit.
The more dowels, the harder it will be to pry the dry fit apart again
once I'm ready to glue it up.
I tapped just a few dowels into the trunnion piece for a dry fit.
The more dowels, the harder it will be to pry the dry fit apart again
once I'm ready to glue it up.
 I had also scored where the edge of the trunnion piece is supposed
to go through the template on the end of the beam, and after fitting it,
I could see that it matched the location exactly.
I had also scored where the edge of the trunnion piece is supposed
to go through the template on the end of the beam, and after fitting it,
I could see that it matched the location exactly.
 Then cutting out a notch on the bottom front left to make room
for the lower wheel, and another notch to make room for the blade guides.
Then cutting out a notch on the bottom front left to make room
for the lower wheel, and another notch to make room for the blade guides.
 And fitting the other trunnion on the back side. I only used two
dowels for this one for the time being.
And fitting the other trunnion on the back side. I only used two
dowels for this one for the time being.
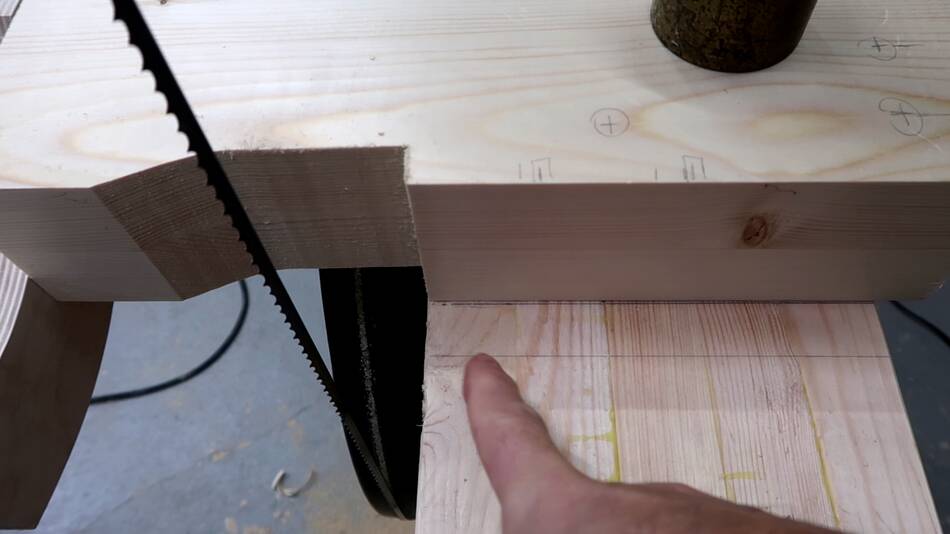 I traced a line back from where the blade is, and a second line 22 mm
to the left of that one (behind it from this vantage point) to work out the
trunnion beam position.
The edge of the trunnion beam needs to line up with the second line.
I traced a line back from where the blade is, and a second line 22 mm
to the left of that one (behind it from this vantage point) to work out the
trunnion beam position.
The edge of the trunnion beam needs to line up with the second line.
 With the rear trunnion pulled off again, I worked out where it's safe
to put screw holes. If you are using
the plans, those are already worked
out for you, but I hadn't worked out this detail in my CAD model yet
when I built this bandsaw.
With the rear trunnion pulled off again, I worked out where it's safe
to put screw holes. If you are using
the plans, those are already worked
out for you, but I hadn't worked out this detail in my CAD model yet
when I built this bandsaw.
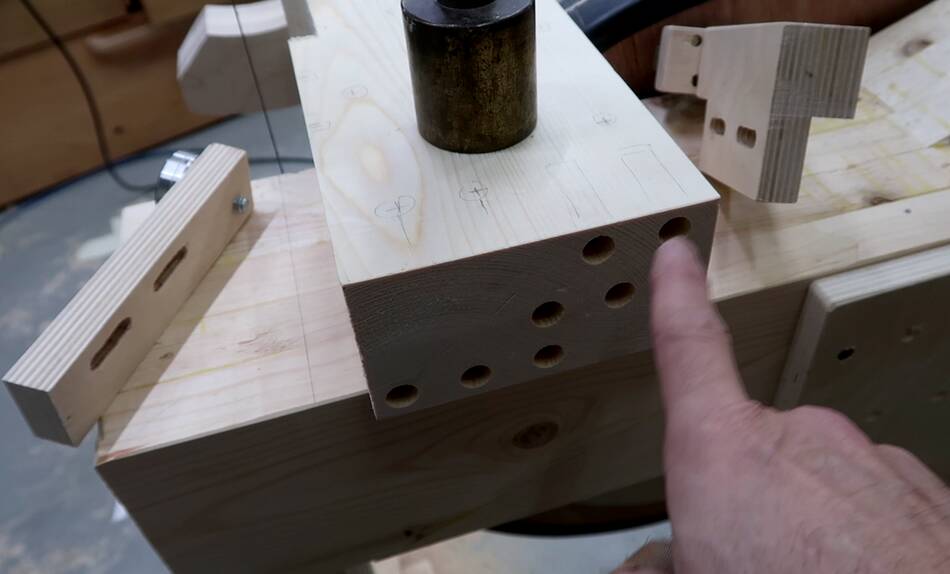
 Then drilling 20 mm (3/4") holes for washers, then a 1/4" (6 mm)
hole in the middle of those holes for some big 1/4" wide screws
to go through.
Then drilling 20 mm (3/4") holes for washers, then a 1/4" (6 mm)
hole in the middle of those holes for some big 1/4" wide screws
to go through.
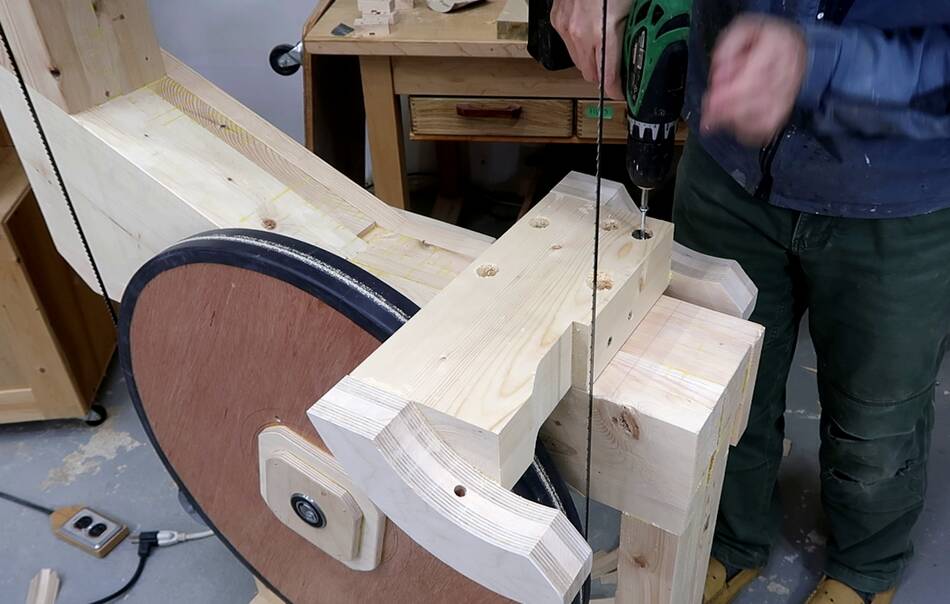
 With the trunnion beam positioned back on the saw, I placed a drill bit
in each hole and tapped it with a hammer to mark where the pilot hoes
need to go.
With the trunnion beam positioned back on the saw, I placed a drill bit
in each hole and tapped it with a hammer to mark where the pilot hoes
need to go.
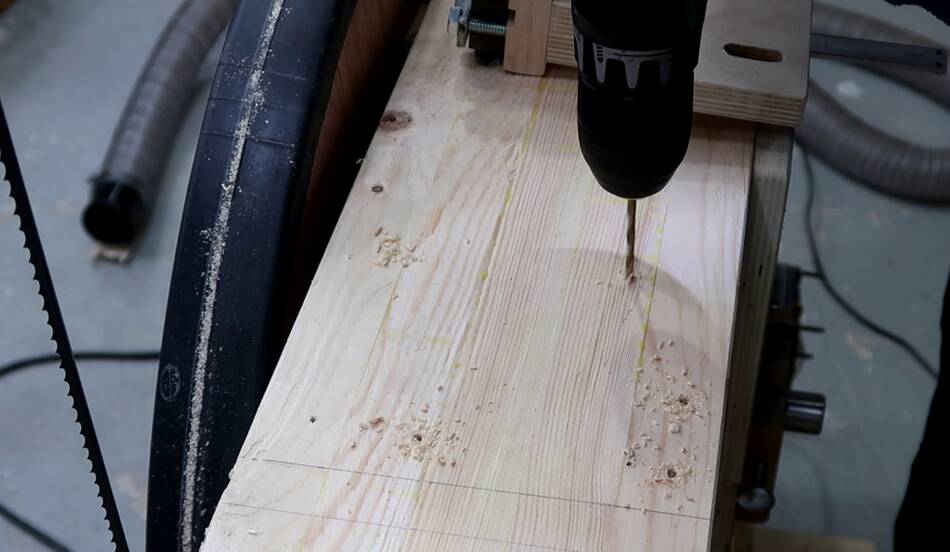 I only drilled very small pilot holes initially because for the time being
I'm only using some 4" long #10 wood screws to hold down the beam down
because I still need to go buy those bigger screws. But using smaller
screws before final assembly also helps to not wear out the
screw holes in the wood.
I only drilled very small pilot holes initially because for the time being
I'm only using some 4" long #10 wood screws to hold down the beam down
because I still need to go buy those bigger screws. But using smaller
screws before final assembly also helps to not wear out the
screw holes in the wood.
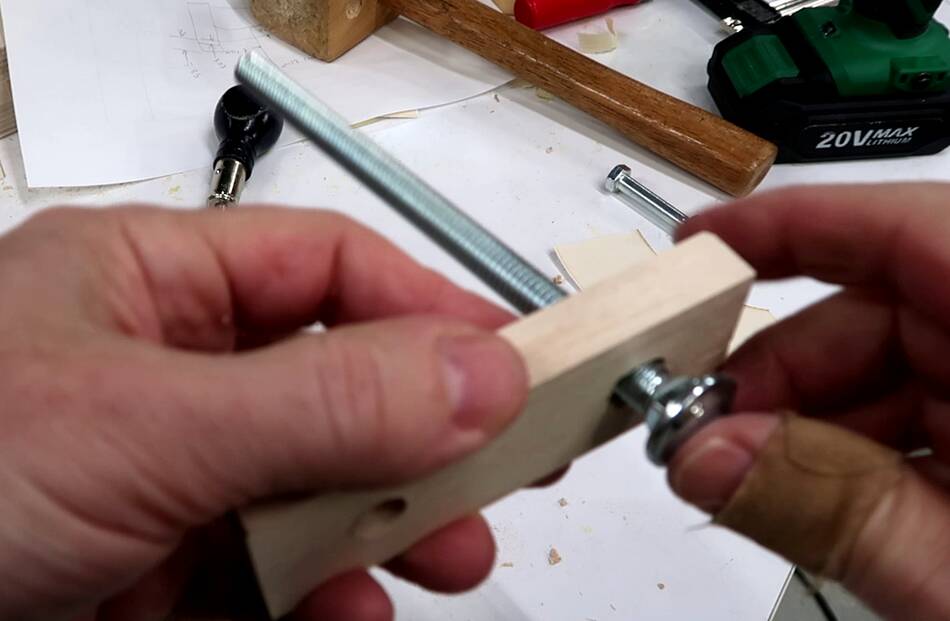
 A carriage bolt locks the trunnions in place, but I needed a pad to
go around the head of the bolt so as not to dig into the inside of
the trunnion that mounts to the table.
A carriage bolt locks the trunnions in place, but I needed a pad to
go around the head of the bolt so as not to dig into the inside of
the trunnion that mounts to the table.
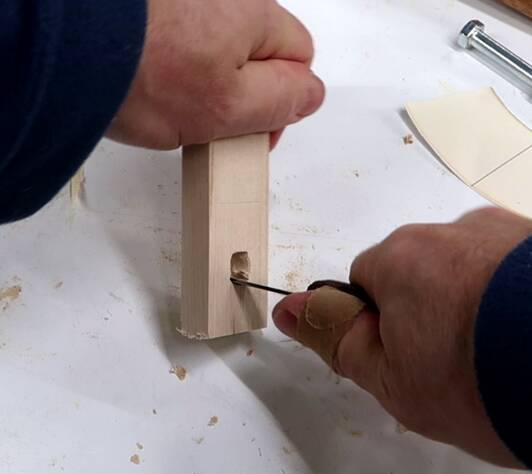
I started with a piece of wood with two 3/8" holes in it, sized for the carriage bolt. But the head of the bolt has a square part, so I had to carve the hole up to square on one side.
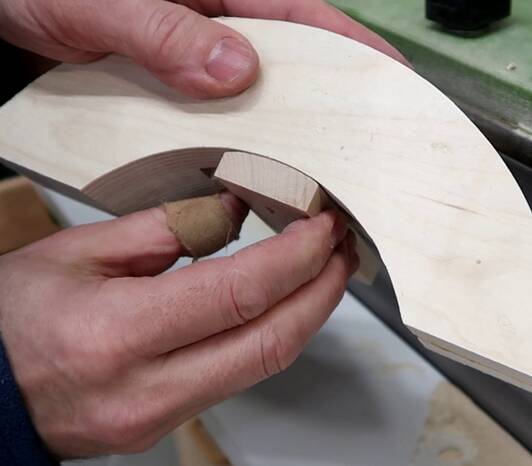
 Then using a hand plane to make the bottom side of this piece curved
to match the inside curve of the trunnion.
Then using a hand plane to make the bottom side of this piece curved
to match the inside curve of the trunnion.
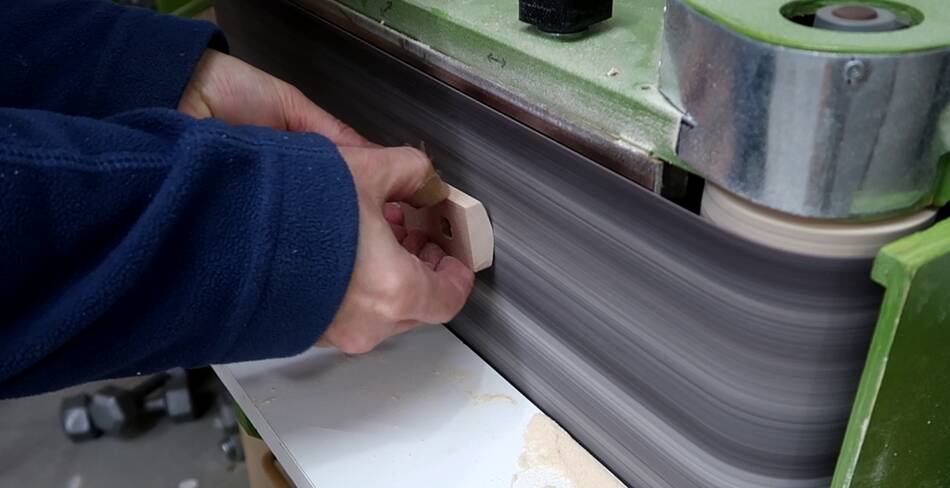
 And finalizing that shape on the belt sander so it matched
the curvature of the inside of the trunnion.
And finalizing that shape on the belt sander so it matched
the curvature of the inside of the trunnion.
 After that I cut the block in half lengthwise to make two pads for
the two trunnions.
After that I cut the block in half lengthwise to make two pads for
the two trunnions.
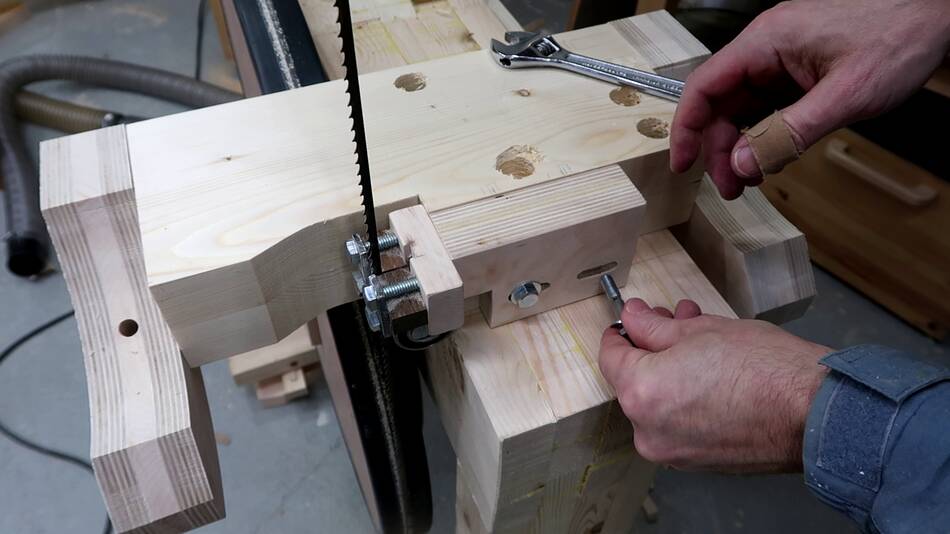
A washer and coupler nut goes on the bottom end of the bolt to pull the upper part of the trunnion tight against the lower part. Tightening this will lock the table angle in place.
I still need to make a nice knob to go onto this coupler nut.
 With the trunnion support beam in place (but not screwed down yet)
I positioned the lower blade guide and marking where the mounting screws
for those will go.
With the trunnion support beam in place (but not screwed down yet)
I positioned the lower blade guide and marking where the mounting screws
for those will go.
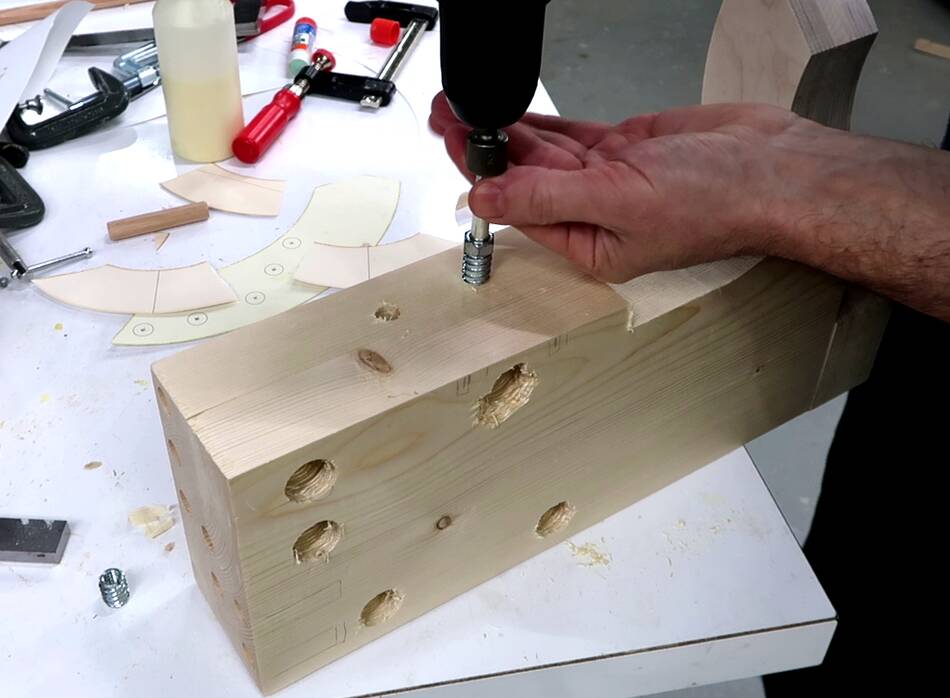 I'm adding some threaded inserts for attaching the lower blade guides.
If I had made this beam out of hardwood, I could have just tapped machine
screw threads straight into the wood, but on this spruce, they would wear out
too quickly.
I'm adding some threaded inserts for attaching the lower blade guides.
If I had made this beam out of hardwood, I could have just tapped machine
screw threads straight into the wood, but on this spruce, they would wear out
too quickly.
 Then attaching the lower blade guide.
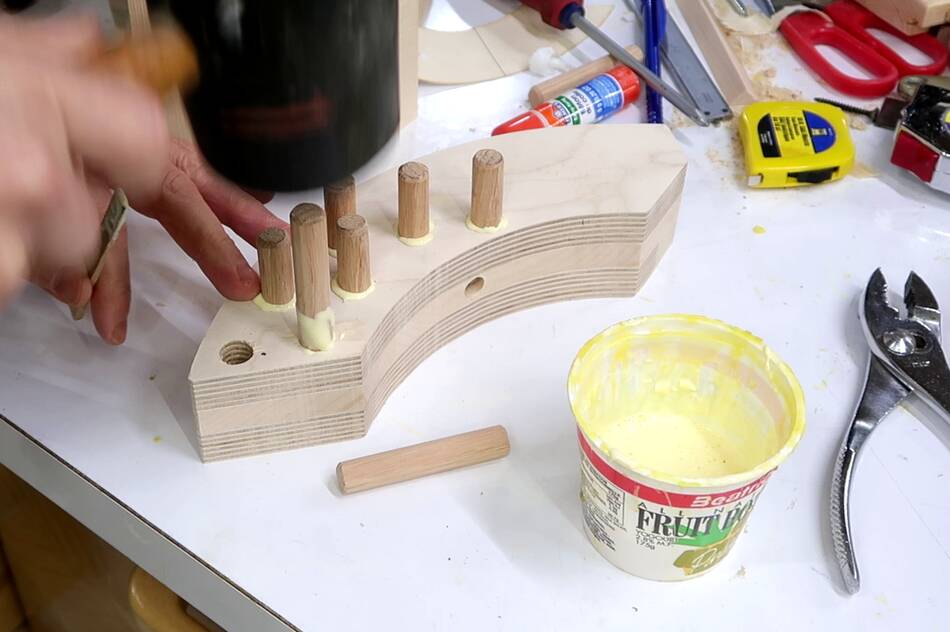 Once I was confident that everything was the way it should be, it was time
to glue the trunnions onto the trunnion beam. First I glued the seven dowels
into the lower part of the trunnion.
Once I was confident that everything was the way it should be, it was time
to glue the trunnions onto the trunnion beam. First I glued the seven dowels
into the lower part of the trunnion.
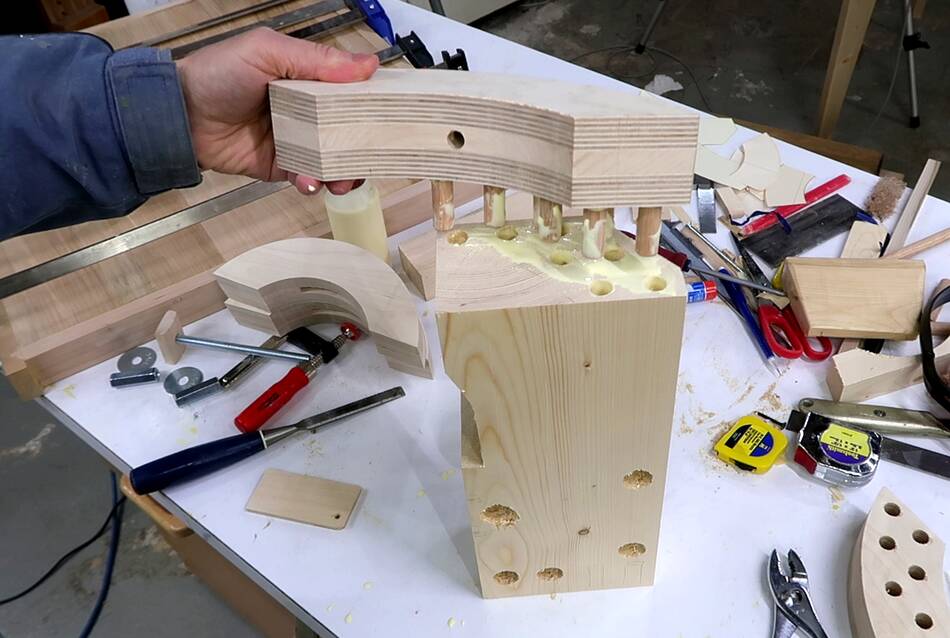 Then mating that with the trunnion support beam. I made the mistake of applying
glue to the wrong end at first, and the holes did not line up, so I had to
apply glue to the other end, glue that on, then work quickly to do the other
side before the glue I put on the wrong end dried.
Then mating that with the trunnion support beam. I made the mistake of applying
glue to the wrong end at first, and the holes did not line up, so I had to
apply glue to the other end, glue that on, then work quickly to do the other
side before the glue I put on the wrong end dried.
 I want to fasten the trunnion beam down with some big 1/4" wood screws, but
I still need to buy those. So for the time being, I'm just using some #10 wood
screws. The advantage of using undersized screws for now is that I don't wear
out the screw holes with putting it on and taking it off while I work on it.
I want to fasten the trunnion beam down with some big 1/4" wood screws, but
I still need to buy those. So for the time being, I'm just using some #10 wood
screws. The advantage of using undersized screws for now is that I don't wear
out the screw holes with putting it on and taking it off while I work on it.
For my 20" bandsaw, I used coupler nuts to make threaded inserts in the bandsaw frame becuase I figured I might remove that beam from time to time to use the bandsaw as a sawmill, and I didn't want to wear out the screw holes in the wood.
But in three years, I haven't removed that trunnion beam once. And I don't plan on using this bandsaw as a sawmill, so big wood screws should be fine.
Next: Bandsaw table
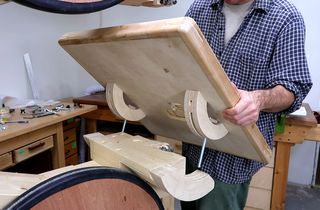 Table for the 26" bandsaw
 Last time making the trunnions for my 20" bandsaw
 Making trunions for my 16" bandsaw
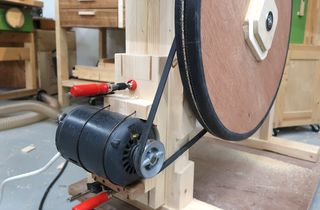 Motorizing this bandsaw
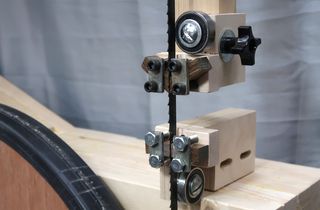 Making the blade guides for this bandsaw
 Making the wheel mounts for this bandsaw
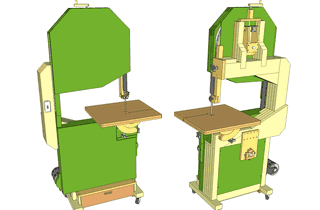 Buy plans for the 26" bandsaw