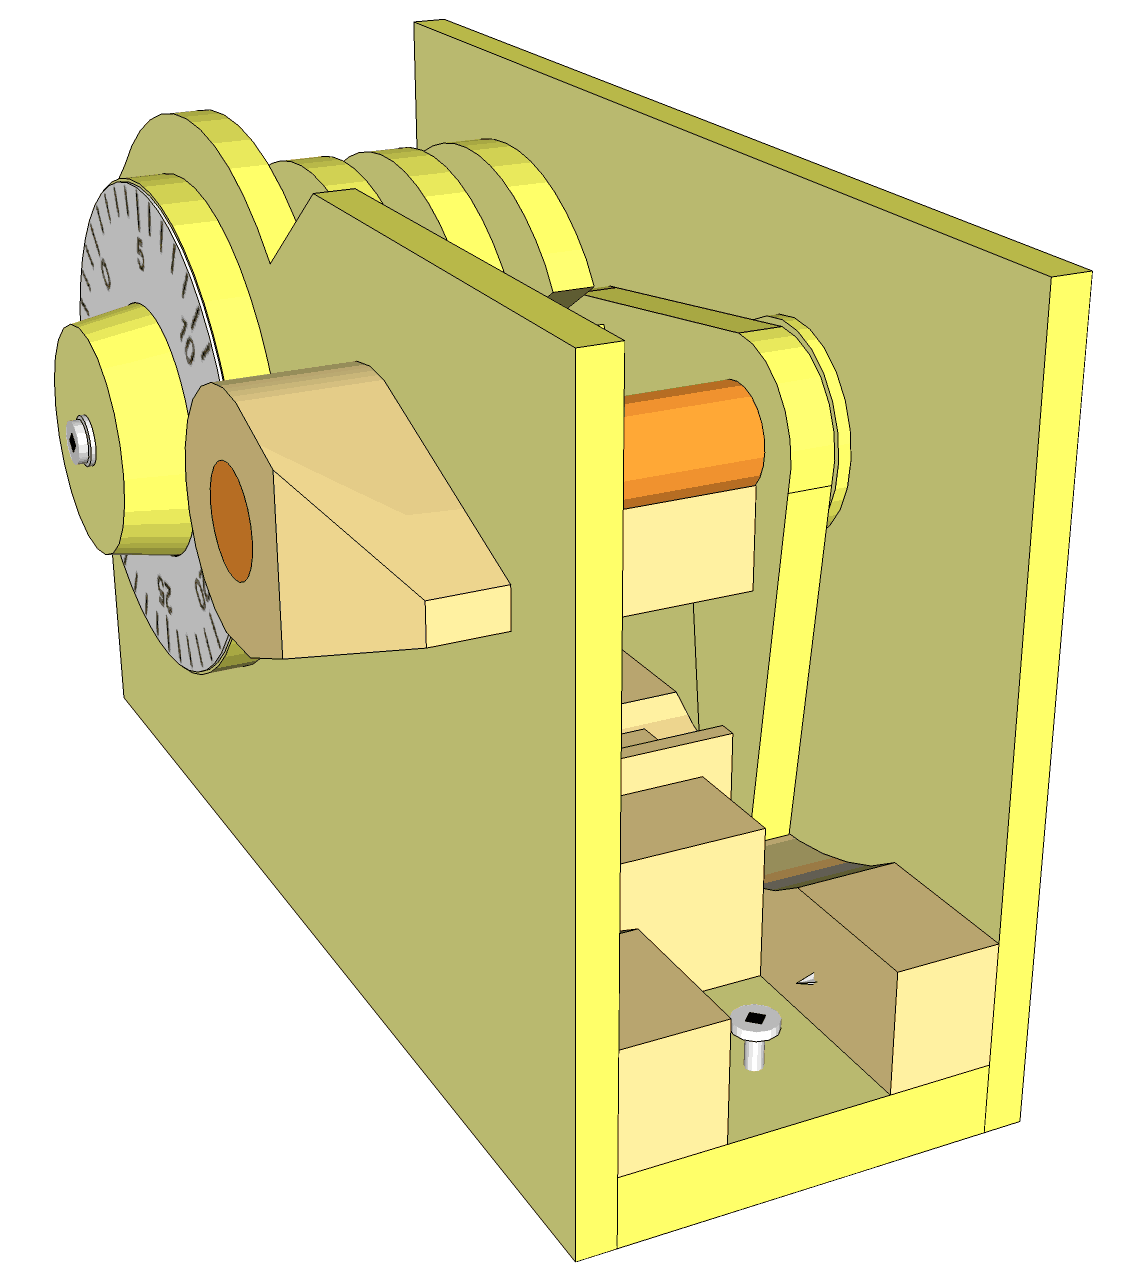
My wooden combination lock used a few pieces of solid wood that could not be cut on a laser cutter.
There is also this version, which says it fixes bugs to work with SketchUp 2015:
http://simonbeard.github.io/sketchup-svg-outline-plugin/
This is free of charge software. Which means, it comes with about as much help or support as you paid for :)
My wooden combination lock used a few pieces of solid wood that could not be cut on a laser
cutter.
The first thing I had to do was to change the design to use only 6 mm (or 1/4")
plywood. I changed the design to make the thicker pieces out of layers of 6 mm plywood.
While I was at it, I also made the pieces interlock a little, seeing that that sort of thing is easy to add with laser cut pieces.
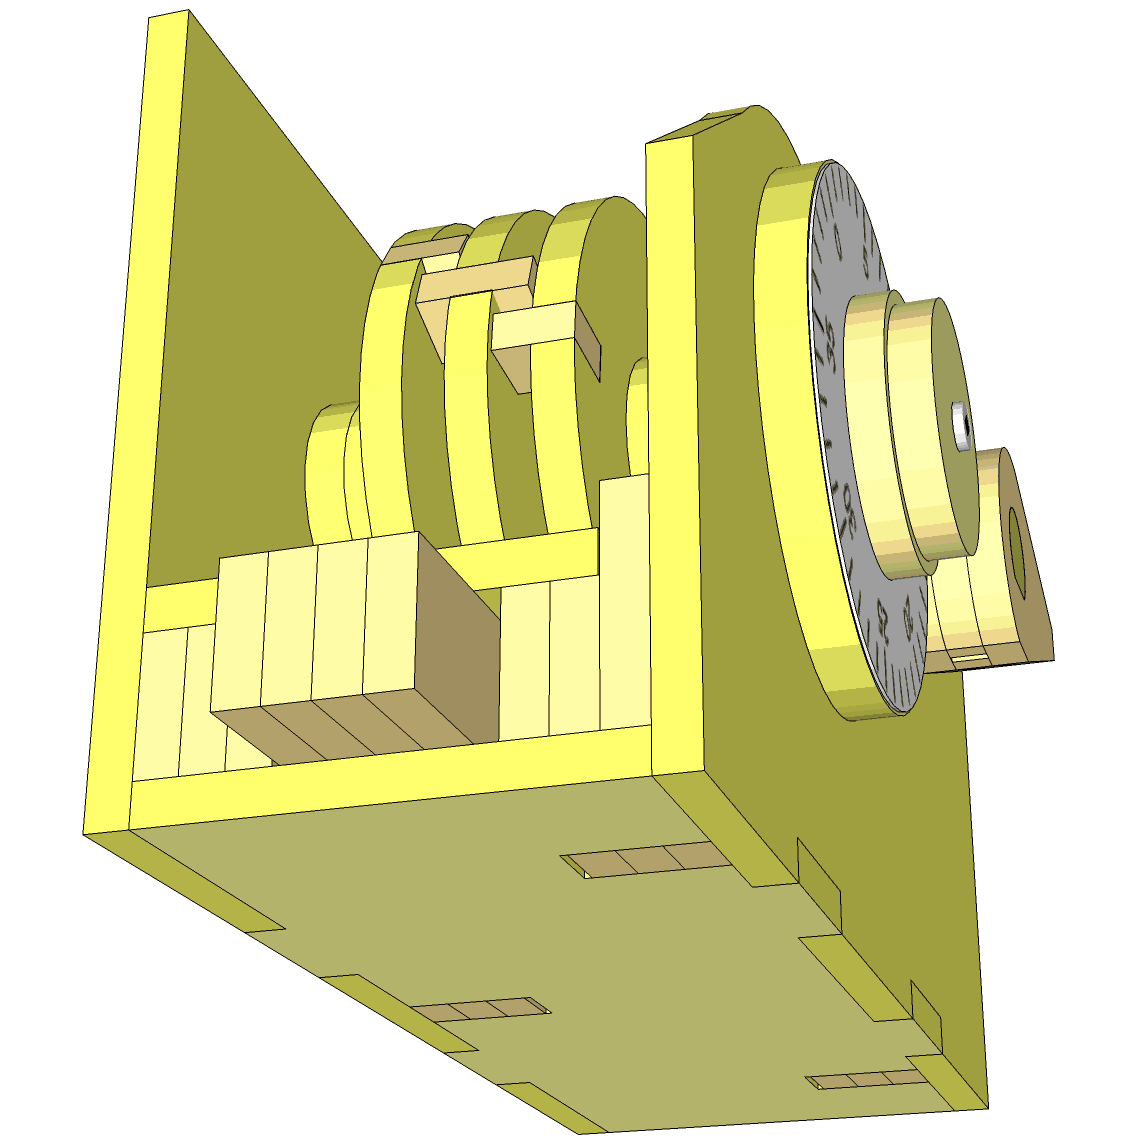
 The next step was to arrange all the pieces into one plane the way I wanted them to
be cut out of plywood.
The next step was to arrange all the pieces into one plane the way I wanted them to
be cut out of plywood.
The FlightsOfIdeas plugin has this quirk that it moves pieces around, unless it sees them all as one piece. This quirk can be avoided by making all the parts touch each other, as I have done at left here.
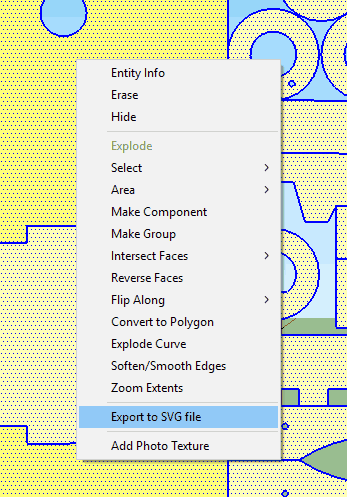
It's necessary to select all the surfaces that you want to export at once, so the next thing I did was to "explode" all the objects. Because they were touching, they all joined together. You can verify that objects are joined by triple-clicking in SketchUp. Everything that touches gets selected together.

You need to select all the surfaces to export. But the plugin is finicky, and the only way it works for me is to take all the surfaces I want to export and paste those into an empty SketchUp file, then export. But first I need to select all the front surfaces. I do this by using "parallel projection", then viewing it from the top, and selecting just the front (this is hard understand in the image above. The video shows it better)
 Provided that the FlightsOfIdeas plugin is installed, once you have all the surfaces in
the new SketchUp file, triple-click to select all, the right click and select "Export to SVG file"
Provided that the FlightsOfIdeas plugin is installed, once you have all the surfaces in
the new SketchUp file, triple-click to select all, the right click and select "Export to SVG file"
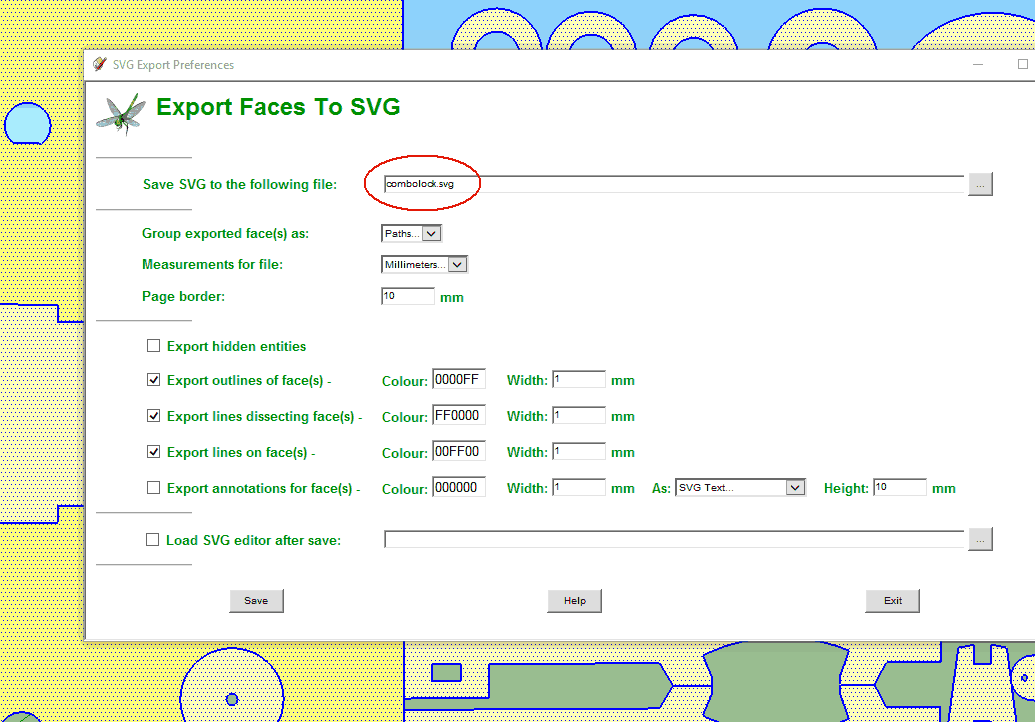 The next dialog allows you to specify details. The most important is the file name.
Make sure the file name (circled in red) ends with .svg
The next dialog allows you to specify details. The most important is the file name.
Make sure the file name (circled in red) ends with .svg
 If you don't have everything just right, the plugin just makes an empty (zero length) file
without giving you an error message, but it also won't show this final message
"File exported". So if you don't see this message, it didn't work.
If you don't have everything just right, the plugin just makes an empty (zero length) file
without giving you an error message, but it also won't show this final message
"File exported". So if you don't see this message, it didn't work.
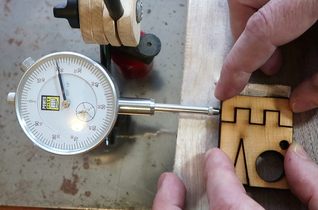
I had one problem where one of my shapes ended up in a random place. It took me a long time to figure this out but on of the rectangles wasn't quite on the same plane as everything else (it was tilted away from the view by a fraction of a degree).
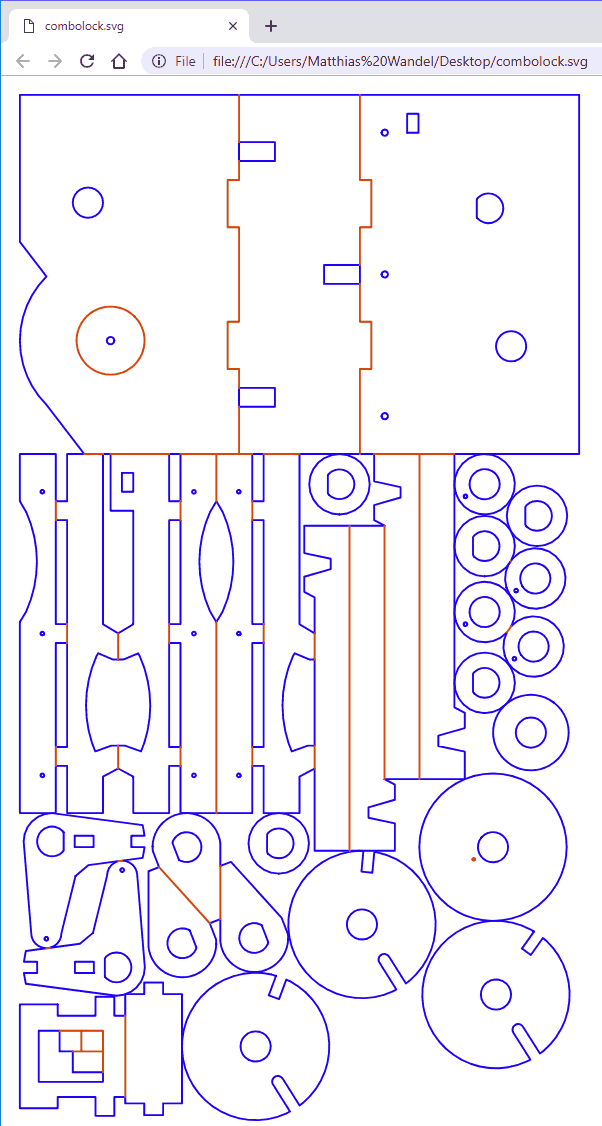 If export worked, you will be able to open the .svg file in a browser, and it should show
all the lines. In this case, because the objects are
touching, all the lines need to be cut through. But you could configure your laser
cutter to cut some lines while engraving other lines.
If export worked, you will be able to open the .svg file in a browser, and it should show
all the lines. In this case, because the objects are
touching, all the lines need to be cut through. But you could configure your laser
cutter to cut some lines while engraving other lines.
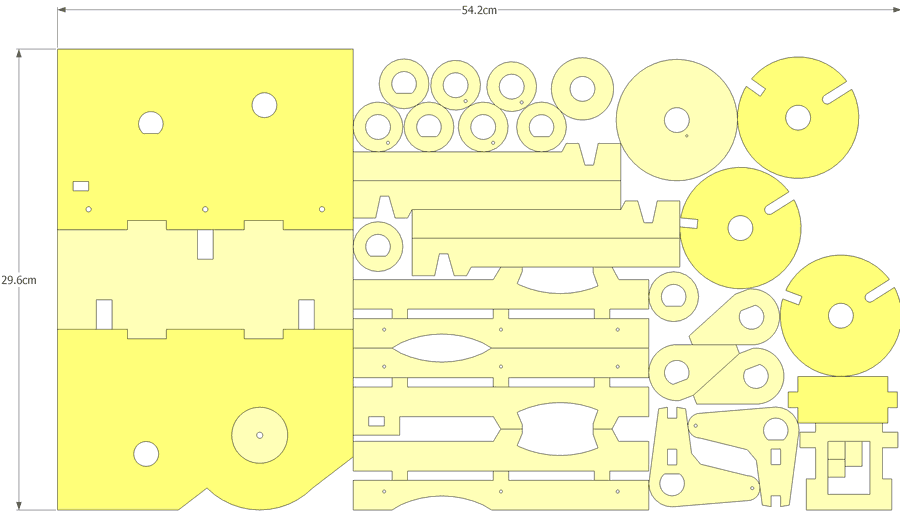
I'll include this SVG file as well as the SketchUp model of the laser cut version in my combination lock plans
With the SVG file created, I sent it off to
"hot pop factory" in Toronto to have it laser cut
and mailed to me. Note that this layout of the parts is an earlier version. I had a few
mistakes in my parts, which I fixed by modifying the parts that I received, then updated the CAD
model so that anybody who uses my CAD model and SVG files will have the fixed version.
It wasn't cheap to get it laser cut, but I don't intend to do a lot of laser projects, so paying to have it cut makes sense.
My original idea had been to try to cut the parts using the University of New Brunswick's laser cutter, which I was able to get access to sporadically. But after a few "misses" getting on to it, I sent the parts out to have them laser cut.
I later did cut a test piece on the university's laser, and found the cut quality not that great. The pieces I got back from hot pop factory were much better. And without having control over that laser at the university, I couldn't expect to get better cuts from it, so, again, it made sense to pay to have the parts made.
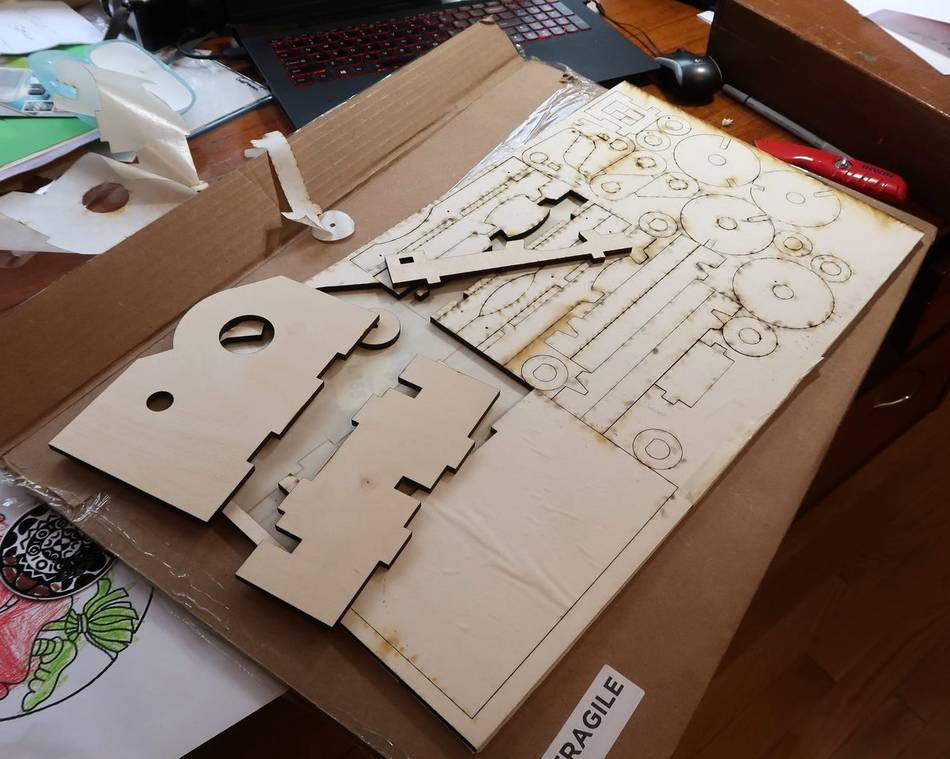 The laser cut plywood, as received via FedEx.
The cost (in Canadian dollars in 2018) was:
| Setup: | $15.00 |
| Laser cutting on baltic birch | $46.30 (included the plywood) |
| Shipping via FedEx: | $25.00 |
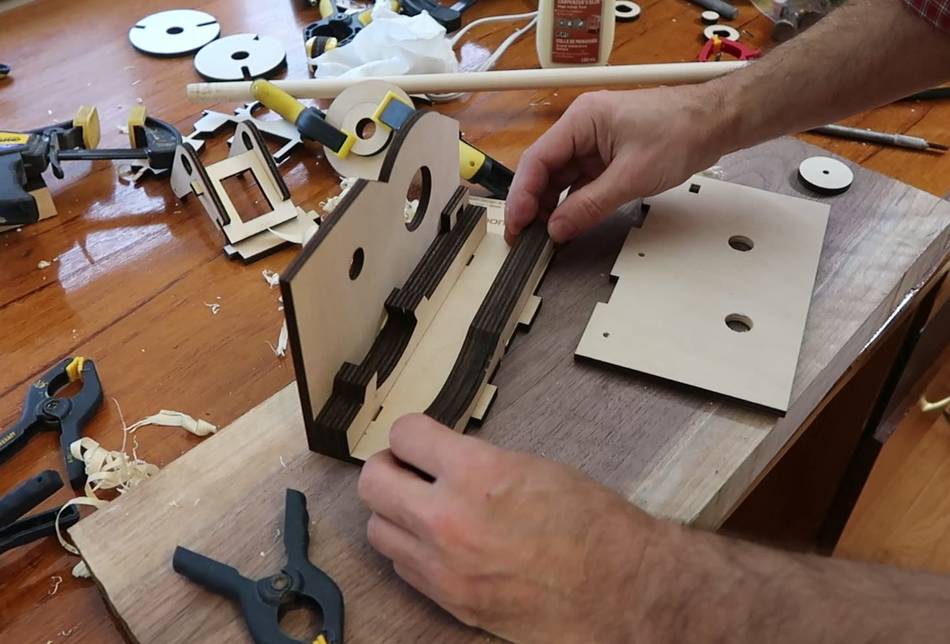 Assembling the combination lock model.
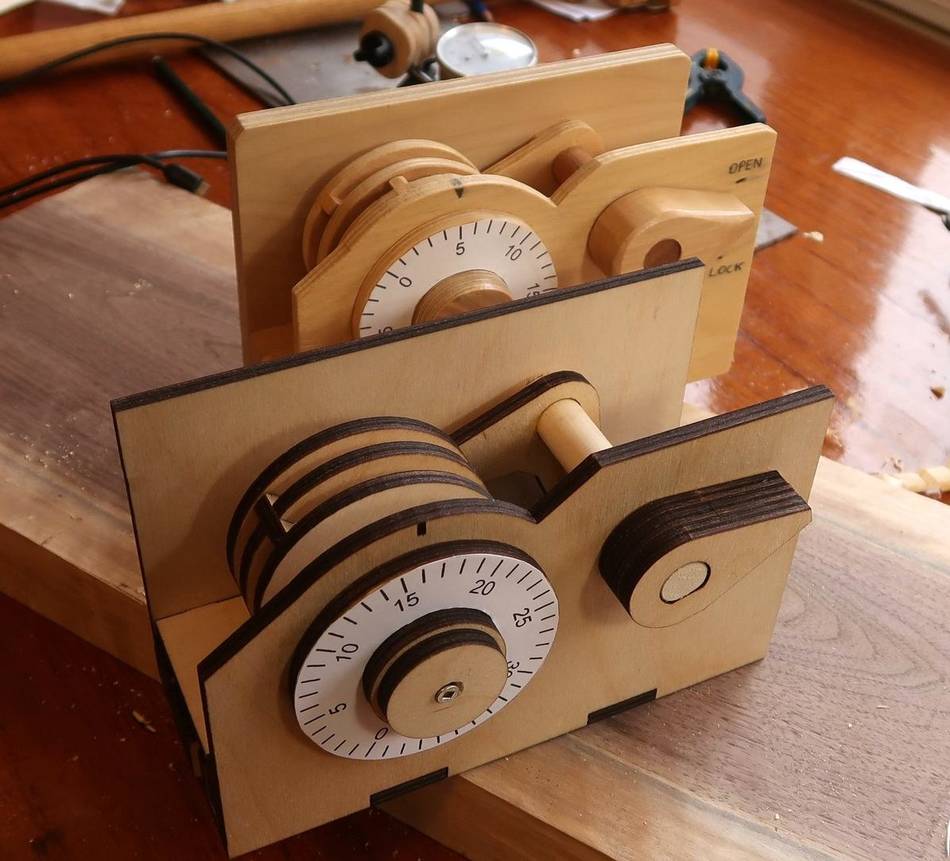 And here is my laser cut combination lock, in front of the wooden one
I built in 2017, which was actually
a re-build of
the one from 2008
to make a build-video.
And here is my laser cut combination lock, in front of the wooden one
I built in 2017, which was actually
a re-build of
the one from 2008
to make a build-video.
I like the look and feel of the hand-crafted one better. That one has no burnt edges, and I sanded everything smooth and varnished it, so it feels much better to operate.
But it's neat to have the other version, built with completely different techniques, but with mostly the same dimensions.
Back to the Wooden combination lock
 Laser cutter cut width and inaccuracies
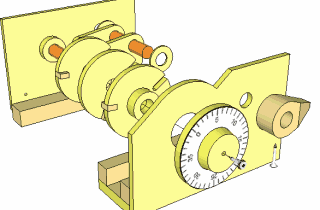 Buy plans for the lock
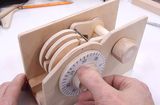 Building the combination lock
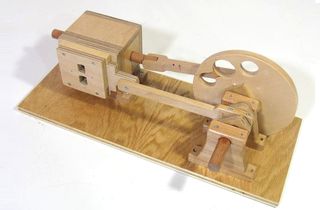 Wooden air engine