Setting up cuts with the dovetail jig
 On this piece of wood, I have room for all four of the 3 cm wide
spacer blocks. So I'll use those four spacers
to space four dovetails 3 cm apart.
On this piece of wood, I have room for all four of the 3 cm wide
spacer blocks. So I'll use those four spacers
to space four dovetails 3 cm apart.
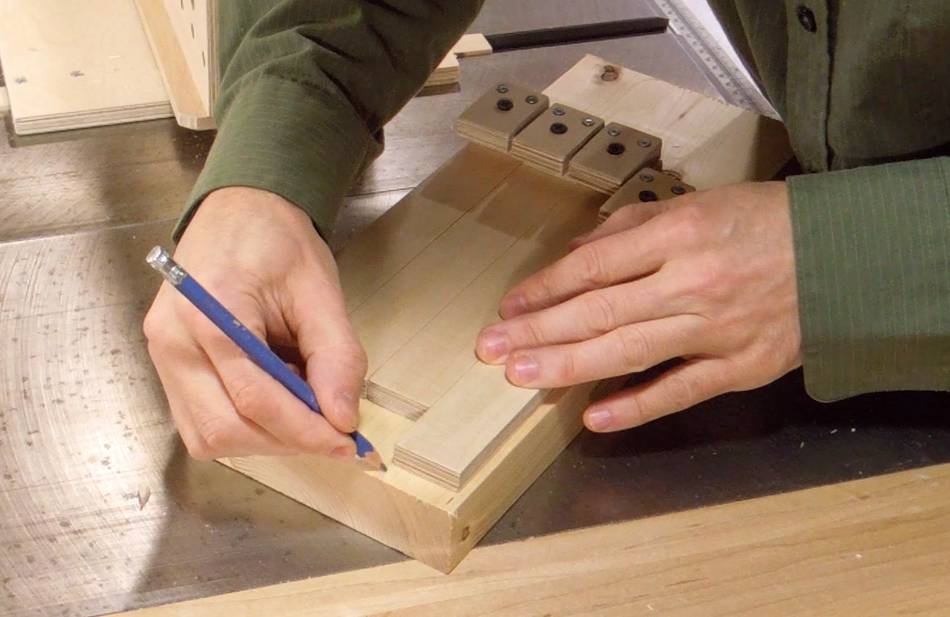
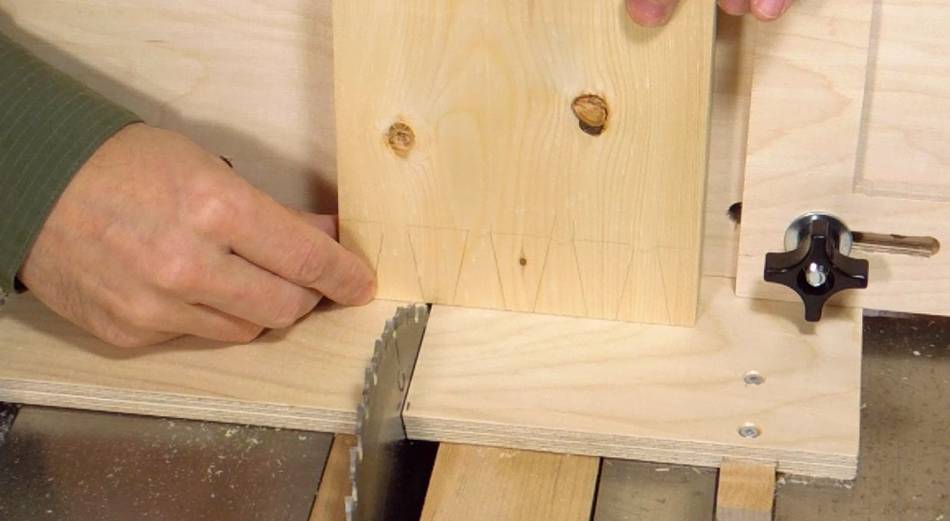
I'm marking the edges of one of the spacers. I'll center the first dovetail between these two marks.
Cutting the pins
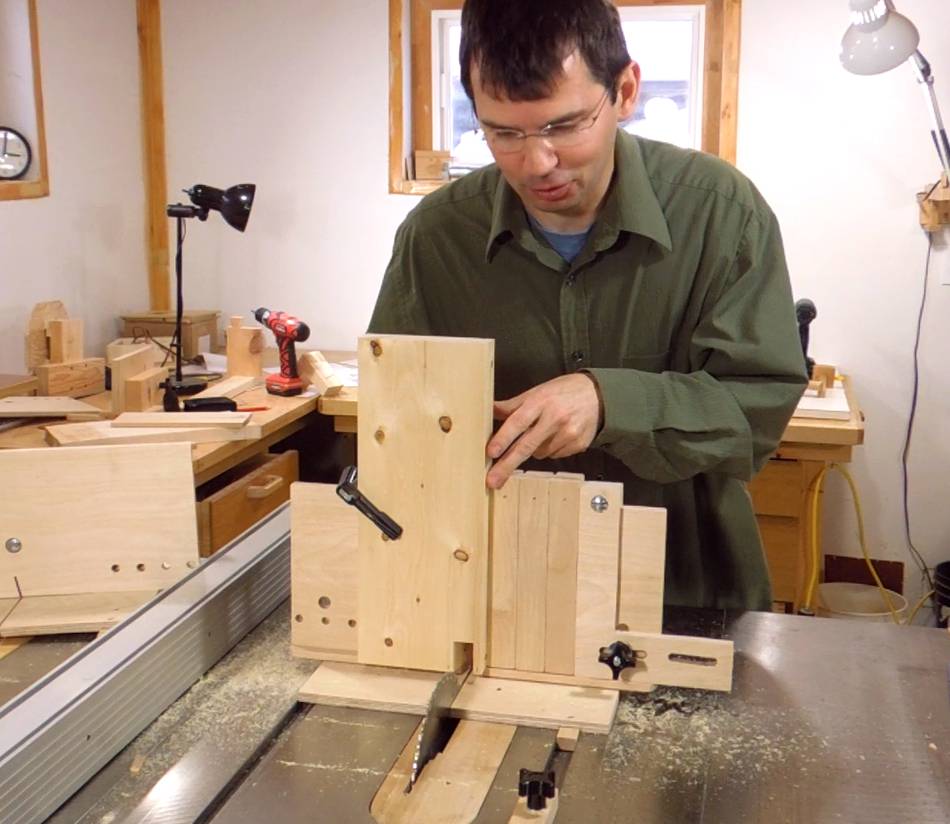 Cutting the first gap between the pins, with three spacers between
the fence and the board. Because I started on the left side, I needed
to start with the spacers behind the fence. In retrospect, it would have
been more intuitive to start on the right side of my board and then
add spacers to cut the other slots.
Cutting the first gap between the pins, with three spacers between
the fence and the board. Because I started on the left side, I needed
to start with the spacers behind the fence. In retrospect, it would have
been more intuitive to start on the right side of my board and then
add spacers to cut the other slots.
As it was, I actually cut the first slot and then realized I needed to remove spacers, not add them, so I had to reposition the fence, add three spacers, and then push the fence up against the spacers. Oops!
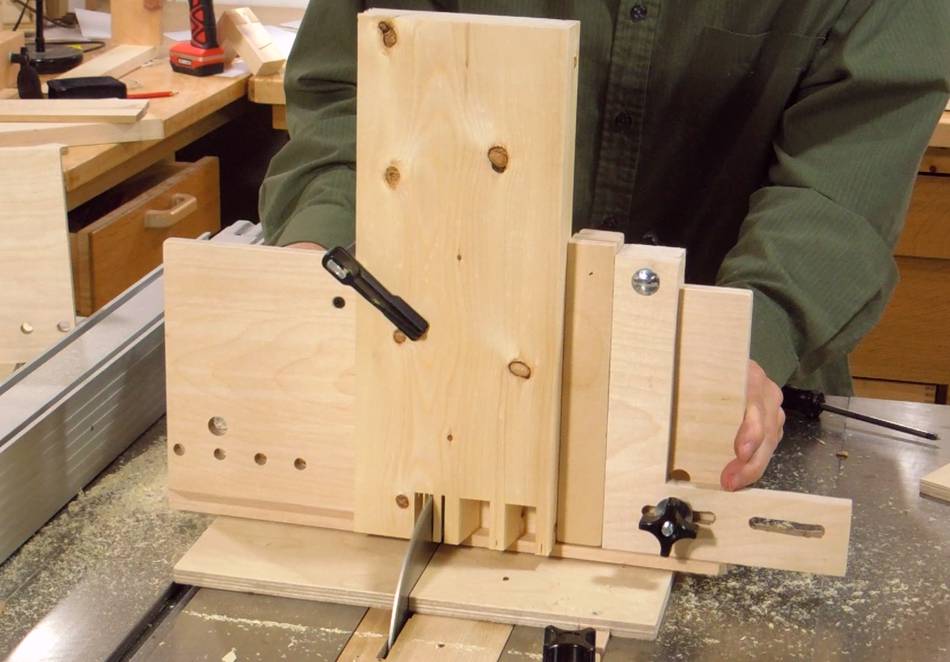 Second spacer removed. This places the stock in the right spot to cut the third
space between the pins.
Second spacer removed. This places the stock in the right spot to cut the third
space between the pins.
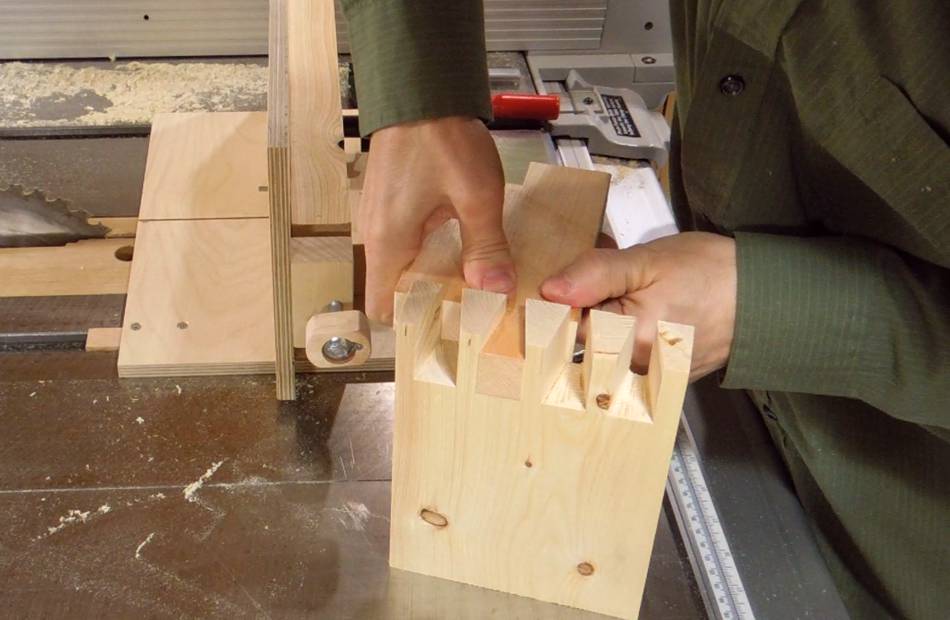
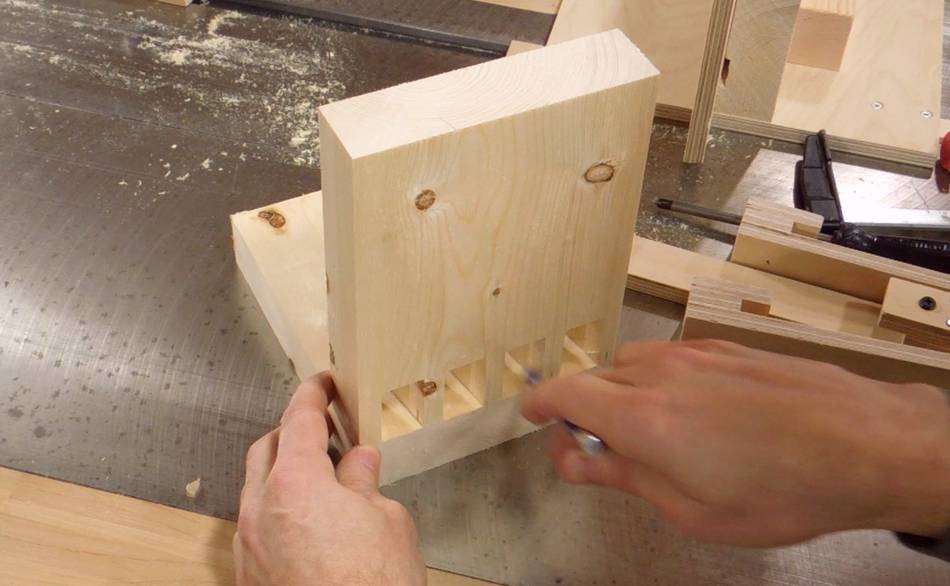 With the four spaces cut, I'm using a pencil to transfer the positions
onto the mating "tails" piece.
With the four spaces cut, I'm using a pencil to transfer the positions
onto the mating "tails" piece.
Cutting the tails
 Now switching over to the tails jig, and tilting the saw by
the right angle (in this case, 10 degrees)
Now switching over to the tails jig, and tilting the saw by
the right angle (in this case, 10 degrees)
I can now line up the saw blade to cut on one side of the tail. Be sure to get the blade on the right side of the line, so the blade cuts in the waste, not the part you want to keep.
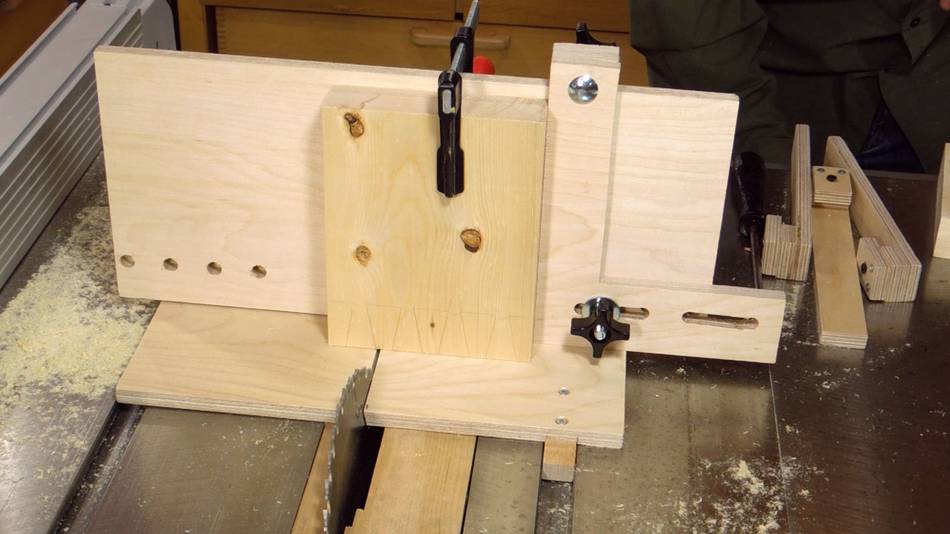 Workpiece now clamped in place, and the fence pushed up against
the workpiece.
Workpiece now clamped in place, and the fence pushed up against
the workpiece.
 Adding spacers, one at a time, to cut the sides of the other dovetails.
No need to line things up manually after the first cut.
Adding spacers, one at a time, to cut the sides of the other dovetails.
No need to line things up manually after the first cut.
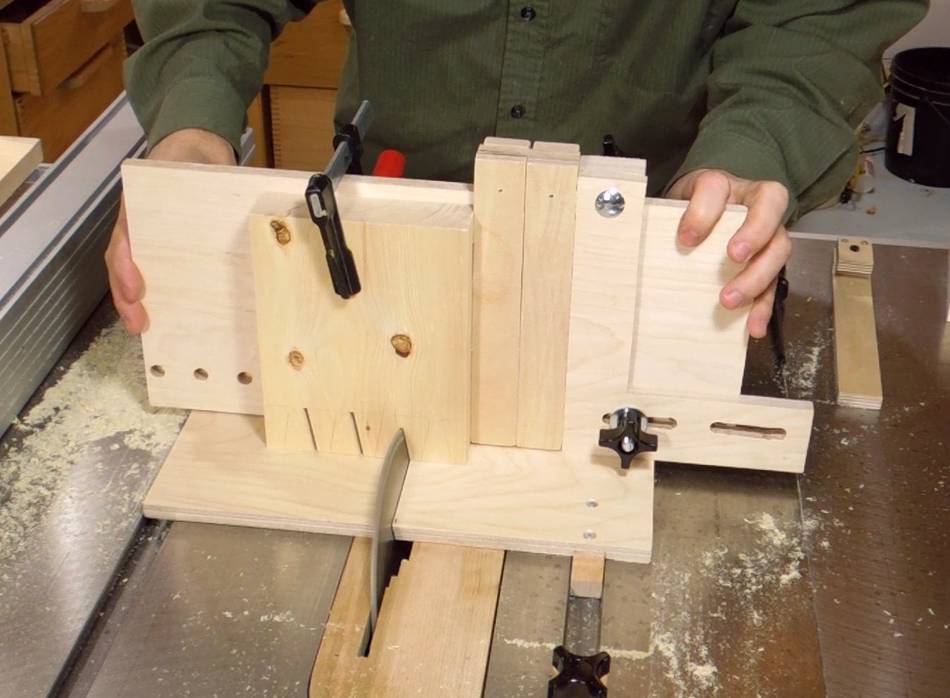
 Now swapping out the backing board for the other one with the
alignment pin in it.
Now swapping out the backing board for the other one with the
alignment pin in it.
 I had also cut some test pieces (this was the first time using this jig).
Here I'm placing a single tailed test piece onto the jig, hooking it onto
the alignment pin, and pushing it to my right (left, as seen
in the photo). I then move the backing board of the jig
until the blade lines up with my pencil mark.
I had also cut some test pieces (this was the first time using this jig).
Here I'm placing a single tailed test piece onto the jig, hooking it onto
the alignment pin, and pushing it to my right (left, as seen
in the photo). I then move the backing board of the jig
until the blade lines up with my pencil mark.
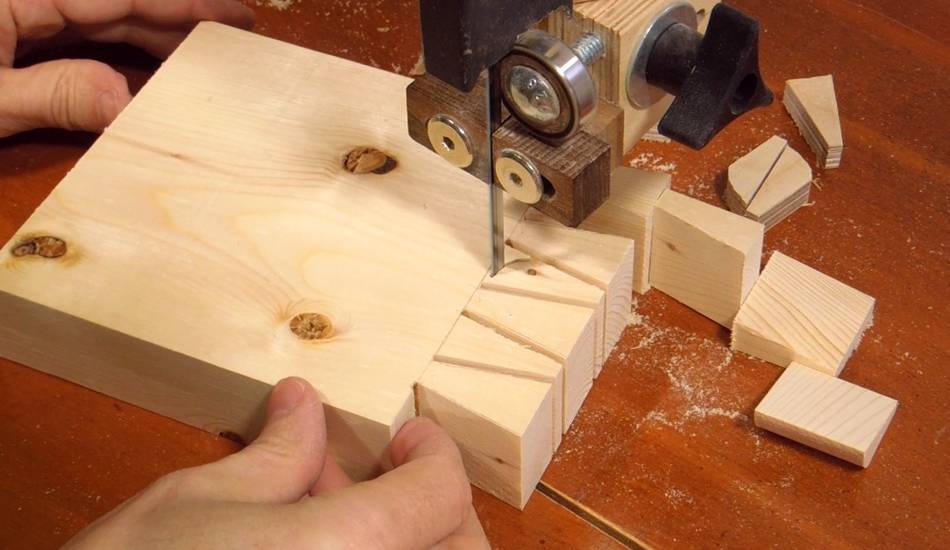
 After cutting both sides of the test tail, I cut away the rest with a bandsaw
and check it against my pins piece. A tight fit!
After cutting both sides of the test tail, I cut away the rest with a bandsaw
and check it against my pins piece. A tight fit!
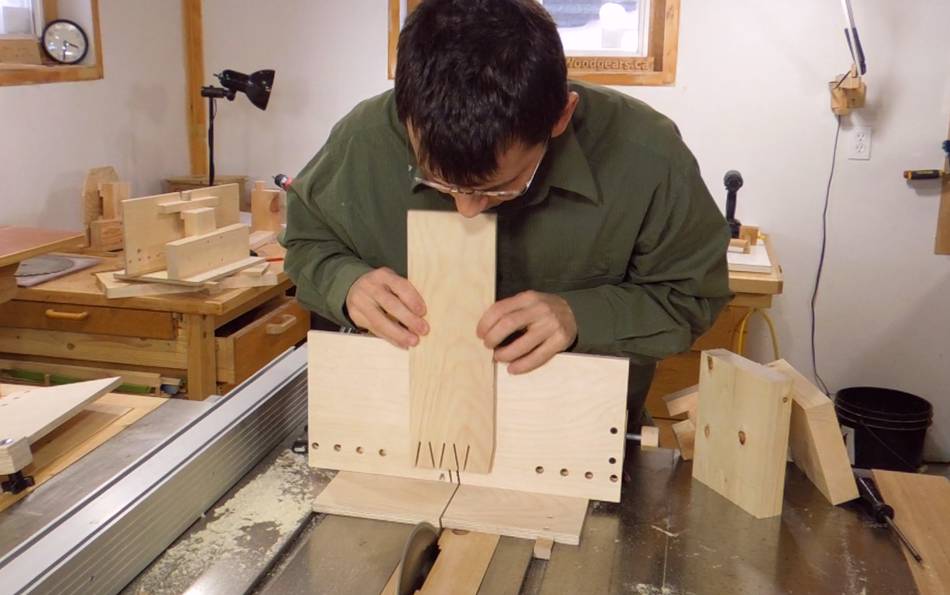 I'm using a scrap of plywood to test cutting multiple tails. Here's hooking
the plywood over the pin, one cut at a time (click photo to enlarge).
I'm using a scrap of plywood to test cutting multiple tails. Here's hooking
the plywood over the pin, one cut at a time (click photo to enlarge).
 And checking the fit with my plywood scrap. I'm now confident
enough to proceed with the actual workpiece.
And checking the fit with my plywood scrap. I'm now confident
enough to proceed with the actual workpiece.
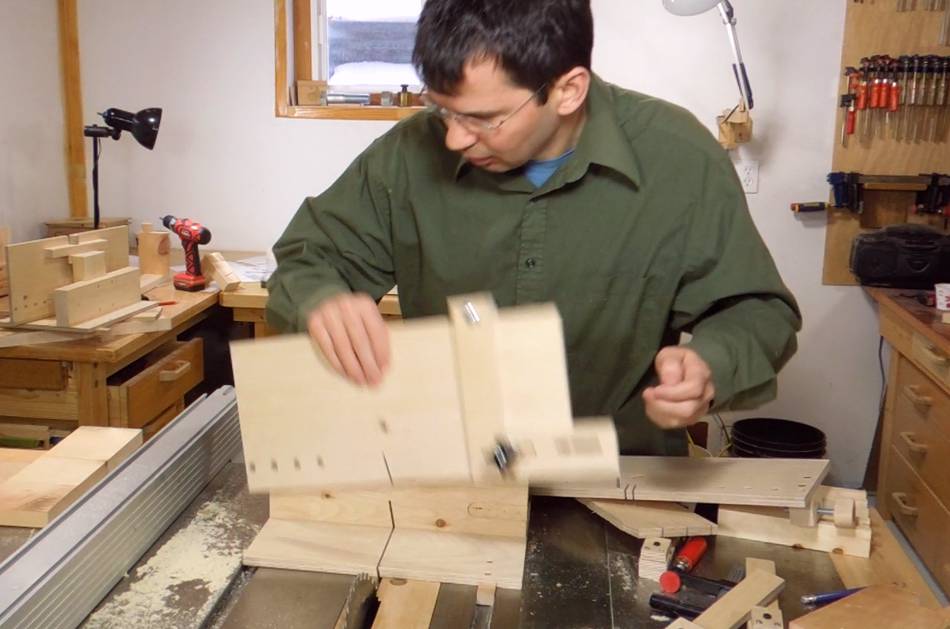
 Cutting out the work piece. This went very quickly, as I only needed to hook
it onto the pin for each slot and make a cut. No lining things up
to a line, no measuring required.
Cutting out the work piece. This went very quickly, as I only needed to hook
it onto the pin for each slot and make a cut. No lining things up
to a line, no measuring required.
 After that, cutting the waste between the tails on the bandsaw.
I'm using just an ordinary 1/4" bandsaw blade for this, starting my cut
in one kerf, then curving towards the other kerf.
After that, cutting the waste between the tails on the bandsaw.
I'm using just an ordinary 1/4" bandsaw blade for this, starting my cut
in one kerf, then curving towards the other kerf.
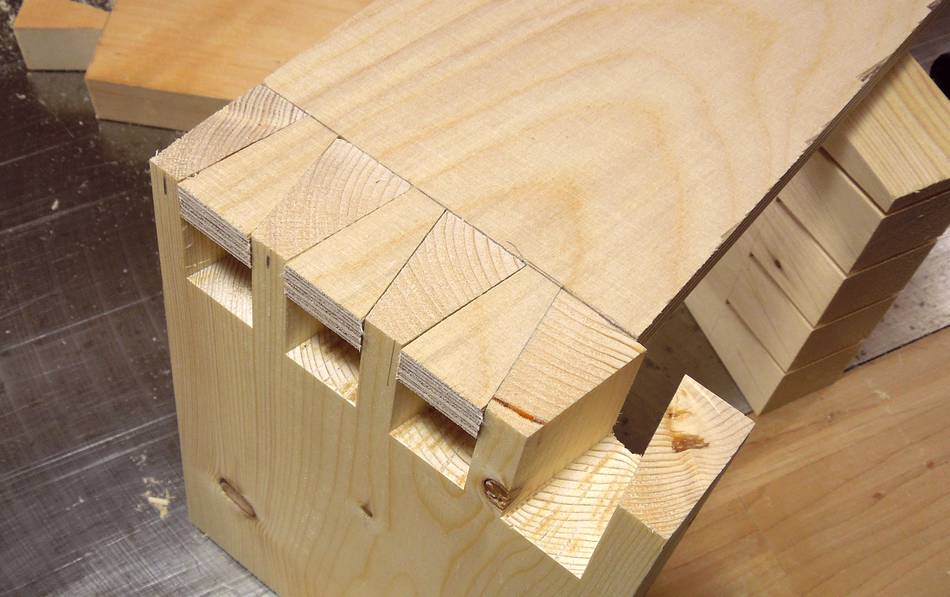
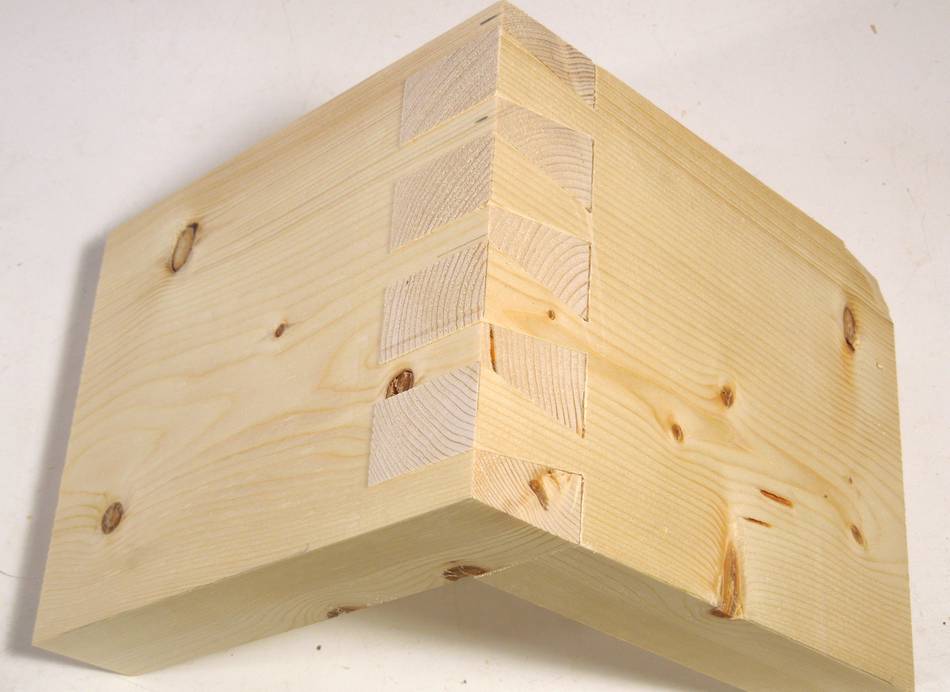 And assembling the dovetail joint. It was a bit tighter than I was hoping,
but I was still able to push it together with my hands.
And assembling the dovetail joint. It was a bit tighter than I was hoping,
but I was still able to push it together with my hands.
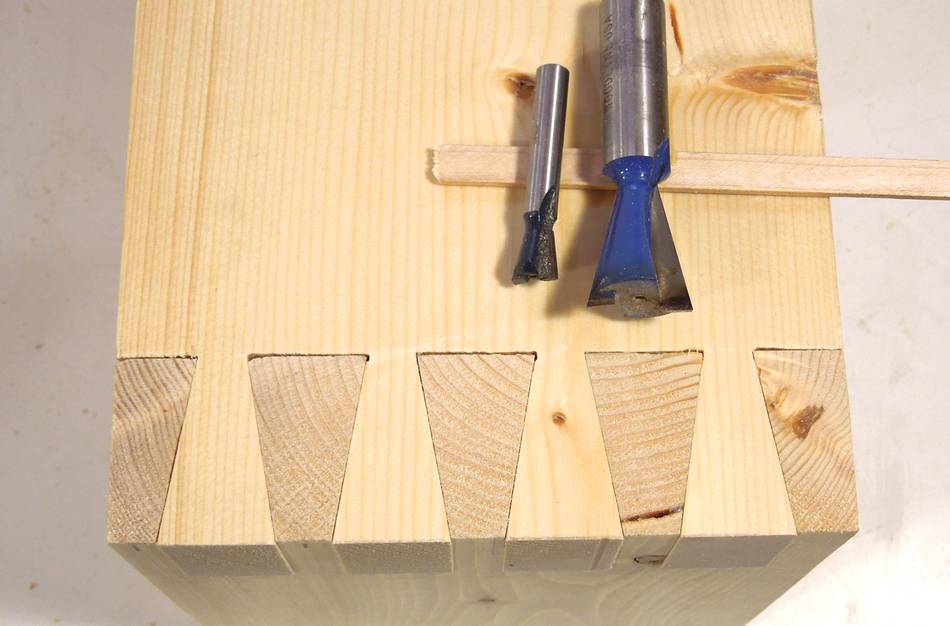 I deliberately made this dovetail joint fairly large, just to make it more
interesting. By comparison, above the joint at left, a typical dovetail bit,
next to the largest dovetail bit that I have.
I deliberately made this dovetail joint fairly large, just to make it more
interesting. By comparison, above the joint at left, a typical dovetail bit,
next to the largest dovetail bit that I have.
As you can see, this jig allows for dovetail joints considerably larger than is possible with a router jig.
This joint is larger than the largest dovetail bit that Lee Valley Tools sells.
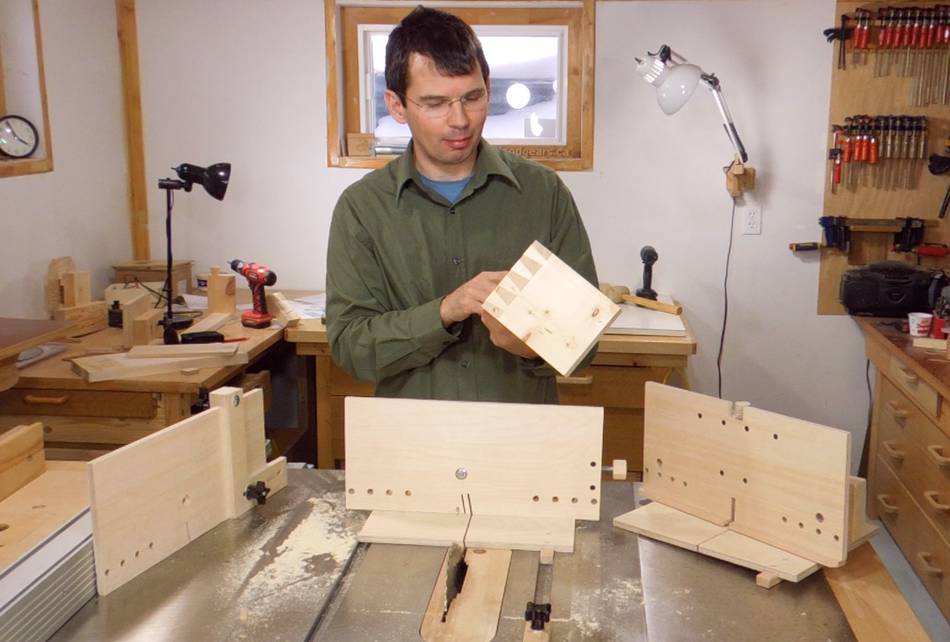 Finished joints, and the two jigs, plus the extra backer board at left.
I later used that test piece to make an impossible looking dovetail joint