 I needed to make some drawer pulls for the drawers of a workbench I was working on.
I needed to make some drawer pulls for the drawers of a workbench I was working on.
I previously wrote about making drawer handles ten years ago in 2008, and I have made drawer pulls of a similar style for much of my shop furniture since then, for example here.
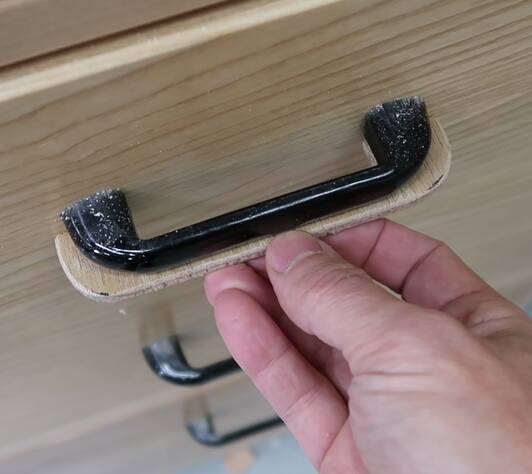 At left, the workbench drawers I built
in 2008. I wanted something like that again, but I was thinking I could make
them a bit flatter. I have never had problems using the shallower handles
on my tool stand, and I also like
the elegant handles I used for this dresser.
At left, the workbench drawers I built
in 2008. I wanted something like that again, but I was thinking I could make
them a bit flatter. I have never had problems using the shallower handles
on my tool stand, and I also like
the elegant handles I used for this dresser.
So the pattern for my new handles has the same size opening. The front part is much shallower than my previous wooden handles because I figure that part, being along the grain is not going to break anyway.
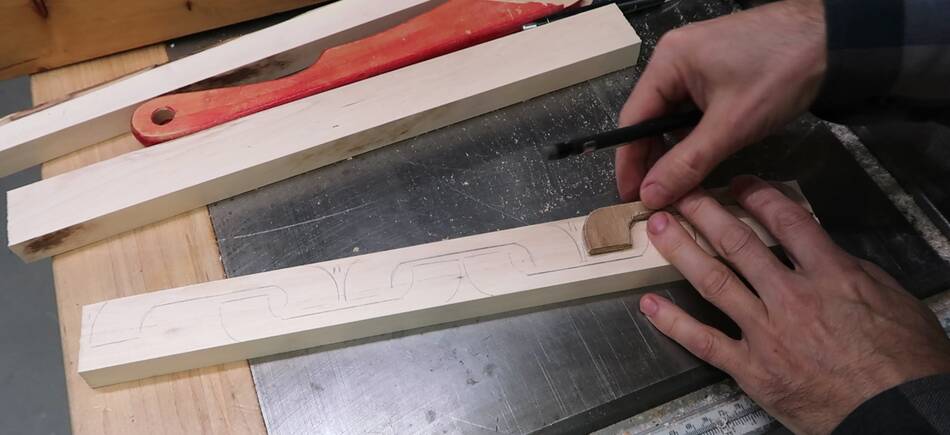
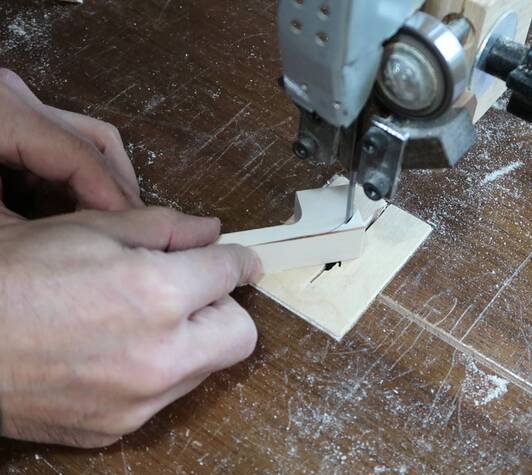
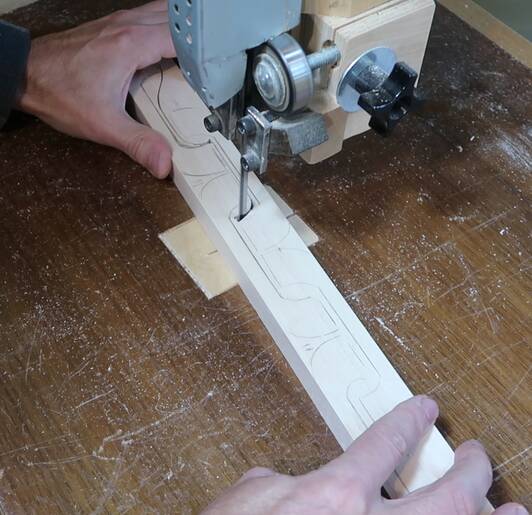 I used my pattern to lay them out on some ironwood, cut from firewood. I don't have
a lot of that ironwood, so I nested them together to make better use of the wood.
I used my pattern to lay them out on some ironwood, cut from firewood. I don't have
a lot of that ironwood, so I nested them together to make better use of the wood.
But I'm not sure that was such a good idea, because clearing a space to turn the corners with the bandsaw was difficult, especially because the ironwood is very hard and my bandsaw blade is in need of sharpening.
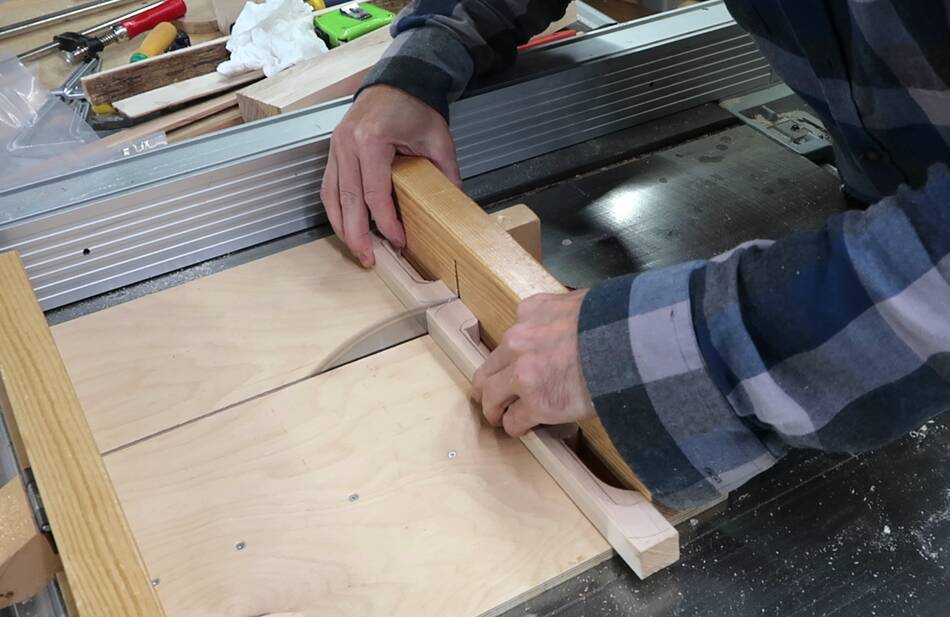
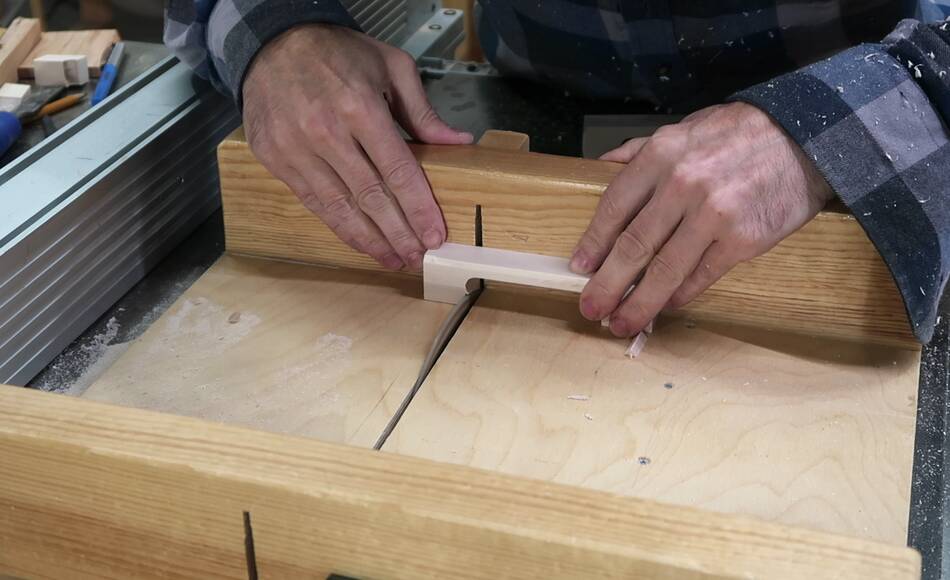
 Then cutting them to consistent width on the table saw.
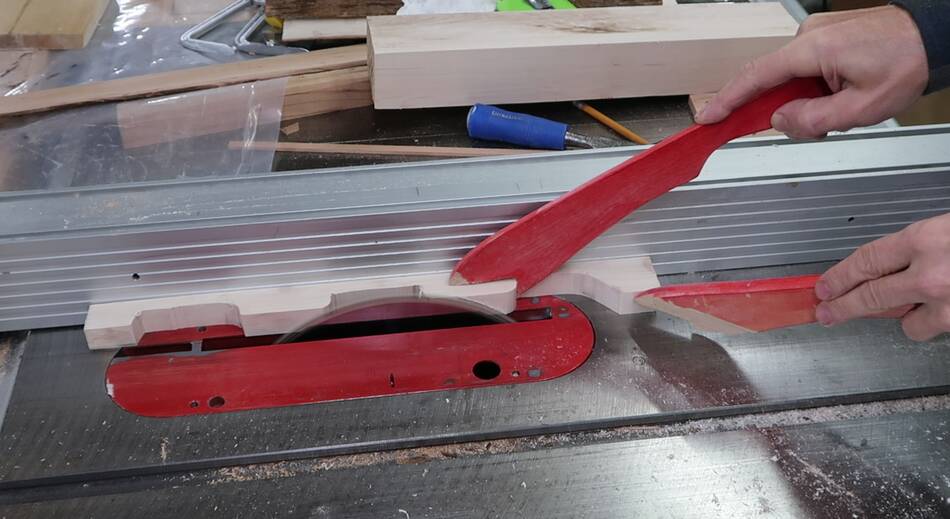
 And then cutting them apart to individual pieces.
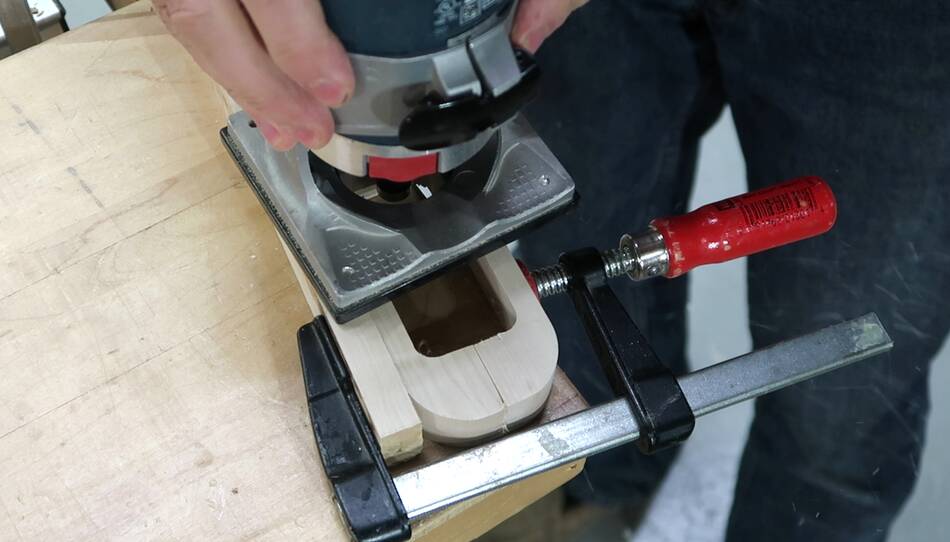
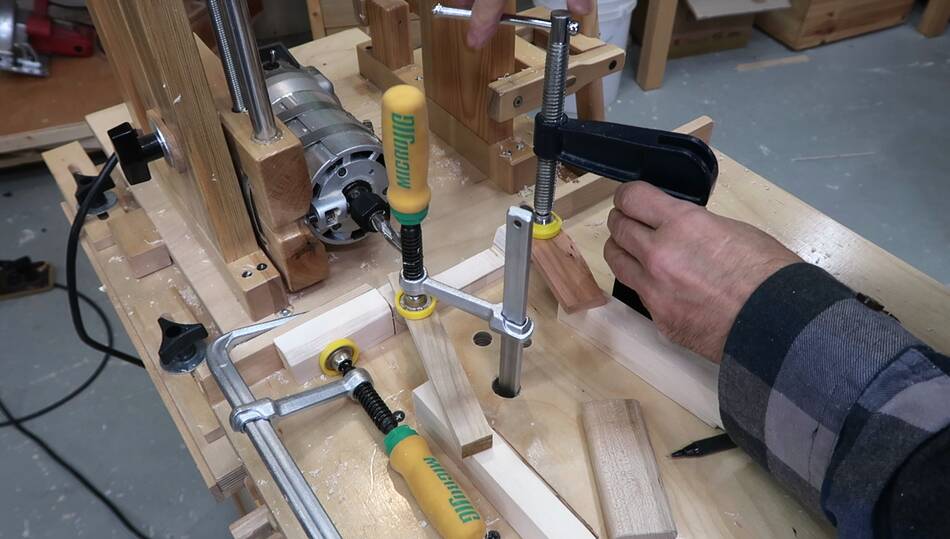 I wasn't sure at first how to trim the inside of the handles to be straight
and smooth. A router seems the ideal tool for this job, and a router mounted
in a slot mortiser is even better.
I wasn't sure at first how to trim the inside of the handles to be straight
and smooth. A router seems the ideal tool for this job, and a router mounted
in a slot mortiser is even better.
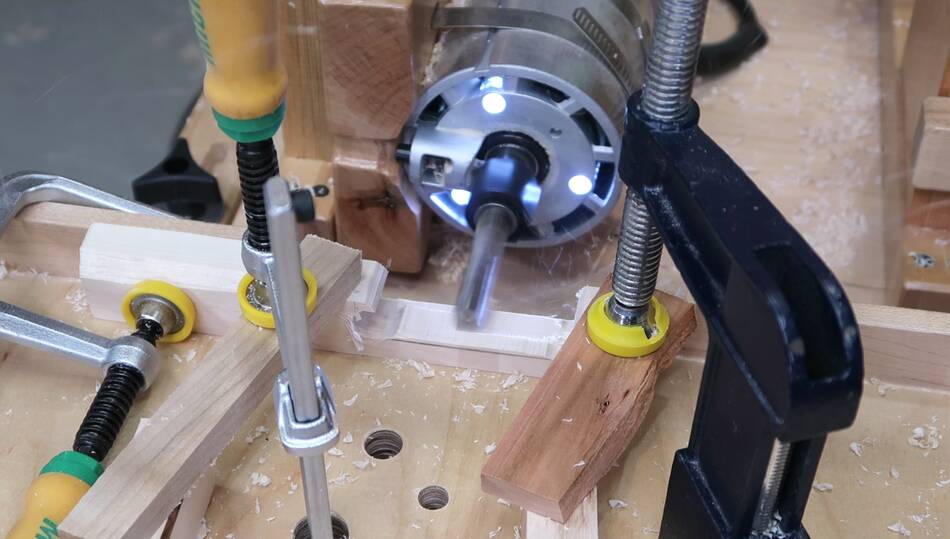 I already had a 1/2" diameter bit in the router, but in retrospect, a 3/4" diameter
bit might have been even better to leave a bit more of an inside round in the
corners.
I already had a 1/2" diameter bit in the router, but in retrospect, a 3/4" diameter
bit might have been even better to leave a bit more of an inside round in the
corners.
 Then trimming the inside edges on the table saw.
It occurred to me that the right kind of template on the pantorouter would have allowed me to cut these insides in one setup. But I only needed eight handles, so it wasn't worth getting too complicated.

 I marked the outside round using a round object. Its the rotor from an
oscillating fan motor that I destroyed in
this video.
I marked the outside round using a round object. Its the rotor from an
oscillating fan motor that I destroyed in
this video.
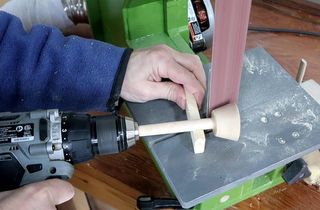
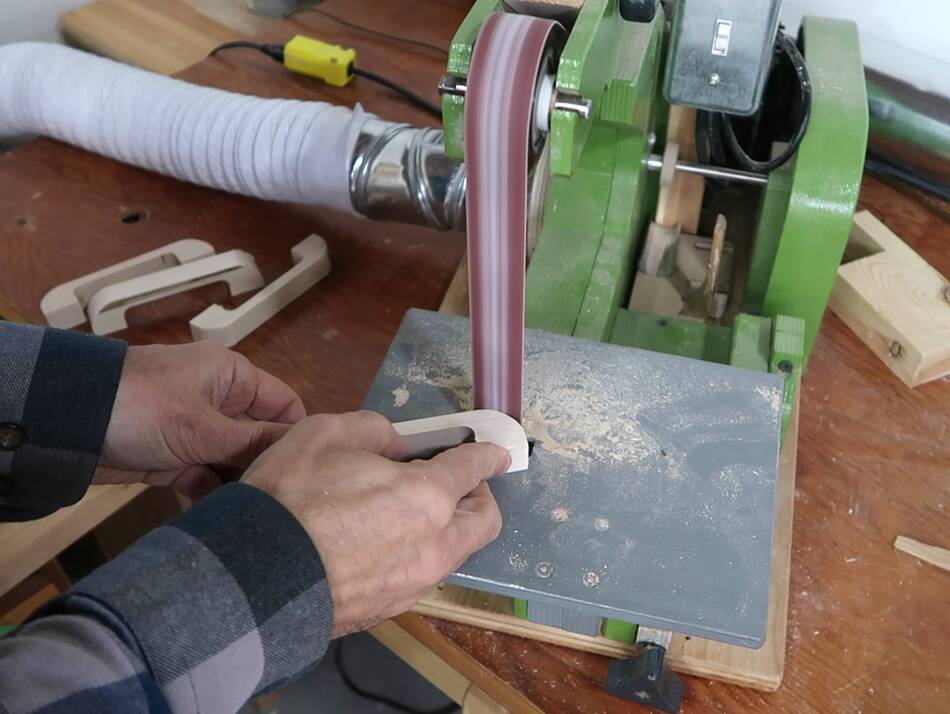 The outside round is easy enough to clean up on the strip sander.
 I clamped the handles together in pairs to put a 1/8" roundover on the
insides. With them clamped together like that, I don't get chipout as
I finish the cut.
I clamped the handles together in pairs to put a 1/8" roundover on the
insides. With them clamped together like that, I don't get chipout as
I finish the cut.
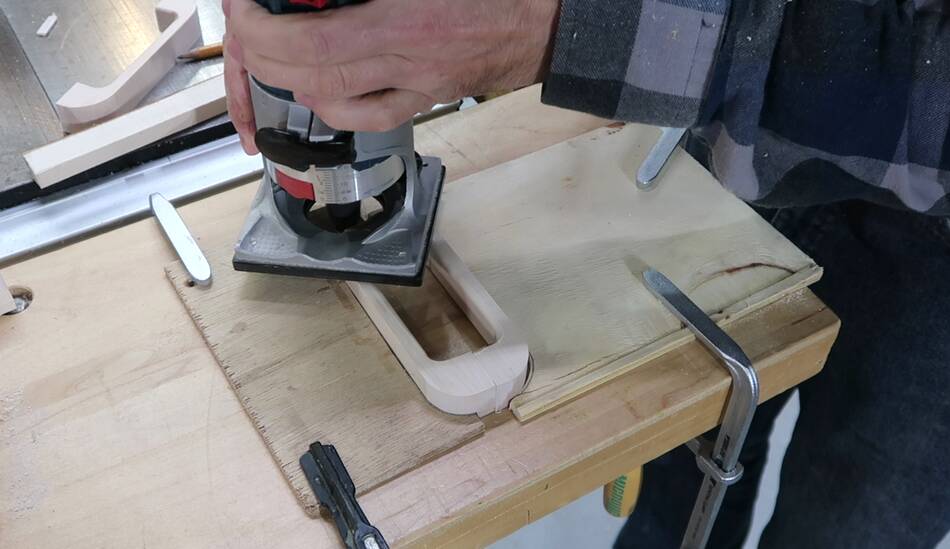 But routing the outside required a different sort of jig, two pieces of
1/4" plywood, with a handle shaped cutout on the edge, squeeze the
handles together for routing the outside. In retrospect, I could have
used that setup to route the inside edges as well.
But routing the outside required a different sort of jig, two pieces of
1/4" plywood, with a handle shaped cutout on the edge, squeeze the
handles together for routing the outside. In retrospect, I could have
used that setup to route the inside edges as well.
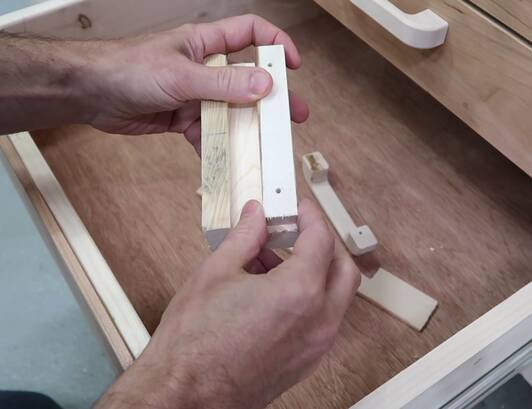
 I carefully drilled two holes in an extra piece of ironwood that was the
same length and width as the handles. I then clamped that to each handle
to drill the holes in the handles. I set the depth stop on the drill
press to drill almost all the way through.
I carefully drilled two holes in an extra piece of ironwood that was the
same length and width as the handles. I then clamped that to each handle
to drill the holes in the handles. I set the depth stop on the drill
press to drill almost all the way through.
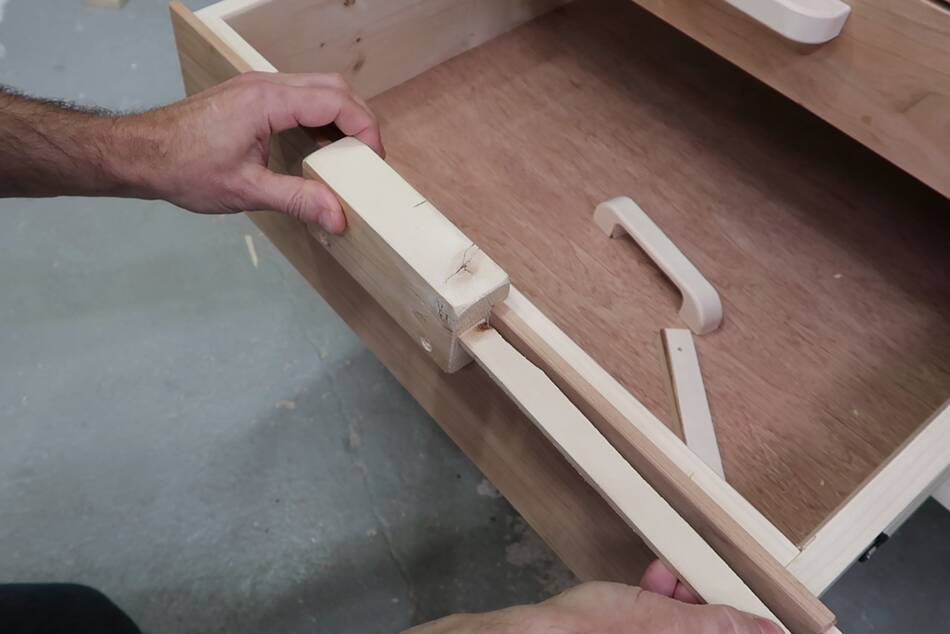 I made a drill guide for drilling the drawers as well. It's a piece of 2x4
with a rabbet cut along the side so I can hook it over the front of the
drawer to get the vertical position just right. I drilled the holes in this
guide using the same block that I used as a drill guide for the handle holes.
That way, if a hole is off by a fraction of a millimeter, the holes in the
drawers will be off by the same amount and the handles still end up
horizontal.
I made a drill guide for drilling the drawers as well. It's a piece of 2x4
with a rabbet cut along the side so I can hook it over the front of the
drawer to get the vertical position just right. I drilled the holes in this
guide using the same block that I used as a drill guide for the handle holes.
That way, if a hole is off by a fraction of a millimeter, the holes in the
drawers will be off by the same amount and the handles still end up
horizontal.
I cut another scrap of wood to hook onto the edge of the drawer to line it up horizontally each time.
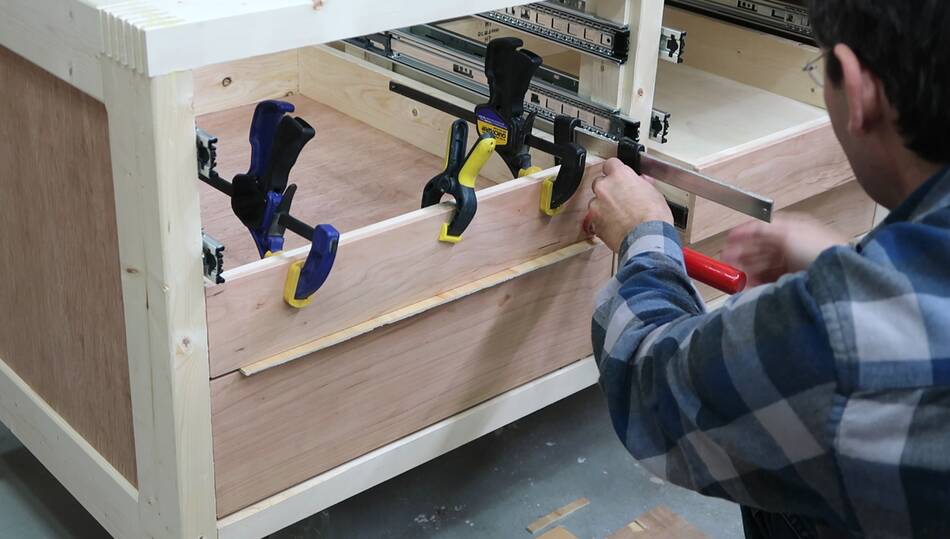
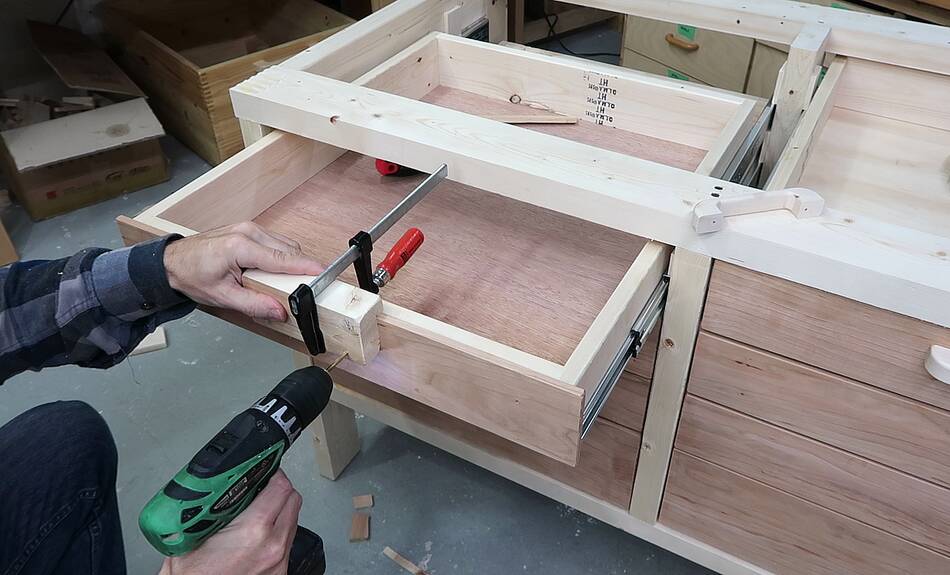 Then drilling through the drill guide to place the holes in exactly the
right spot.
Then drilling through the drill guide to place the holes in exactly the
right spot.
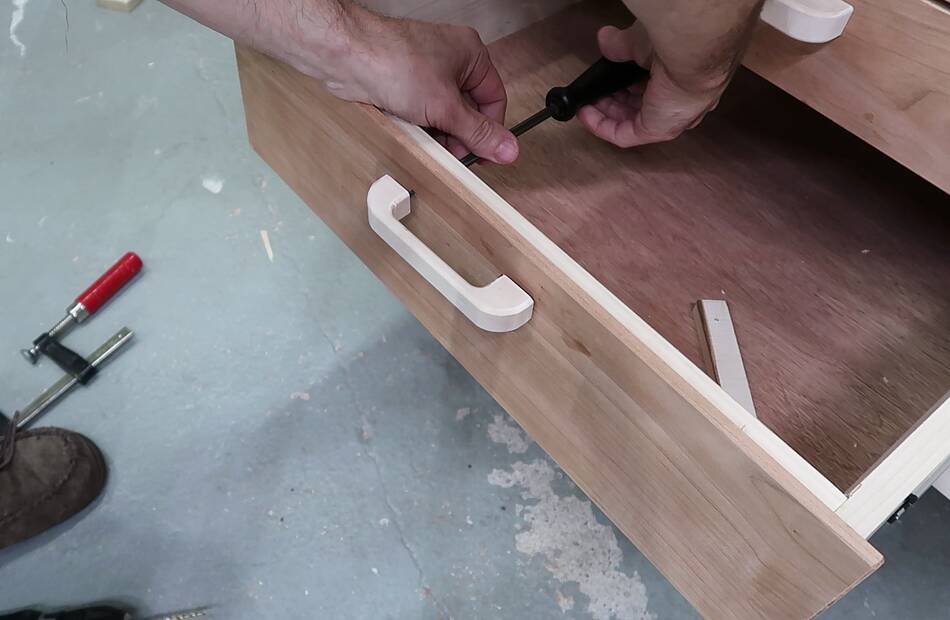 And attaching the handles using some wood screws from the back.
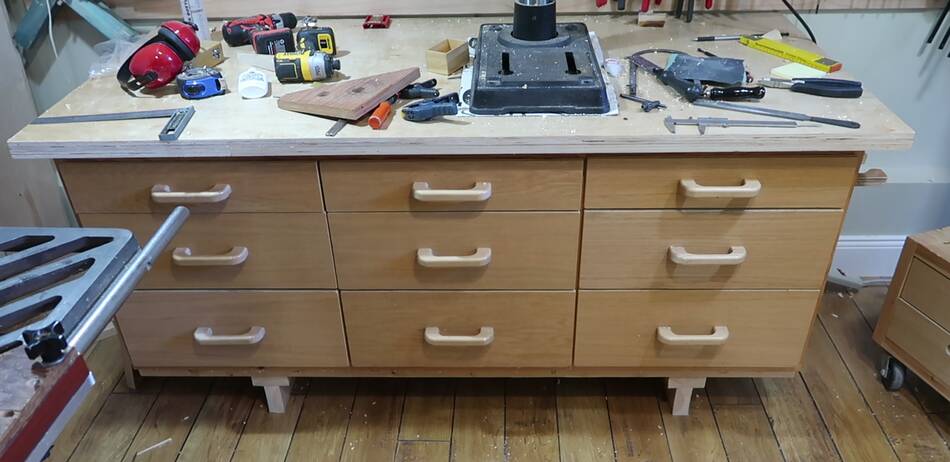
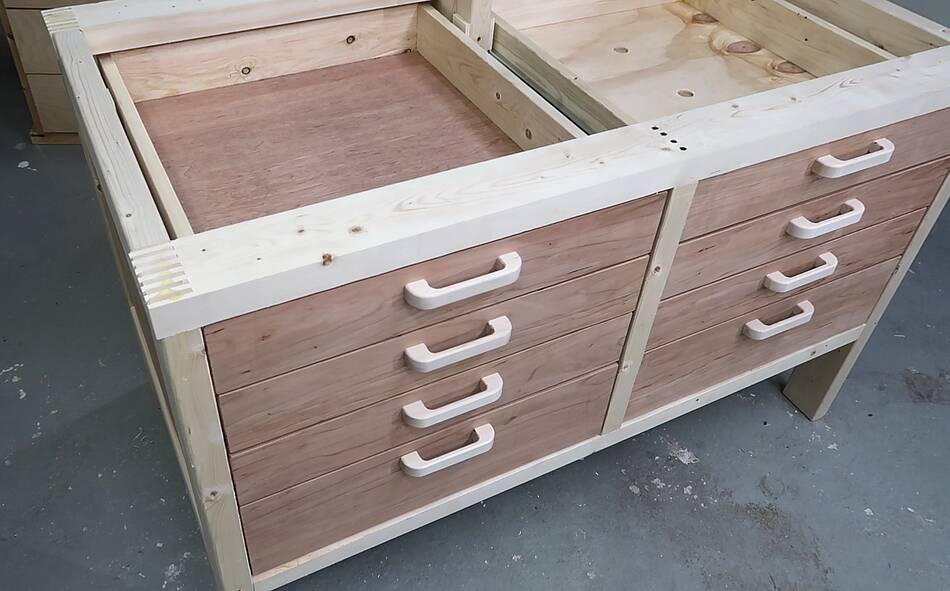 I'm really happy with how these drawer handles came out. I think I'll use
that exact shape for drawer handles going forward.
I'm really happy with how these drawer handles came out. I think I'll use
that exact shape for drawer handles going forward.
I made these drawer pulls for my workbench with drawers.
 Round drawer knobs, no lathe (2020)
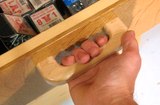 Making drawer pulls (2009)
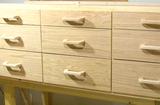 Workbench drawers (2008)
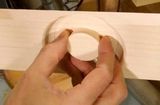 Recessed drawer knobs (2012)
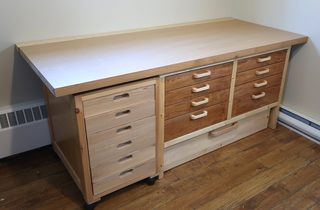 Building a workbench with lots of drawers
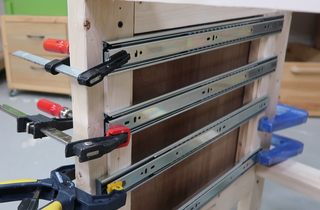 Spacers to lay out drawer slides
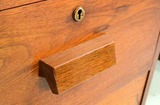 Drawer pulls on the table saw
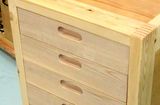 Drawers with recessed handles