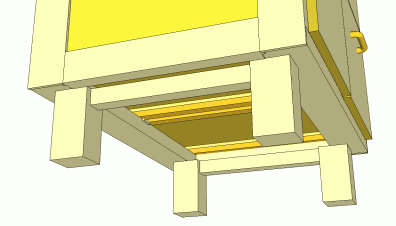
 With the legs offset
about 5 cm from the edges, they don't fully align with the frame of the dresser. The
piece connecting the front and back legs helps compensate for that.
With the legs offset
about 5 cm from the edges, they don't fully align with the frame of the dresser. The
piece connecting the front and back legs helps compensate for that.
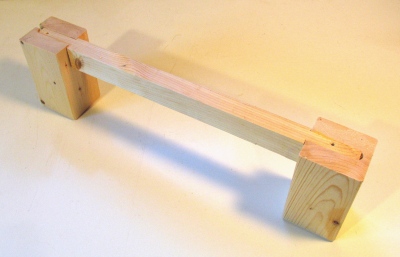 Finishing up, it was time to make some legs for the dresser. The legs are just made from
two pieces of 2x4 glued together, and cut to size. I joined the front legs to the
back legs with a piece of 1.5" x 1.5", to give them a bit more rigidity. The legs are attached
to the bottom with a 4" long screw in each leg from the inside of the dresser.
Finishing up, it was time to make some legs for the dresser. The legs are just made from
two pieces of 2x4 glued together, and cut to size. I joined the front legs to the
back legs with a piece of 1.5" x 1.5", to give them a bit more rigidity. The legs are attached
to the bottom with a 4" long screw in each leg from the inside of the dresser.
With the legs offset
about 5 cm from the edges, they don't fully align with the frame of the dresser. The
piece connecting the front and back legs helps compensate for that.
I chose not to join the left and right legs, because wanted to have more space to be able to slide things under the dresser, as well as to sweep out sawdust that would inevitable accumulate under it once I use the dresser as a base for my radial arm saw.
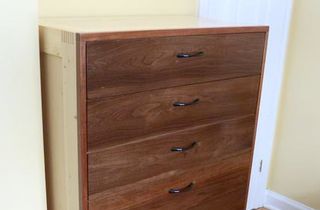
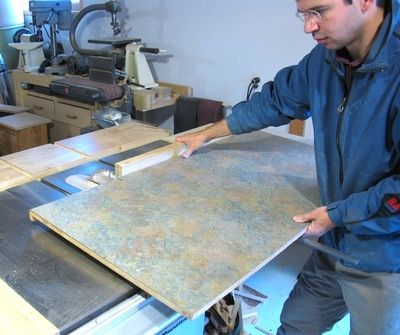 for the top of the dresser, I used a piece of counter top I picked up from the curb.
Veneered plywood would have been nicer, but I already had the countertop, and the melamine
surface of the counter should stand up better to my radial arm saw.
for the top of the dresser, I used a piece of counter top I picked up from the curb.
Veneered plywood would have been nicer, but I already had the countertop, and the melamine
surface of the counter should stand up better to my radial arm saw.
When I cut the counter to length, I cut it with the bullnose edge on the leading edge, so that the saw blade would cut into it instead of out of it, to avoid chipping the melamine.
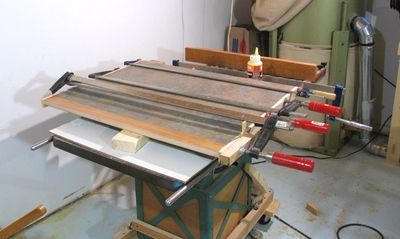 I then glued some pieces of wood to either side as end caps, plus a piece on the back because
my dresser was just a little deeper than the counter top.
I then glued some pieces of wood to either side as end caps, plus a piece on the back because
my dresser was just a little deeper than the counter top.
I then just screwed the counter top to the top of the body of the dresser - nice and simple.
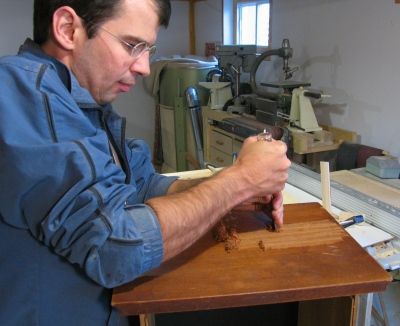 To prepare the surface for gluing, I had to get the varnish off the old veneer. I was able
to scrape it all off with a chisel. This involves a lot of force.
To prepare the surface for gluing, I had to get the varnish off the old veneer. I was able
to scrape it all off with a chisel. This involves a lot of force.
The varnish came off quite cleanly, and I could have just refinished the mahogany veneer to make it look like new if I'd wanted to. However, I didn't like the color, plus I still would have needed to cover the keyholes in the drawers somehow.
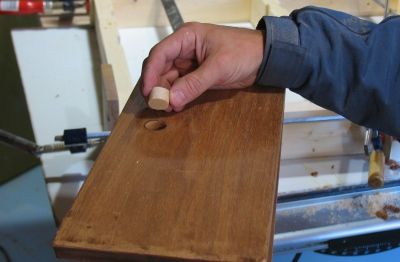 I cut some plugs on my bandsaw to fill the key holes. I glued these plugs into the holes.
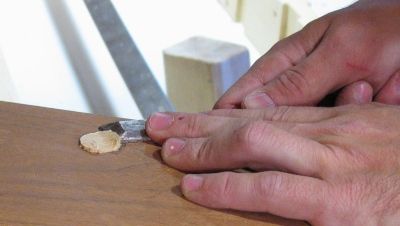 To get the plugs exactly flush with the surface, I left them sticking out a little bit,
and after the glue dried, trimmed them flush with a chisel. It's best to take off just a little at
a time, and to start from the side where the grain moves out of the drawer, not in. This keeps
the chisel from digging in unexpectedly and taking a chunk out of the veneer.
To get the plugs exactly flush with the surface, I left them sticking out a little bit,
and after the glue dried, trimmed them flush with a chisel. It's best to take off just a little at
a time, and to start from the side where the grain moves out of the drawer, not in. This keeps
the chisel from digging in unexpectedly and taking a chunk out of the veneer.
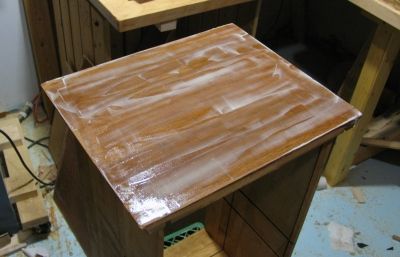 To veneer, I put glued on both the veneer and the drawer. The smooth surface of the drawer
made it easy to spread the glue. The amount of glue shown in the photo at left turned out
to be just a little too much - I should have used a little bit less.
To veneer, I put glued on both the veneer and the drawer. The smooth surface of the drawer
made it easy to spread the glue. The amount of glue shown in the photo at left turned out
to be just a little too much - I should have used a little bit less.
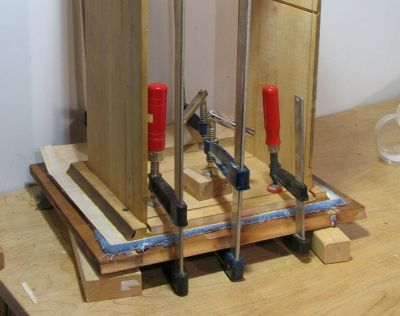 I used a piece of carpeting to make for even pressure on the veneer. This turned out
to be not entirely ideal - I should have put a piece of masonite on top of the carpeting,
to ensure there was no wrinkles in the veneer. With slightly excessive glue, and the pad,
I ended up with a few wrinkles in the veneer, which, thankfully, I was able to sand out.
I used a piece of carpeting to make for even pressure on the veneer. This turned out
to be not entirely ideal - I should have put a piece of masonite on top of the carpeting,
to ensure there was no wrinkles in the veneer. With slightly excessive glue, and the pad,
I ended up with a few wrinkles in the veneer, which, thankfully, I was able to sand out.
I built this dresser as a stand for my radial arm saw in my basement workshop
You can download the SketchUp model for this dresser.
Back to start of Building a dresser
 Seven drawer dresser (2014)
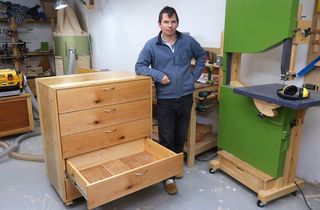 5 drawer dresser build (2022)
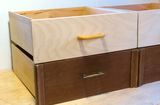 Refacing drawers (2008)
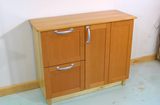 Basement storage cabinet (2011)
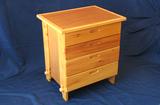 Knock-down dresser (2008)
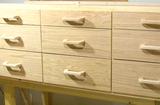 Workbench drawers (2008)
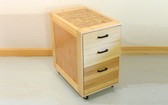 Mobile tool stand (2009)
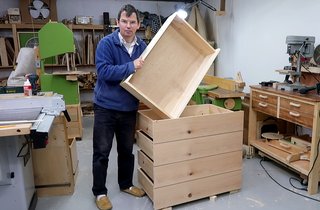 Making dresser drawers (2022)
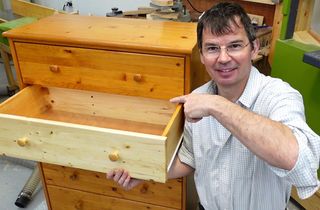 Trash picked dresser fix (2023)
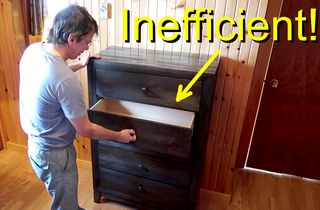 Inefficient dresser vs. a homemade one
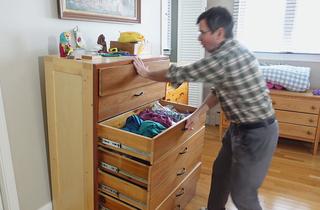 Why new dressers suck at storing stuff
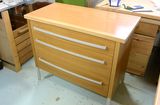 Dresser from junk from the garbage