Finishing up the dust collector
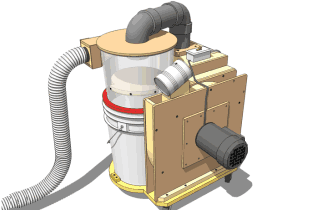
 With the blower, cyclone
and manifold built and working together,
it was time to attach it all together and add wheels.
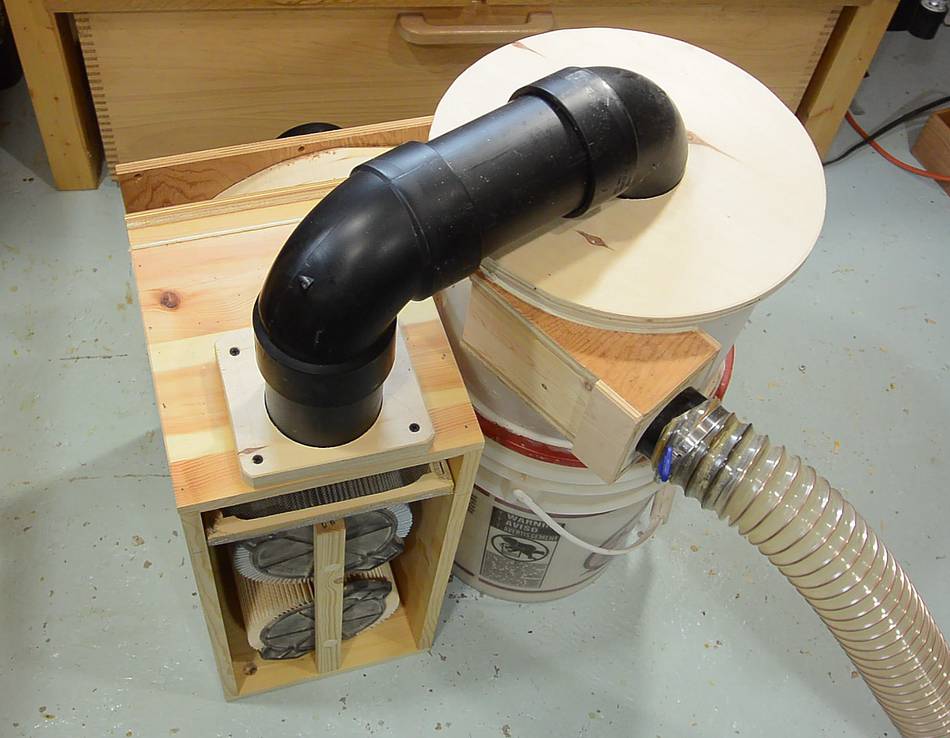
With the blower, cyclone
and manifold built and working together,
it was time to attach it all together and add wheels.
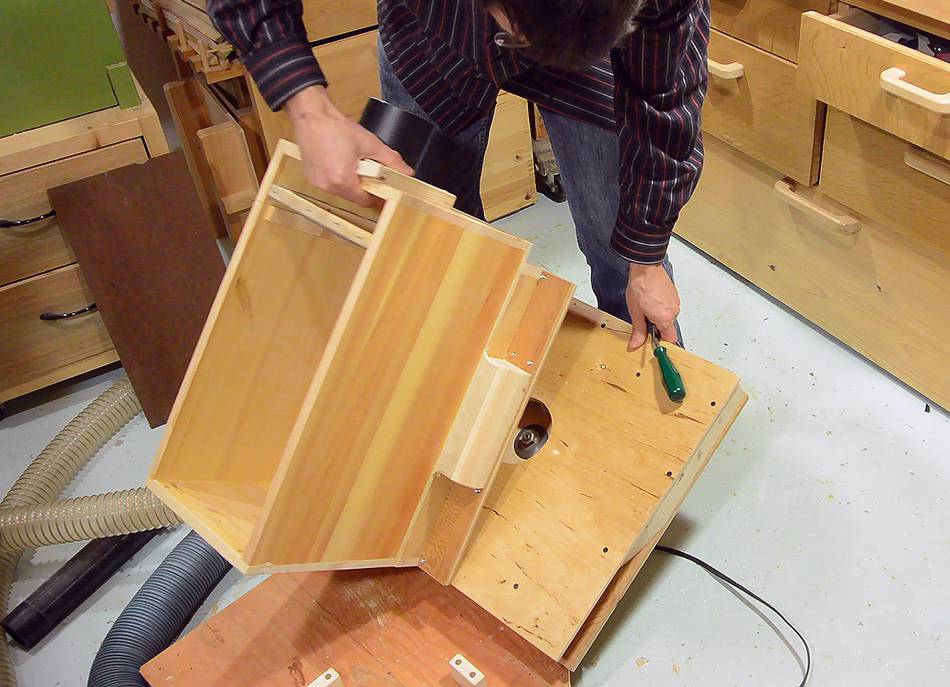
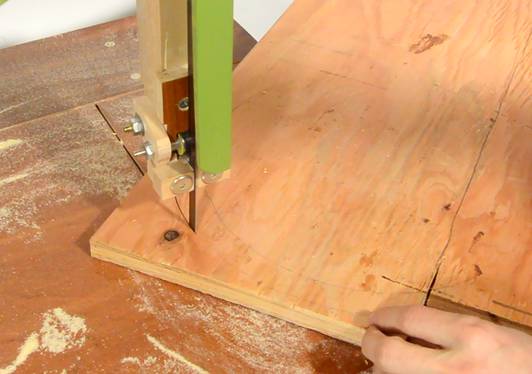 I placed the fan, filters and buckets on a scrap of plywood just larger
than I needed and outlined it with a pencil, then used those lines
as a guide for where to cut the plywood. I left an extra 2 cm around
the bucket outline.
I placed the fan, filters and buckets on a scrap of plywood just larger
than I needed and outlined it with a pencil, then used those lines
as a guide for where to cut the plywood. I left an extra 2 cm around
the bucket outline.
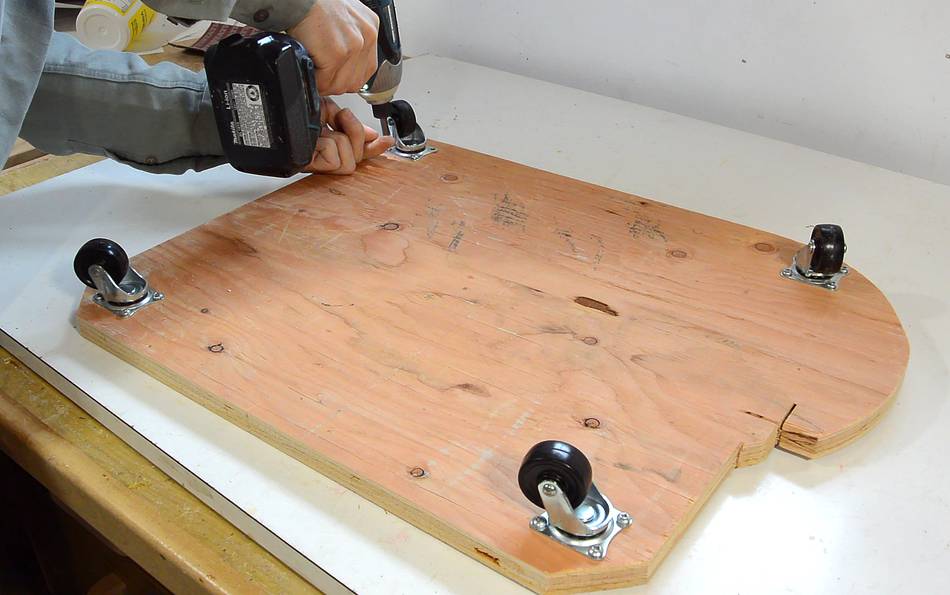
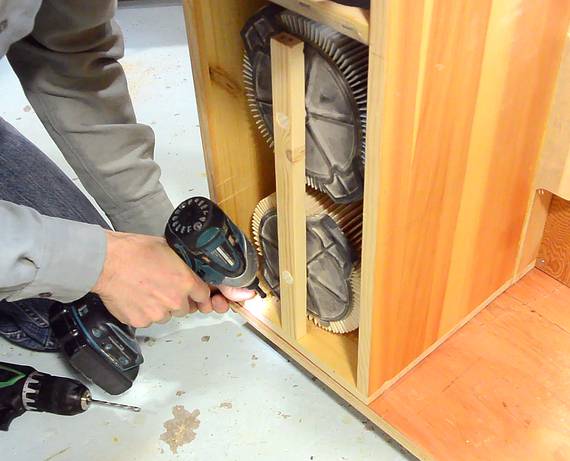
 I attached some wheels to the bottom. These are just 1.5" (38 mm) diameter
casters. Slightly larger ones would be better, but I already had these.
I attached some wheels to the bottom. These are just 1.5" (38 mm) diameter
casters. Slightly larger ones would be better, but I already had these.
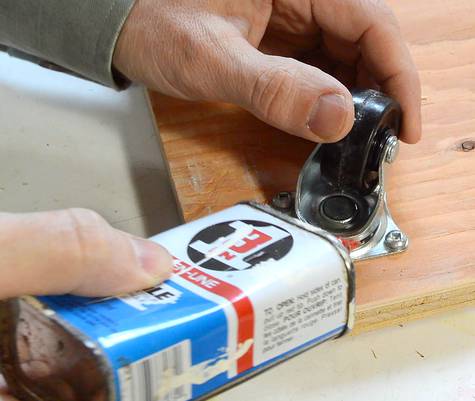
I often find that casters don't swivel very easily. Oiling the balls and the part that holds the swivel on improves that.
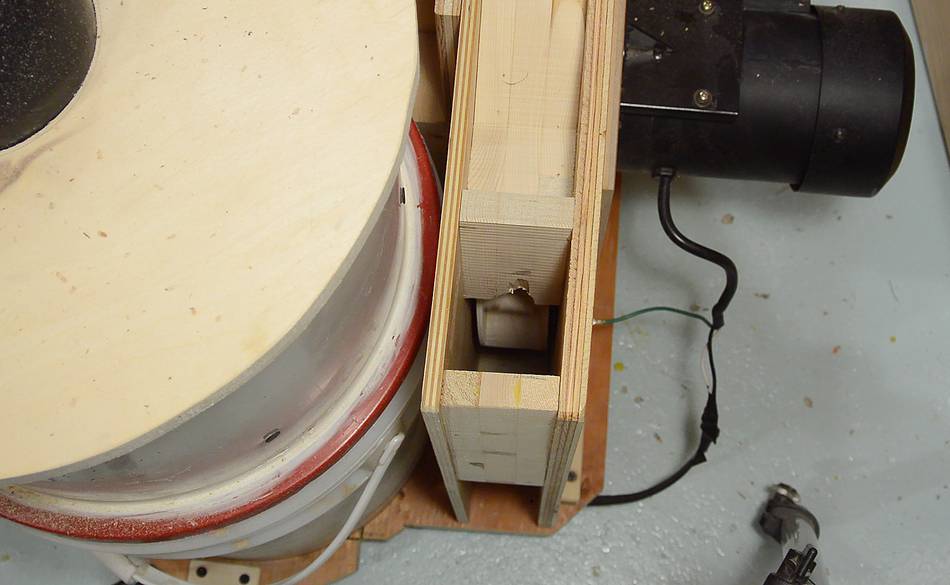
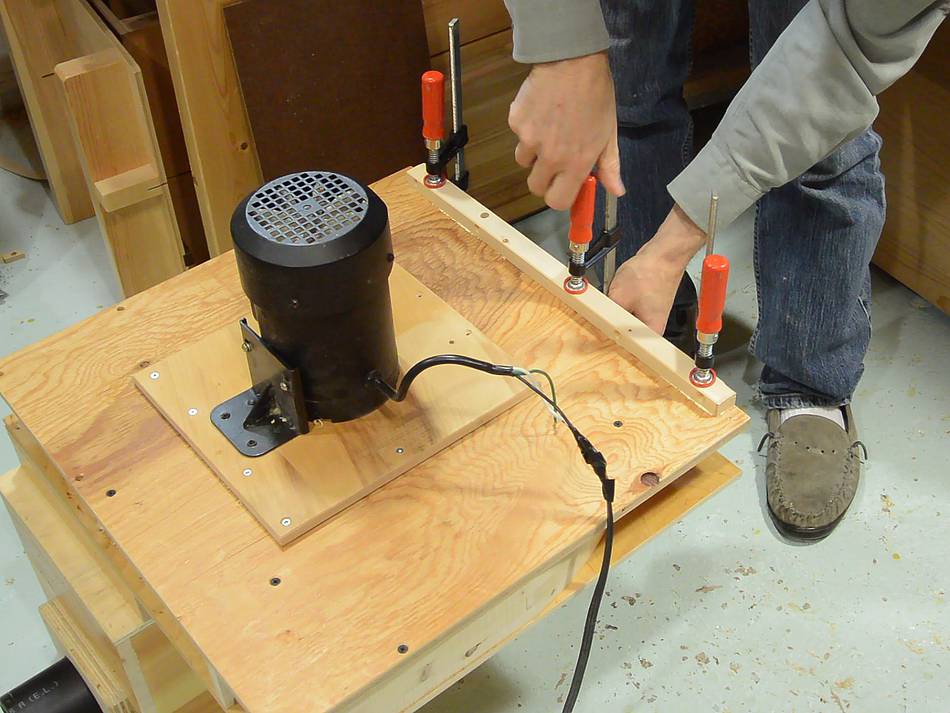 I glued a strip of wood to the bottom edge of the blower to give me
an edge for screwing it onto the base.
I glued a strip of wood to the bottom edge of the blower to give me
an edge for screwing it onto the base.
 The screw rail allowed me to screw the blower to the base from above.
I also attached the filter box to the base with just a screw from the inside.
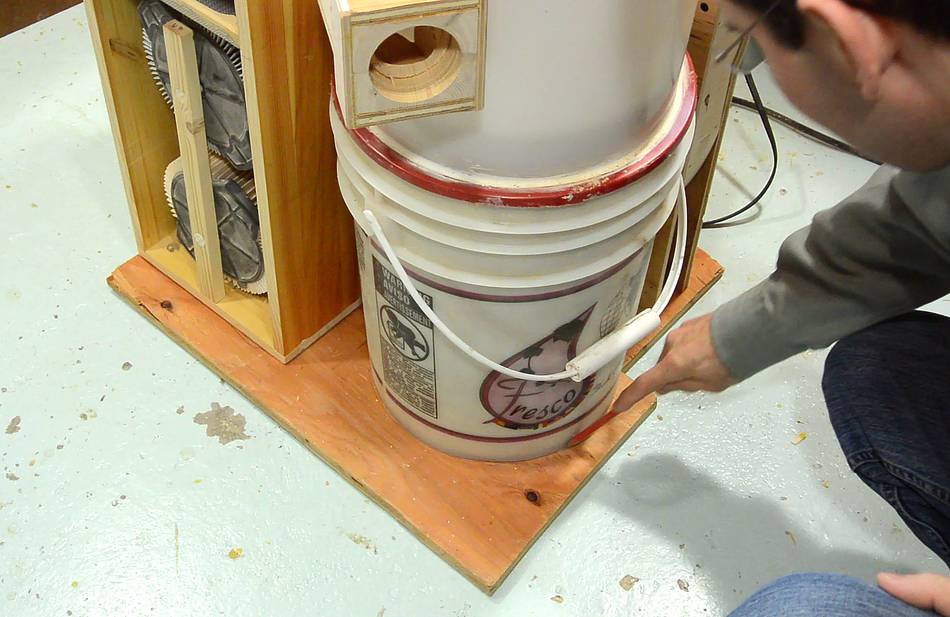
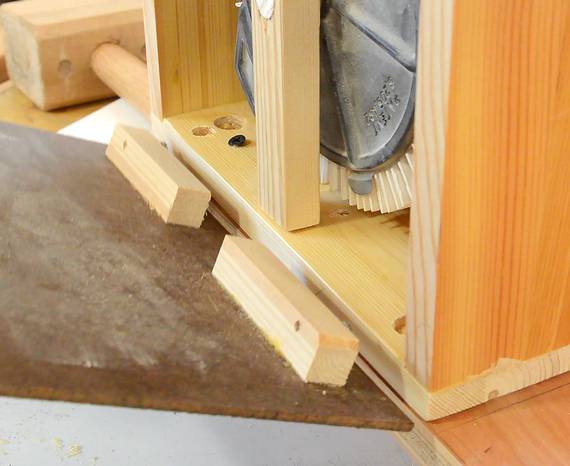
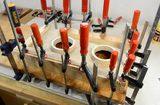
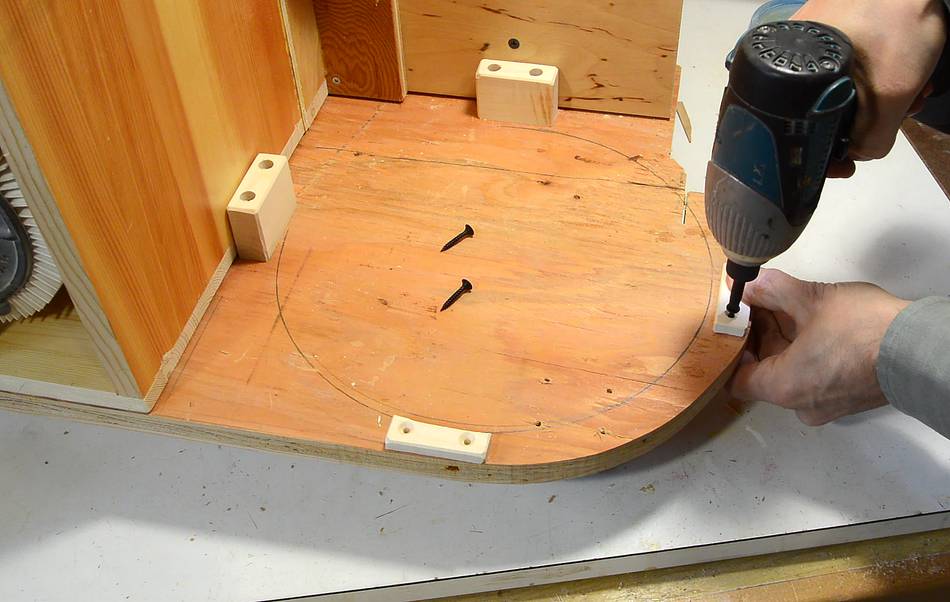 After mounting the blower and filter, I put the cyclone bucket back on
and outlined the edge of the bucket again. This served as a guide
for where to mount blocks that keep it in place.
After mounting the blower and filter, I put the cyclone bucket back on
and outlined the edge of the bucket again. This served as a guide
for where to mount blocks that keep it in place.
Two tall blocks in the back and two low ones on the front make it easier to put the bucket in place.
 I also needed something to hold the cover on the filter box.
I glued two blocks to one end, with protruding screws.
After gluing these, I put the cover on the filter box and tapped the top of it with a mallet. This pushed the screws heads into the wood a bit, leaving a mark on the inside of the filter box.
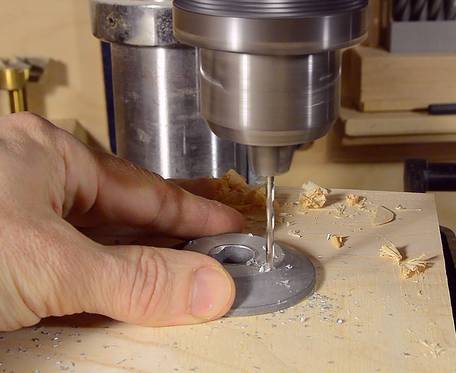
 I used a Phillips screwdriver to deepen the dent that the screws left,
then used a larger drill to make a hole for the screw heads.
I used a Phillips screwdriver to deepen the dent that the screws left,
then used a larger drill to make a hole for the screw heads.
The holes provide something for the screw heads to hook on to.
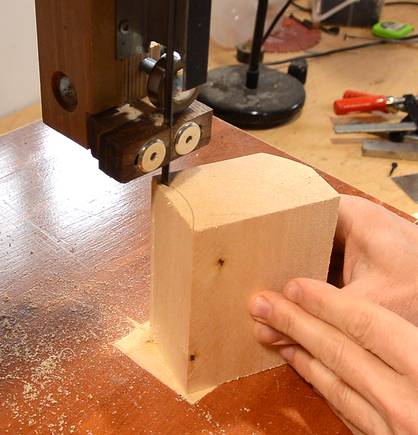
 I made a hook to hold the top of the lid in place. I had to cut a slight notch out of the top
of the lid to allow this hook to turn freely.
I made a hook to hold the top of the lid in place. I had to cut a slight notch out of the top
of the lid to allow this hook to turn freely.
The lid is only held loosely in place, top and bottom. When the dust collector is turned on, the lid is pulled tightly against all edges by vacuum, making for a good seal.
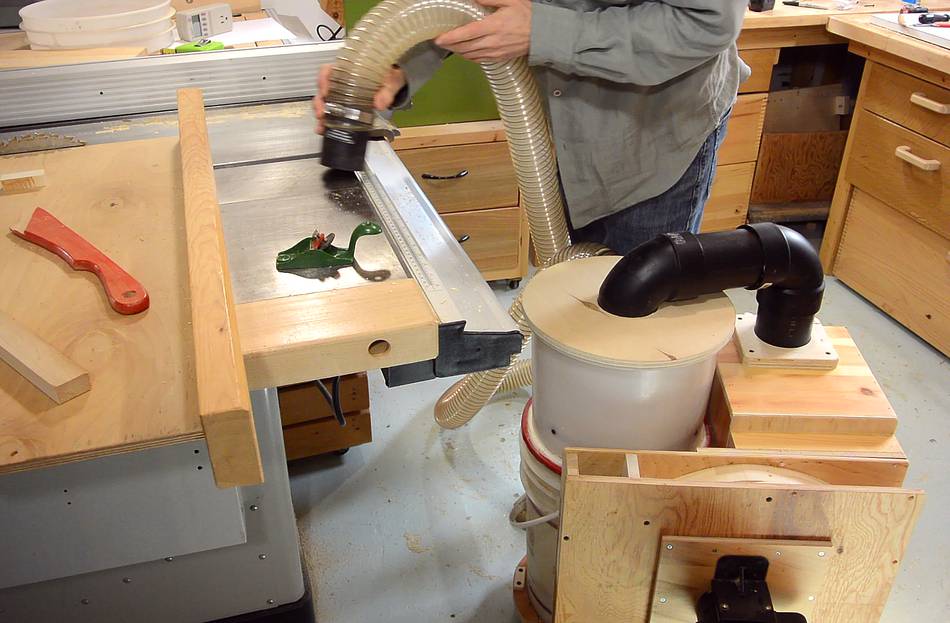 At this point, the dust collector was basically functional, and I played around with it,
vacuuming up the dust from my workbench and table saw.
At this point, the dust collector was basically functional, and I played around with it,
vacuuming up the dust from my workbench and table saw.
Arbor nut keeps coming loose
Playing around with it, I found the arbour nut holding the impeller came loose. The first time it happened, I figured I just hadn't tightened it enough, but then it happened again, after getting an intermittent connection with the electrical plug. I think the on and off cycling while the motor was spinning may have, at times, caused braking on the motor, which would help to undo the nut. Whatever the cause, the second time it happened, I knew I needed a better solution...
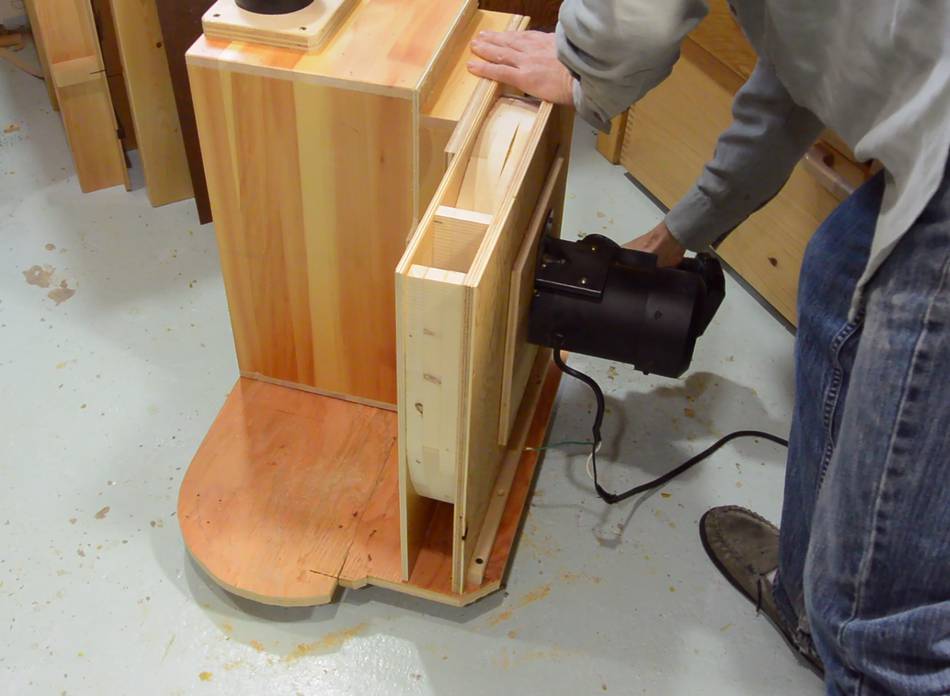
 ...especially because getting
at the arbour nut requires substantial disassembly.
...especially because getting
at the arbour nut requires substantial disassembly.
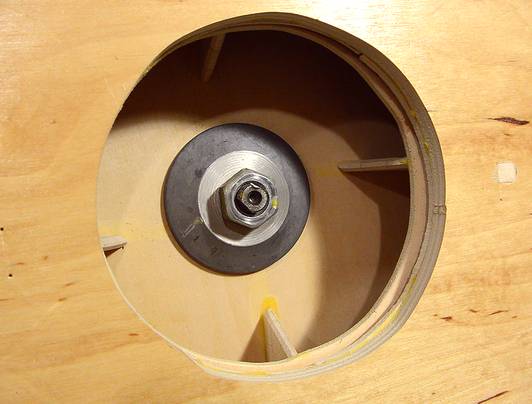
So I figured I'd need some way of locking that arbour nut to keep it from coming loose.

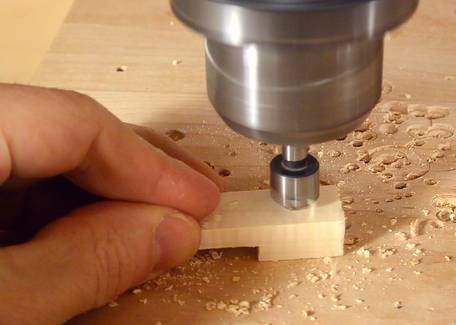
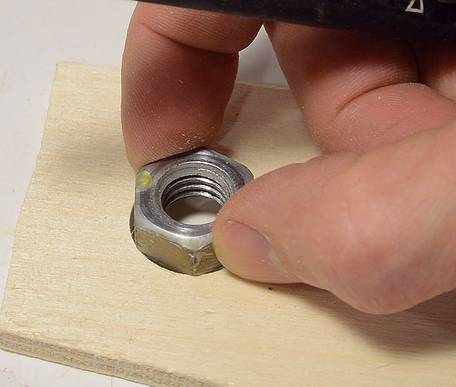 I made a piece of plywood to fit moderately tightly around the nut by drilling
a hole just smaller than the points of the nut, then filing six notches around
the edge of it.
I made a piece of plywood to fit moderately tightly around the nut by drilling
a hole just smaller than the points of the nut, then filing six notches around
the edge of it.
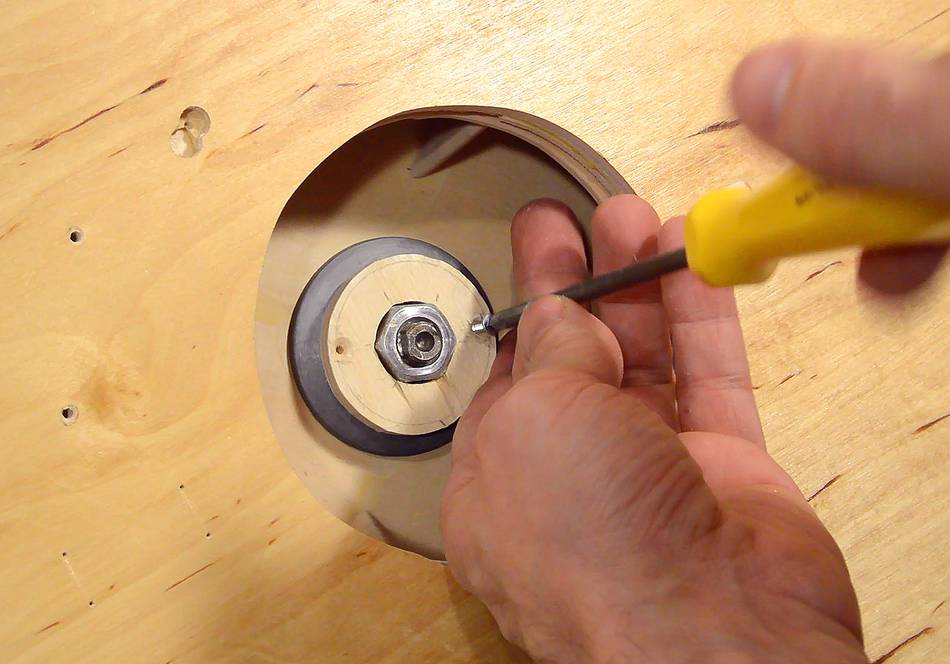
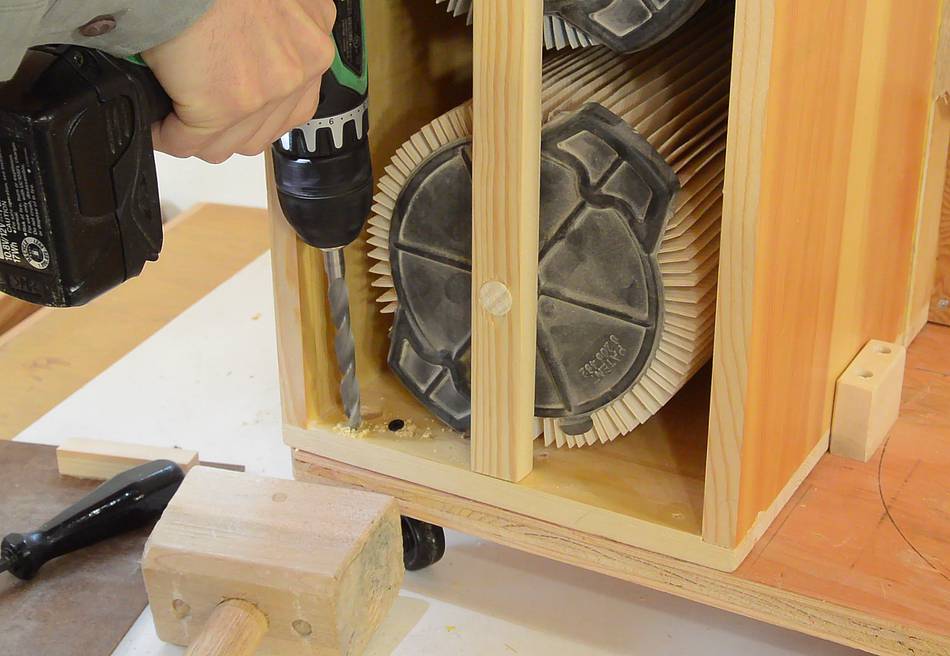
 I drilled two holes in the arbour flange, just a hair smaller than the screws
I was using, then screwed through the piece of wood I just made into the arbour
flange.
I drilled two holes in the arbour flange, just a hair smaller than the screws
I was using, then screwed through the piece of wood I just made into the arbour
flange.
On this saw and arbour, the outer arbour flange indexes to two flat spots on the motor's shaft, so locking the nut to the outer arbour flange ensures it can't come undone.
That said, on my previous dust collector blower, just tightening the nut was enough, and that one hasn't come loose since I built it 18 months ago.
Making it less loud
 With the motor turning about 59 revolutions per second, and 12 vanes on the
impeller, the blower made an annoying 700 Hz howl (that's roughly F above
middle C on a piano keyboard)
With the motor turning about 59 revolutions per second, and 12 vanes on the
impeller, the blower made an annoying 700 Hz howl (that's roughly F above
middle C on a piano keyboard)
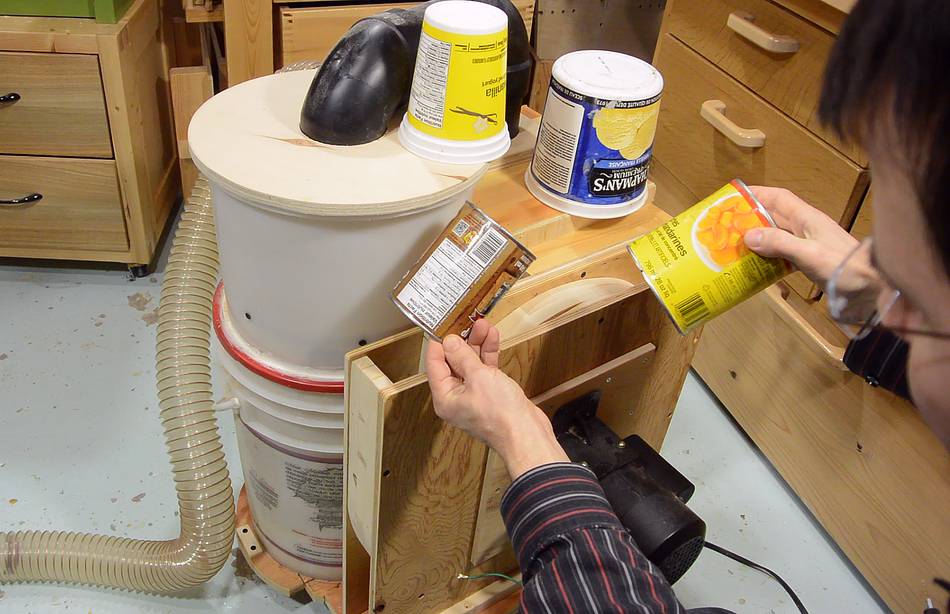
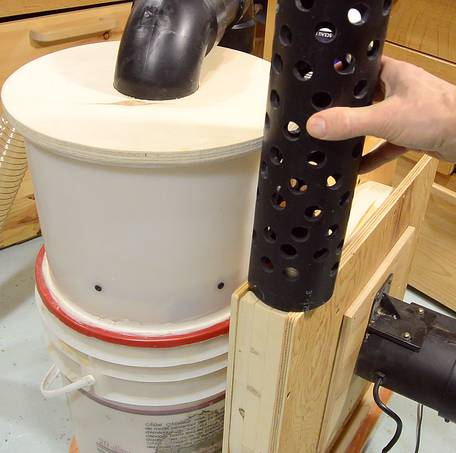
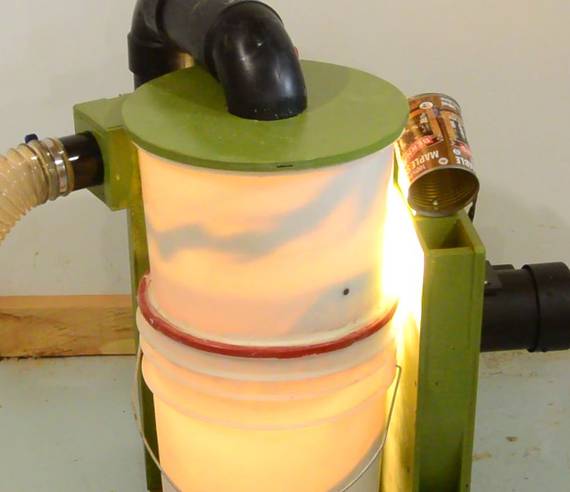
I tried various experiments to cut down on that howl, including blowing the air through a piece of ABS pipe with a lot of holes in it (a bit like a muffler), but that made no difference. By chance I noticed if I held a plastic yoghurt container over the outlet, that reduced the howl noticeably. So I experimented with more cans of different sizes, and just a small tin can, held near the outlet cut down on the howl by quite a lot.
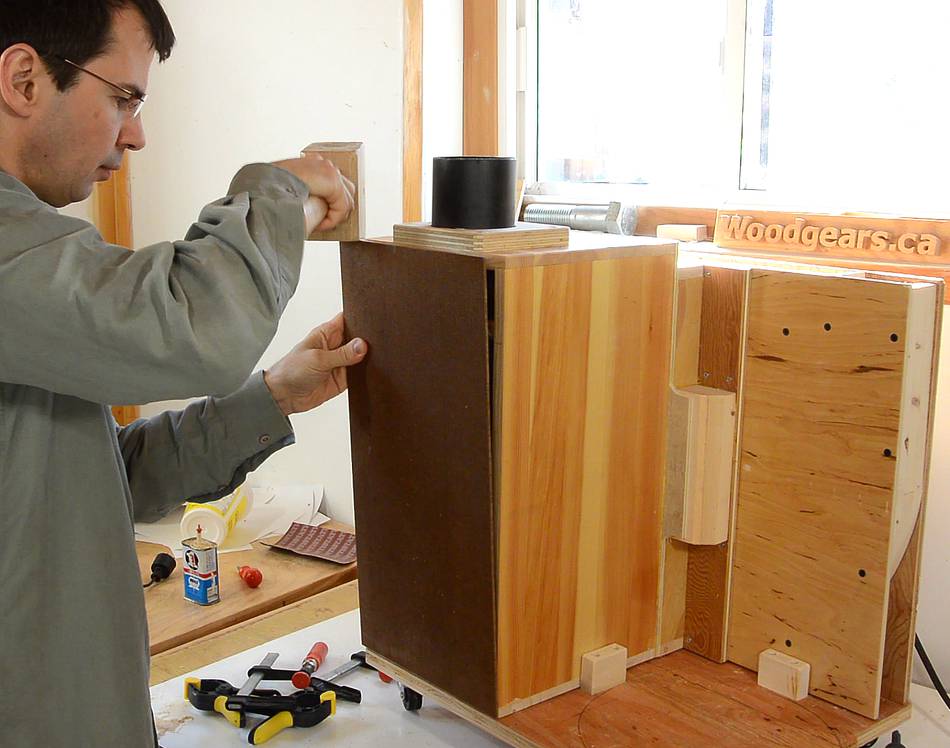
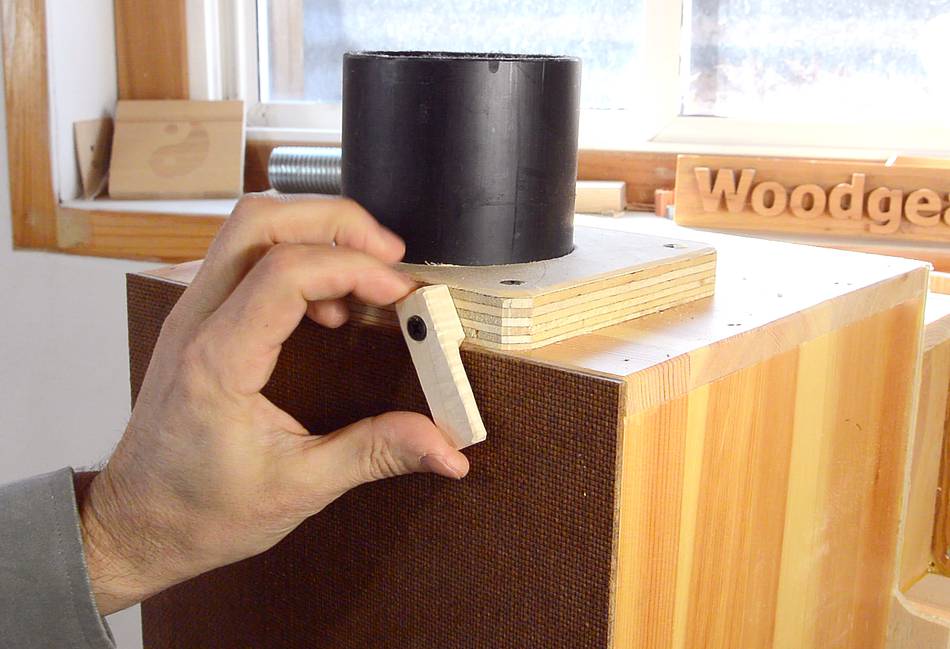
 In fact, just laying the can on the blower as shown, without actually
blowing into it reduced the howl noticeably.
In fact, just laying the can on the blower as shown, without actually
blowing into it reduced the howl noticeably.
My first thought was that the can acts as a Helmholz resonator and cancels the sound from the blower. Or you could think of the sound waves traveling into the can and bouncing back, out. The can is just under one quarter of a wavelength (of 700 Hz sound) deep, so when the sound bounces back out, it's 180 degrees out of phase with the sound from the blower, canceling some of it.
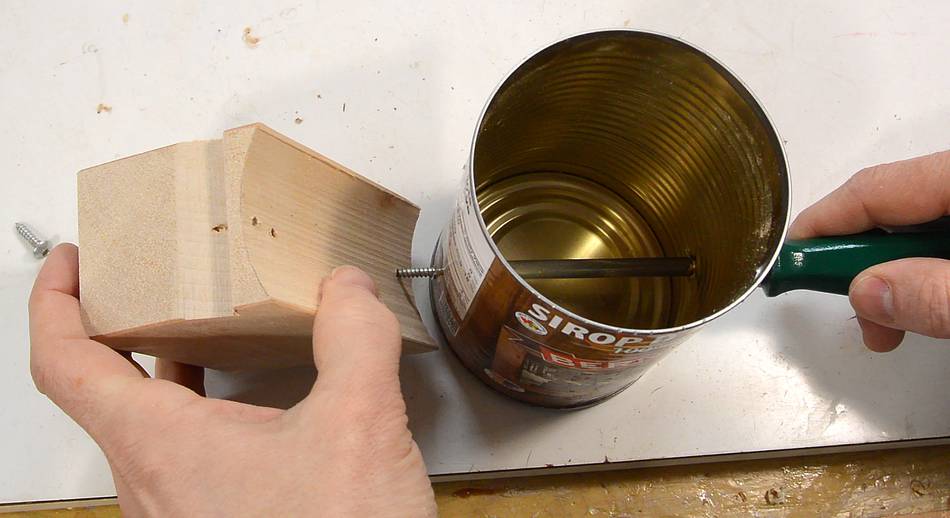
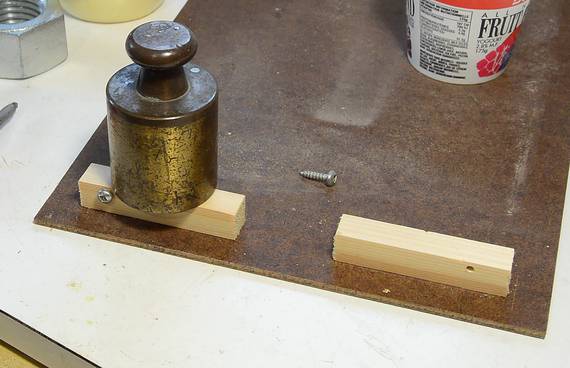
 I made a block for mounting the can on the blower, but I drilled a 6 mm
hole near the bottom of the can to get in there with a screwdriver.
It turned out, that hole made a difference and just covering
that small hole with my finger made the blower noticeably
quieter. So I covered it with a piece of tape.
I made a block for mounting the can on the blower, but I drilled a 6 mm
hole near the bottom of the can to get in there with a screwdriver.
It turned out, that hole made a difference and just covering
that small hole with my finger made the blower noticeably
quieter. So I covered it with a piece of tape.
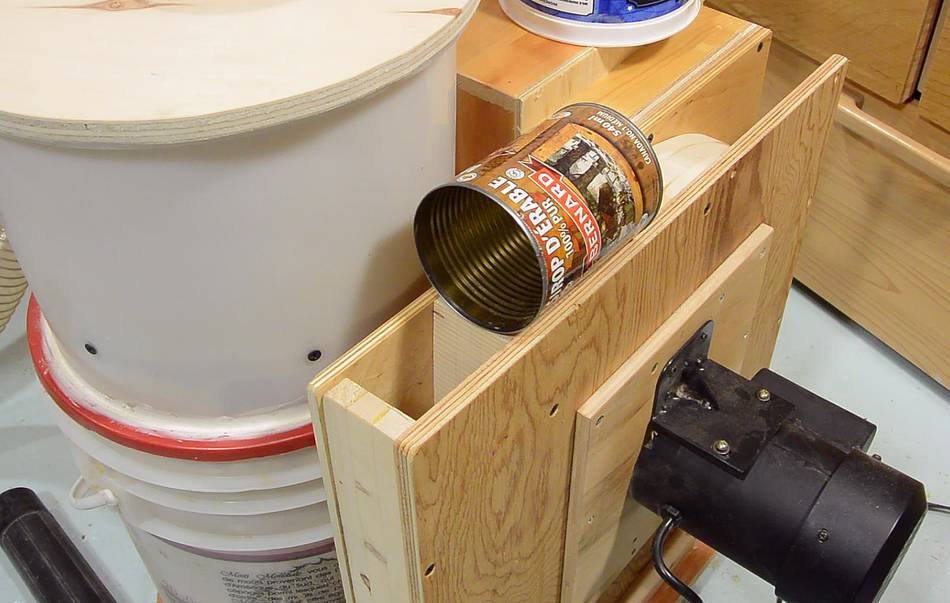
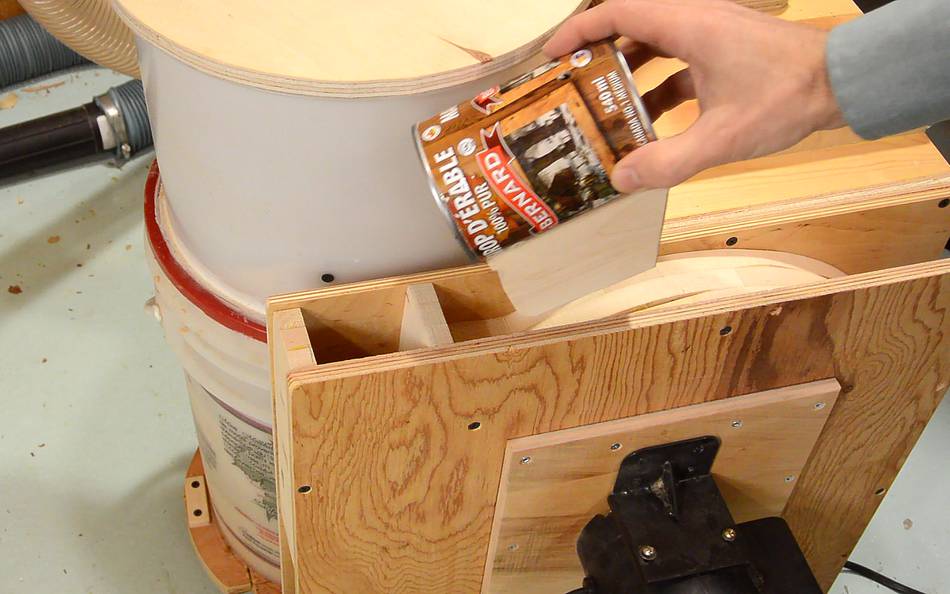 The block of wood that the can is mounted on is just held in place
by gravity. This sound canceling thing is novel enough, I figure I want to
be able to easily remove the can just to show how much difference it makes!
The block of wood that the can is mounted on is just held in place
by gravity. This sound canceling thing is novel enough, I figure I want to
be able to easily remove the can just to show how much difference it makes!
I later tweaked the blower
shape to cut down on noise some more.
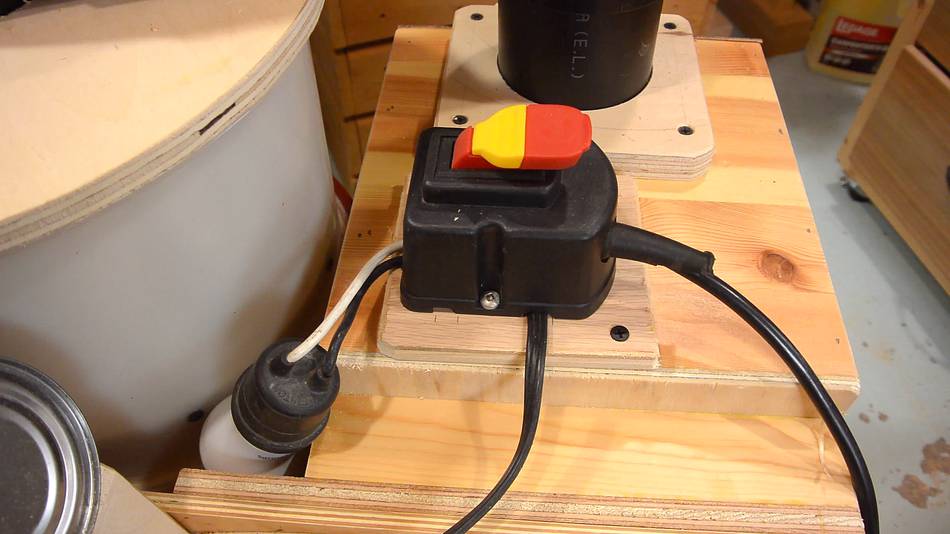
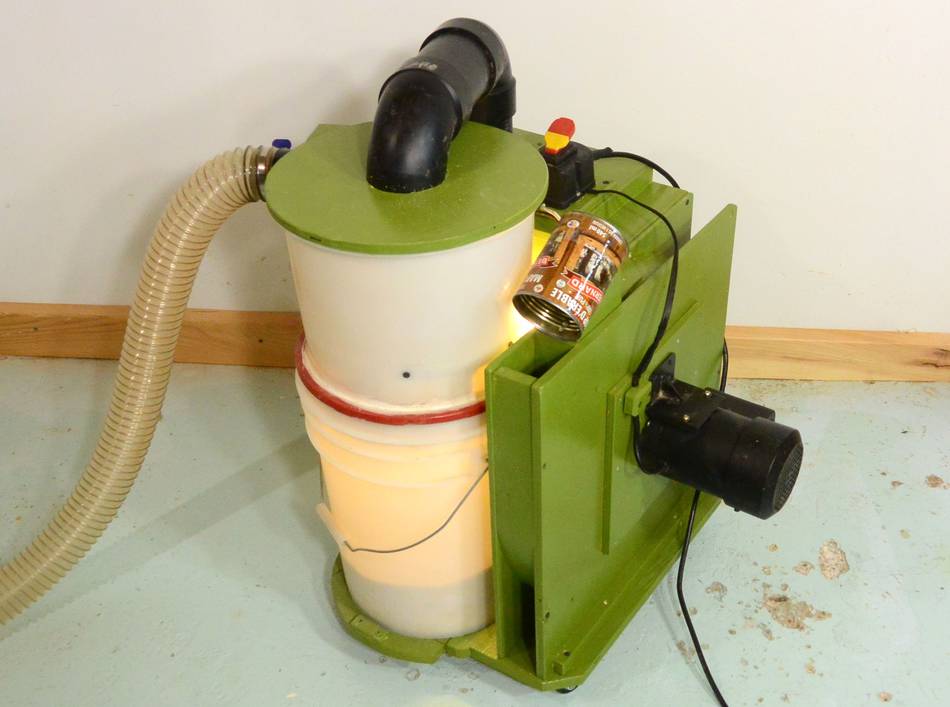
Electrical and level indicator
I used the original switch and power cord from the cheap table saw that the motor came from, but I added a LED light bulb to illuminate the cyclone and bucket from behind. An incandescent bulb wouldn't last very long for this application because of vibrations. With an LED bulb, I also don't have to worry about it getting hot.
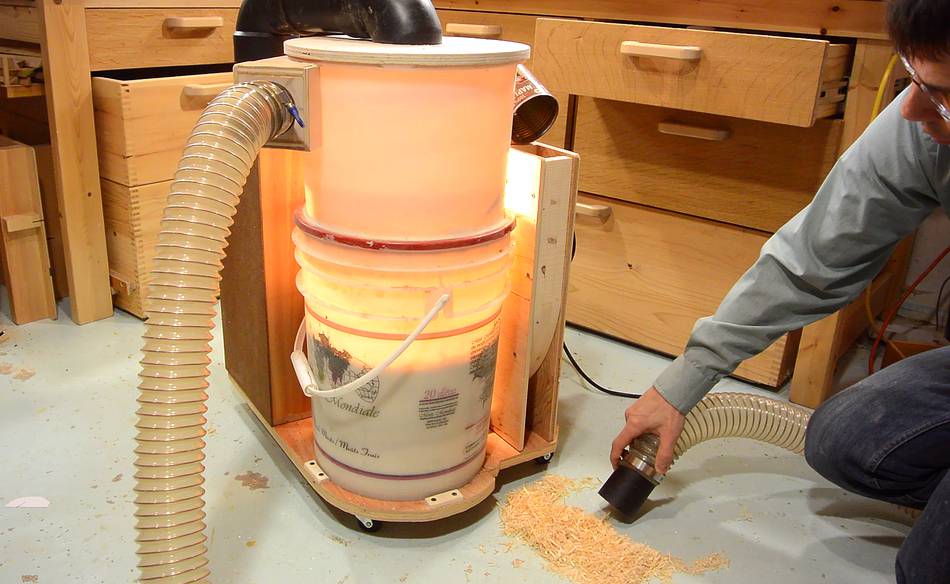 The bulb lights the buckets from behind so that, with the translucence
of the plastic buckets, I can see how full the collection bucket is
and that the cyclone is working properly. It's fun to watch the dust
swirl around when it's in use!
The bulb lights the buckets from behind so that, with the translucence
of the plastic buckets, I can see how full the collection bucket is
and that the cyclone is working properly. It's fun to watch the dust
swirl around when it's in use!
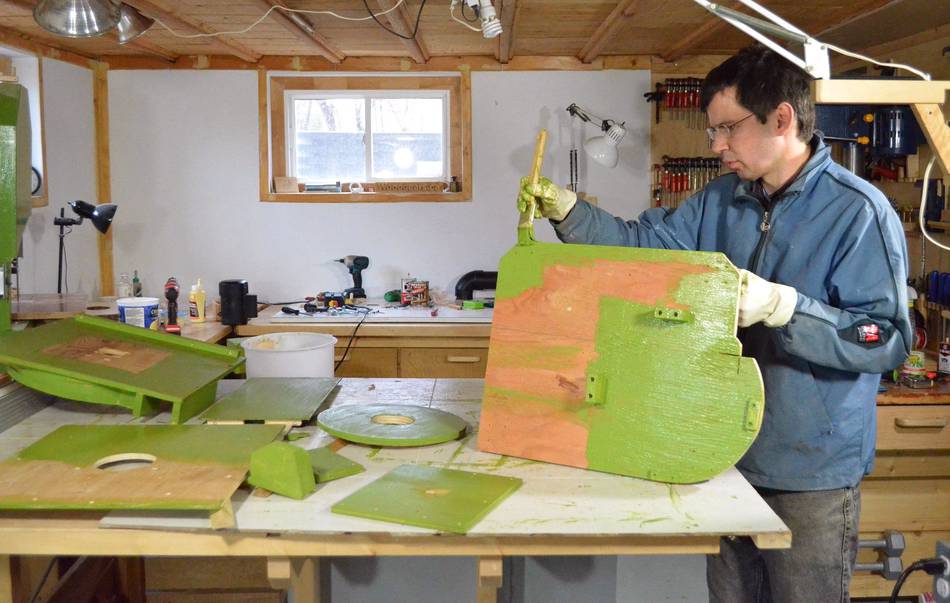 Finally, painting it. I painted it in pieces, because I had
to take it all apart again to oil the motor's ball bearings anyway.
Finally, painting it. I painted it in pieces, because I had
to take it all apart again to oil the motor's ball bearings anyway.
 Dust collector manifold
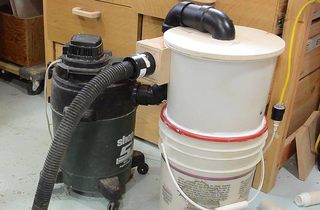 Two bucket cyclone
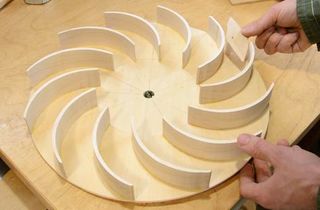 Building the blower
 More about this dust collector