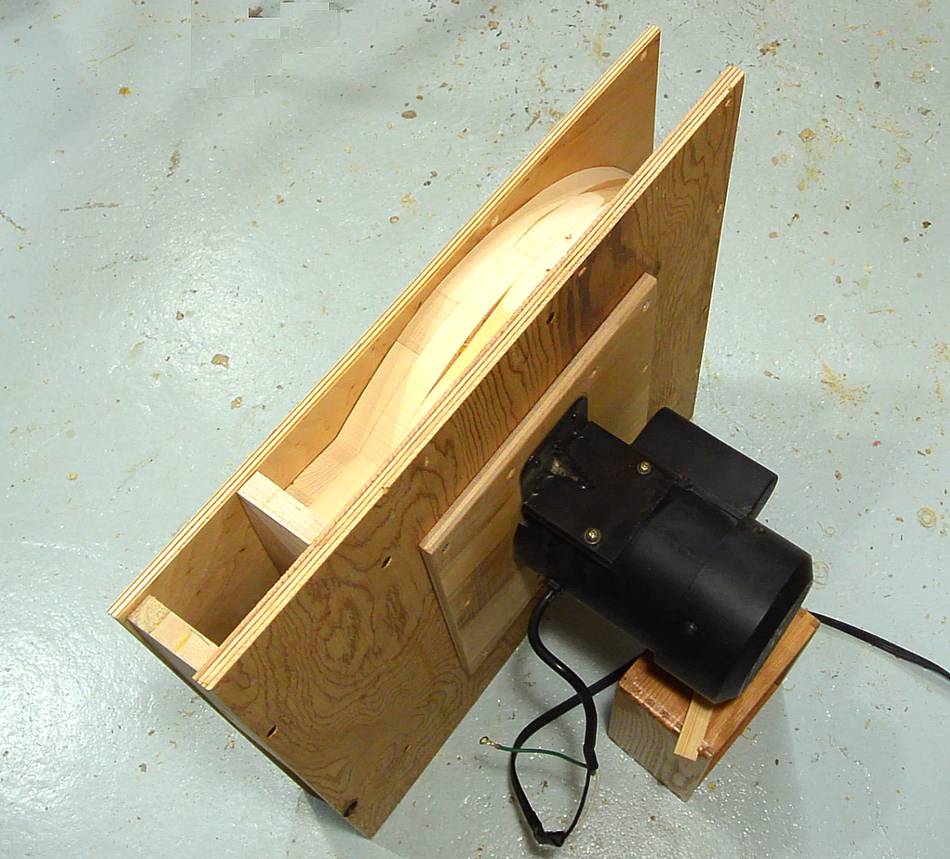
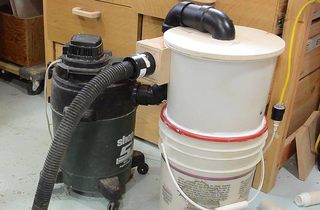
 I previously built this blower
and my two bucket cyclone to build a dust
collector. Now it's time to put the pieces together.
I previously built this blower
and my two bucket cyclone to build a dust
collector. Now it's time to put the pieces together.
I previously built this blower
and my two bucket cyclone to build a dust
collector. Now it's time to put the pieces together.
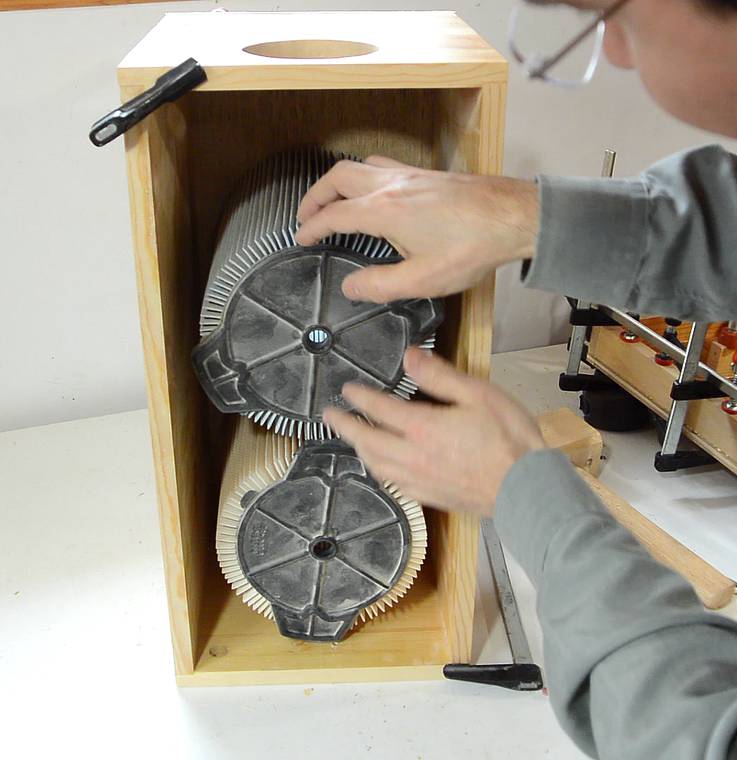
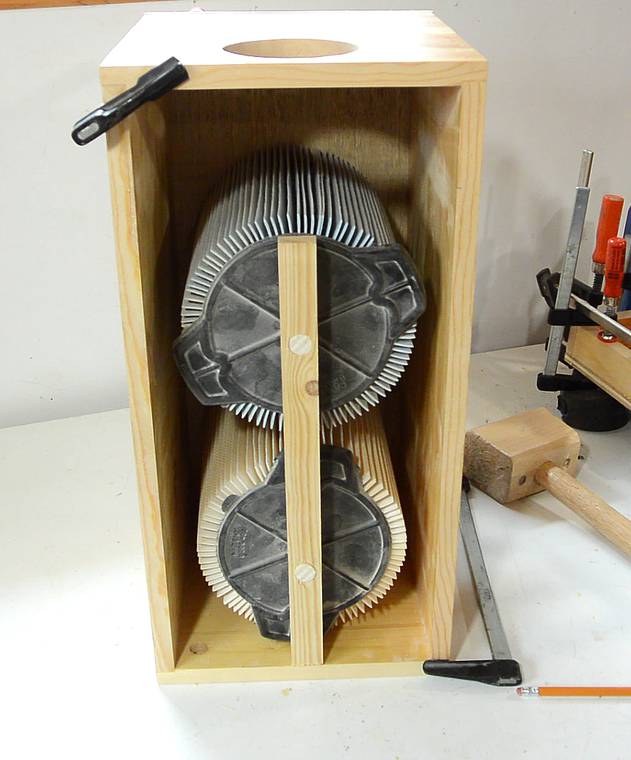
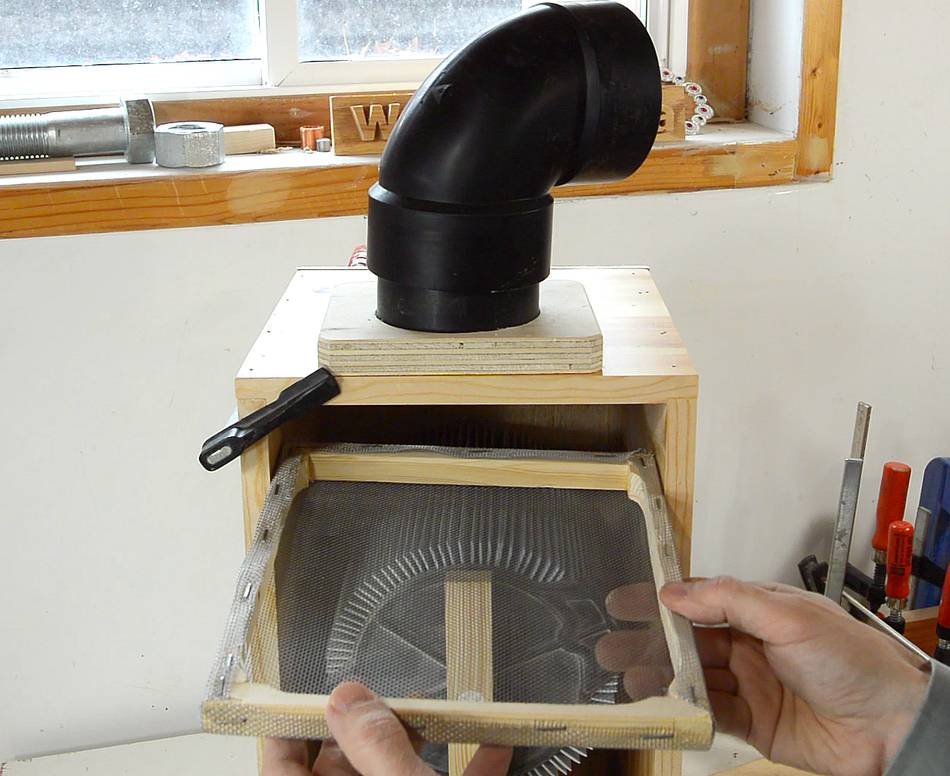
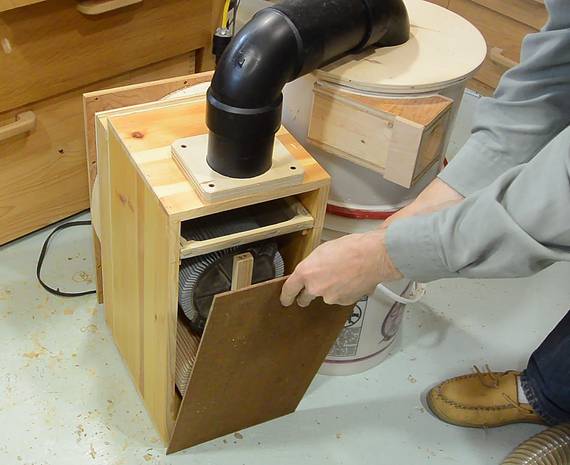
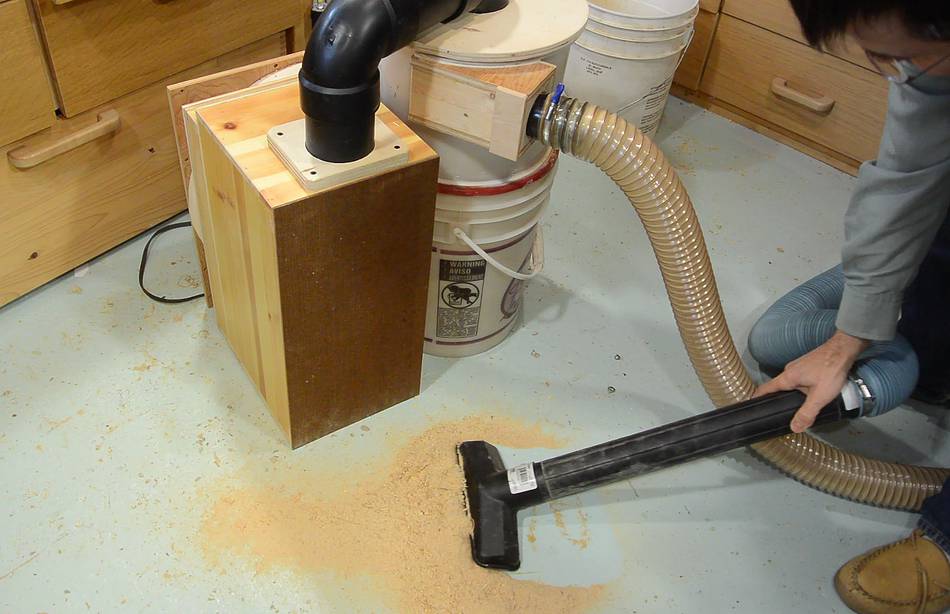
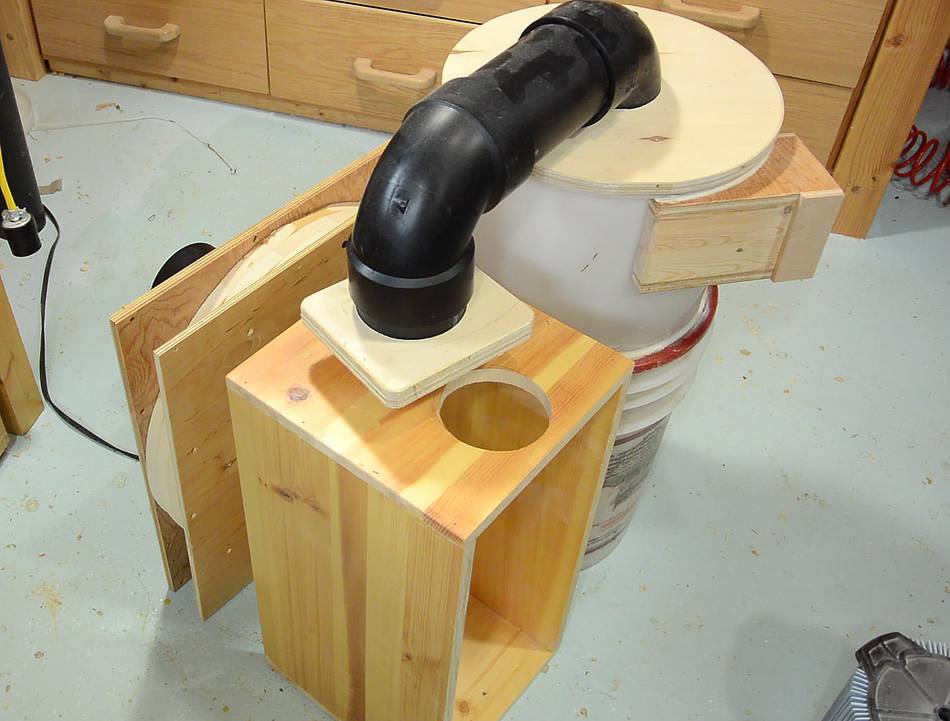 Aside from the blower and cyclone, the dust collector will also need some
filters, which will fit inside this box. Here, showing the approximate
arrangement of parts that I'm aiming for.
Aside from the blower and cyclone, the dust collector will also need some
filters, which will fit inside this box. Here, showing the approximate
arrangement of parts that I'm aiming for.
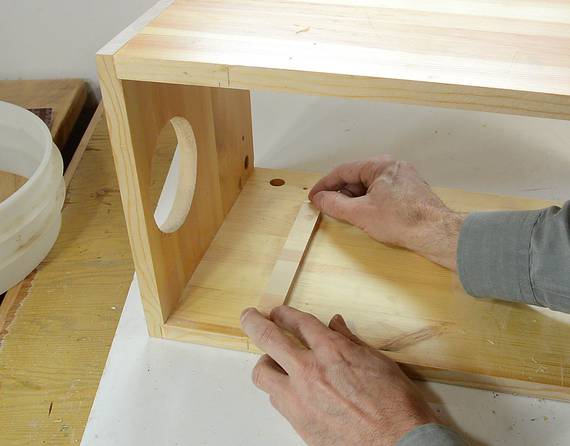
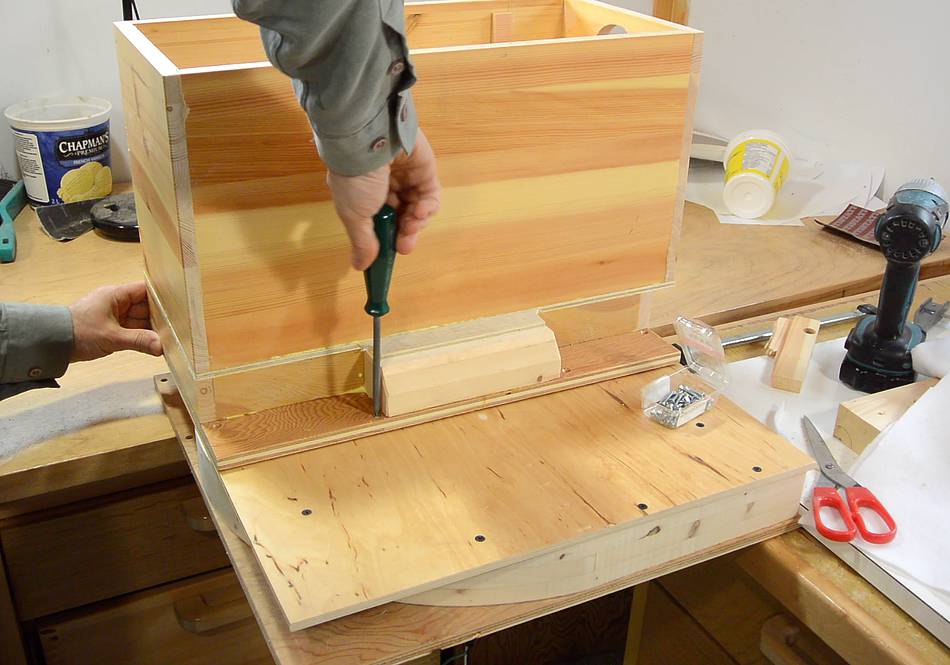
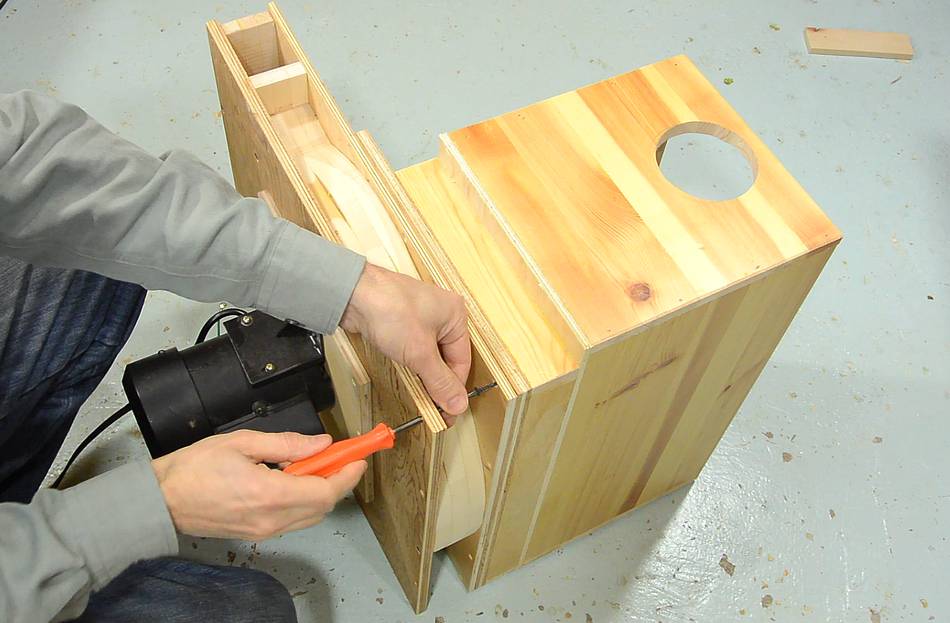
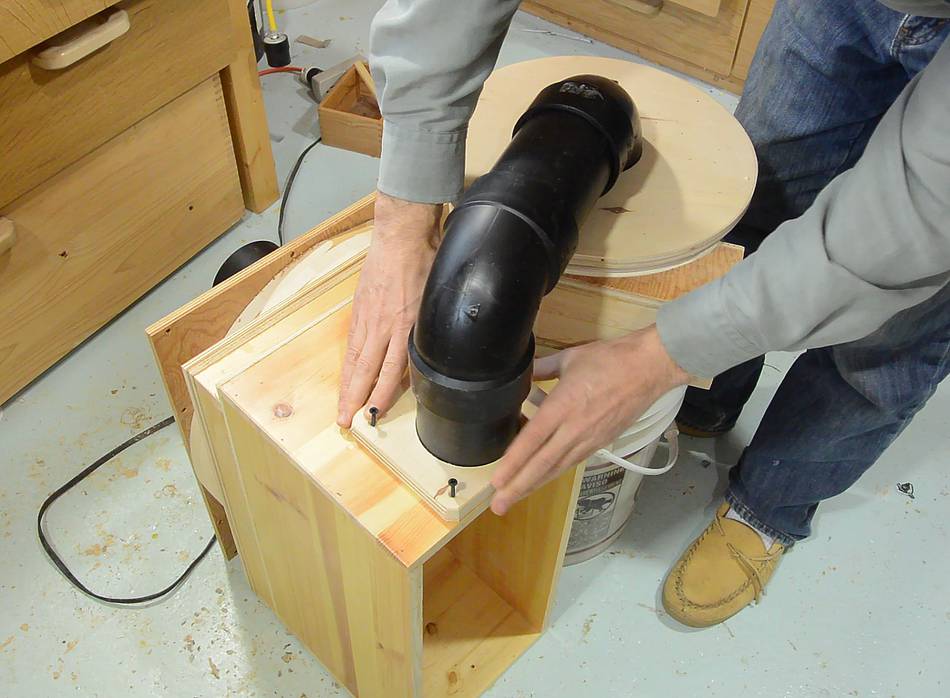
What I still need is a manifold to connect the blower to the filters in the box.
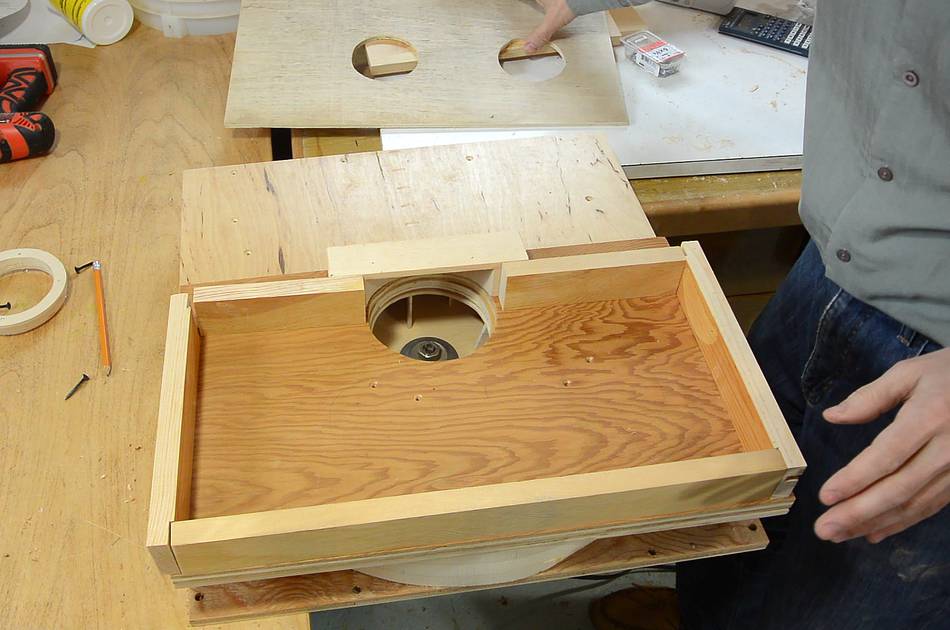
 The manifold will consist of another box behind the filter box, connecting the
filters to the blower inlet.
The manifold will consist of another box behind the filter box, connecting the
filters to the blower inlet.
There is a bit of a space constraint on the right side of the manifold. It has to connect to the blower inlet without interfering with the cyclone bucket that will be on the right side of the inlet.
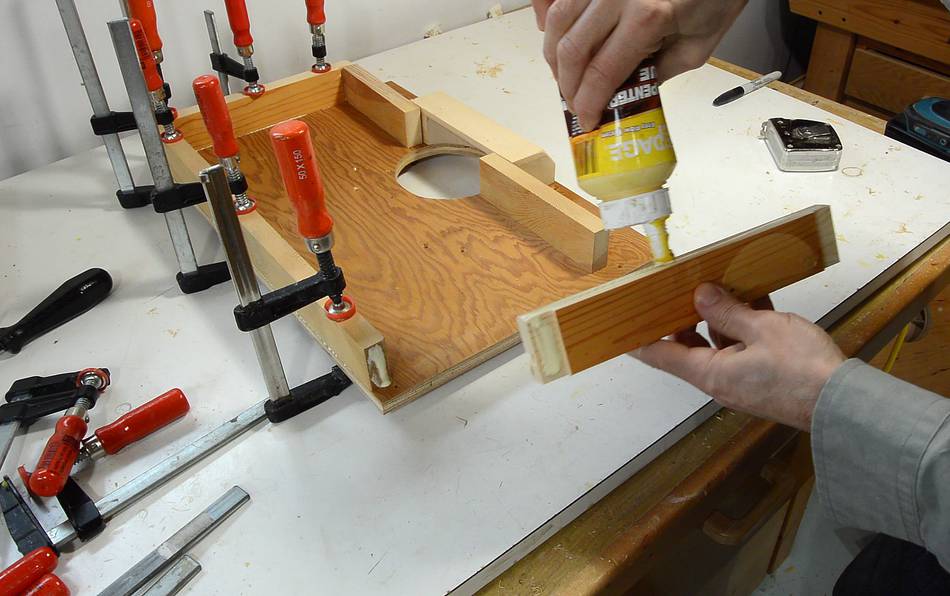
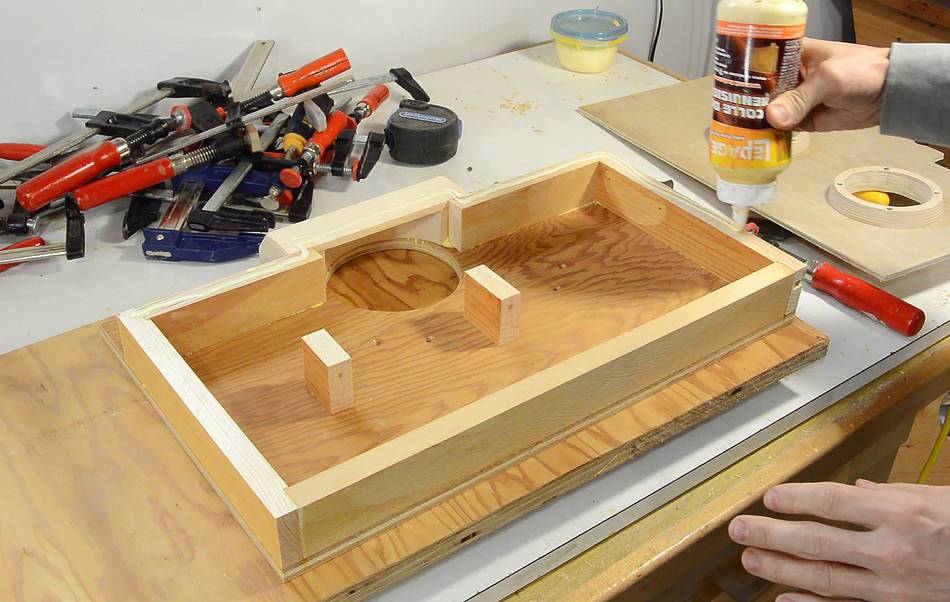
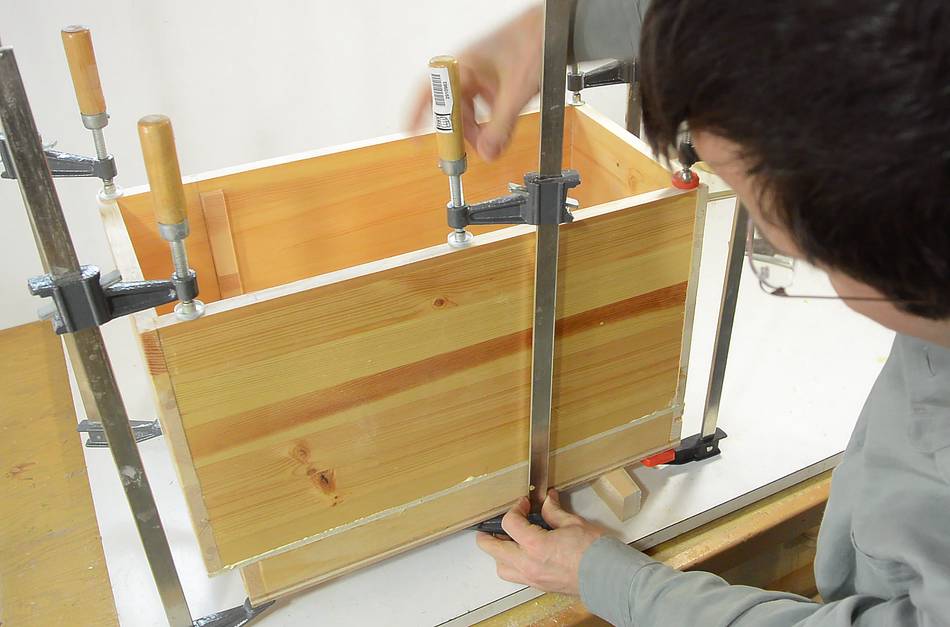
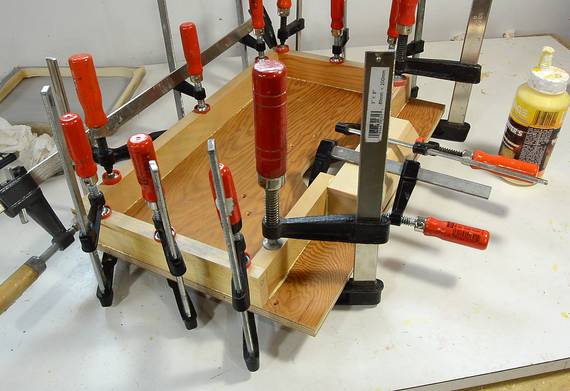 Gluing the box together. I used a lot of clamps.
It was tempting to just brad nail it together, but I would still have
to glue it all together to make it airtight.
Gluing the box together. I used a lot of clamps.
It was tempting to just brad nail it together, but I would still have
to glue it all together to make it airtight.
If you want to build one and don't have that many clamps, you may have to glue it up in stages.
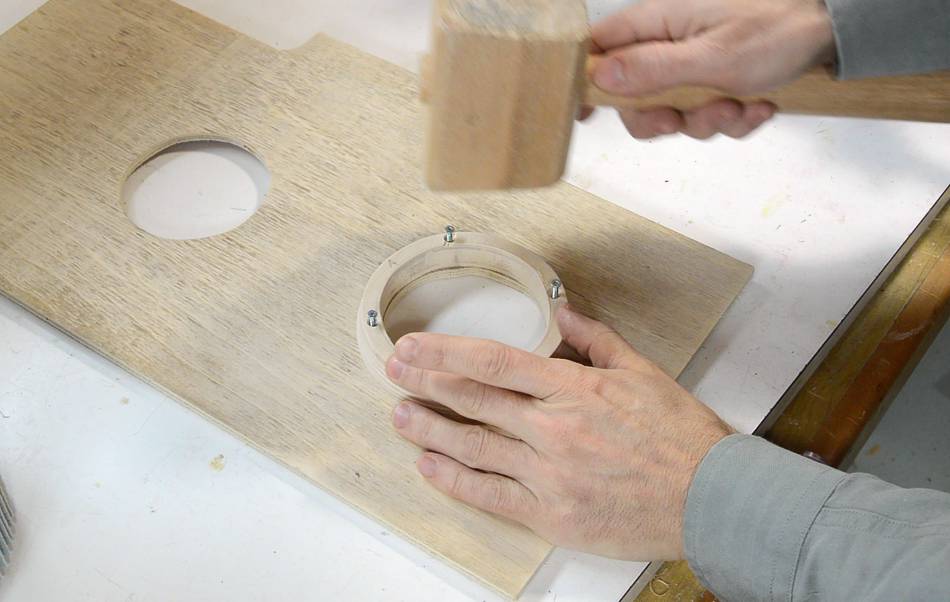
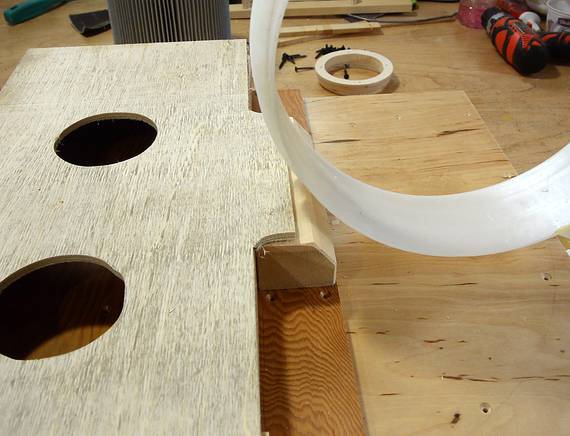
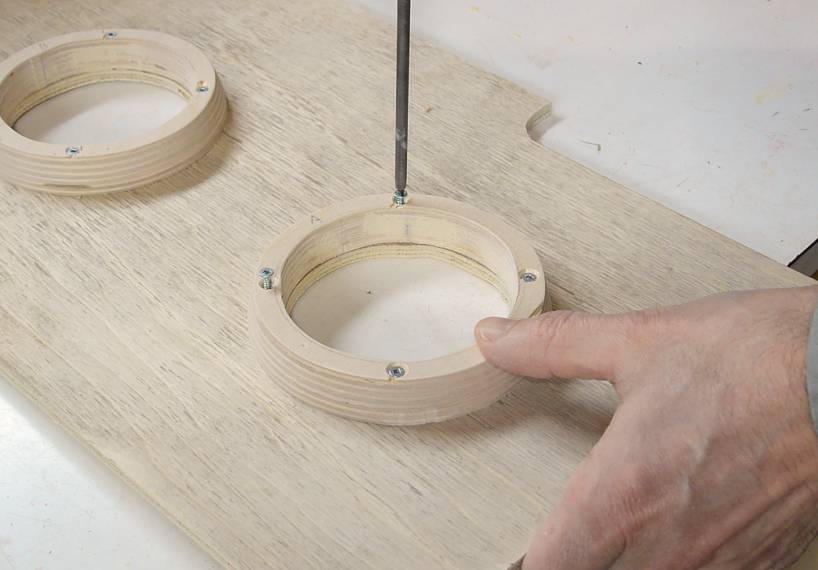
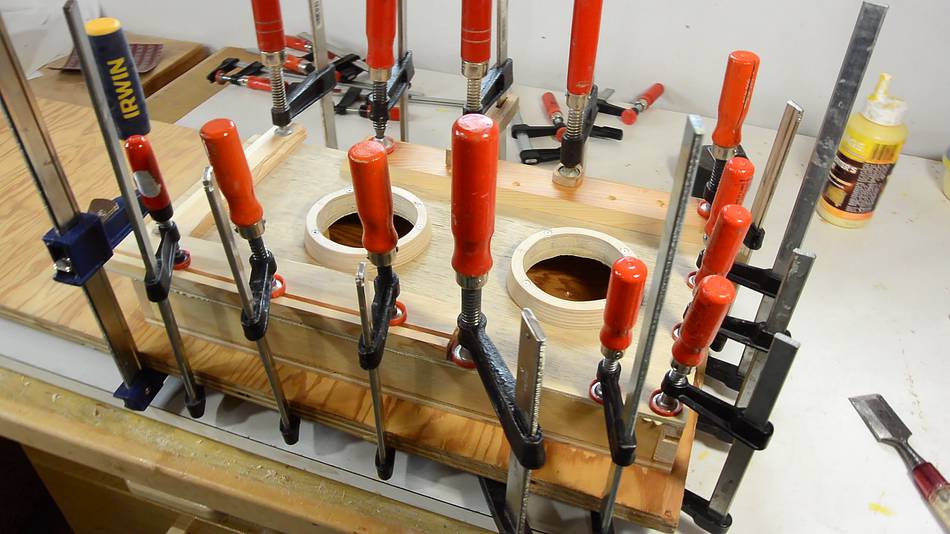
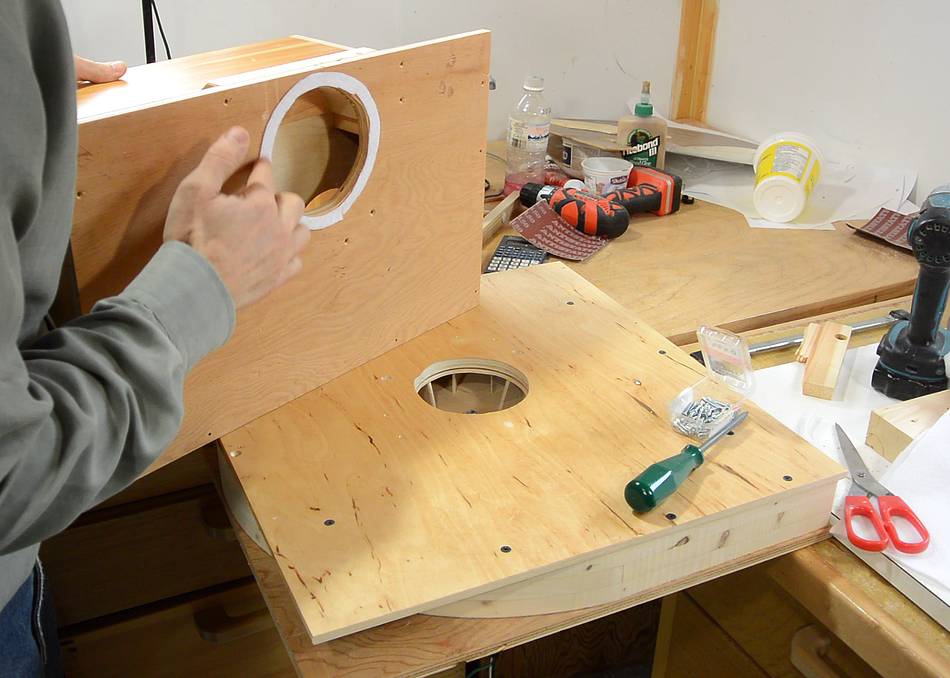
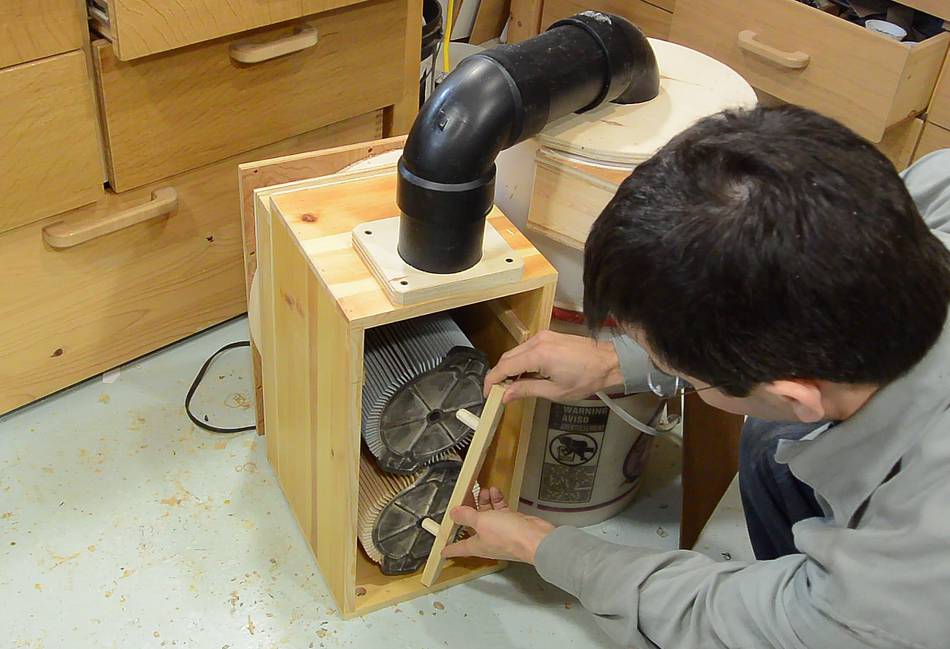
 While waiting for the glue to dry, I'm attaching the mounts for the filter
to what will become the back of the filter box.
While waiting for the glue to dry, I'm attaching the mounts for the filter
to what will become the back of the filter box.
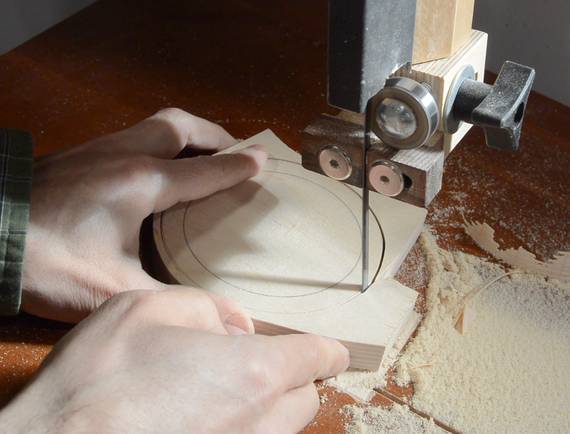
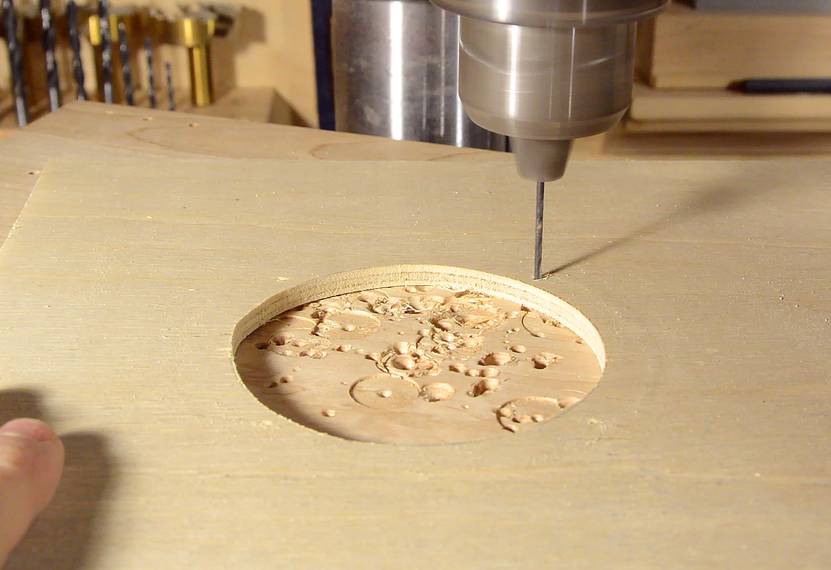
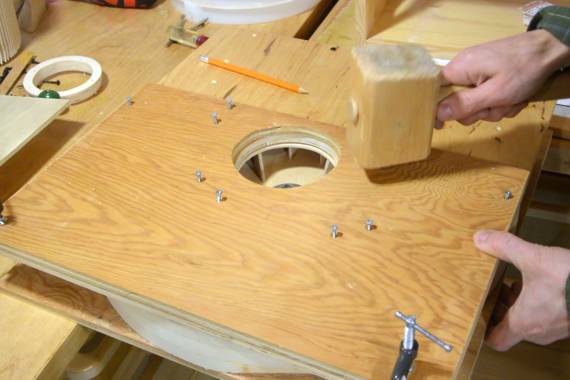
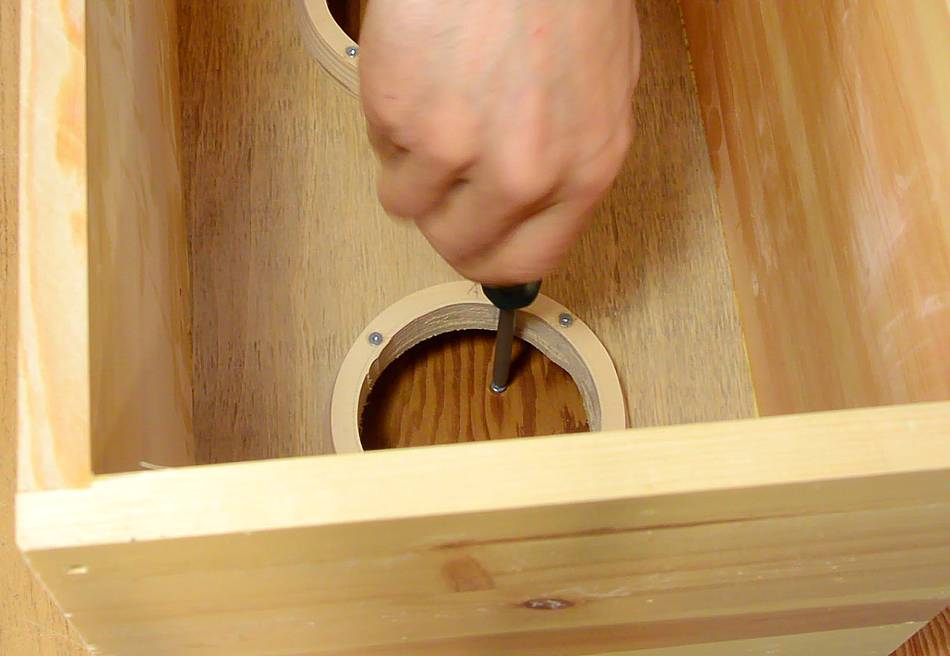
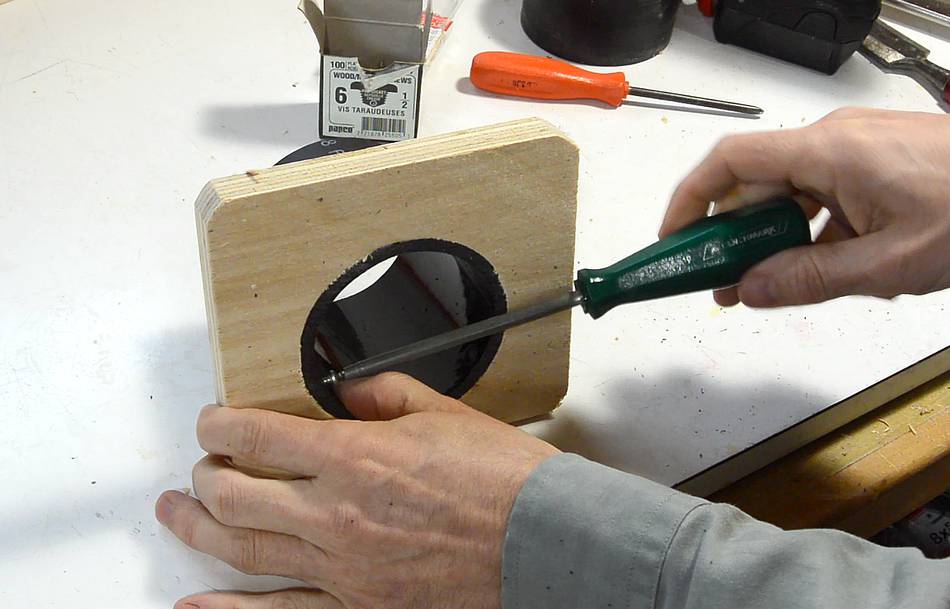
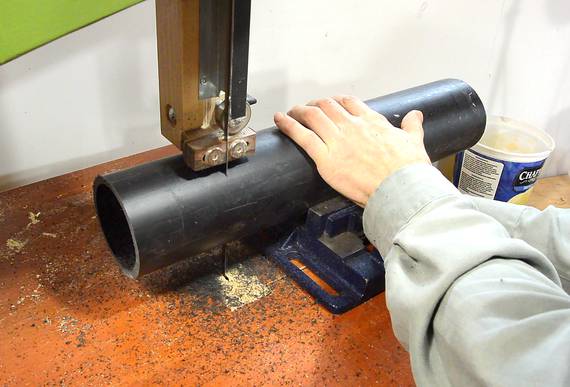
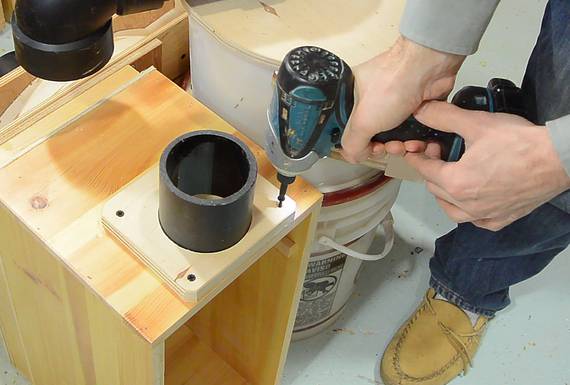
The filter connectors are conical, cut out by making a beveled cut along a circle on the bandsaw.
I tap the screws in the ring to mark where the pilot holes need to go, then drill these out and screw on the ring. Gluing it on would be better, but if I change my mind on what style of filter to use later, I want to still be able to remove them.
 Two bucket cyclone
 Building the blower
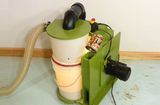 Finishing up the dust collector
 Previous dust collector
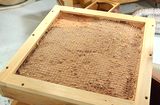 Fiberglass as a