Advent candle holder
 This project started out with Rachel wanting to buy a pewter advent candle
holder for about $130. And I didn't think it even looked that nice.
But it was Friday, and the first of advent was just two days
away, so I had to come up with something quick.
This project started out with Rachel wanting to buy a pewter advent candle
holder for about $130. And I didn't think it even looked that nice.
But it was Friday, and the first of advent was just two days
away, so I had to come up with something quick.
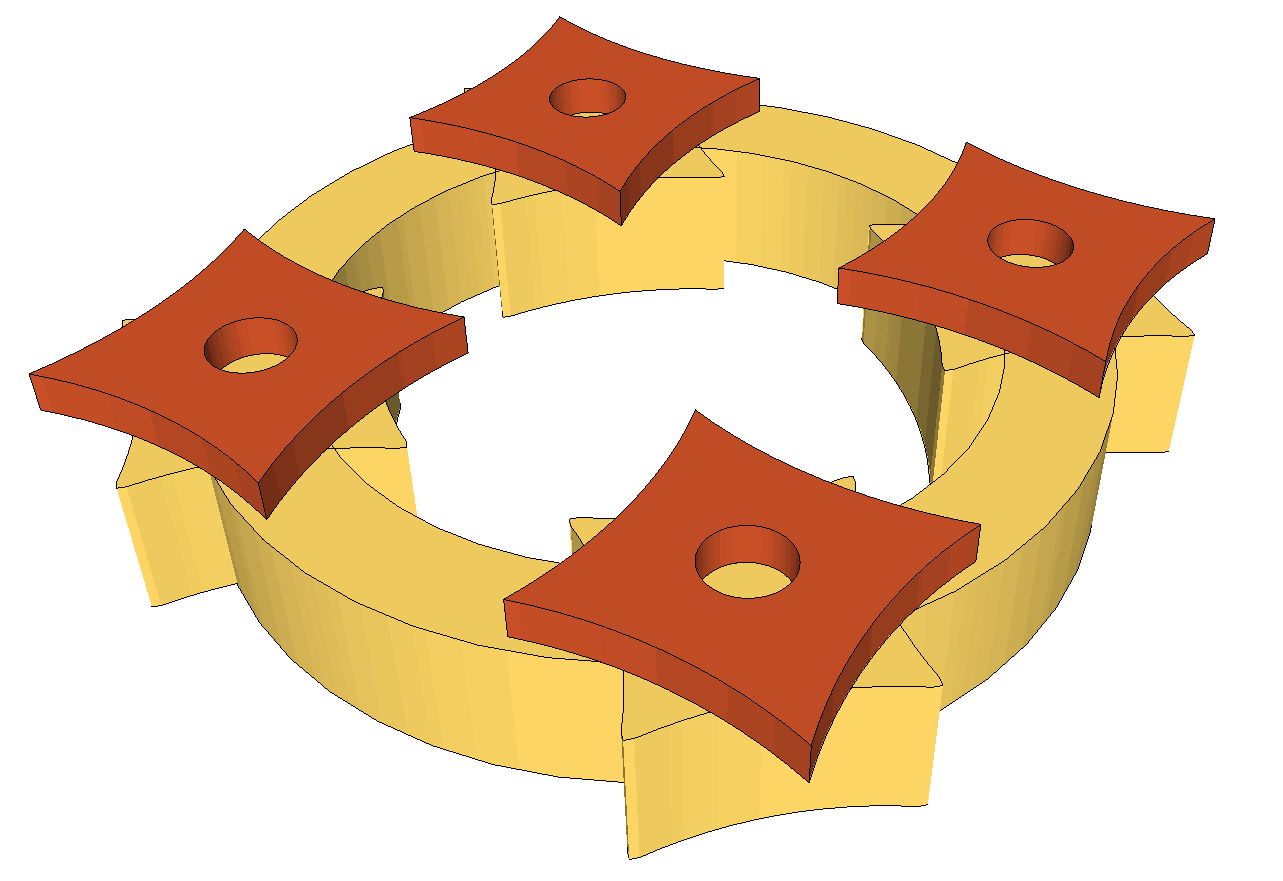
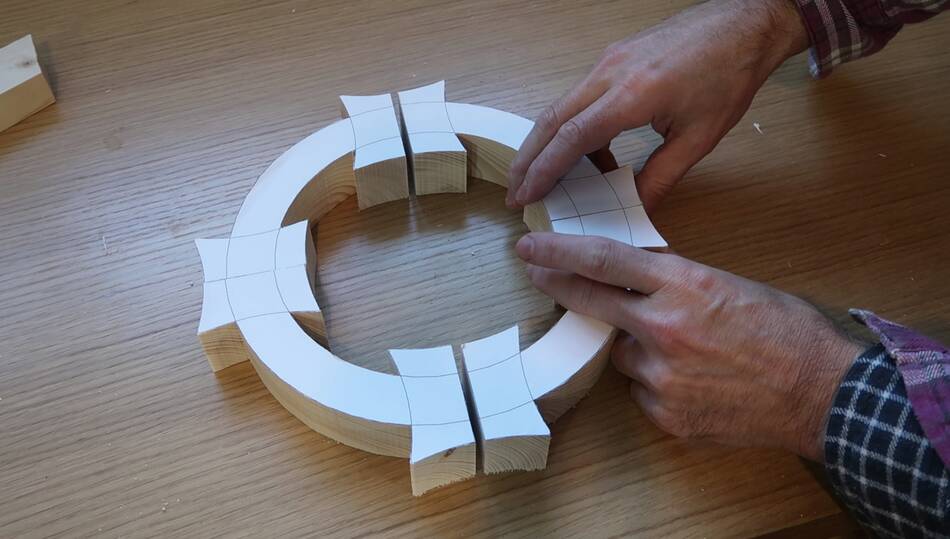
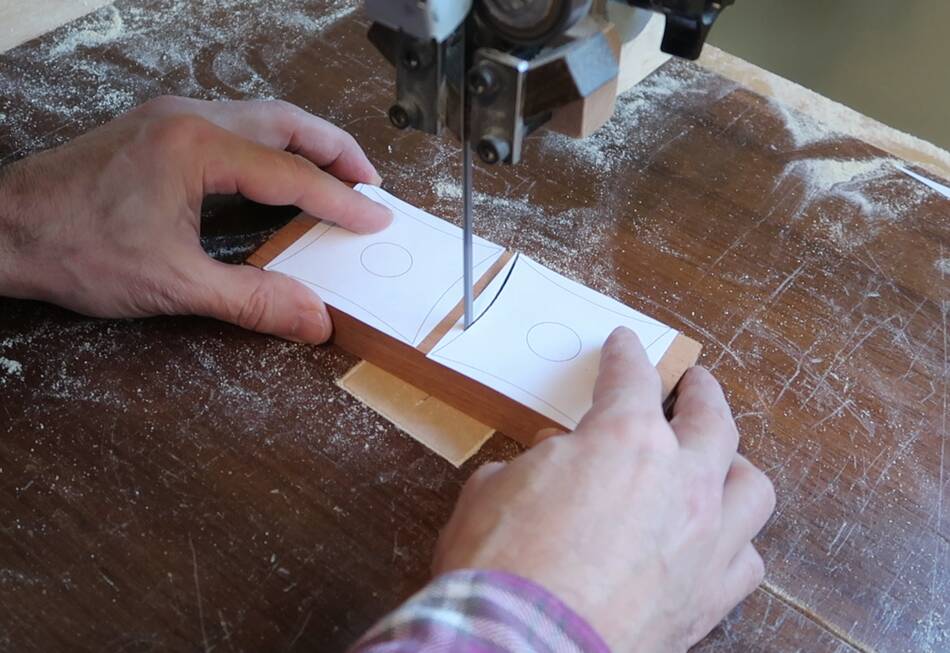
I drew something up in SketchUp that I figured would be fairly quick to make.
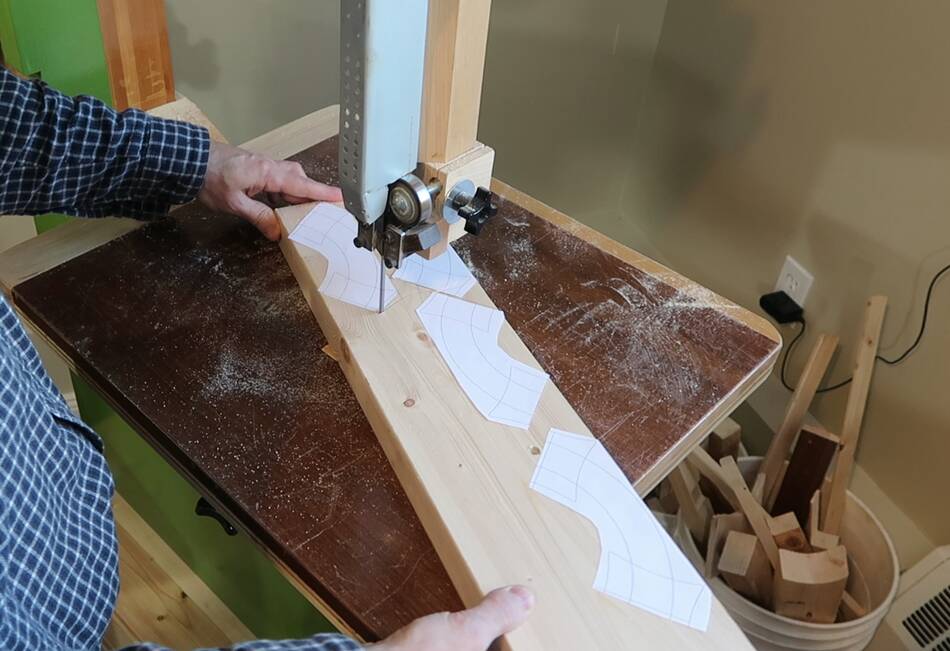 I used my bigprint program to print a 1:1 top
view of the main ring, four times, then cut those out and pasted them onto
a piece of 2x6 lumber. 2x4 would have been wide enough but I didn't have a 2x4 handy.
I used my bigprint program to print a 1:1 top
view of the main ring, four times, then cut those out and pasted them onto
a piece of 2x6 lumber. 2x4 would have been wide enough but I didn't have a 2x4 handy.
My initial idea was to cut it out as two halves, which would be much simpler, but that would rely too much on cross-grain strength of the wood, so it would be quite breakable. So I opted for four segments instead.
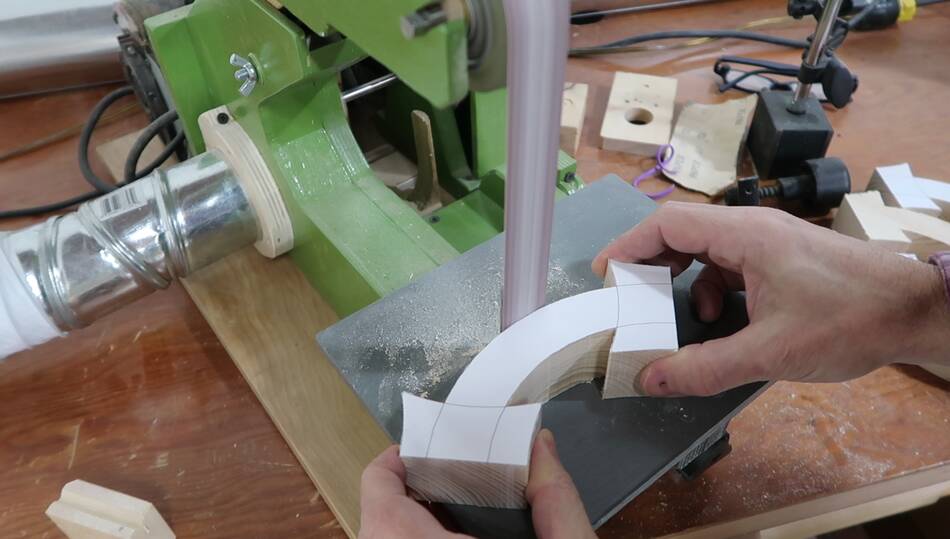
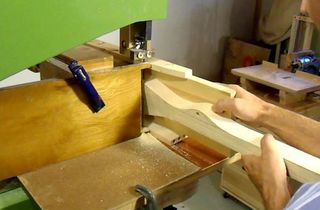
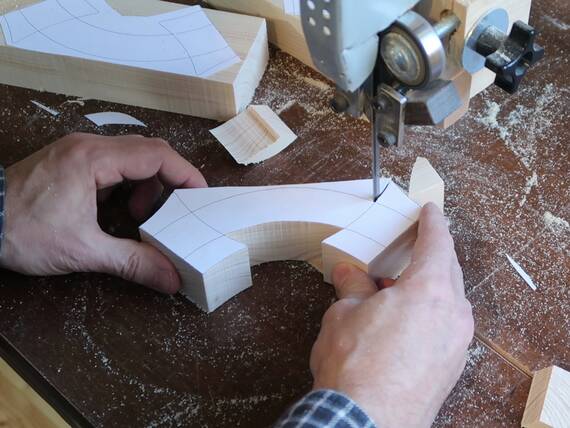 I cut those out on the bandsaw.
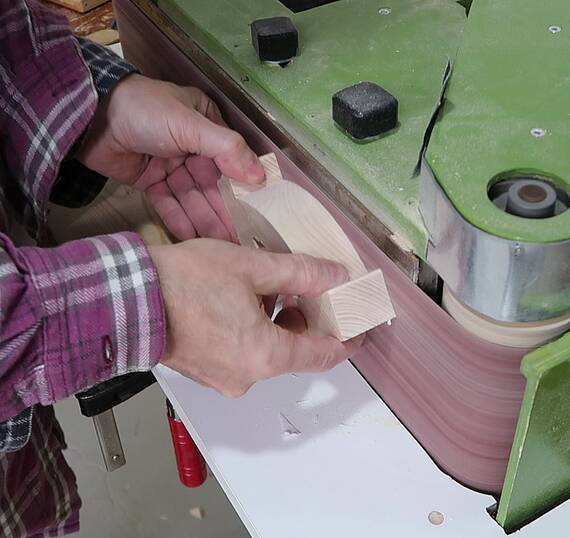
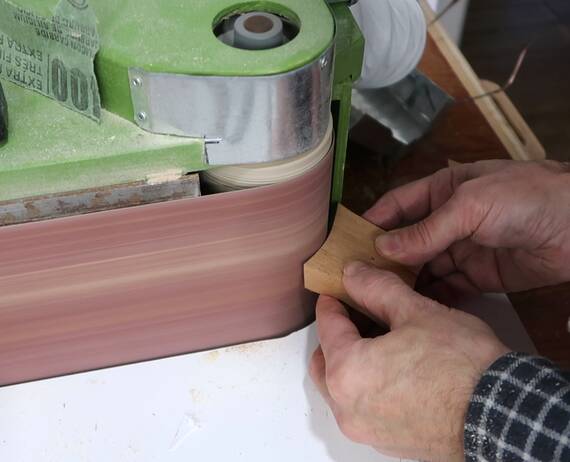
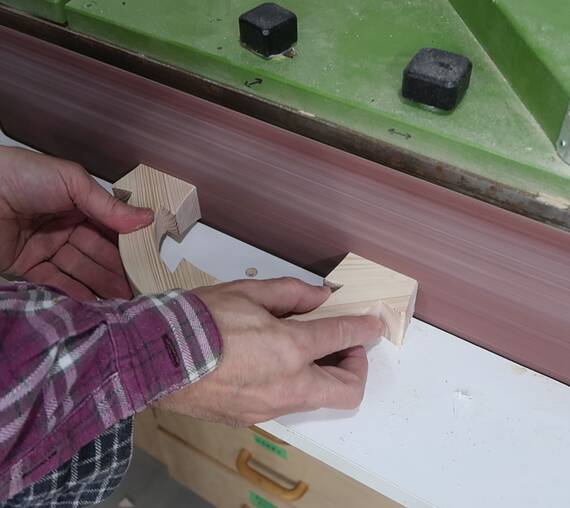
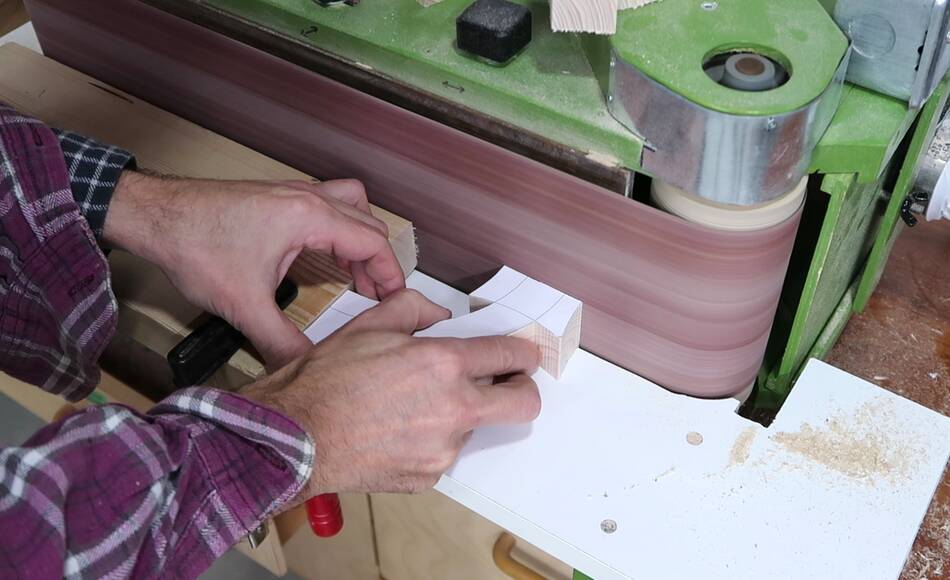 I clamped a piece of lumber to my
belt sander table to provide a right angle stop, which helped to square up
and flatten the ends where the segments join.
I clamped a piece of lumber to my
belt sander table to provide a right angle stop, which helped to square up
and flatten the ends where the segments join.
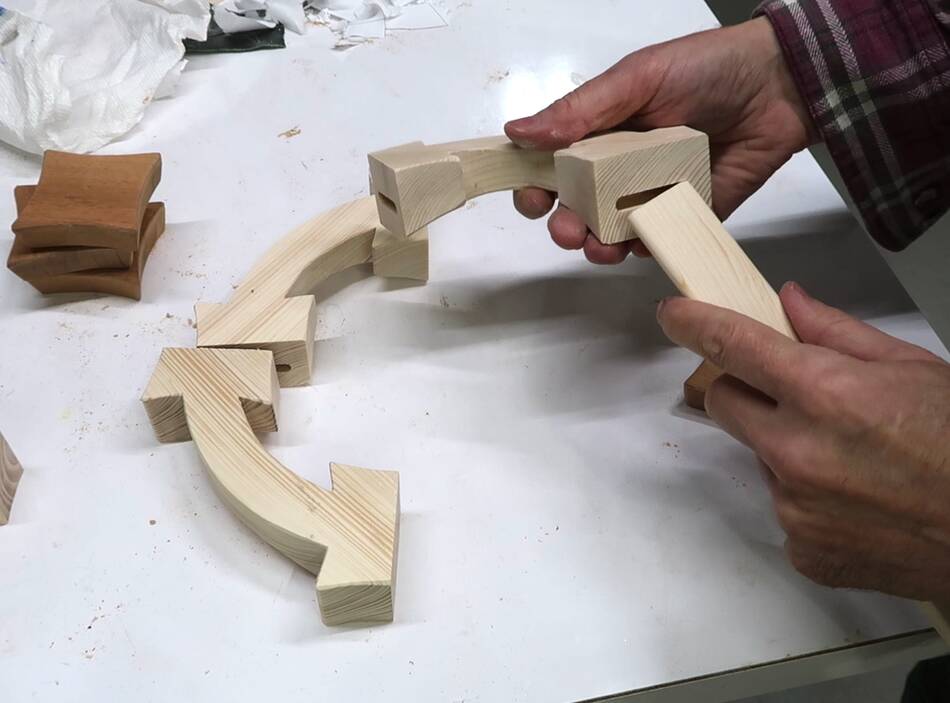
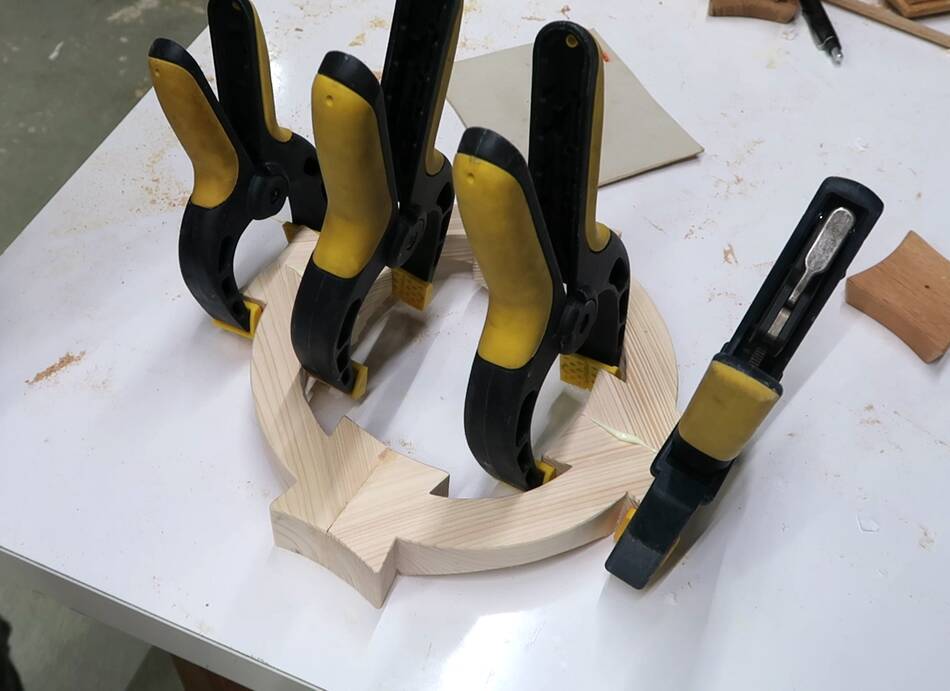
 Checking the fit after sanding. The pieces made a satisfying click as I pushed
them together.
Checking the fit after sanding. The pieces made a satisfying click as I pushed
them together.
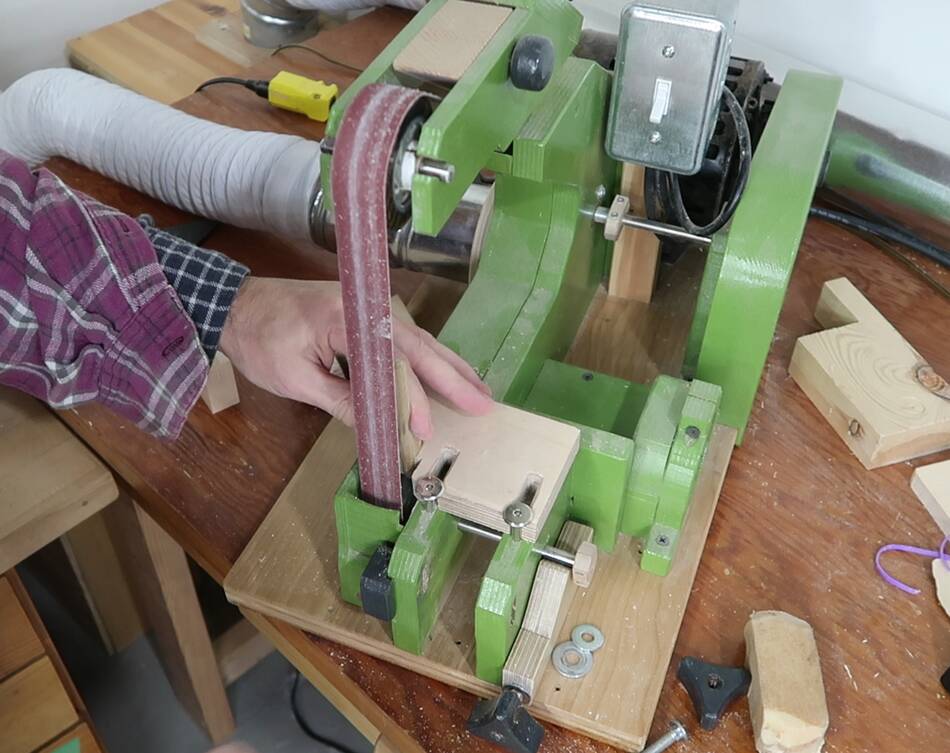
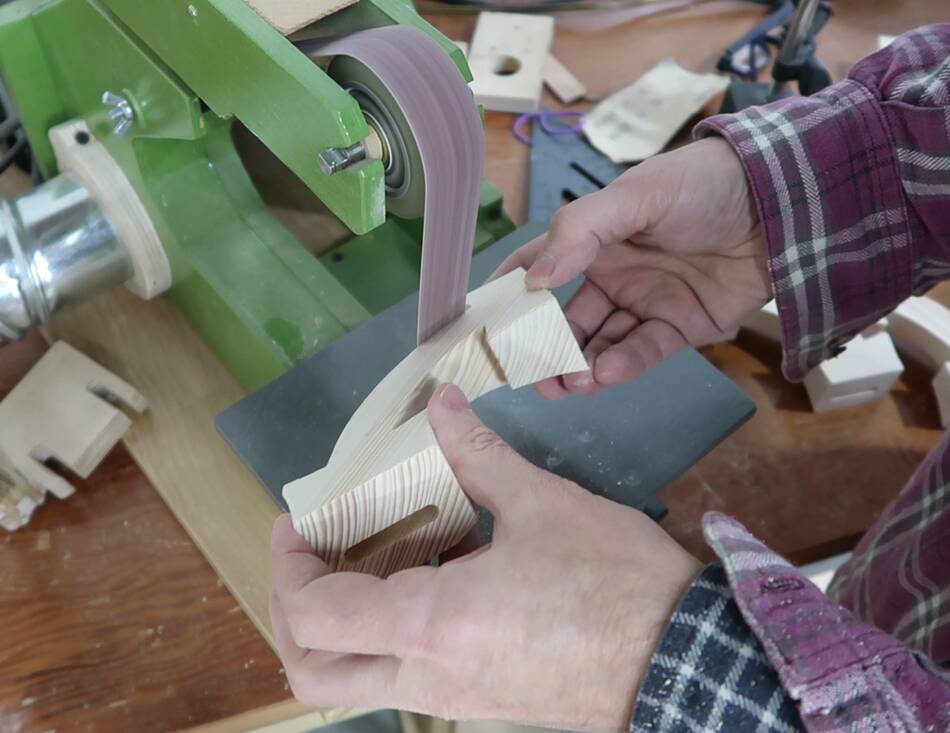
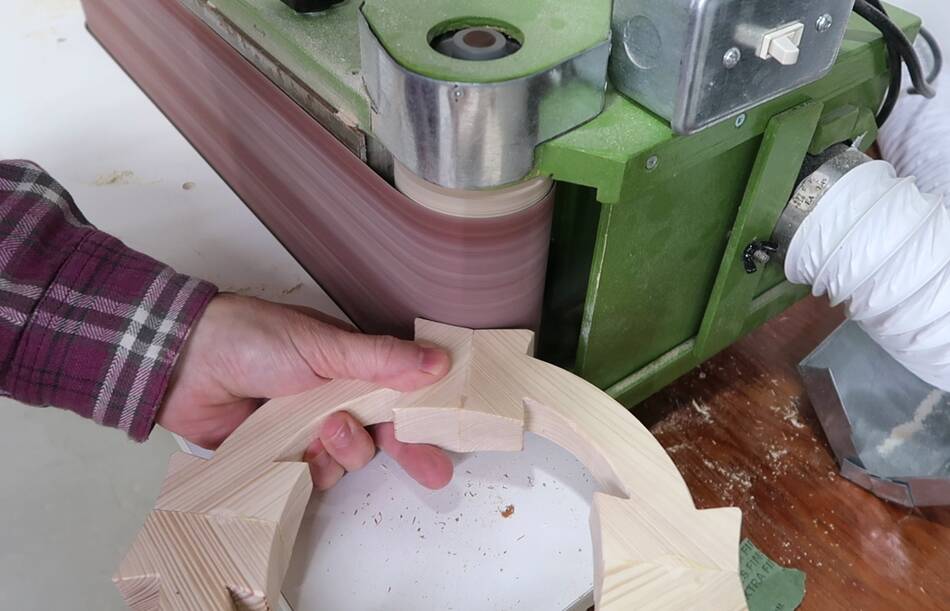
 Then sanding the saw marks off and smoothing it. Here sanding the only
convex curve with my strip sander.
Then sanding the saw marks off and smoothing it. Here sanding the only
convex curve with my strip sander.
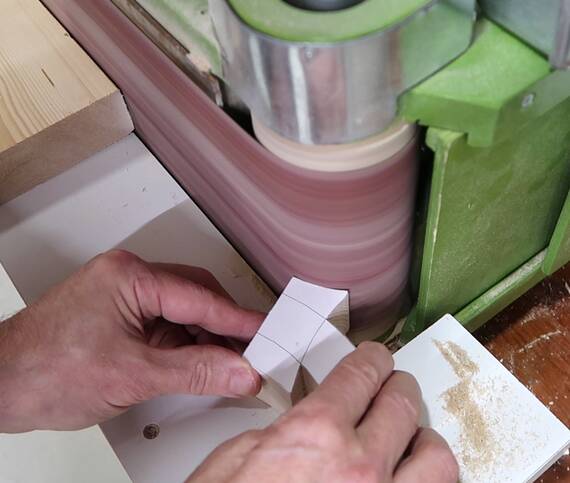
I could sand some of the concave curves with the roller of my 6x48 belt sander
 I had to swap in the convex platen on my strip sander to do the other concave
curves. This is the first time I used that
convex platen
in over two years, mostly because I also made a convex platen clip that
attaches to the flat platen, but for these pieces, that clip would
have been too bulky to get in the corners.
I had to swap in the convex platen on my strip sander to do the other concave
curves. This is the first time I used that
convex platen
in over two years, mostly because I also made a convex platen clip that
attaches to the flat platen, but for these pieces, that clip would
have been too bulky to get in the corners.
 Sanding the concave curves right into the corners.
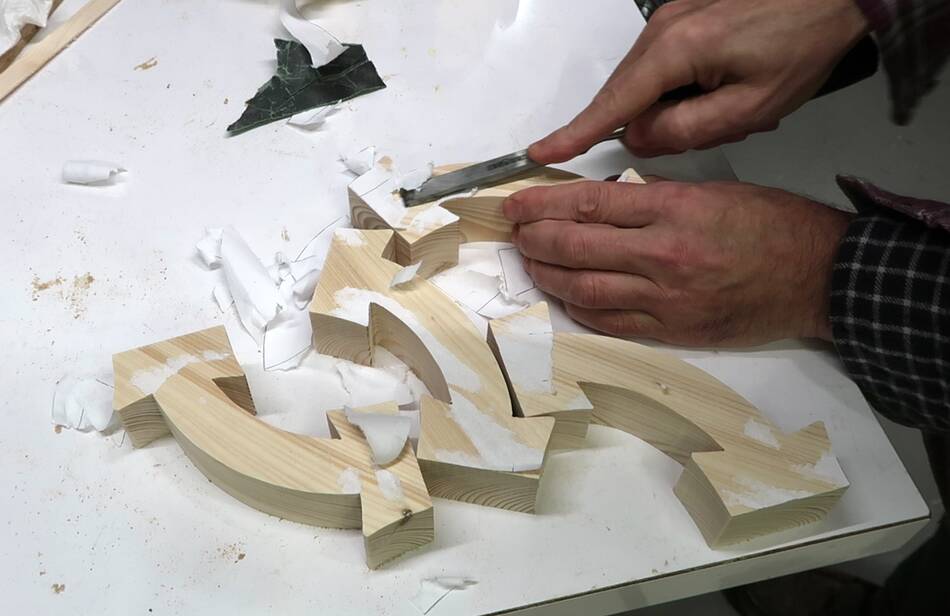
 After that I didn't need the templates anymore. They were glued on with dabs
of glue stick so they came off relatively easily. I removed the residue with
the belt sander.
After that I didn't need the templates anymore. They were glued on with dabs
of glue stick so they came off relatively easily. I removed the residue with
the belt sander.
 A simple butt joined miter would probably have been enough, but I wanted
to reinforce the joints. A biscuit joint might have been suitable, and I even
have a biscuit jointer, but
A simple butt joined miter would probably have been enough, but I wanted
to reinforce the joints. A biscuit joint might have been suitable, and I even
have a biscuit jointer, but
 The squares that go on top of the main ring are made of a darker wood. I tilted
the bandsaw table to cut these at a slight angle. Then cleaning it up
and beveling the corners on the belt sander.
The squares that go on top of the main ring are made of a darker wood. I tilted
the bandsaw table to cut these at a slight angle. Then cleaning it up
and beveling the corners on the belt sander.
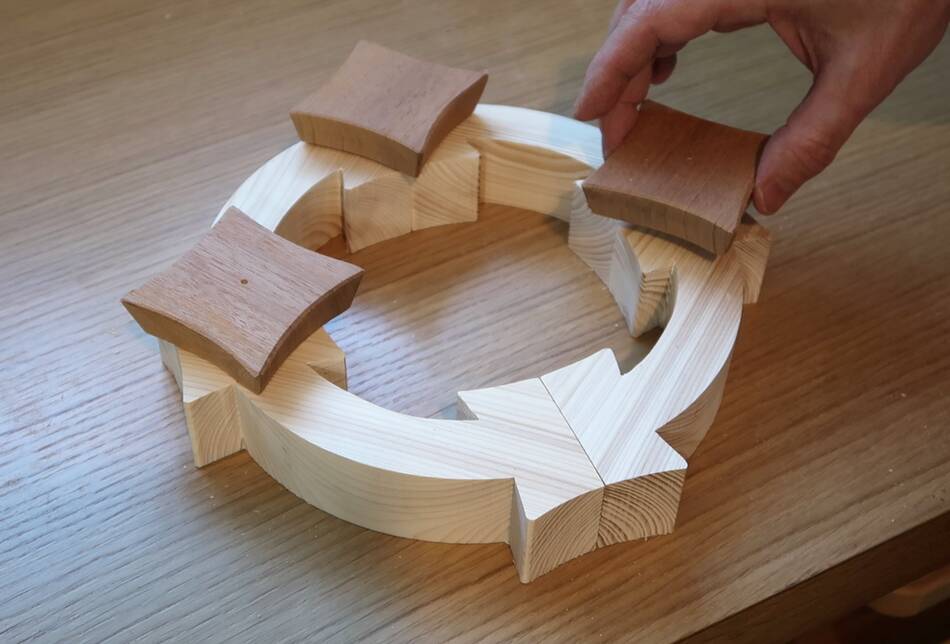 Now I could put these squares on the main ring to see how the finished candle
holder would look.
Now I could put these squares on the main ring to see how the finished candle
holder would look.
At this point I realized that the main ring looked a bit too bulky.

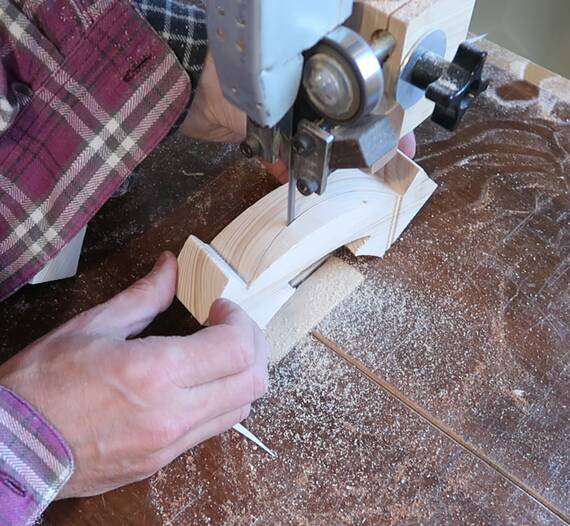 I used the curve of the main ring from one of the left over template pieces to mark
an arc on all the curved pieces, then cut that out on the bandsaw
I used the curve of the main ring from one of the left over template pieces to mark
an arc on all the curved pieces, then cut that out on the bandsaw
 After that I sanded all the corners of the pieces. Those inside
edges would be hard to get at with a belt sander after assembly.
After that I sanded all the corners of the pieces. Those inside
edges would be hard to get at with a belt sander after assembly.
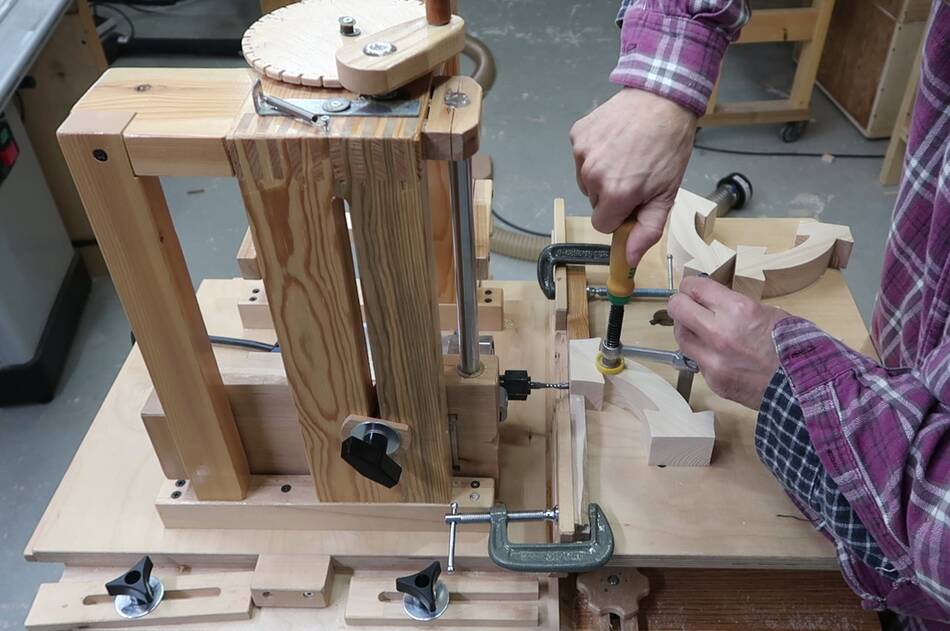
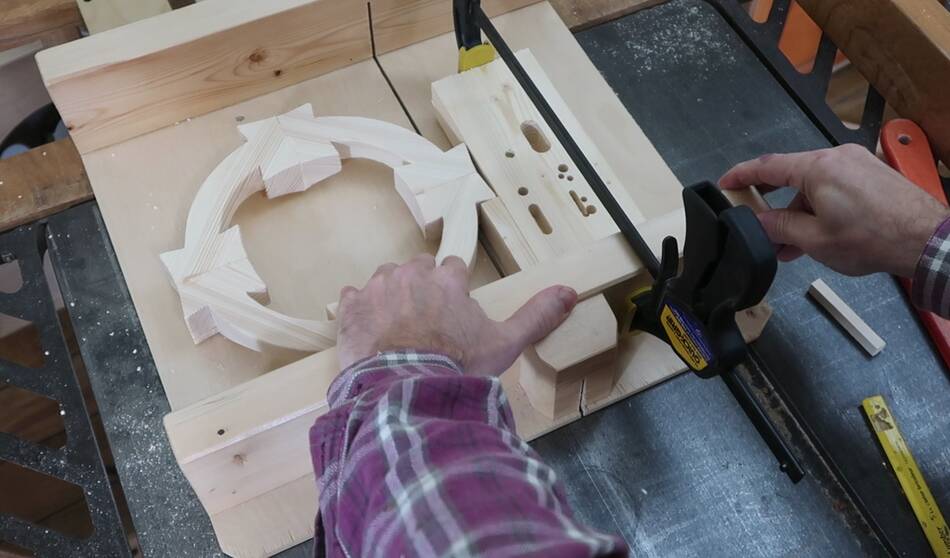
 I made a floating tenon to fit in the slot mortises. I made it to exactly fit
the slot mortises, but then I realized the slot mortises were not exactly
in the center of the faces laterally, so I had to make the tenon piece a tiny bit
narrower to give it a bit of slack for lining things up.
I made a floating tenon to fit in the slot mortises. I made it to exactly fit
the slot mortises, but then I realized the slot mortises were not exactly
in the center of the faces laterally, so I had to make the tenon piece a tiny bit
narrower to give it a bit of slack for lining things up.

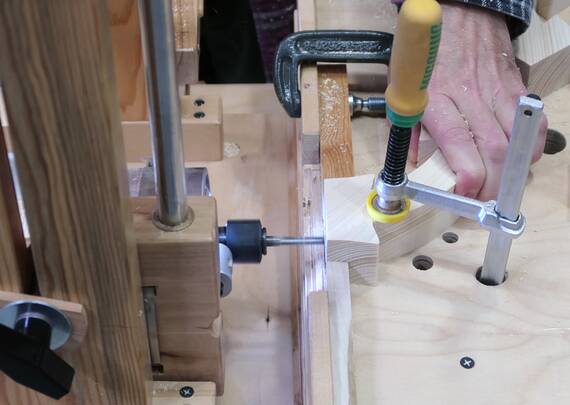
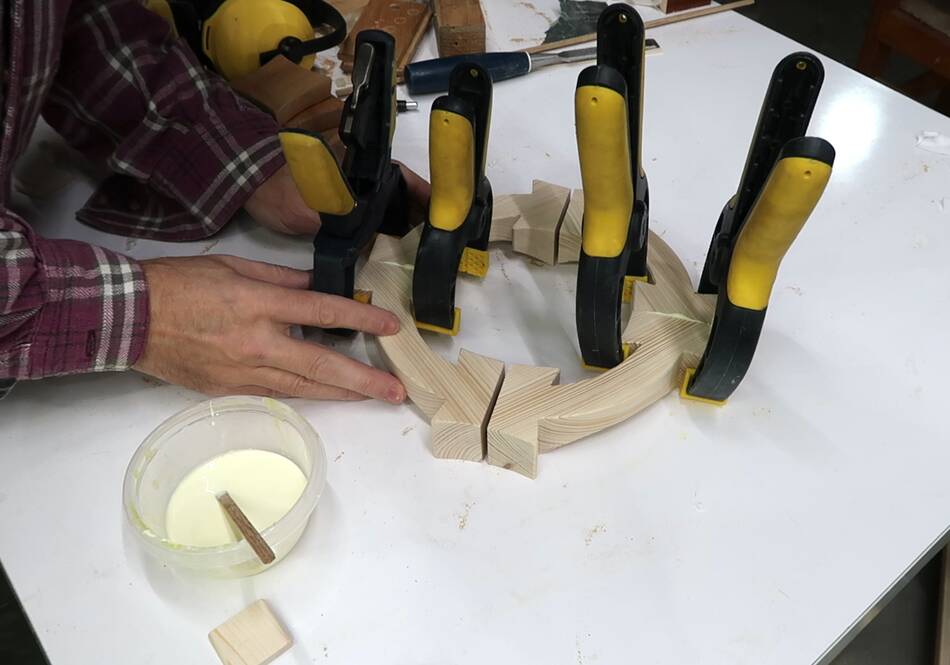
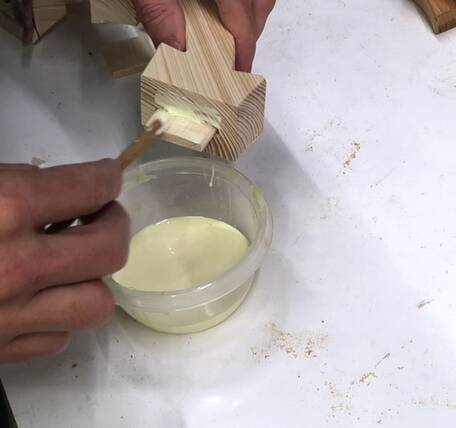 I then glued two pairs together first.
 The ends of these pairs didn't fit together quite perfectly, so
I sanded the ends flat and co-planar on the belt sander
The ends of these pairs didn't fit together quite perfectly, so
I sanded the ends flat and co-planar on the belt sander
 Then the surfaces mated perfectly.
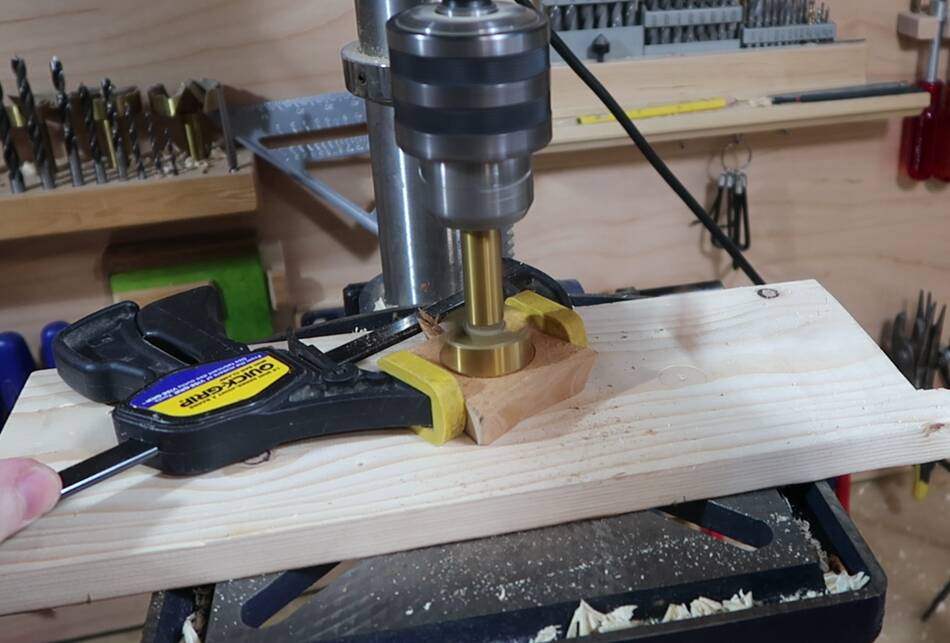 I drilled holes in the dark square. First a larger hole for extra detail,
but also to make a cavity to catch wax, then the hole for the candle.
I drilled holes in the dark square. First a larger hole for extra detail,
but also to make a cavity to catch wax, then the hole for the candle.
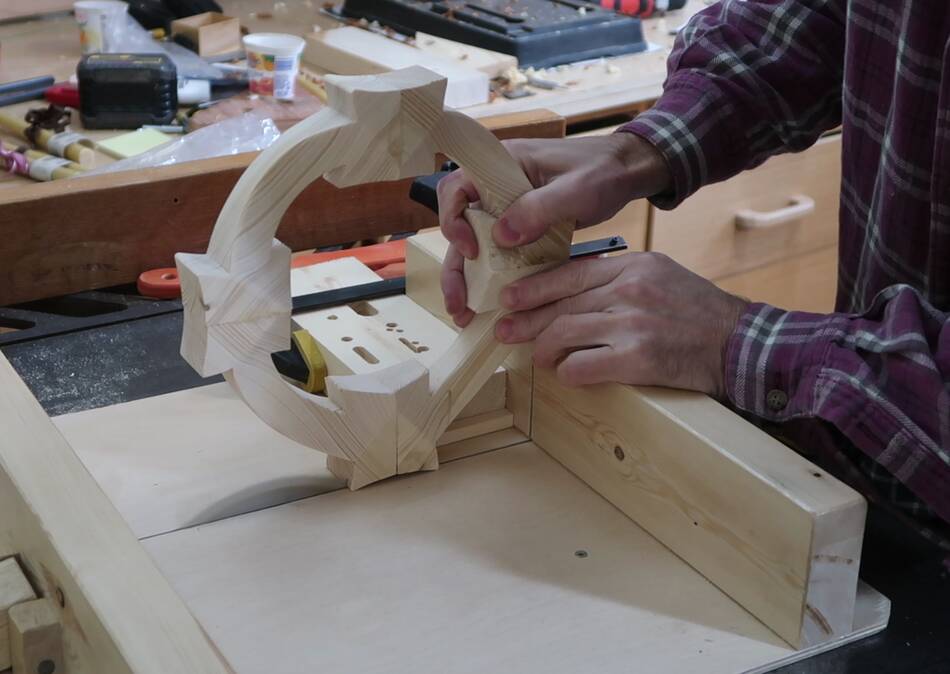 I also decided to trim the main ring some more to make the integral squares
of that ring less deep and not touch the table. First I cut in from the edge...
I also decided to trim the main ring some more to make the integral squares
of that ring less deep and not touch the table. First I cut in from the edge...
 Then I cut from below, both using a table saw sled, to cut a rabbet off the
outside corners.
Then I cut from below, both using a table saw sled, to cut a rabbet off the
outside corners.
 After that, some more sanding to smooth out where the pieces joined together.
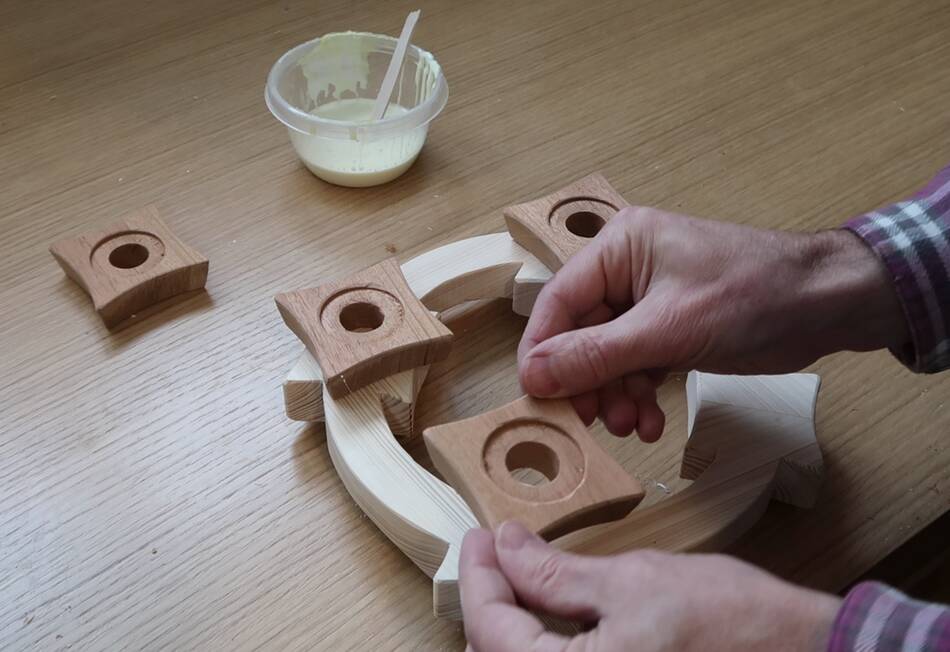 Then gluing on the dark brown squares.
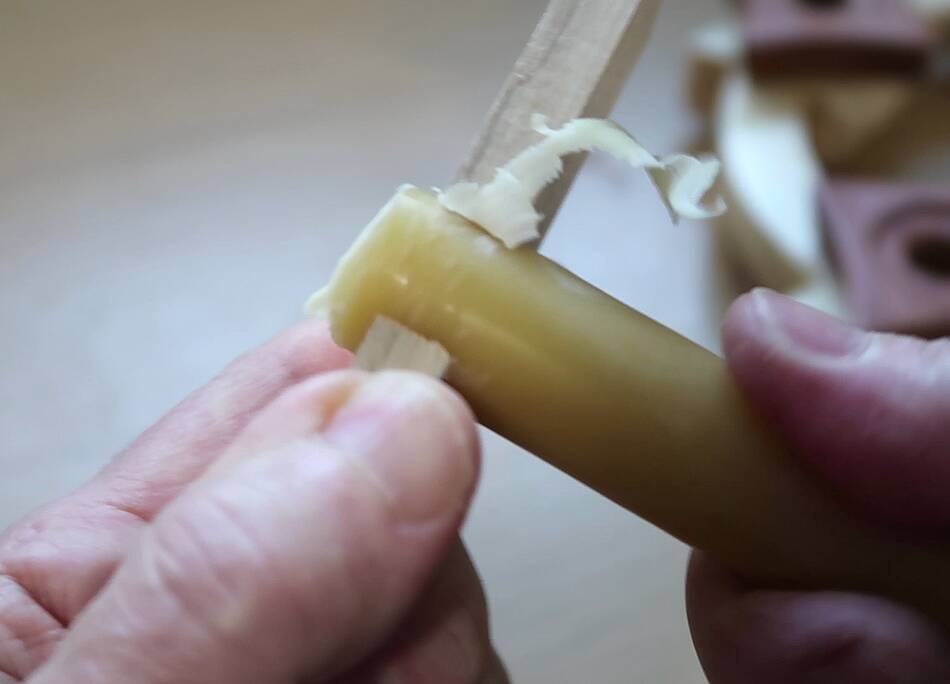 The candles were about half a millimeter too large for the holes I drilled, so
I drilled a hole on the edge of a piece of wood to make a sort of candle-resizer,
which worked like a pencil sharpener. It didn't work as elegantly as I hoped,
but it got the job done.
The candles were about half a millimeter too large for the holes I drilled, so
I drilled a hole on the edge of a piece of wood to make a sort of candle-resizer,
which worked like a pencil sharpener. It didn't work as elegantly as I hoped,
but it got the job done.
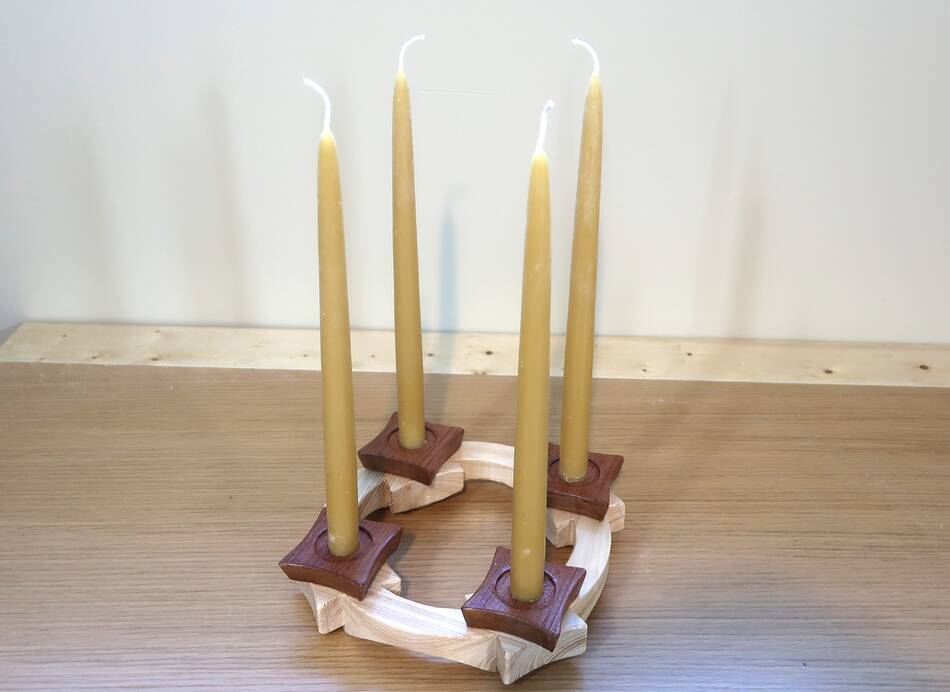
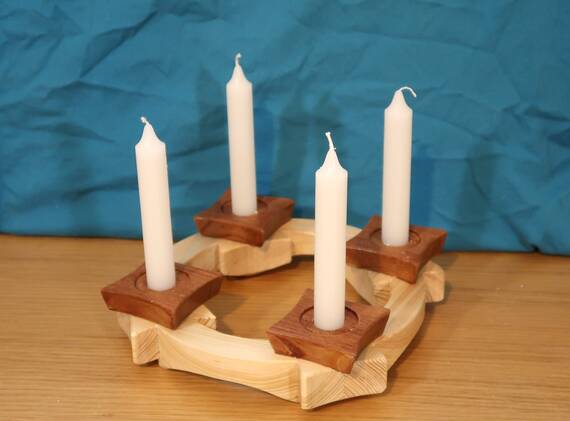 And here it is with the candles. Those candles are perhaps a bit too long for it,
though I didn't want to make the candle holder any wider either. I bought some
other candles from the dollar store for a tenth of the price of the beeswax candles
and cut them to length, just to get a better thumbnail for YouTube.
And here it is with the candles. Those candles are perhaps a bit too long for it,
though I didn't want to make the candle holder any wider either. I bought some
other candles from the dollar store for a tenth of the price of the beeswax candles
and cut them to length, just to get a better thumbnail for YouTube.
See also:
 Carving canoe paddles on the bandsaw
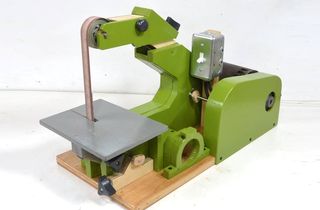
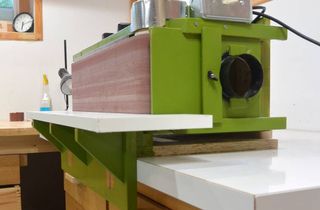 Homemade 6x48" belt sander
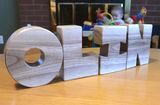
 Homemade 1x42" strip sander
 Making mitt hooks
Back to my Woodworking website