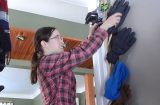
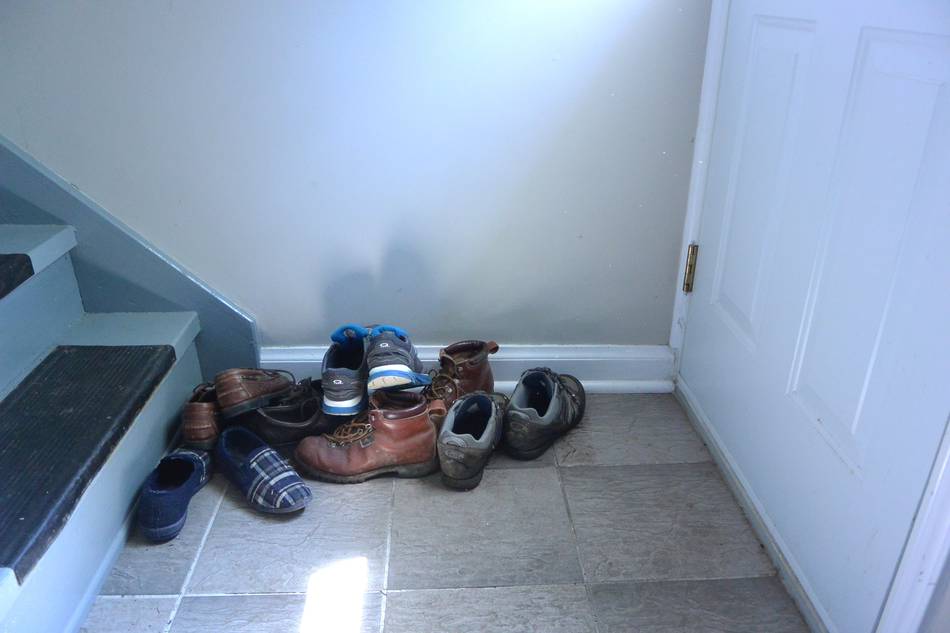
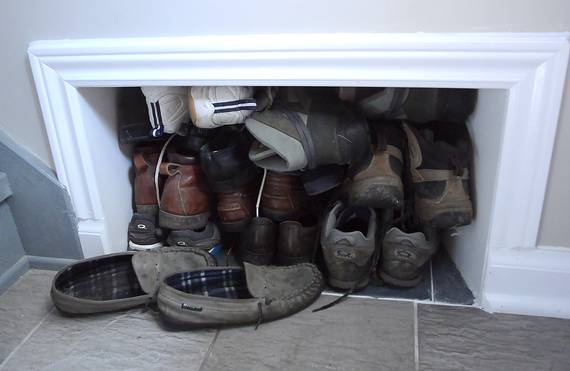
I always keep my shoes behind the back door of my house, but
as shoes accumulate it becomes increasingly difficult to open
the back door, and the number of shoes is about to increase.
I finally decided to make a little more room by adding a boot nook
behind the door.
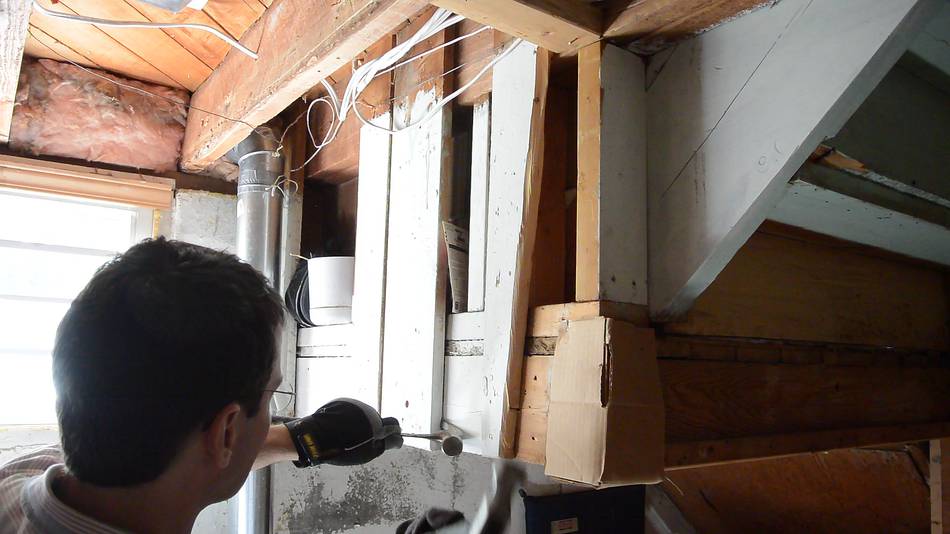
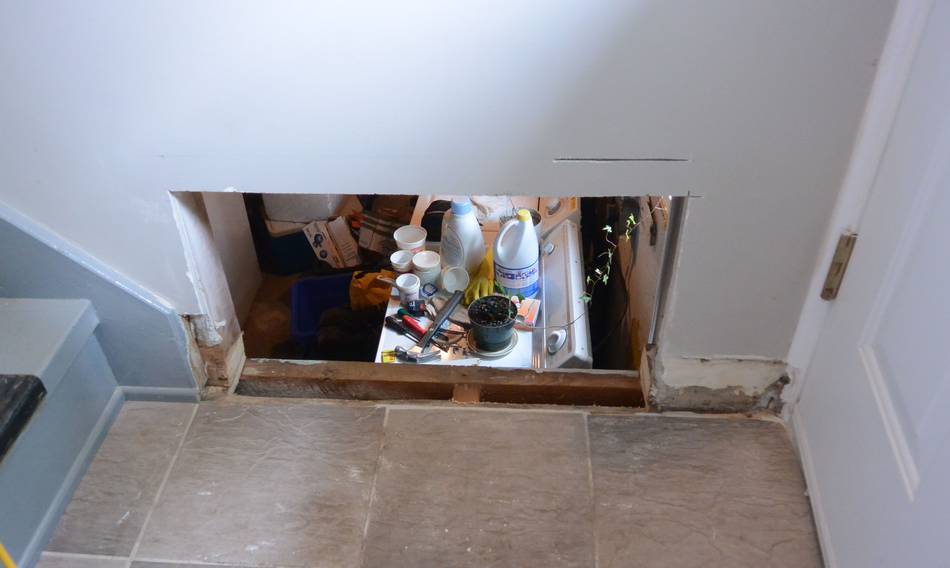
I can add a boot nook there because the landing is three steps
below the main floor of the house, so behind the wall
in the previous photo is the basement laundry room.
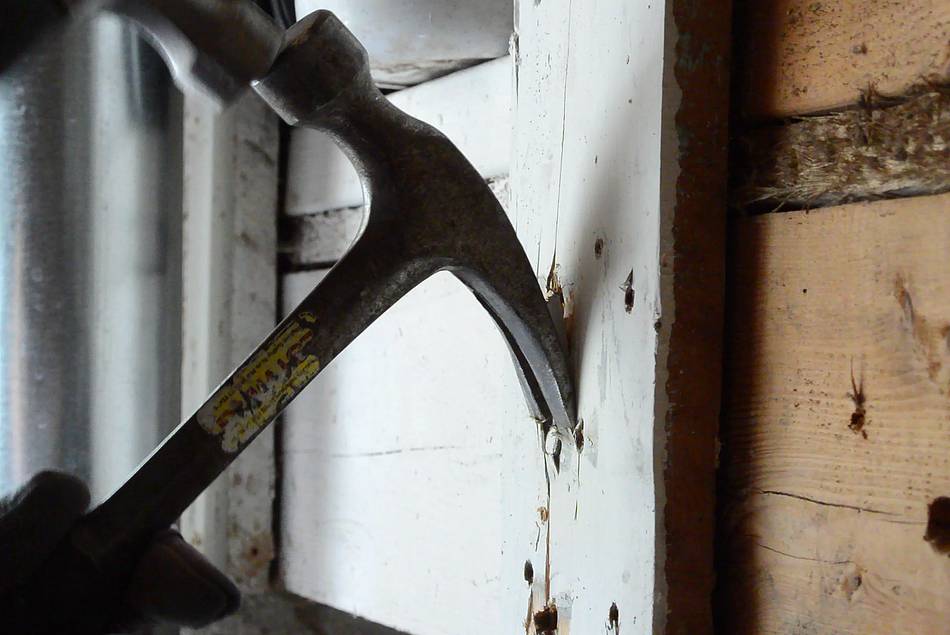
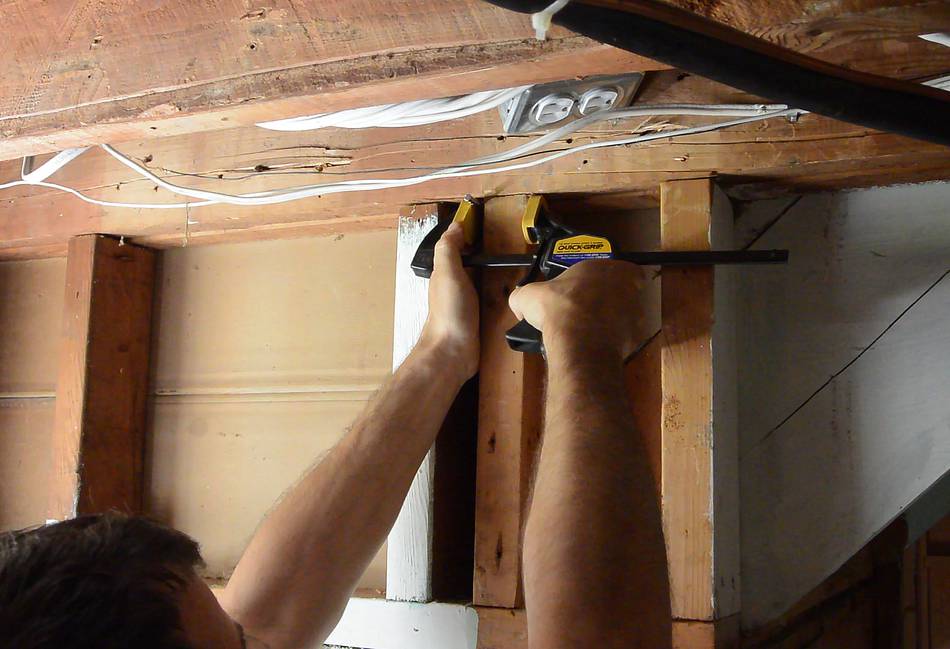
I start by tearing out some of the wood behind there. A useful trick
for pulling out individual nails that are flush with the surface
is to use a straight clawed hammer, then use a second
hammer to drive the claws into the wood right behind
the nail. Then pull as usual.
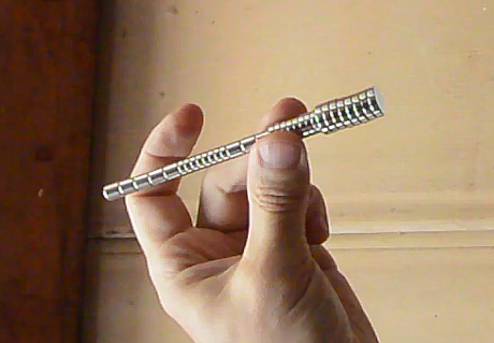
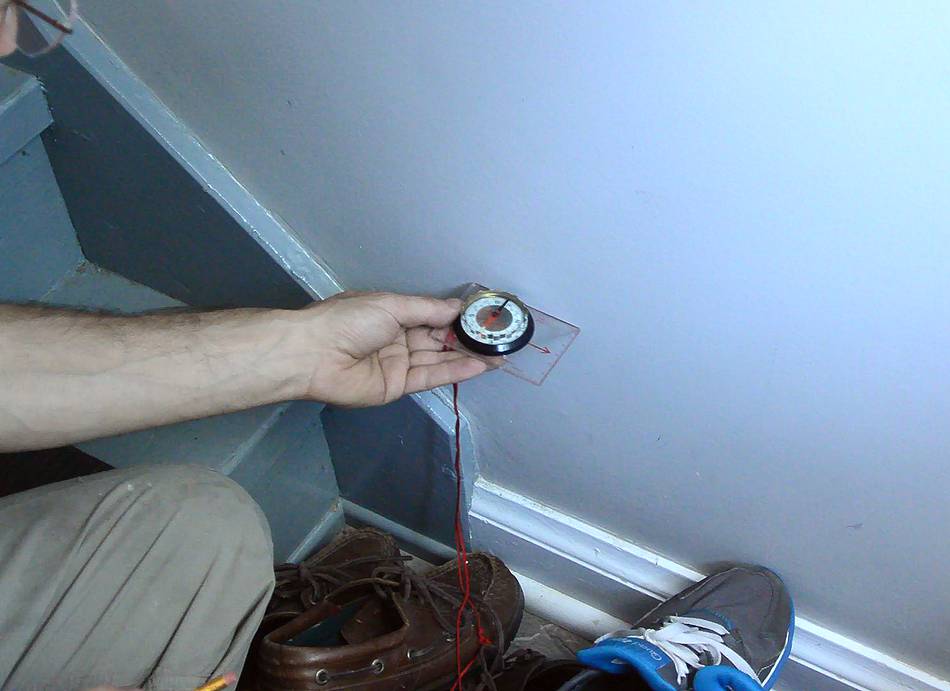
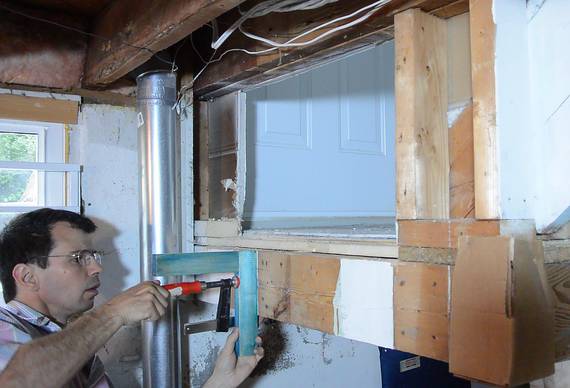
Magnet and compass alignment
I used a stack of rare earth magnets to transfer the location of the opening
from the back to the front. I fix the magnets to a corner of the
future opening with a clamp (a clamp with plastic jaws, I should add).
I then used a compass to locate the magnets behind the wall.
I only had about 1 inch (2.5 cm) of material to go through, but this
method also works with a regular wall, 12 cm (5")
thick, provided you have enough magnets and the wall is not full of
big nails.
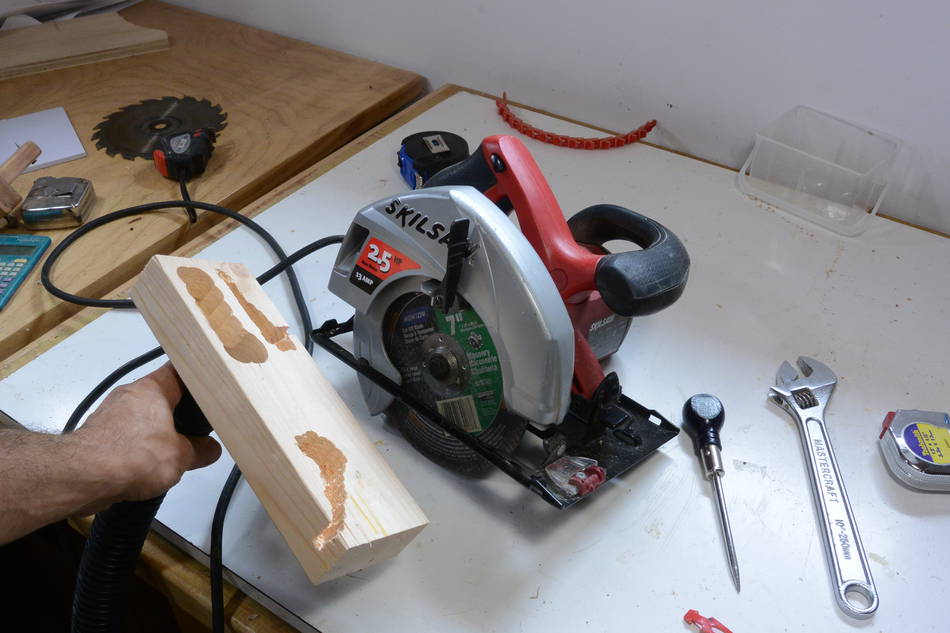
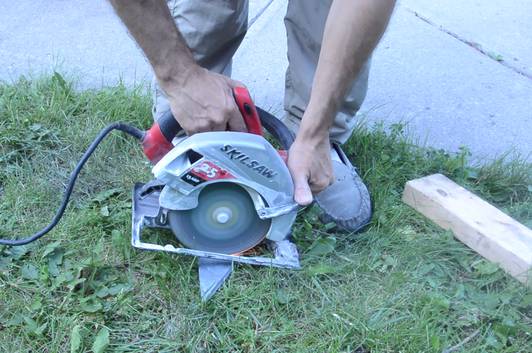
Cutting through the plaster walls
My house was built in 1954, before drywall was commonly used, so the walls
are built with mortar and plaster. This makes for very sturdy walls,
but also makes it necessary to cut them with a masonry blade.
This makes for a lot of really awful dust.
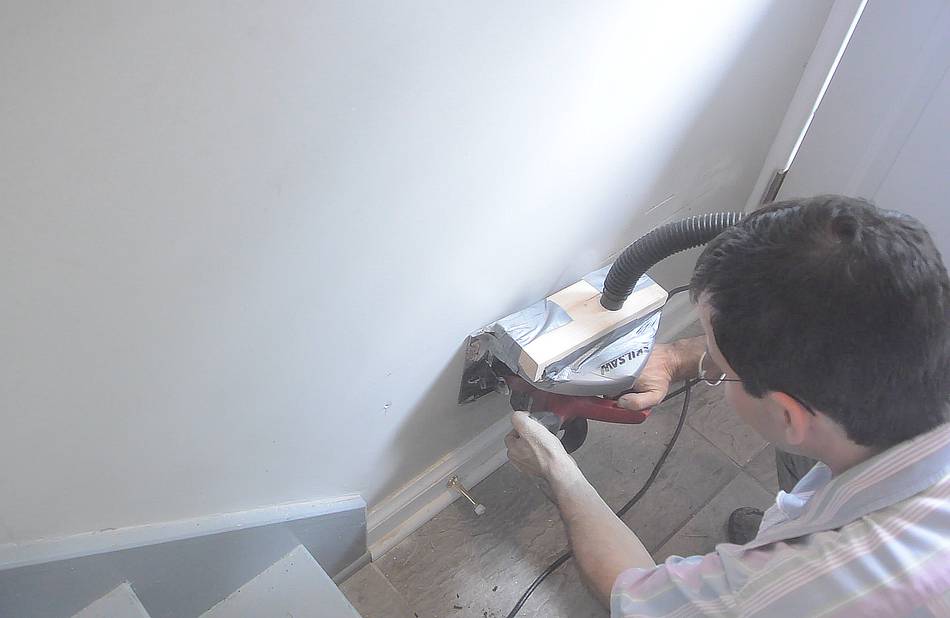
I made this adapter piece to connect a ShopVac hose to a cheap skillsaw.
I used duct tape to attach this to the saw.
My contraption is able to suck away most of the dust, though I should have
been more thorough with the duct tape. I still had some leaks. Still, much
better than using the saw straight!
I suked the dust up with a ShopVac outside, running without a filter (so as
not to ruin a filter). This worked out ok, though I later had to
flush out the ShopVac
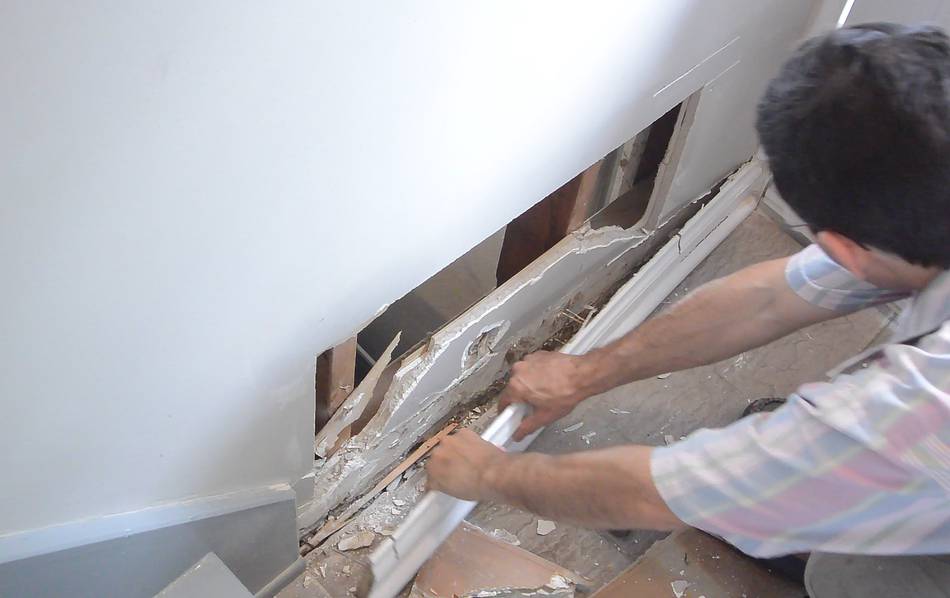
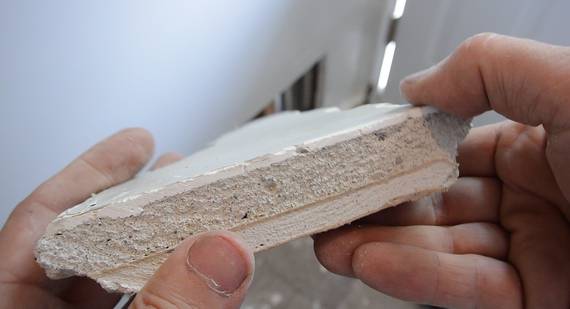
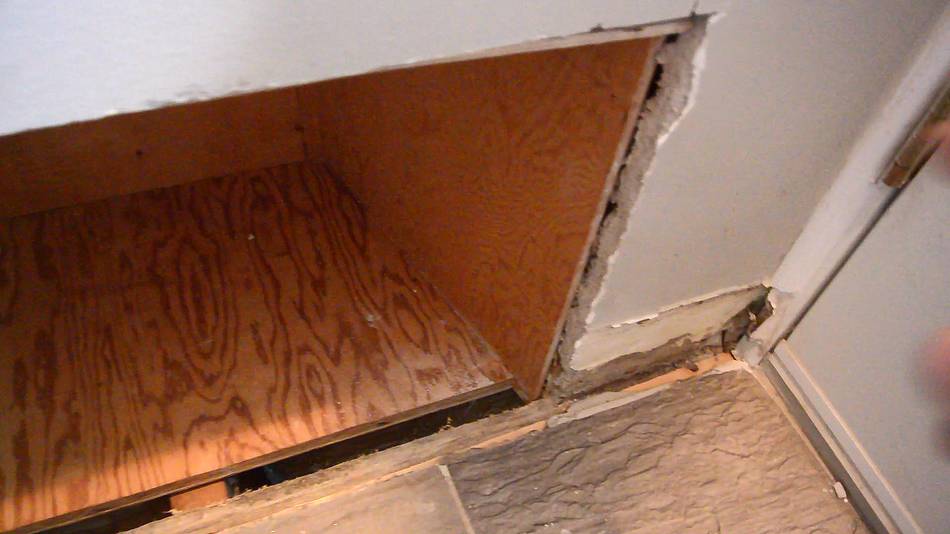
Busting out the wall. At right, a section of the wall.
From top to bottom, a 3 mm layer of gypsum, then a 13 mm layer of
mortar, and below that a 6 mm layer of gypsum.
The walls were built similar to the old (pre WW2) wood lath and plaster walls,
but using gypsum boards as "lath" instead of strips of wood.
The advantage of gypsum was that the mortar stuck
to it MUCH better than to wood lath, so these wall are sturdier than
lath walls, and also sturdier than the drywall construction from the 1960s onwards.
Cutting out the framing with a reciprocating saw.
Reciprocating saws are awesome tools for demolition!
Hole in the wall done, looking down at the mess on my dryer.
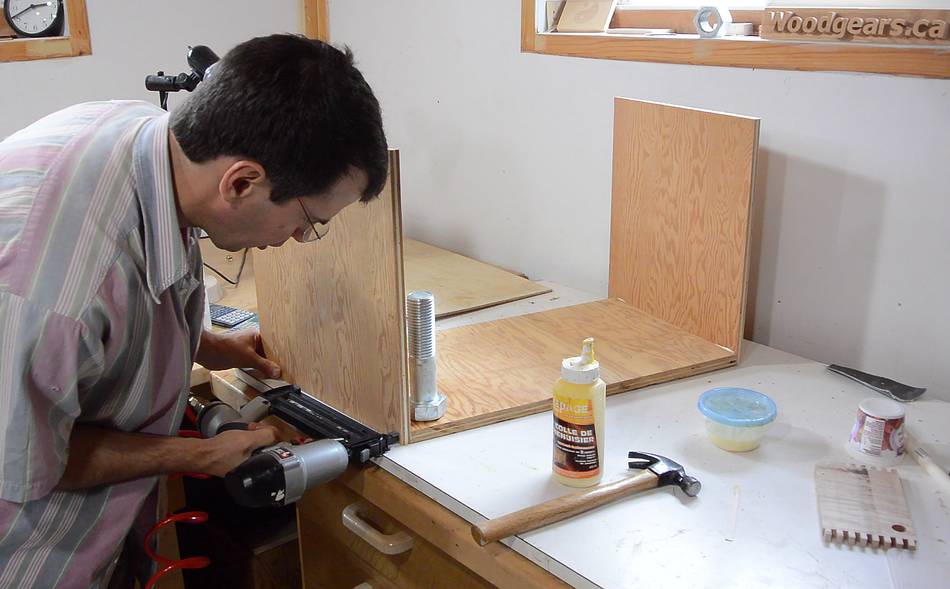
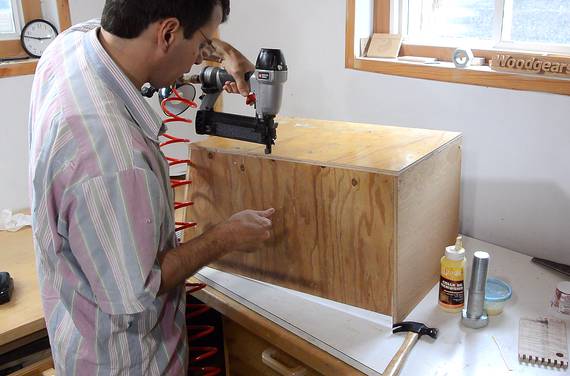
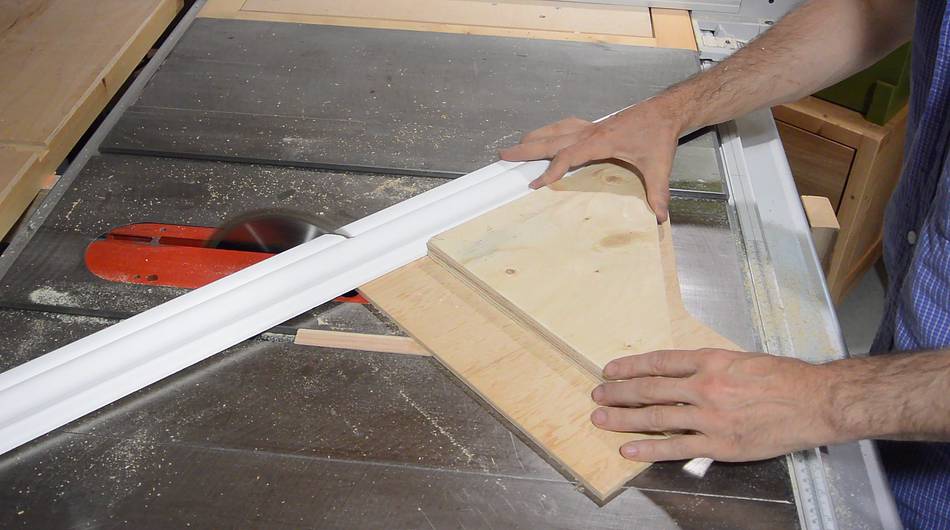
Making the boot nook box
Nailing together a plywood box that will form the boot nook.
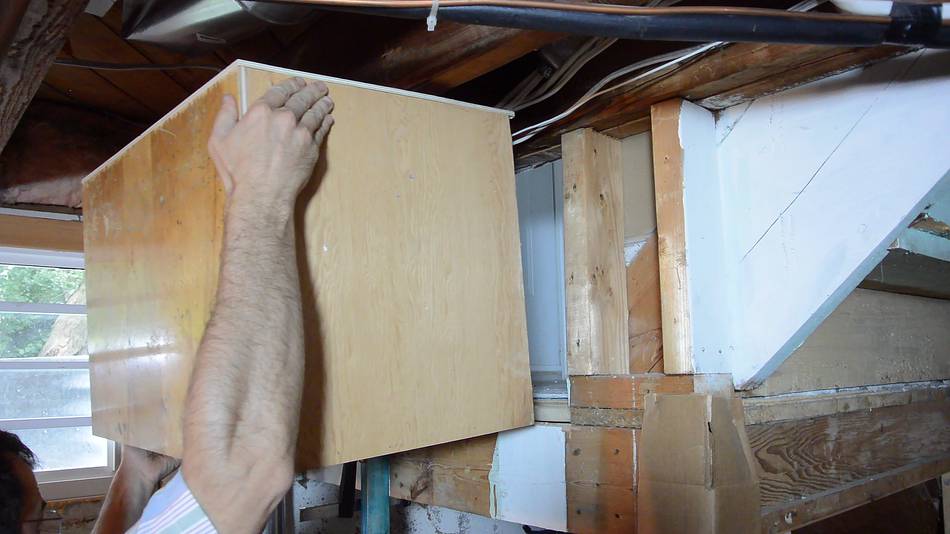
Checking the fit. I attached one of my clamping squares to the bottom of the
landing to keep the box from falling out as I fit it.
As usual, I made the box as large as could possibly fit in the hole, and went
a little over in size, so I had to chip out the opening a bit to make it fit.
This is checking the fit, I still had to cut out some notches in the bottom
corners so the box could fit with the edges flush to the wall.
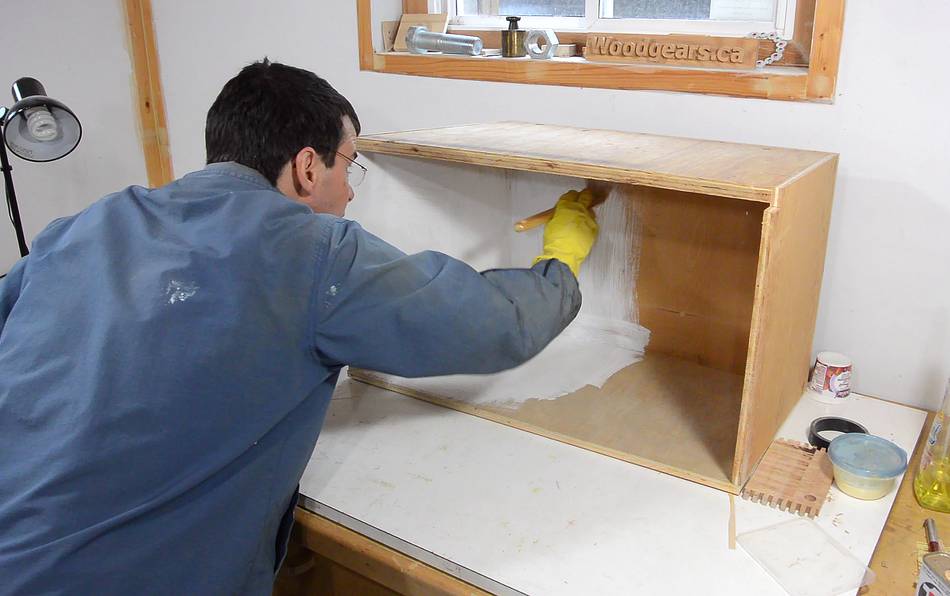
With the box fitted, taking it back to my shop for painting.
Much easier on the workbench.
Nook painted and screwed in. I also painted the outside of it to
make it look nicer from the laundry room.
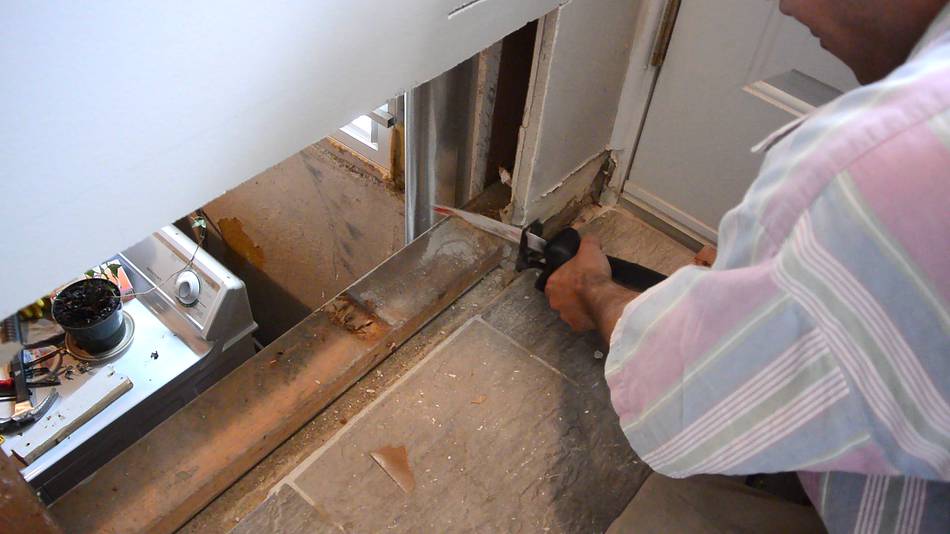
I also added a new vertical board where I had removed the broken one.
The original boards tied the landing to the joist above, so it's very important
to put one back in to hold it up again. I used a lot of screws, and screwed
in at an angle to really pull the landing up against the joist.
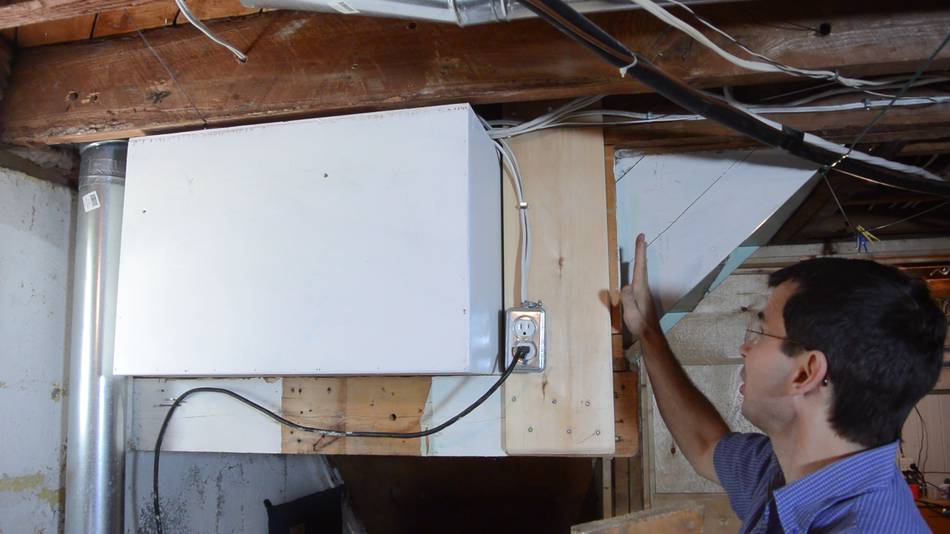
I also moved the outlet for the sump pump.
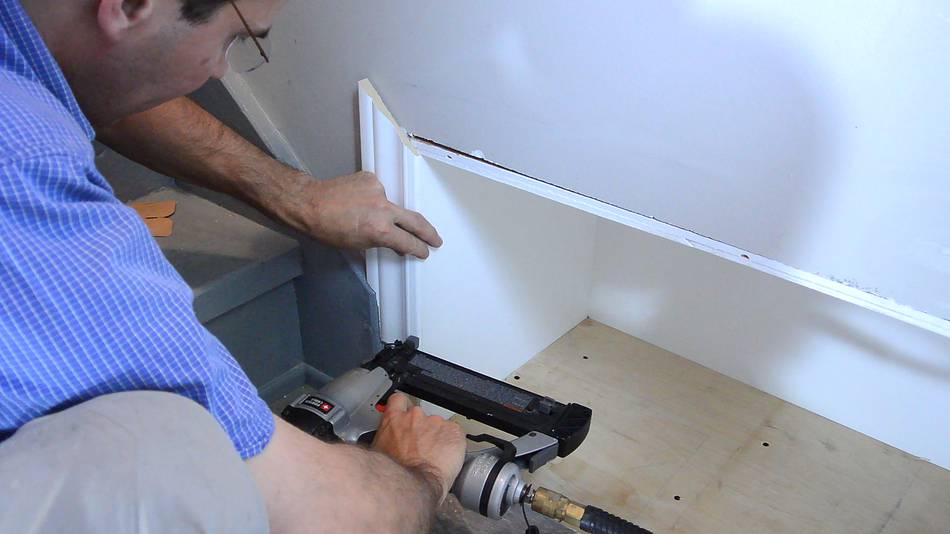
Installing the trim
Cutting the trim. I used some cheap MDF trim.
Nailing it in place, mostly just to the plywood I installed.
Brad nailers are so handy for this sort of work.
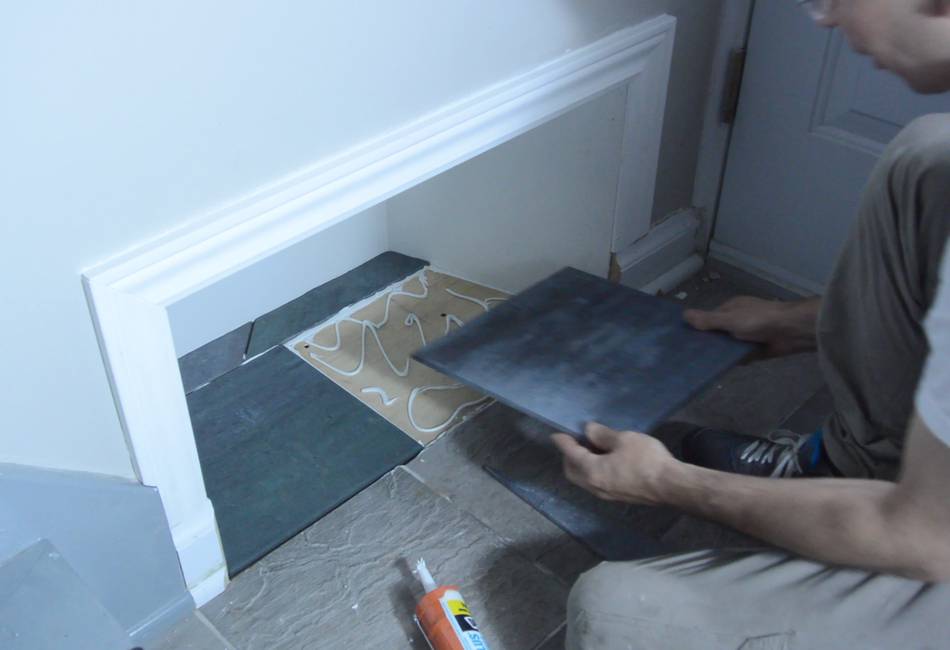
I had some leftover tiles to use for the nook.
I cut these with a masonry blade in the skillsaw. I must say, a masonry blade
is not the best way to cut tiles, but I already had it in the saw, so I figured
I might as well use it.
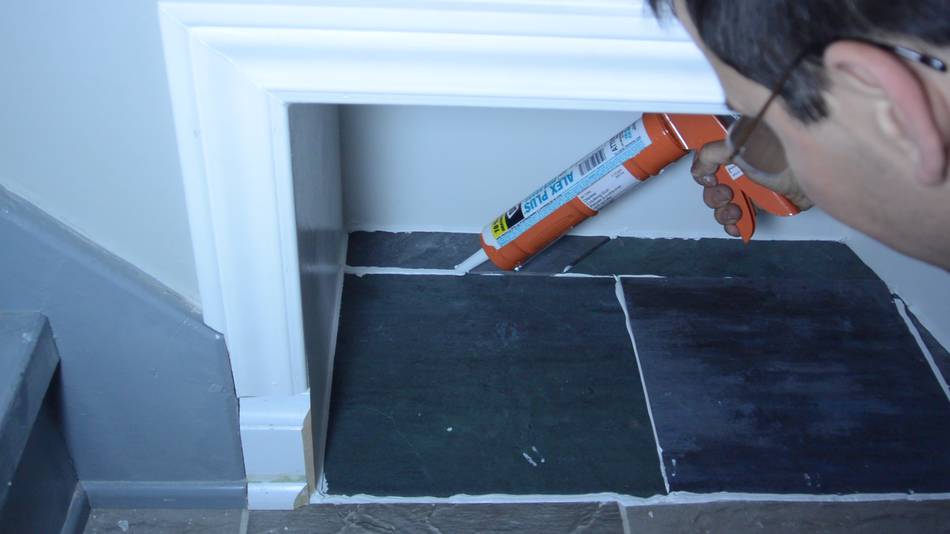
I used some caulking to glue the tiles down.
This is not the proper way to install tiles, but these
won't get walked on. And for about two and a half tiles, caulking is
more convenient.
I also used caulking as grout to fill the gaps between. Working these flush was
a bit of a messy job though. I have learned to always have a roll of paper
towel handy when working with caulking, because otherwise, it gets smeared
just everywhere. Even with paper towel, it's messy. You have to be careful
not to re-wipe a piece or you end up spreading caulking everywhere.
Professionals are good at putting down a good bead the right way the first
time around, and for inside corners, I can barely manage myself.
But I couldn't make any sort recessed bead between the tiles (like grout would be).
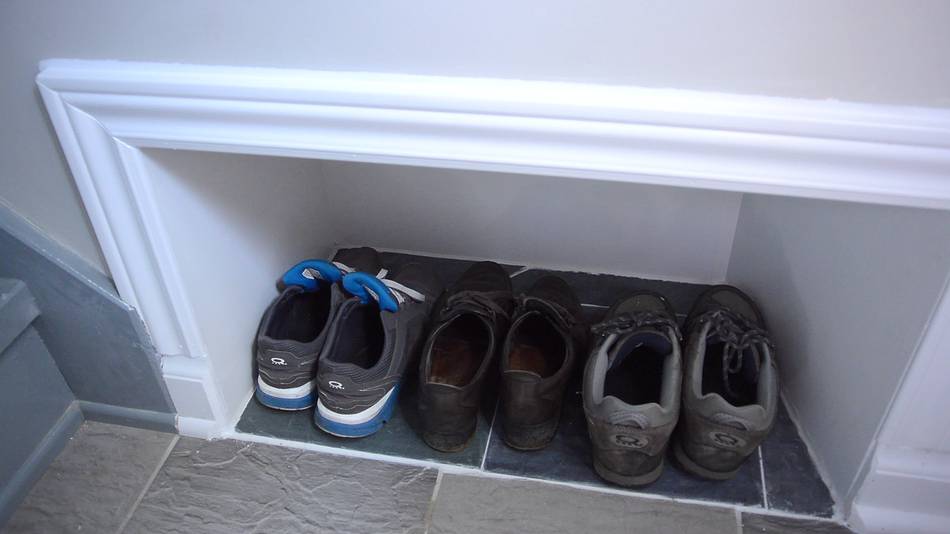
That was a lot of work to make room for three pairs of shoes!
But then again, this nook will probably end up holding a lot
more than three pairs over time!
 I always keep my shoes behind the back door of my house, but
as shoes accumulate it becomes increasingly difficult to open
the back door, and the number of shoes is about to increase.
I finally decided to make a little more room by adding a boot nook
behind the door.
I always keep my shoes behind the back door of my house, but
as shoes accumulate it becomes increasingly difficult to open
the back door, and the number of shoes is about to increase.
I finally decided to make a little more room by adding a boot nook
behind the door.
 Installing a skylight
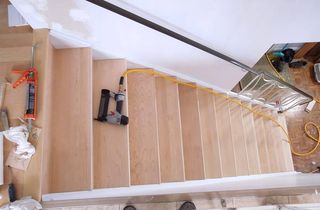 New treads for old stairs
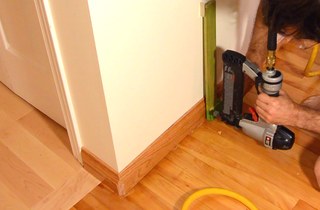 Installing baseboards
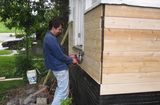 Porch repairs
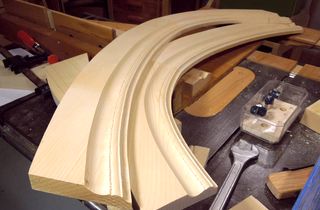 Making curved molding
 Parallelogram baby gate
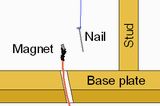 Fishing wires
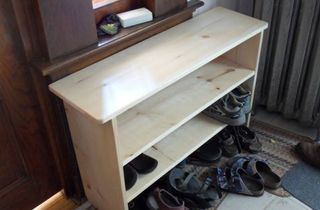
 Flushing a running