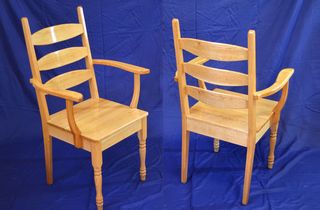
 My dad came up with an elegant and simple kitchen / dining chair design, of which he
made quite a lot over the years. I wanted to build some chairs like that myself.
My dad came up with an elegant and simple kitchen / dining chair design, of which he
made quite a lot over the years. I wanted to build some chairs like that myself.
My dad came up with an elegant and simple kitchen / dining chair design, of which he
made quite a lot over the years. I wanted to build some chairs like that myself.
My dad always cut the curved rungs on the back out of a much thicker piece of wood, but I didn't have any pieces of hardwood thick enough for that, so I decided to make them by bending the wood. My preliminary experiment showed that this should work.
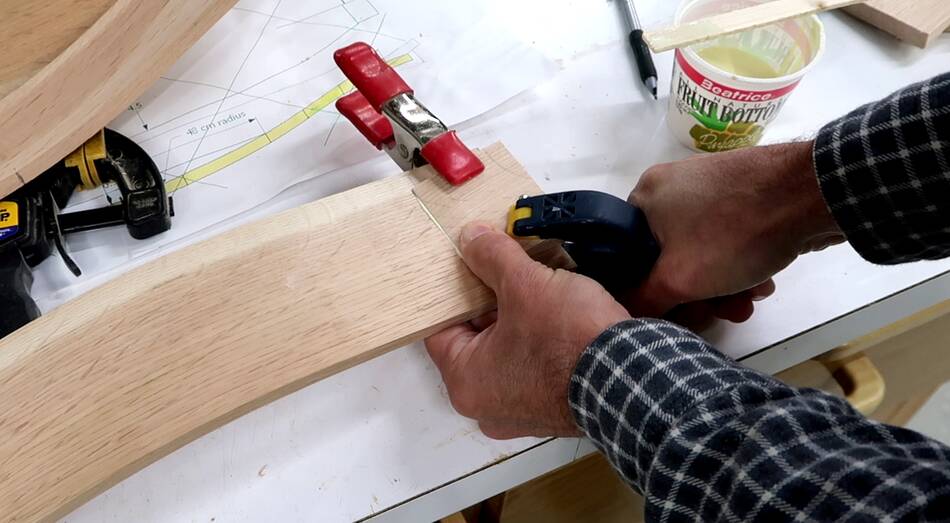
 I cut out some bending forms out of 2x6 material, here marking a 48 cm radius of it
with my beam compass.
I cut out some bending forms out of 2x6 material, here marking a 48 cm radius of it
with my beam compass.
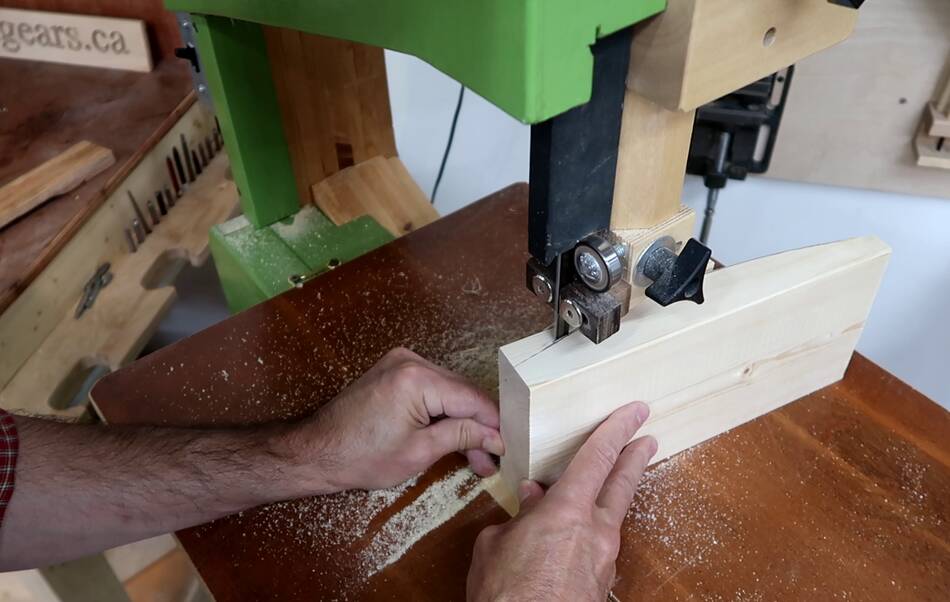 Then cutting that out on my 16" bandsaw.
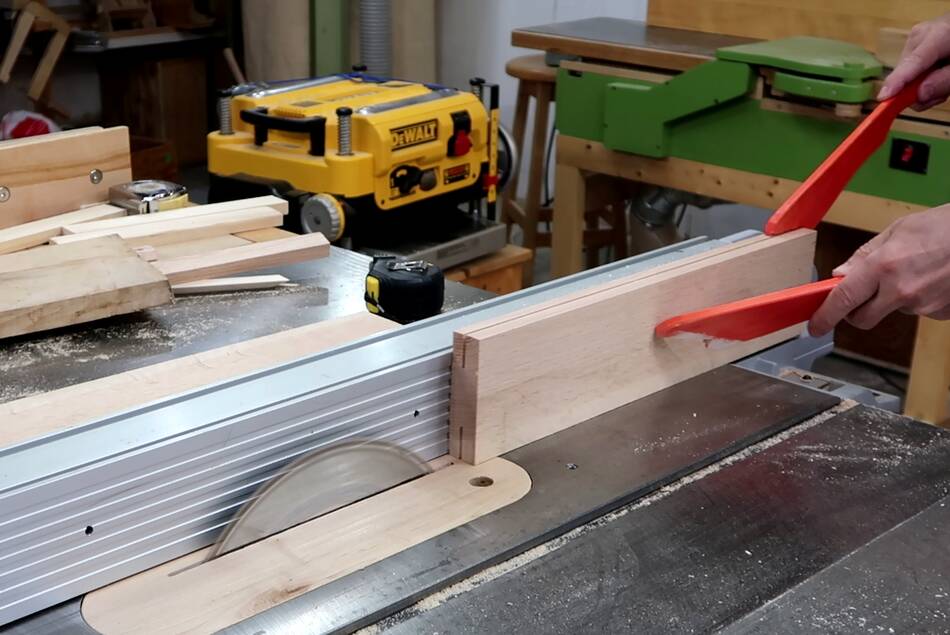 The back piece will be 8 mm thick, so I can resaw the oak that I have into two
layers. I'm doing that in four passes on the table saw. A shallow path from either
side, then a deeper path. It's best to do this with a higher feed rate to avoid
burning, but my saw isn't powerful enough to do a fast pass even at half depth.
After that a few passes through the planer.
The back piece will be 8 mm thick, so I can resaw the oak that I have into two
layers. I'm doing that in four passes on the table saw. A shallow path from either
side, then a deeper path. It's best to do this with a higher feed rate to avoid
burning, but my saw isn't powerful enough to do a fast pass even at half depth.
After that a few passes through the planer.
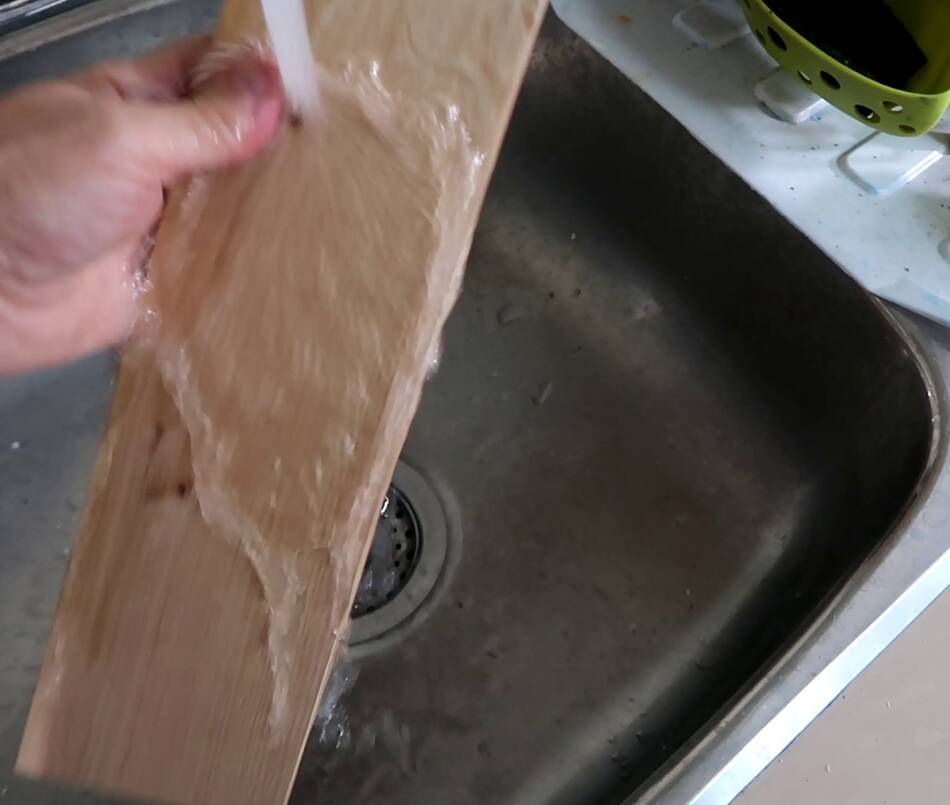 I wetted the pieces initially. Not sure if that mattered any.
I'm bending primarily through heat, not moisture.
I wetted the pieces initially. Not sure if that mattered any.
I'm bending primarily through heat, not moisture.
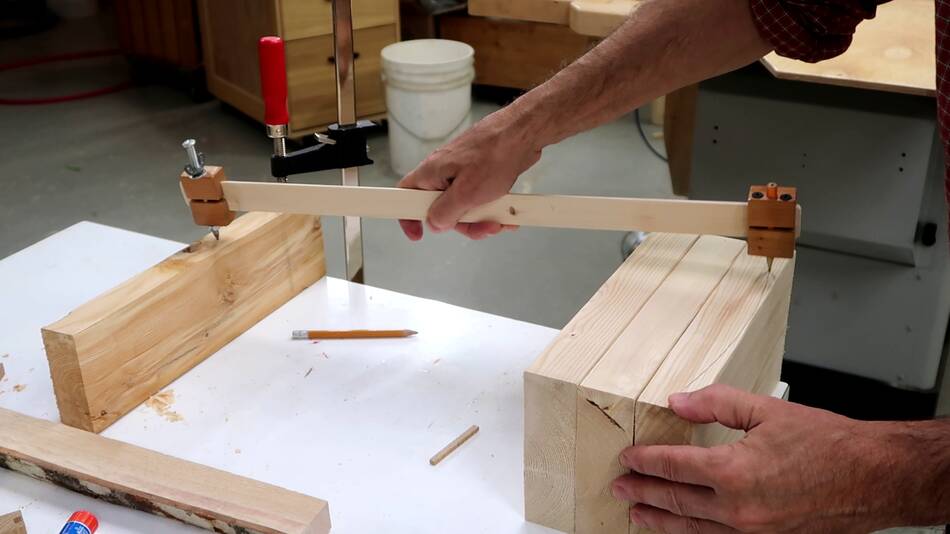
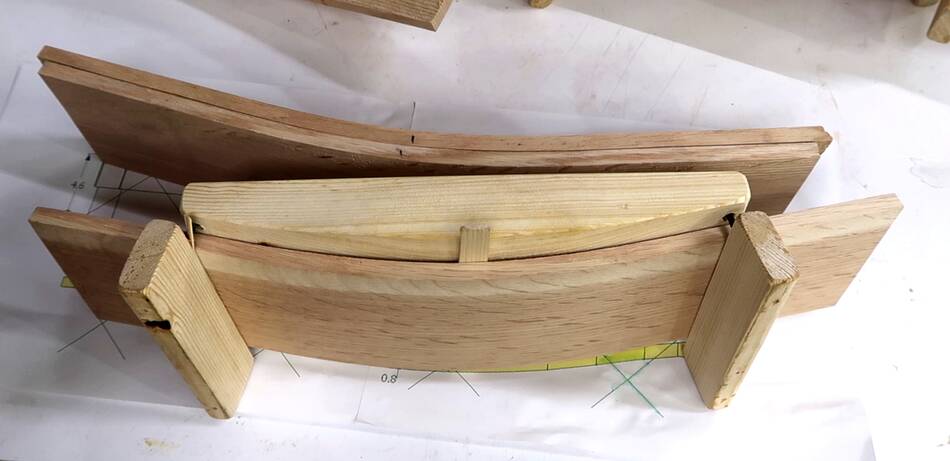
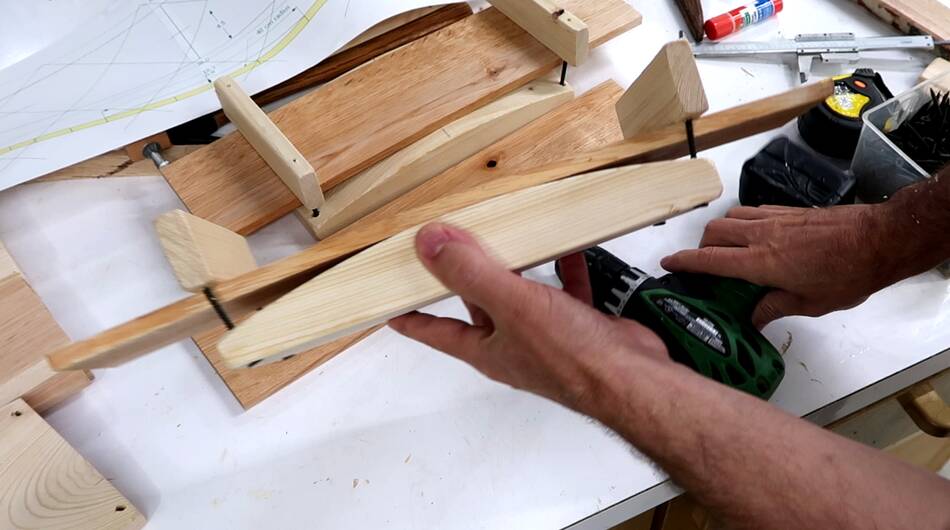 Initial clamping in the jigs. I'm only bending the pieces a little before
heating up.
Initial clamping in the jigs. I'm only bending the pieces a little before
heating up.
The jig isn't as long as the workpiece. The back rungs are straight towards the ends so the ends don't need to be in the jig.
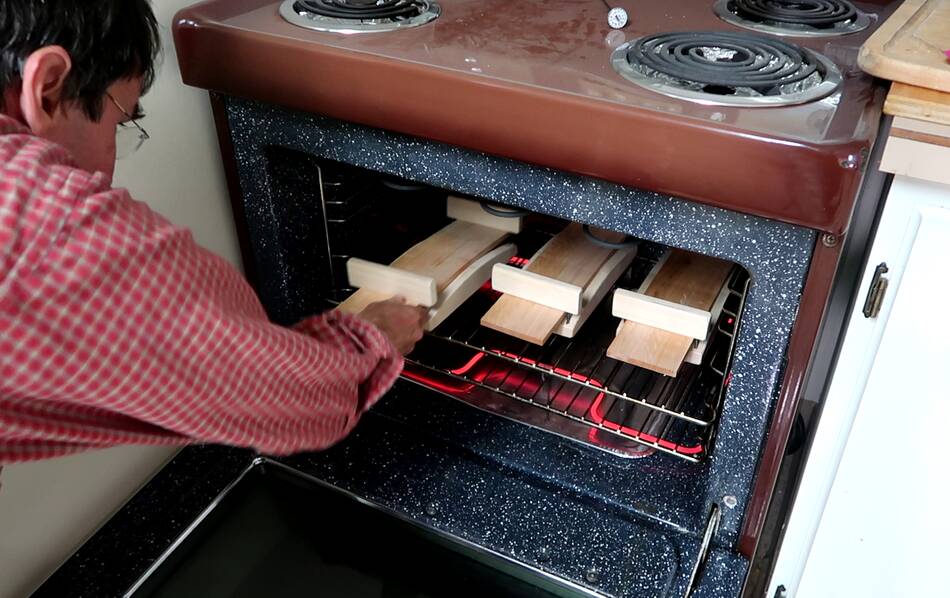 Then into the stove, set to 300°F (148°C)
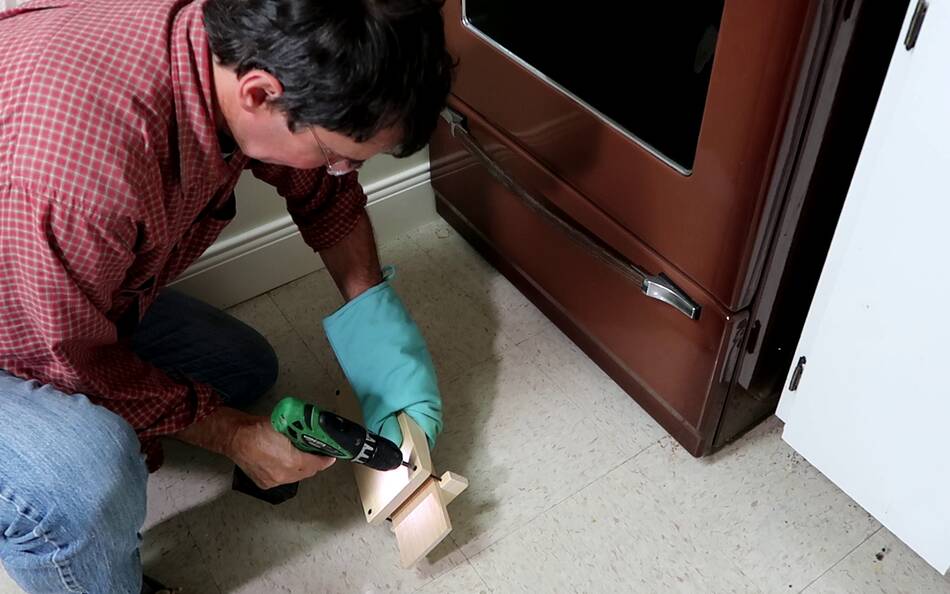 After baking for about ten minutes, I pull the pieces out one at a time and
tighten the screws about two thirds of the way. Then back in the oven to bake
another five minutes.
After baking for about ten minutes, I pull the pieces out one at a time and
tighten the screws about two thirds of the way. Then back in the oven to bake
another five minutes.
 Then I took them out again and tightened the screws all the way. Then back
in the oven. I let it bake for another 20 minutes, then turned off the oven and
slowly let it cool down.
Then I took them out again and tightened the screws all the way. Then back
in the oven. I let it bake for another 20 minutes, then turned off the oven and
slowly let it cool down.
I don't know if all that time is necessary, but I figure the longer the better.
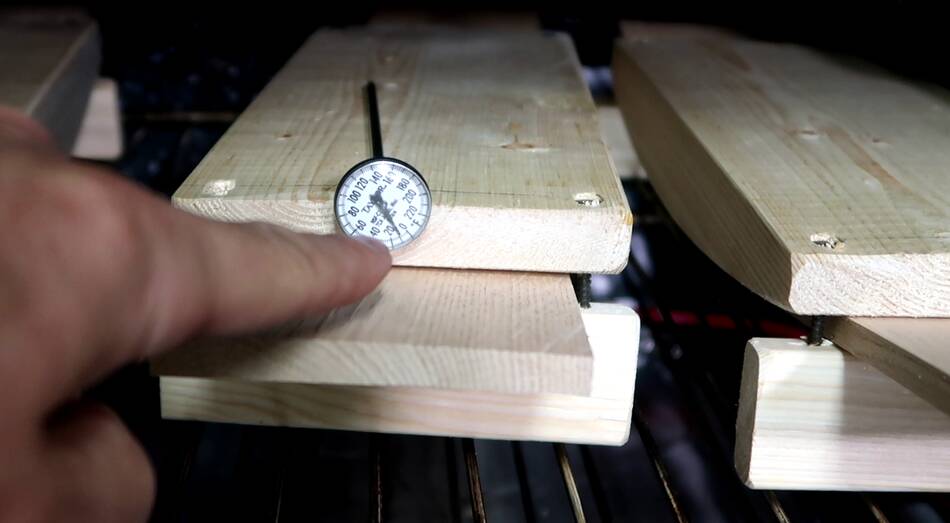 I also checked the temperature with a thermometer. It's hot enough that the
thermometer has gone all the way around, so it really reads 250°F, not 5°.
That's about 121°C. Oven thermostats are not known to be very accurate.
I also checked the temperature with a thermometer. It's hot enough that the
thermometer has gone all the way around, so it really reads 250°F, not 5°.
That's about 121°C. Oven thermostats are not known to be very accurate.
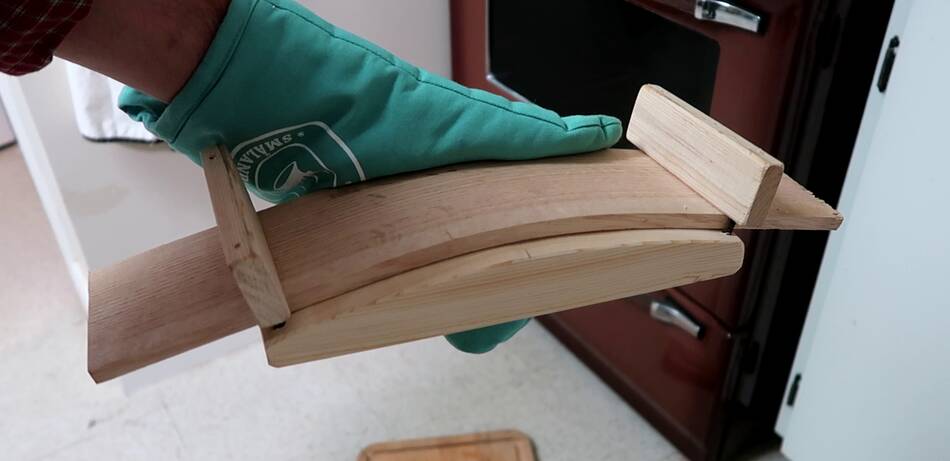
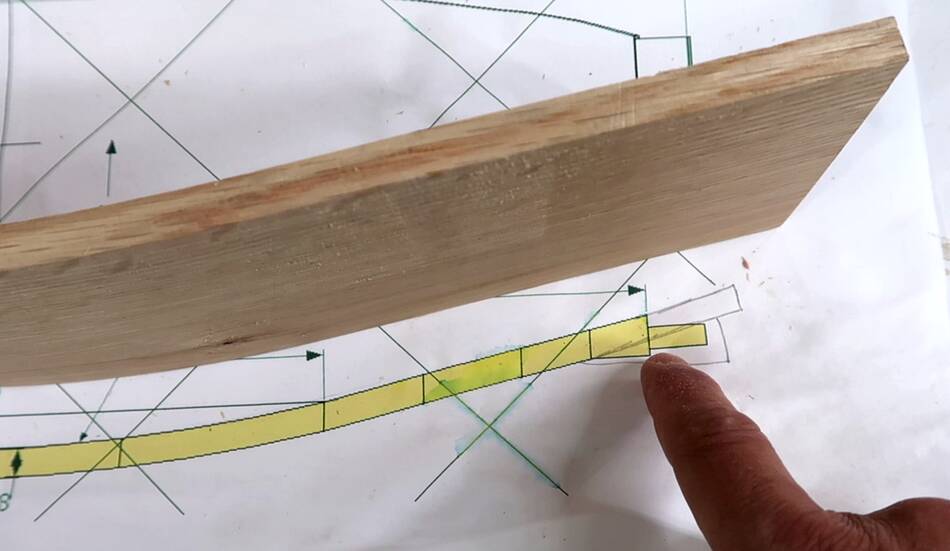
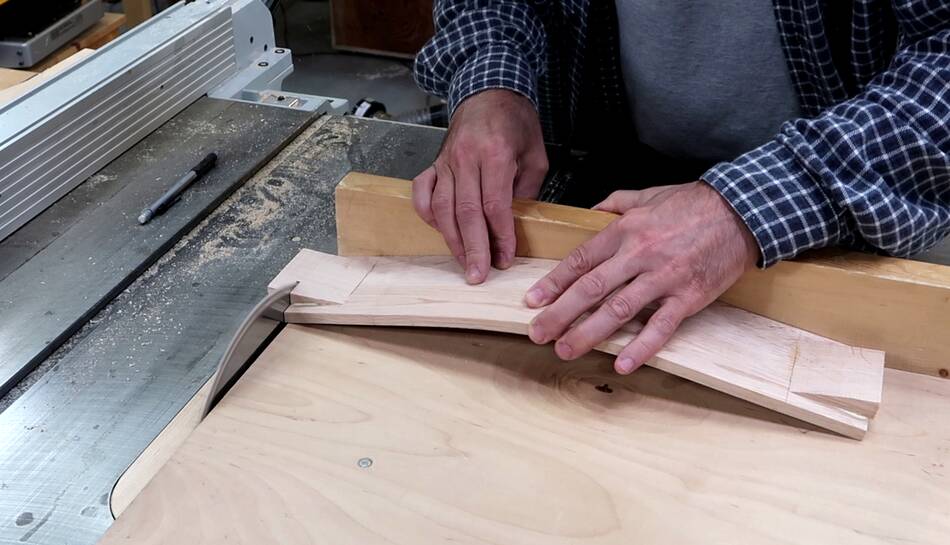
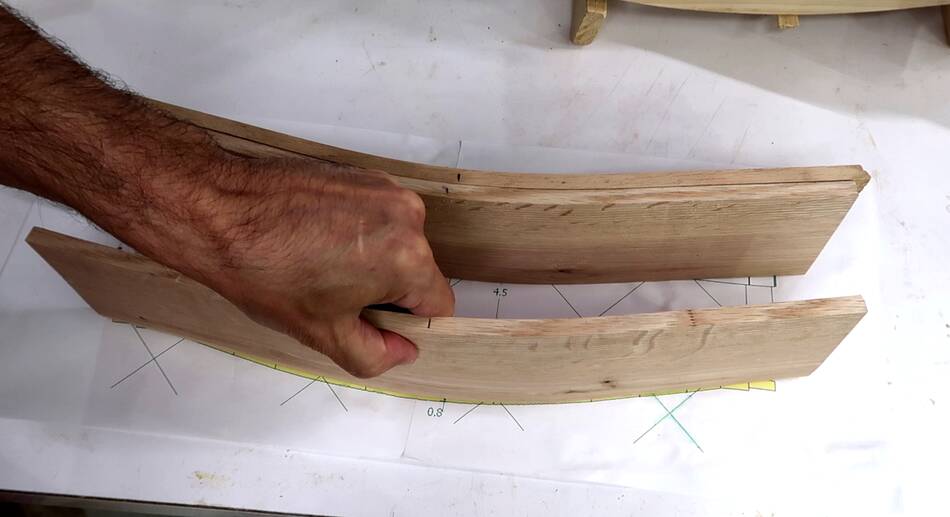 There was a bit of spring-back, so the curvature was slightly less than
what I had in my CAD drawings.
There was a bit of spring-back, so the curvature was slightly less than
what I had in my CAD drawings.
 For the second batch of three I put a small shim in the middle to increase the
curvature. I then re-baked the firs three pieces with that shim in as well to get
them all the same.
For the second batch of three I put a small shim in the middle to increase the
curvature. I then re-baked the firs three pieces with that shim in as well to get
them all the same.
 I want to have a tenon on the ends of the back rungs that will be perpendicular
to he back piece, but that means the workpiece isn't enough to make the tenons,
so I need to glue a wedge on the back of the bent piece to make that tenon.
I want to have a tenon on the ends of the back rungs that will be perpendicular
to he back piece, but that means the workpiece isn't enough to make the tenons,
so I need to glue a wedge on the back of the bent piece to make that tenon.
An angled mortise would make the wedge unnecessary, but that introduces other complexity and also means the mortise needs to be a fair bit back on the vertical parts, which will make for a discontinuity on the back, which in turn could be uncomfortable to lean against.
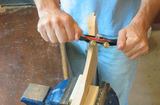
 Gluing on the wedges.
 Then cutting all the pieces to length.
 I'm going to cut the tenons using the pantorouter.
I made the tenon template by
cutting a narrow piece of plywood, with the sides at about 5 degrees. The taper will
allow for tweaking the size. To shape the ends, I tilted my
strip sander's table 5 degrees
towards the belt, then sanded towards the circle that I marked by tracing around a washer.
I'm going to cut the tenons using the pantorouter.
I made the tenon template by
cutting a narrow piece of plywood, with the sides at about 5 degrees. The taper will
allow for tweaking the size. To shape the ends, I tilted my
strip sander's table 5 degrees
towards the belt, then sanded towards the circle that I marked by tracing around a washer.
I figured the pantorouter was the best tool for cutting tenons on an odd shaped workpiece like this.
 I clamped a piece of wood to the far edge of the pantorouter table to make sure the workpiece
ended up level on the table, then clamped it down and started cutting the tenon.
I clamped a piece of wood to the far edge of the pantorouter table to make sure the workpiece
ended up level on the table, then clamped it down and started cutting the tenon.
But the workpiece immediately started sliding towards the router. The way I had it clamped level on top but the angled part resting on the table, vibrations drive it towards the router bit.
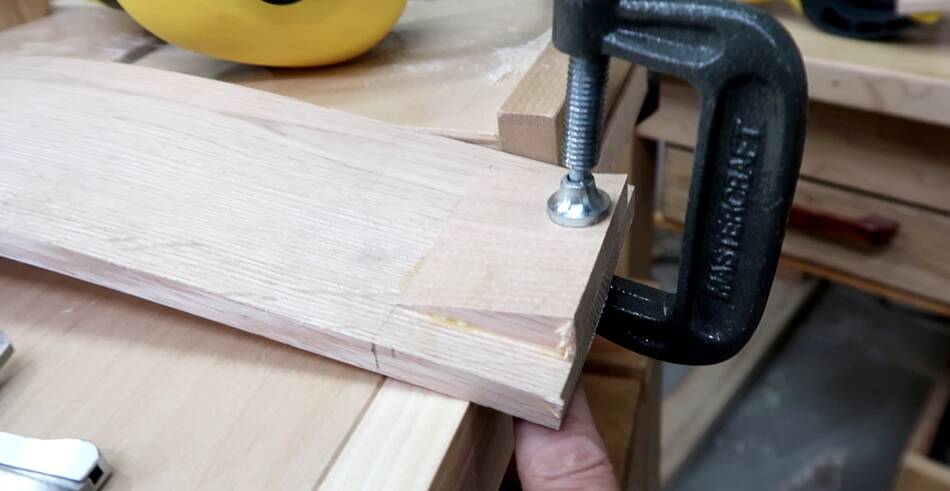 So I put a C-clamp on the opposite end. The C-clamp bumps up against the table and
prevents it from sliding forward.
So I put a C-clamp on the opposite end. The C-clamp bumps up against the table and
prevents it from sliding forward.
But that clamp is clamped to the wedge and slid in a bit as I tightened it, so I ended up inadvertently pulling the workpiece back a bit.
So I changed it to have a clamp on either side of the wedge.
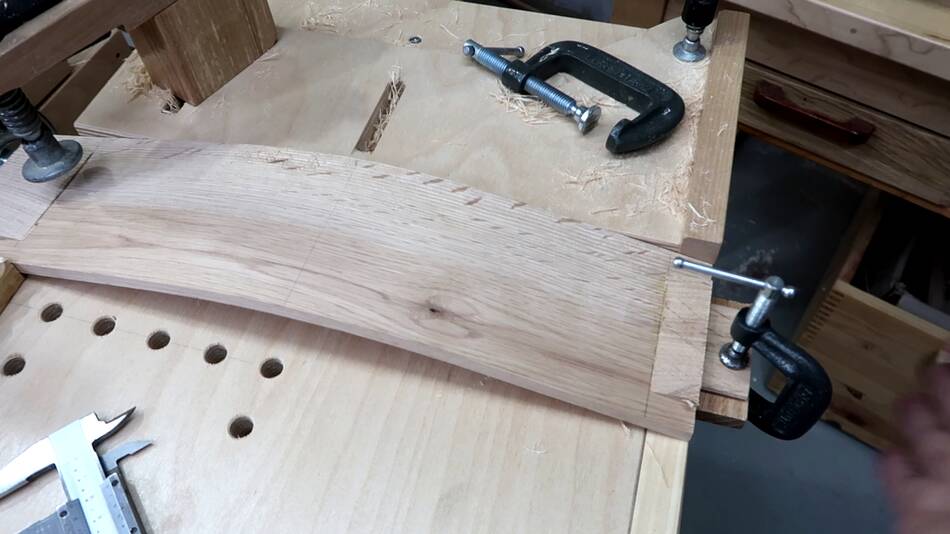
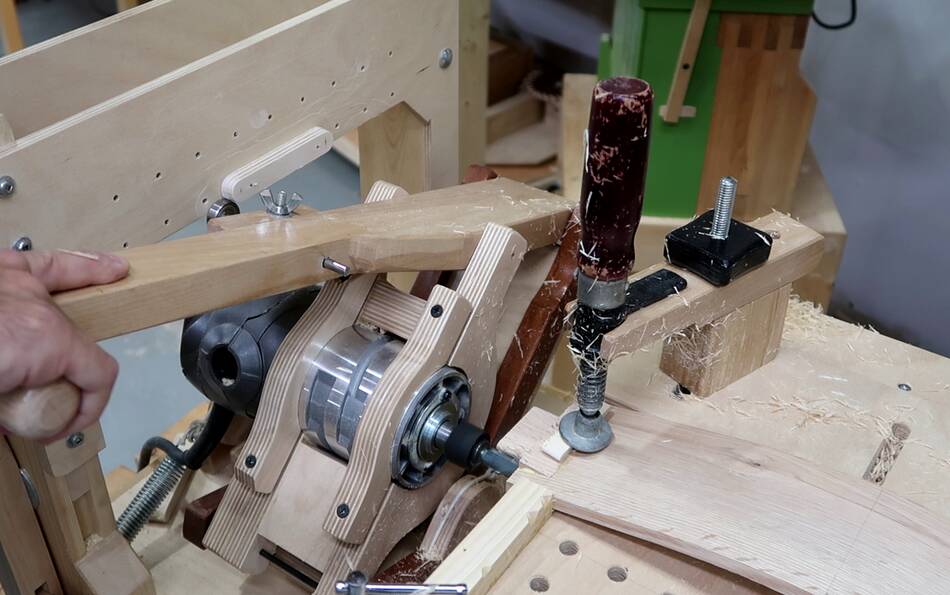 Finally I was able to cut the first tenon. Though, as I cut it, the hold-down
clamp seen in this picture gradually loosened itself from vibrations.
Finally I was able to cut the first tenon. Though, as I cut it, the hold-down
clamp seen in this picture gradually loosened itself from vibrations.
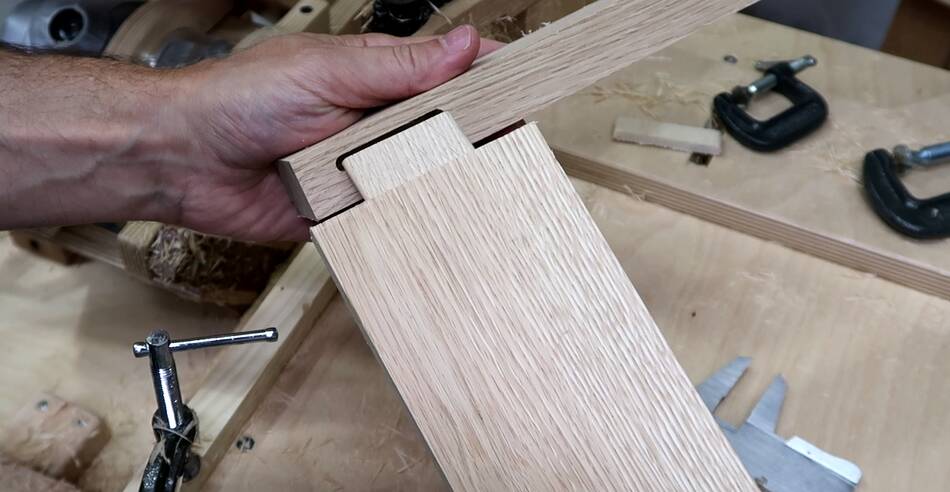 Checking the fit against a tenon cut in a scrap of wood.
 The front edge will form a relatively small step with the vertical part of the
chair back.
The front edge will form a relatively small step with the vertical part of the
chair back.
 The tenon shoulder to shoulder distance needs to be just right. So to get this
just right, I clamped a block to the tenon I just cut and hooked that over the
far edge of the table, and set the depth stop so that the router's bit's
front edge was the right distance from the far end of the table.
The tenon shoulder to shoulder distance needs to be just right. So to get this
just right, I clamped a block to the tenon I just cut and hooked that over the
far edge of the table, and set the depth stop so that the router's bit's
front edge was the right distance from the far end of the table.
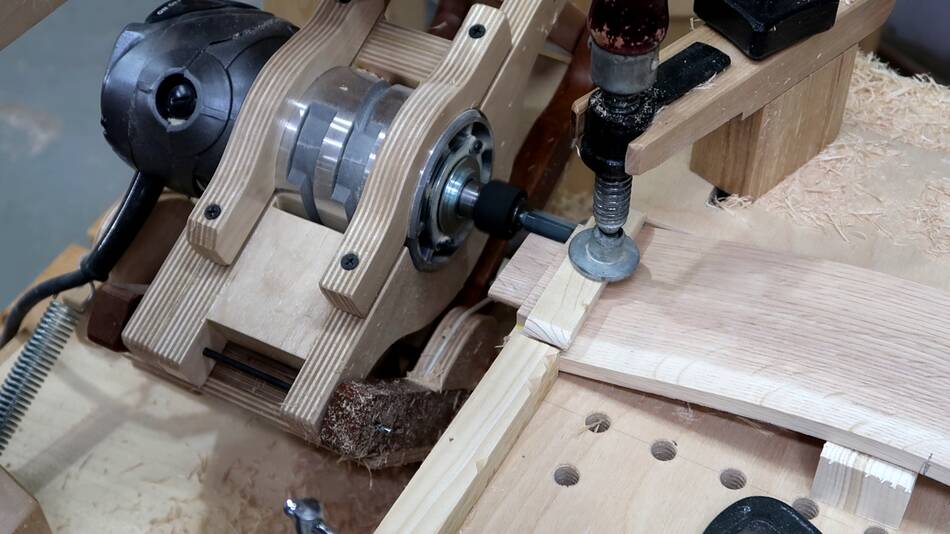
 I also had a side stop for the workpiece. I get much better cut quality and precision
by making all the cuts "climb cuts", but this means sometimes the router pulls
itself hard into the workpiece, which can pull the workpiece loose. Because the
piece is bent, I couldn't clamp it down really hard, because that would flatten
the workpiece while I'm working on it, which would screw up the precision.
I also had a side stop for the workpiece. I get much better cut quality and precision
by making all the cuts "climb cuts", but this means sometimes the router pulls
itself hard into the workpiece, which can pull the workpiece loose. Because the
piece is bent, I couldn't clamp it down really hard, because that would flatten
the workpiece while I'm working on it, which would screw up the precision.
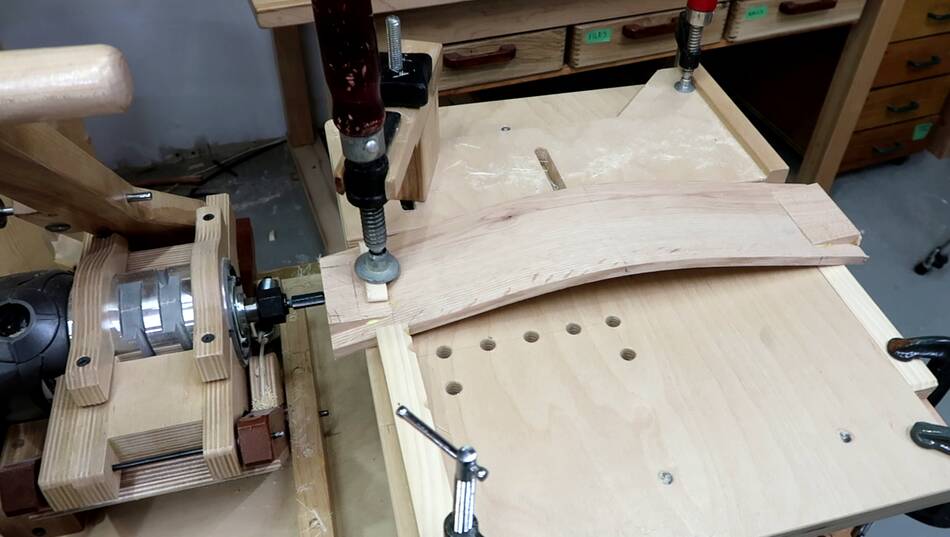
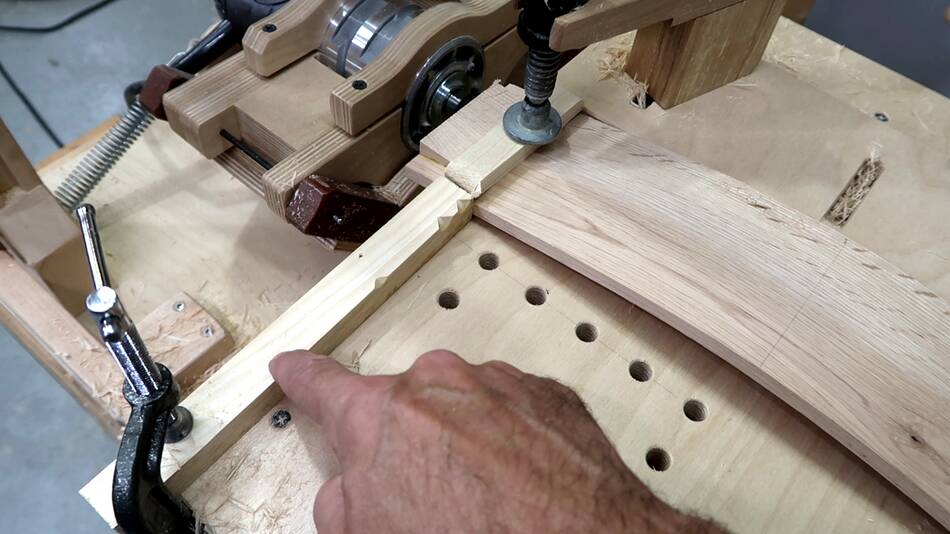
 Eventually, I added a block to go under the workpiece (bottom right of image)
to support the middle of the workpiece's curvature. This allowed me to clamp it
down harder without straightening it too much. And with harder
clamping, the vibrations weren't enough to loosen the clamping screw anymore.
Eventually, I added a block to go under the workpiece (bottom right of image)
to support the middle of the workpiece's curvature. This allowed me to clamp it
down harder without straightening it too much. And with harder
clamping, the vibrations weren't enough to loosen the clamping screw anymore.
 Checking the six pieces for length. One is nearly a millimeter longer. I will have
to shave that back a bit later, probably on the table saw (I can't re-cut it on
the pantorouter because shifting it towards the router will also shift it down a bit,
which will cut away more of the tenon and make it too thin.
Checking the six pieces for length. One is nearly a millimeter longer. I will have
to shave that back a bit later, probably on the table saw (I can't re-cut it on
the pantorouter because shifting it towards the router will also shift it down a bit,
which will cut away more of the tenon and make it too thin.
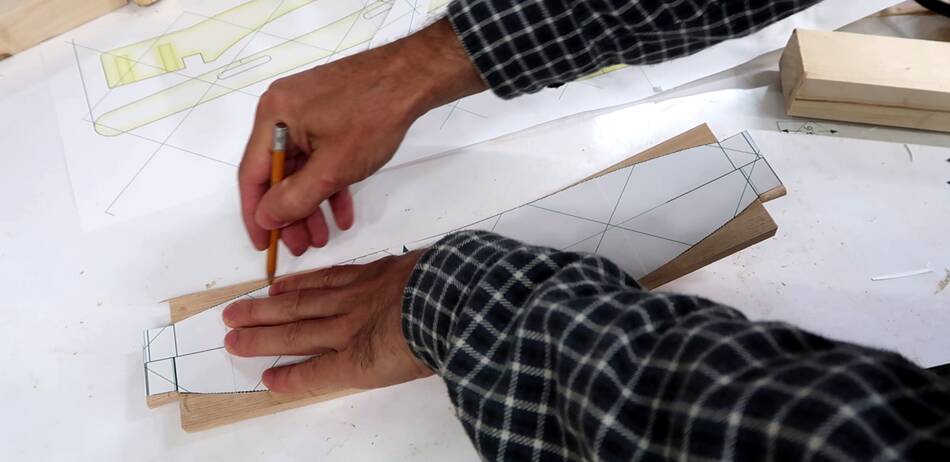 I had printed 1:1 templates from my CAD model using my
BigPrint program. I cut out the 1:1 template of the back rungs from my CAD model
and traced that on all the pieces...
I had printed 1:1 templates from my CAD model using my
BigPrint program. I cut out the 1:1 template of the back rungs from my CAD model
and traced that on all the pieces...
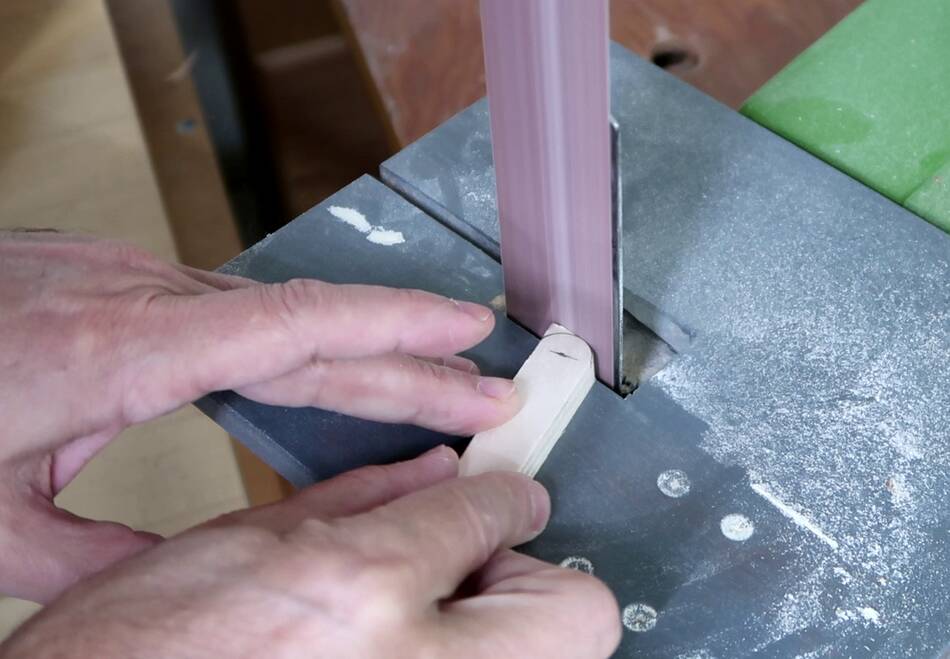
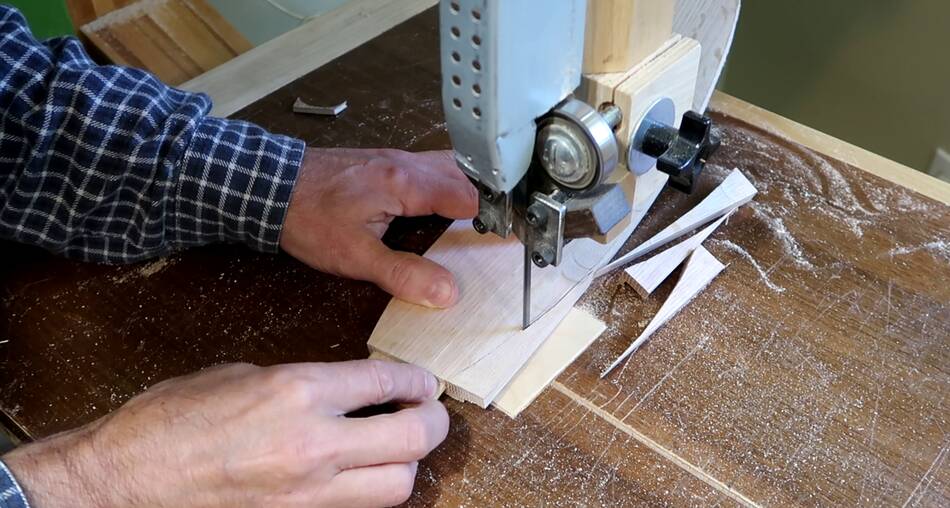 ... then cut those out on the bandsaw....
 ... and smoothed the cut on my belt sander.
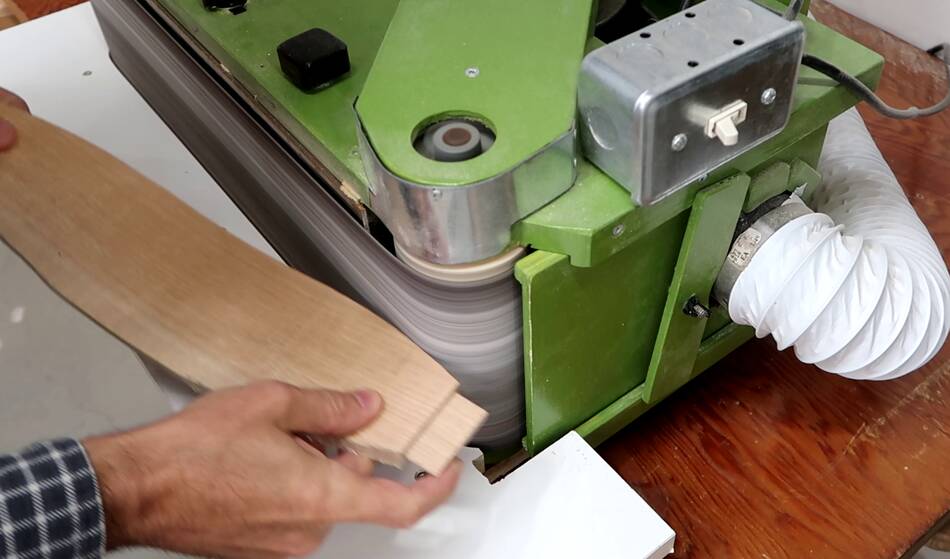
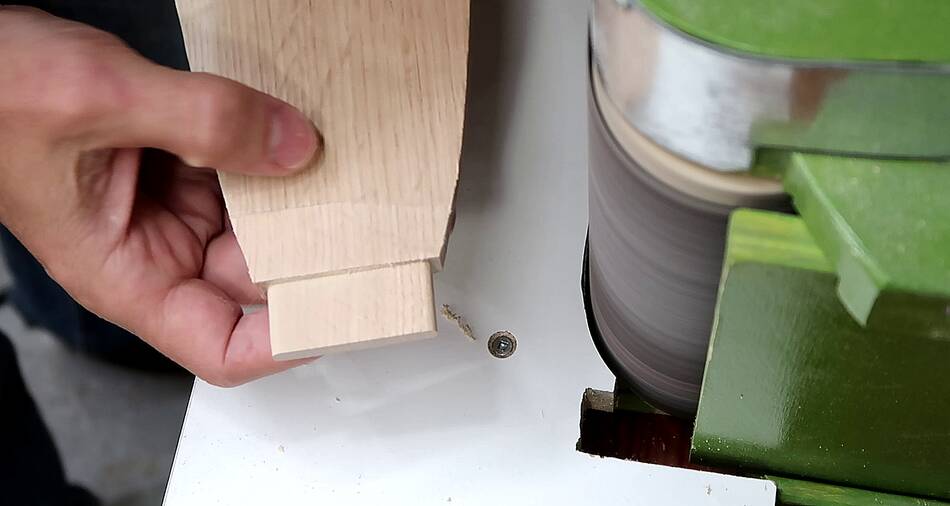
 I also smoothed the transition to the wedge on the sander. This required sanding off
about 2 mm in places. Fortunately, the cuts collection is right next to the
drum here, so all the dust gets nicely captured by the dust collector.
I also smoothed the transition to the wedge on the sander. This required sanding off
about 2 mm in places. Fortunately, the cuts collection is right next to the
drum here, so all the dust gets nicely captured by the dust collector.
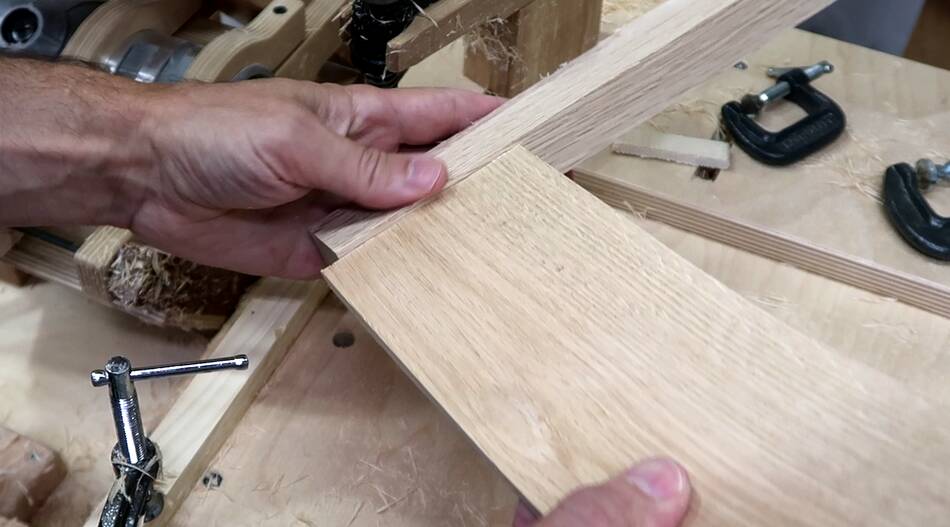
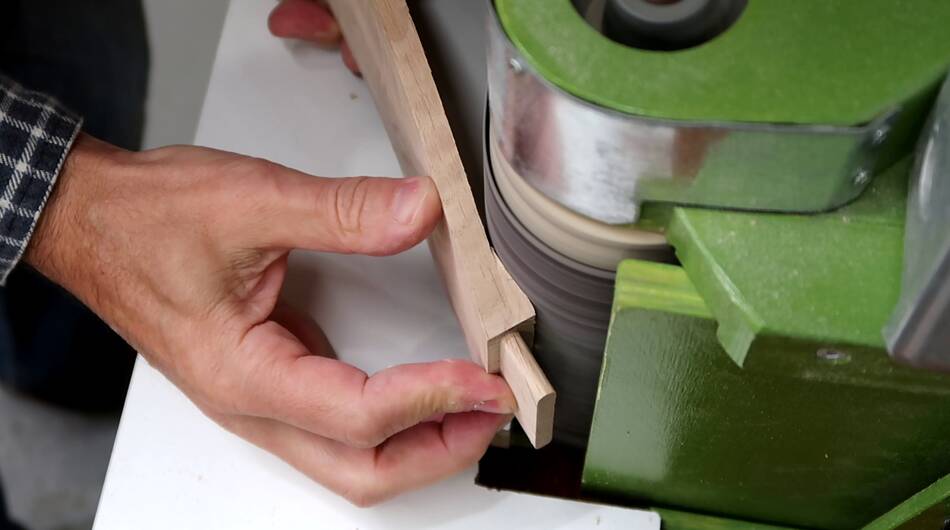
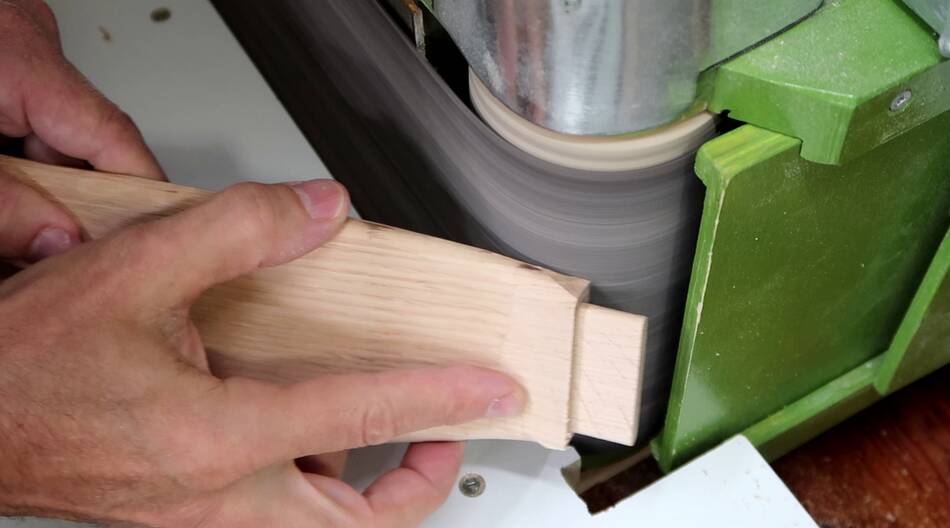
 Smoothed transition. You can still se the grain discontinuity, but this will be on
the back.
Smoothed transition. You can still se the grain discontinuity, but this will be on
the back.
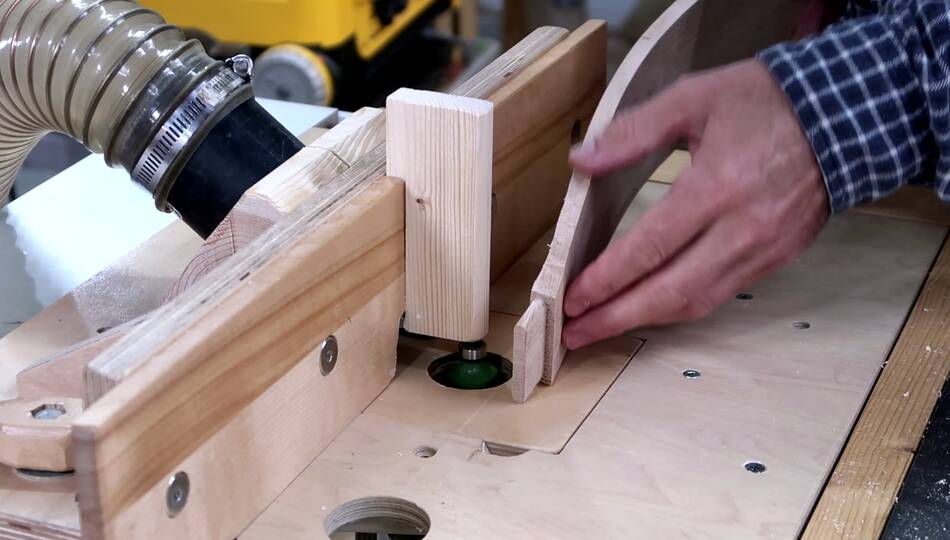 Then adding a 1/4" roundover to the edges. I had to come up with this "nose" on
the router fence so I could use it to guide the workpiece vertically while routing
the inside curve.
Then adding a 1/4" roundover to the edges. I had to come up with this "nose" on
the router fence so I could use it to guide the workpiece vertically while routing
the inside curve.
The router bit is not up all the way, because with an 8mm thick workpiece, I can't add a 1/4" (6 mm) roundover to both sides.
 Then more work on the belt sander, smoothing the ends, and going over the edges
because the router caused a bit of burning in places where I slowed down.
Following a compound curve of the back round was tricky, so I wasn't able to
get a nice continuous motion.
Then more work on the belt sander, smoothing the ends, and going over the edges
because the router caused a bit of burning in places where I slowed down.
Following a compound curve of the back round was tricky, so I wasn't able to
get a nice continuous motion.
I also got a bit of tear-out on the back side in a few places that I had to clean up The fibers on the back side have been stretched from bending so they are more prone to tearing out. I ended up routing some of the back edges backwards (a climb cut) to avoid tear out. Though that's not the safest either, as the router can really grab the wood that way. But only cutting away a 1/4" roundover, it doesn't have that much to grab by.
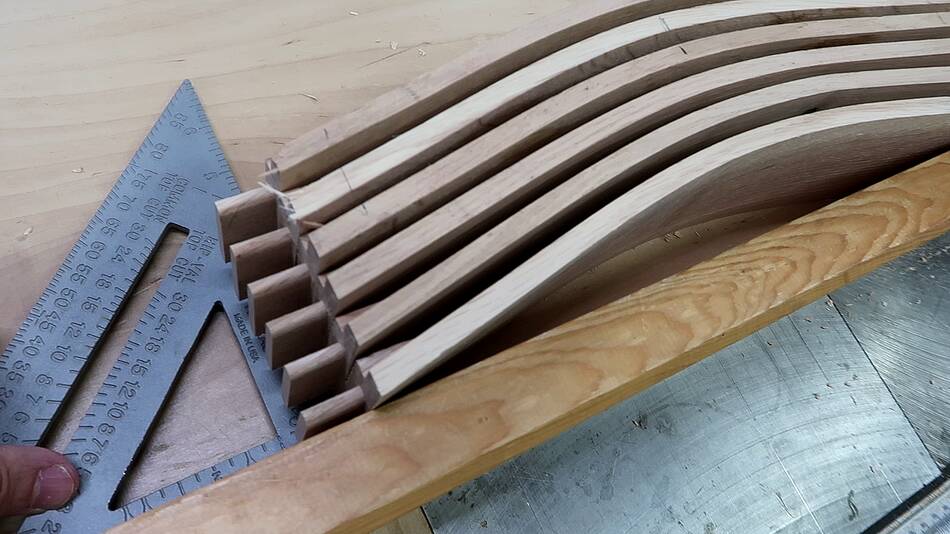
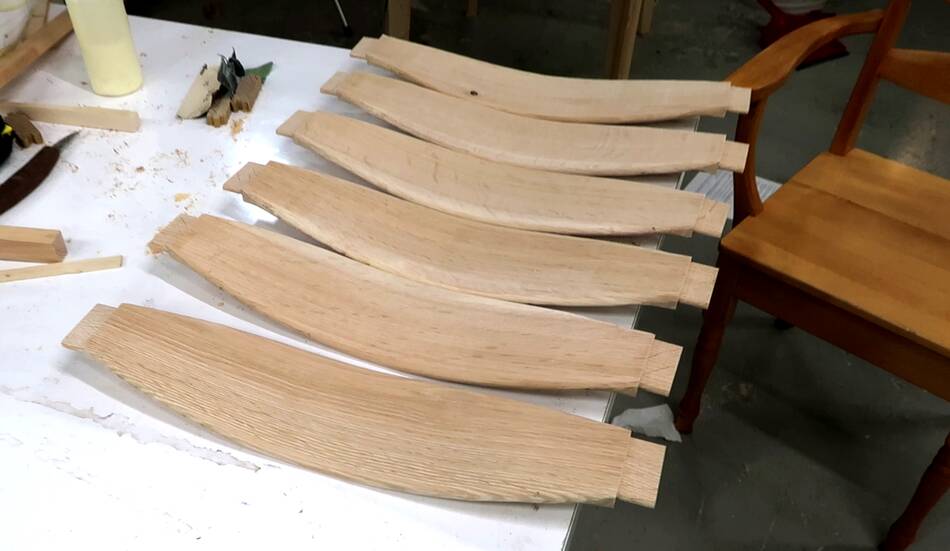 Six back rungs cut. Now I just need to build the rest of the chairs.
The rest of the chairs build will be more straightforward, but more work. But I made the back rungs first because I wasn't sure if this method would work.
The bending worked better than expected, but securing the bent workpiece to the pantorouter was more trouble than I anticipated. If I was doing this again, I think I'd build a curved form to fully support the workpiece on the pantorouter, so I could clamp it down more firmly without worrying about flexing the workpiece.
Thirteen years earlier I made some back rungs by cutting them out of a larger piece like my dad always did. That certainly was more straightforward, but that presents challenges of its own too.
There are always a lot of YouTube comments, many of them suggesting ideas that I thought about but decided not to use. In an article, I usually ramble on a bit more about why I didn't do this or that, but that sort of thing would make a video too long, so me not mentioning a bad idea means people don't realize I considered their favourite idea and dismissed it before I even made the video, so it gets suggested. I thought I'd make a video talking about some of these ideas and other detaisl about the chair rungs.
 Making kitchen chairs (2020)
Last time making chairs:
 Hand carved chair rungs (2007)
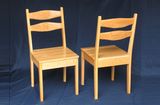 Making kitchen chairs (2007)
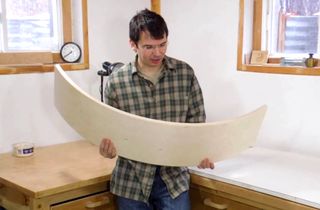 Curvy board A bent lamination plywood experiment (2012)
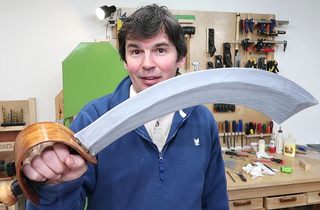 Bent lamination using steam (2009 & 2020)
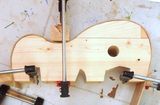 Steam bending ukulele sides (2013)
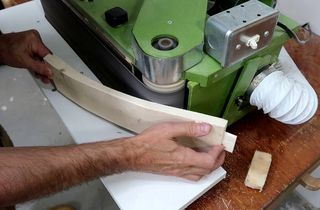 Simpler curved back rungs, cut, not bent
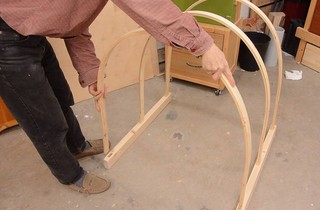 Bent lamination "playhouse" structure
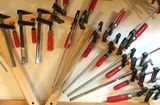 Bent lamination weaving frame
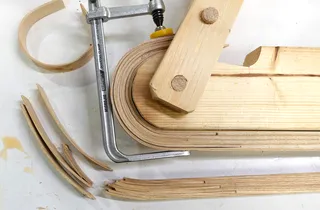 Wood bending: If at first you do succeed, try and fail again! (2026)
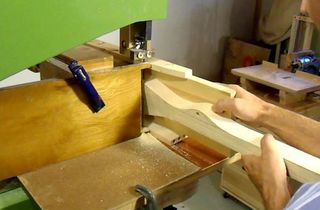 Carving canoe paddles
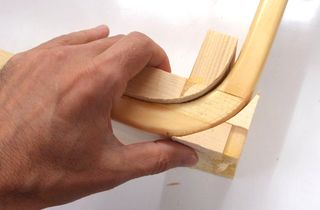 Curved box joint
 Dad's furniture