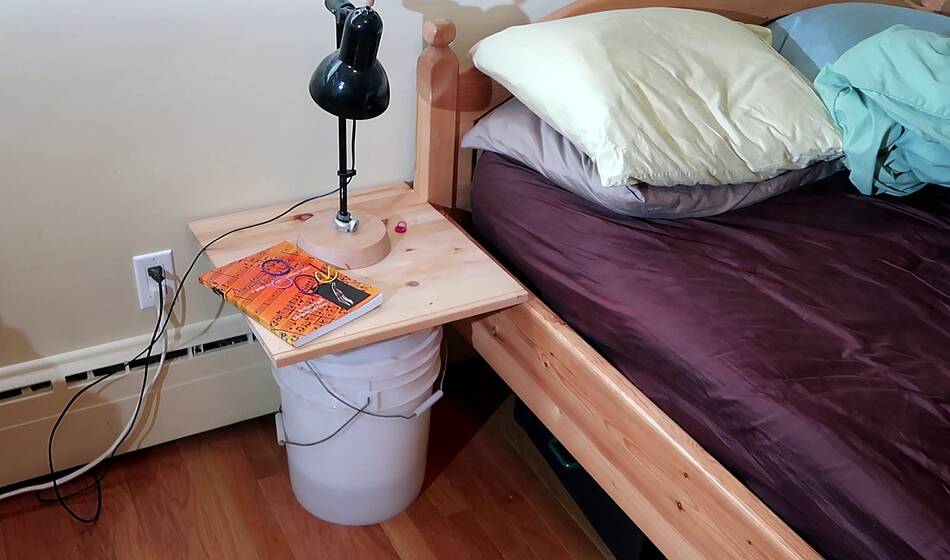
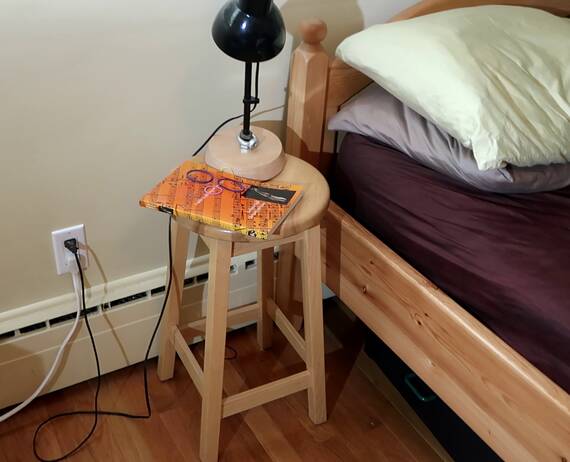
 Rachel had been using a stool as a nightstand but wanted something bigger.
So I put some buckets with a board on top in its place to prototype
a nightstand for size.
Rachel had been using a stool as a nightstand but wanted something bigger.
So I put some buckets with a board on top in its place to prototype
a nightstand for size.
Rachel had been using a stool as a nightstand but wanted something bigger.
So I put some buckets with a board on top in its place to prototype
a nightstand for size.
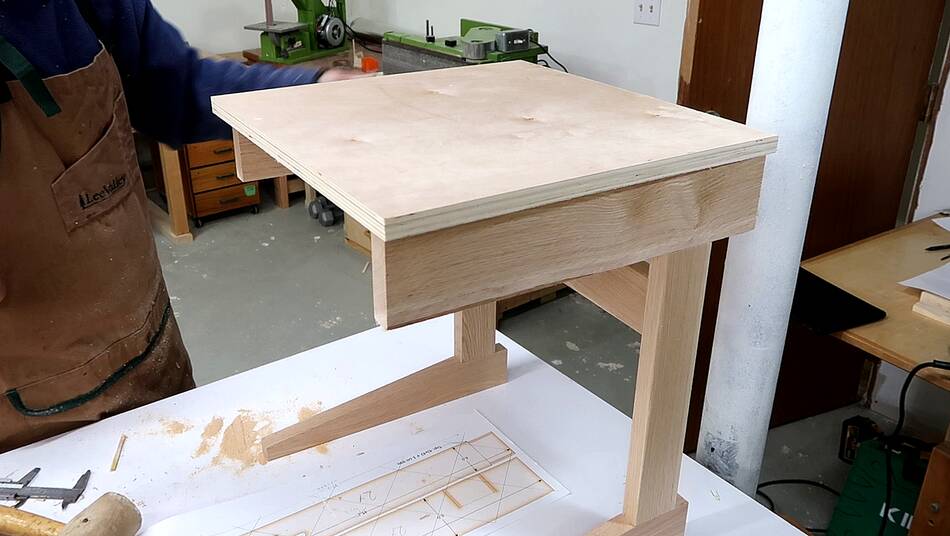
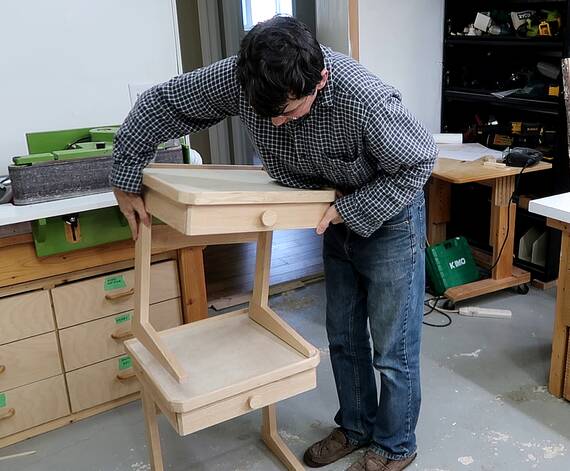
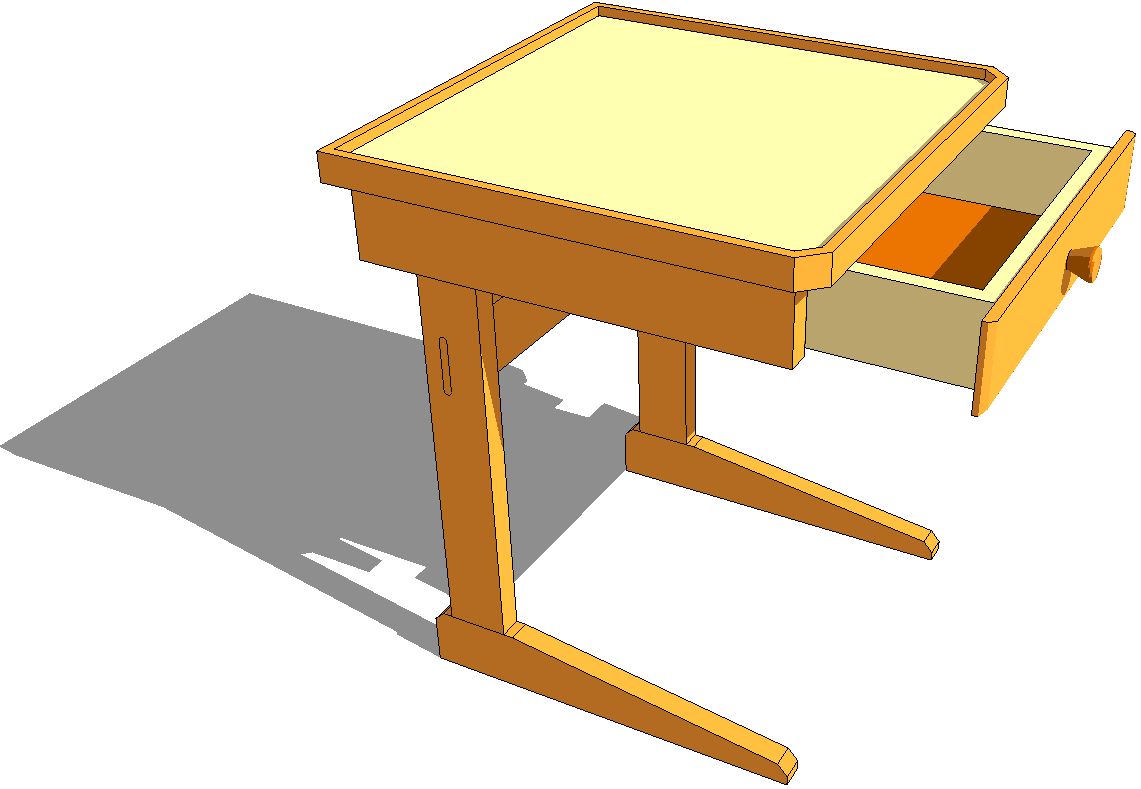 I wanted to make a very minimal design, and in this room I already had
this cantilevered work table in it, so I
took that as an inspiration for the night table, but with a drawer.
I wanted to make a very minimal design, and in this room I already had
this cantilevered work table in it, so I
took that as an inspiration for the night table, but with a drawer.
I liked this design enough that I later made a free set of plans for it.
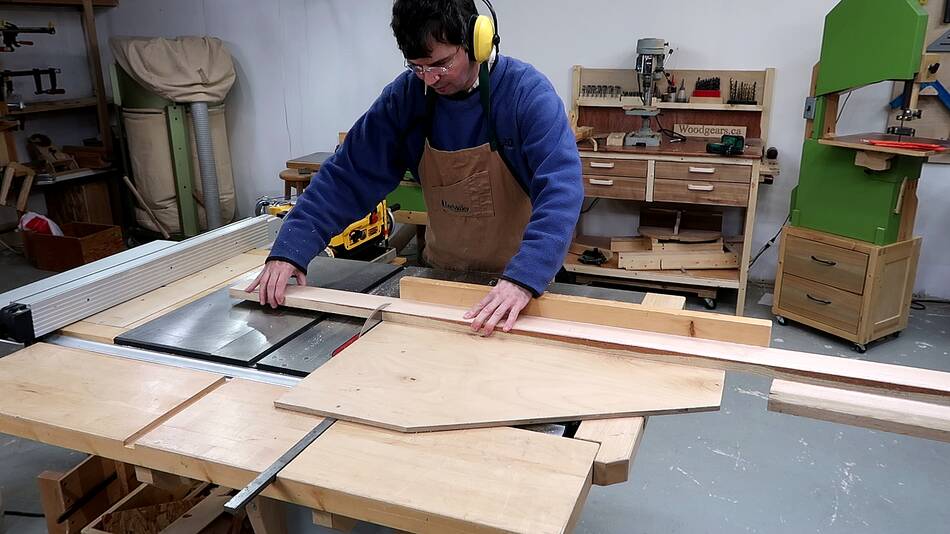
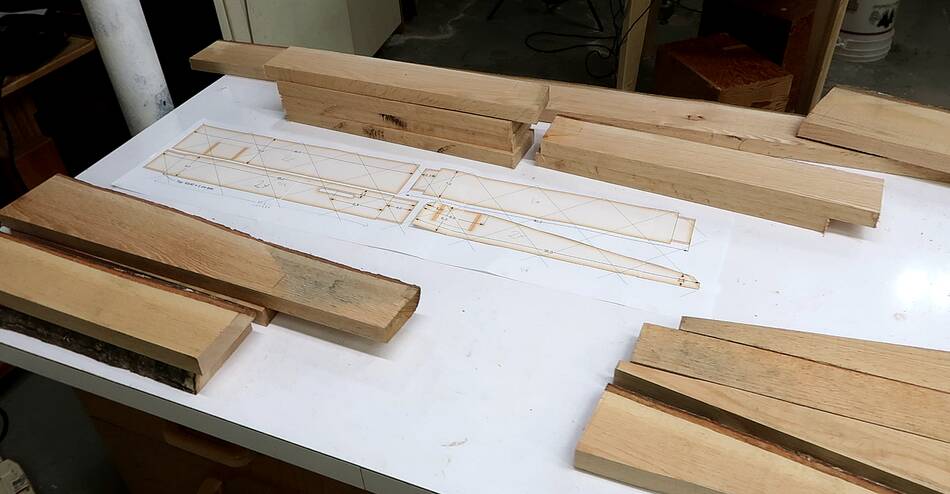
 I printed 1:1 templates for the parts
of the frame to use in the workshop.
I printed 1:1 templates for the parts
of the frame to use in the workshop.
 I had some 1-inch thick rough sawn oak boards that a friend had given me.
The boards were slightly cupped, but I didn't want to lose much thickness
to planing, so I cut the parts to width before planing them.
I had some 1-inch thick rough sawn oak boards that a friend had given me.
The boards were slightly cupped, but I didn't want to lose much thickness
to planing, so I cut the parts to width before planing them.
 After planing, I cut the parts to length with my crosscut sled.
 By now Rachel decided that two night stands would be better than one, and it isn't
that much more work to make two. Here I have my cut parts stacked on
the bench next to the respective templates to make sure I have enough.
At this point, I just rough cut them out before planing them.
By now Rachel decided that two night stands would be better than one, and it isn't
that much more work to make two. Here I have my cut parts stacked on
the bench next to the respective templates to make sure I have enough.
At this point, I just rough cut them out before planing them.
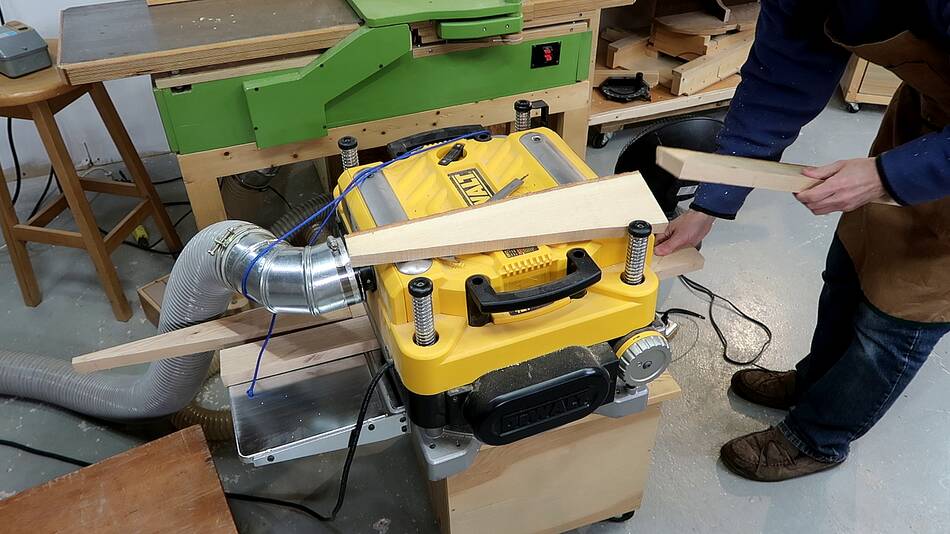 But when planing, there is always a bit of planer snipe at the start and
end. But if pieces are fed into the planer back to back, the only snipe is at
the start of the first piece and the end of the last piece.
But when planing, there is always a bit of planer snipe at the start and
end. But if pieces are fed into the planer back to back, the only snipe is at
the start of the first piece and the end of the last piece.
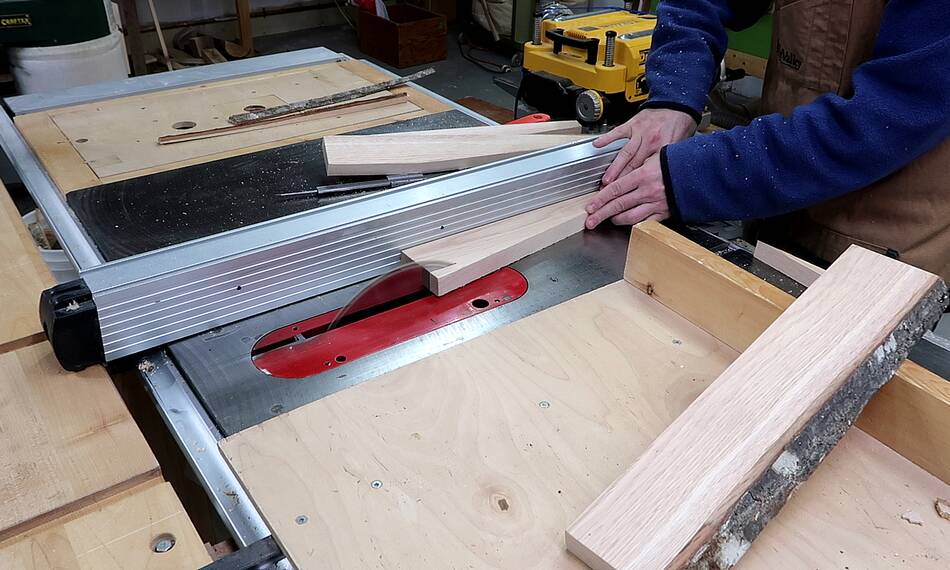 I had rough cut the leg pieces as triangles to nest them better. Now making
final sizing cuts, here cutting the straight part on the wide end of the triangle.
I had rough cut the leg pieces as triangles to nest them better. Now making
final sizing cuts, here cutting the straight part on the wide end of the triangle.
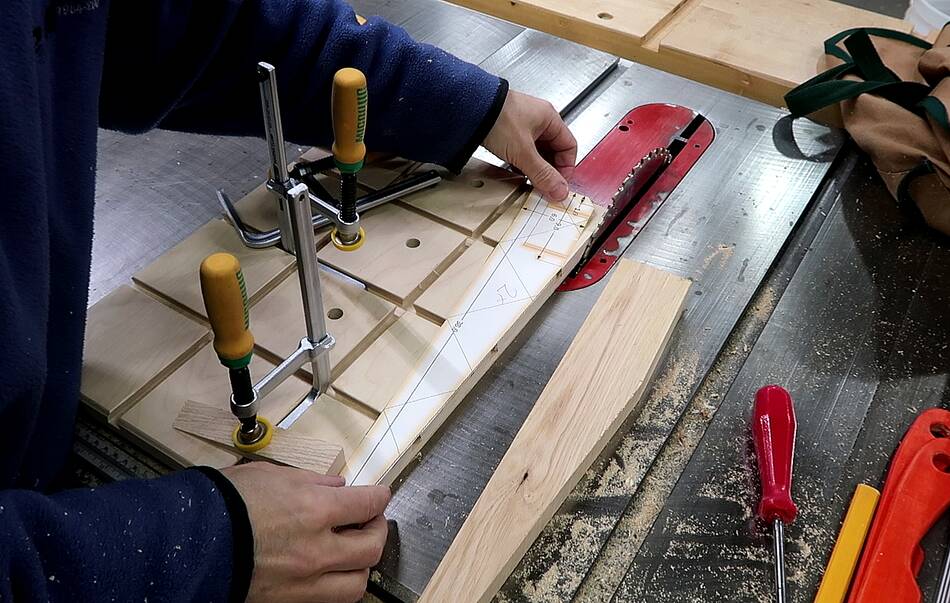
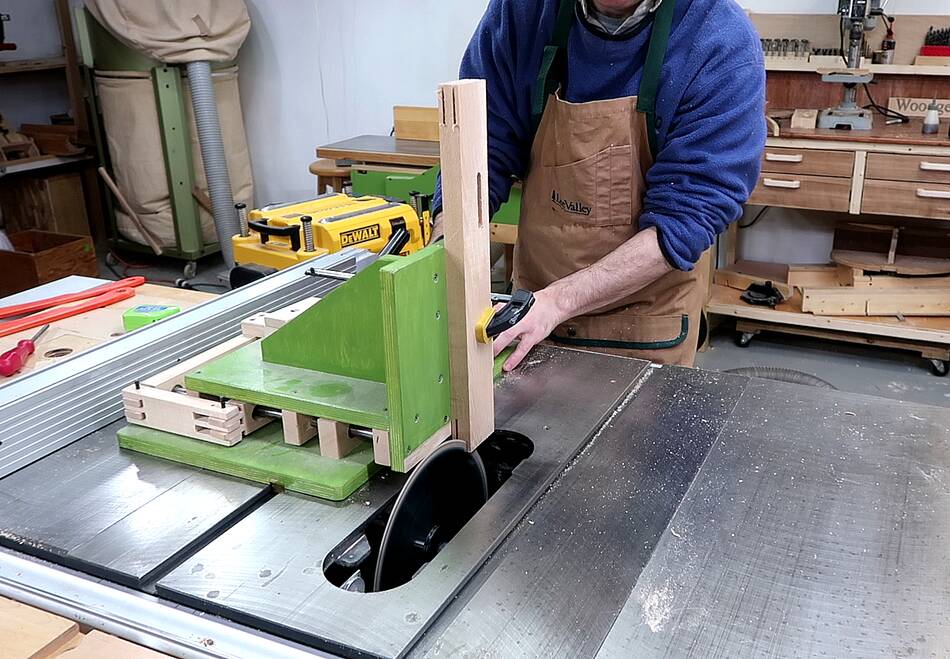
 Then cutting the sloped part. Microjig sent me this sled two years ago
to use with some of their dovetail
clamps.
This is the first time using this sled, for this application, it was just right.
I used some clamps to attach blocks to the sled as stops, lining those up with the
template I cut out, then clamping on the workpiece and making the cut. With
four of these to cut out, the sled was worth using. Otherwise, I would have
just cut it out on the bandsaw and straightened the edge on the jointer.
Then cutting the sloped part. Microjig sent me this sled two years ago
to use with some of their dovetail
clamps.
This is the first time using this sled, for this application, it was just right.
I used some clamps to attach blocks to the sled as stops, lining those up with the
template I cut out, then clamping on the workpiece and making the cut. With
four of these to cut out, the sled was worth using. Otherwise, I would have
just cut it out on the bandsaw and straightened the edge on the jointer.
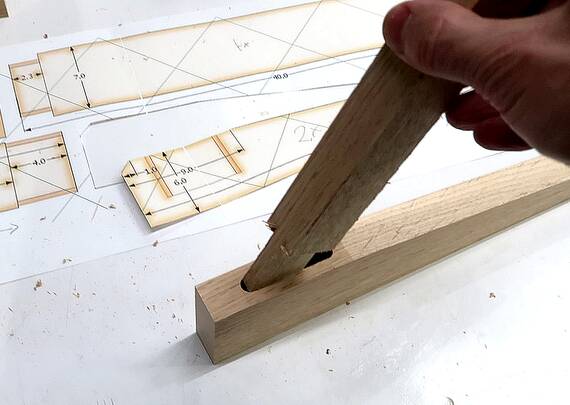
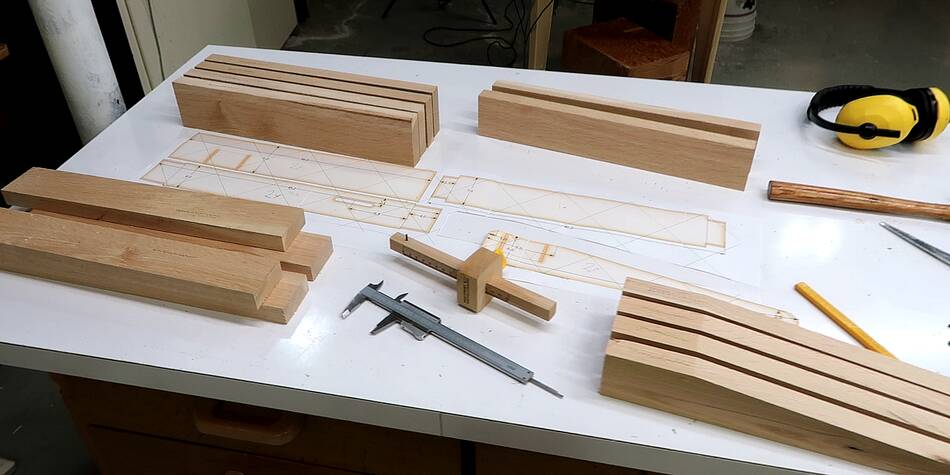 Parts all cut to size, now marking the locations of the mortises on the pieces.
I just set the marking gauge straight off the 1:1 drawings than marked on the
pieces without even looking at the dimensions on the drawings.
Parts all cut to size, now marking the locations of the mortises on the pieces.
I just set the marking gauge straight off the 1:1 drawings than marked on the
pieces without even looking at the dimensions on the drawings.
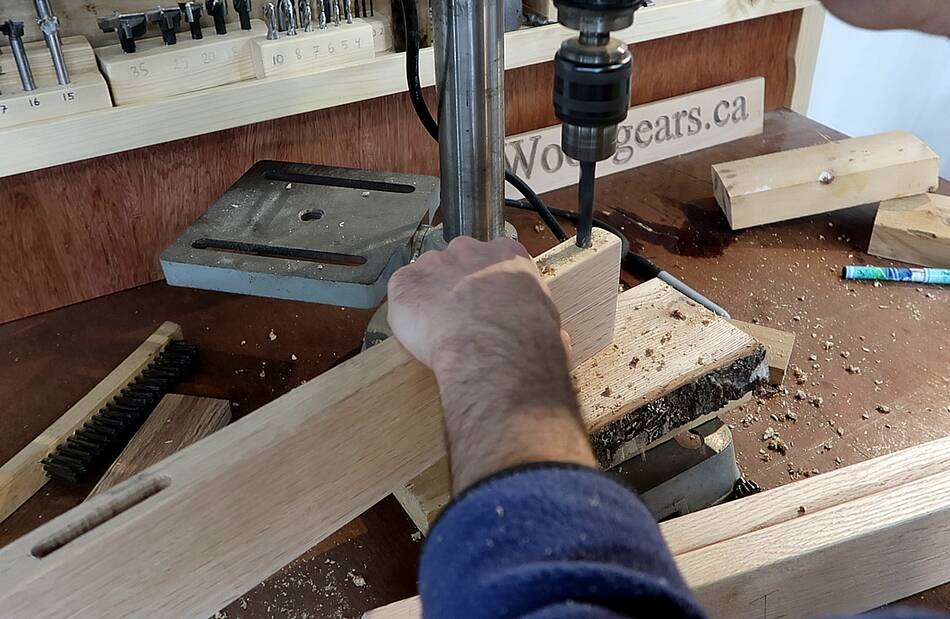
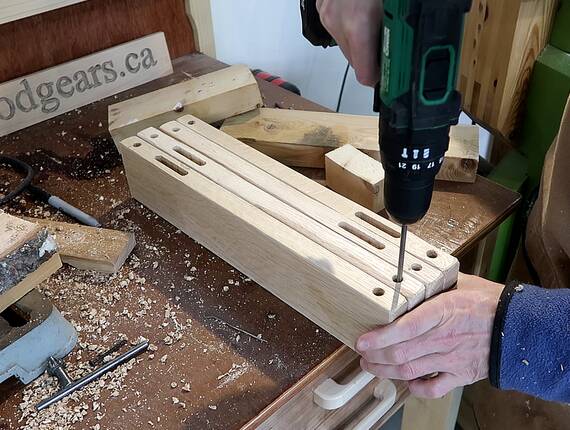
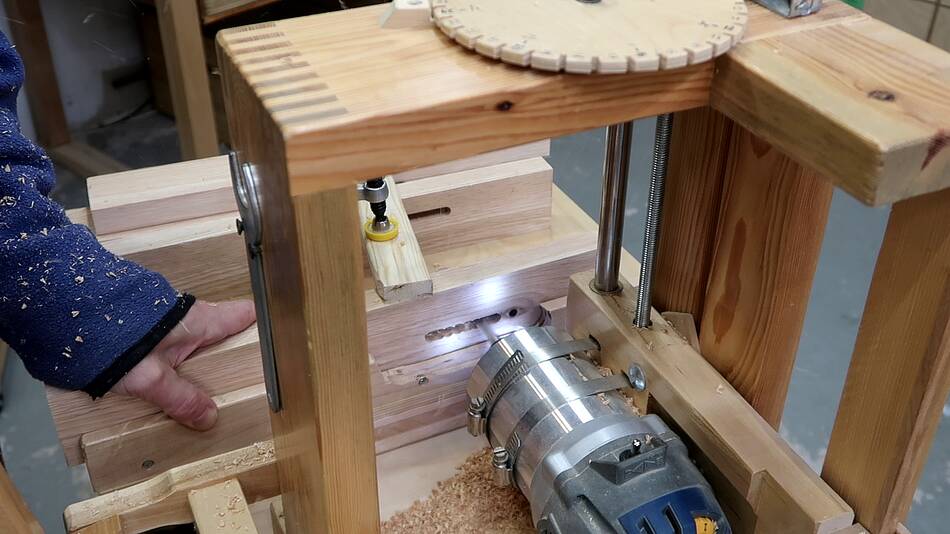 Cutting the mortises. I cut these by making a series of plunge cuts with
a spiral router bit to take out most of the material,
then sweeping side to side to smooth the sides.
Cutting the mortises. I cut these by making a series of plunge cuts with
a spiral router bit to take out most of the material,
then sweeping side to side to smooth the sides.
 The mortises in the legs are 4 cm deep for maximum strength. I had to plunge
the bit in to its full length. But the flutes are only long enough for cutting
half as deep, so I had to plunge in and out a few times to clear the chips.
The mortises in the legs are 4 cm deep for maximum strength. I had to plunge
the bit in to its full length. But the flutes are only long enough for cutting
half as deep, so I had to plunge in and out a few times to clear the chips.
After the first plunge, I overlapped the next hole slightly with the previous hole so the chips could clear into the previous hole.
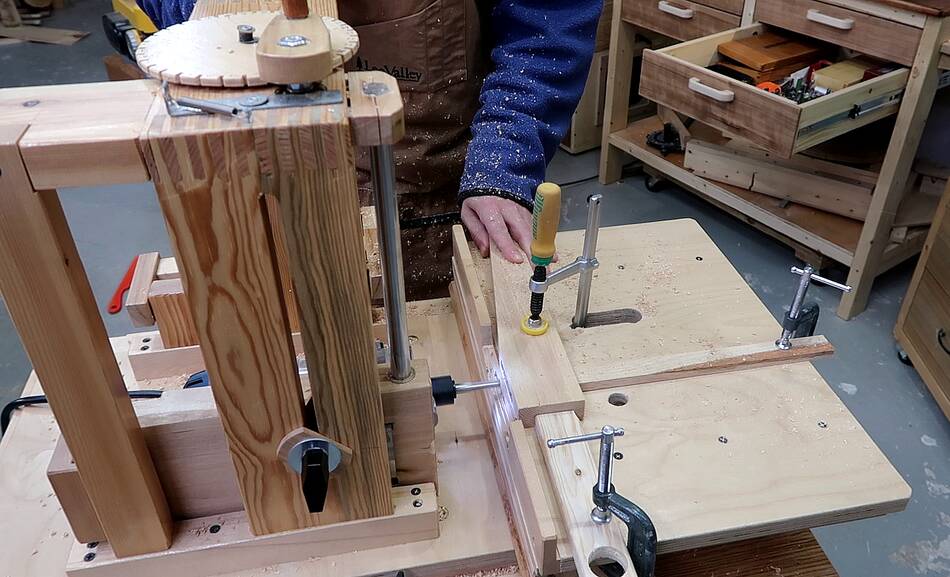
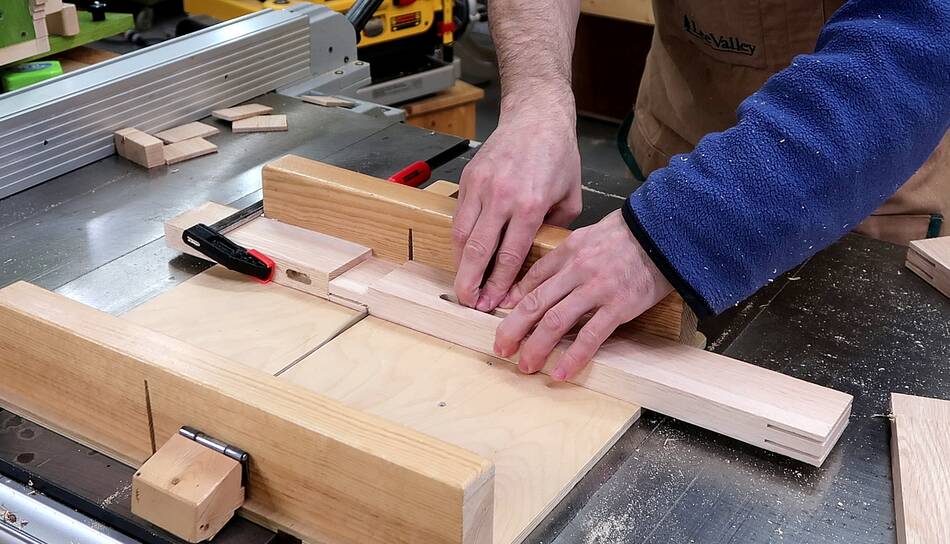
 Next I cut the tenons. I quite enjoyed using my quick-set tenon jig when
I made these shelf brackets so
I used that again instead of the pantorouter. The
quick-set tenon jig
is much faster to set up than the pantorouter. I first made a test tenon
to check the fit, then cut the tenons.
Next I cut the tenons. I quite enjoyed using my quick-set tenon jig when
I made these shelf brackets so
I used that again instead of the pantorouter. The
quick-set tenon jig
is much faster to set up than the pantorouter. I first made a test tenon
to check the fit, then cut the tenons.
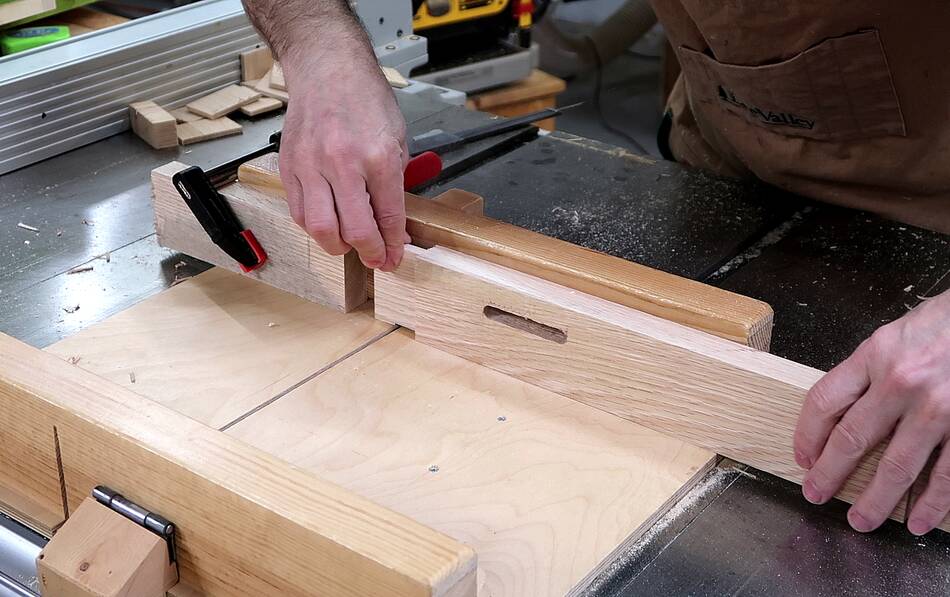
 After cutting the sides of the tenons I cut
the shoulders of the tenon using a
small table saw sled.
After cutting the sides of the tenons I cut
the shoulders of the tenon using a
small table saw sled.
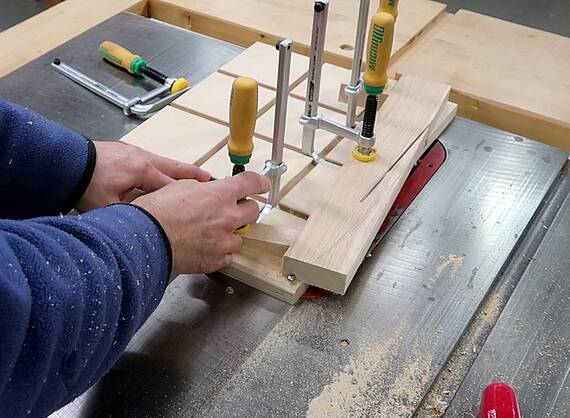
 And trimming the side edges of the tenon. I only needed to take about 1 mm off,
so I cut that just by sliding them side to side over the saw blade.
And trimming the side edges of the tenon. I only needed to take about 1 mm off,
so I cut that just by sliding them side to side over the saw blade.
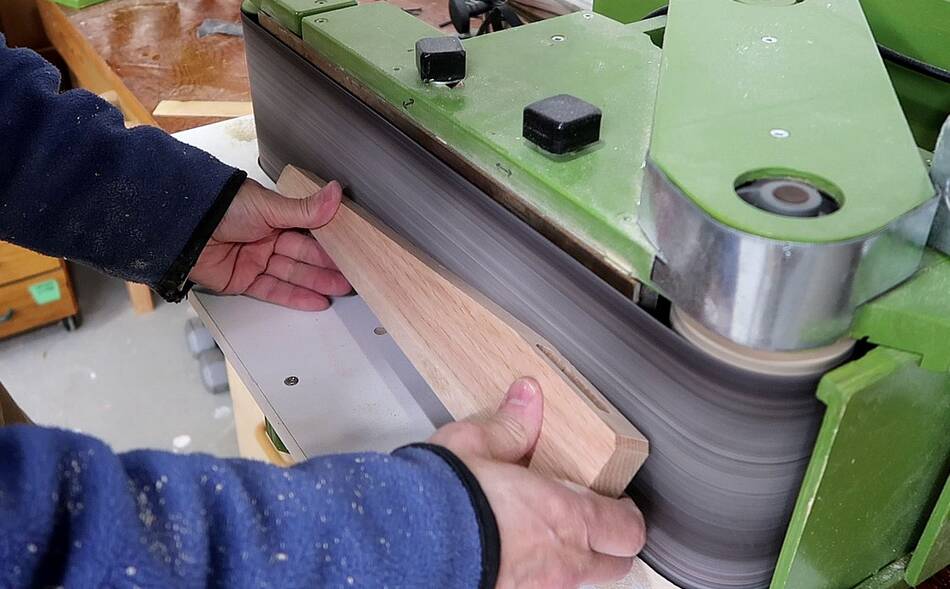
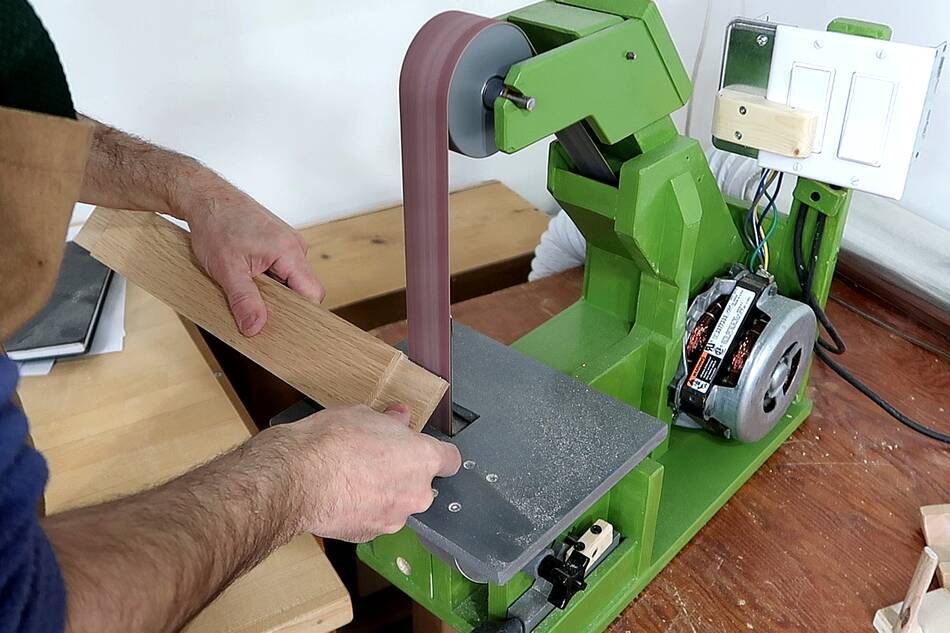 Then rounding the edges of the tenon using my
bigger strip sander
Then rounding the edges of the tenon using my
bigger strip sander
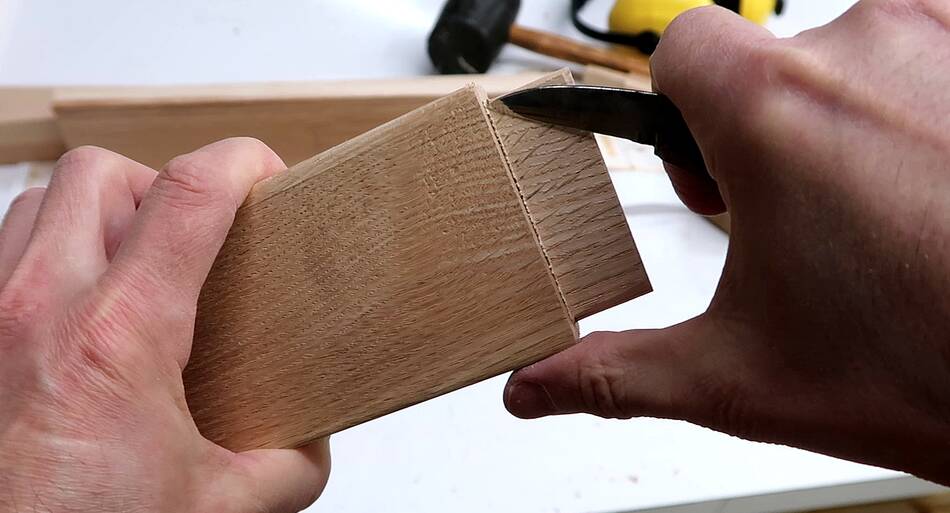 Finally cleaning up the inside corners of the tenons.
By this time I was thinking I should have used my pantorouter to cut these tenons instead. It takes longer to set it up, but the tenons the pantorouter makes are ready to assemble without further steps.
With softwood, these manual steps are quicker, and they don't need to be as precise because if the corners don't fit exactly, you can just bang them in anyway.
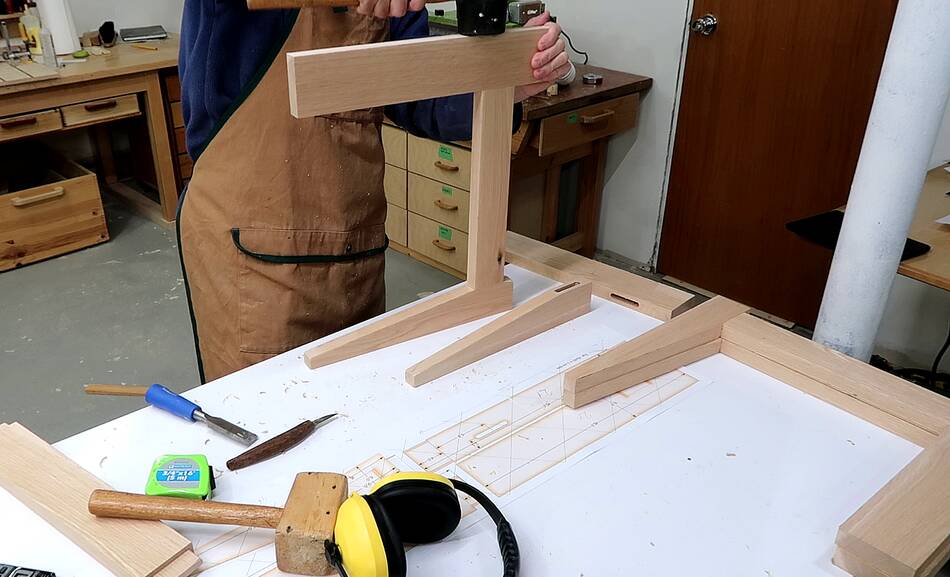
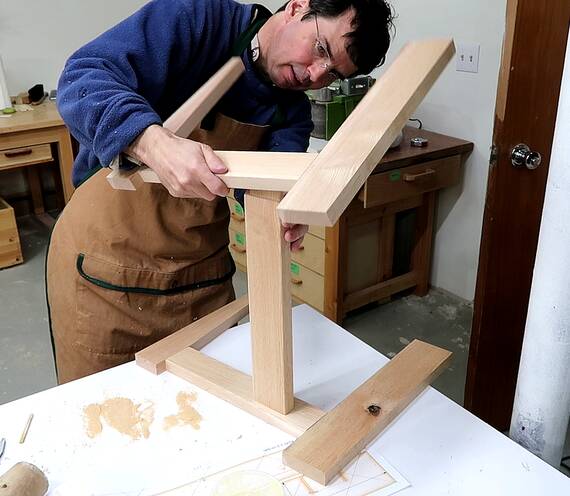 Dry fitting the whole frame together.
 And plywood for the top.
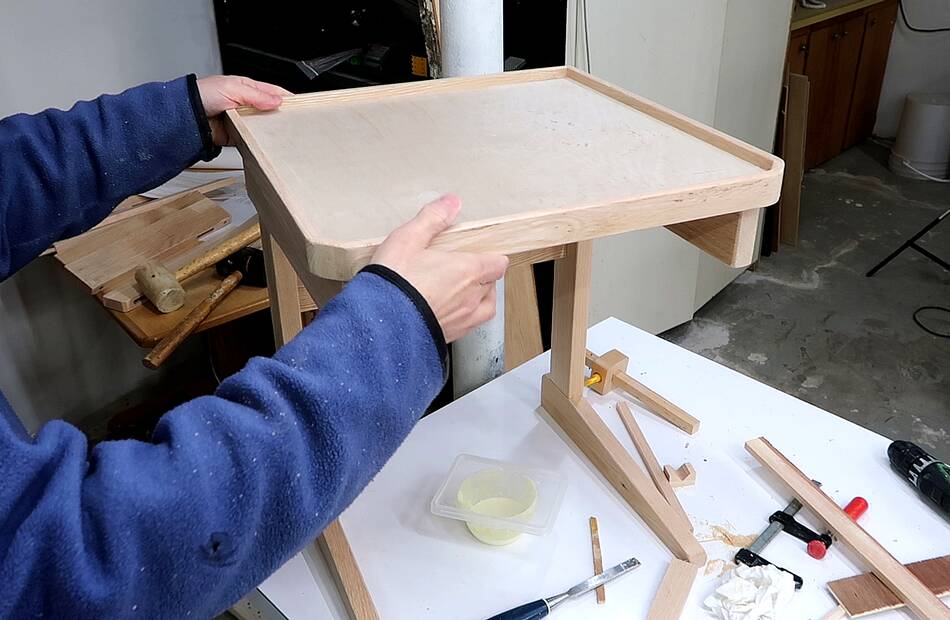 Then I made the top (separate page)
 Before gluing the frames together, I sanded a slight roundover on all the
edges my belt sander. I shaped
the roundover by tilting each edge back and forth against the running sander.
Before gluing the frames together, I sanded a slight roundover on all the
edges my belt sander. I shaped
the roundover by tilting each edge back and forth against the running sander.
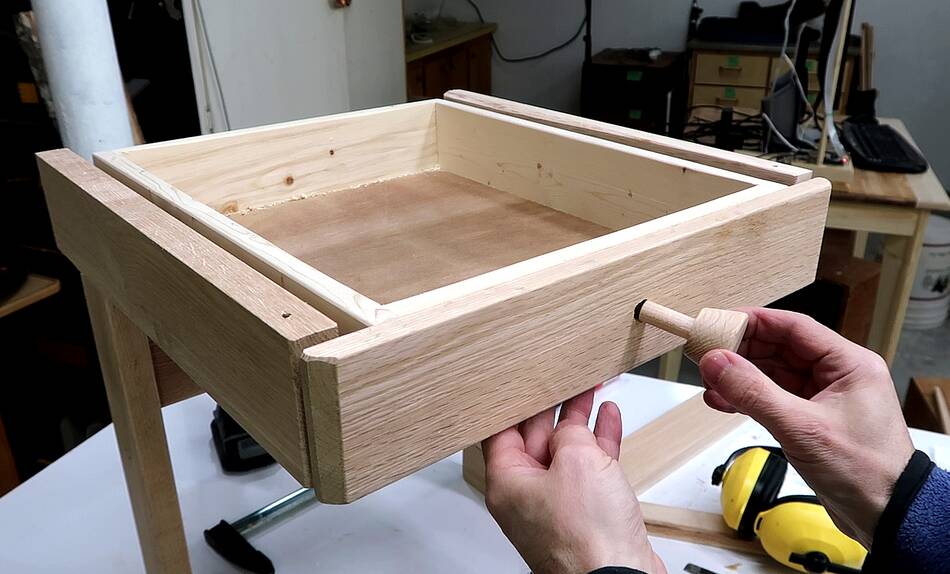
 I also drilled the holes for the screws for attaching the top. First a large
deep hole for the screw head, then a smaller hole all the way trough for
the screw's shank.
I also drilled the holes for the screws for attaching the top. First a large
deep hole for the screw head, then a smaller hole all the way trough for
the screw's shank.
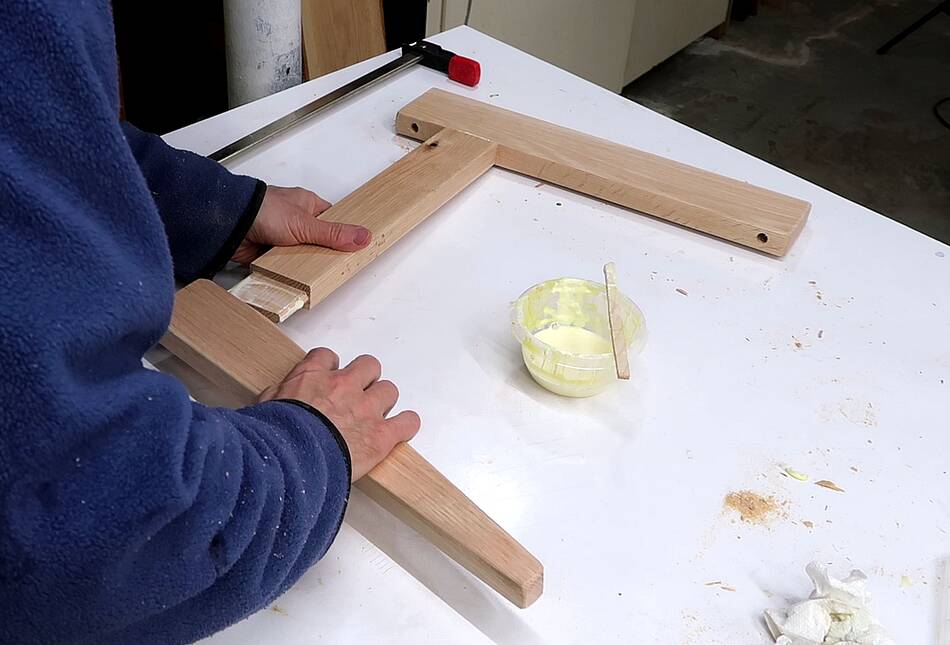 Then gluing together the mortise and tenon joints.
 Then I made the drawers (separate page)
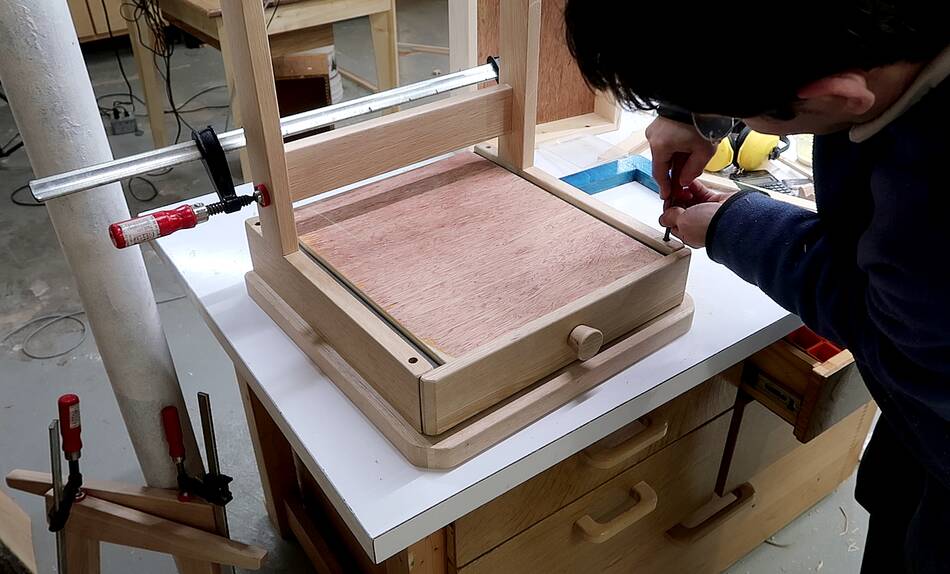 Screwing the top to the frame, this was easiest to do upside down.
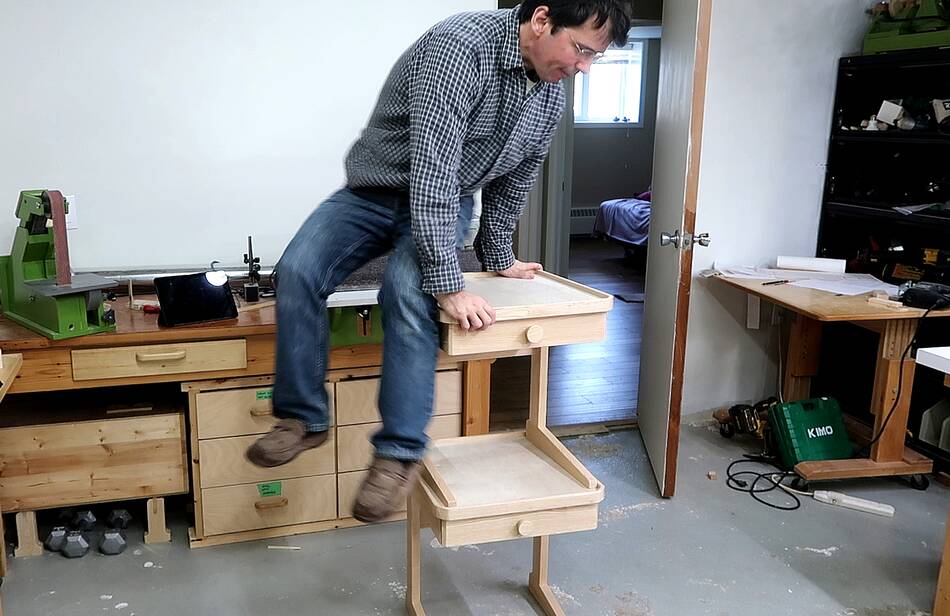 And it seems if I don't do a "jump test" at the end of one of my projects,
people seem to think something is missing. But these tables aren't very high.
So I staked the two on top of each other and jumped onto that!
And it seems if I don't do a "jump test" at the end of one of my projects,
people seem to think something is missing. But these tables aren't very high.
So I staked the two on top of each other and jumped onto that!
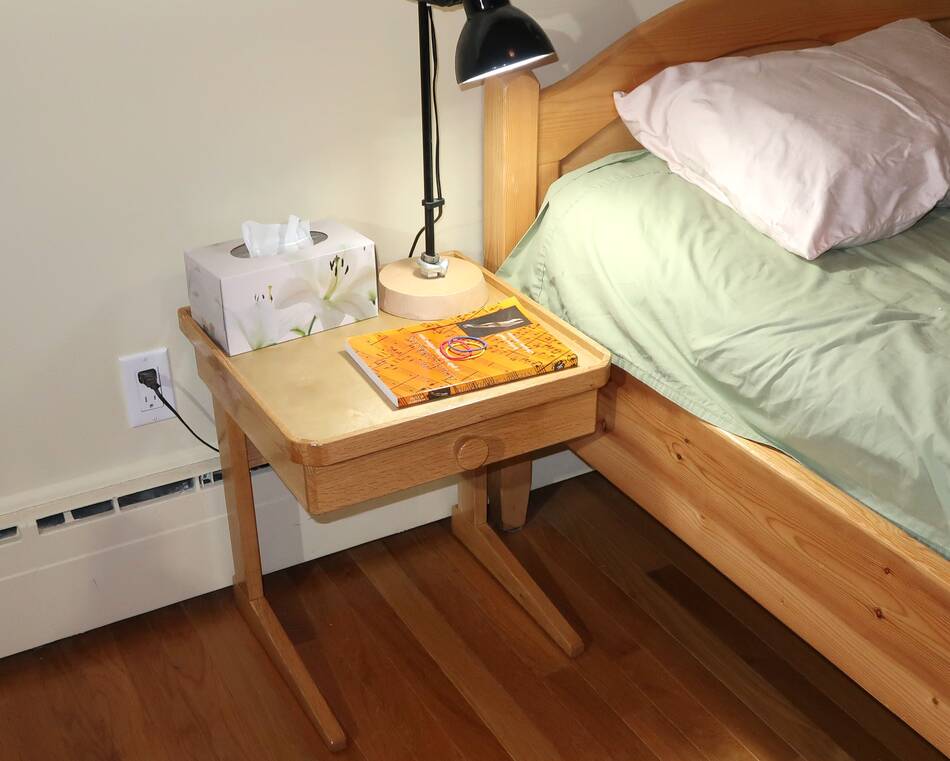 And finally next to the bed (this bed)
I used an oil based varnish because that brings out the colour of the oak much nicer. Rachel really likes the raised trim to keep stuff from falling off.
The legs don't extend as far back as the top so that it fits nicely over the baseboard heater. The open design on the bottom also won't block a furnace heat register and can also accomodate a wastebasket underneath.
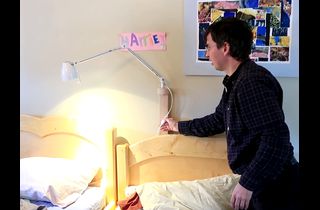 Behind headboard lamp stand #shorts
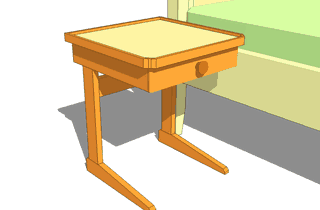 Free plans for this nightstand
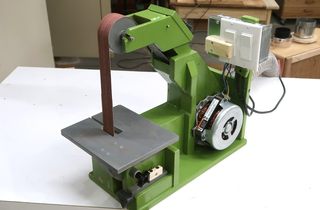 1.5"x48" belt sander
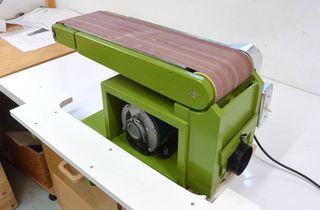 6"x48" belt sander
 slot mortising machine
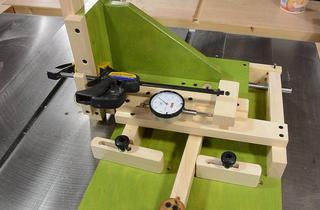 Quick-set tenon jig
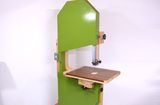 20" bandsaw
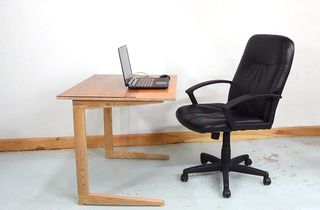 Cantilevered work table
 Queen size bed from 2x4 lumber
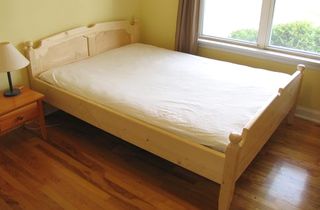 More fancy bed build
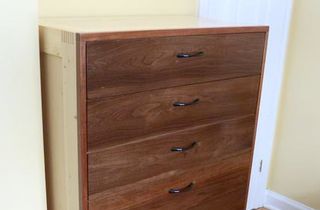 Seven drawer dresser
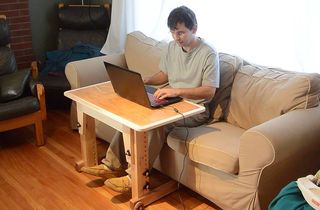 Knock down laptop
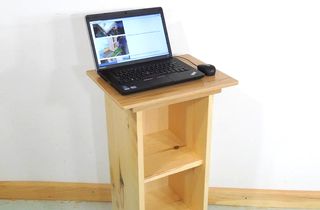 Stand-up laptop table
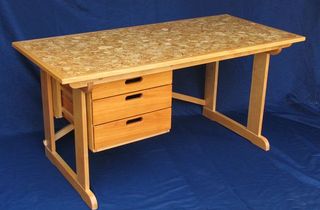 Knock down student desk
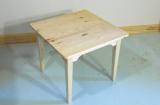 Kid's table