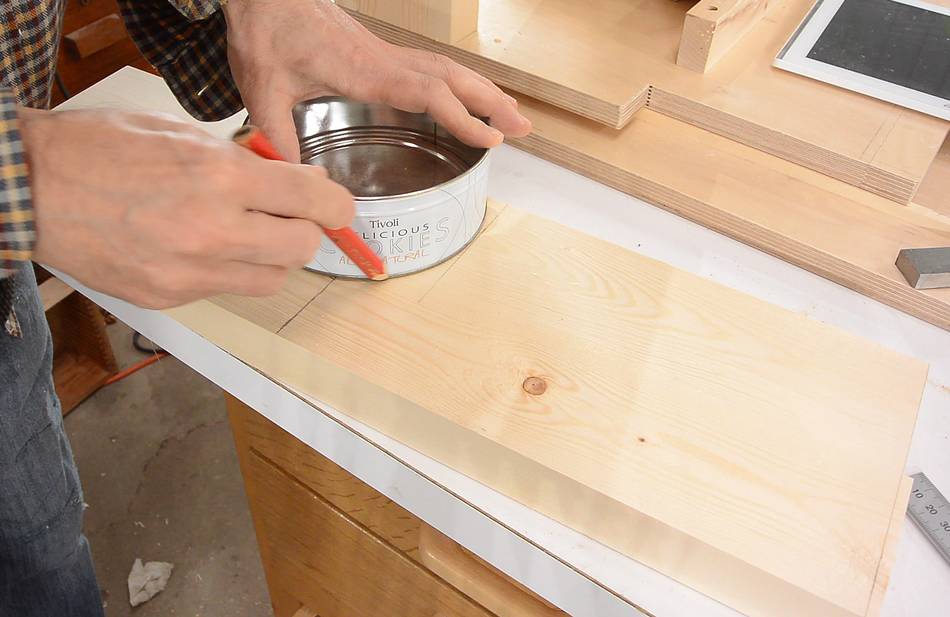
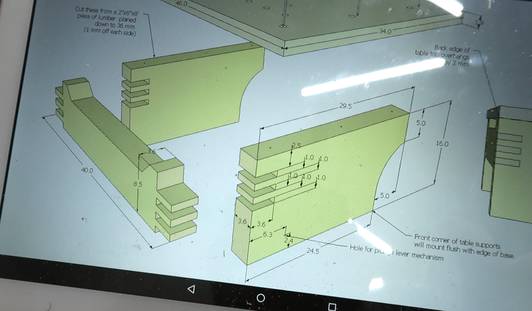
 As with the rest of this pantorouter build, I'm working directly from drawings on
my tablet computer without making the usual 1:1 printouts.
As with the rest of this pantorouter build, I'm working directly from drawings on
my tablet computer without making the usual 1:1 printouts.
As with the rest of this pantorouter build, I'm working directly from drawings on
my tablet computer without making the usual 1:1 printouts.
I had glued two pieces of 2x4 side by side to make a board wide enough for the table, then marked it out on the table.
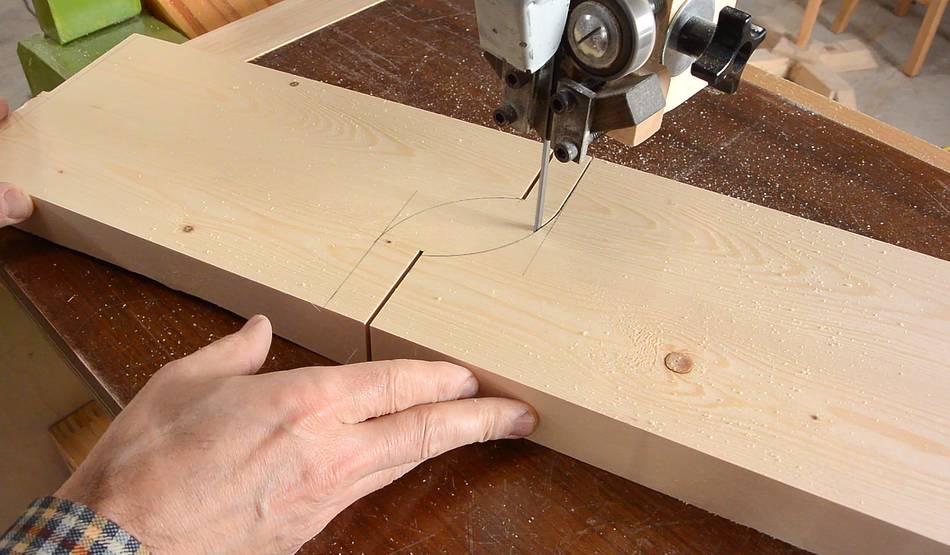 I made all the straight cuts on the table saw, then cut the pieces apart
on the bandsaw. Depending on the size of your bandsaw, you may not be able to
nest the parts like this and still cut it with the bandsaw.
I made all the straight cuts on the table saw, then cut the pieces apart
on the bandsaw. Depending on the size of your bandsaw, you may not be able to
nest the parts like this and still cut it with the bandsaw.
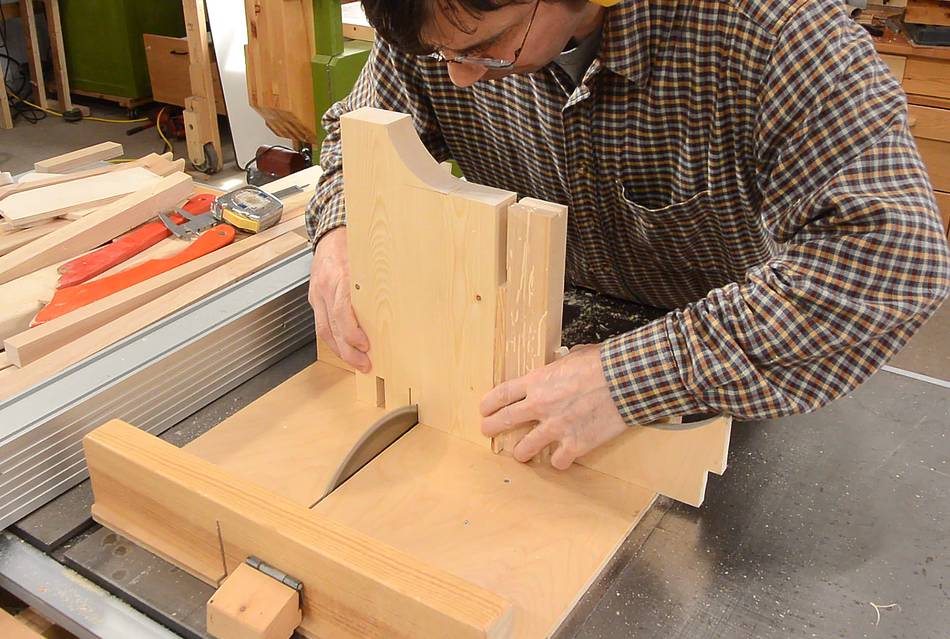
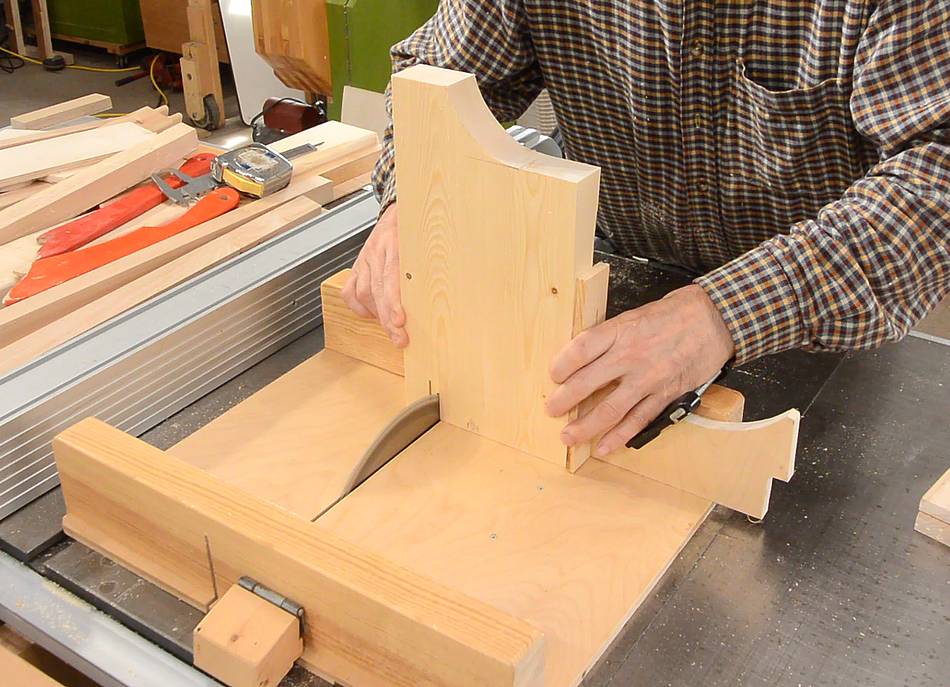 Then cutting the mortises on the end of the board on the table saw by making
a series of cuts. I have a stop clamped to the table saw sled for one side of the
slot, then added a spacer (in my left hand in the picture) to move the workpiece
further to the right and cut the other slot. The spacer is the width of the slot that
I need, minus the width of the saw blade.
Then cutting the mortises on the end of the board on the table saw by making
a series of cuts. I have a stop clamped to the table saw sled for one side of the
slot, then added a spacer (in my left hand in the picture) to move the workpiece
further to the right and cut the other slot. The spacer is the width of the slot that
I need, minus the width of the saw blade.
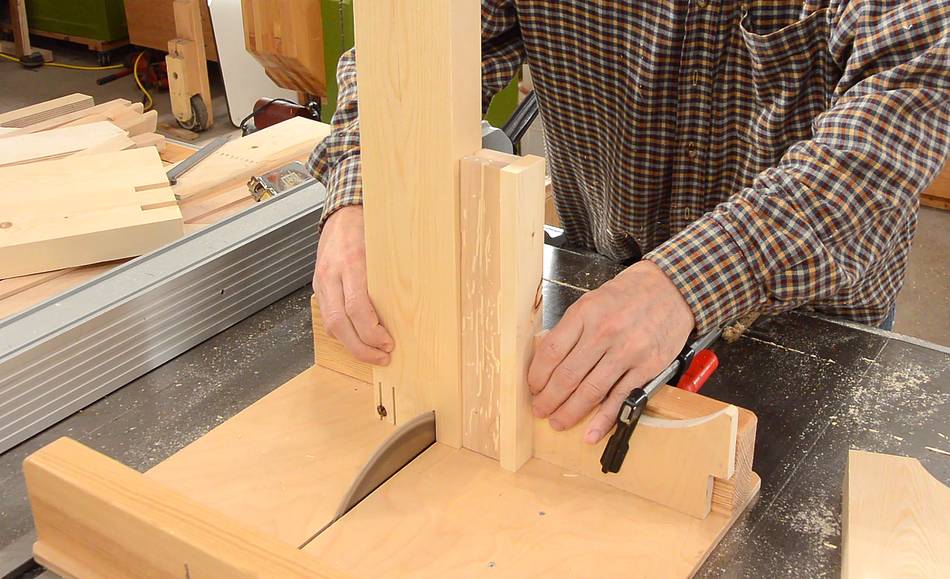
After cutting either side of the slot, I removed the spacer and made a series of cuts to clear out the space between the first two cuts.
 I then added a larger spacer (4 cm thick) to make the first cut of the second slot,
then added the thinner spacer again to cut the other side of the second slot, and
again made a series of cuts to clear it out.
I then added a larger spacer (4 cm thick) to make the first cut of the second slot,
then added the thinner spacer again to cut the other side of the second slot, and
again made a series of cuts to clear it out.
Using these two spacers, I was able to make two slots of exactly the same width apart, separated by 4 cm in both sides of the table support.
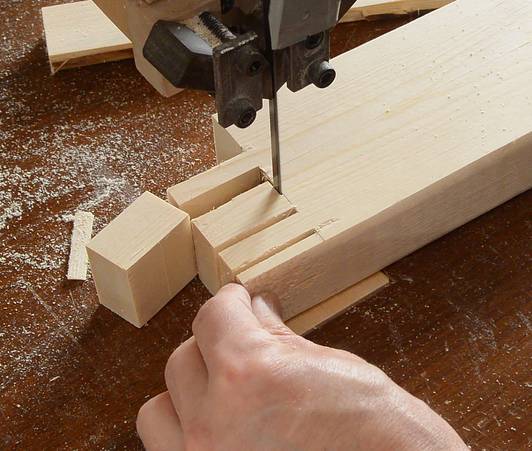 I used the same method to cut the piece with the double tenon,
but used the bandsaw to clear away most of the material after I made the
initial cuts on the table saw.
I used the same method to cut the piece with the double tenon,
but used the bandsaw to clear away most of the material after I made the
initial cuts on the table saw.
The spacer for cutting the tenons needs to be thicker than the one used for cutting the mortises (or slots) by twice the thickness of the saw blade or the tenons will end up much too thin.
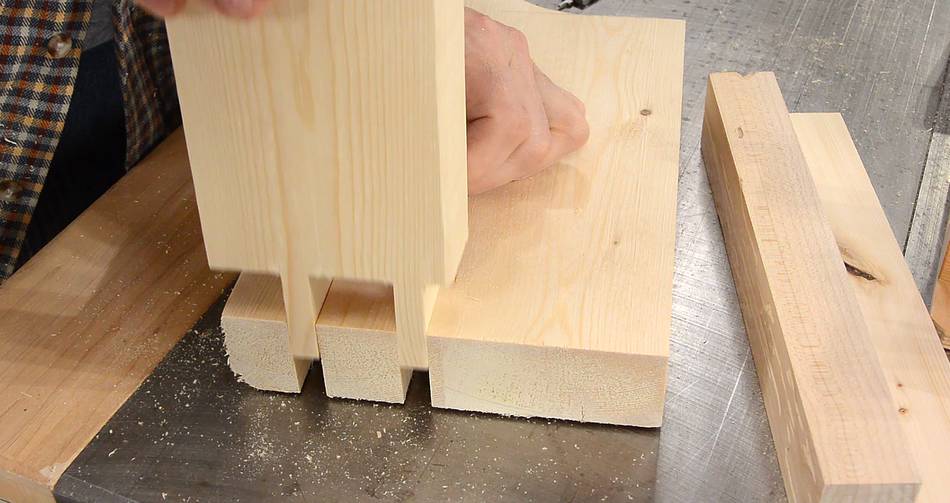 Checking the fit.
 I cut away part of this piece of wood to allow room for clamping later on.
 Then gluing the pieces of the table together.
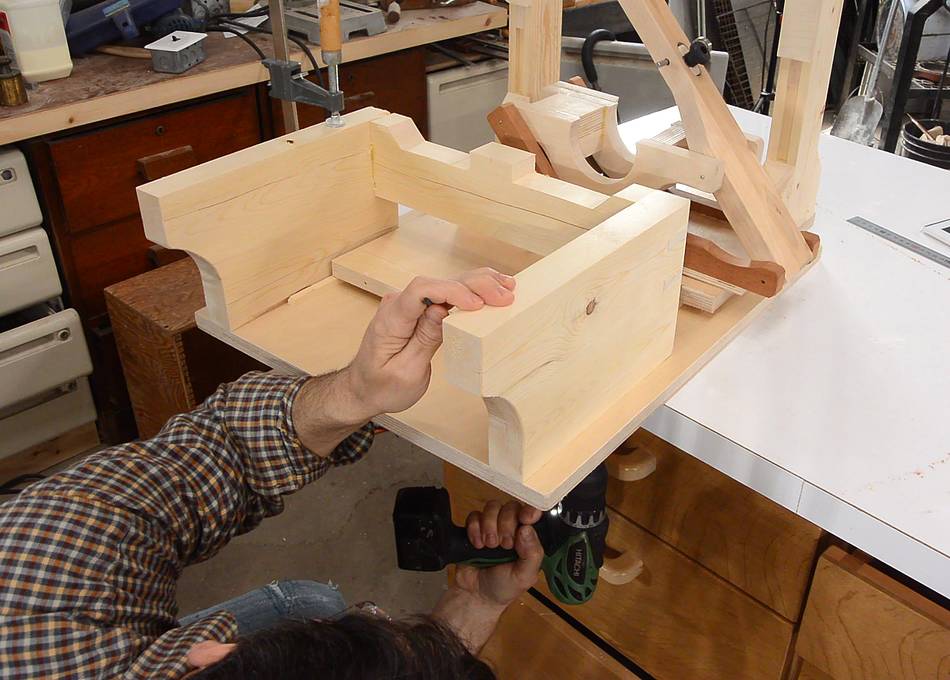
 Afterwards I realized I might need more room for clamps below
the table, so I widened the notches and made it square in the middle.
I left some material in the middle to add more support for the table.
Afterwards I realized I might need more room for clamps below
the table, so I widened the notches and made it square in the middle.
I left some material in the middle to add more support for the table.

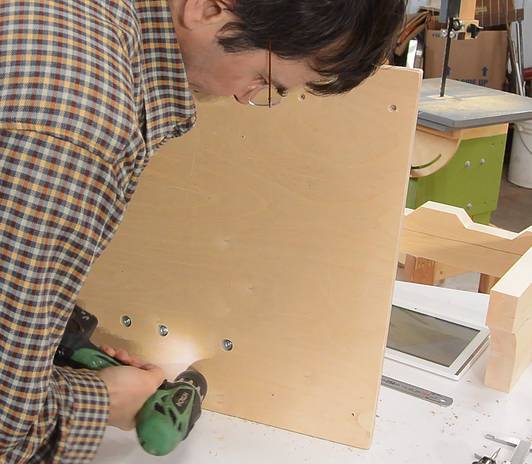 I then drilled the screw holes for attaching the table to the bottom,
followed by countersinking from the underside.
I then drilled the screw holes for attaching the table to the bottom,
followed by countersinking from the underside.
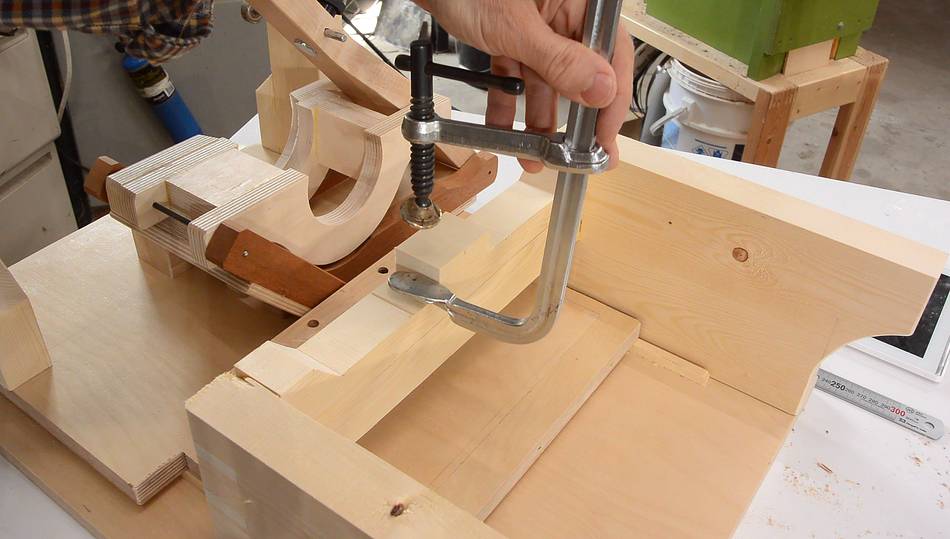
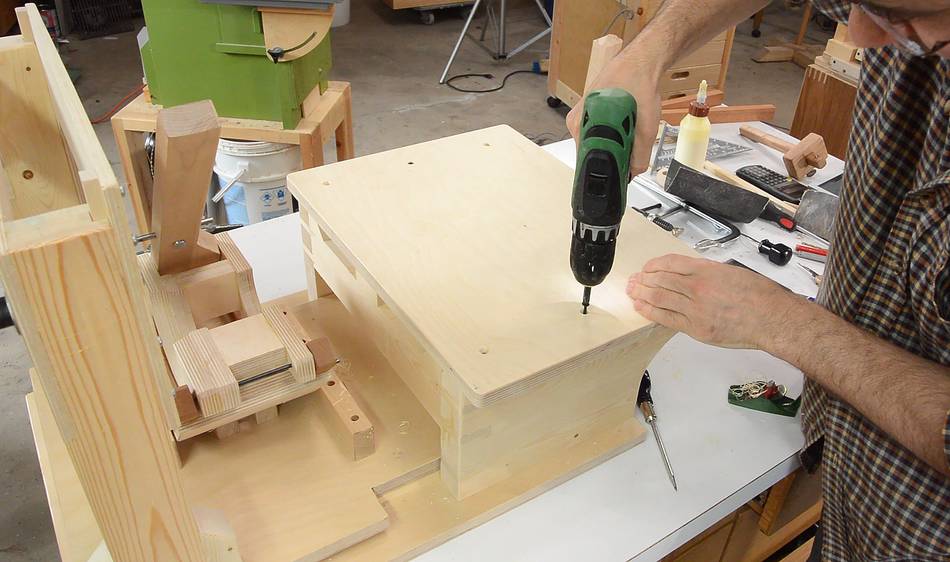
 Then screwing it on from below. But I only screwed it on with two screws,
and smaller screws than I will use in the end because this still needs to come
apart again later and I don't want to wear out the screw holes in the wood
too much.
Then screwing it on from below. But I only screwed it on with two screws,
and smaller screws than I will use in the end because this still needs to come
apart again later and I don't want to wear out the screw holes in the wood
too much.
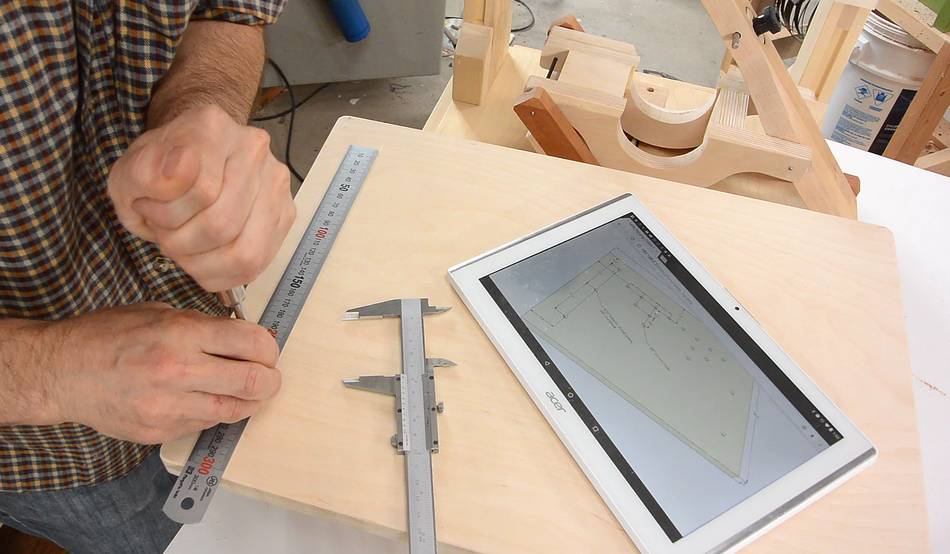 Then I measured the layout for the holes in the top of the table...
 ... and drilled and countersunk those holes and screwed it onto the table supports.
I still need to drill holes in the table for attaching the clamp and fence, but at this point I still wanted to revise the fence design, which affects the hole positions. So I didn't drill the holes yet.
Next: First cut and adjusting for accuracy
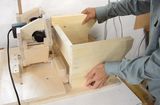 Table and template holder for the pantorouter XL
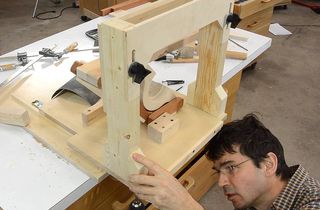 Template holder for this pantorouter
 Maing the pantograph for this pantorouter