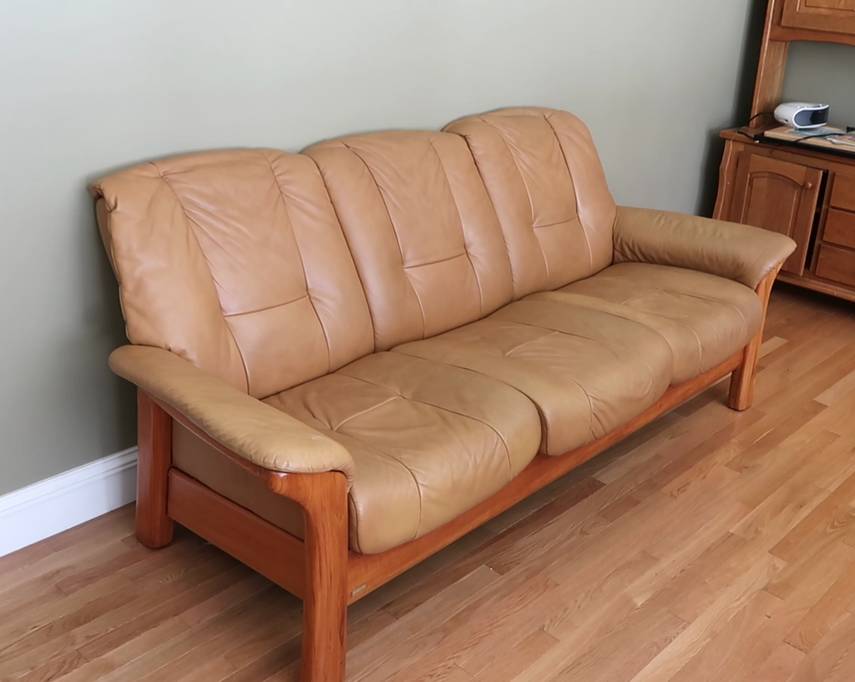
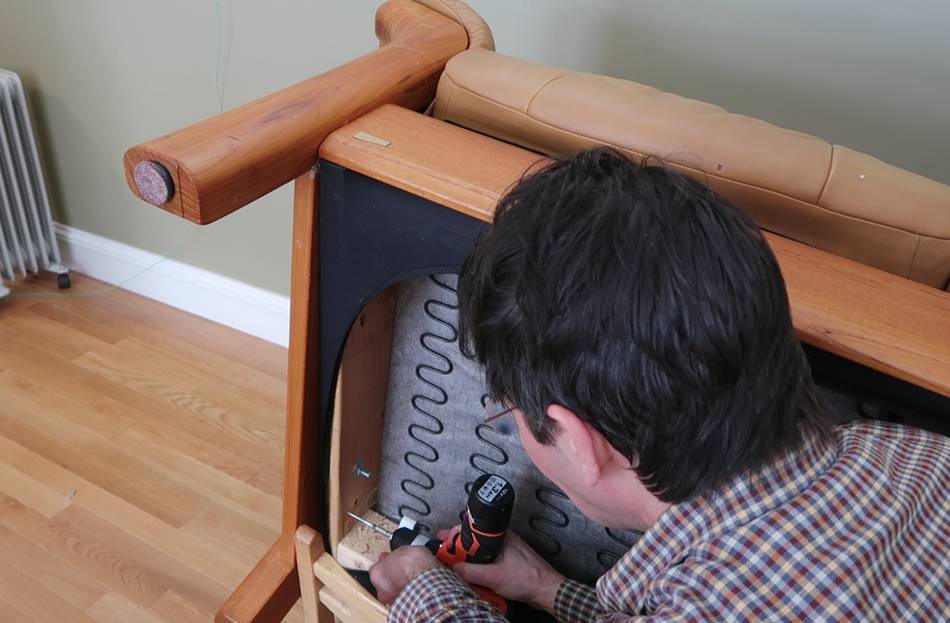
 We bought this couch used two years ago. It's a high quality brand of couch.
Some months after our move to Fredericton, I noticed there was a gap between
the leg on the left side and the part that goes across the bottom front, and
the joints on the left side were opening up too! Time to fix it.
We bought this couch used two years ago. It's a high quality brand of couch.
Some months after our move to Fredericton, I noticed there was a gap between
the leg on the left side and the part that goes across the bottom front, and
the joints on the left side were opening up too! Time to fix it.
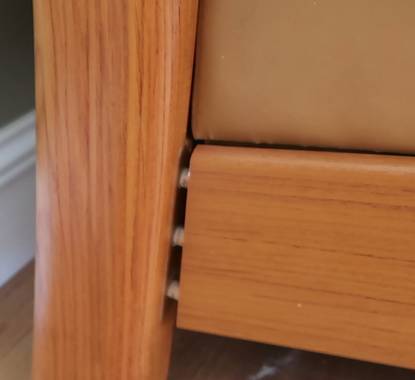
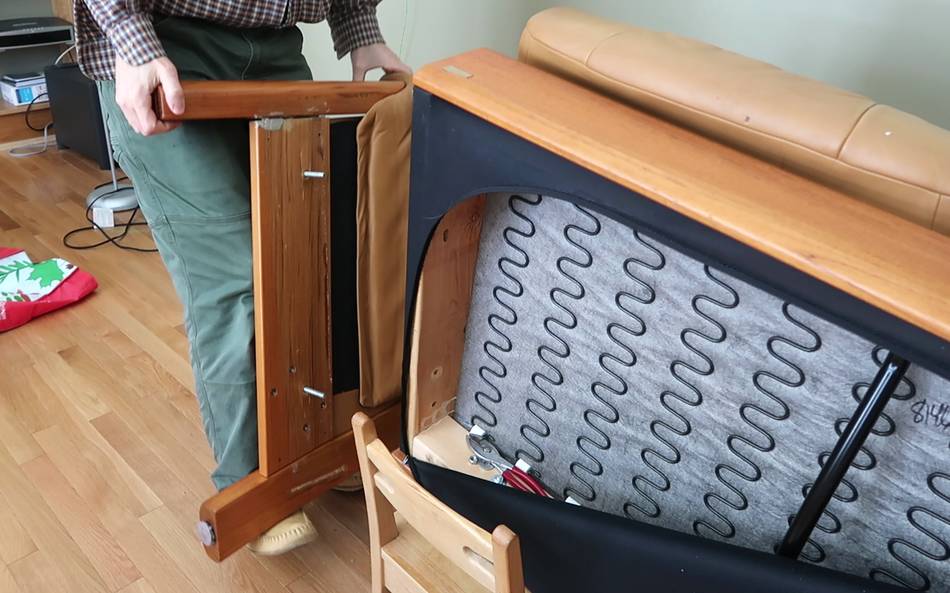 The bottom of the couch zippers open (it's a fancy couch), and two nuts hold
the side frame on.
The bottom of the couch zippers open (it's a fancy couch), and two nuts hold
the side frame on.
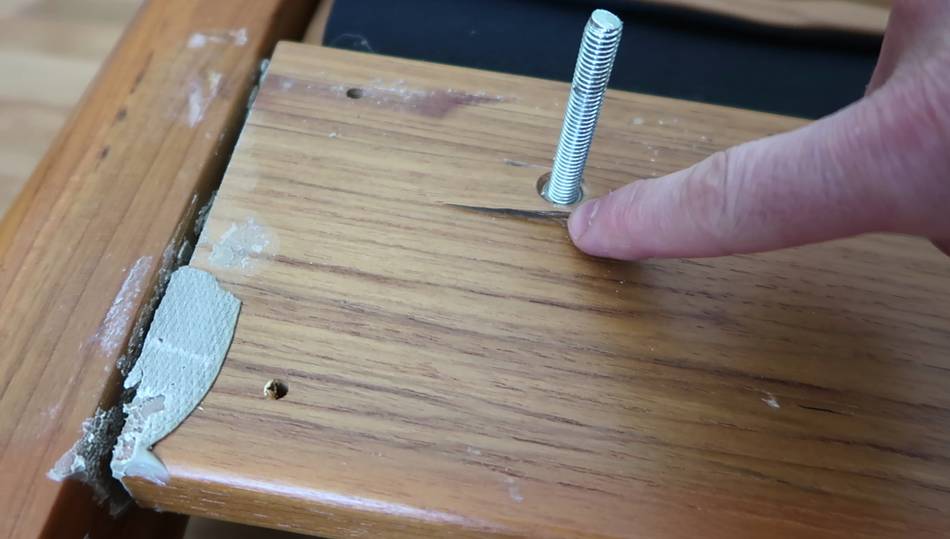 Examining this, the threaded inserts that the threaded rod studs go into
had partly turn out of the wood, breaking quite a bit of the wood out
on either side. So I couldn't just fix it by gluing the threaded insert
back in.
Examining this, the threaded inserts that the threaded rod studs go into
had partly turn out of the wood, breaking quite a bit of the wood out
on either side. So I couldn't just fix it by gluing the threaded insert
back in.
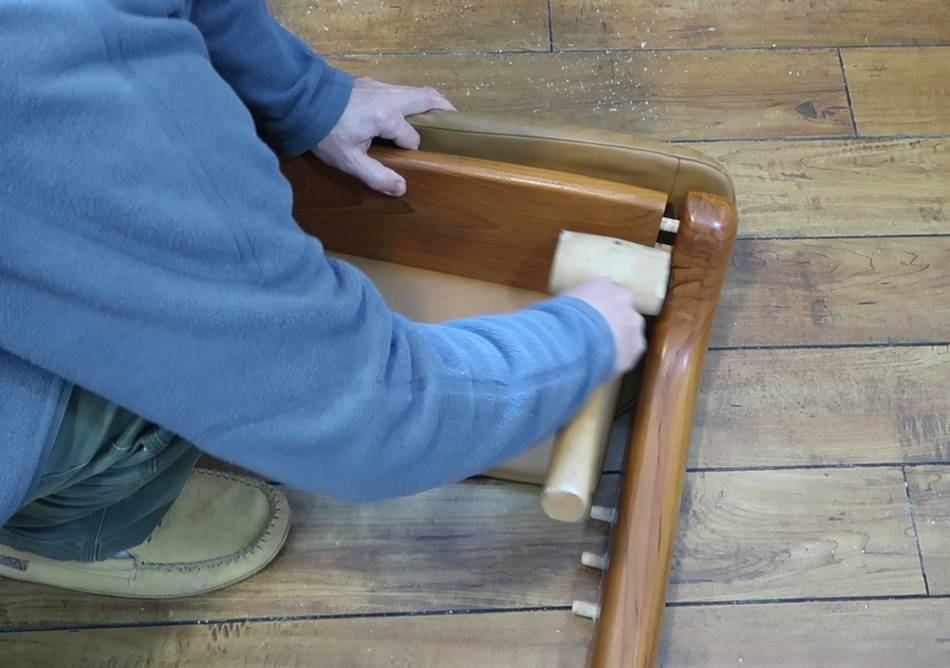
 For the dowel joints, I had been thinking of pulling them together using
pocket hole screws, but the dowel joints only required some tapping to
open up completely! So I might as well re-glue the joints properly.
For the dowel joints, I had been thinking of pulling them together using
pocket hole screws, but the dowel joints only required some tapping to
open up completely! So I might as well re-glue the joints properly.
 There was very little glue residue on the dowels or holes. It seems the whole
frame was never glued together properly. On the plus side, it made it easy
to clean up the joints!
There was very little glue residue on the dowels or holes. It seems the whole
frame was never glued together properly. On the plus side, it made it easy
to clean up the joints!
 Unscrewing the old threaded insert with a big flat head screwdriver that fit
in the slot on the top.
Unscrewing the old threaded insert with a big flat head screwdriver that fit
in the slot on the top.
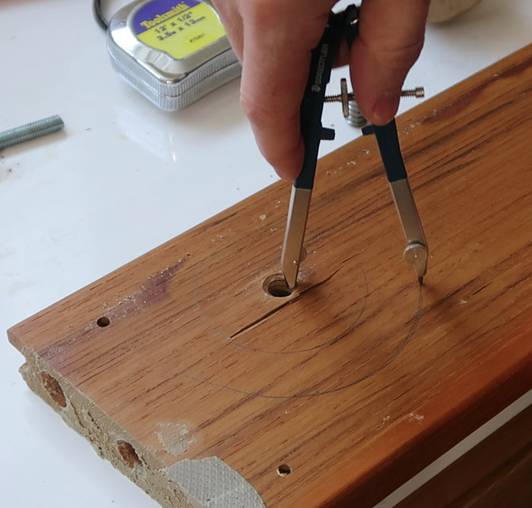
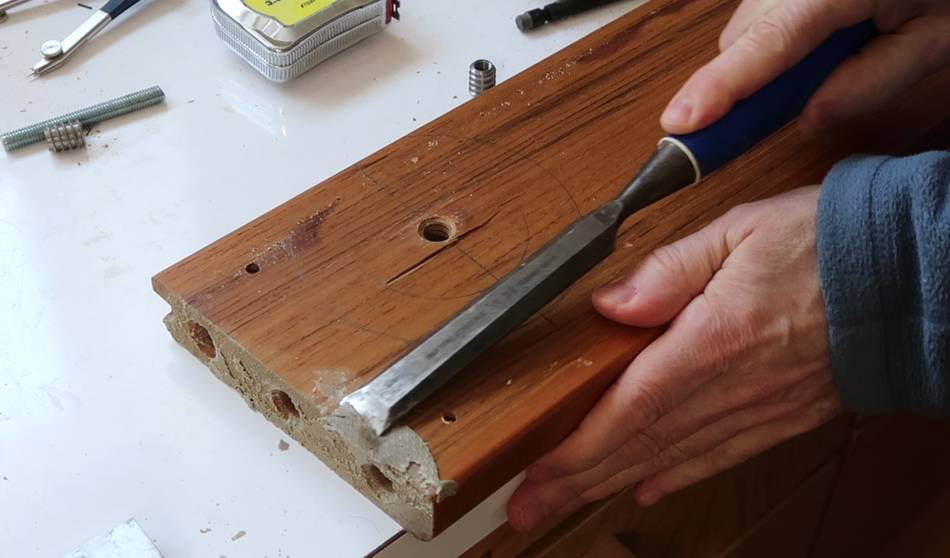
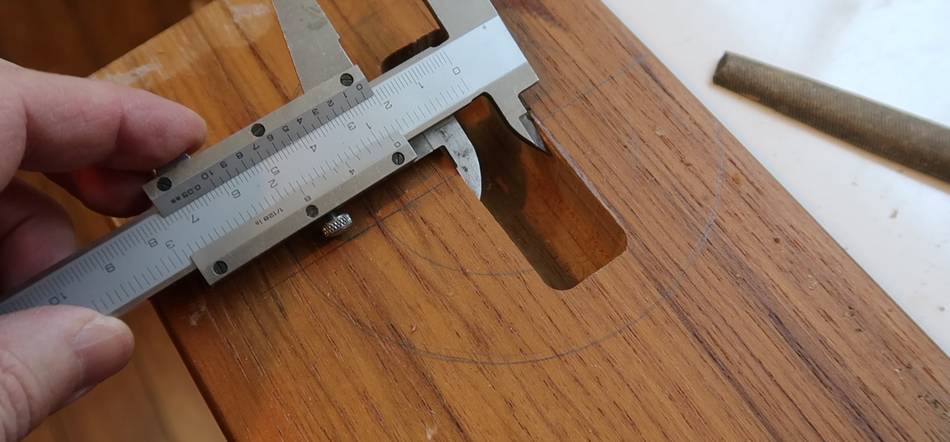
I also marked a circle centered around the hole for the insert for locating the new hole after the repair.
 By the looks of this grey glue, a previous crude attempt had been made to
glue the loose dowel joints back together, so the dowels had come loose
before we bought the couch. Though I'm pretty sure the torn threaded insert
came from the movers.
By the looks of this grey glue, a previous crude attempt had been made to
glue the loose dowel joints back together, so the dowels had come loose
before we bought the couch. Though I'm pretty sure the torn threaded insert
came from the movers.
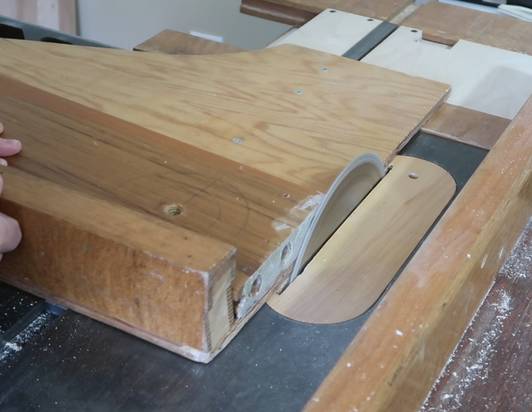
I got tired of scraping it with a chisel, and thought of using a sander, but the glue might gum up the sand paper. So cut it with the table saw, cutting probably about 0.1 mm of the wood off too.
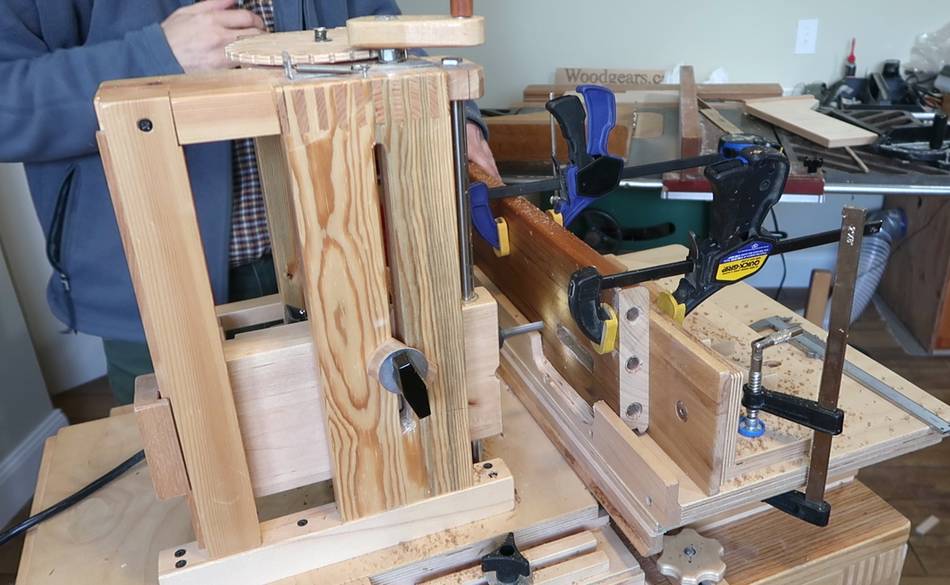
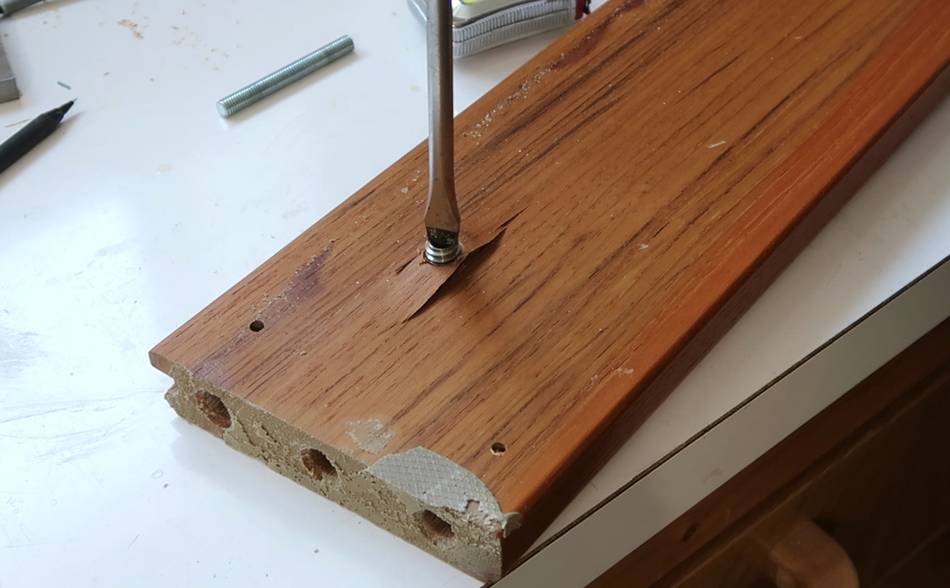
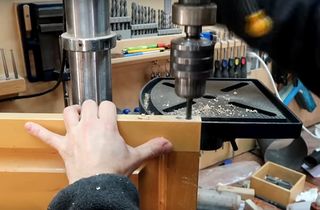
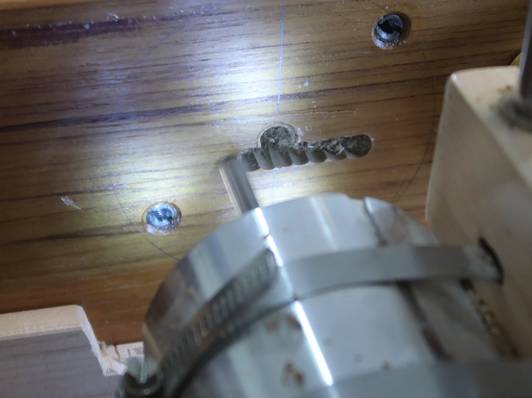 To fix the insert holes, I needed to remove all the wood that had cracked
from the torn out inserts. I used my
slot mortiser to carve out a rectangular area around the cracked part.
To fix the insert holes, I needed to remove all the wood that had cracked
from the torn out inserts. I used my
slot mortiser to carve out a rectangular area around the cracked part.
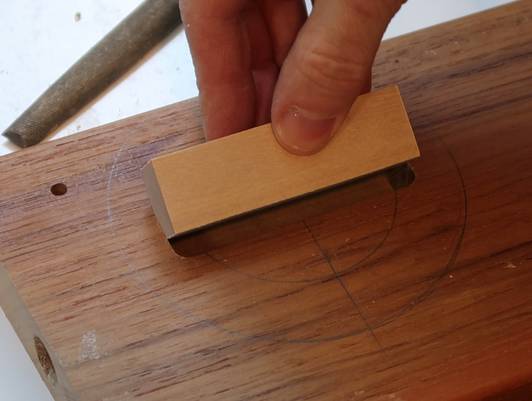 I then measured the size of the holes. and cut rectangular pieces of hardwood
to match the hole.
I then measured the size of the holes. and cut rectangular pieces of hardwood
to match the hole.
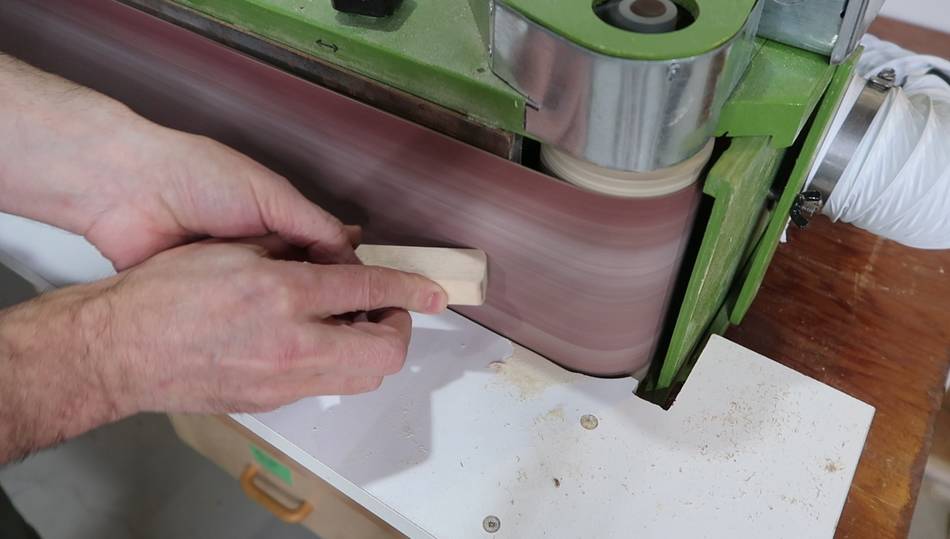 I rounded the corners to match the hole on my
edge belt sander
I rounded the corners to match the hole on my
edge belt sander
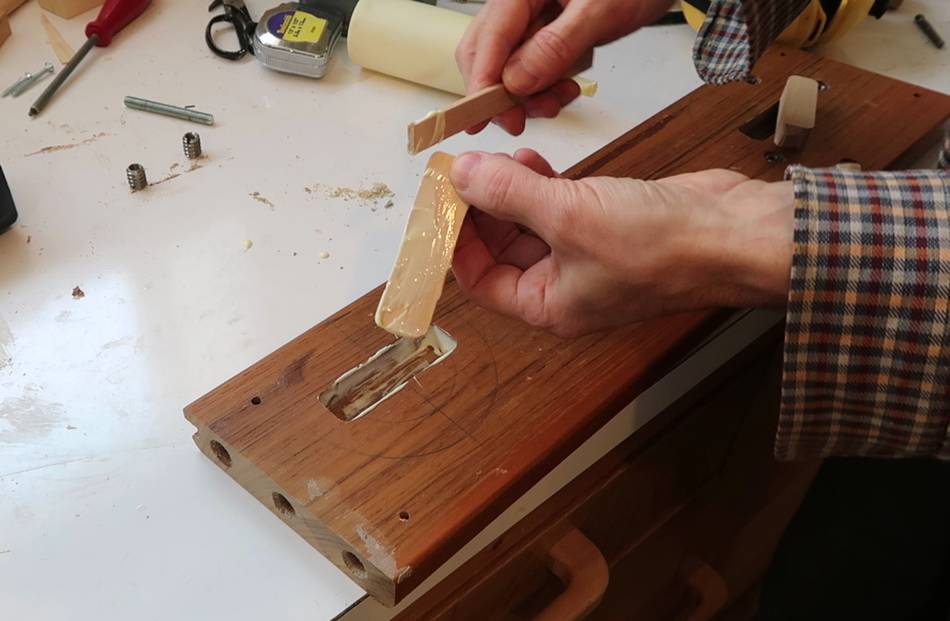
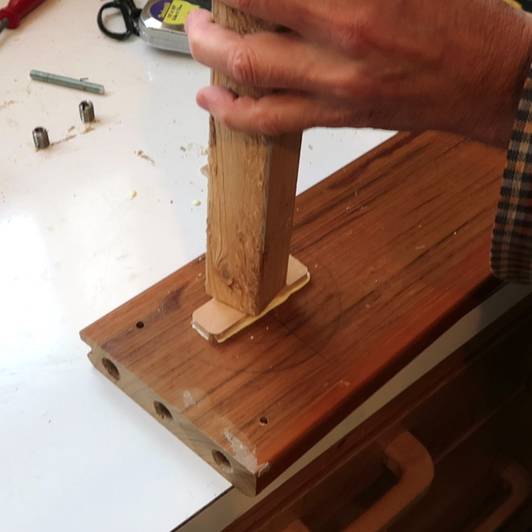 Then applying lots of glue to the hole and the plug and pushing it in
flush with a piece of wood, tapping it with a hammer.
Then applying lots of glue to the hole and the plug and pushing it in
flush with a piece of wood, tapping it with a hammer.
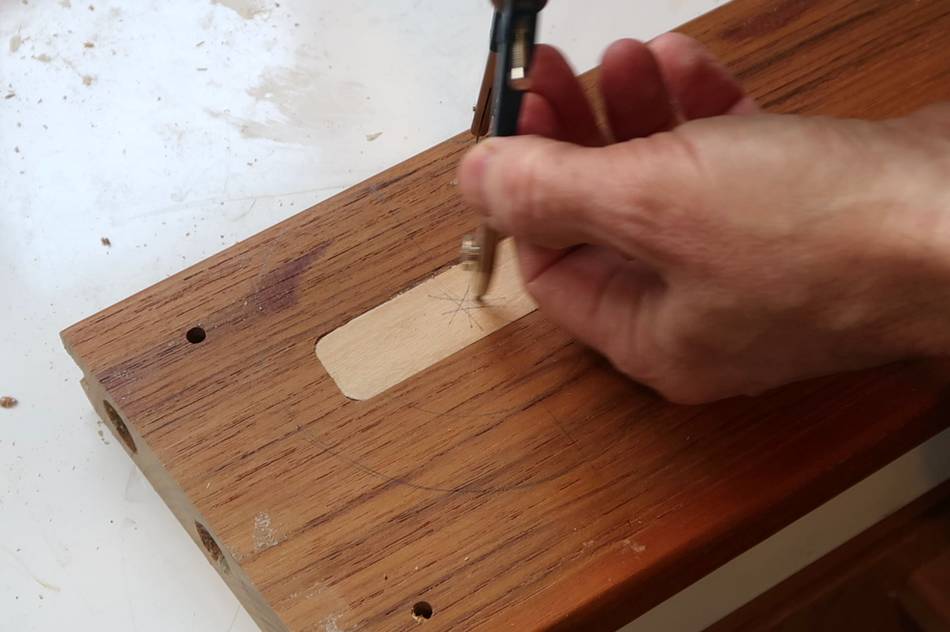
 After that I used the circle I drew previously, and a compass to re-establish
where the center of the hole needed to be, then drilled an appropriate size
hole for the insert.
After that I used the circle I drew previously, and a compass to re-establish
where the center of the hole needed to be, then drilled an appropriate size
hole for the insert.
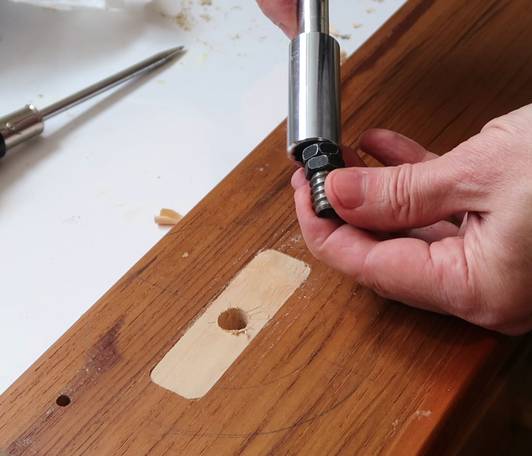
I found a bolt of the right size to fit in the insert, then used a socket to drive the bolt and insert in, then backed out the bolt.
 Then reassembling the side frame, with lots of wood glue this time.
But I couldn't get the joints to all close properly. I ended up prying it apart again before the glue set and drilling the dowel holes slightly deeper, then put it back together, but I couldn't get all the gaps to fully close at the same time. It just didn't fit perfectly
After I glued it, I had a look at the other side and saw some small gaps there as well. This whole side frame probably never went together quite right in the first place. Kind of disappointing for a fancy couch like this.
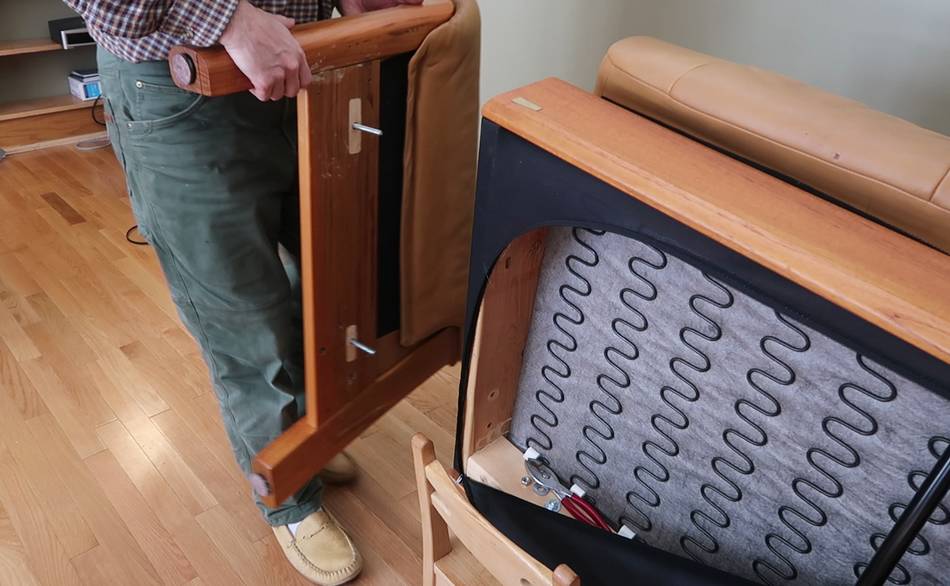 Then re-installing the side frame.
 But for good measure, I added five wood screws to help hold on the side frame.
Just two studs, the way it was, just isn't enough.
But for good measure, I added five wood screws to help hold on the side frame.
Just two studs, the way it was, just isn't enough.
I also added some wood screws to the other side. Hopefully, that will allow the couch to better survive another move, though we aren't planning on moving any time soon!
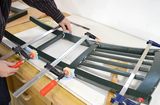 Chair rebuild
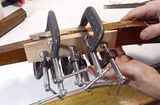 Splicing broken
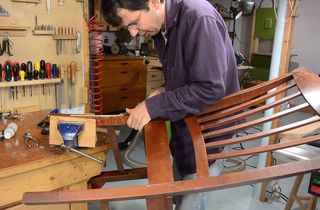 Repairing a chair leg
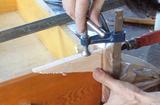 Drawer repair
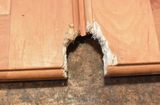 Fixing squirrel damaged cabinet doors
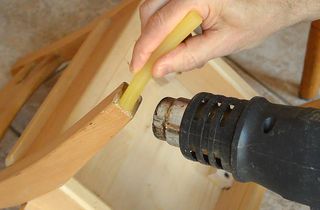 Stick felt pads to chairs with hot glue so they won't come off
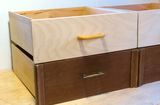 Re-facing drawers
 Cracked cabinet door repair
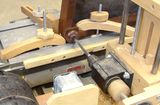 Steel pin chair repair