 With the body closed up, I can finally varnish it.
With the body closed up, I can finally varnish it.
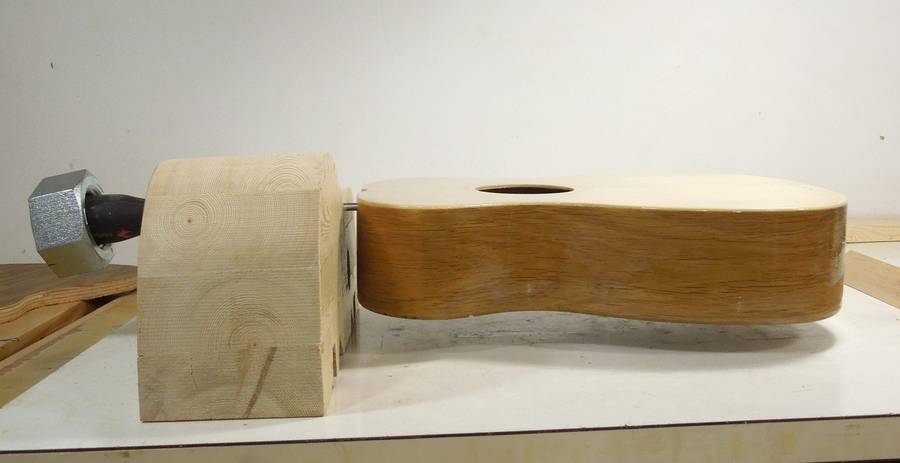
I rigged up a simple holder, just a screwdriver in one of the screw holes, with a big nut as a weight on the screwdriver handle to keep it balanced. I used one of my bending forms to support the screwdriver.
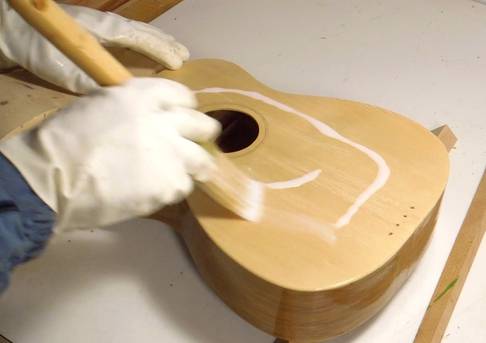
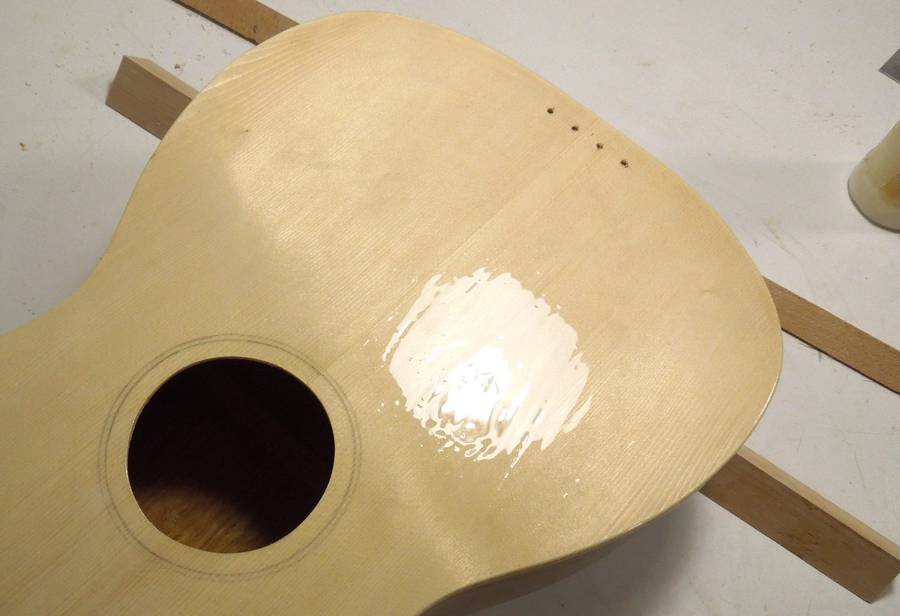 I applied about five coats of Varathane diamond (water borne) floor varnish on the body.
I think general advice is to put it on in thin coats so it won't run, but
I like to put a final coat on very thick, in the hope that surface tension helps
to level the surface.
I applied about five coats of Varathane diamond (water borne) floor varnish on the body.
I think general advice is to put it on in thin coats so it won't run, but
I like to put a final coat on very thick, in the hope that surface tension helps
to level the surface.
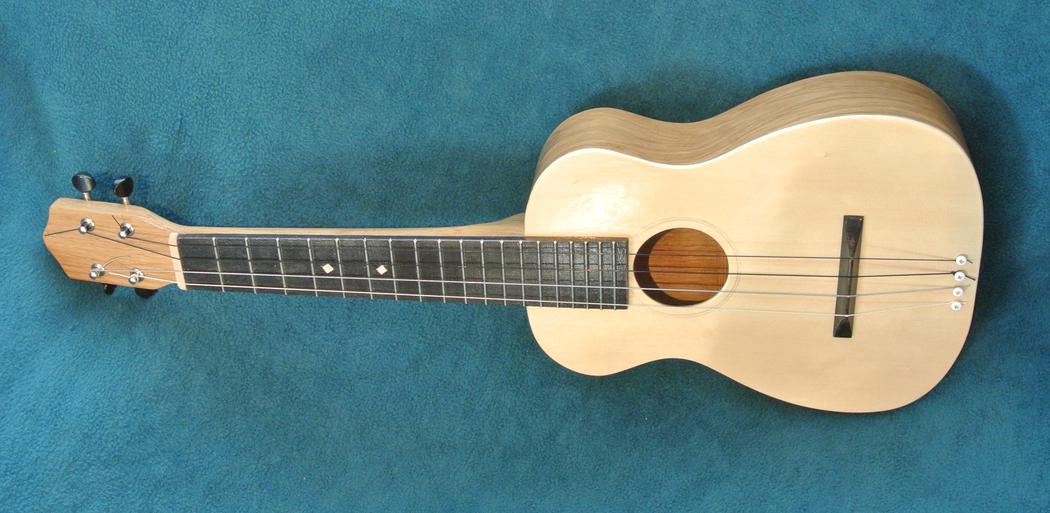
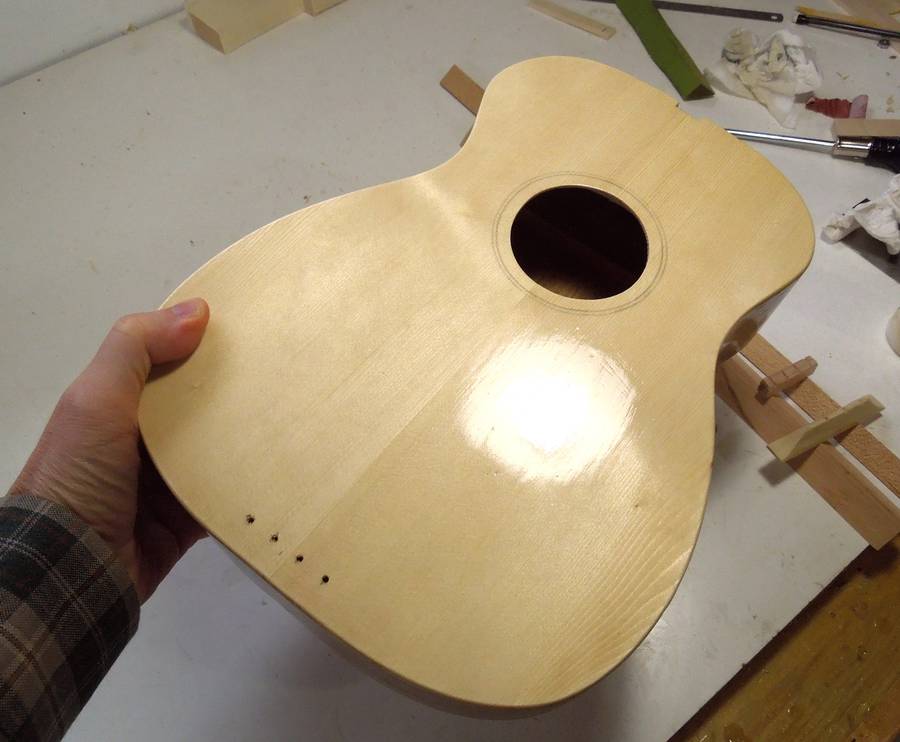 This is what the final coat came out like. Still shiny, but not as glossy as it was wet.
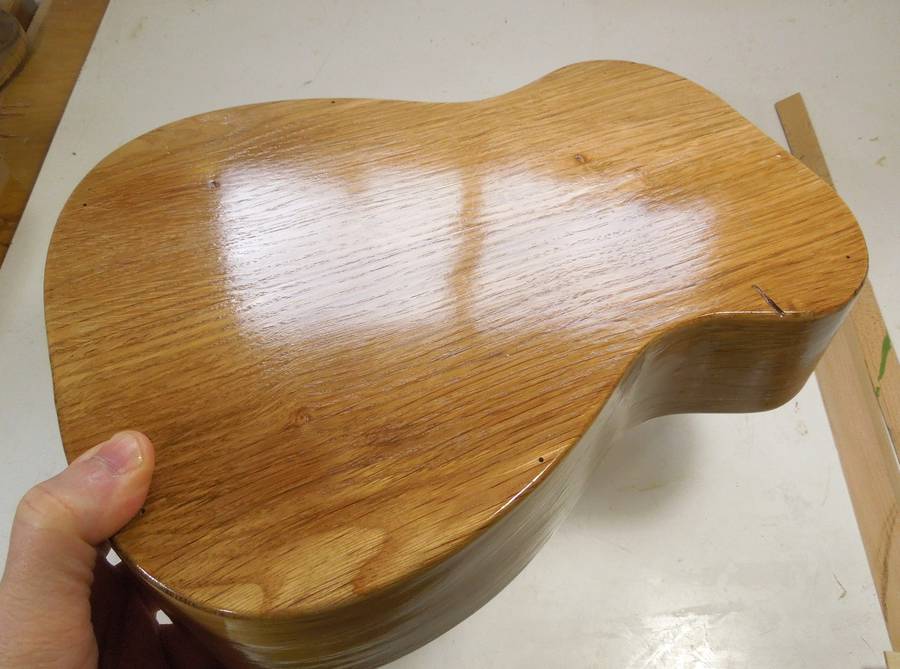 And here's the back.
I really like using the water based varnish — it dries very fast, and it comes out reasonably hard. But it's not very good with moisture resistance. I would never use it for a countertop. I have also seen this varnish crack a little on my desk, where I often put a glass down, but also an area where I often rest my arm to use the mouse. So just moisture from the skin, over time, can ruin this varnish. I don't think this would be a suitable varnish for an instrument for a professional musician.
 The part that guides the string at the head of a ukulele (or guitar) is called the "nut".
These are normally made of plastic, bone or exotic wood. I just made mine out of a scrap
of hard maple.
The part that guides the string at the head of a ukulele (or guitar) is called the "nut".
These are normally made of plastic, bone or exotic wood. I just made mine out of a scrap
of hard maple.
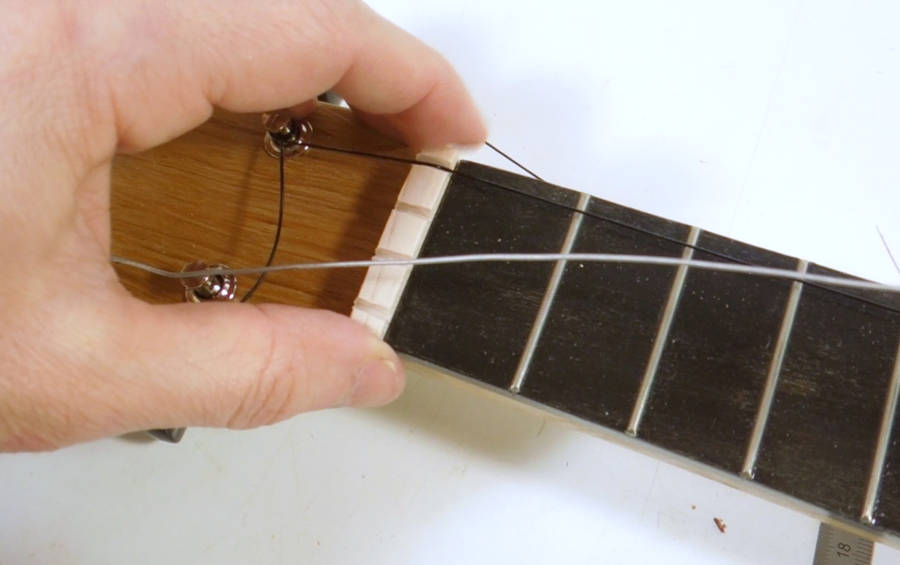 It took me a few tries to get it right. On the first one, I had the strings too close
to the edges. On the second try, I filed the notches too deep. The third try was
almost right, just one notch too deep, but a drop of glue in the notch fixed that.
It took me a few tries to get it right. On the first one, I had the strings too close
to the edges. On the second try, I filed the notches too deep. The third try was
almost right, just one notch too deep, but a drop of glue in the notch fixed that.
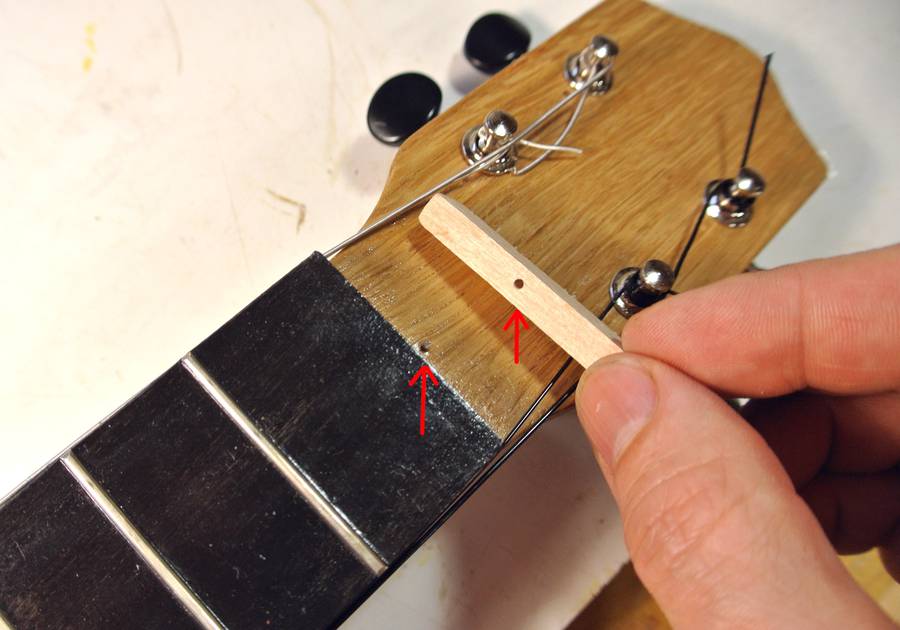 On my ukulele, the nut is only held in place by the tension of the string. I added a small
nail behind the nut to keep it from sliding, similar to how I kept the fretboard from
sliding as I glued it on.
On my ukulele, the nut is only held in place by the tension of the string. I added a small
nail behind the nut to keep it from sliding, similar to how I kept the fretboard from
sliding as I glued it on.
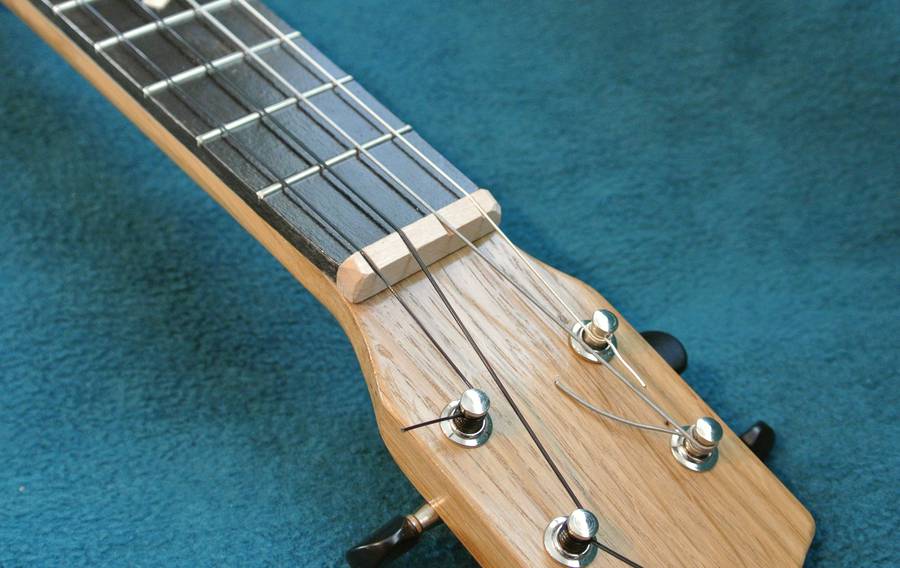 For some finger positions, the corners of the nut were a bit uncomfortable, so after
a while, I rounded them off.
For some finger positions, the corners of the nut were a bit uncomfortable, so after
a while, I rounded them off.
 I first made a bridge out of spruce. I shaped that bridge mostly with a hand plane and
a belt sander. It sounded ok.
I first made a bridge out of spruce. I shaped that bridge mostly with a hand plane and
a belt sander. It sounded ok.
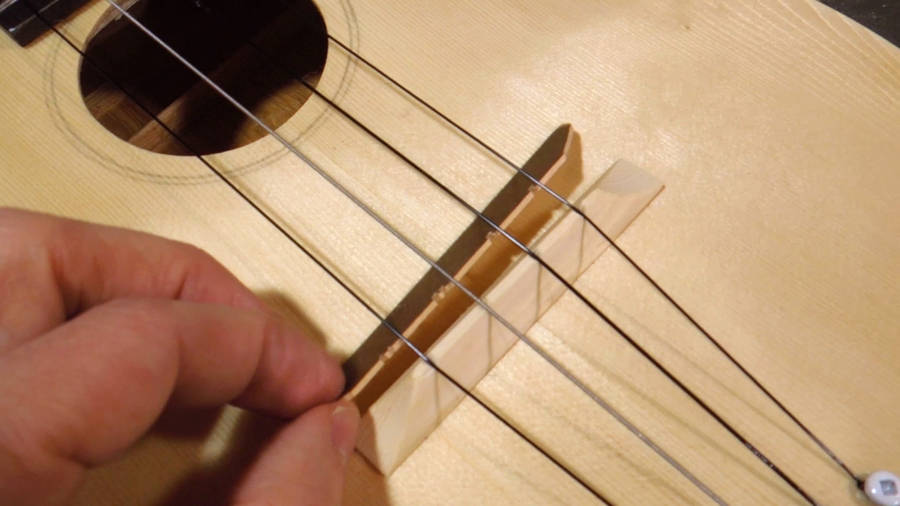
Pat Hawley suggested the bridge would best be made of hard material. But I also figured keeping it light would be good. As an experiment, I made a very thin bridge out of a 1 mm thick piece of maple (showing it next to the spruce bridge in the photo). The sound from that was not very satisfying.
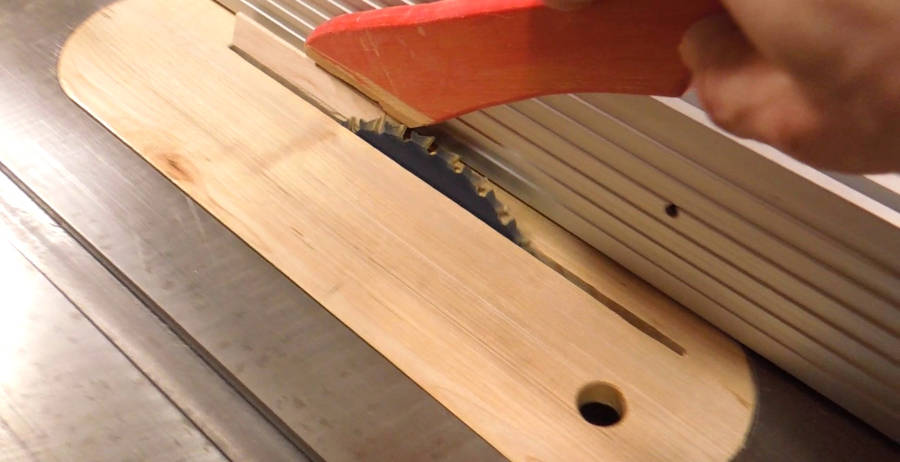 I later made another bridge out of hard maple. I cut a triangular section
of wood on the table saw (the blade is tilted towards the fence in this photo).
I later made another bridge out of hard maple. I cut a triangular section
of wood on the table saw (the blade is tilted towards the fence in this photo).
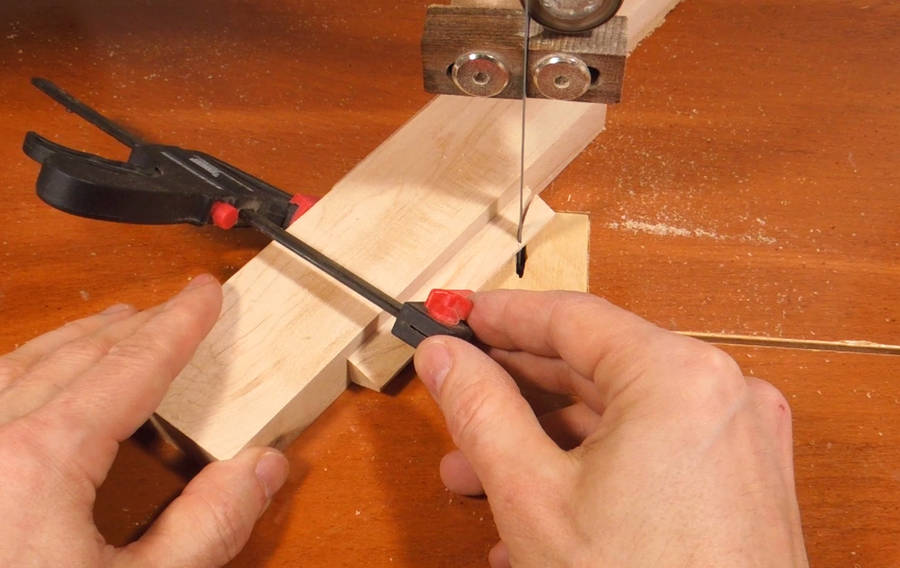 I then clamped it to a larger piece of wood to cut the tapered ends on both sides
on my bandsaw.
I then clamped it to a larger piece of wood to cut the tapered ends on both sides
on my bandsaw.
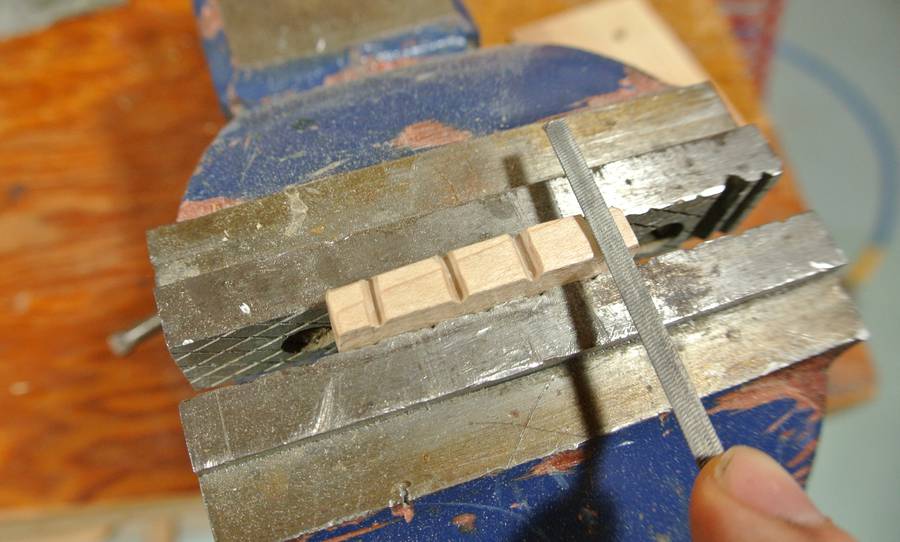
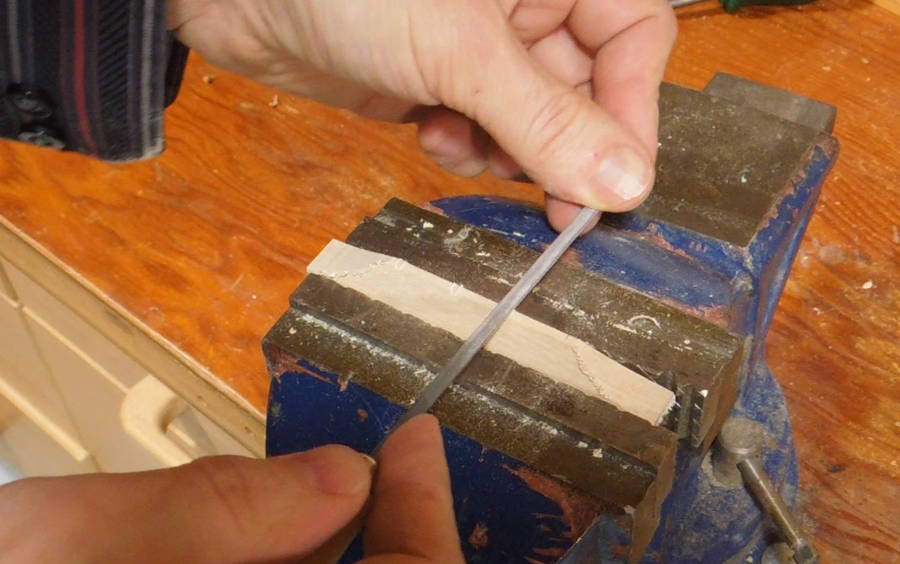 I cut some notches into it with a small triangular file. These notches are slightly
slanted so that the high end of the notch is towards the neck. If the slot is
just straight across, the string may rattle against the sides of the notch.
It sounds strange that it would, but I had some rattling in
the nut initially before I slanted the notches. The way I localized it to the nut
was by holding it right up to my ear as I plucked the strings.
I cut some notches into it with a small triangular file. These notches are slightly
slanted so that the high end of the notch is towards the neck. If the slot is
just straight across, the string may rattle against the sides of the notch.
It sounds strange that it would, but I had some rattling in
the nut initially before I slanted the notches. The way I localized it to the nut
was by holding it right up to my ear as I plucked the strings.
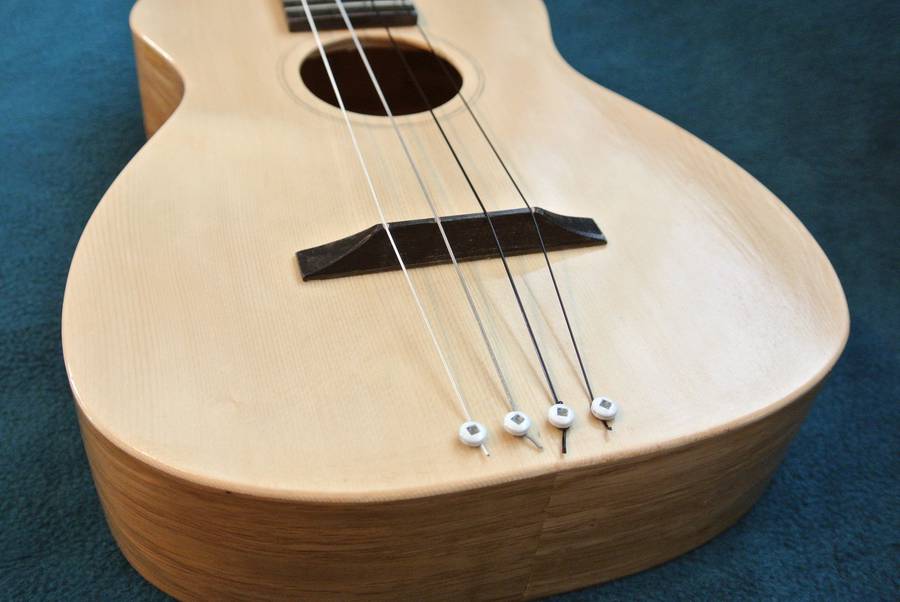
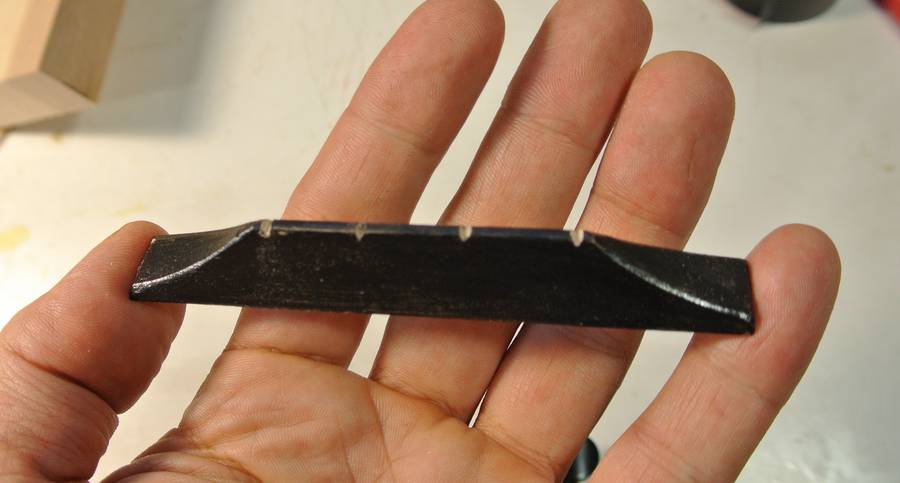 I painted the bridge black to look the same as the fretboard.
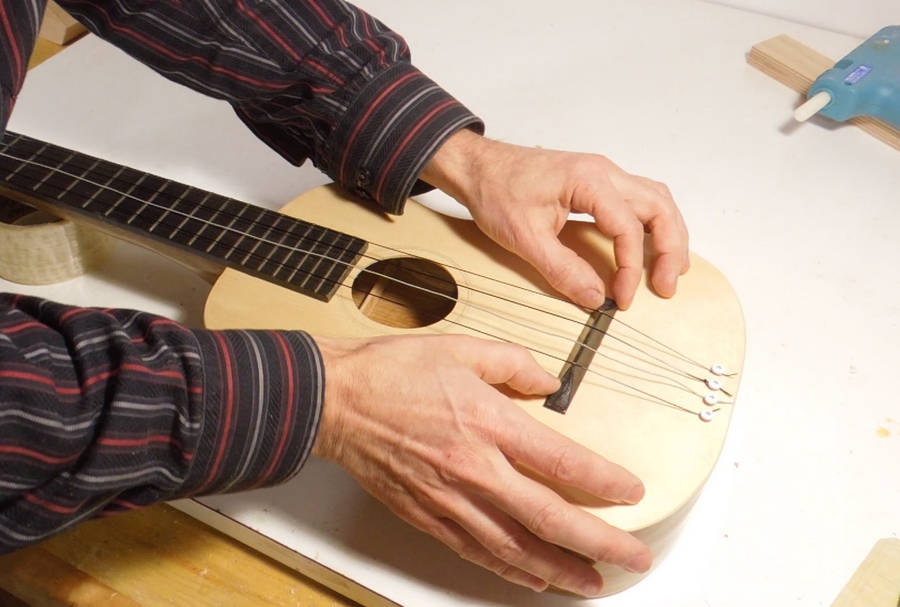 The bridge is held in place by just the tension of the strings.
I shot the video at left just to show a friend, straight from the web camera onto
YouTube. So I wasn't trying to make it look good, but that probably helped.
See also: Pat finishing up his ukulele
Back to the Ukulele page
![]()