 Instead, I decided to build a bending form which was an exact copy of
the shape of my soprano uke...
Instead, I decided to build a bending form which was an exact copy of
the shape of my soprano uke...
Hi Matthias,
Ever since you posted your ukulele build a few years ago, I've been dying to build one of my own. I've been playing the ukulele for almost 10 years, and would love to have a home-made uke to add to my collection.
I started in mid-December and have been working at a slow gentle pace. I'm building a soprano sized ukulele, so I have been basing my dimensions on a soprano that I already have, but using most of the techniques that you recommended in your articles and videos. I decided to build mine from hard maple because it's relatively affordable, available at regular hardware stores, and I prefer the appearance of maple over oak.
For your reader's interest, here are some photos and descriptions of my experience with bending the sides.
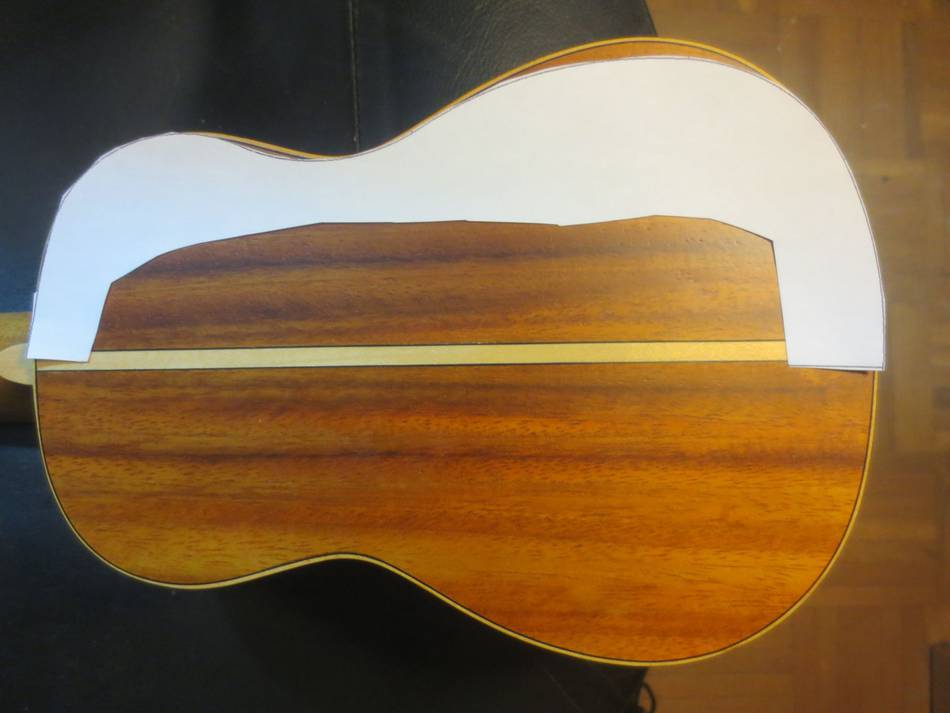
For bending the sizes, my original idea was to use your over-bent profile and scale it down to suit a soprano size. However, I printed out a scaled down version of your ukulele profile (not the over-bent one) and found that the shape is fairly different from mine. I'm sure it would have worked fine, but I'm trying to base as many dimensions as possible on my existing soprano.
Instead, I decided to build a bending form which was an exact copy of
the shape of my soprano uke...
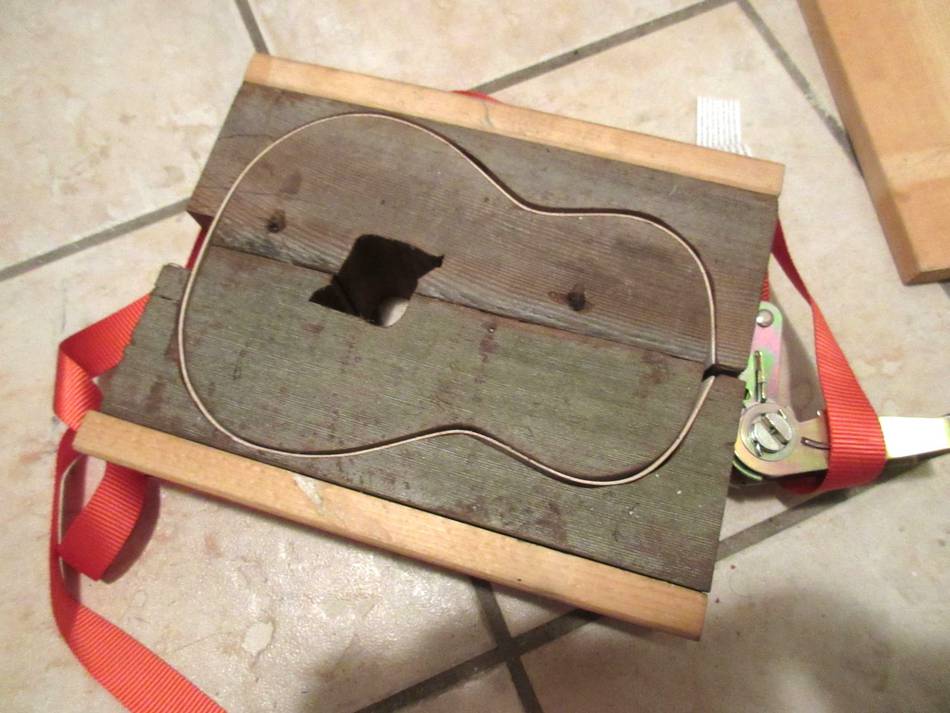
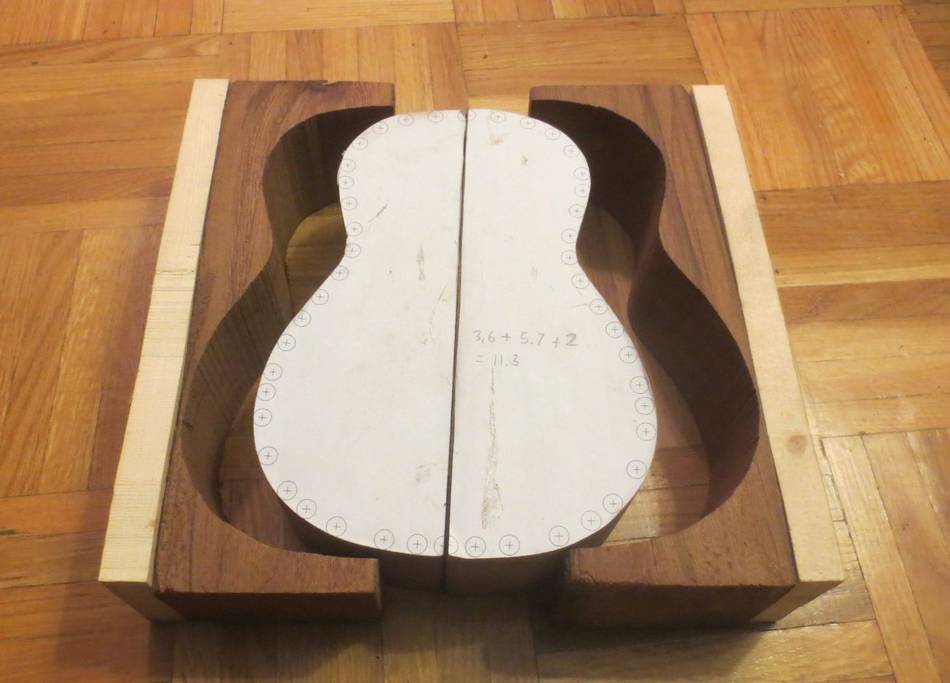 ... but build it in such a way that it could go
in the oven, as you recommended in your
final thoughts article. I
printed off a paper template, glued it on an old piece of cedar fence
post and cut out two half-ukulele profiles. I saved and reinforced the
two cutoff pieces to create an outer bending form.
... but build it in such a way that it could go
in the oven, as you recommended in your
final thoughts article. I
printed off a paper template, glued it on an old piece of cedar fence
post and cut out two half-ukulele profiles. I saved and reinforced the
two cutoff pieces to create an outer bending form.
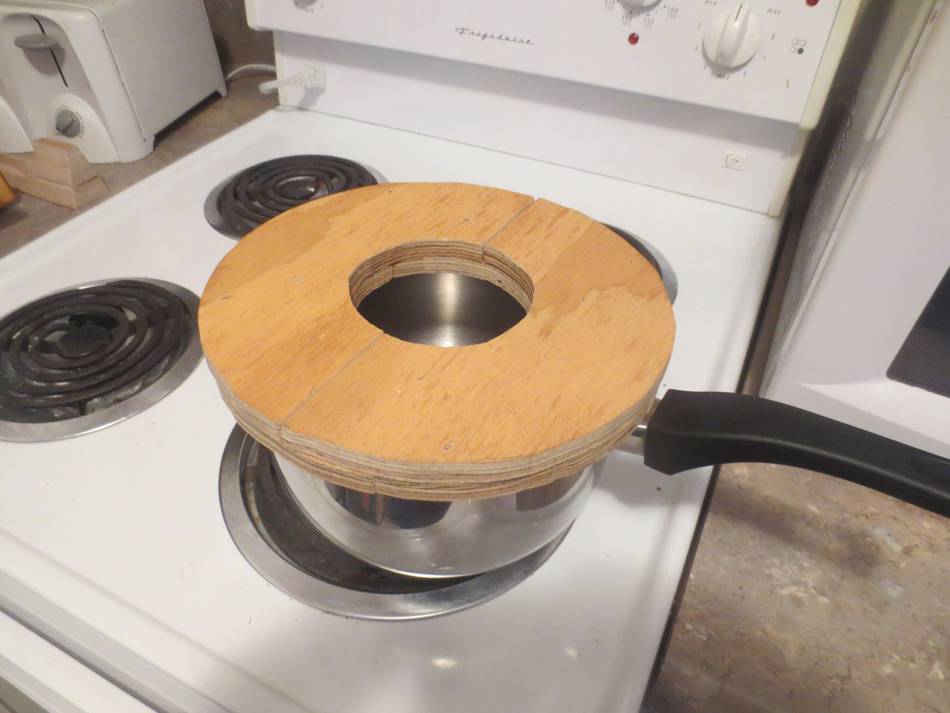
 I created a steam-bending chimney, very similar to yours, which fits on
top of a large pot on the stove. Based on your experience with the wood
warping, I built my adapter from some scrap plywood. So far there has
been minimal warping after using it 3 times.
I created a steam-bending chimney, very similar to yours, which fits on
top of a large pot on the stove. Based on your experience with the wood
warping, I built my adapter from some scrap plywood. So far there has
been minimal warping after using it 3 times.
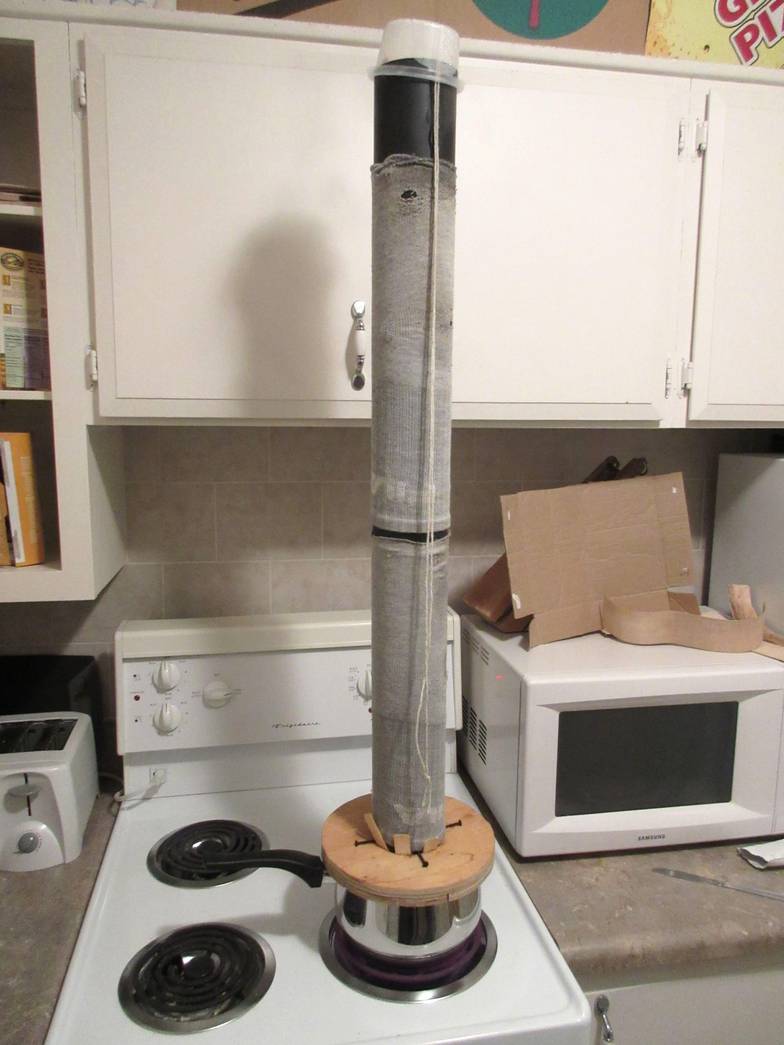 I used some old socks to insulate the pipe, which were the perfect
size to fit snugly around the 3" ABS drainage pipe.
I used some old socks to insulate the pipe, which were the perfect
size to fit snugly around the 3" ABS drainage pipe.
Since my ukulele is soprano sized, and my steam pipe is quite long, I
decided to bend the sizes from one continuous piece (rather than doing
two halves and gluing them together). I resawed a piece of hard maple
down to 2mm on my 9" Mastercraft Bandsaw. I left it steaming for around
45 minutes to make sure it was nice and soft. During that time, I took
it out a few times and flipped it around, so that one end wasn't always
getting more heat and steam than the other.
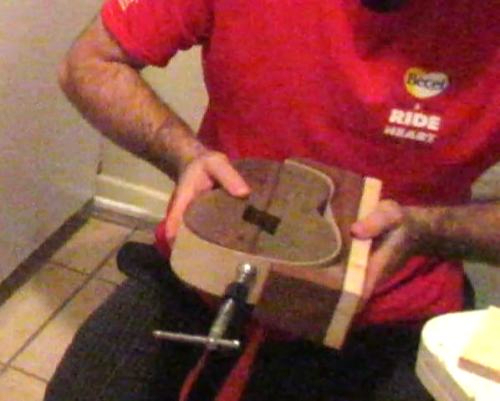
 After it was ready, I
clamped the piece in the middle at the bottom, bend it around the inside
form, and then pushed on the two outside forms.
After it was ready, I
clamped the piece in the middle at the bottom, bend it around the inside
form, and then pushed on the two outside forms.
 I used a ratchet strap to tightly pull together the two sides and secure
them in place.
I used a ratchet strap to tightly pull together the two sides and secure
them in place.
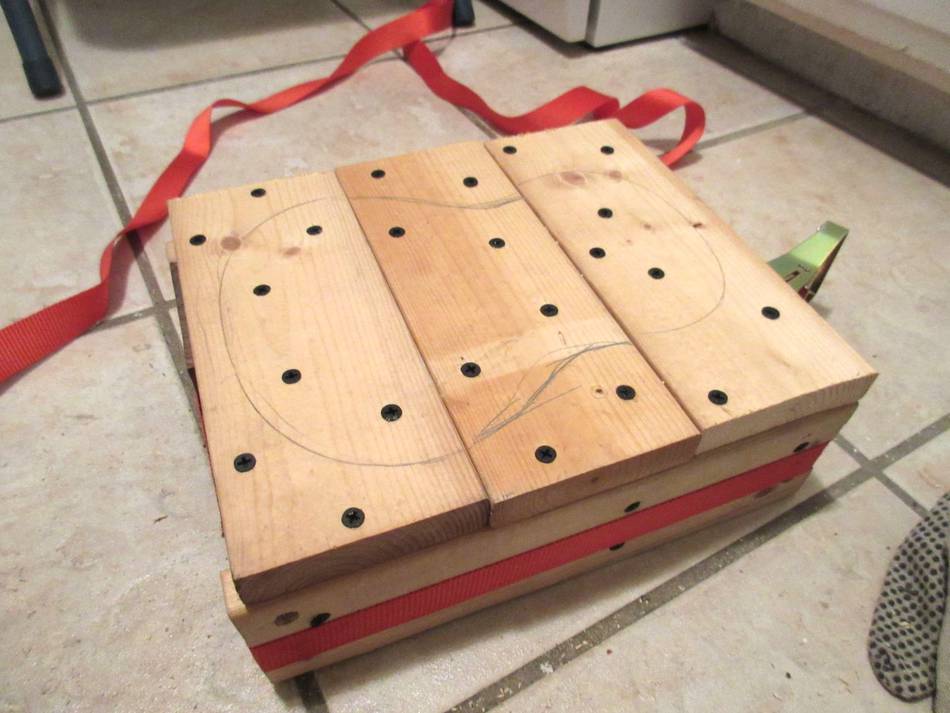
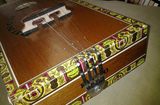
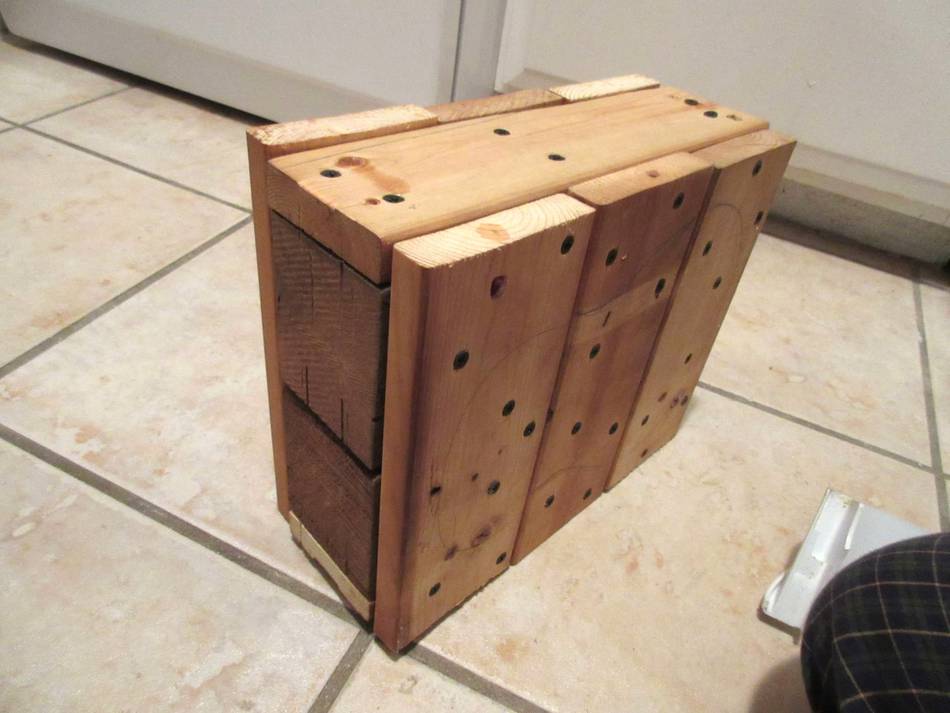 Next I got ready to prepare it for the oven. Of course I didn't want to
put my ratchet strap in the oven, and also didn't have any all-metal
clamps which were large enough to clamp together my form. Instead, I
just cut some strips of scrap wood and screwed them across both faces,
boxing it together.
Next I got ready to prepare it for the oven. Of course I didn't want to
put my ratchet strap in the oven, and also didn't have any all-metal
clamps which were large enough to clamp together my form. Instead, I
just cut some strips of scrap wood and screwed them across both faces,
boxing it together.
 In the end there was very little spring-back and the shape matches my
other soprano very closely!
In the end there was very little spring-back and the shape matches my
other soprano very closely!
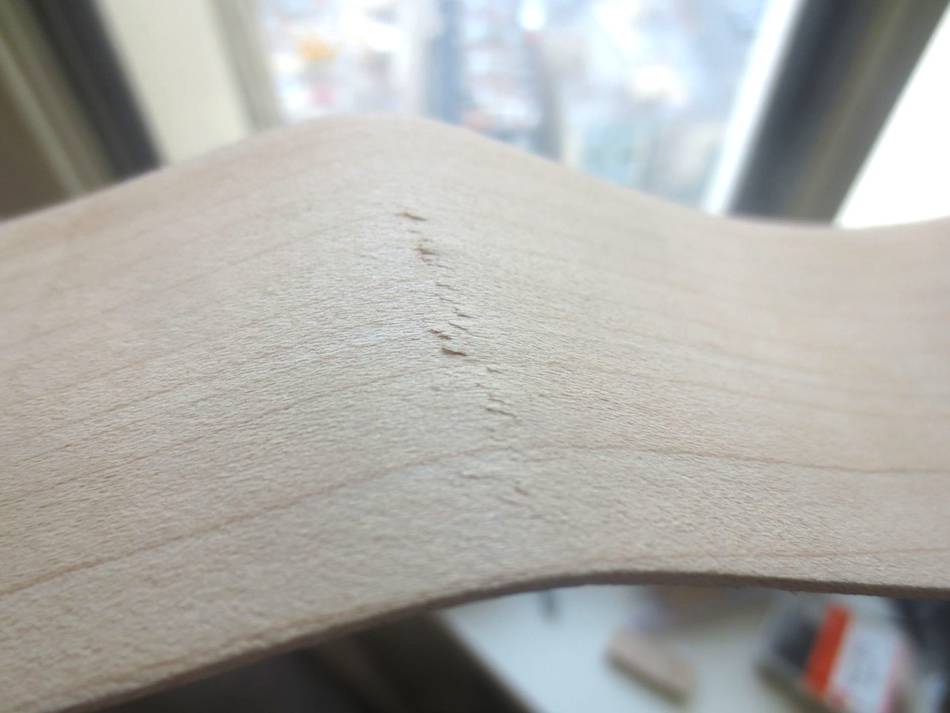 There was a small amount of cracking on the inside of the waist (the
tightest curvature) on one of the sides. However the outside surface
looks great the whole way around!
There was a small amount of cracking on the inside of the waist (the
tightest curvature) on one of the sides. However the outside surface
looks great the whole way around!
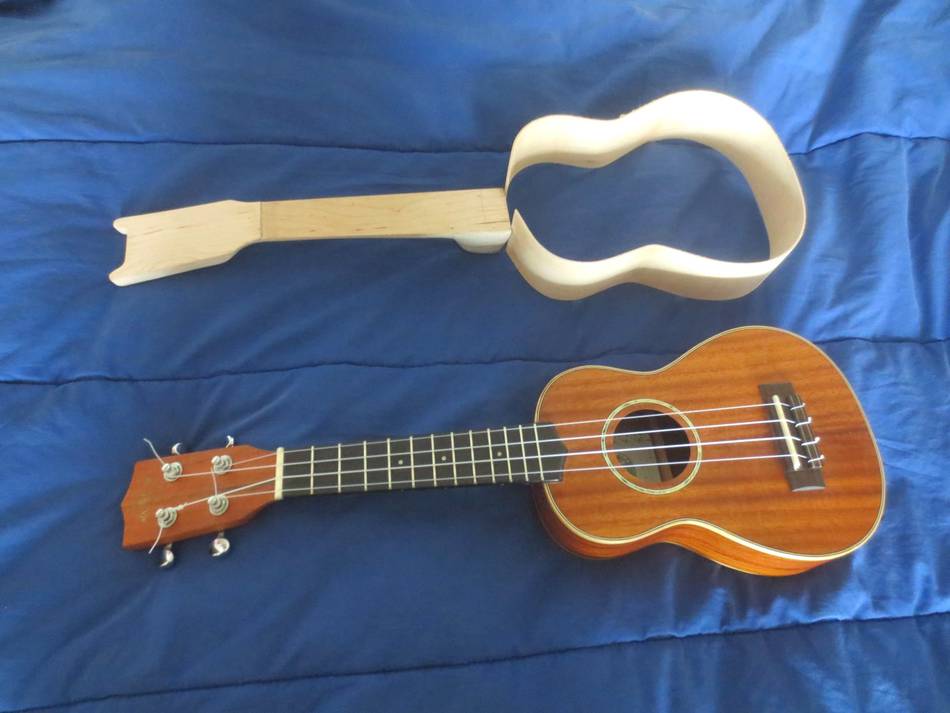
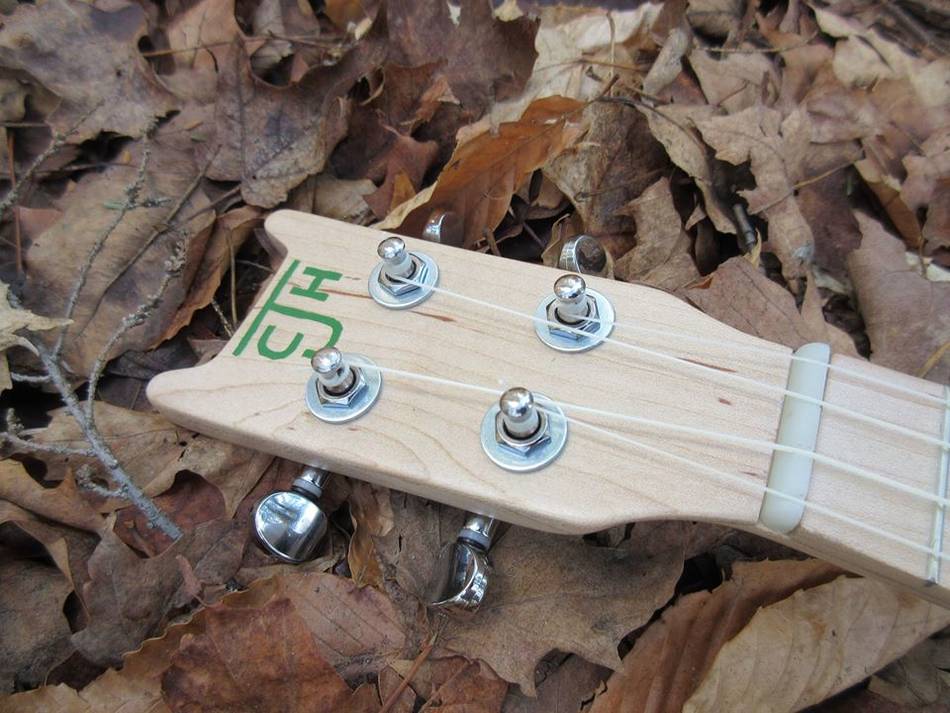
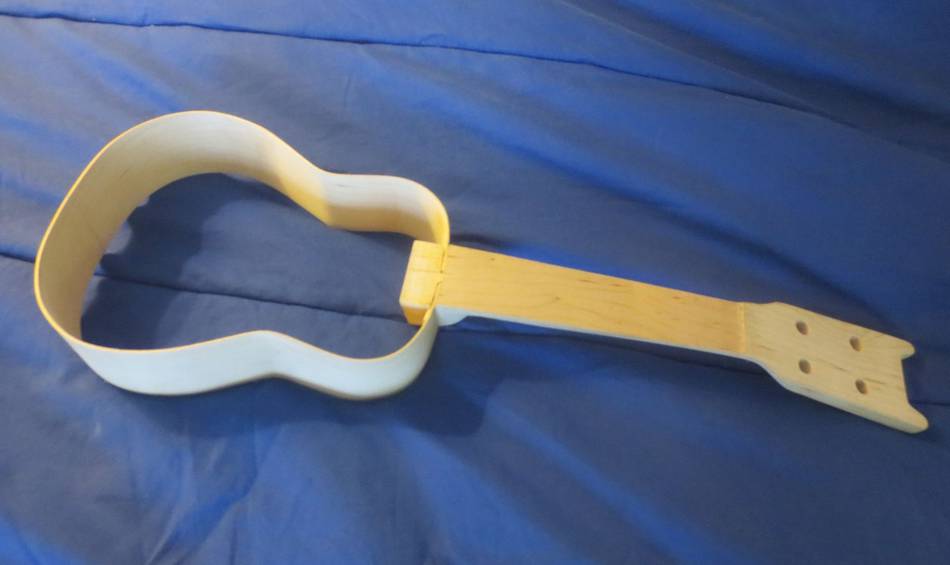 Shortly after removing it from the form I attached the sides to my
neck and it's still holding its shape perfectly a week later.
Shortly after removing it from the form I attached the sides to my
neck and it's still holding its shape perfectly a week later.
Anyway, I hope you enjoy looking at these photos and reading about my building experience. I know that you've mentioned that your ukulele build was one of your least popular project series, but it was by far my favourite. Thank you so much for posting it. Without your inspiration and helpful information, I'm certain I wouldn't be attempting this project.
Sincerely,
-Christopher Hoyle
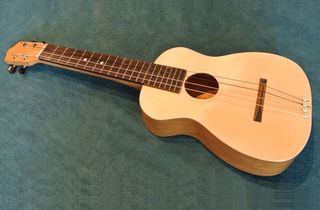
Chris later emailed me pictures of the completed ukulele:
See also:
Back to my woodworking website

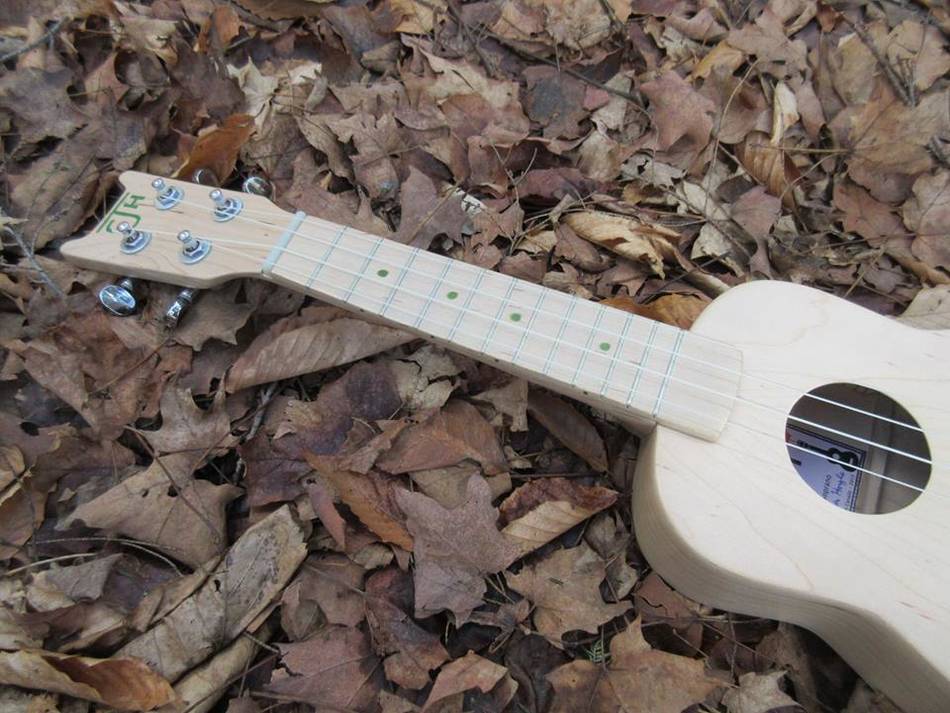
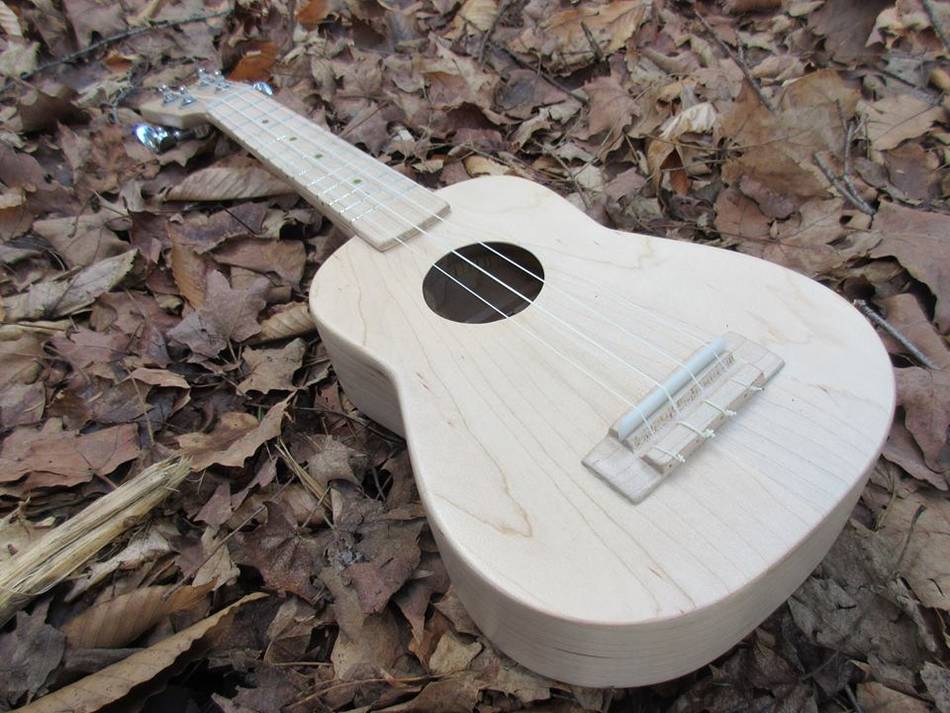
And a video of him playing his ukulele
![]()
 Ukulele build
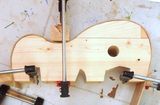 Bending ukulele sides
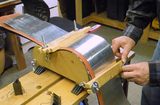 Pat Hawley bending ukulele sides
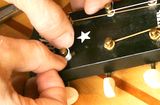 Cheap guitar mods