New melamine workbench top
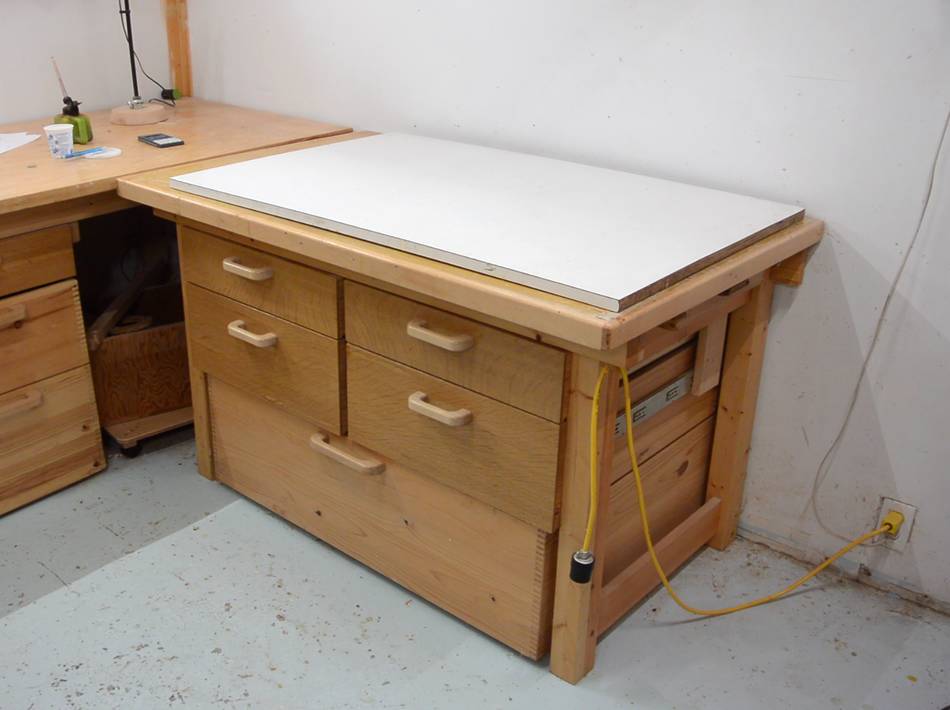
 This is one of my workbenches, which I
built back in 2000.
This is one of my workbenches, which I
built back in 2000.
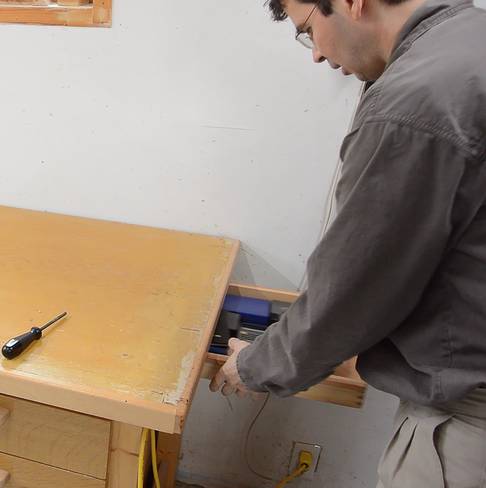
I keep a piece of melamine coated 3/4" plywood on top so I have a nice white workbench top that is easy to clean up. I can just scrape glue drippings off the top with a chisel.
I have been using that piece of plywood as a workbench top since about 1996, even in my old shop, and over the years it's gotten rather beat up.
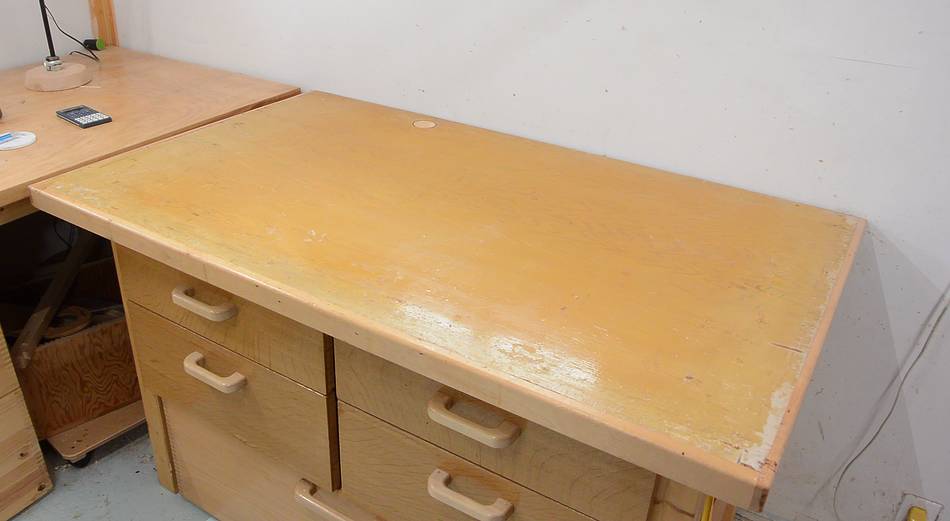 The workbench's actual top is part of the old solid-core back door
from my old house, which became redundant when I
rebuilt the addition.
The workbench's actual top is part of the old solid-core back door
from my old house, which became redundant when I
rebuilt the addition.

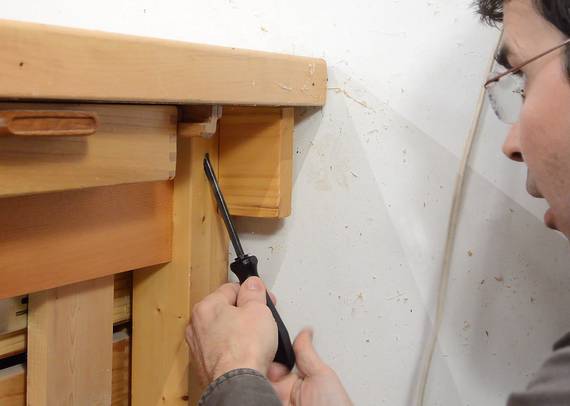 The top is held on with four wood screws. The back ones are at an angle
(pocket holes), though this was before I knew this was called a pocket
holes, and before I decided that pocket holes are evil.
The top is held on with four wood screws. The back ones are at an angle
(pocket holes), though this was before I knew this was called a pocket
holes, and before I decided that pocket holes are evil.
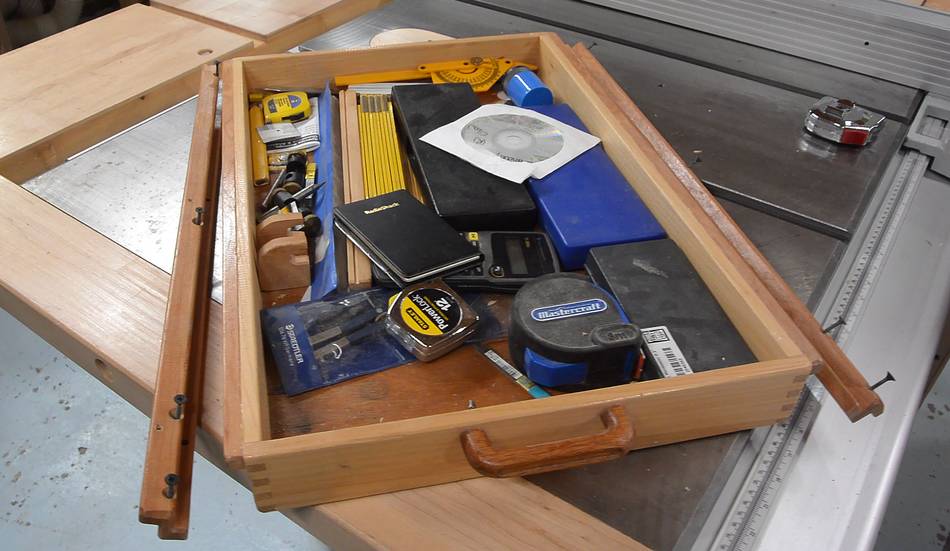
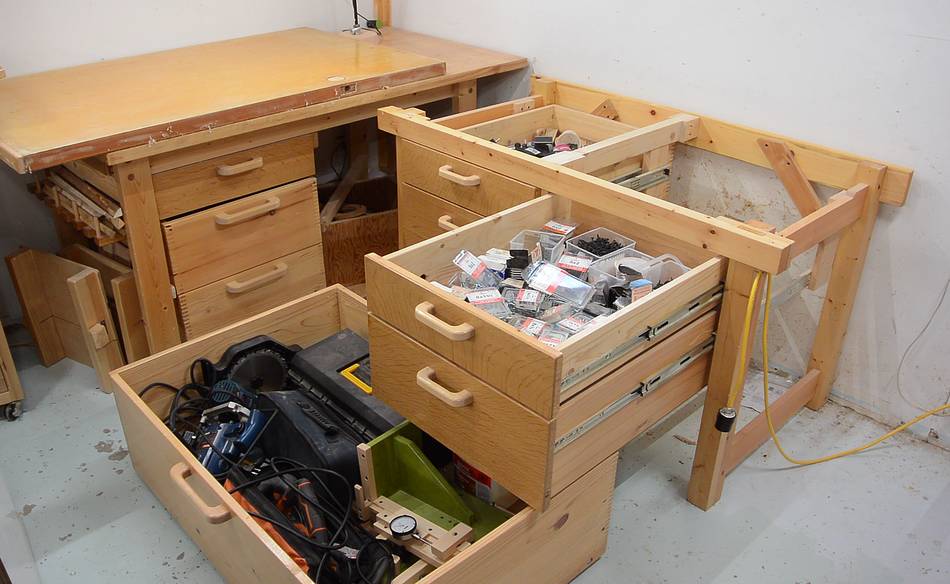
 The way the workbench is built, there was room for a shallow drawer off
to the side. This drawer is actually one that I made to go under my desk
at work when I was still working for RIM (Blackberry) back in 2001.
I added it to this workbench in 2008.
The way the workbench is built, there was room for a shallow drawer off
to the side. This drawer is actually one that I made to go under my desk
at work when I was still working for RIM (Blackberry) back in 2001.
I added it to this workbench in 2008.
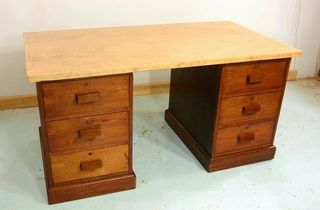
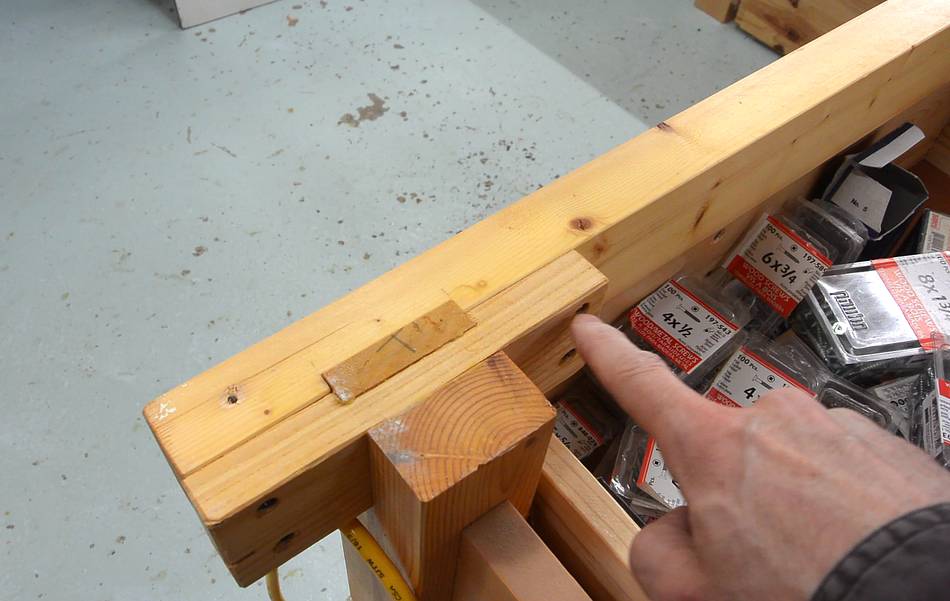 My goal when I built this workbench was to make one that was sturdy against
side-to-side forces, but still possible to disassemble and open to the front
so I could roll drawer cabinets under it.
I bridle joined a short crosspiece to the top front of the leg assemblies,
and that in turn is screwed to the front rail.
More here.
My goal when I built this workbench was to make one that was sturdy against
side-to-side forces, but still possible to disassemble and open to the front
so I could roll drawer cabinets under it.
I bridle joined a short crosspiece to the top front of the leg assemblies,
and that in turn is screwed to the front rail.
More here.
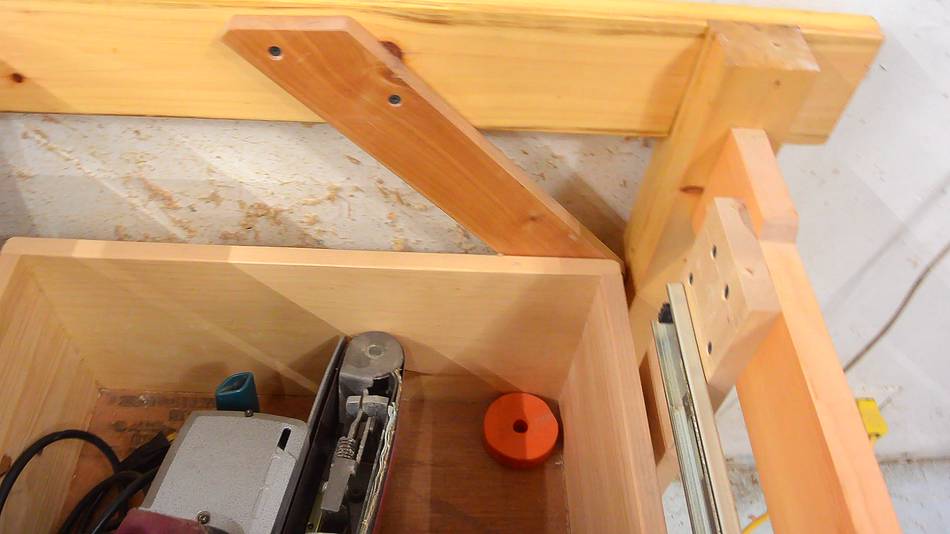 I didn't have to worry about looks or causing obstructions for the back,
so I added some diagonal bracing there.
I didn't have to worry about looks or causing obstructions for the back,
so I added some diagonal bracing there.
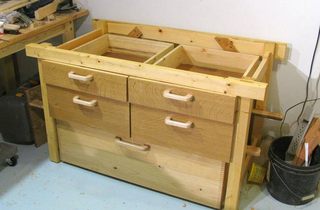
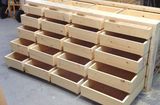
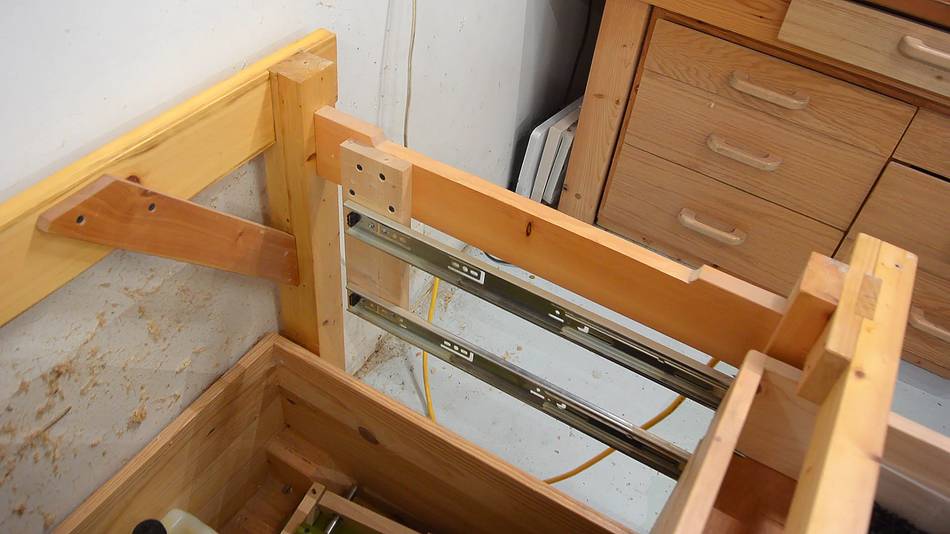 I added the drawers much later, in 2008. These are attached to pieces
of wood which are screwed into the workbench frame.
I added the drawers much later, in 2008. These are attached to pieces
of wood which are screwed into the workbench frame.
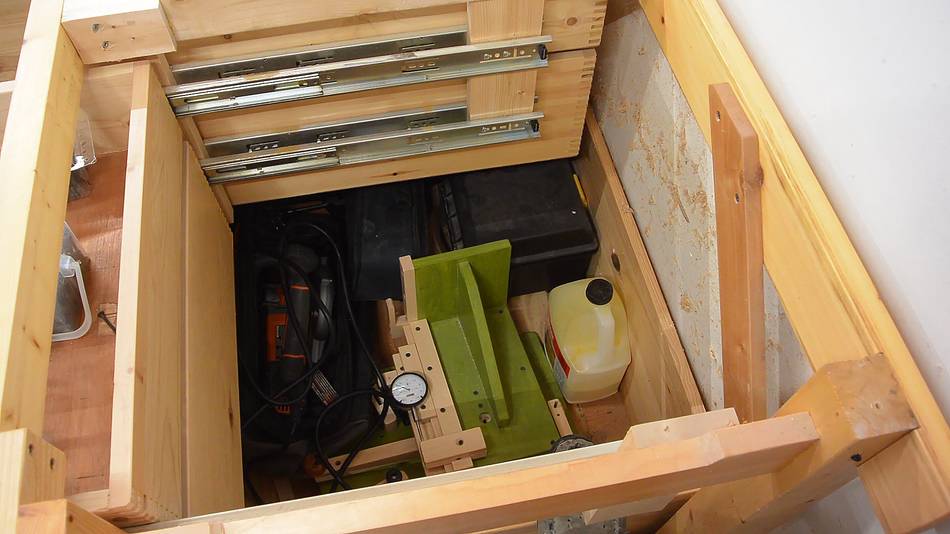 I added another set of supports for the drawer slides in the middle of
the workbench. And a big wide drawer to go underneath.
I added another set of supports for the drawer slides in the middle of
the workbench. And a big wide drawer to go underneath.
 This drawer rolls on the floor on roller skate wheels.
 I came across some very big (about 1.6m square and 40 mm thick) piece of melamine
coated particle board by a dumpster. I had been meaning to replace the workbench
top but hadn't got around to it, and this was an opportunity to replace
it with relatively little effort and no cost.
I came across some very big (about 1.6m square and 40 mm thick) piece of melamine
coated particle board by a dumpster. I had been meaning to replace the workbench
top but hadn't got around to it, and this was an opportunity to replace
it with relatively little effort and no cost.
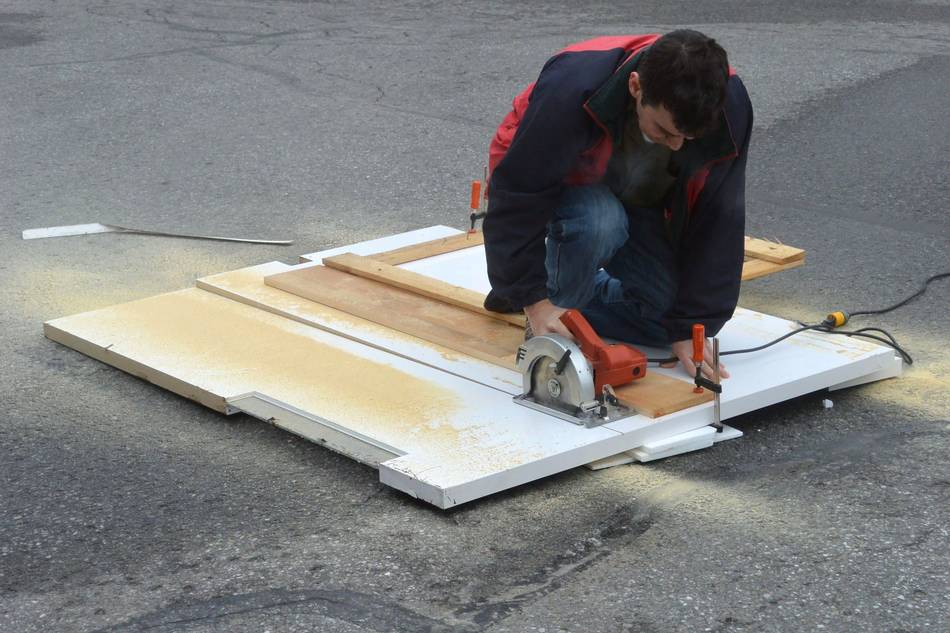
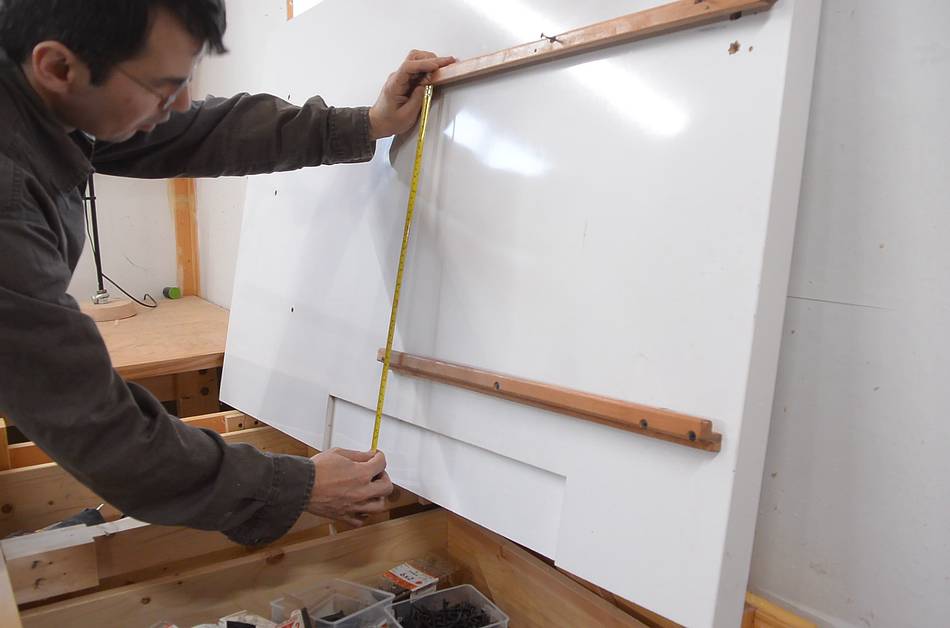
The piece was very heavy and too big to haul back in the car, so I had to cut it down to size on the spot.
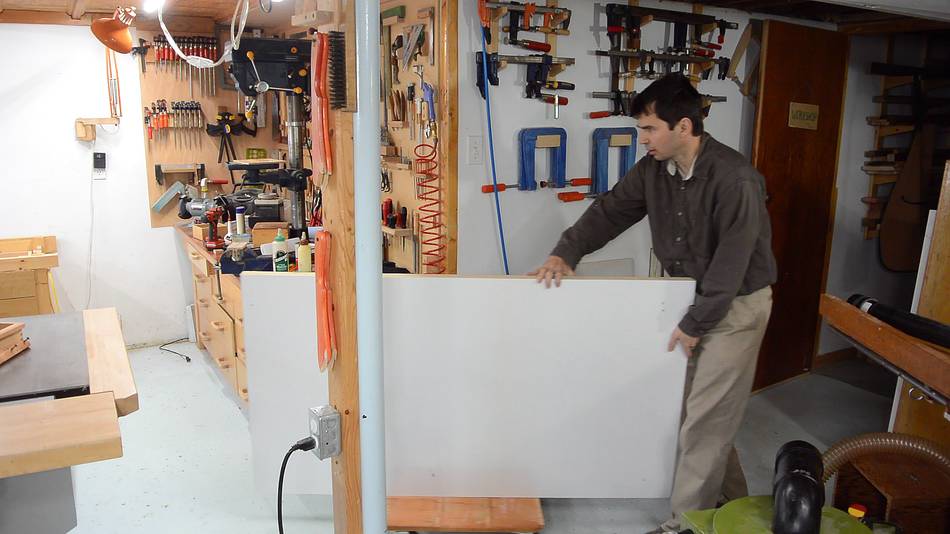 Even cut to size, it weighed 80 pounds (35 kg)
 I had to be strategic about how I lifted that up onto the workbench.
I first propped it up on a box, then tipped it up.
I had to be strategic about how I lifted that up onto the workbench.
I first propped it up on a box, then tipped it up.
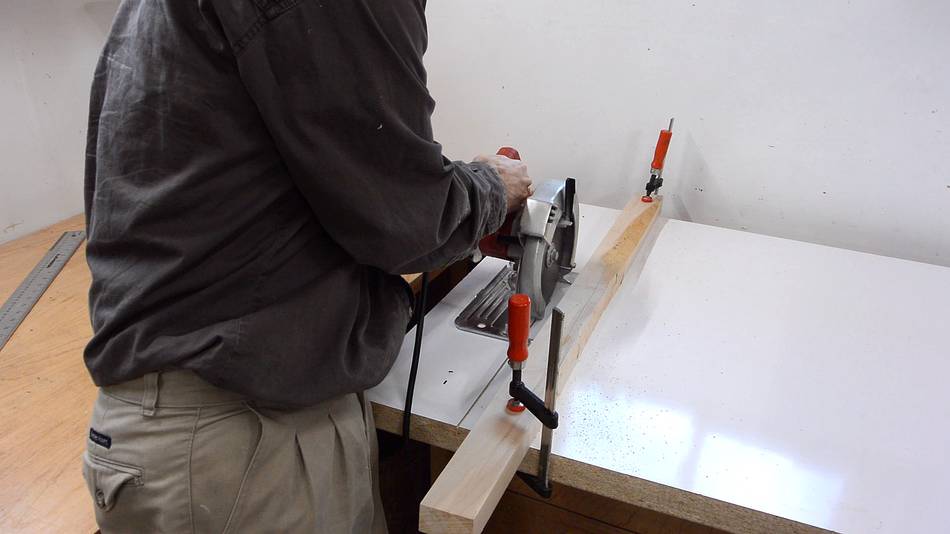
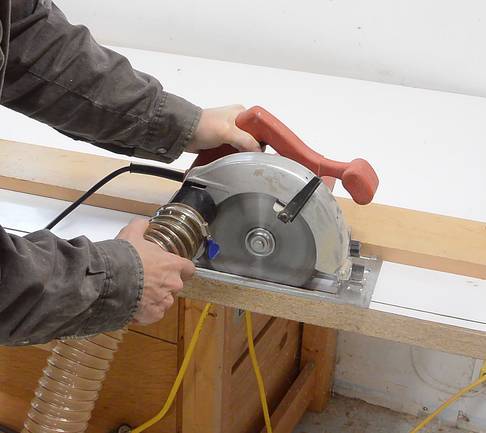
 I still needed to trim it down to final size. To avoid getting tear-out
on the melamine, I first make a scoring cut, followed by a full depth cut.
That method worked out well when I built my
homemade table saw.
I still needed to trim it down to final size. To avoid getting tear-out
on the melamine, I first make a scoring cut, followed by a full depth cut.
That method worked out well when I built my
homemade table saw.
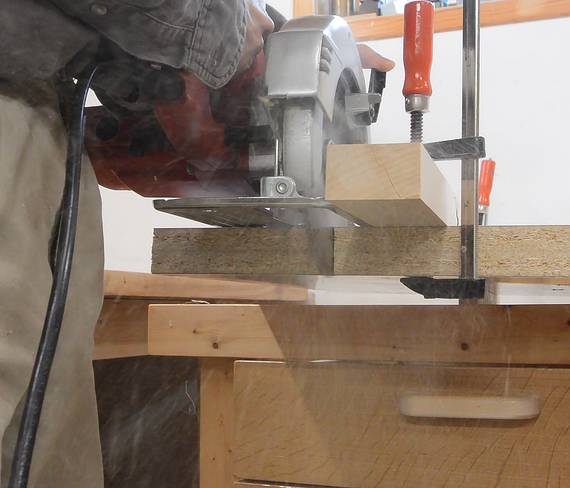
 Cutting it to width. That was extremely dusty! So dusty that I held my
breath, then ran out of the shop, leaving the air cleaner and the dust
collector running to clean the air.
Cutting it to width. That was extremely dusty! So dusty that I held my
breath, then ran out of the shop, leaving the air cleaner and the dust
collector running to clean the air.
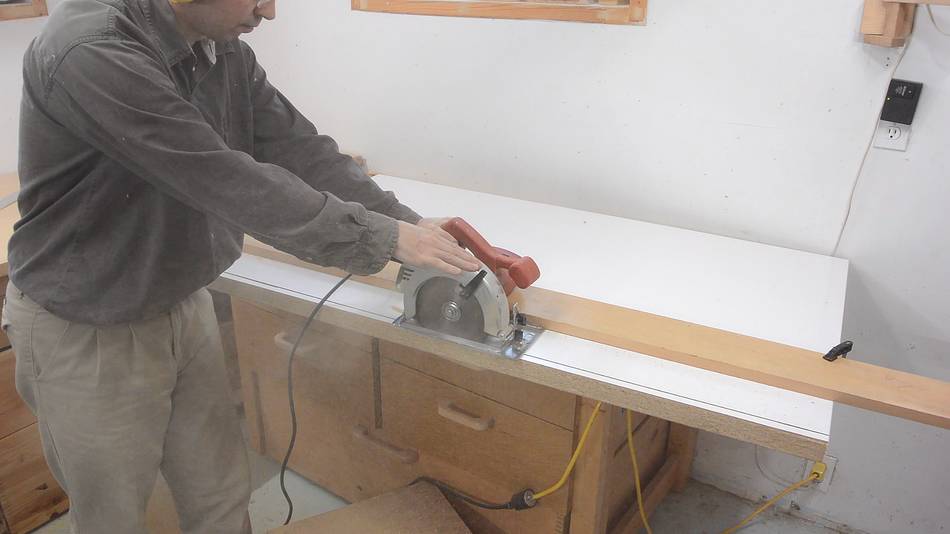
I then finished the cut while holding a dust collector hose to the saw. This got much of the dust, but not all of it. And with me holding the saw just one handed, it started to ride up on me and wasn't making a full depth cut and it was at an angle. And trimming a fraction of a millimeter off with a handheld circular saw is never very accurate because the arbour and blade flex when cutting on just one side.
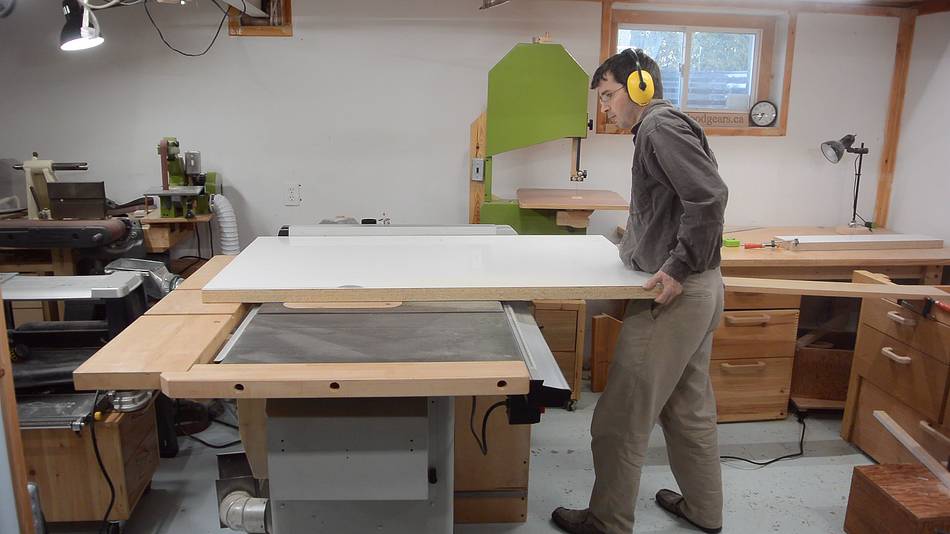
 My goal had been to avoid hoisting this heavy slab onto the table saw,
but in the end, that's what I did to clean up the cut.
A board propped between the workbench and the
table saw helped me to get it over to the saw without having to lift
it off the floor.
My goal had been to avoid hoisting this heavy slab onto the table saw,
but in the end, that's what I did to clean up the cut.
A board propped between the workbench and the
table saw helped me to get it over to the saw without having to lift
it off the floor.
 The table saw made a lot less dust than the handheld saw, and a much
better cut.
The table saw made a lot less dust than the handheld saw, and a much
better cut.
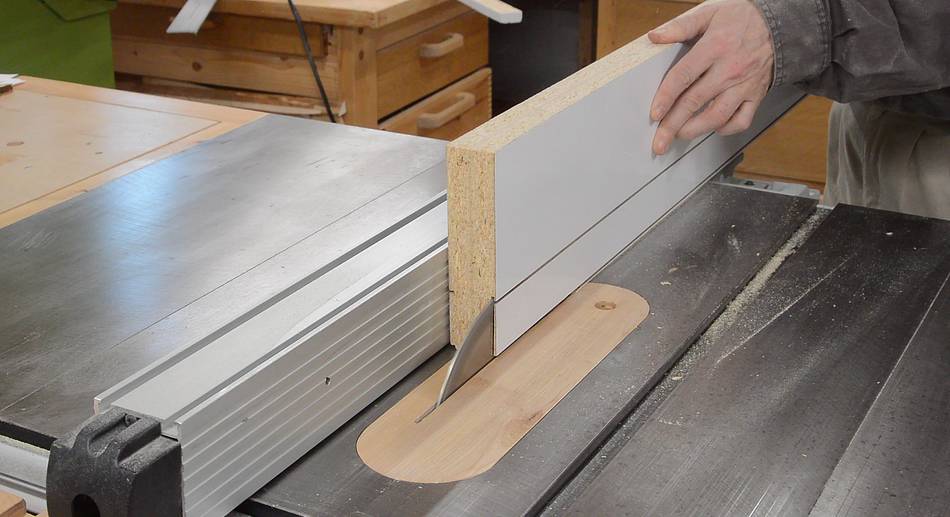 But I still had just a particle board edge. I took some of my cut-offs
and cut a thin slice of melamine coated wood off it on the table saw.
But I still had just a particle board edge. I took some of my cut-offs
and cut a thin slice of melamine coated wood off it on the table saw.
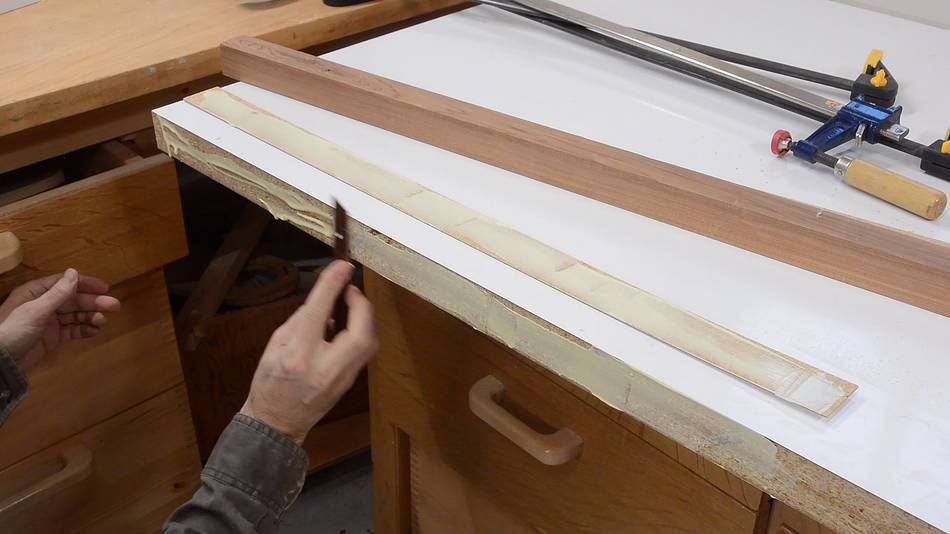
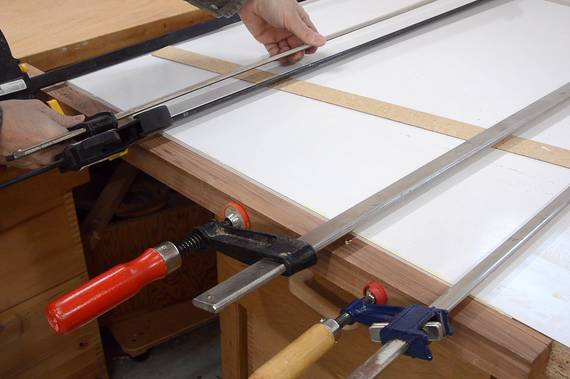 With still some wood behind the melamine, I could glue the strips on
the front edge of my workbench with wood glue, then clamp it on with
a big piece of wood in front to spread the pressure.
With still some wood behind the melamine, I could glue the strips on
the front edge of my workbench with wood glue, then clamp it on with
a big piece of wood in front to spread the pressure.
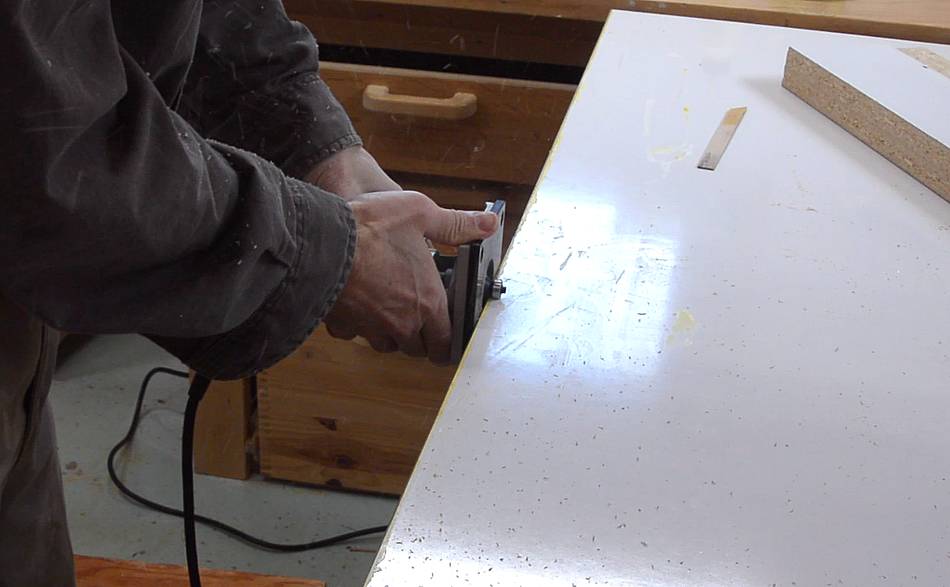
 I then trimmed the excess with my laminate trimmer (or palm router).
This is the first time I ever used my laminate trimmer to actually trim
laminate!
I then trimmed the excess with my laminate trimmer (or palm router).
This is the first time I ever used my laminate trimmer to actually trim
laminate!
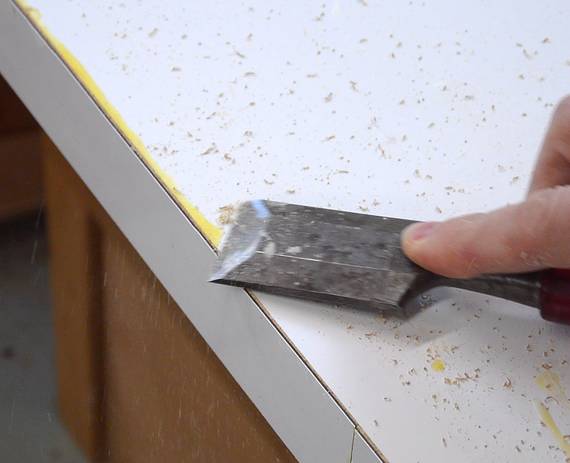
It was a multi-step process, first trimming most of the overhang, then scraping excess glue off...
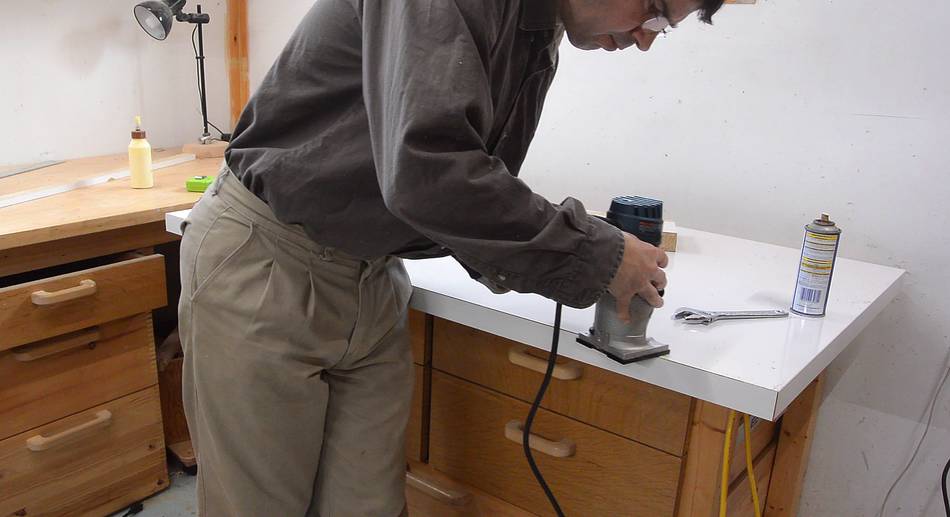 ...and trimming it again.
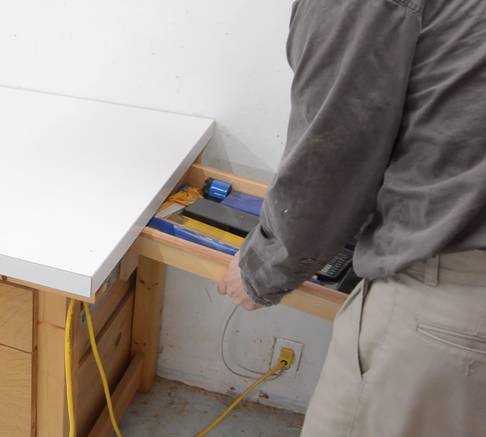 Reinstalling the rails for the drawer.
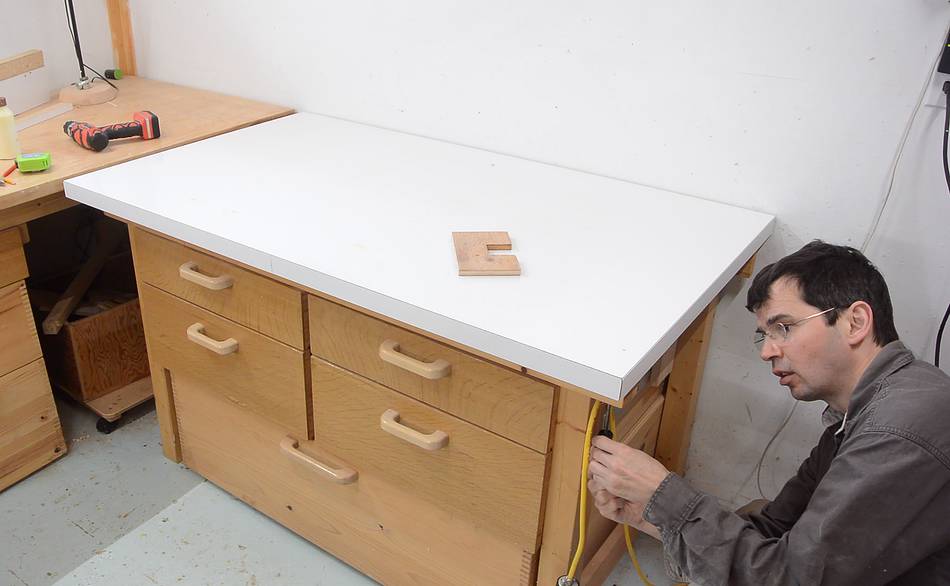 And screwing it back on the top.
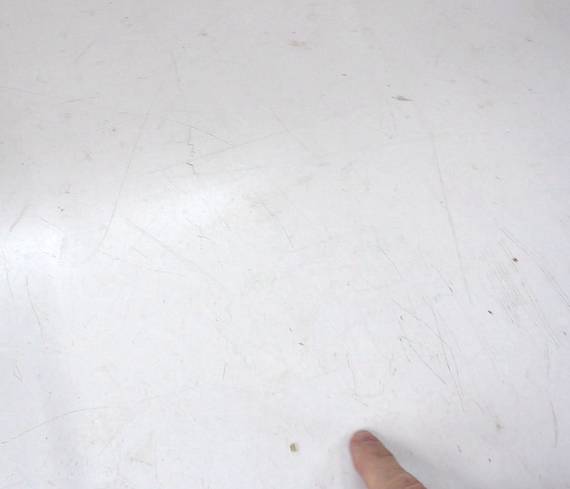
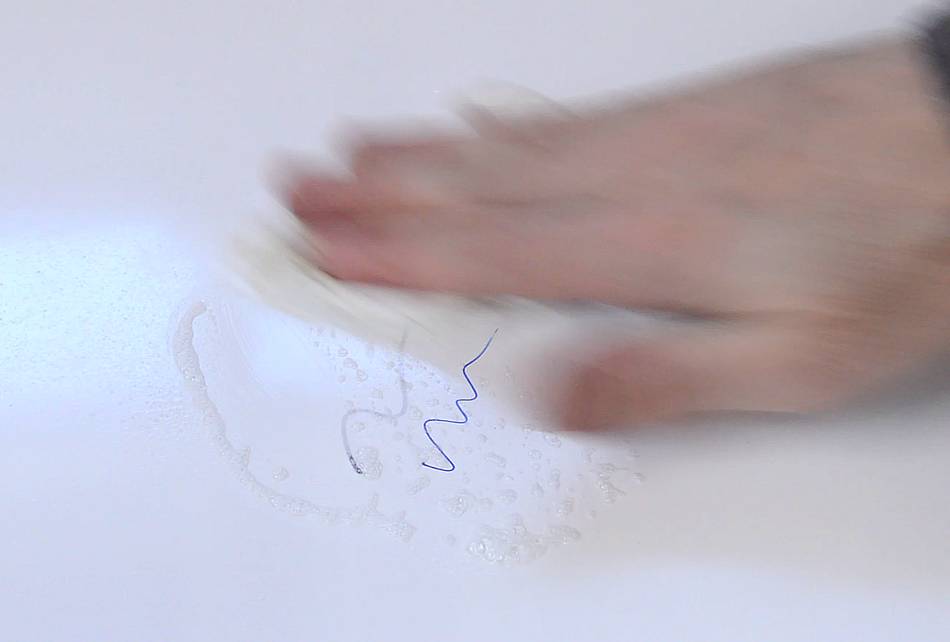 This melamine is still quite pristine without any noticeable blemish
on it. The nice thing about melamine is it's easy to clean. Even
permanent marker can be cleaned off.
This melamine is still quite pristine without any noticeable blemish
on it. The nice thing about melamine is it's easy to clean. Even
permanent marker can be cleaned off.
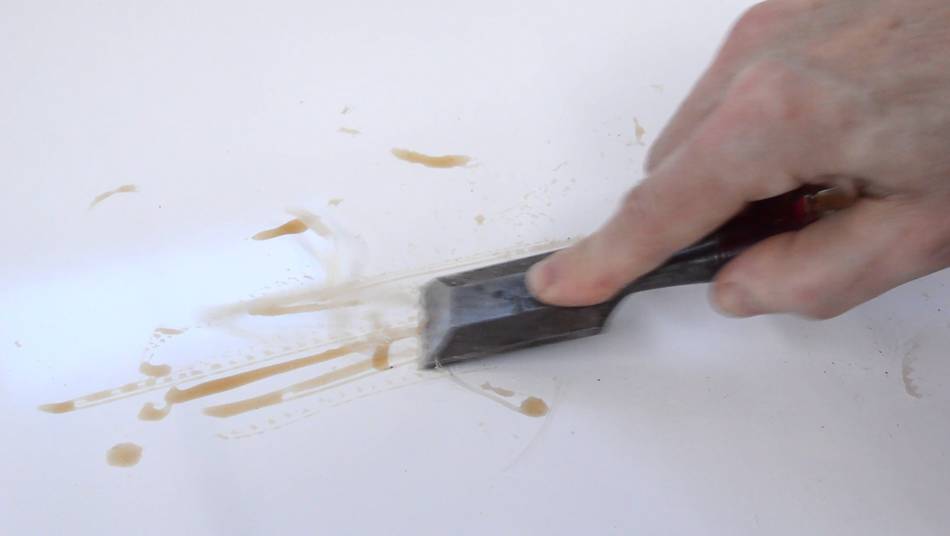 And glue squeeze-out comes off easily with a chisel, without damaging
the surface.
And glue squeeze-out comes off easily with a chisel, without damaging
the surface.
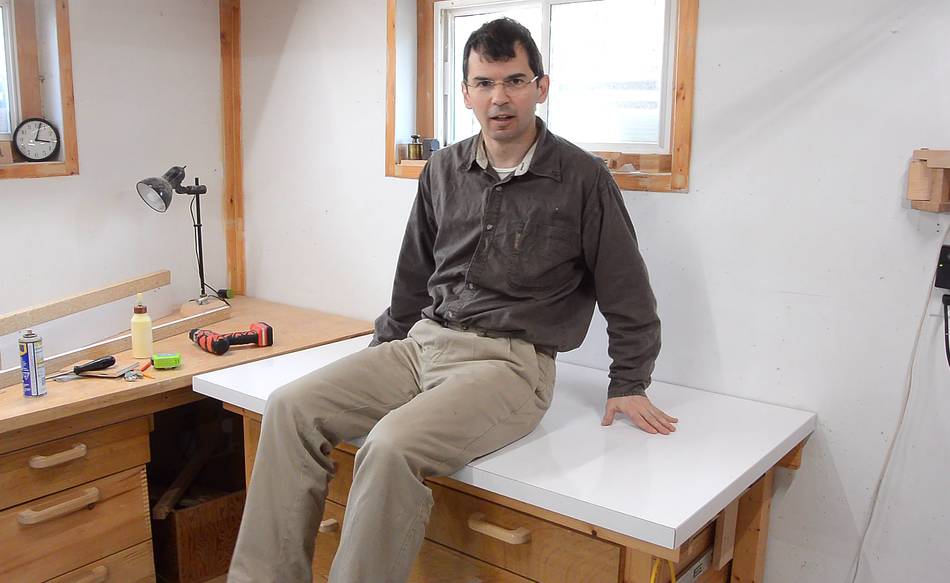 And of course, the obligatory jump test. The thick top is very stable,
it didn't feel like anything moved at all when I jumped on it.
And of course, the obligatory jump test. The thick top is very stable,
it didn't feel like anything moved at all when I jumped on it.
With the workbench top so nice, I may be a bit reluctant to bang on it like I did with the old one. But then again, it took almost twenty years for it to get as banged up as it was.
This sort of surface is very resilient. Could even be used as the top of a jointer, like this one. Not as good as cast iron, but durable enough for many years of hobby use.
See also:
 More about this workbench
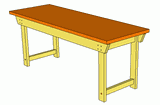 Simple workbench plans
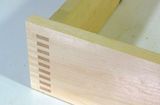 Box joined drawers
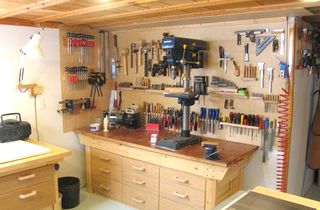 My basement workshop
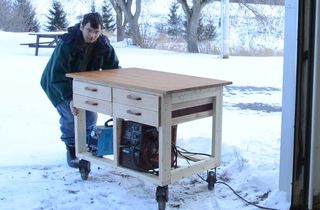 Workbench on wheels
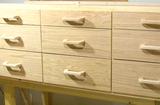 Workbench drawers
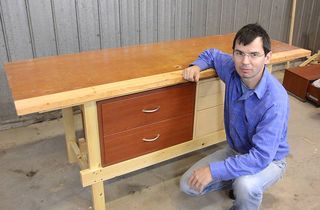 Quickie workbench
with the pantorouter
 Ryan's Workbench
drawers
More projects from trash picks:
 Trash to treasure:
 Storage cabinet
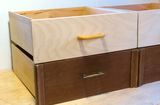 Refacing drawers
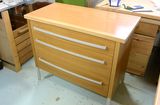 Dresser from junk
Back to my woodworking website.