 This is the main working area of my workshop. For kitchens, there is the
idea of a "kitchen triangle". This puts the stove, fridge, sink
in close proximity to each other and near counters, to make it efficient
to work in the kitchen.
This is the main working area of my workshop. For kitchens, there is the
idea of a "kitchen triangle". This puts the stove, fridge, sink
in close proximity to each other and near counters, to make it efficient
to work in the kitchen.
This is the main working area of my workshop. For kitchens, there is the
idea of a "kitchen triangle". This puts the stove, fridge, sink
in close proximity to each other and near counters, to make it efficient
to work in the kitchen.
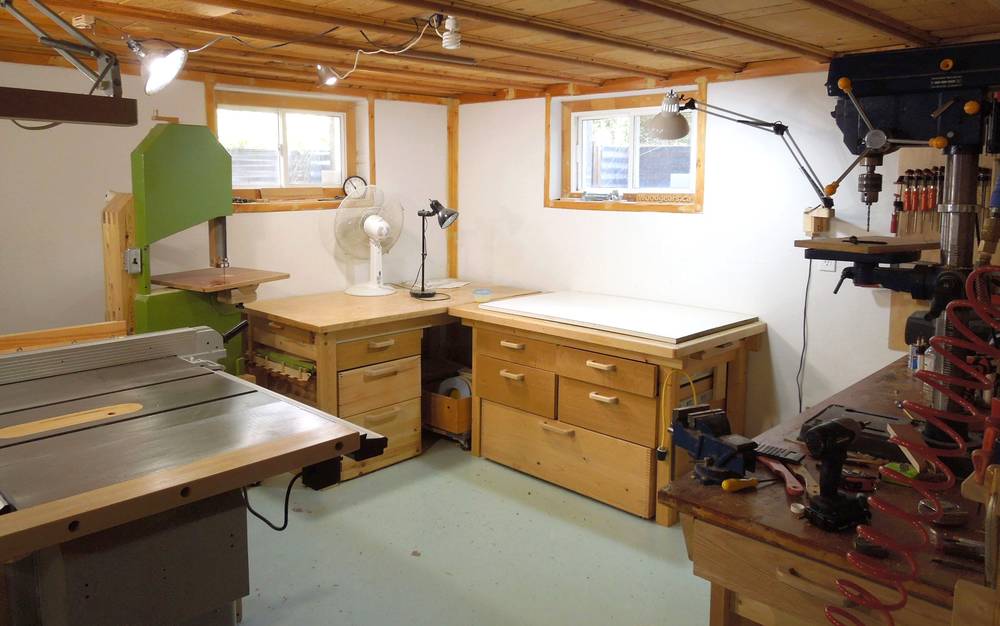
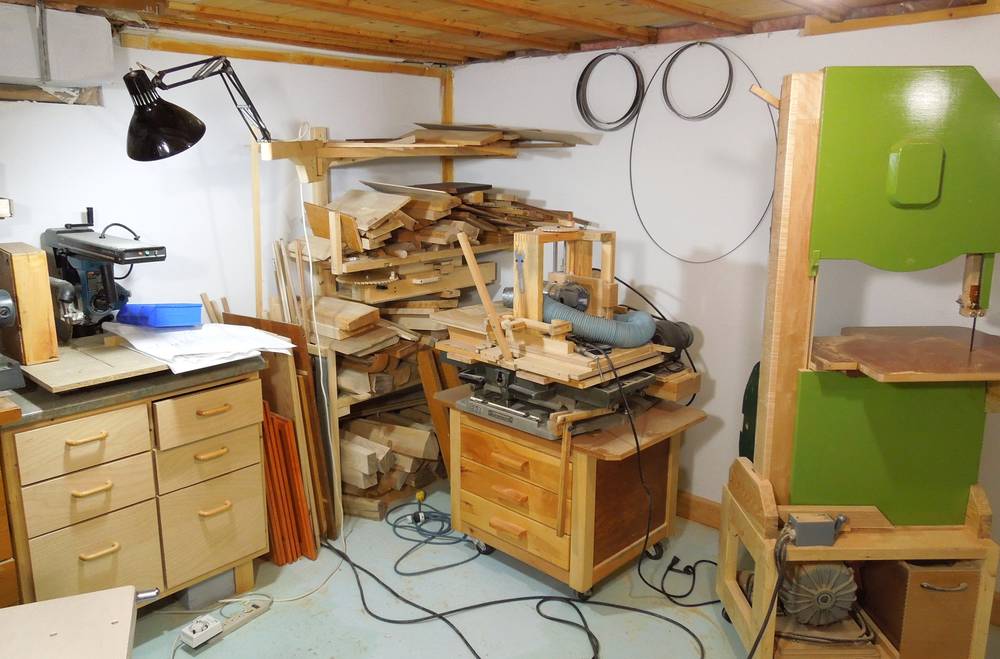
In my workshop, I think of my "workshop triangle" as consisting of the table saw, bandsaw, and drill press, with workbenches instead of counters.
That's not to say that you should arrange your shop that way, but for the sort of tinkering on small projects that I do, I use those machines the most.
The bandsaw is, of course homemade. This one is set up with a fine blade, for smaller cuts. The fact that this bandsaw has a sawdust drawer is really handy - I always know where to get sawdust for cleaning up glue squeez-eout.
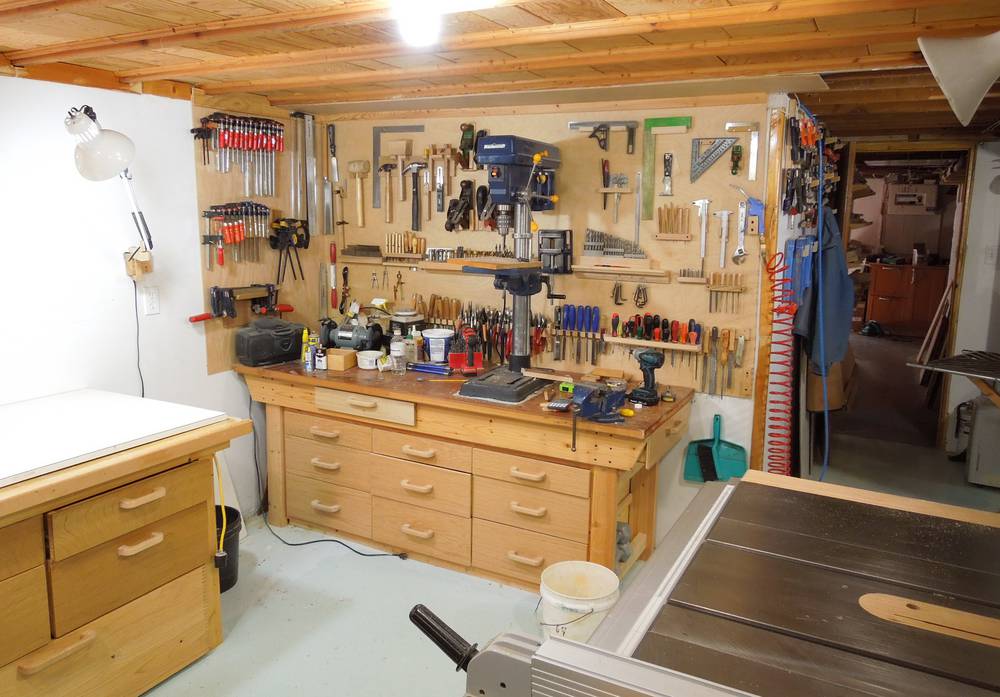 My drill press is a large benchtop drill press on a relatively low workbench.
That workbench is a dedicated messy zone most of the time. With all the chips
flying from the drill press, it's too much trouble to keep it clean.
Behind the drill press are lots of small handheld tools that I use all the time.
I also have lots of drawers to keep more tools close at hand.
My drill press is a large benchtop drill press on a relatively low workbench.
That workbench is a dedicated messy zone most of the time. With all the chips
flying from the drill press, it's too much trouble to keep it clean.
Behind the drill press are lots of small handheld tools that I use all the time.
I also have lots of drawers to keep more tools close at hand.
I don't have a fancy "drill press table", or even a fence on the drill press. I move the table up and down far too often to be encumbered by some large attachment.
 I make most of my crosscuts on the table saw, using one of two sleds. I have
a large sled for larger work pieces,
and a small sled for smaller pieces.
I used to think a sliding table would be great to have, but the sleds work well
enough that I no longer desire one.
I make most of my crosscuts on the table saw, using one of two sleds. I have
a large sled for larger work pieces,
and a small sled for smaller pieces.
I used to think a sliding table would be great to have, but the sleds work well
enough that I no longer desire one.
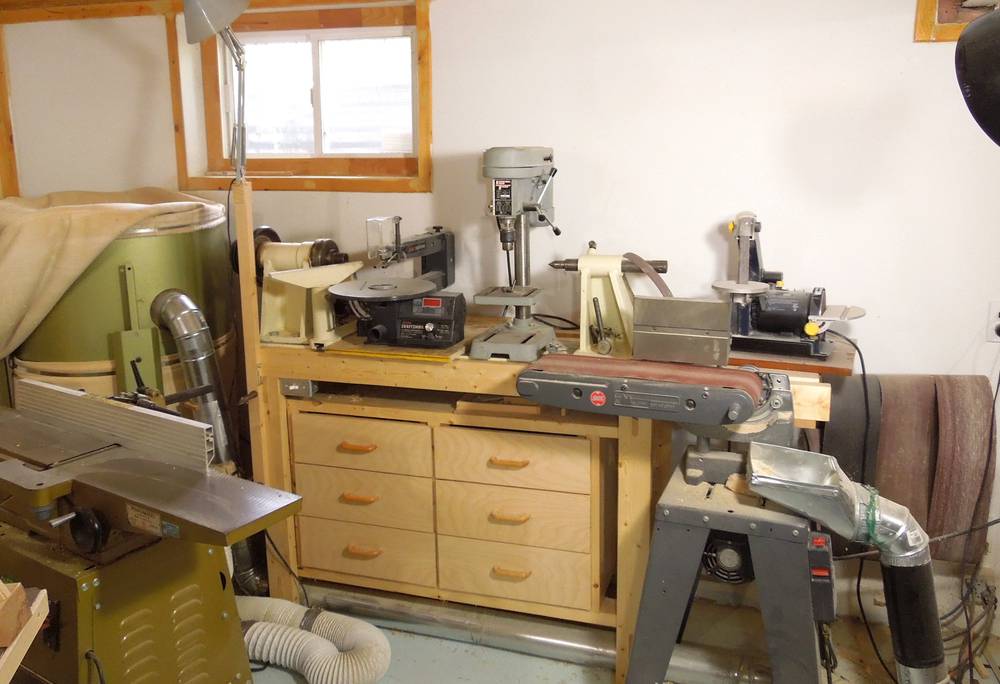 I hardly ever use my lathe, so most of the time, it's just a stand for other
tools. People sometimes ask me about doing an article on building a lathe,
but, given that I already have one and hardly ever use it, I'm not
particularly motivated to build one.
I hardly ever use my lathe, so most of the time, it's just a stand for other
tools. People sometimes ask me about doing an article on building a lathe,
but, given that I already have one and hardly ever use it, I'm not
particularly motivated to build one.
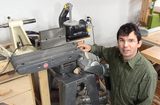
In front of it, my belt sander. I use one of the rollers on that sander for sanding curves, so I don't really need a spindle sander. People often ask me about building an oscillating spindle sander, but given the complexity of building one and the relatively low cost of buying one, it's not the sort of machine that makes that much sense to build. Build a bandsaw instead!
I also recently bought a new strip sander, on sale new for $50 + tax. I had been thinking of building one of those, but for that price, I couldn't say no to just buying one. The strip sander is the perfect tool for sanding gear teeth. I should make a curved platen for it, which would enable it to do stuff normally done with a spindle sander.
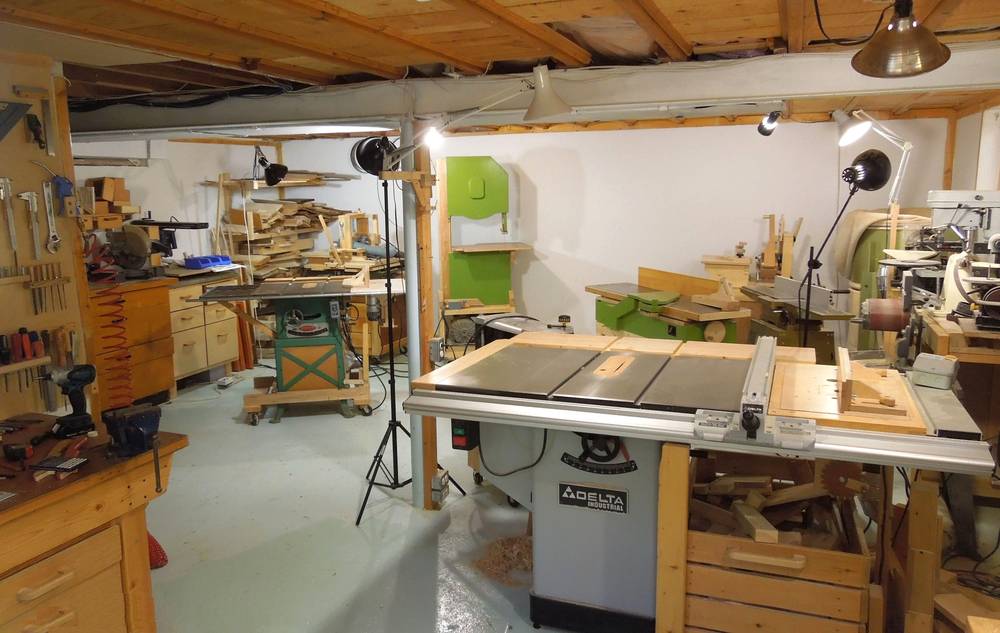
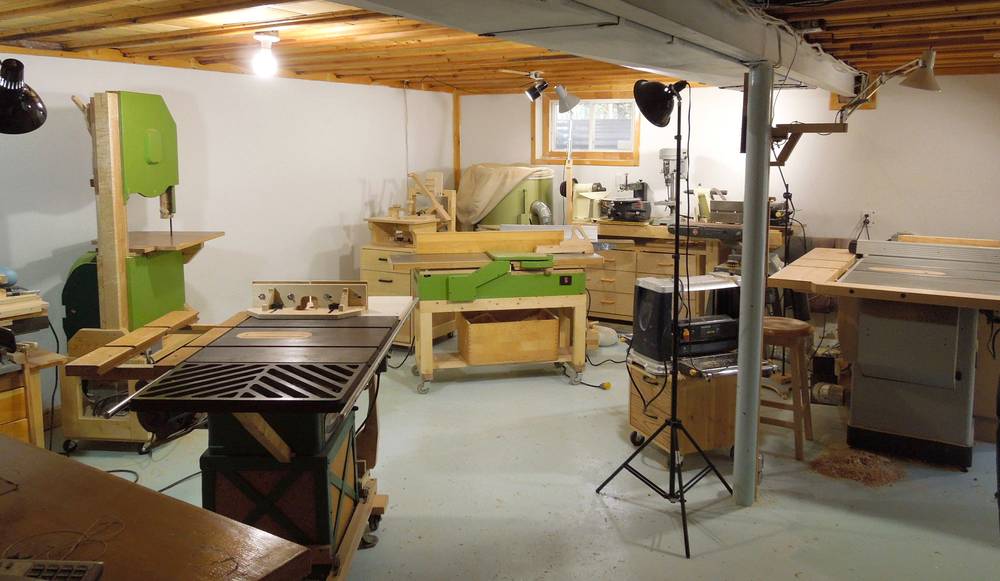 The back area of the shop. From left to right, we have my big green
18" homemade bandsaw. Building that saw
was an experiment. I now consider this saw an "obsolete" design
compared to my newer designs. But it's still my biggest bandsaw,
it still works just fine, and I still use it quite often for resawing
and larger cuts. One of these days, I'll build a 20" (50 cm) bandsaw, hopefully
I will get around to it next year (2013).
The back area of the shop. From left to right, we have my big green
18" homemade bandsaw. Building that saw
was an experiment. I now consider this saw an "obsolete" design
compared to my newer designs. But it's still my biggest bandsaw,
it still works just fine, and I still use it quite often for resawing
and larger cuts. One of these days, I'll build a 20" (50 cm) bandsaw, hopefully
I will get around to it next year (2013).
In the middle, my green homemade 12" jointer. Hidden behind it is my 6" jointer. I mostly use the homemade jointer nowadays. The biggest drawback of the homemade jointer is that, on account of the universal motor, it's much louder than the 6" jointer.
Behind the jointers, my pantorouter. Very handy for mortise and tenon and other furniture joints, except I haven't had a need for more furniture lately, I haven't been using it that much lately.
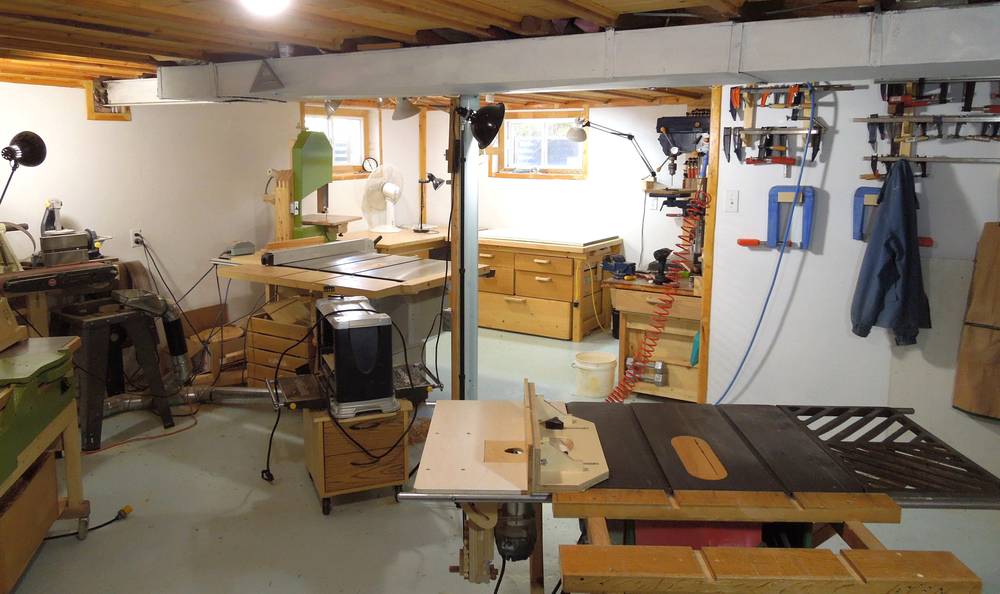 Another view from a corner of the shop. Near the front, my old table saw.
It has my tilting router lift
mounted on it. The saw is also on a
mobile base for easy moving around.
Another view from a corner of the shop. Near the front, my old table saw.
It has my tilting router lift
mounted on it. The saw is also on a
mobile base for easy moving around.
Behind it, just to the left is my small thickness planer. It's the cheapest one from Canadian Tire. So far it's worked well for me.
These days, I often use my old table saw as a rolling workbench, like I did when I set up my copy carver.
After I built my pantorouter, people asked if it could be used to reproduce lettering. I'm sure it could, but it wouldn't be easy. So I built my 3D pantograph for that purpose. The pantograph can also do scaled copy carving. That prompted many people to ask how to do 1:1 copy carving with it, but a pantograph can't be used for 1:1 carving. So I designed a copy carver.
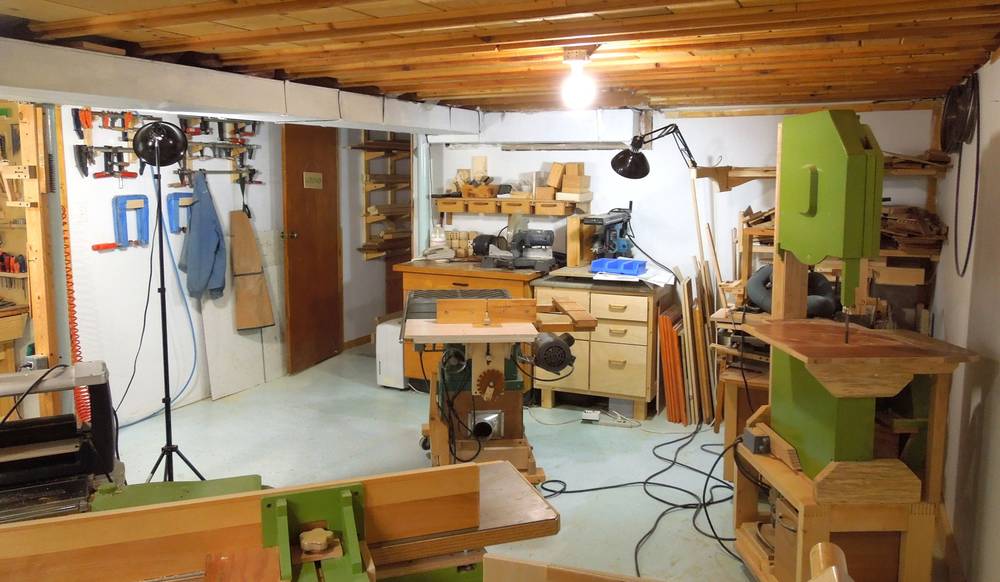 Here's a view of the back of the shop, seen from where my dust extractor is.
On the far wall is my radial arm saw, and just to the left of it, a miter saw.
Here's a view of the back of the shop, seen from where my dust extractor is.
On the far wall is my radial arm saw, and just to the left of it, a miter saw.
I don't use either of these very often.
With everything on wheels, I can clear out a large area. Handy when working on larger workpieces or a queen size bed In fact, I managed to cram everything into the other part of the shop for a party.
 In this corner of my shop sits the
horizontal boring machine,
serving mostly
as a stand for the slot mortising machine.
The horizontal boring machine
is great for carefully jigged up repeated drilling operations,
but I don't use it much. The table is big enough to put my slot mortiser
on. The slot mortiser isn't very heavy, so it's easy enough to get
it out of the way.
In this corner of my shop sits the
horizontal boring machine,
serving mostly
as a stand for the slot mortising machine.
The horizontal boring machine
is great for carefully jigged up repeated drilling operations,
but I don't use it much. The table is big enough to put my slot mortiser
on. The slot mortiser isn't very heavy, so it's easy enough to get
it out of the way.
In the very corner, a lot of hardwood chunks that were originally firewood. I mostly use that wood. I sometimes get asked where I buy my hardwood. The answer is - I very rarely buy hardwood. And it's expensive for me too.
For this article, I moslty focused on what's different from my previous workshop tour, so you may want to read the older 2009 article as well.
 How much the tools cost (2015 tour)
 My old garage
 Brain Pick with Bob
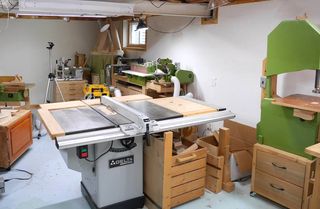 Last tour of my basement workshop
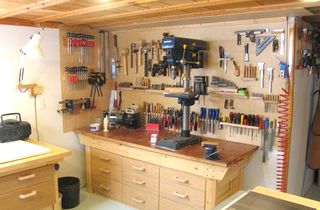
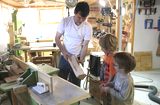 Showing the nephews
 Using the workshop
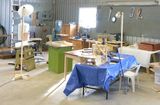 My big garage workshop
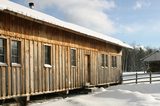 My dad's workshop
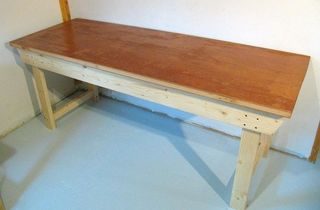 Building a workbench